A missing front panel changes what a frame can protect, but it also makes room for texture and objects that need depth. Start by removing any remaining glass fragments safely, checking the joints, and dealing with projecting tabs. Use a sound frame for a light display, and add a firm backing when the project needs support.
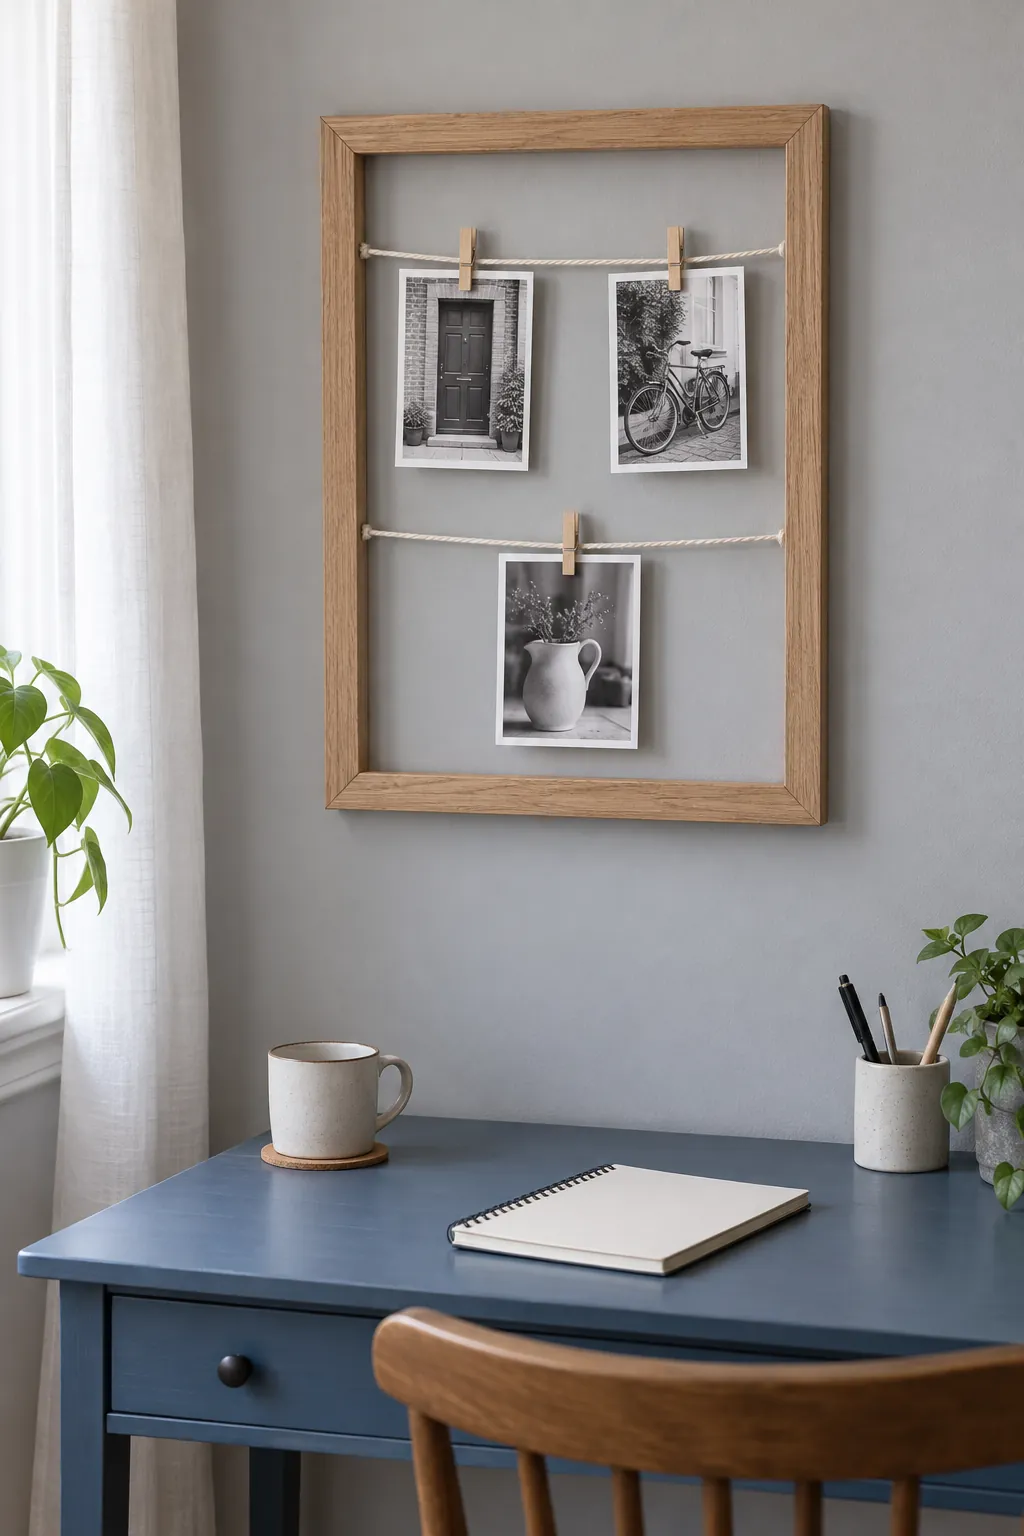
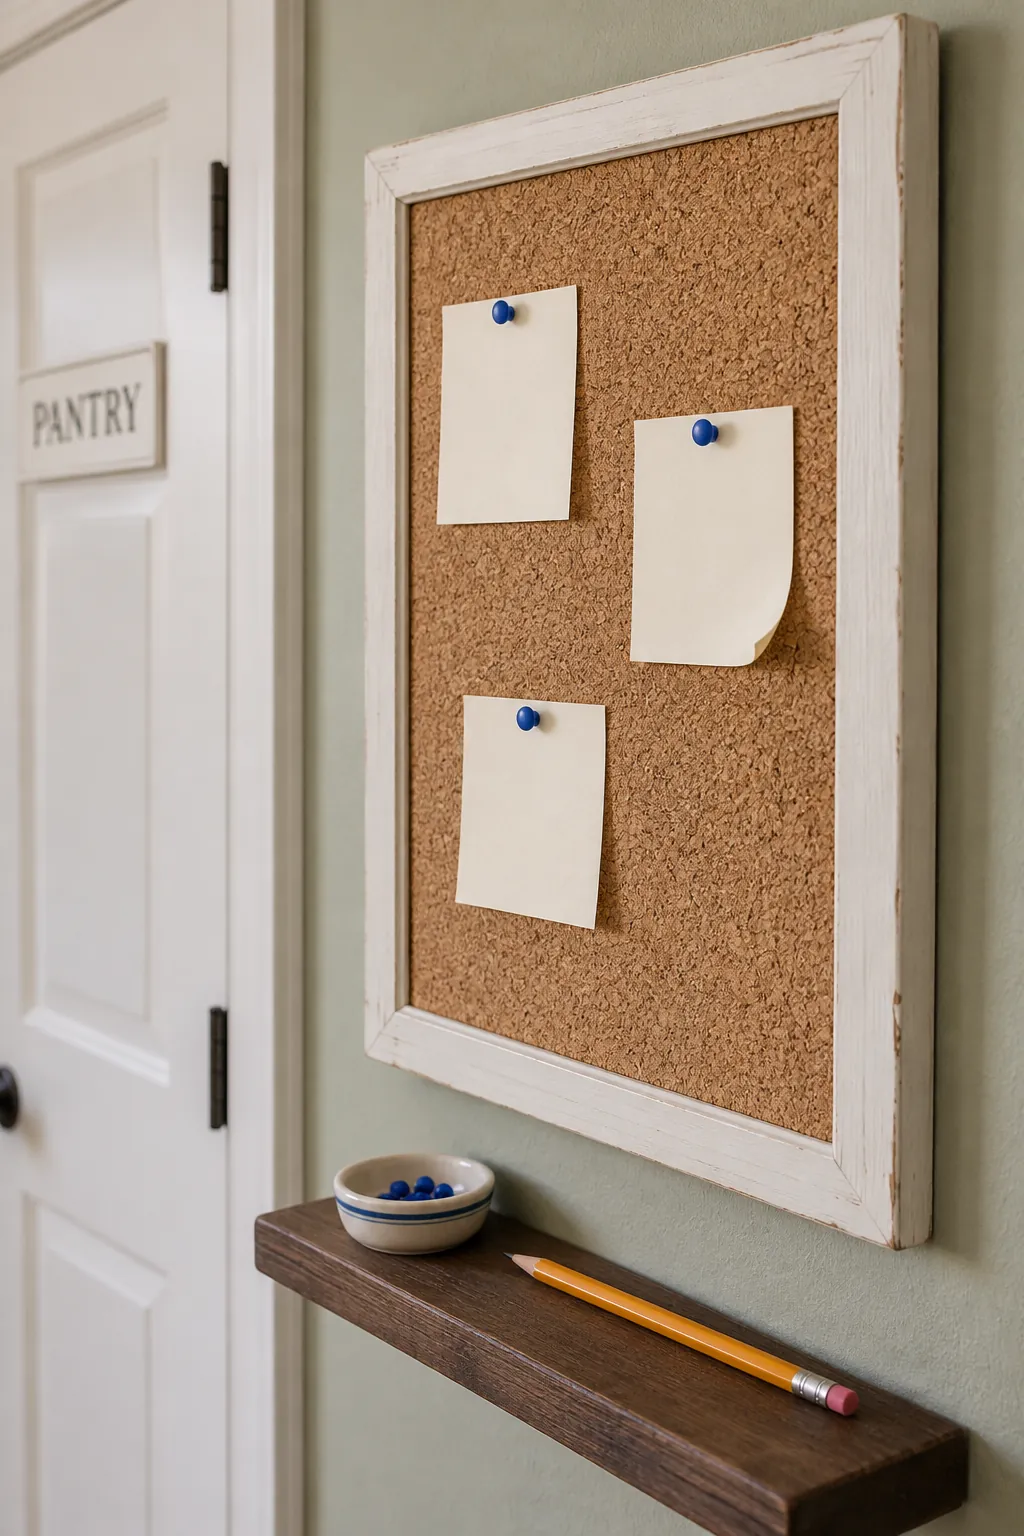
Clipped photo strings
Stretch a couple of cords across the back of a sound wooden frame and clip lightweight photographs to them. Secure the cord ends in solid timber rather than in a loose decorative edge. Leave room between photographs so the open frame still provides a clear border. Use replaceable copies because exposed paper will collect dust and has no glazing to protect it.
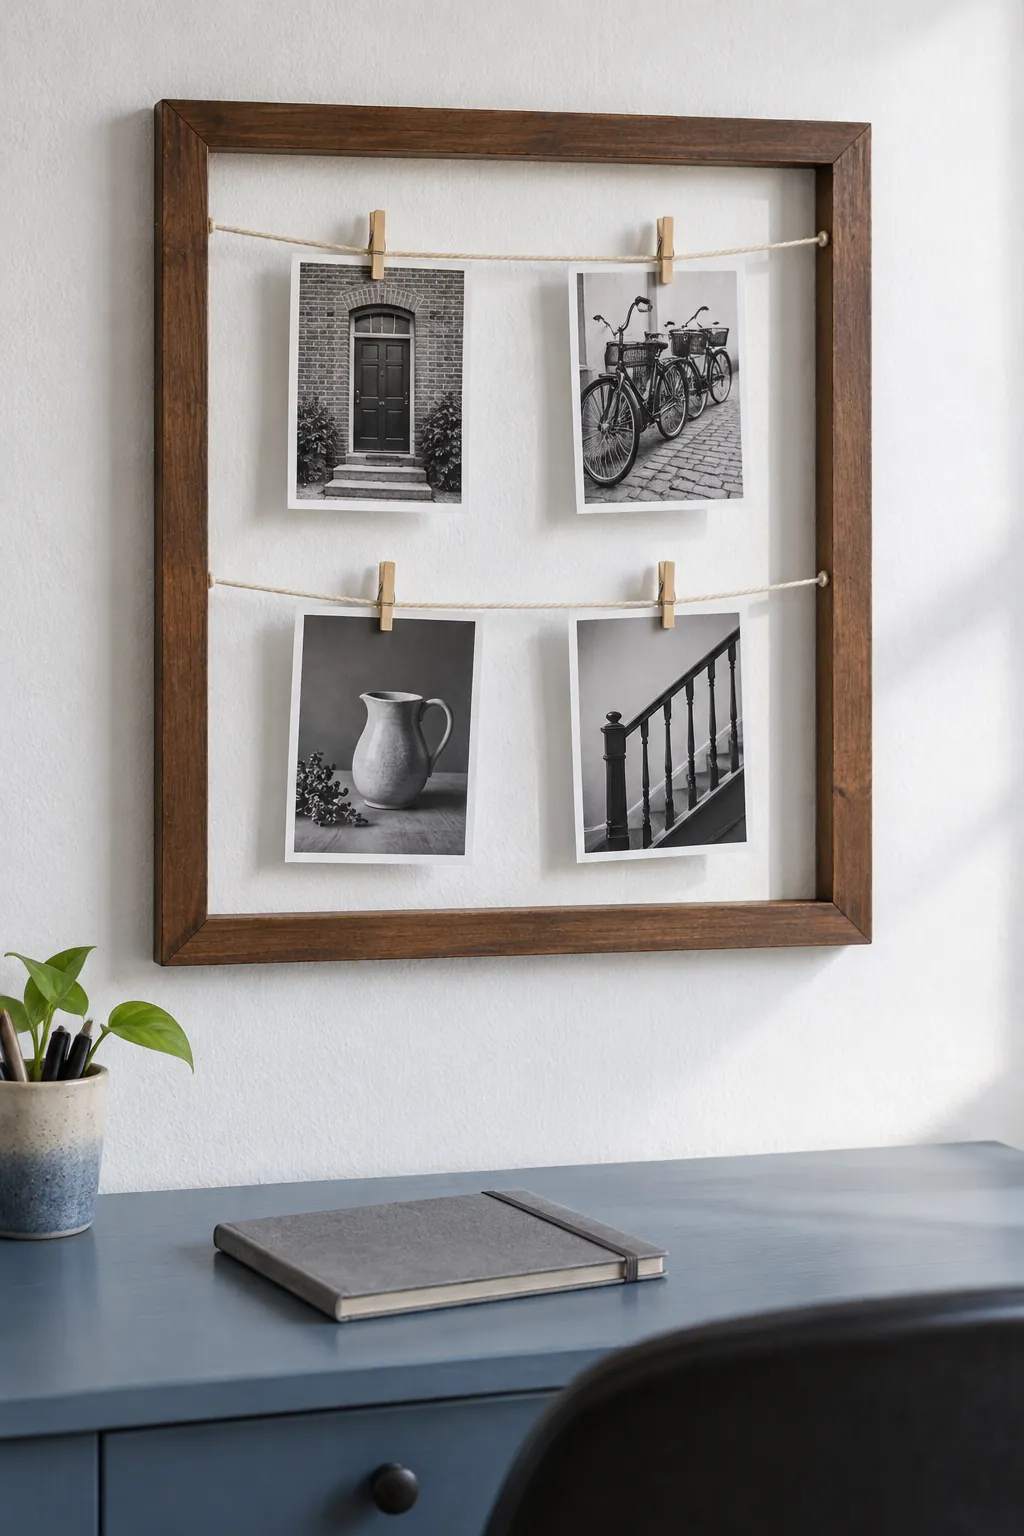
Cork memo board
Fit cork over a firm backing cut to the frame opening, then secure the backing with suitable retainers. Check that the cork is thick enough to hold your pins without letting their points project out the rear. A few notes are easier to scan than a crowded board.
Hang the complete board using hardware rated for its loaded weight and wall type. Keep pushpins away from young children. If the frame joints are loose, repair them before adding the panel or choose a lighter display.
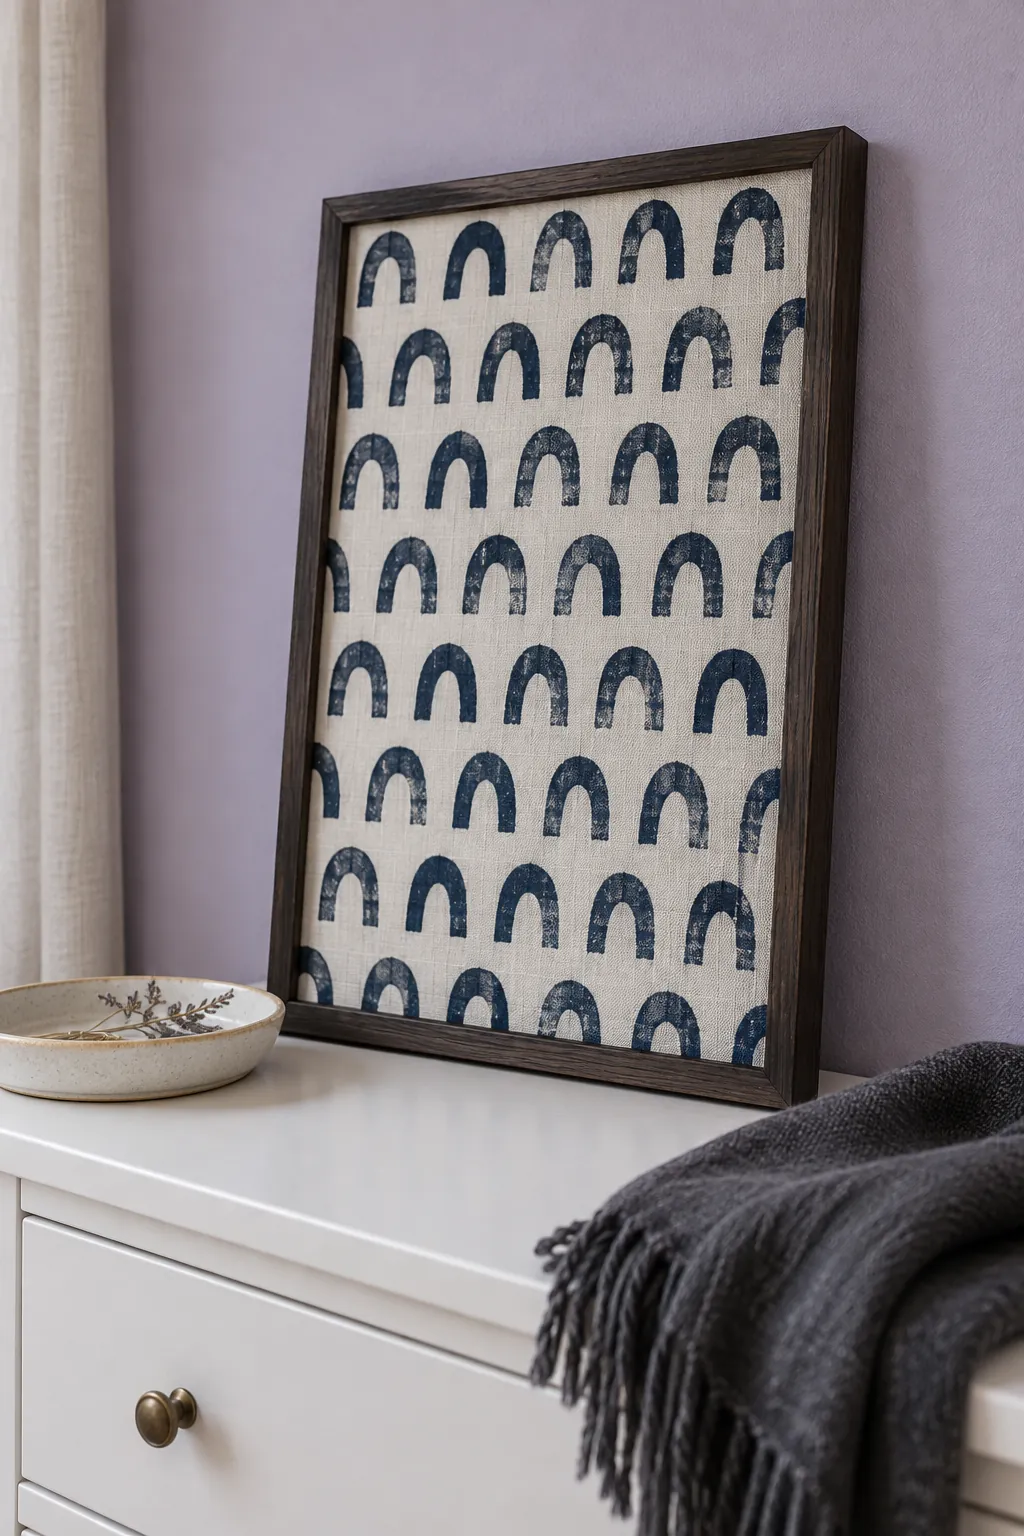
Patterned textile panel
Wrap a fabric remnant around a firm backing and secure the excess on the rear. Pull it smooth in stages so the weave stays straight without stretching the pattern out of shape. The frame can show texture that glazing would otherwise flatten or reflect. Keep the panel away from steam and direct sun, and dust it gently with a soft brush.
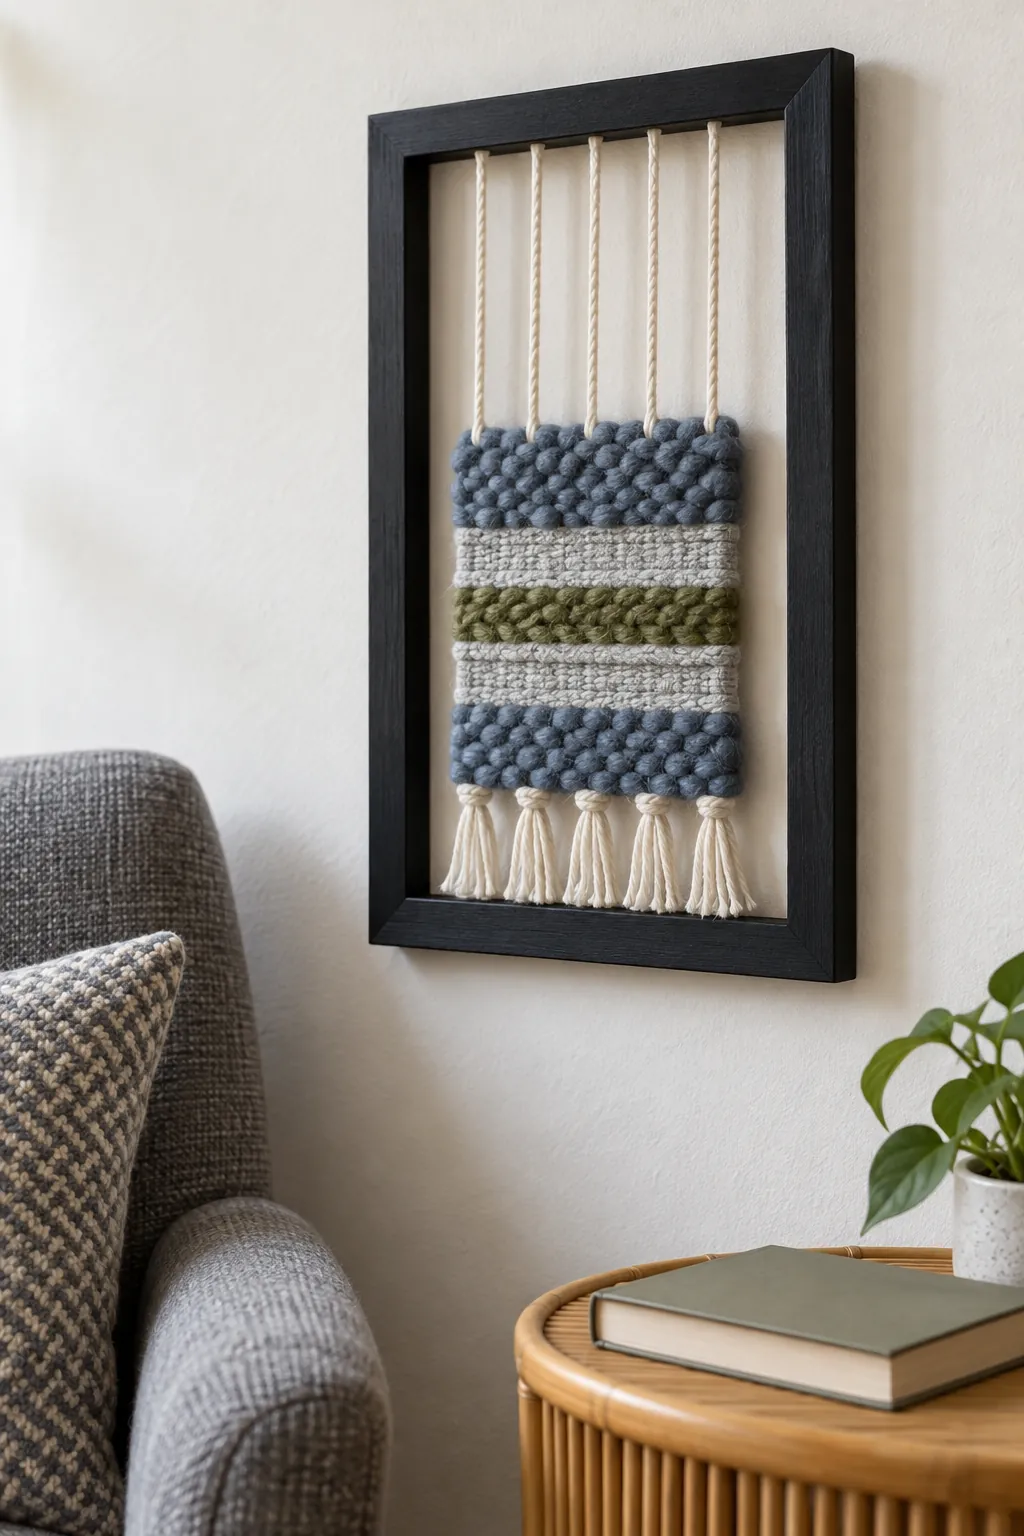
Small woven wall panel
Use a sturdy open frame as the boundary for a small weaving made from yarn or narrow cloth strips. Add evenly spaced anchors along the back for the vertical threads, keeping them out of sight from the front. Weave with gentle tension so the frame does not bow. A compact panel is a better starting point than filling a large frame with heavy fibers.
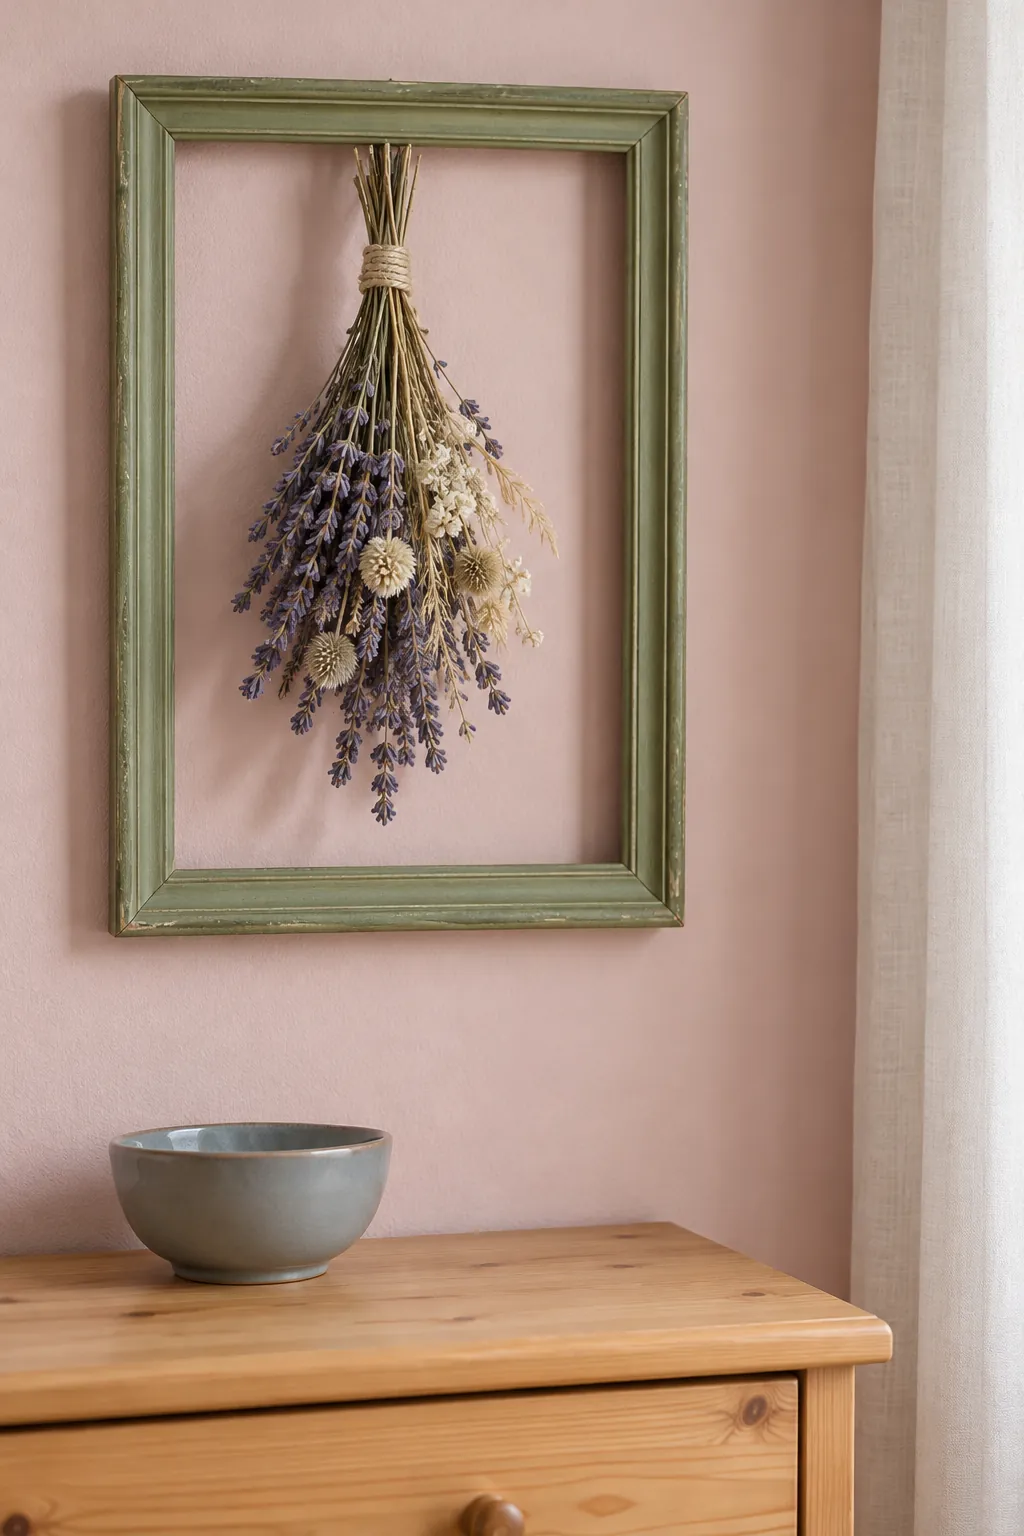
Suspended dried bouquet
Tie a light dried bunch inside the opening so the flowers become the focal point and the frame supplies a border. Fasten the tie to a sound point on the back, not to fragile carving or peeling finish. Leave space between the bouquet and the sides to keep individual stems visible. Display it indoors away from drafts that would shed petals across the room.
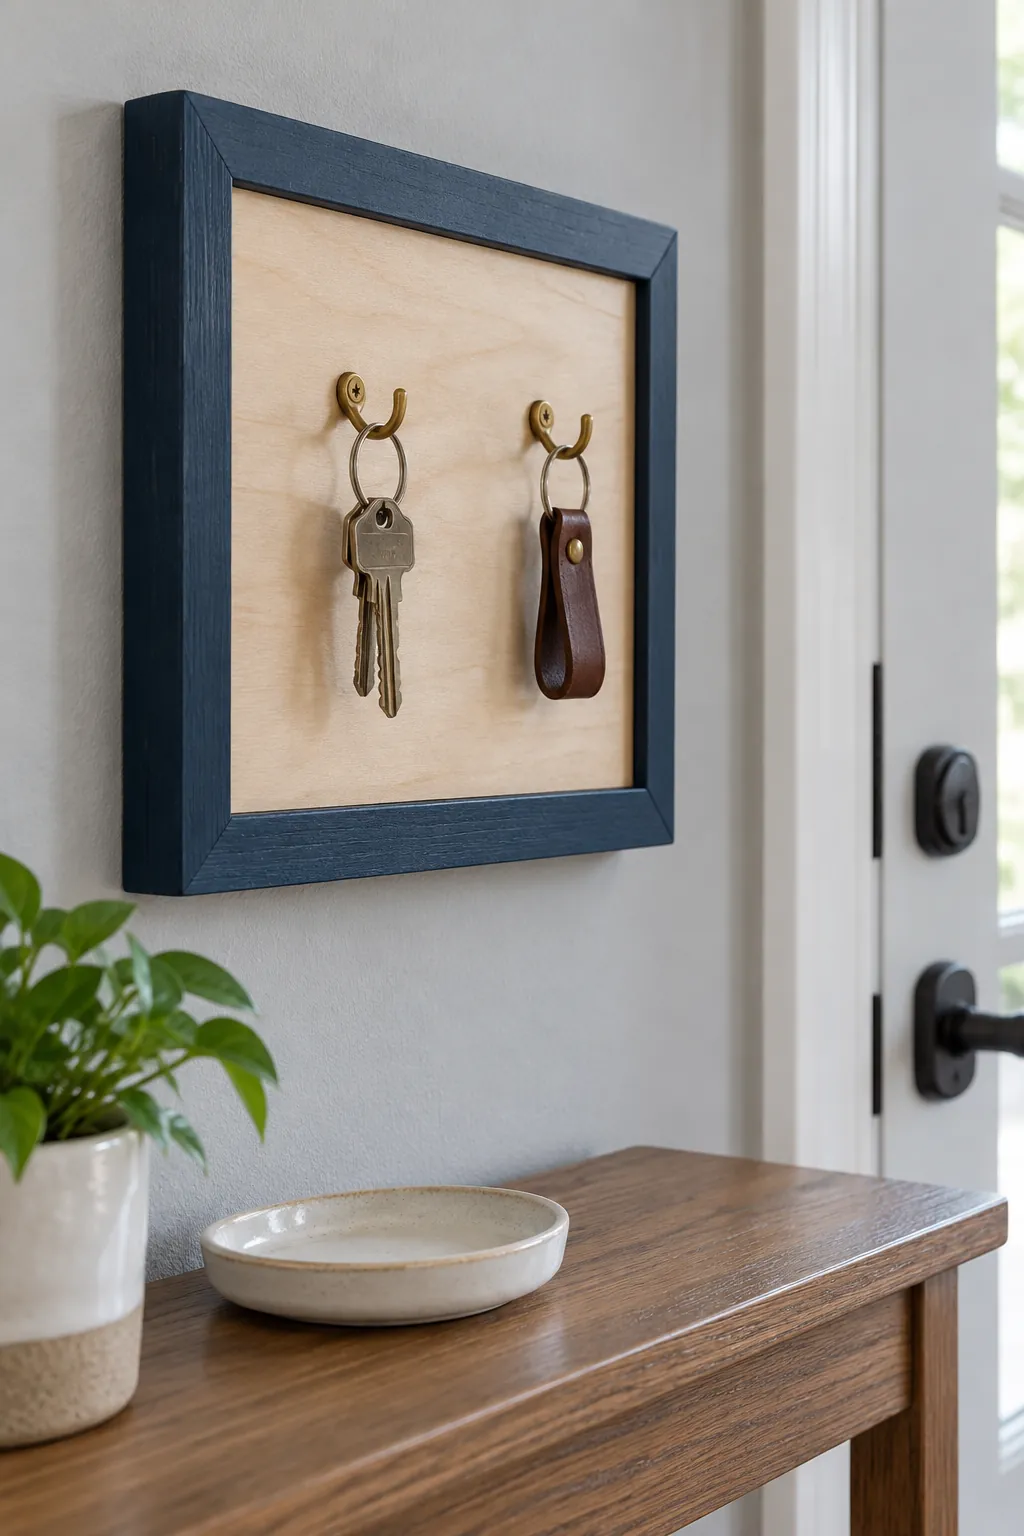
Keys on a backed panel
Fit a solid wood panel into a strong frame and install small screw hooks in the panel for light key rings. The backing carries the hooks, so the thin frame molding does not have to take repeated pulling. Secure the panel mechanically and hang the whole assembly for its loaded weight.
Leave enough space between hooks for fingers to reach each key ring. Place it away from the door swing and household snag points. Test the assembly gently before relying on it for everyday use.
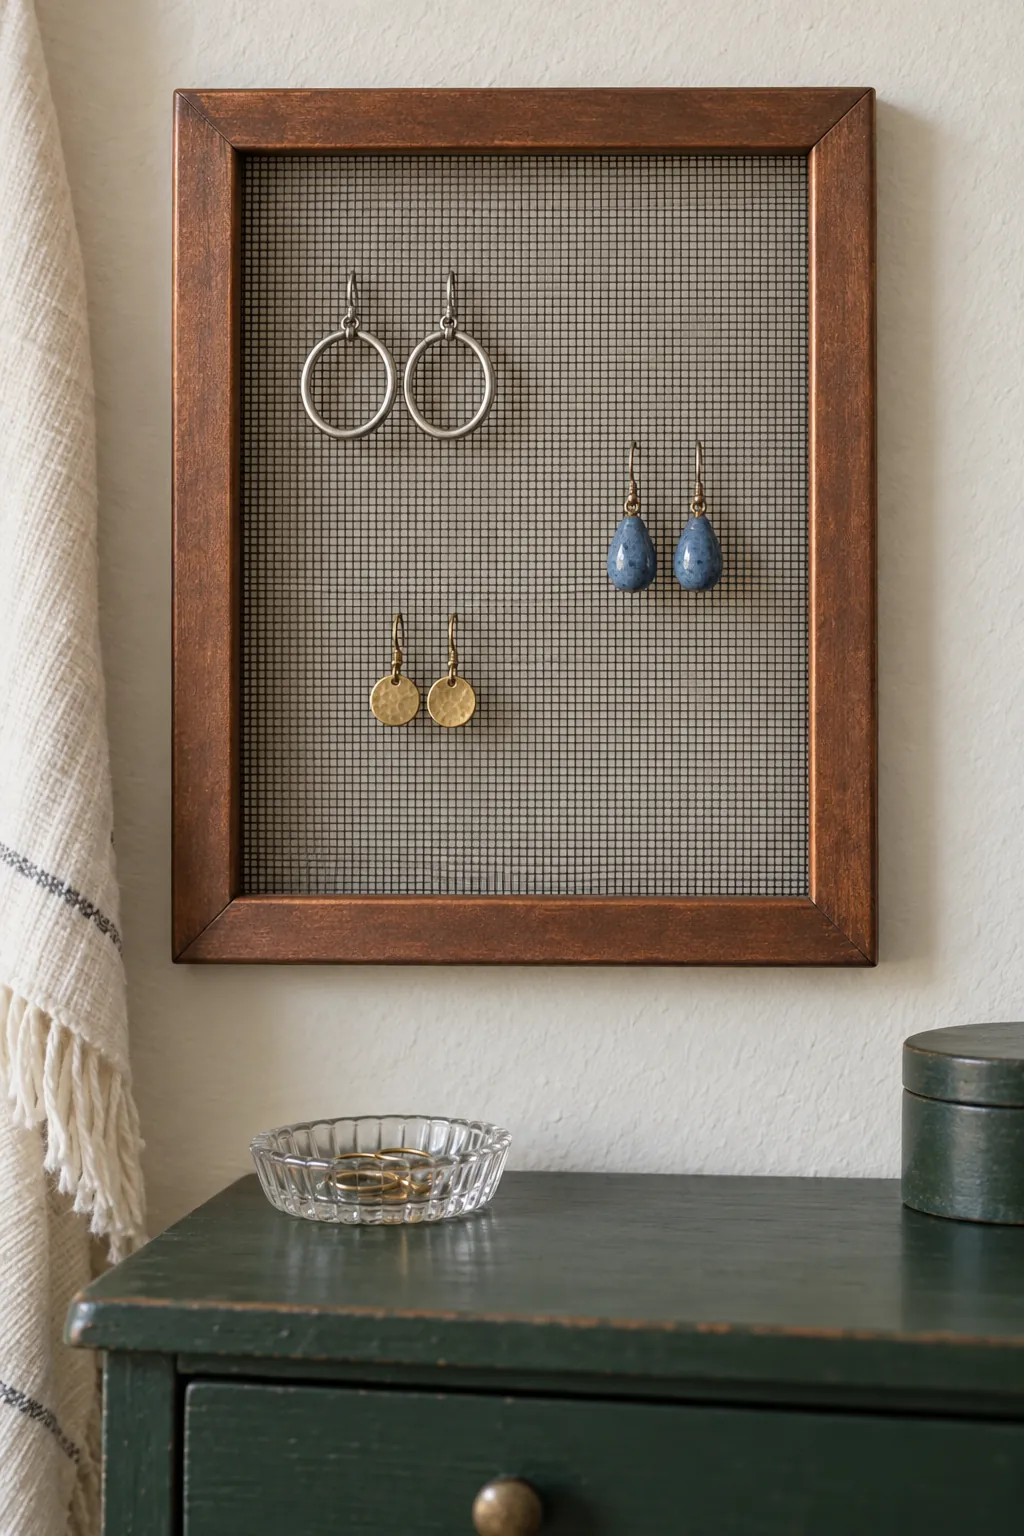
Mesh jewelry display
Attach a small mesh panel behind a wooden frame for lightweight hook earrings. Fold or cover cut metal edges on the rear so they cannot scratch hands or the wall. Use secure fasteners appropriate for the mesh and timber. Keep the display sparse enough that earrings do not tangle when you remove them.
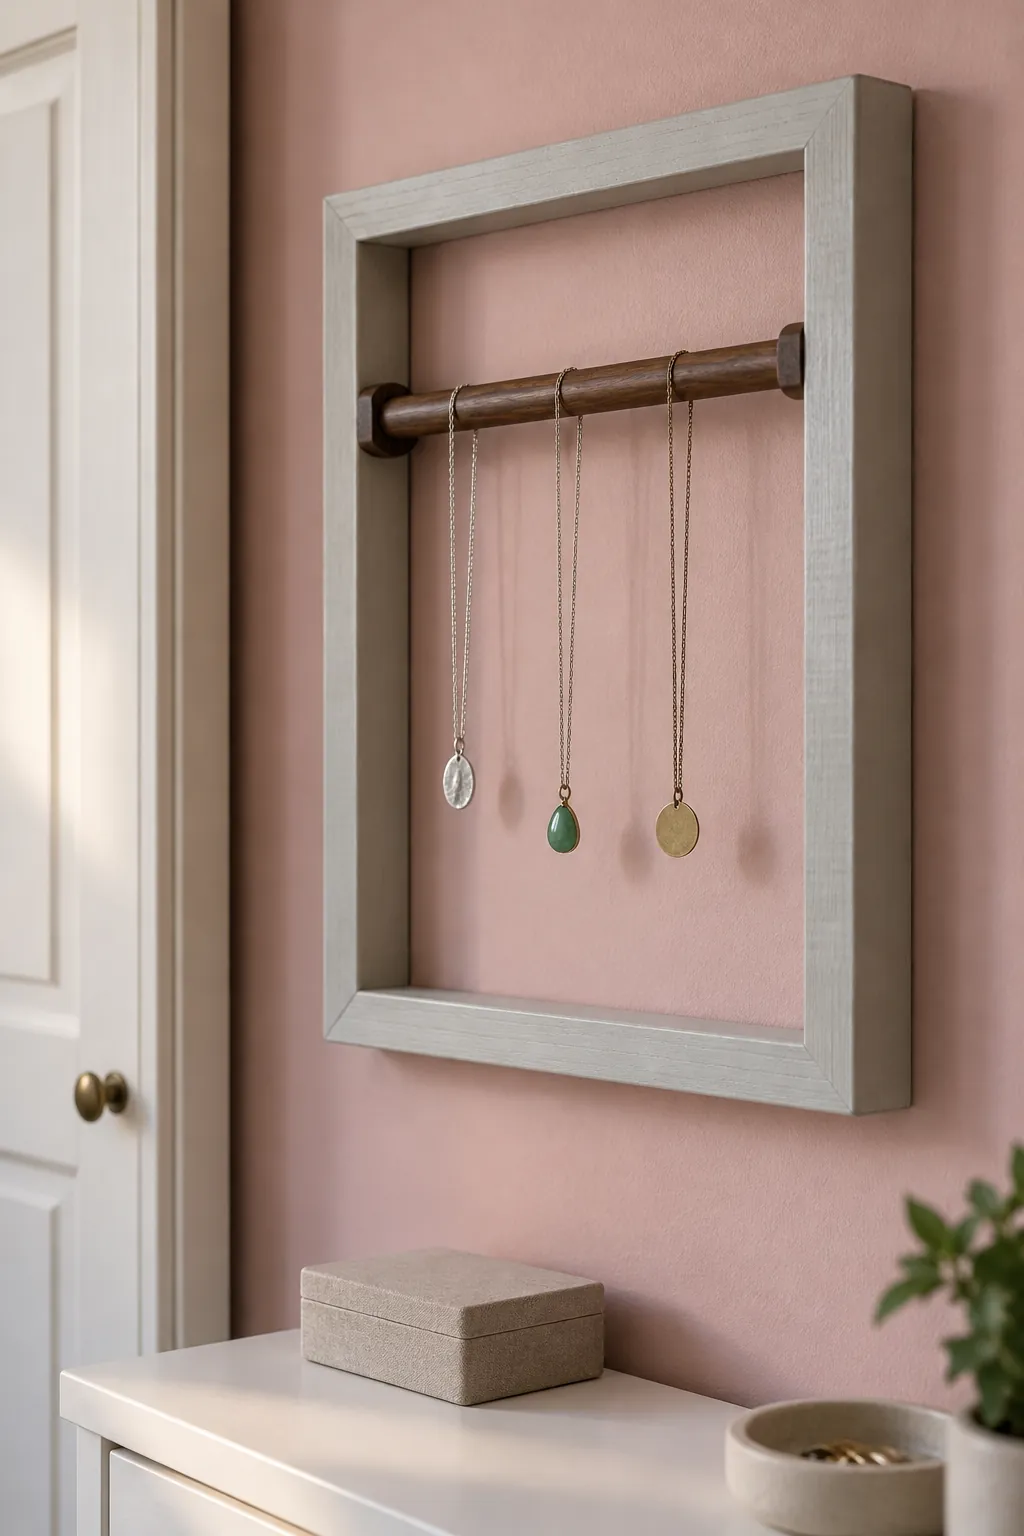
Necklace bar insert
A short bar fitted across a strong frame opening can hold a few lightweight necklaces. Mount the bar securely in the timber and leave enough height below it for the longest chain. Choose a frame wide enough to separate pendants so they are easy to pick up. Avoid heavy jewelry unless the frame, bar attachments, and wall fixings are designed to carry it.
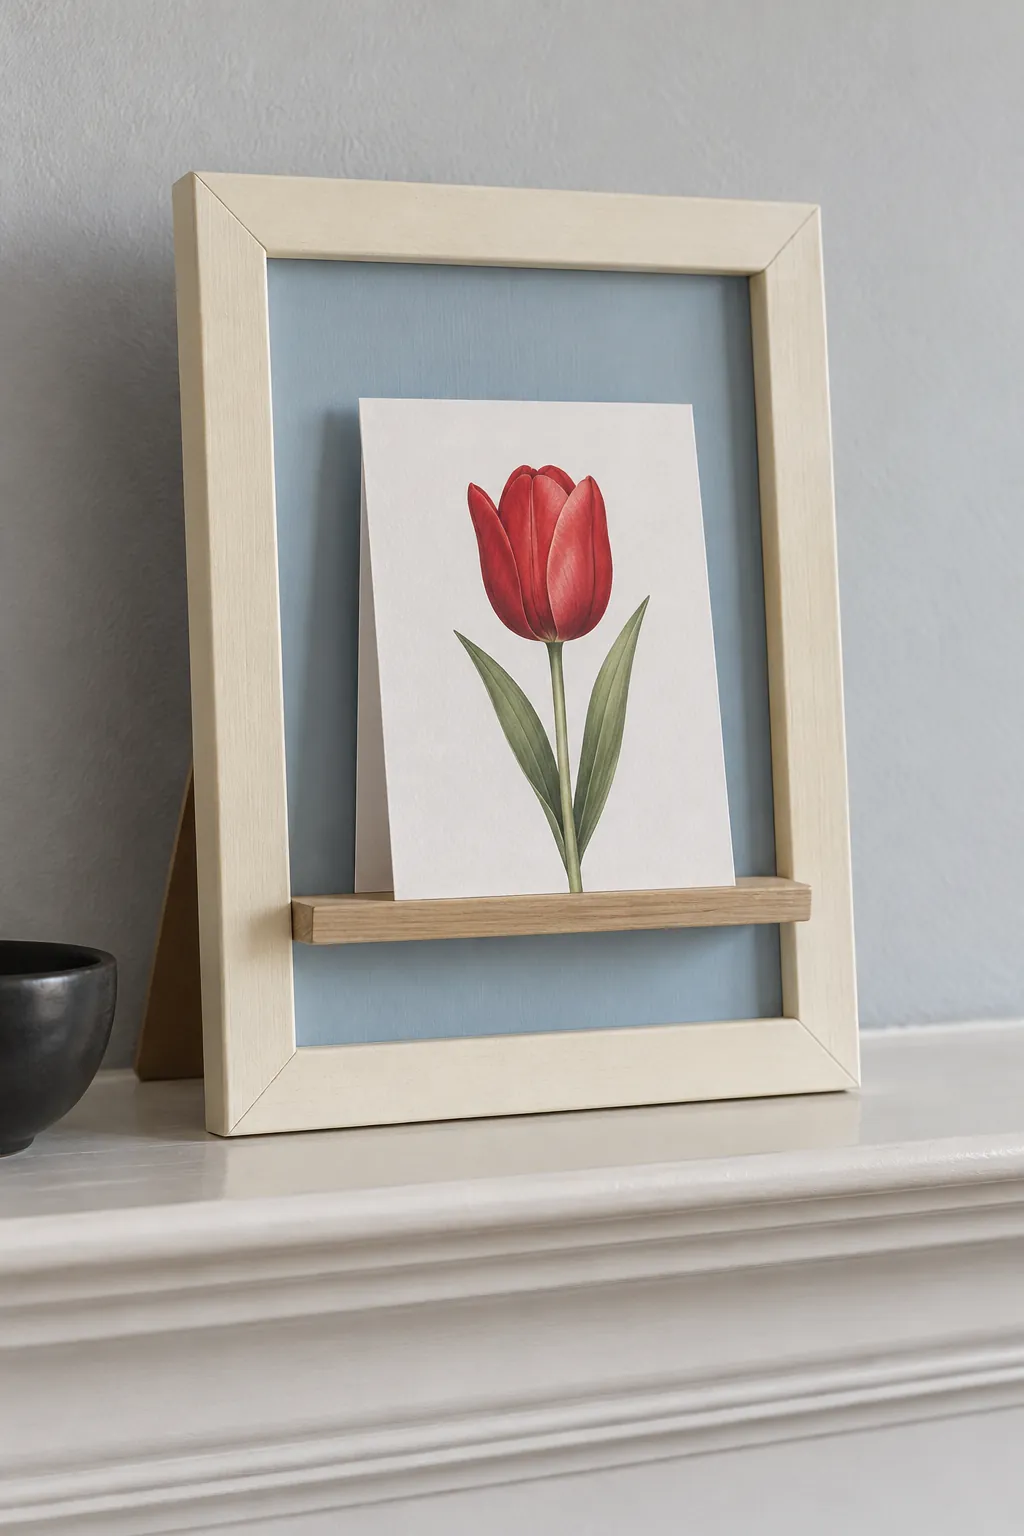
Greeting card ledge
Add a shallow ledge to a solid backing panel and use the frame as a border for a changing greeting card display. The card rests on the ledge instead of being glued permanently to the backing. Keep the ledge shallow and the card light so the assembly remains manageable.
A neutral background lets different cards work without repainting the frame. Check that the card does not block the hanger or lean out over the frame edge. Store meaningful originals elsewhere if dust or sun exposure would damage them.
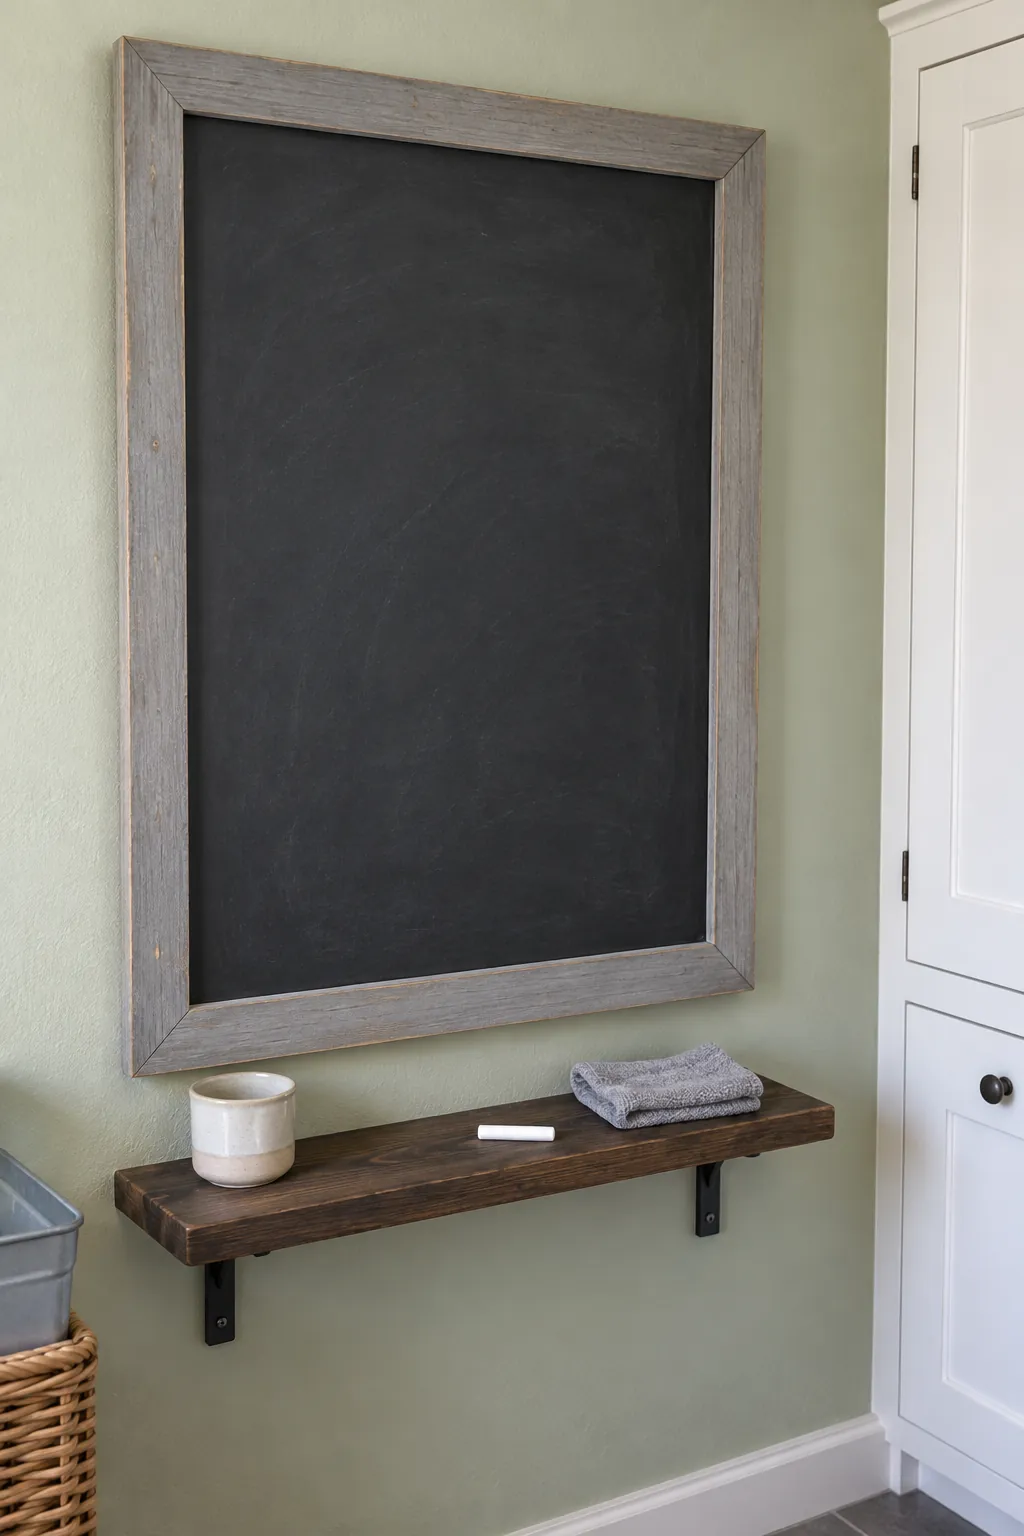
Chalkboard insert
Replace the missing glass with a properly fitted chalkboard panel on a firm backing. Use a ready made panel or follow the coating manufacturer’s preparation and curing instructions. Check that the frame holds the panel securely before writing on it. Keep the chalk and wiping cloth nearby, and avoid placing the board where dust will fall onto food.
Canvas for a small painting
A small canvas or painting panel can sit in an old frame without glazing if the artwork and frame depth are compatible. Test the fit before adding retainers so nothing presses against the painted surface. Give the painting room to dry or cure according to its materials. Use beginner frame projects for inexpensive practice work before putting valuable art into an improvised mount.
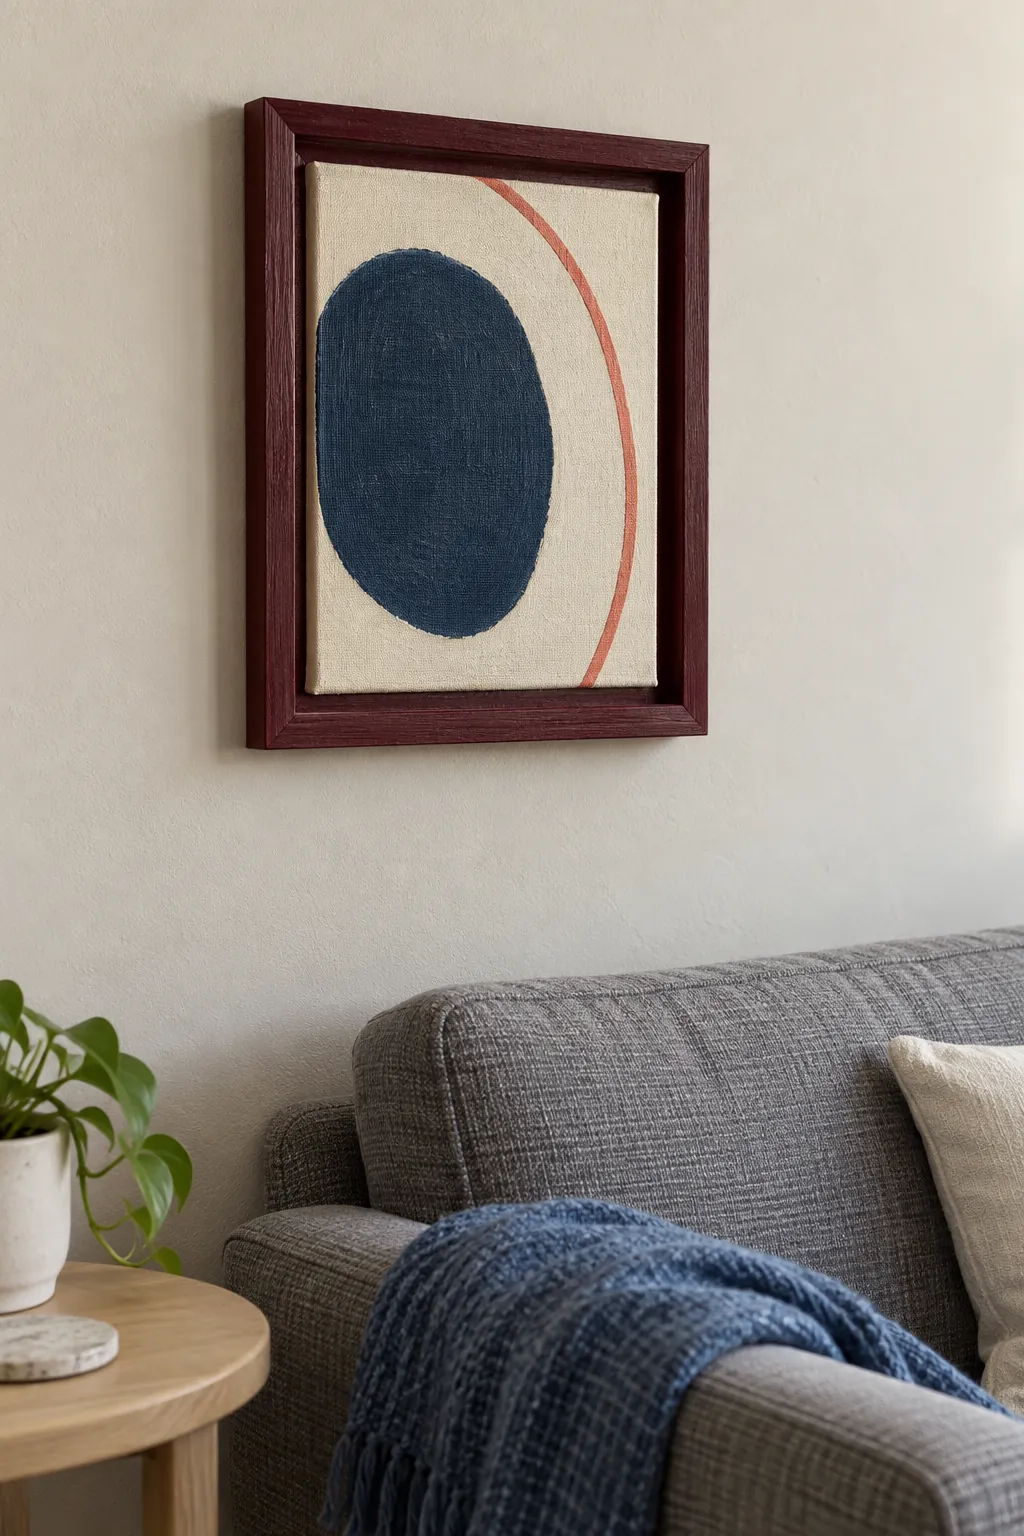
Pressed botanical card display
Mount a few pressed leaves or flowers on firm card and set the card into a glassless frame. Choose specimens that are completely dry, and attach them sparingly so the shape remains readable. Exposed botanicals are fragile and can fade, so treat this as a seasonal display rather than archival preservation. Keep it in a dry protected spot and avoid brushing across delicate petals.
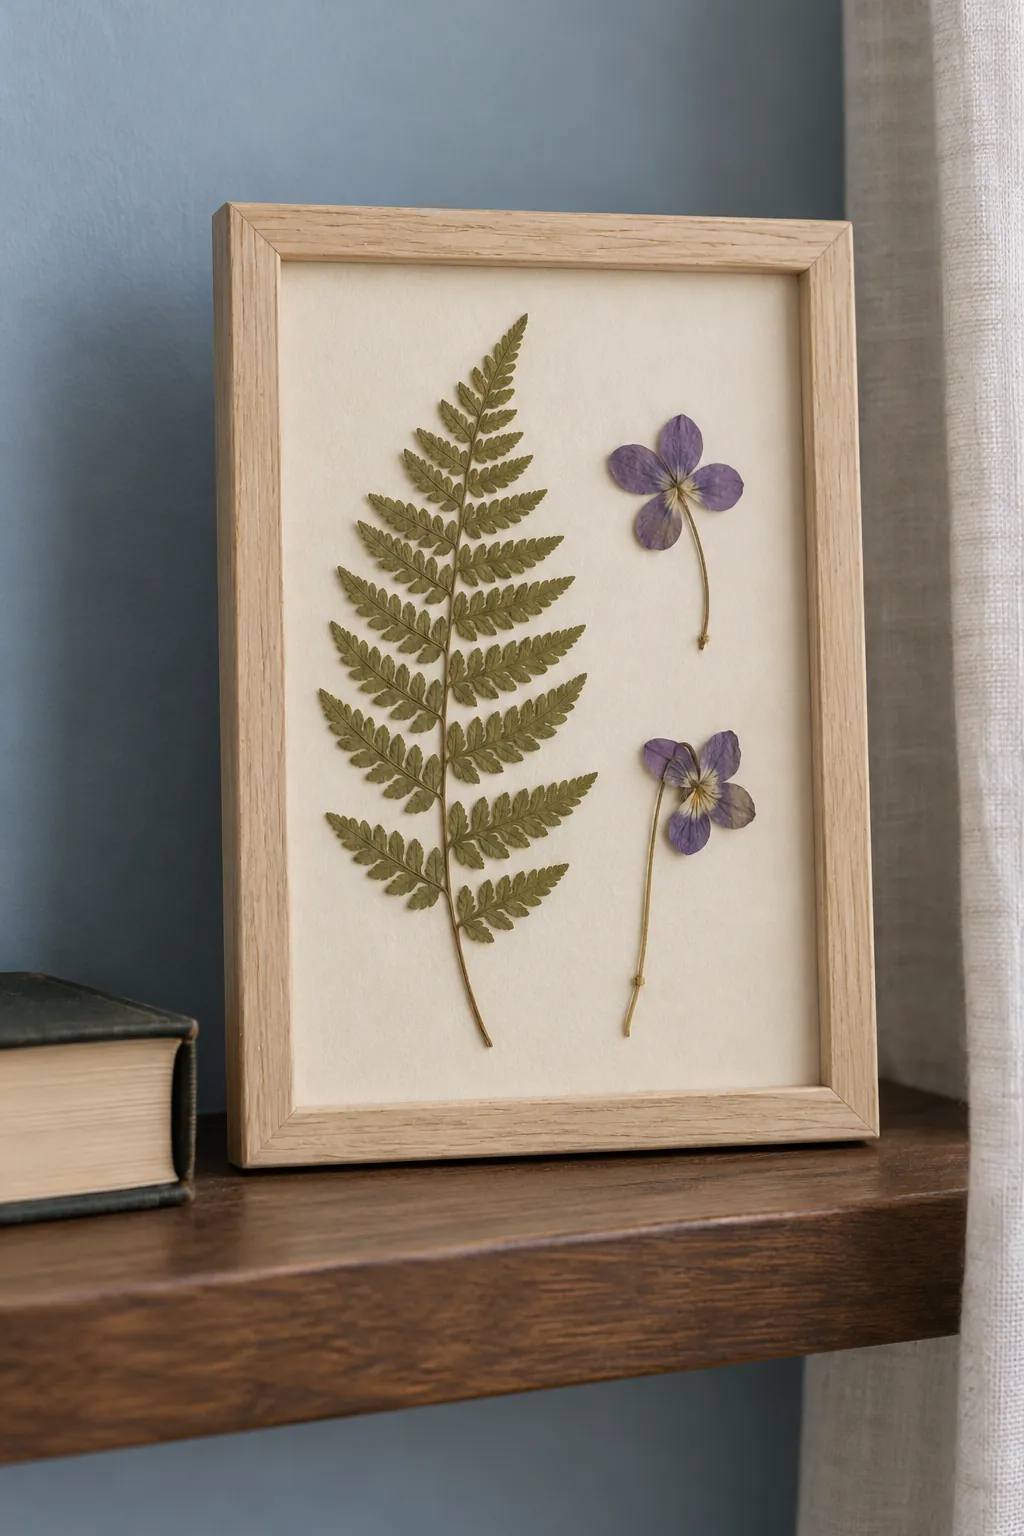
Finished embroidery display
A finished embroidery can show its raised stitches well without a reflective front panel. Support it on a suitable backing and secure the excess fabric on the rear without distorting the stitched area. Leave clearance around the work so the frame does not crush bulky thread. Choose a protected indoor location and consult a textile framer for a valuable or historic piece.
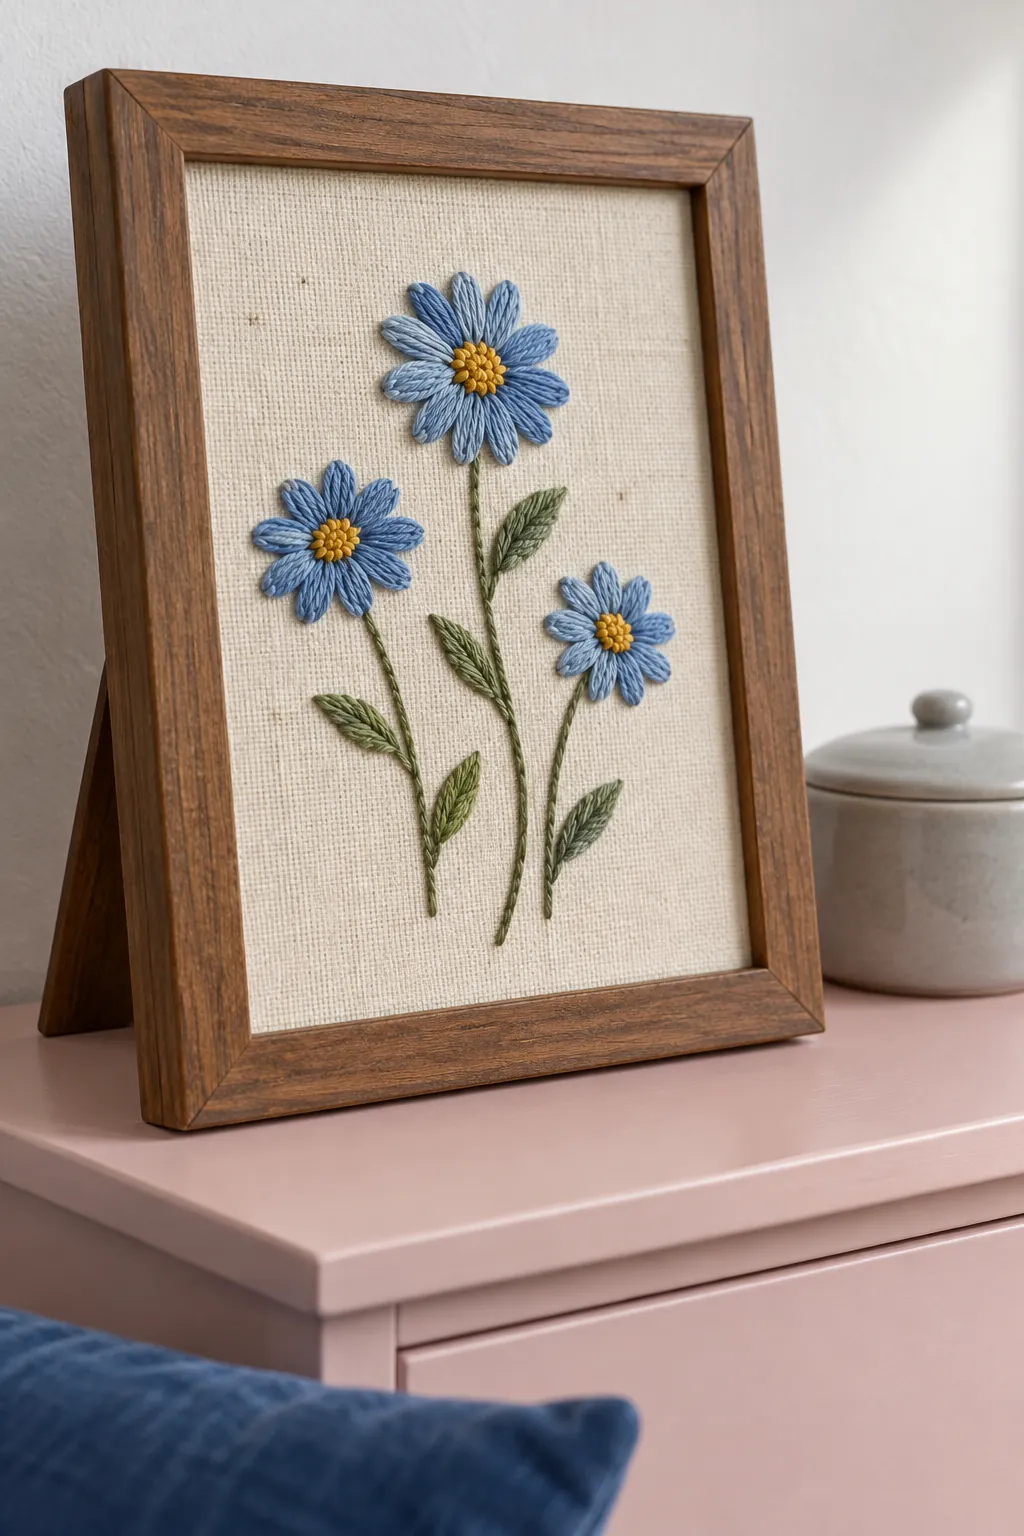
Nested empty rectangles
Two empty frames can make a deliberate arrangement when their spacing and proportions are clear. Hang each frame independently rather than making the outer frame carry the inner one. A shared finish connects different profiles while the exposed wall becomes part of the composition.
Mark the hanger positions before drilling so the gaps stay consistent. Use wall fixings suited to each frame’s weight. Keep the arrangement clear of a door swing or a place where someone could catch a shoulder on projecting edges.
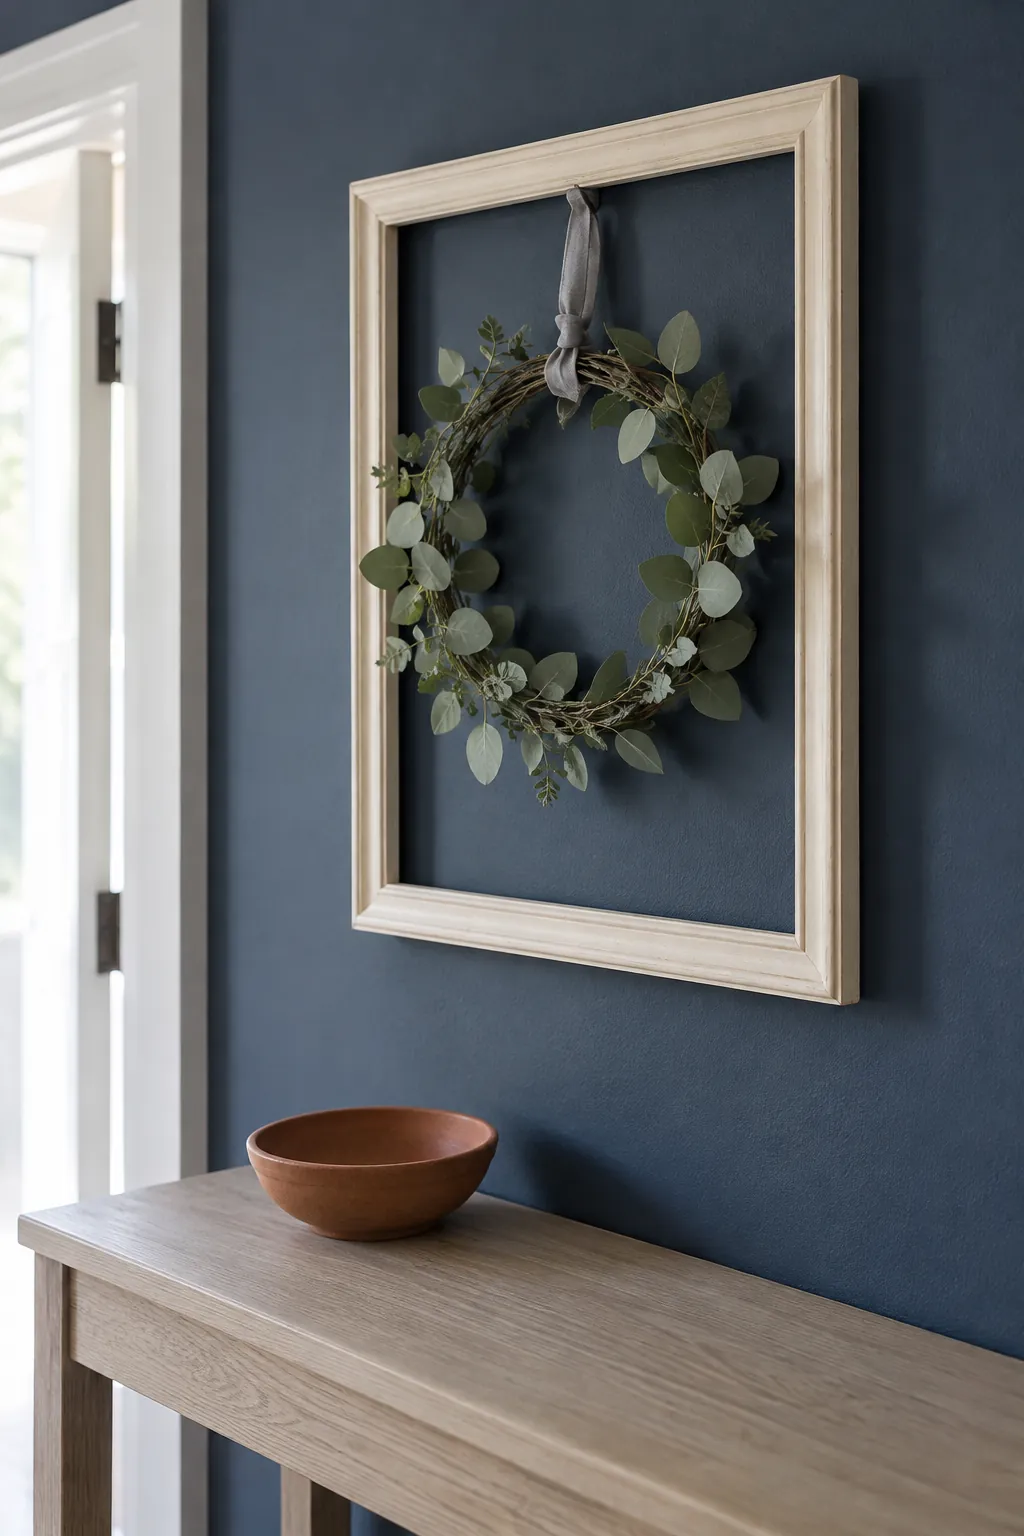
Wreath inside an open border
A small light wreath can sit within an open frame to give a simple seasonal display a stronger boundary. Tie it to a secure point on the back and leave a visible gap around the wreath. Choose paper, fabric, or light dried foliage instead of a heavy wet floral base. Check the hanging hardware for the complete weight rather than treating the frame as decoration with no load.
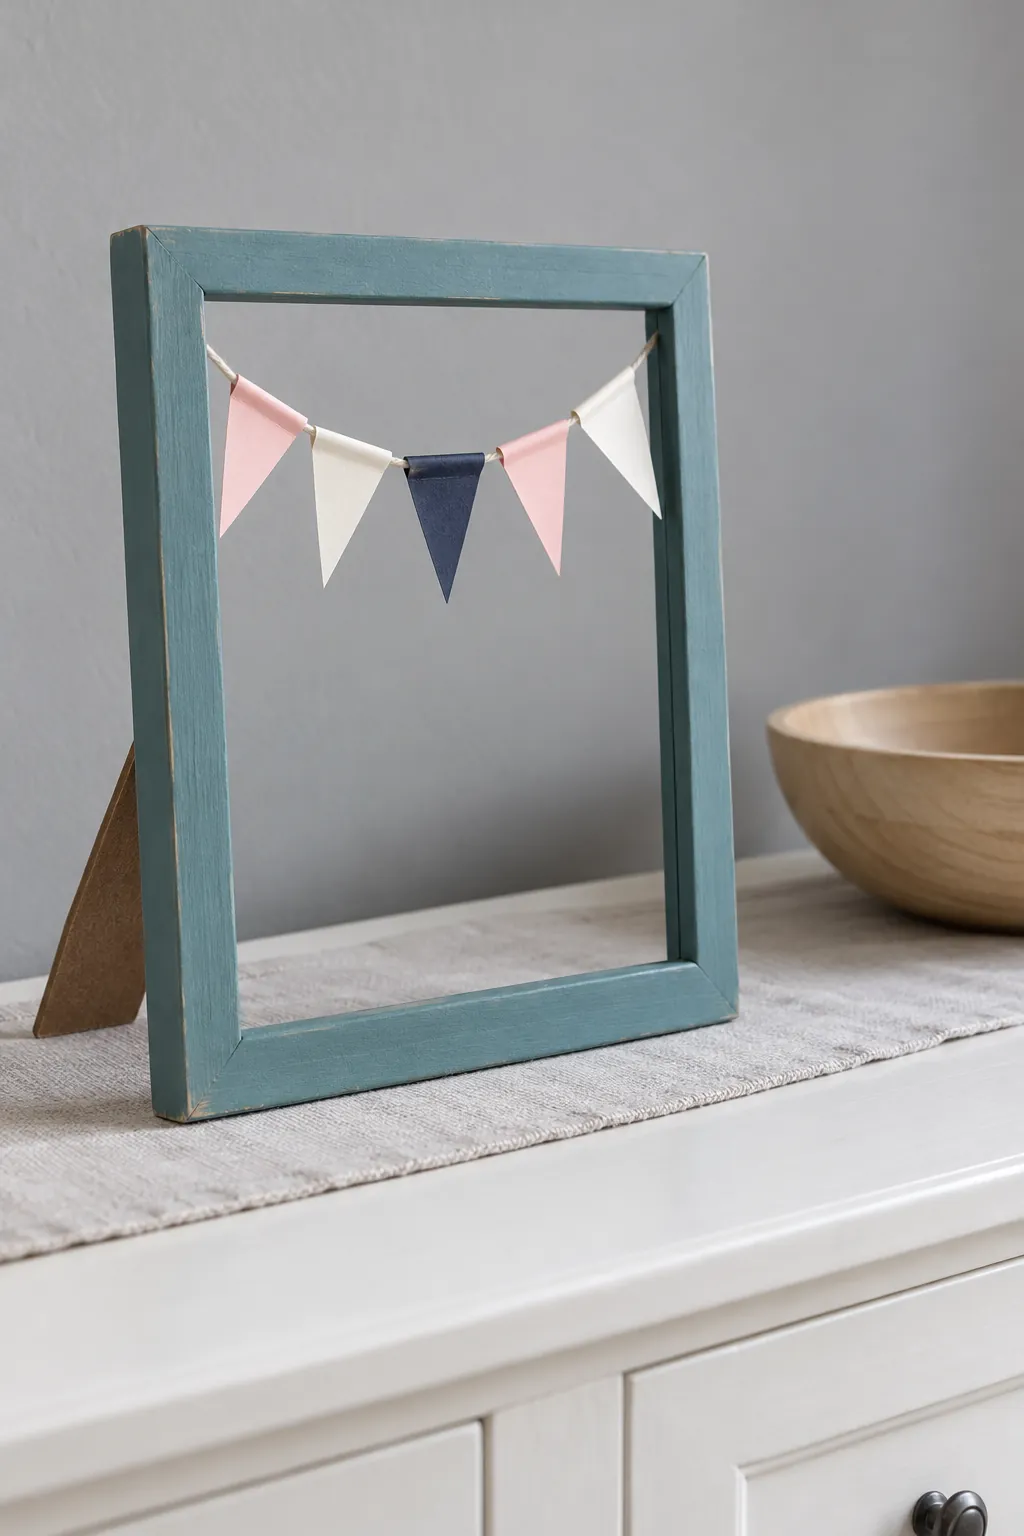
Miniature bunting display
String a few tiny paper or fabric flags across a small tabletop frame. Attach the cord at the rear and keep its curve shallow enough that the flags stay within the opening. The frame stand must remain clear of the cord fasteners. Use one short line of flags rather than crowding a small opening with several banners.
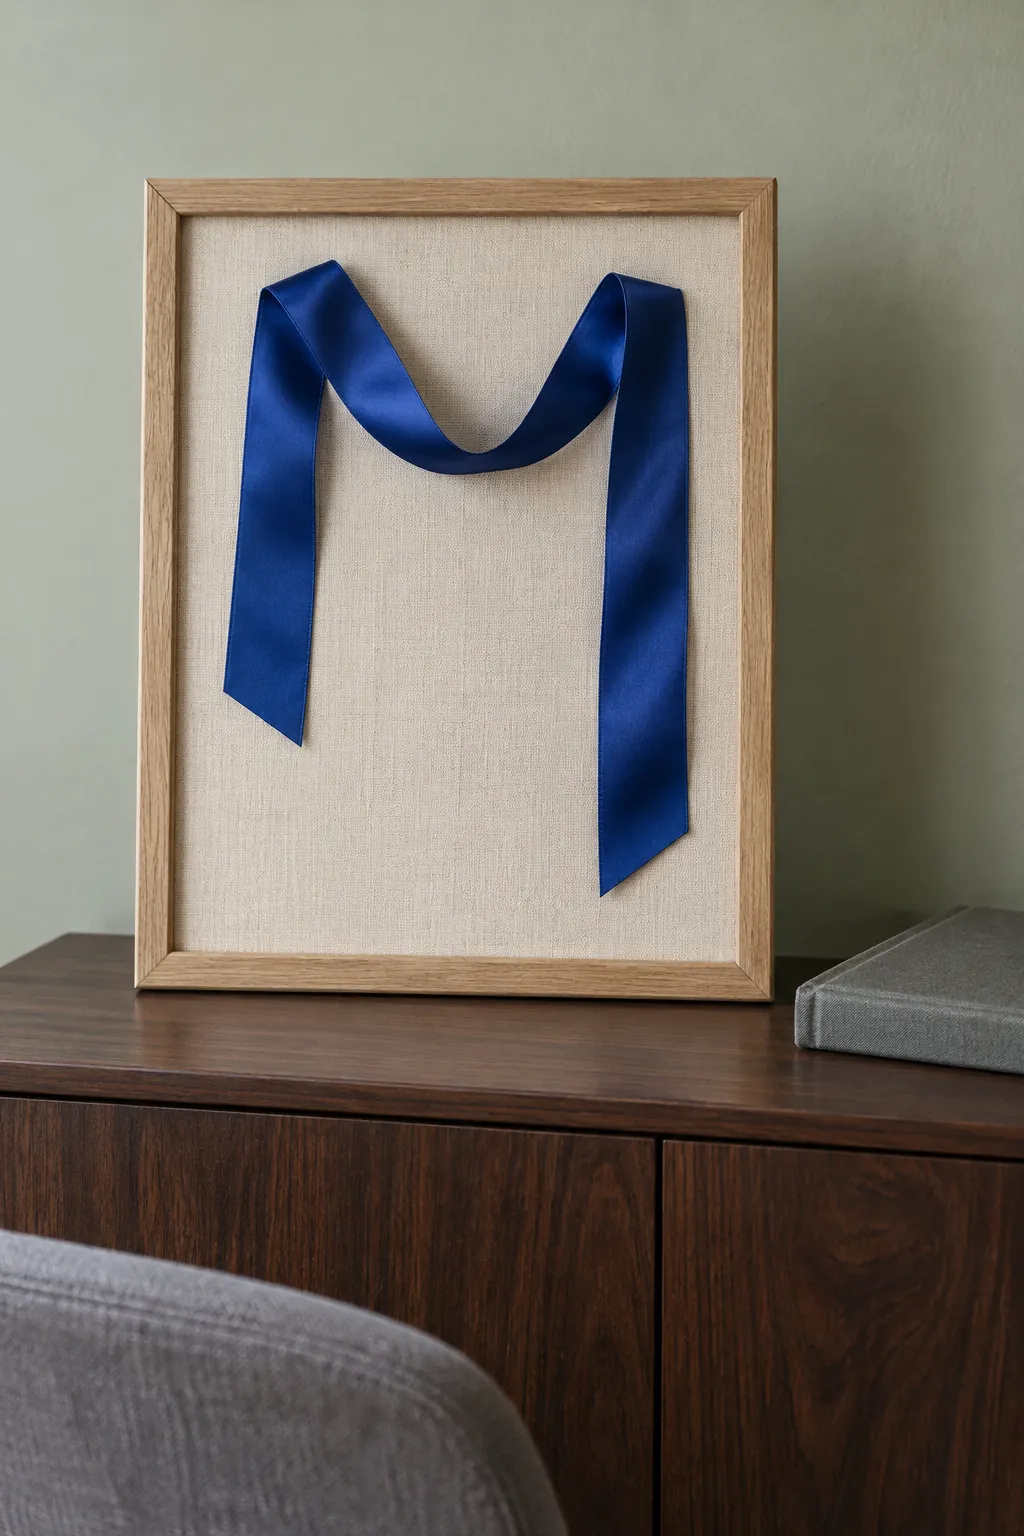
Ribbon keepsake panel
A ribbon from a celebration can become the center of a backed panel without needing glazing. Place it on a plain fabric background and secure it at a few discreet points that do not distort its folds. Leave the ribbon’s shape visible instead of adding unrelated memorabilia around it. Use a copy or a replaceable piece when the original is too valuable to expose to dust and light.
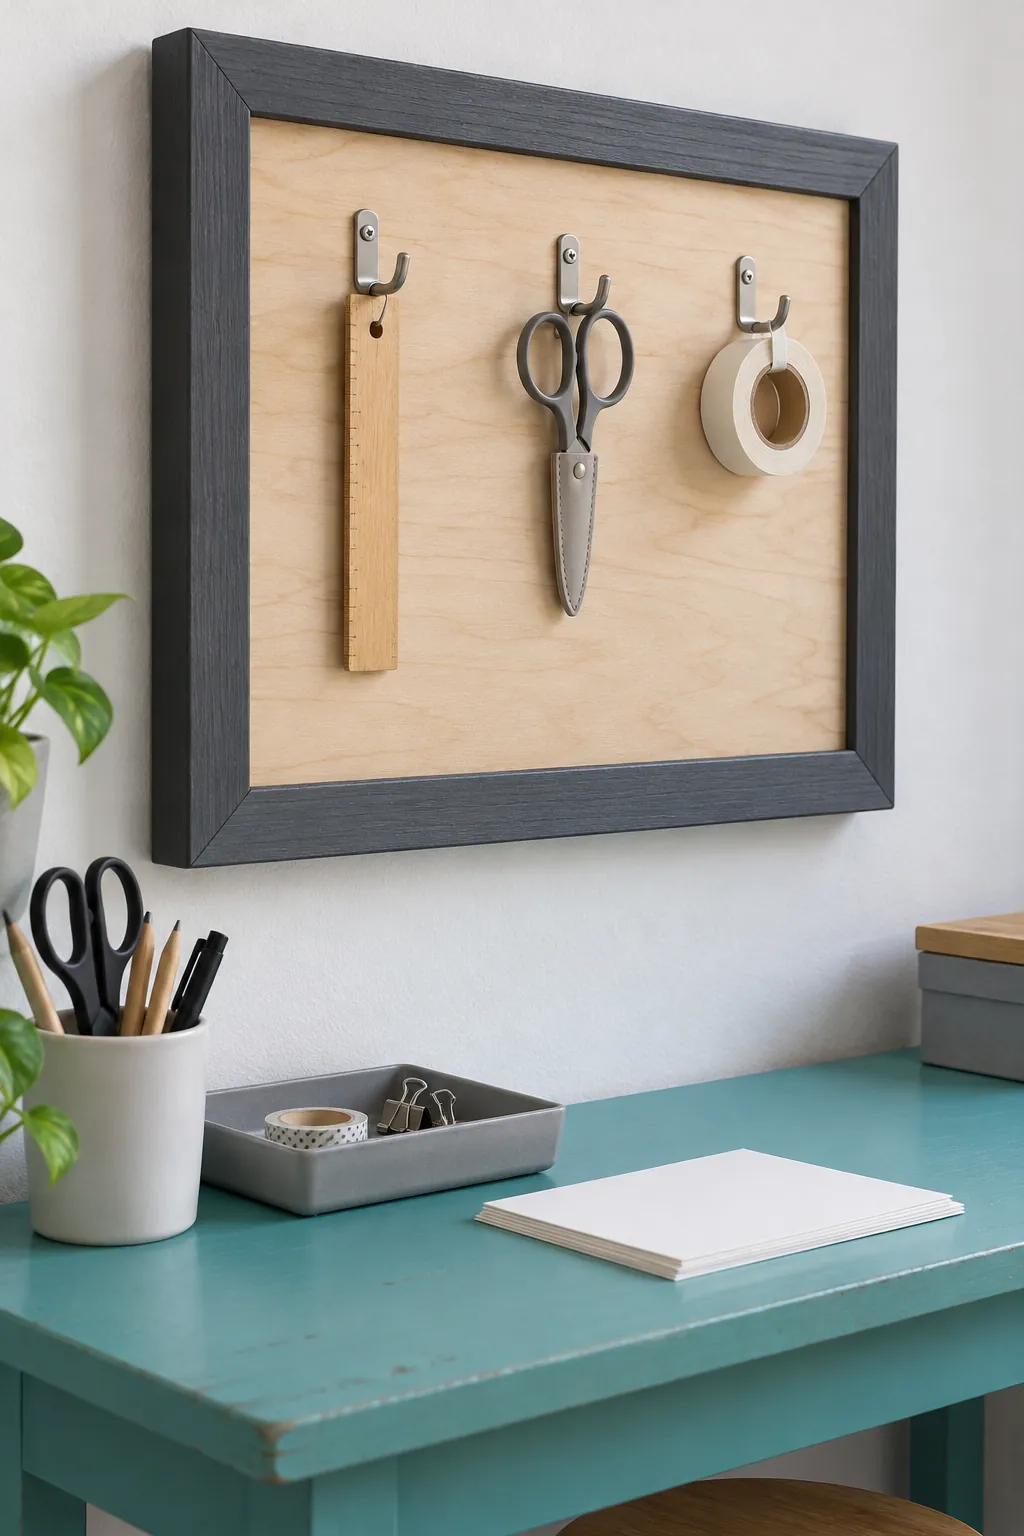
Light craft tool board
A firm panel inside a strong frame can support a few small craft tools on properly fitted hooks. Use hooks and fasteners sized for the panel thickness, and keep sharp tool points facing down or inside protective covers. The frame is the border while the solid backing carries the load.
Mount the complete assembly securely for its loaded weight and keep it away from children. Leave enough space to lift each tool without striking its neighbor. Stop if the joints flex or the backing shifts during a gentle check.
Decorative catchall tray
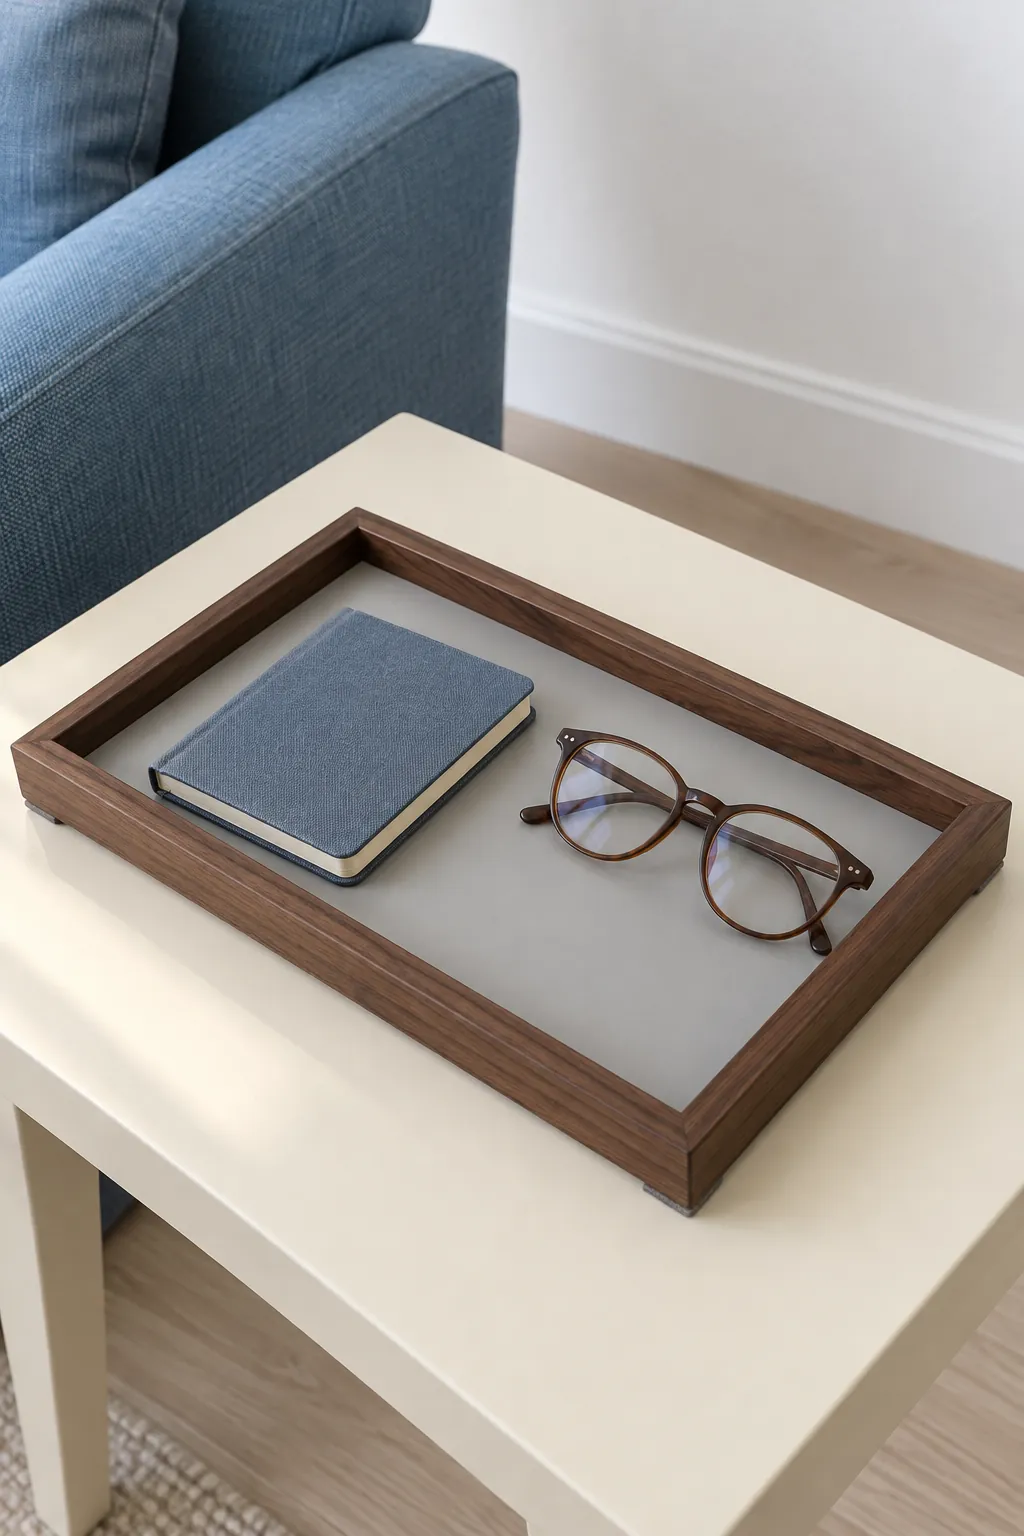
A sound frame with a securely fitted solid base can become a shallow catchall on a table. Remove old projecting tabs or cover them safely on the underside, then add protective pads where the finished tray touches furniture. Use it for dry light objects such as a notebook and spectacles. Keep this repurposed frame off food duty, and do not carry it by the molding unless the assembly was built to support that load.
Folded paper relief
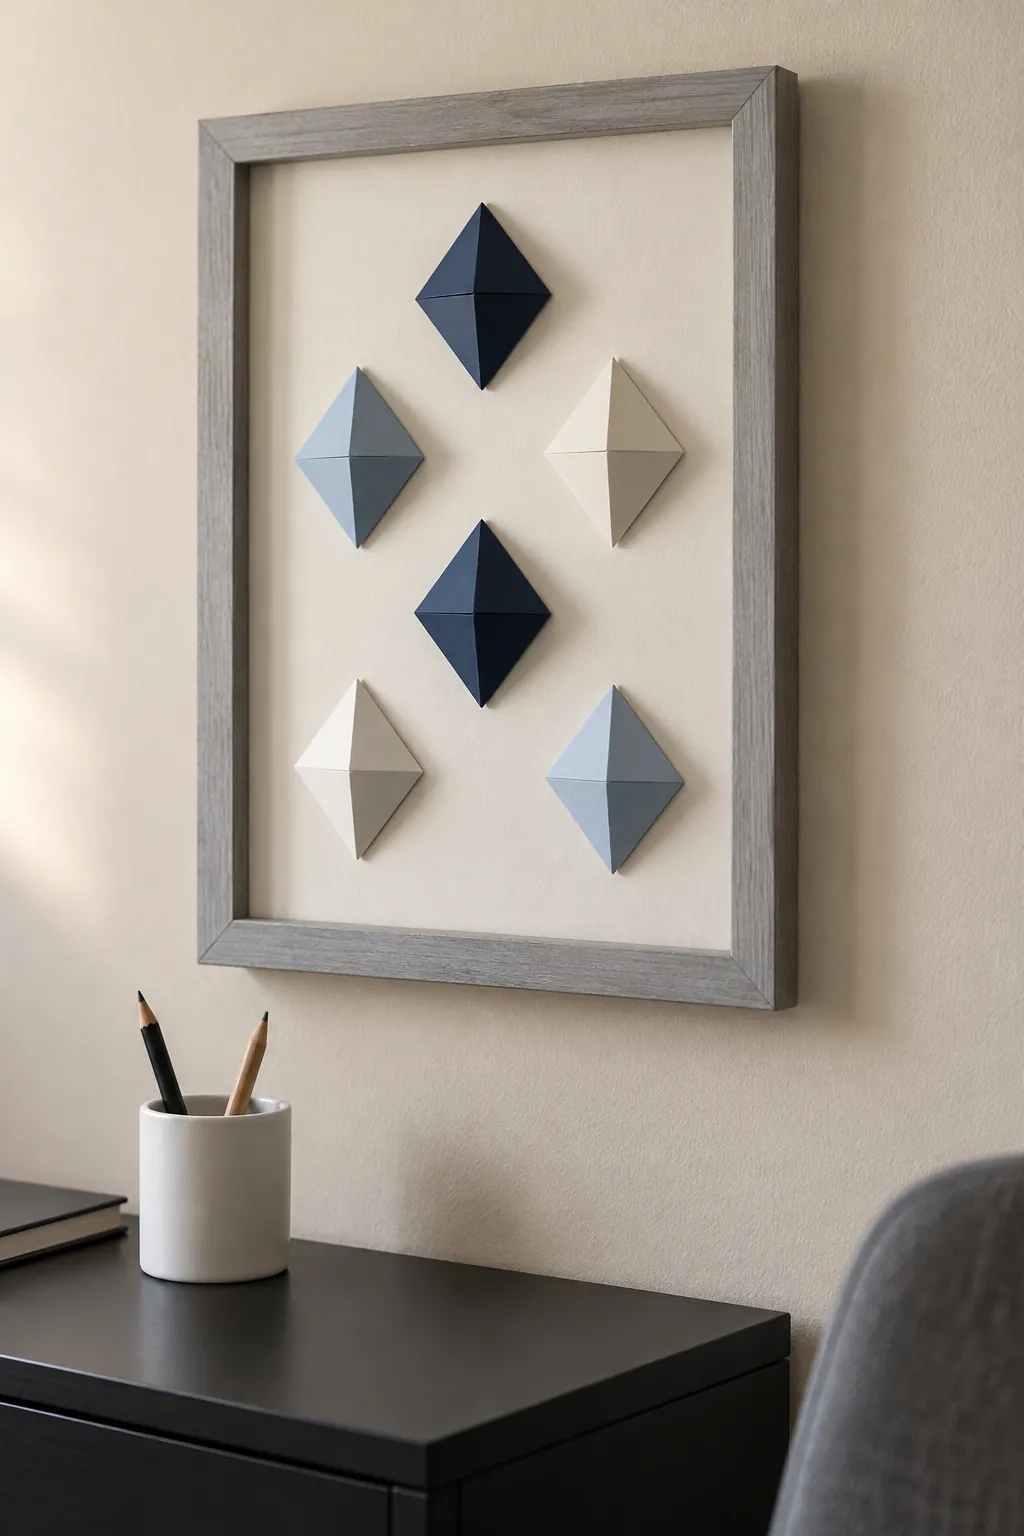
Arrange a few folded paper shapes on a firm backing so the missing glazing gives them room to project. Keep the folds shallow enough to stay inside the frame depth and use a restrained palette to make their shadows visible. A small group of repeated forms can look intentional without filling every corner.
Place the relief away from steam, direct sun, and frequent touching. Dust around the shapes rather than crushing their folds with a cloth. Choose the project that matches the frame you already have: its strength, depth, and condition matter more than adding another layer of decoration.