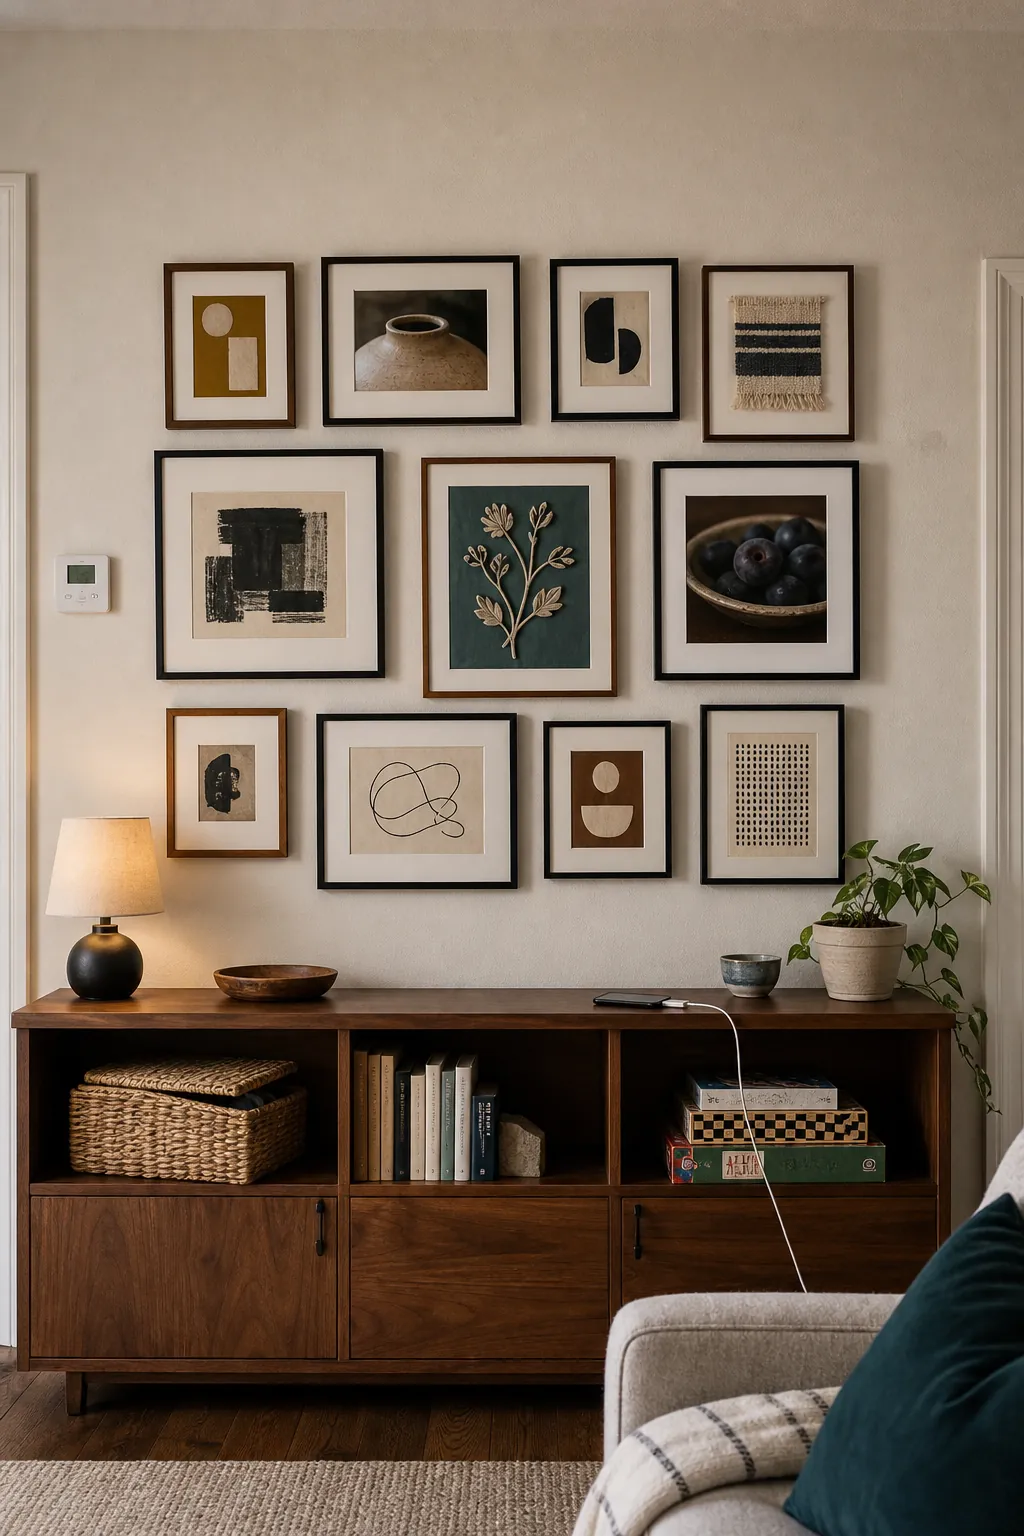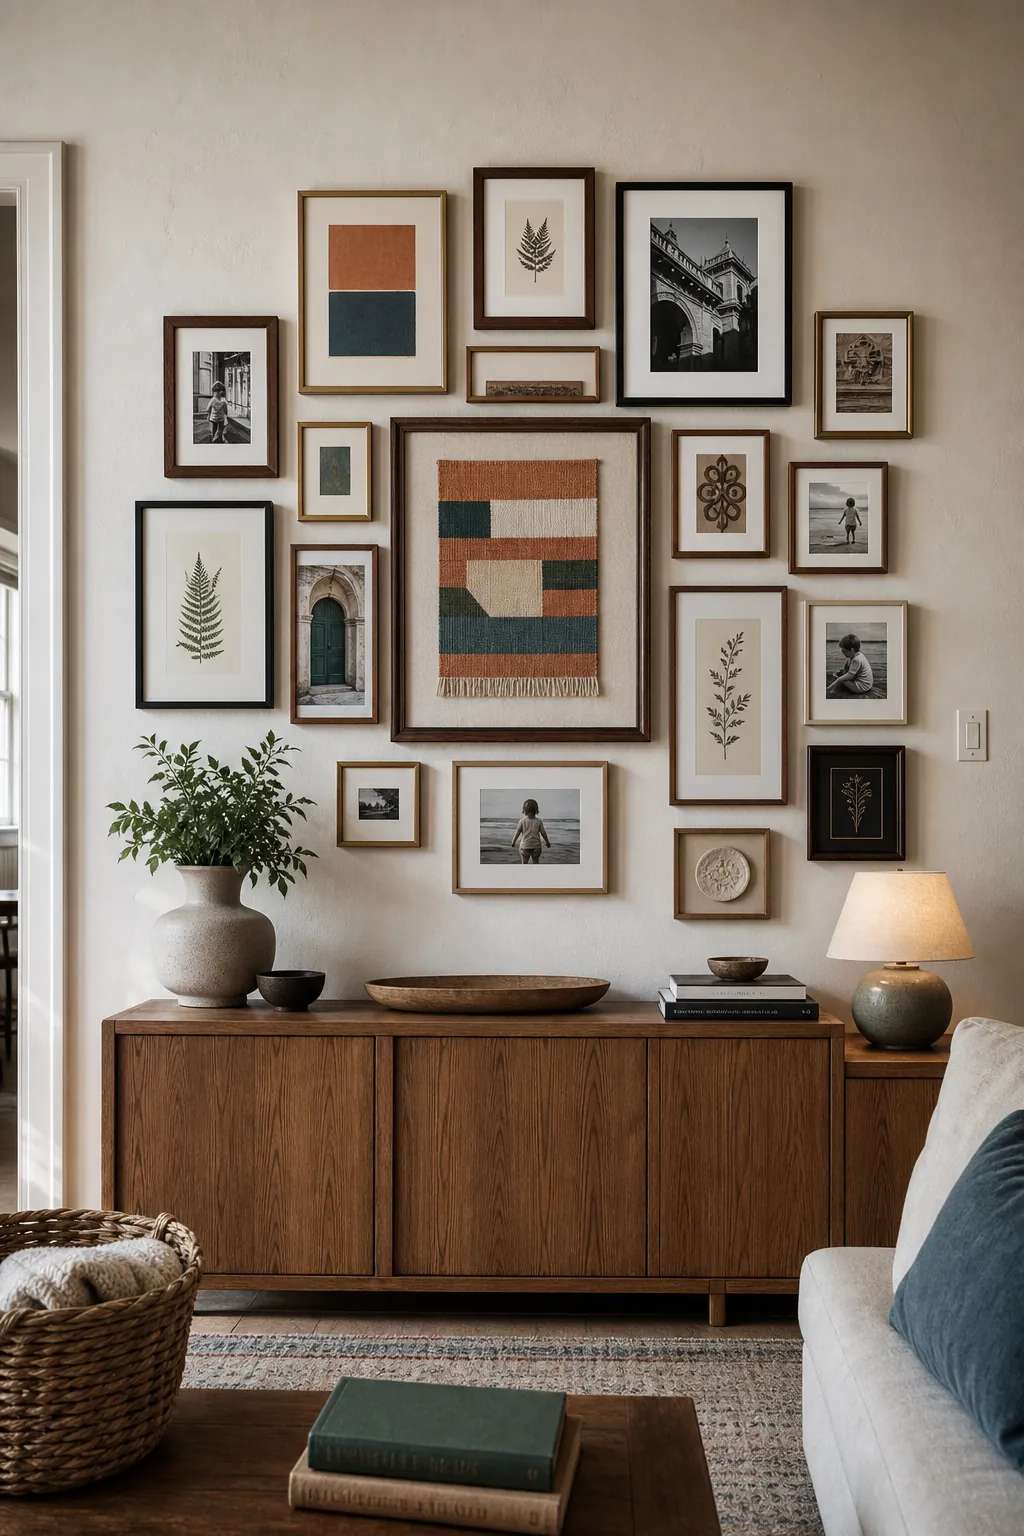
A picture wall succeeds when the collection reads as one confident shape instead of a scatter of unrelated frames. The easiest way to get there is to choose a clear organizing rule before making any holes: a shared edge, a strong center, a repeated frame finish, or a deliberate color story. The ideas below solve different room shapes, budgets, and collections, so you can find a picture frame layout that fits both your wall and the way you actually live.
Build Outward From One Oversized Anchor
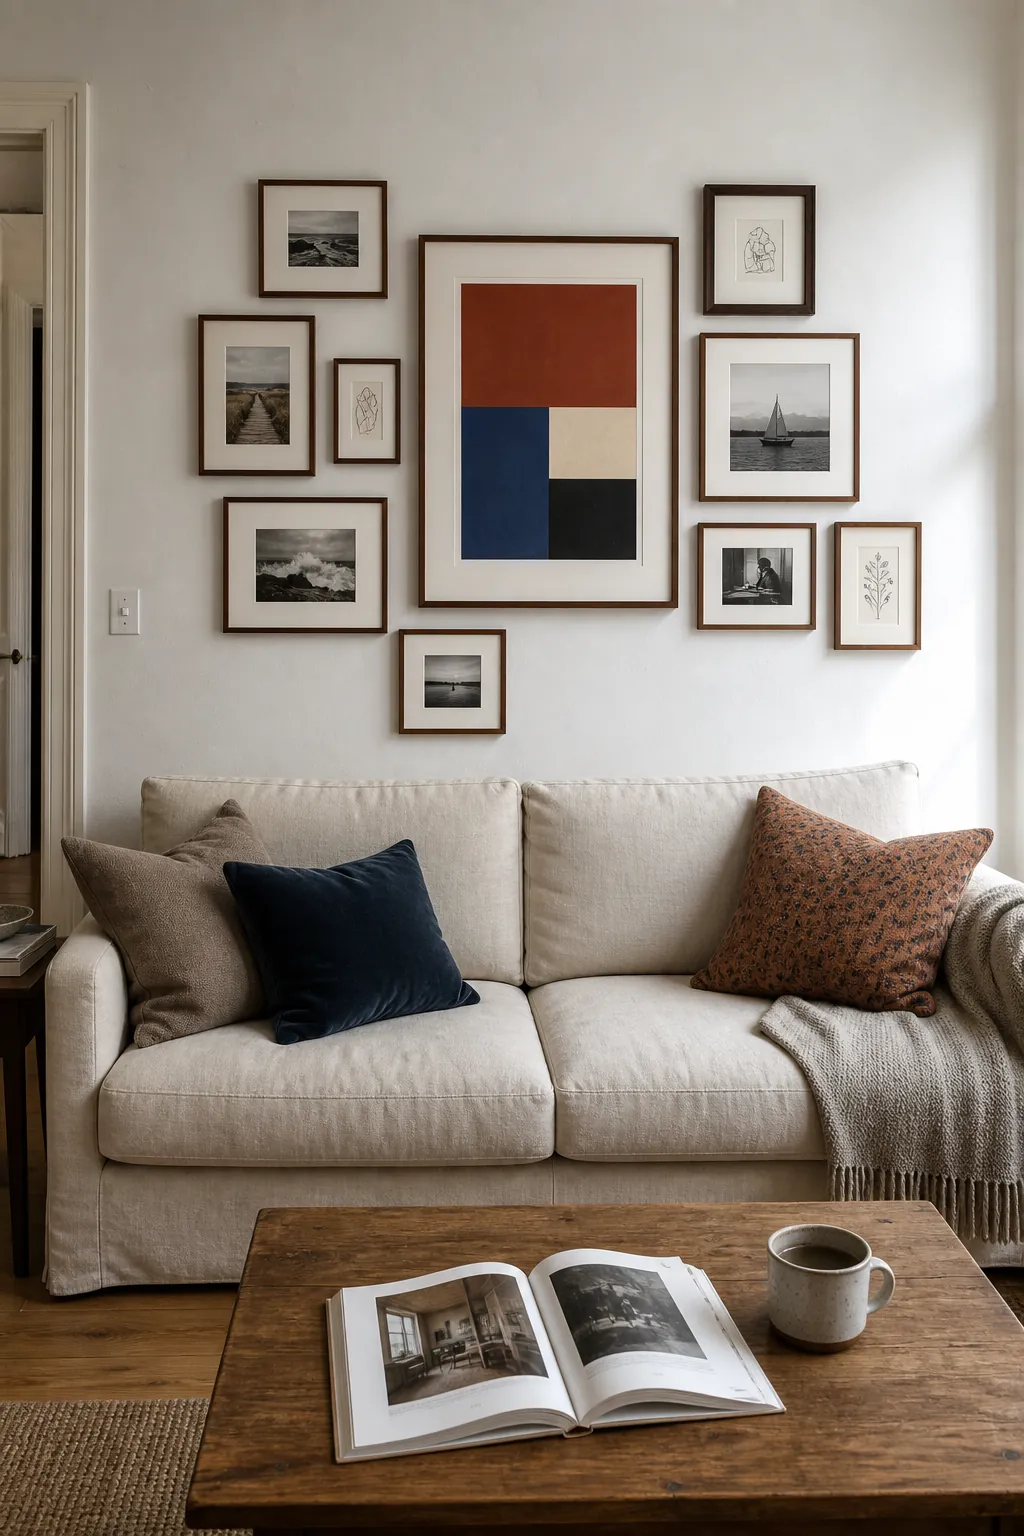
Start with the largest photograph or print near the visual center, then let medium and small frames step outward around it. The anchor gives your eye a resting place, which keeps a varied collection from feeling like clutter. Leave a consistent narrow gap between neighboring frames and distribute the smallest pieces rather than stacking them in one corner. This arrangement is especially effective above a sofa because the large frame can align with the furniture center while the outer pieces extend the composition. Test the complete silhouette on the floor first so the final grouping stays comfortably inside the furniture width.
Use a Crisp Three-by-Three Grid
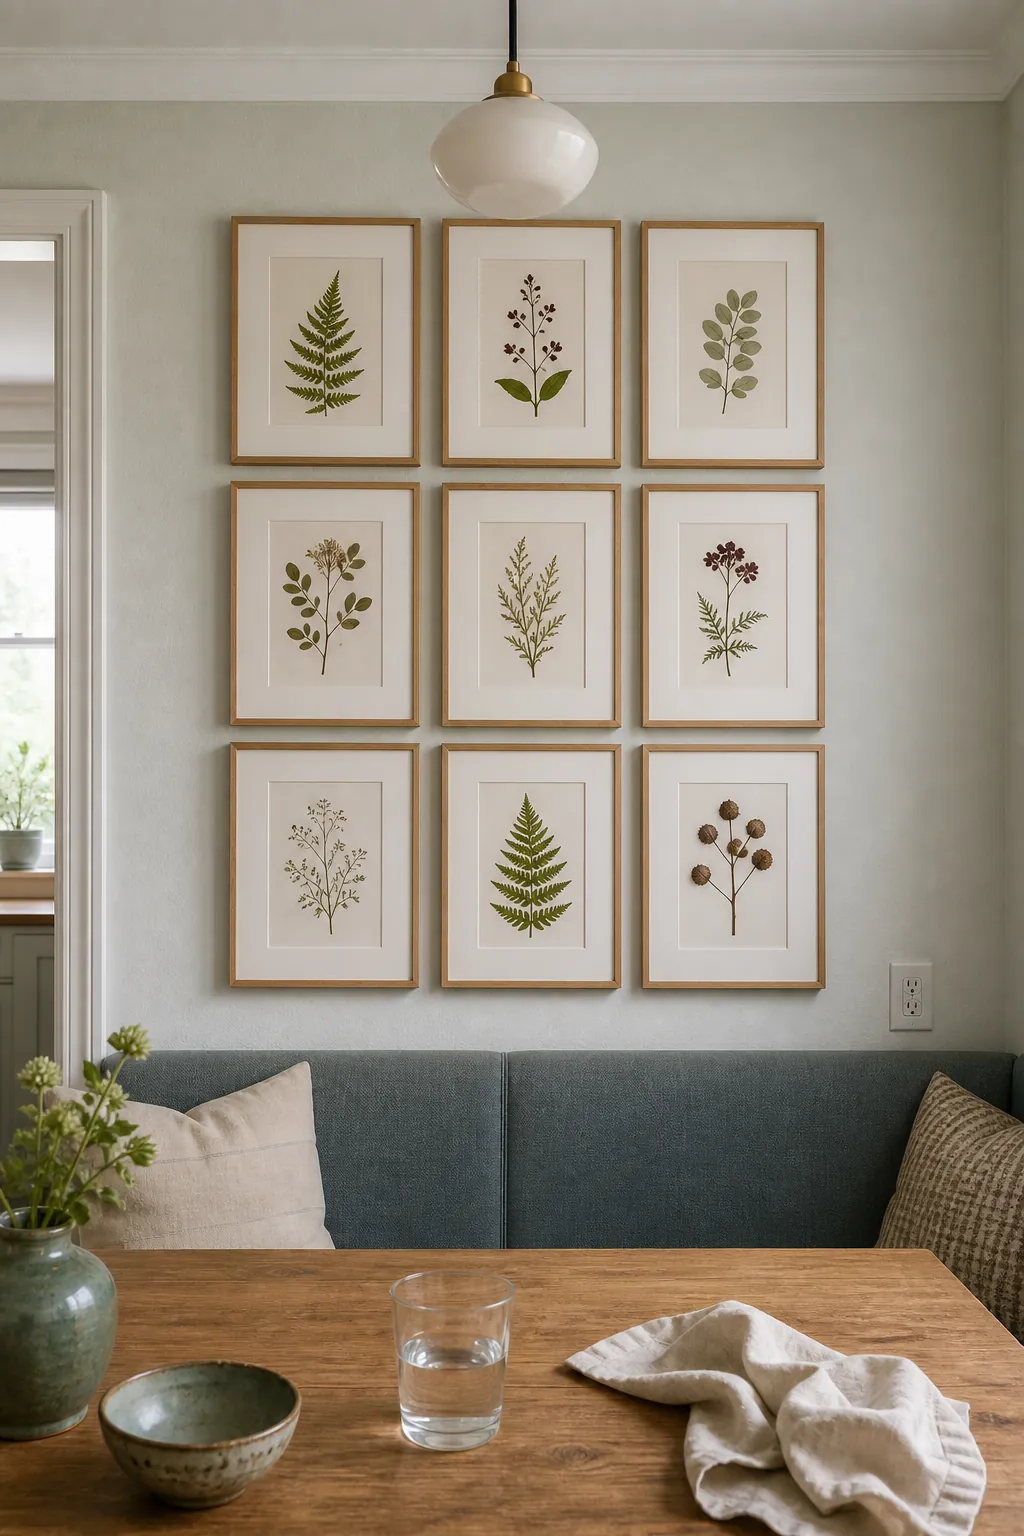
Nine matching frames create a calm, architectural display that works well with family photos, botanical studies, or a connected travel series. Keep every outside edge aligned and use identical mats so different images receive equal visual weight. A grid looks best when the gaps are measured precisely, because even a small drift is easy to see along a straight row. Center the entire square over a console, bed, or dining banquette rather than centering one individual frame. For an orderly result, mark both horizontal and vertical guide lines with low-tack painter’s tape before placing hardware.
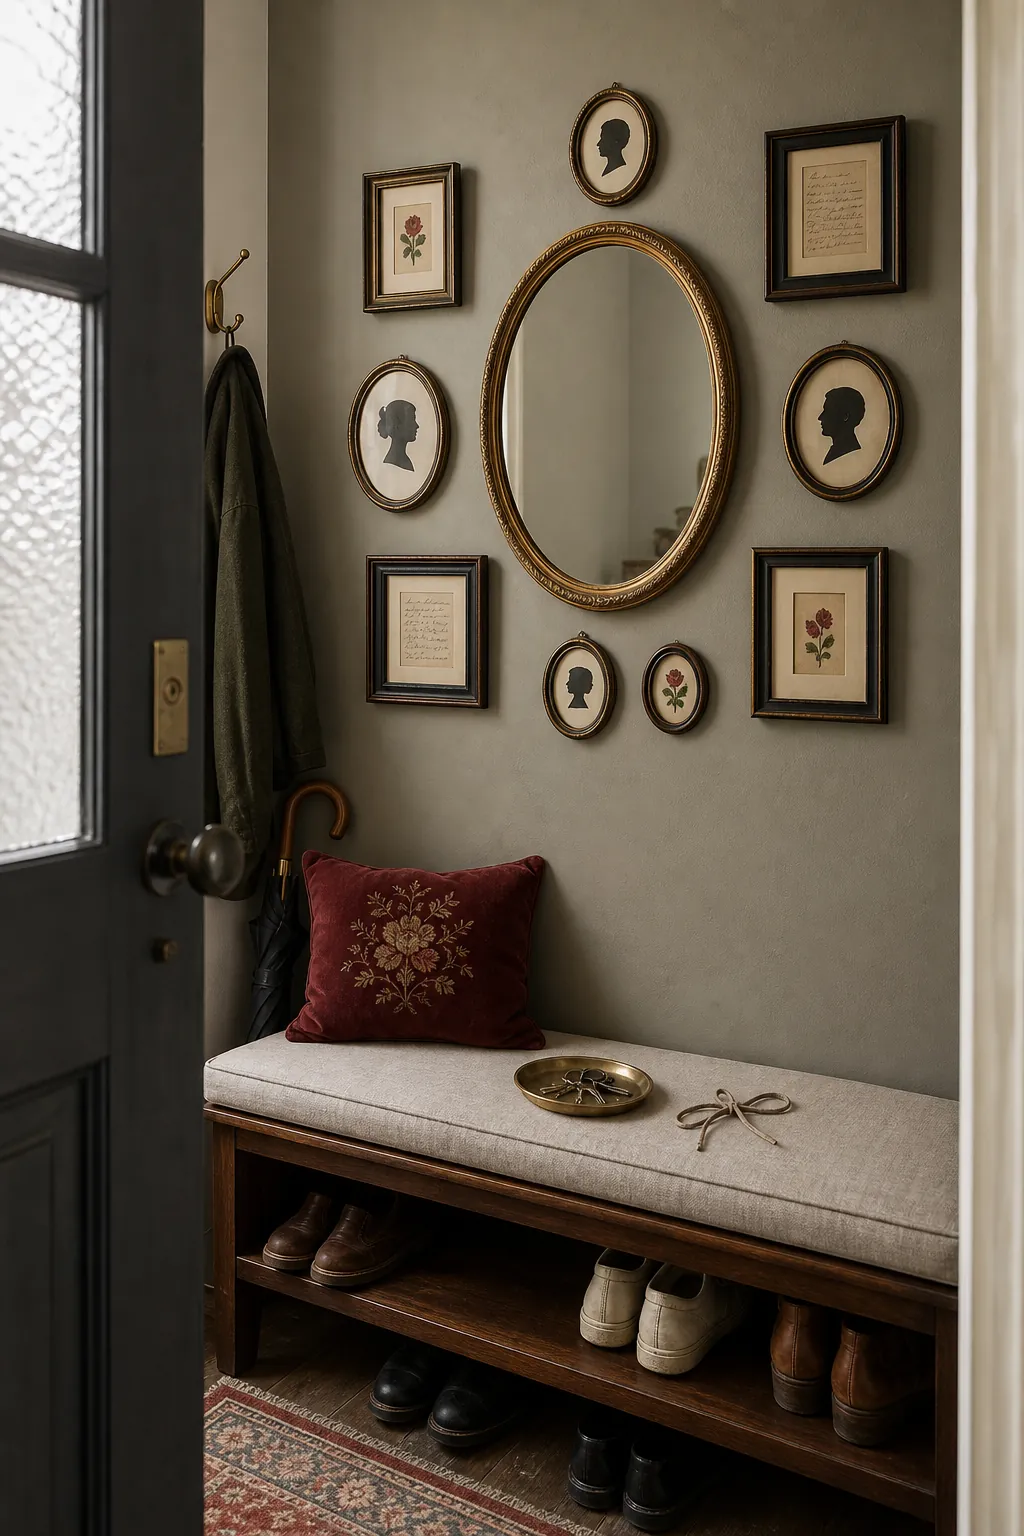
Trace a Relaxed Oval Around a Mirror
A round or oval mirror can become the center of a softer picture frame wall collage. Arrange small portraits and keepsakes around its curve, following an imaginary oval rather than forcing everything onto a rigid axis. Repeat two or three frame colors to connect the irregular shapes without making the collection overly matched. Keep reflective glare in mind and angle nearby lamps so the mirror does not become a bright distraction. This idea brings movement to an entryway while still giving you a practical place for a final glance before leaving home.
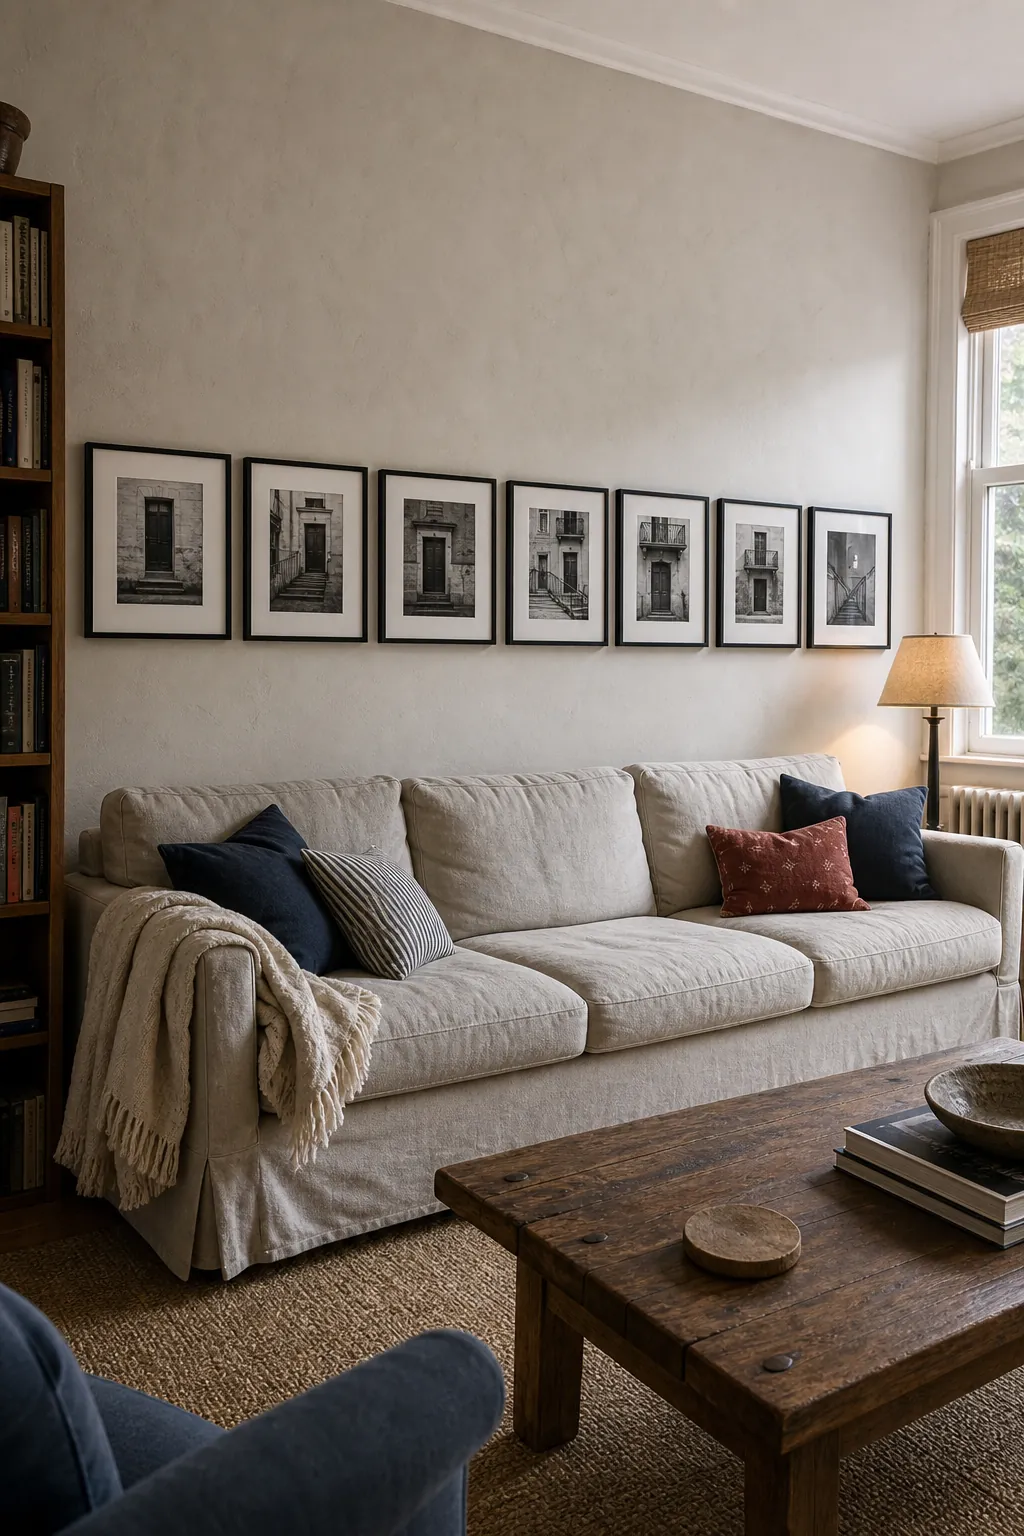
Create a Low Horizontal Band Above a Sofa
A long, low grouping mirrors the proportions of a sofa and makes a room feel wider. Choose frames with similar heights, then vary their widths so the display has rhythm without losing its horizontal line. Keep the bottom of the composition close enough to the sofa that the two elements read together rather than floating apart. Place heavier or darker images near the middle and lighter pieces toward the ends to avoid a lopsided appearance. This restrained layout also leaves generous blank wall above, which helps a small living room breathe.
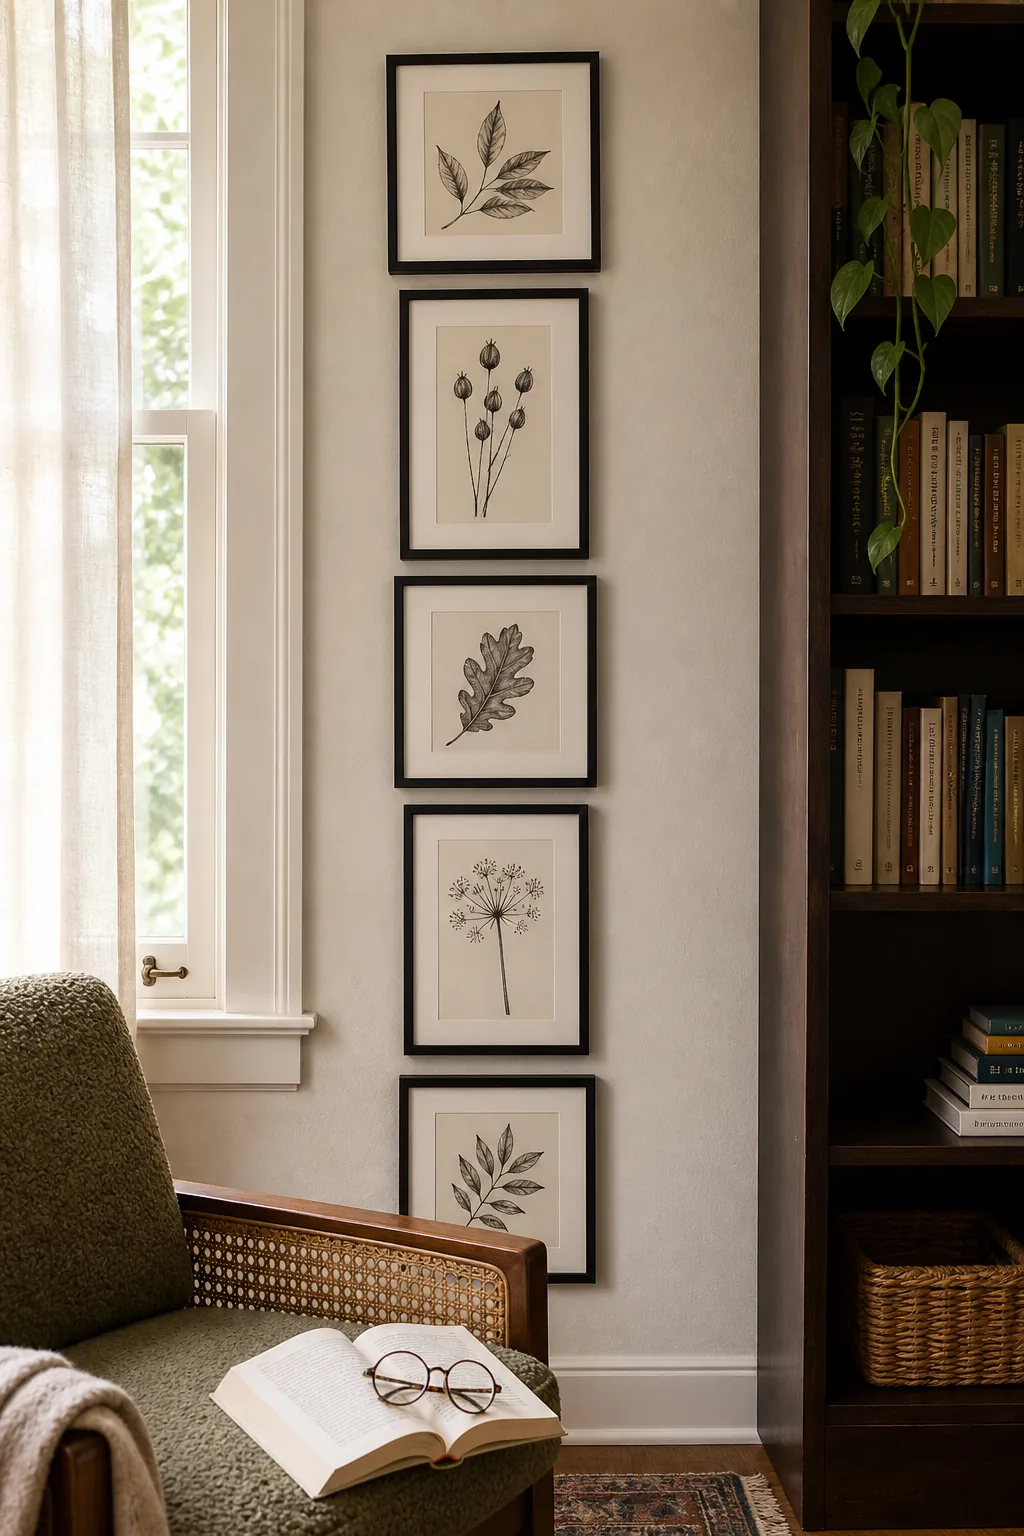
Stack a Narrow Vertical Column
A vertical picture frame arrangement turns an awkward strip of wall into a purposeful feature. Use three to five frames and align their centers to draw the eye upward without crowding the adjacent doorway or cabinet. Mixing portrait and square formats creates interest, but maintain one consistent frame width or mat color for order. Leave enough space at the top so the stack does not press against the ceiling or crown molding. This solution is particularly useful beside a reading chair, between windows, or at the short end of a hallway.
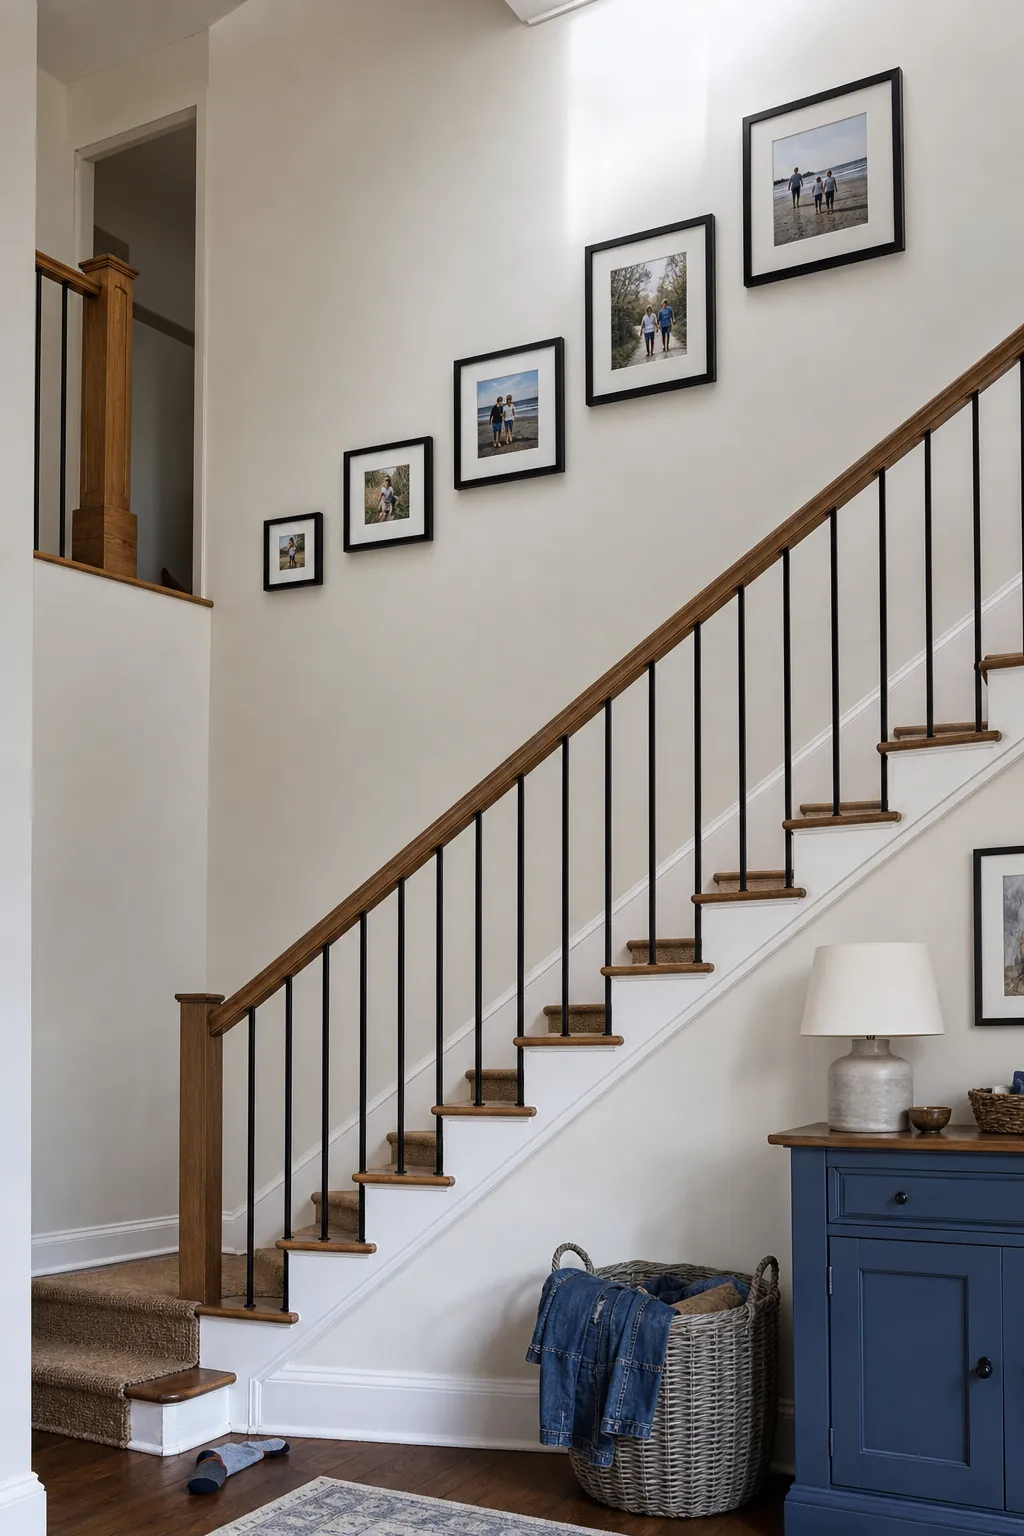
Follow the Rise of a Staircase
Let the lower edge of the grouping climb at roughly the same angle as the stair handrail. Begin with paper templates so you can judge the arrangement from both the bottom landing and the upper floor. A repeated spacing interval keeps the diagonal path clear even when frame sizes differ. Reserve the largest images for the broadest section of wall and use smaller frames where the ceiling closes in. Family photos work especially well here because the upward movement can quietly suggest a timeline without requiring labels.
Balance Matching Pairs Around a Centerpiece
Place one distinctive frame in the middle and flank it with matching pairs for an arrangement that feels formal but not stiff. The center might hold a wedding portrait, a pressed botanical, or a small textile that deserves emphasis. Repeat the same frame sizes on both sides while allowing the artwork itself to vary. Symmetry is forgiving in dining rooms and bedrooms where furniture already establishes a strong central axis. Keep the center frame at comfortable viewing height, then measure every pair outward from it rather than from the wall corners.
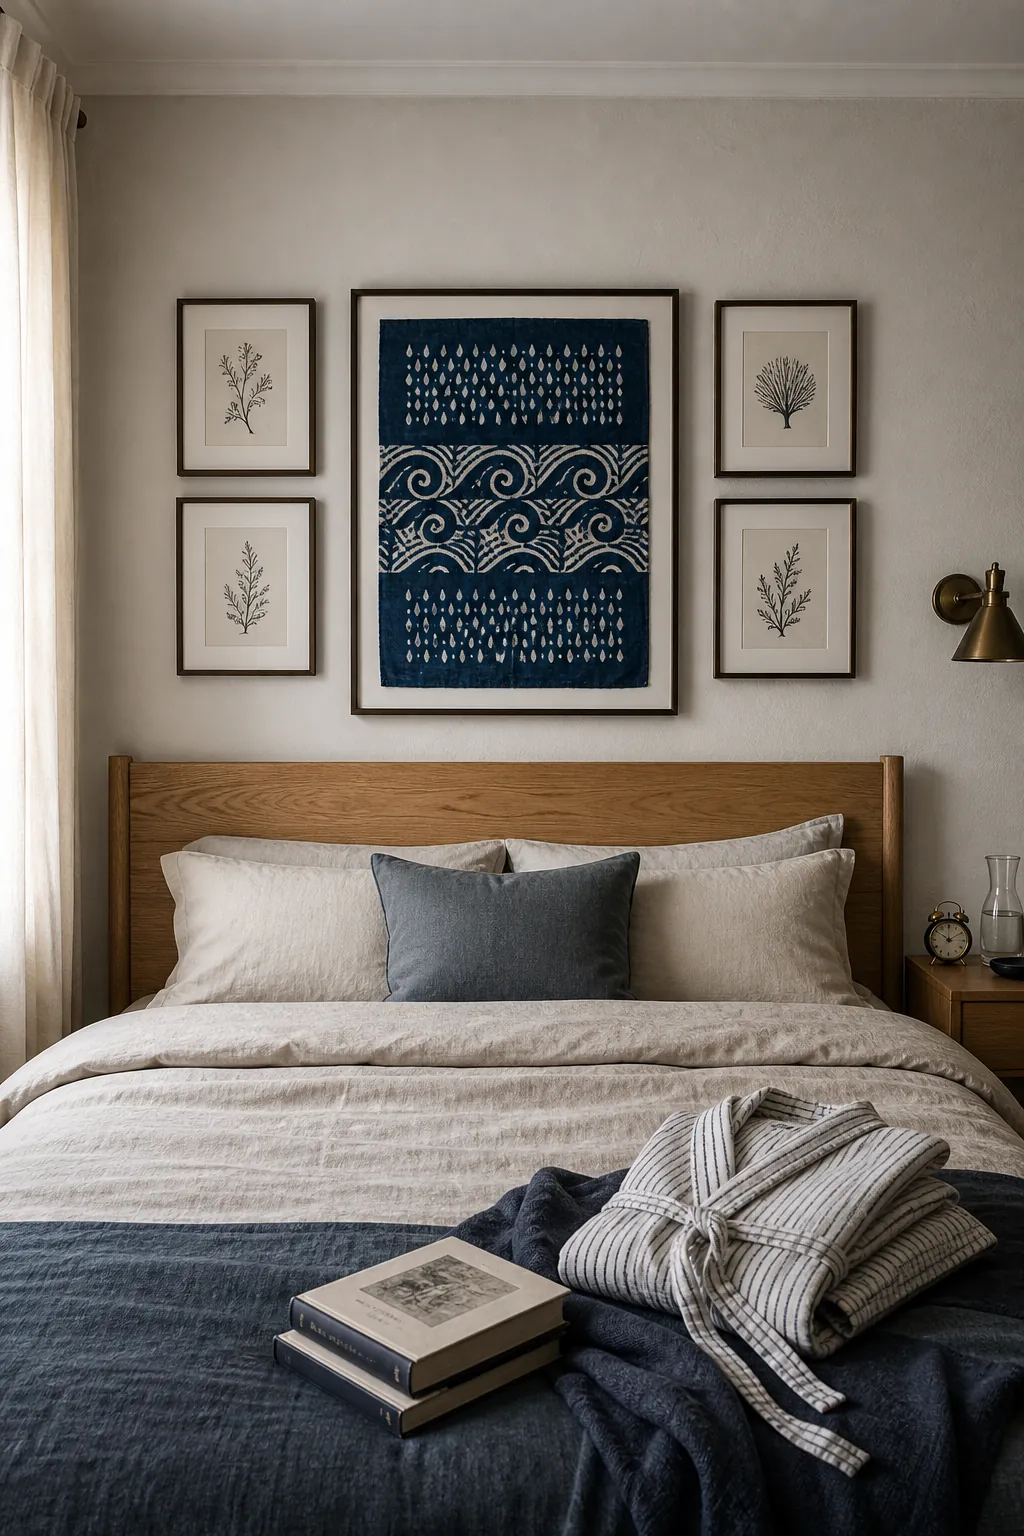
Arrange a Salon-Style Floor-to-Ceiling Collection
A salon wall celebrates abundance by filling a defined section with art, photos, and small objects. Choose one connecting thread—such as warm wood frames, black accents, or a recurring blue tone—so the density feels intentional. Work from the largest pieces first and use tiny frames to resolve gaps rather than creating isolated clusters. Maintain breathing room at the ceiling, baseboard, and adjacent trim so the collection still has a visible boundary. This dramatic approach suits a library, stair landing, or tall living room wall where a modest grouping would look underscaled.
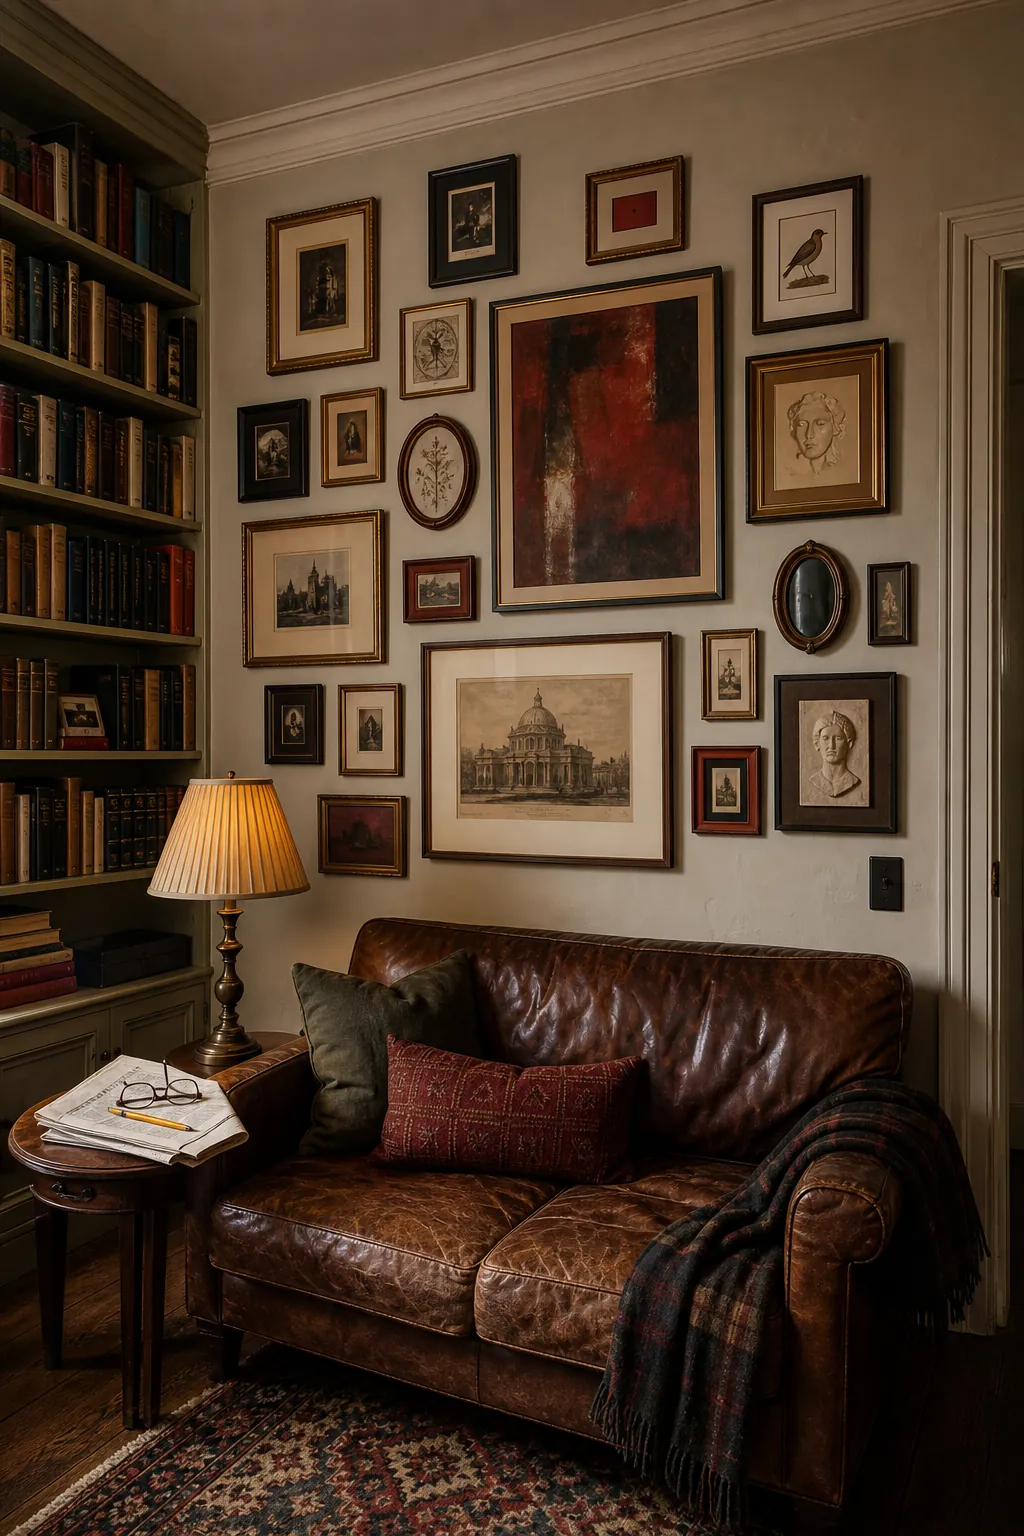
Rest Frames on Two Slim Picture Ledges
Picture ledges let you overlap frames and revise the display without creating a new hole for every change. Install two narrow shelves with enough vertical space for the tallest frame, then stagger large and small pieces across both levels. Keep the overlaps shallow so important faces and details remain visible. A few repeated frame finishes help connect the layers, while one small ceramic or trailing plant can break the rectangular rhythm. This flexible setup is ideal for renters, seasonal family photos, or anyone who enjoys updating a picture wall design frequently.
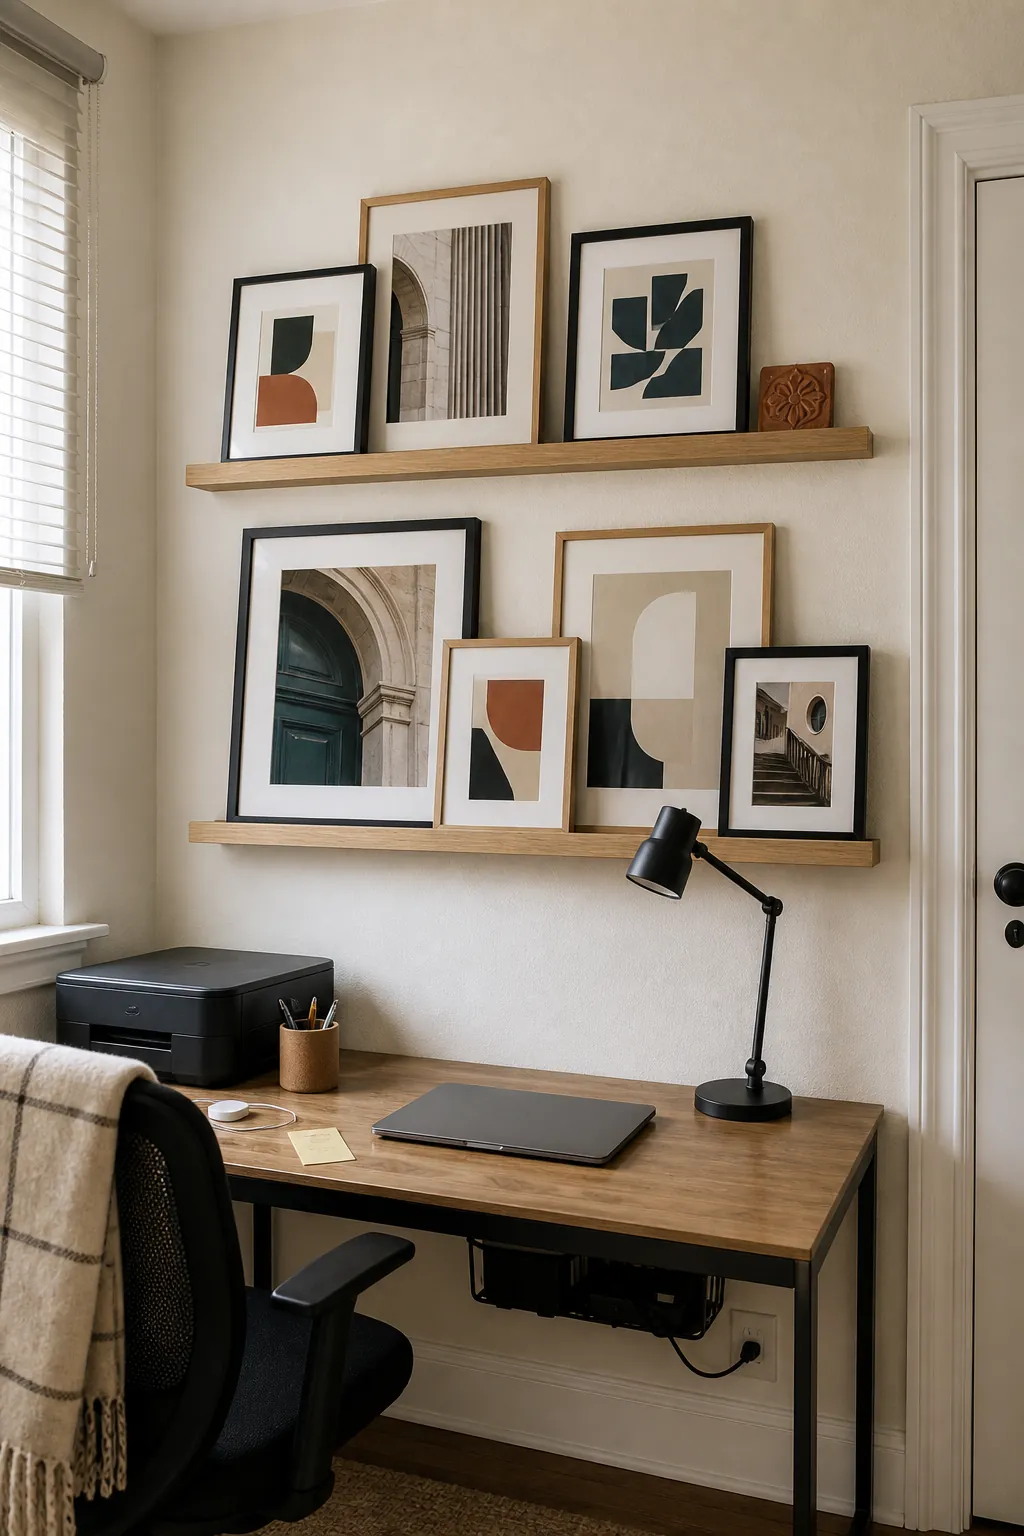
Mix Circular Frames Into a Rectangular Layout
One or two circle frames can soften a wall dominated by rectangles and add a useful pause in the composition. Position the circles near a strong corner or transition point instead of dropping them randomly into the center. Echo their curves with a rounded vase, lamp, or furniture edge elsewhere in the room to make the choice feel connected. Keep the remaining frames relatively simple so the unusual shape retains its impact. This method works well for tiny portraits, silhouettes, or vintage photographs that already have an intimate scale.
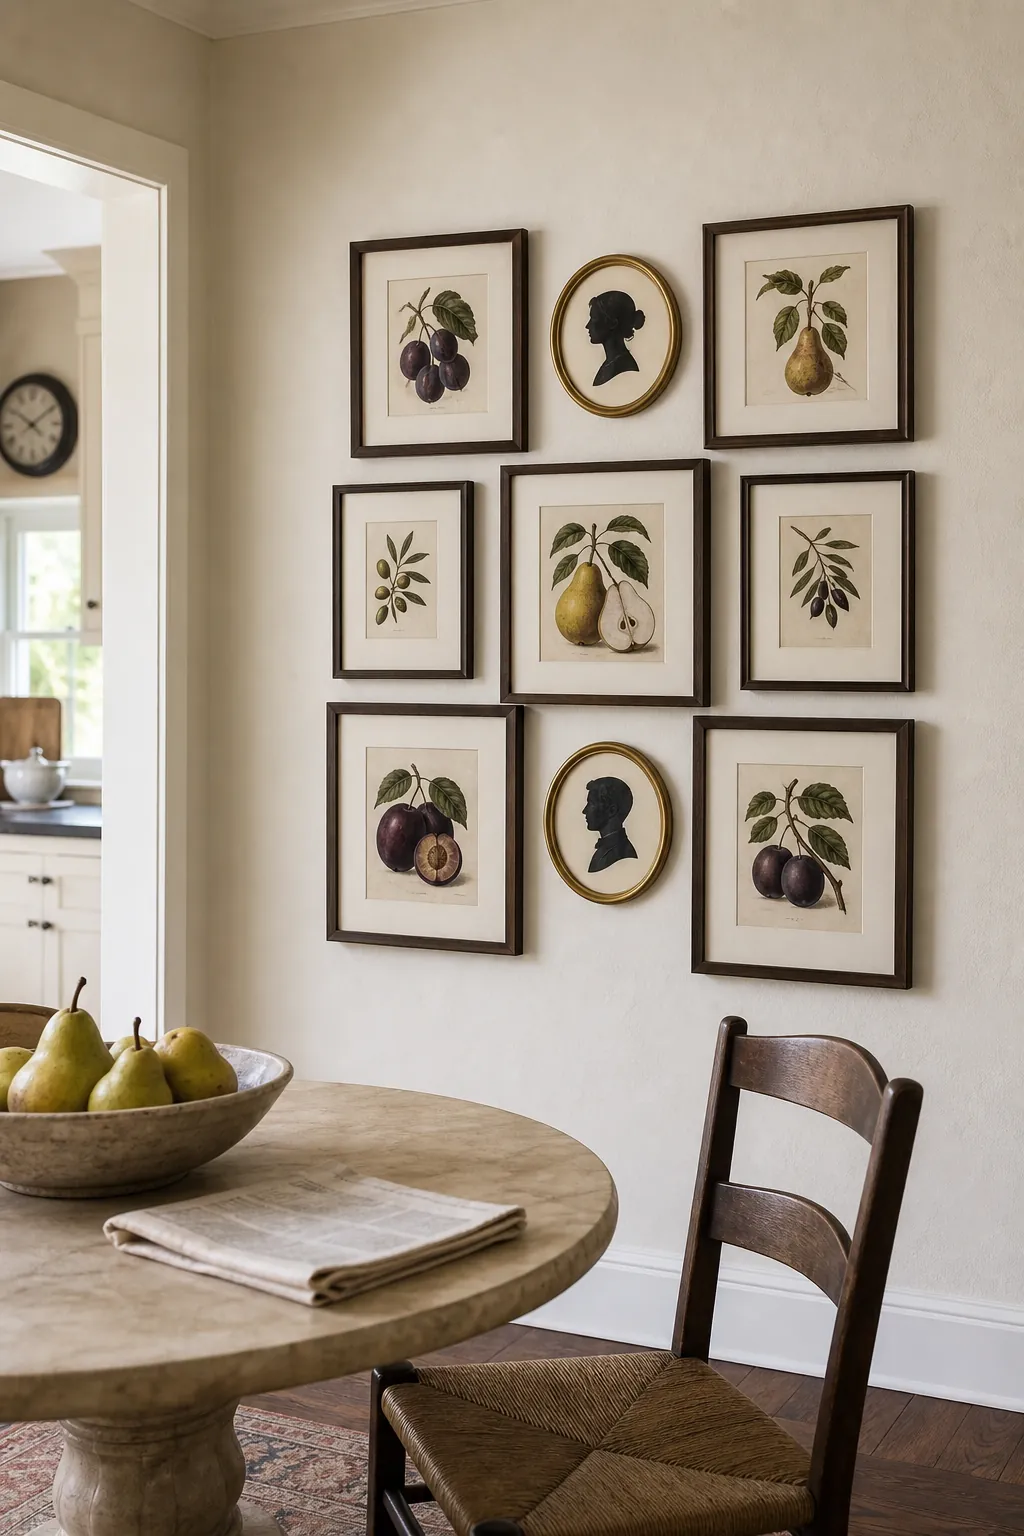
Unify Mismatched Frames With One Mat Color
Thrifted and inherited frames can coexist when every image is surrounded by the same mat tone. Warm white mats are gentler with antique wood, while crisp white gives black and metal frames a more modern edge. Vary the mat widths to suit each image, but keep the visible color consistent across the collection. Arrange the darkest frames across the grouping rather than bunching them together, which balances visual weight. The result preserves the character of a picture frame makeover while giving the overall wall a disciplined finish.
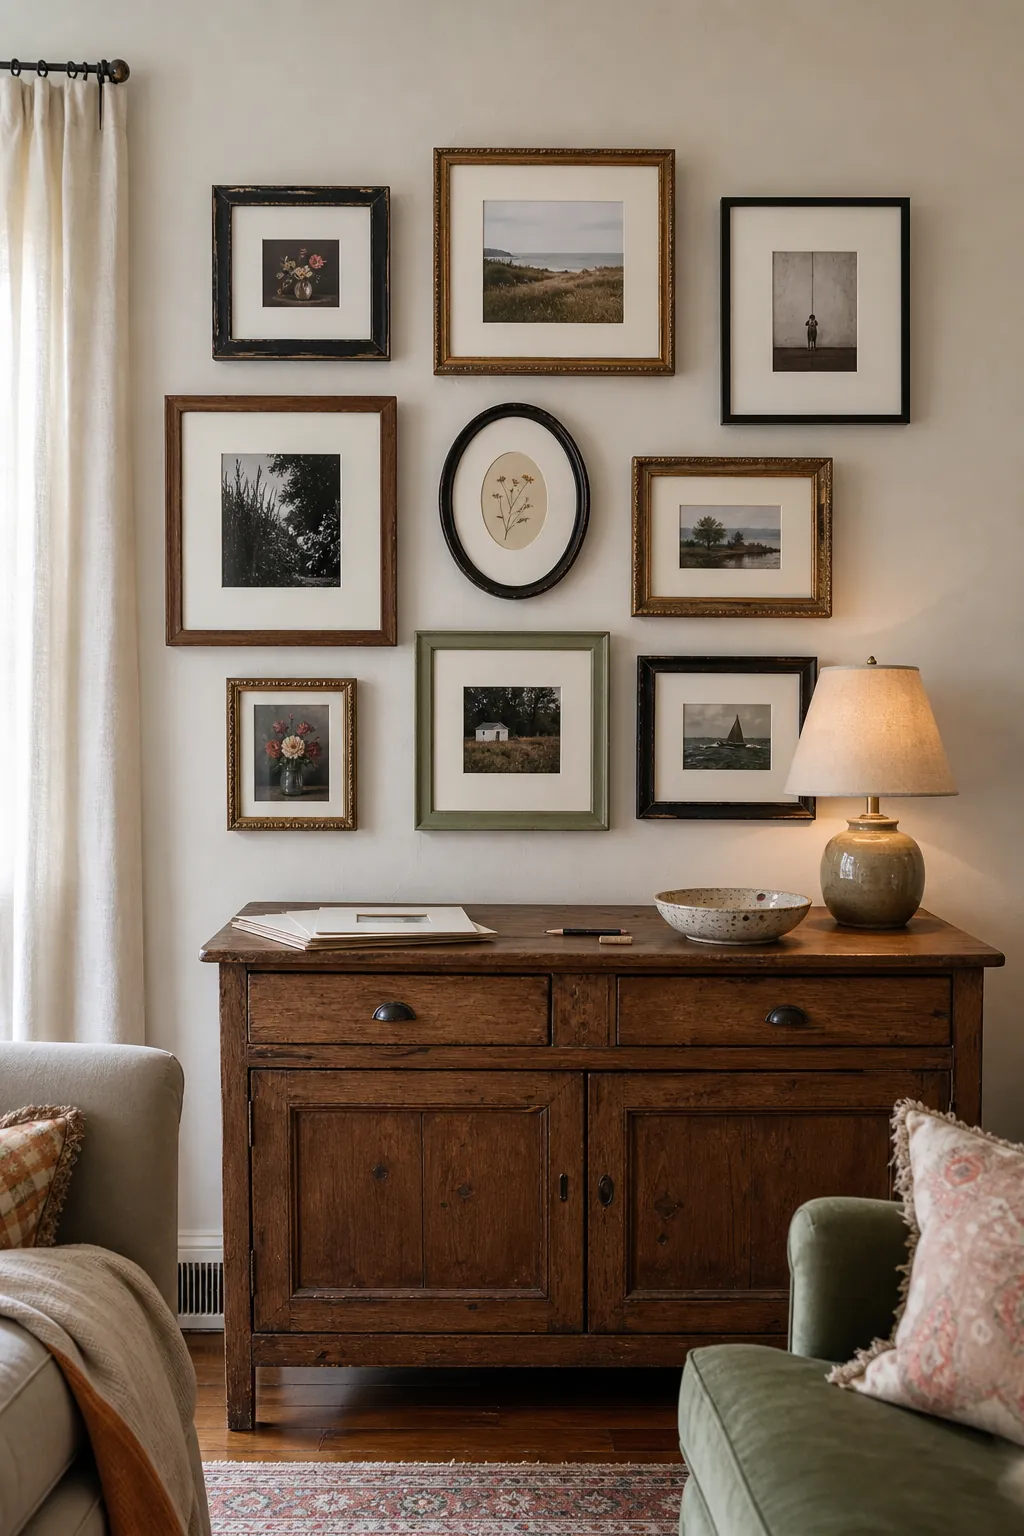
Form a Square With Unequal Frame Sizes
Frames do not need to match internally when their combined outside edges create a clean square. Start with two larger pieces in opposite quadrants, then solve the remaining space with medium and small formats. Align several internal edges so the eye can trace subtle structure through the varied arrangement. Use paper cutouts to adjust the puzzle until the outer boundary looks crisp from across the room. This layout offers the personality of an eclectic gallery wall with enough geometry to suit a streamlined home.
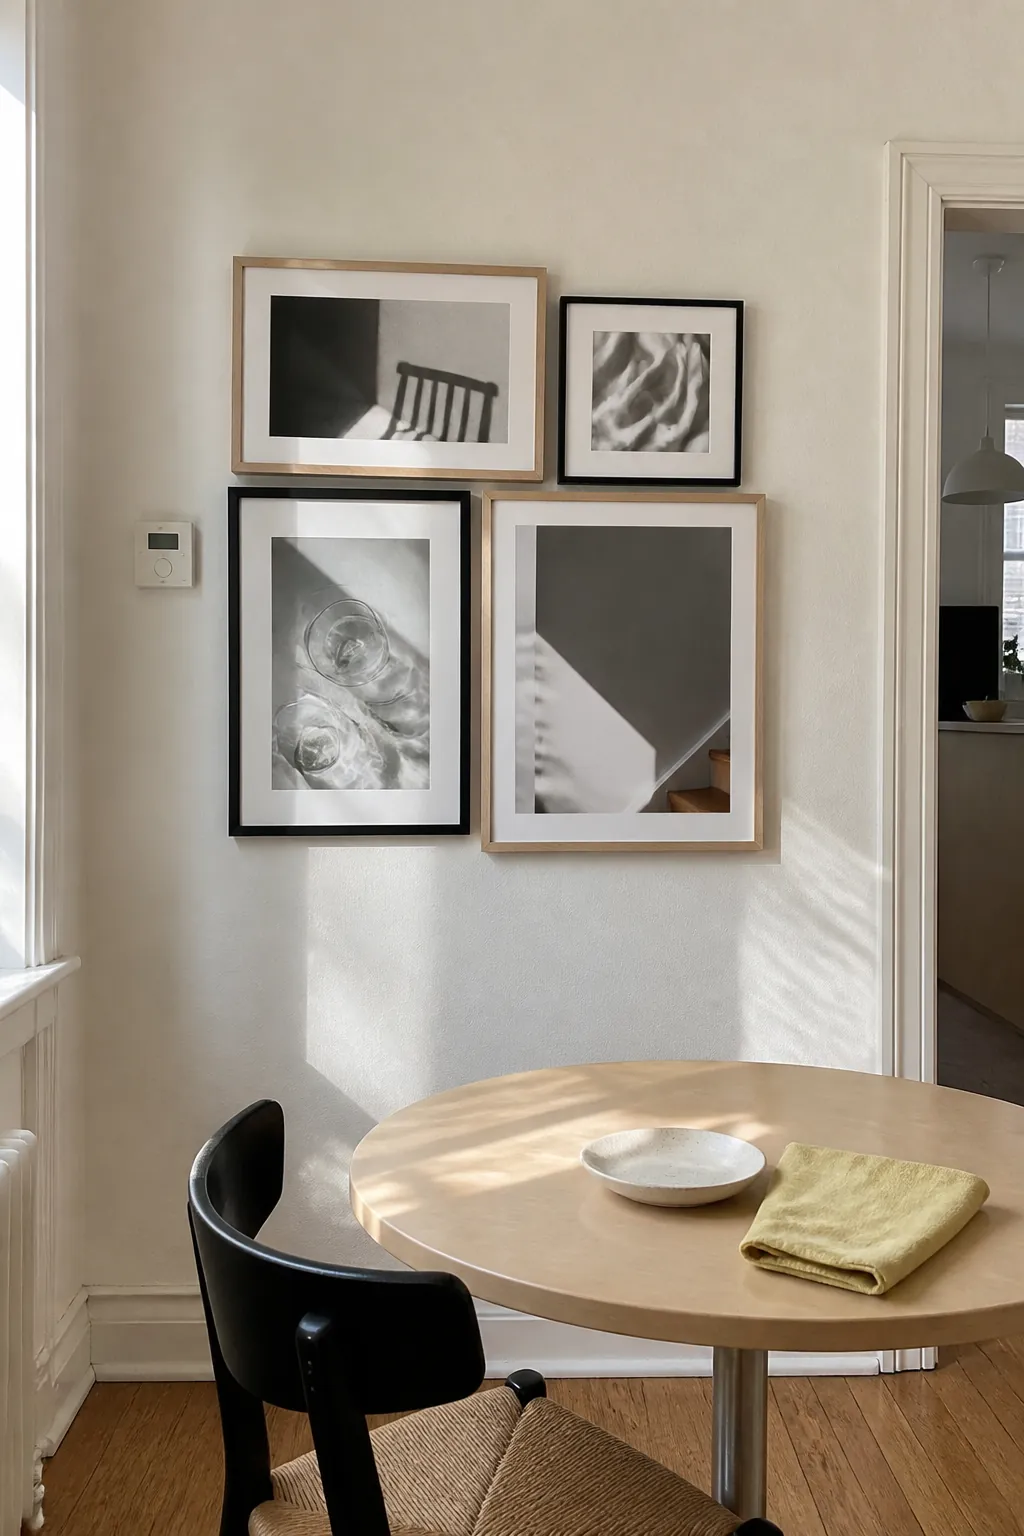
Wrap a Grouping Around an Inside Corner
Carry a picture grouping across two adjoining walls to turn an ignored corner into a small destination. Treat the corner line as the center and distribute comparable visual weight on both sides. Keep frames slightly farther from the corner than from one another so shadows do not crowd the artwork. A shared subject—travel sketches, black-and-white family photos, or botanical prints—helps the bent composition read as one collection. This approach is especially effective in breakfast nooks and compact reading areas where a flat wall is not available.
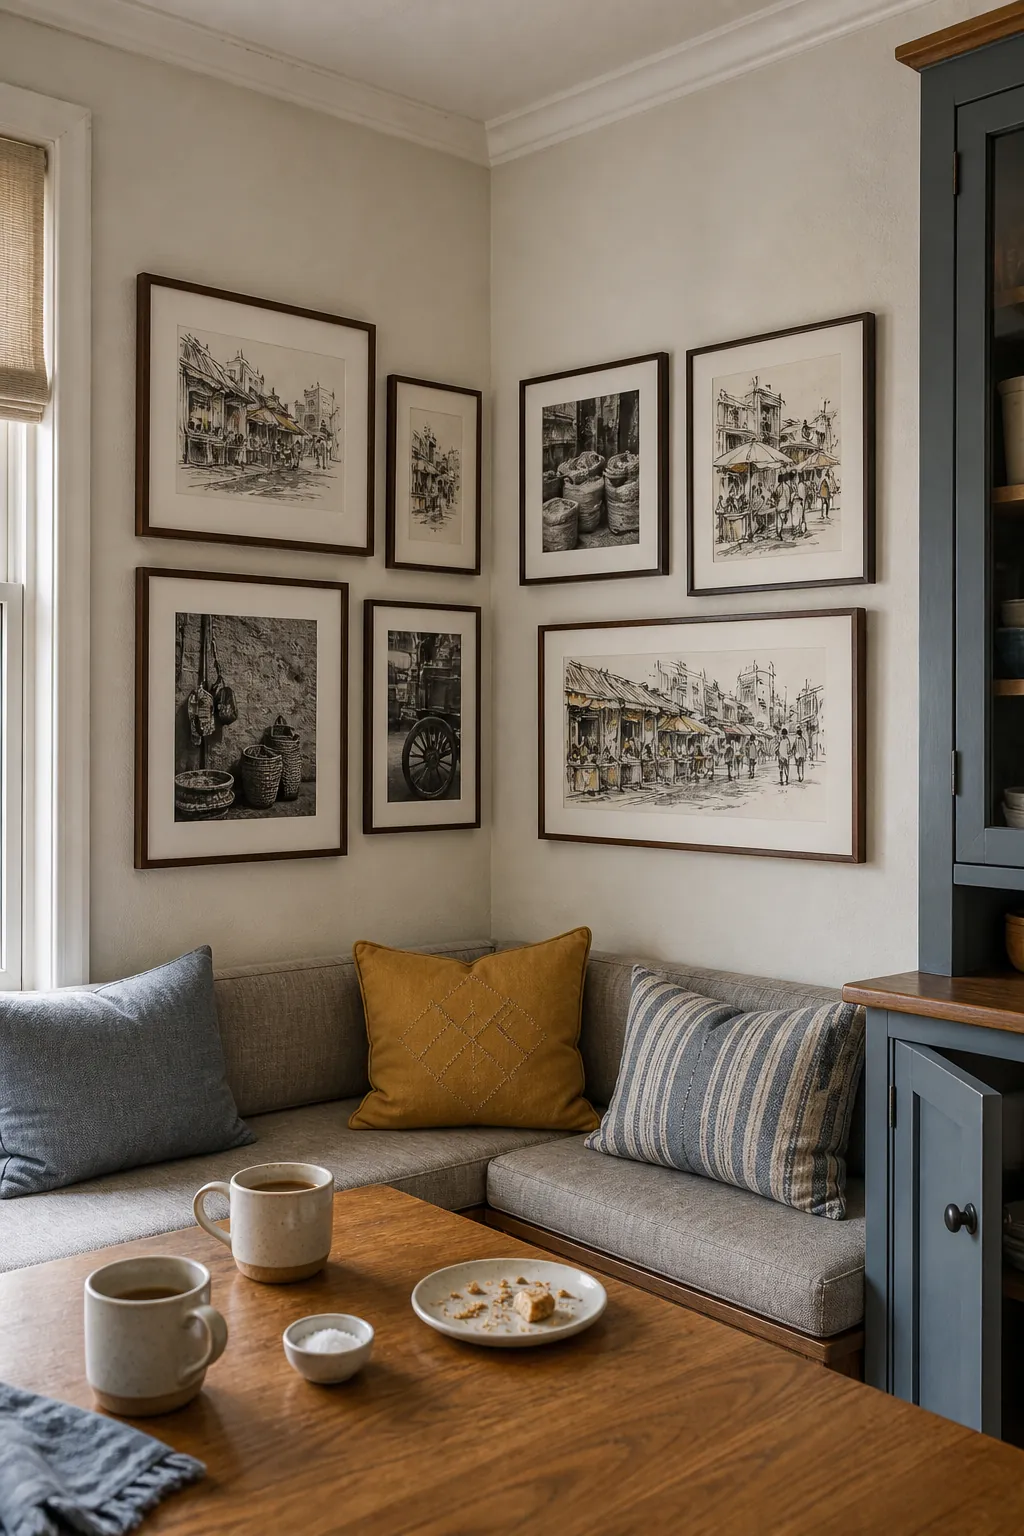
Center a Family Photo Timeline on One Line
Run a shared horizontal centerline through photographs from different years to create a quiet family timeline. Alternate portrait and landscape frames above and below the line while keeping their centers aligned. Use restrained captions inside the mats if dates matter, rather than adding separate wall labels that increase clutter. Similar editing or black-and-white printing can connect images captured on different cameras and in different decades. This family photo wall idea feels personal without becoming chaotic, and new moments can be added at either end over time.
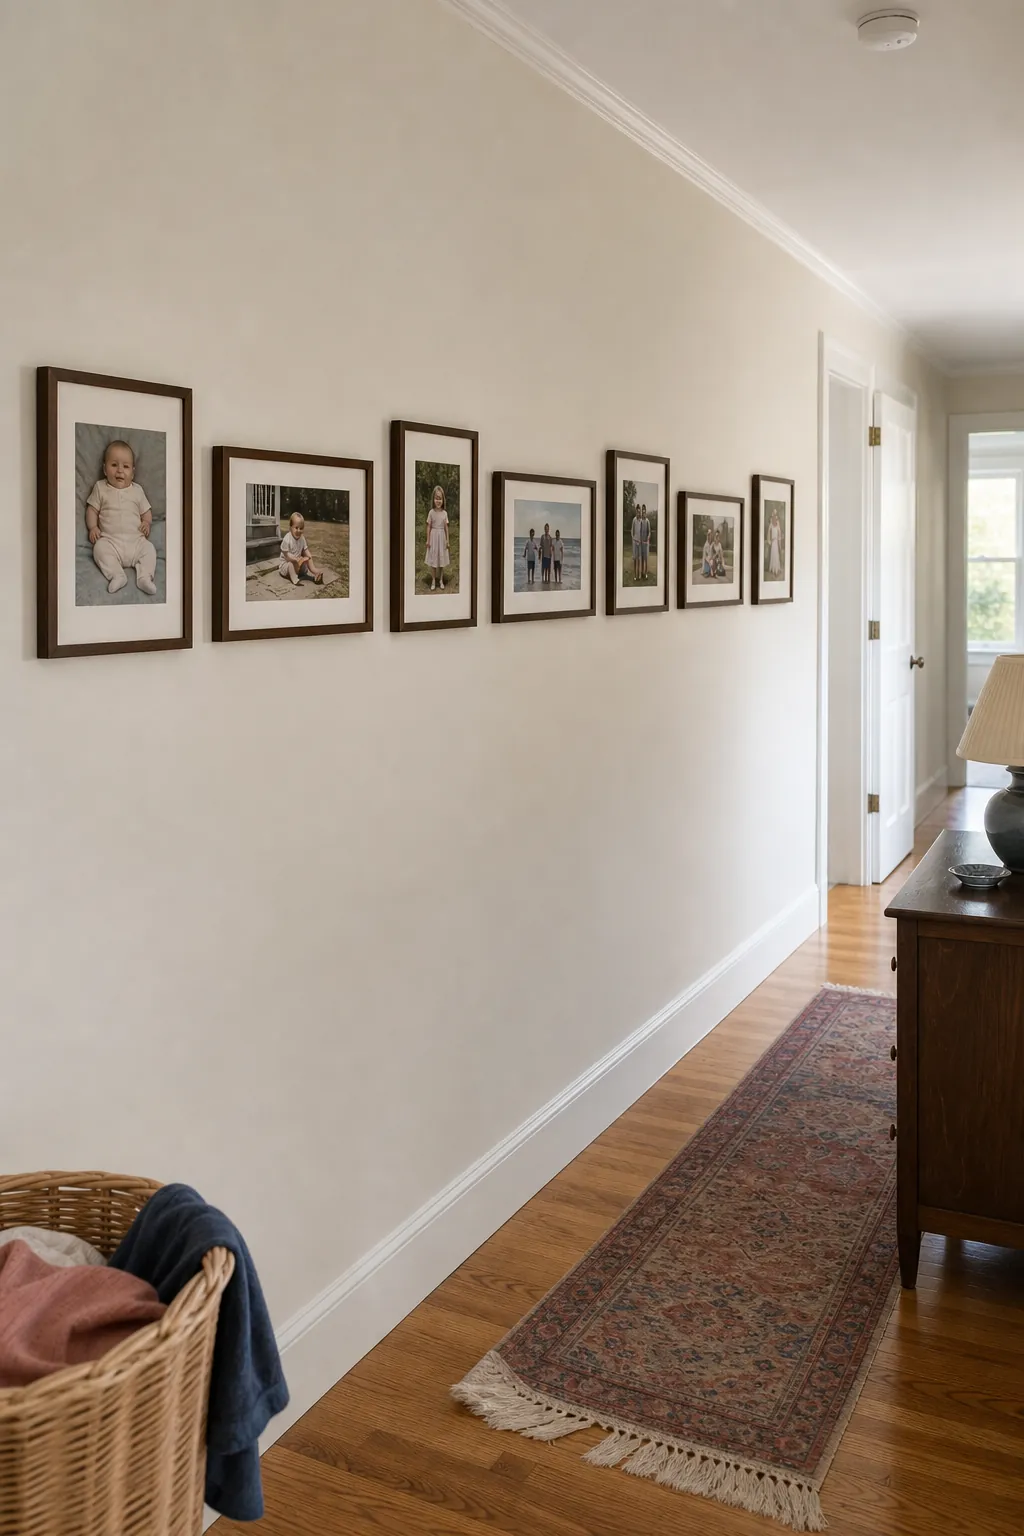
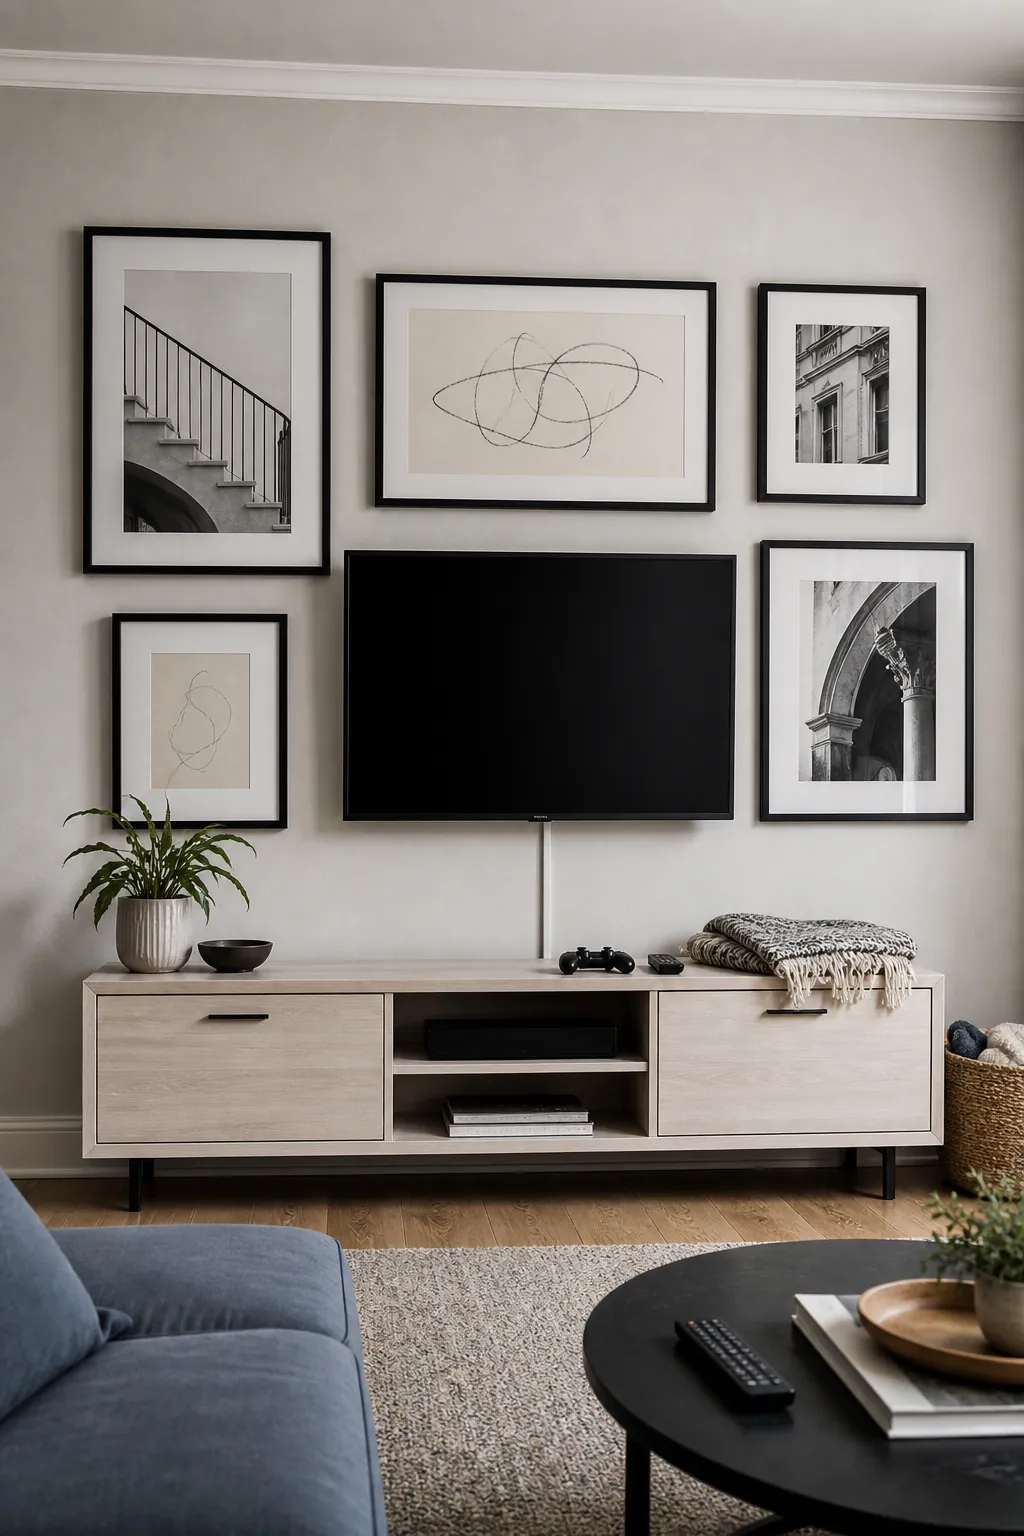
Frame a Television With Quiet Black-and-White Art
A television can blend into a picture wall when surrounding images use restrained contrast and similar dark frames. Keep the art modest in scale so it supports rather than competes with the screen. Align one or two frame edges with the television and preserve a consistent gap around its perimeter for ventilation and visual breathing room. Choose photographs or line drawings with plenty of pale negative space to prevent the wall from becoming too heavy. The arrangement works best when the television is mounted at a comfortable viewing height before the surrounding frame layout is planned.
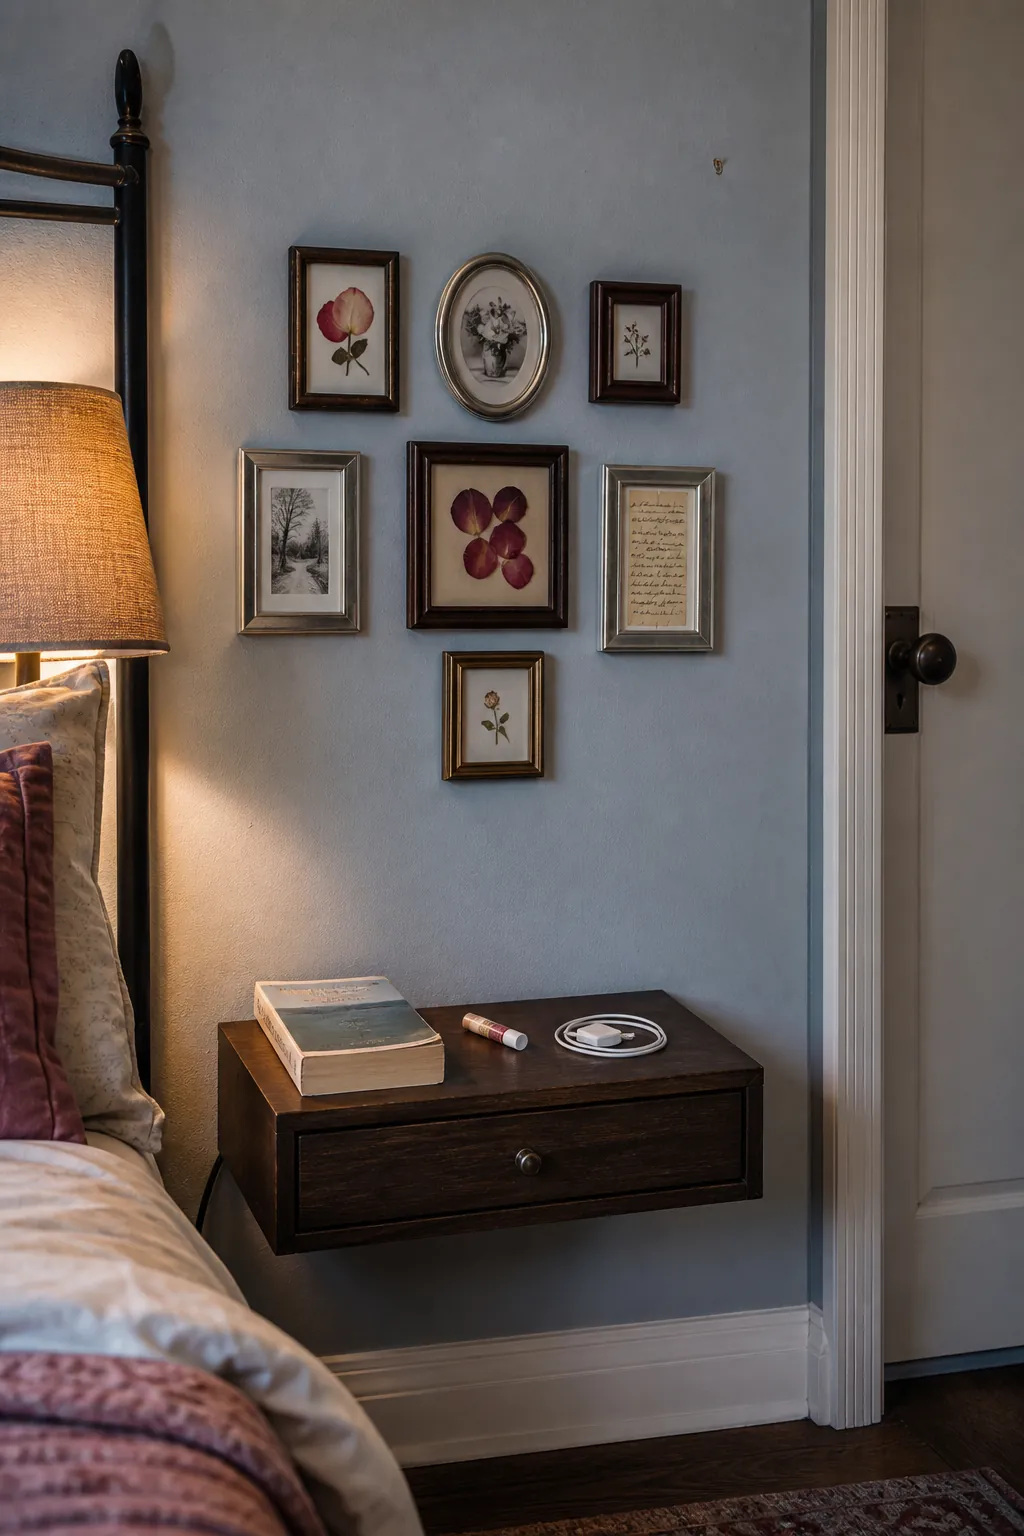
Float Tiny Frames Inside a Generous Boundary
Small photographs look more intentional when grouped tightly inside a clear area of blank wall. Establish an imaginary outer rectangle, then keep the frames close enough that they read as one object from a distance. Wide mats can enlarge postage-stamp prints and give faces room to breathe. Place the grouping near a desk, bedside table, or narrow console where viewers can naturally approach it. Avoid stretching tiny frames across a large empty wall, because excessive gaps make even meaningful images feel disconnected and undersized.
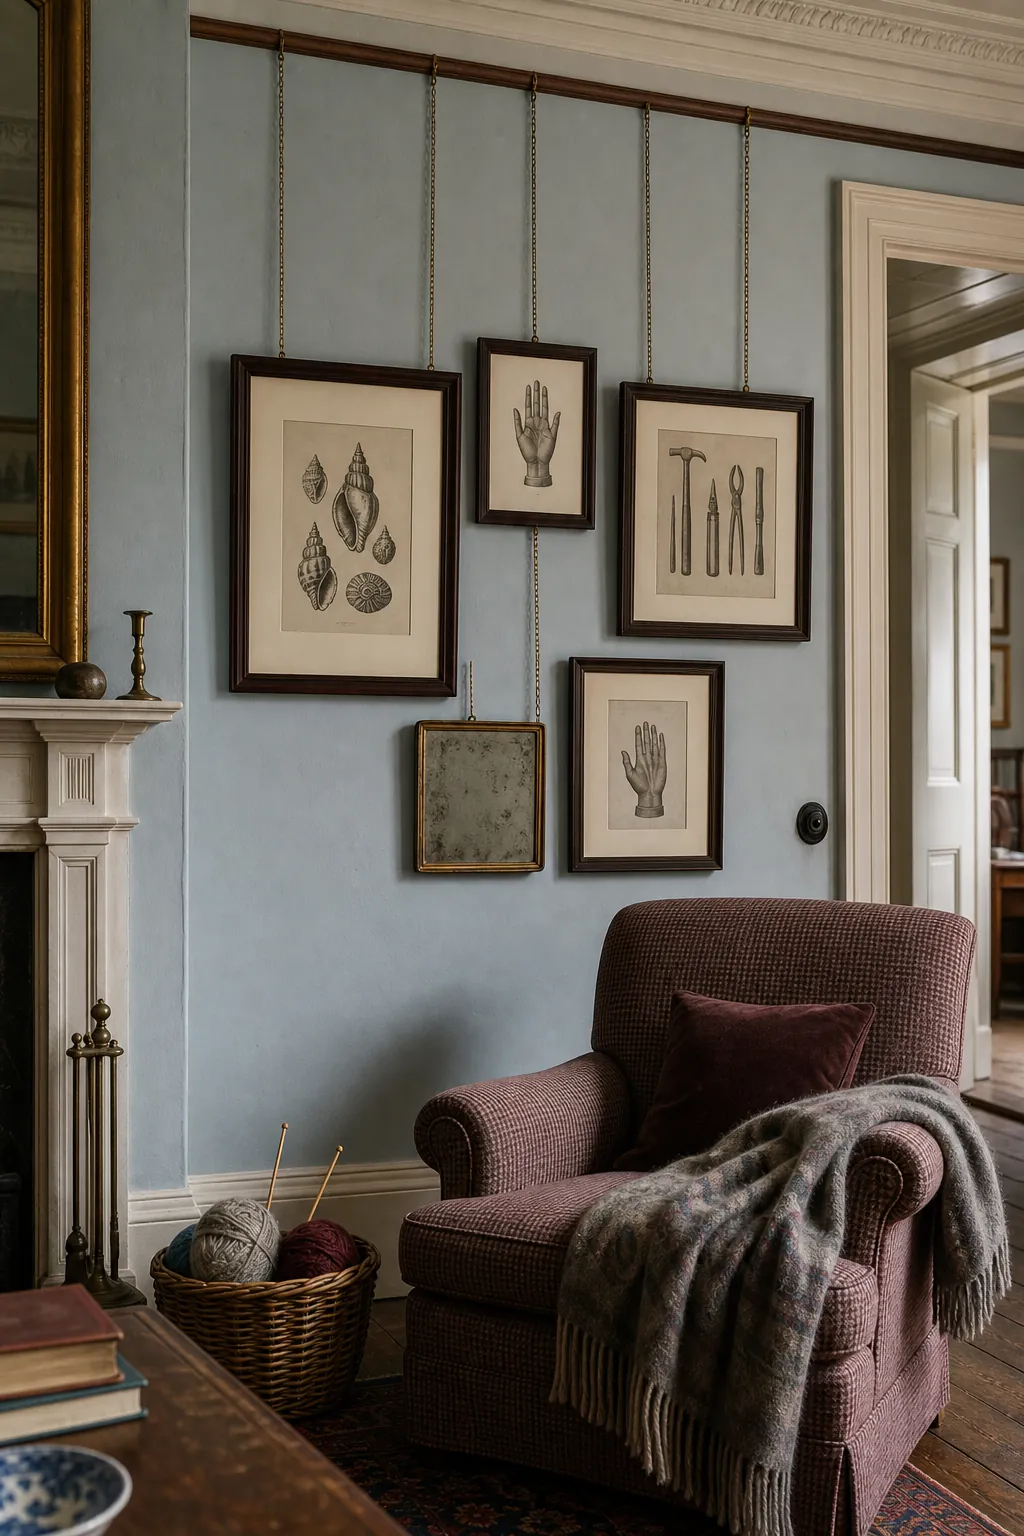
Suspend Frames From a Traditional Picture Rail
A picture rail allows framed works to hang from cords or chains, introducing vertical detail without drilling many holes. Vary cord lengths so the frames create a layered lower edge while their suspension points remain orderly above. Choose hardware that suits the room, such as dark cord for a casual study or fine brass chain for a period interior. Keep heavier frames close to secure rail hooks and confirm the hardware rating before installation. The system makes future rearranging easy and gives a collected wall a distinctive old-house character.
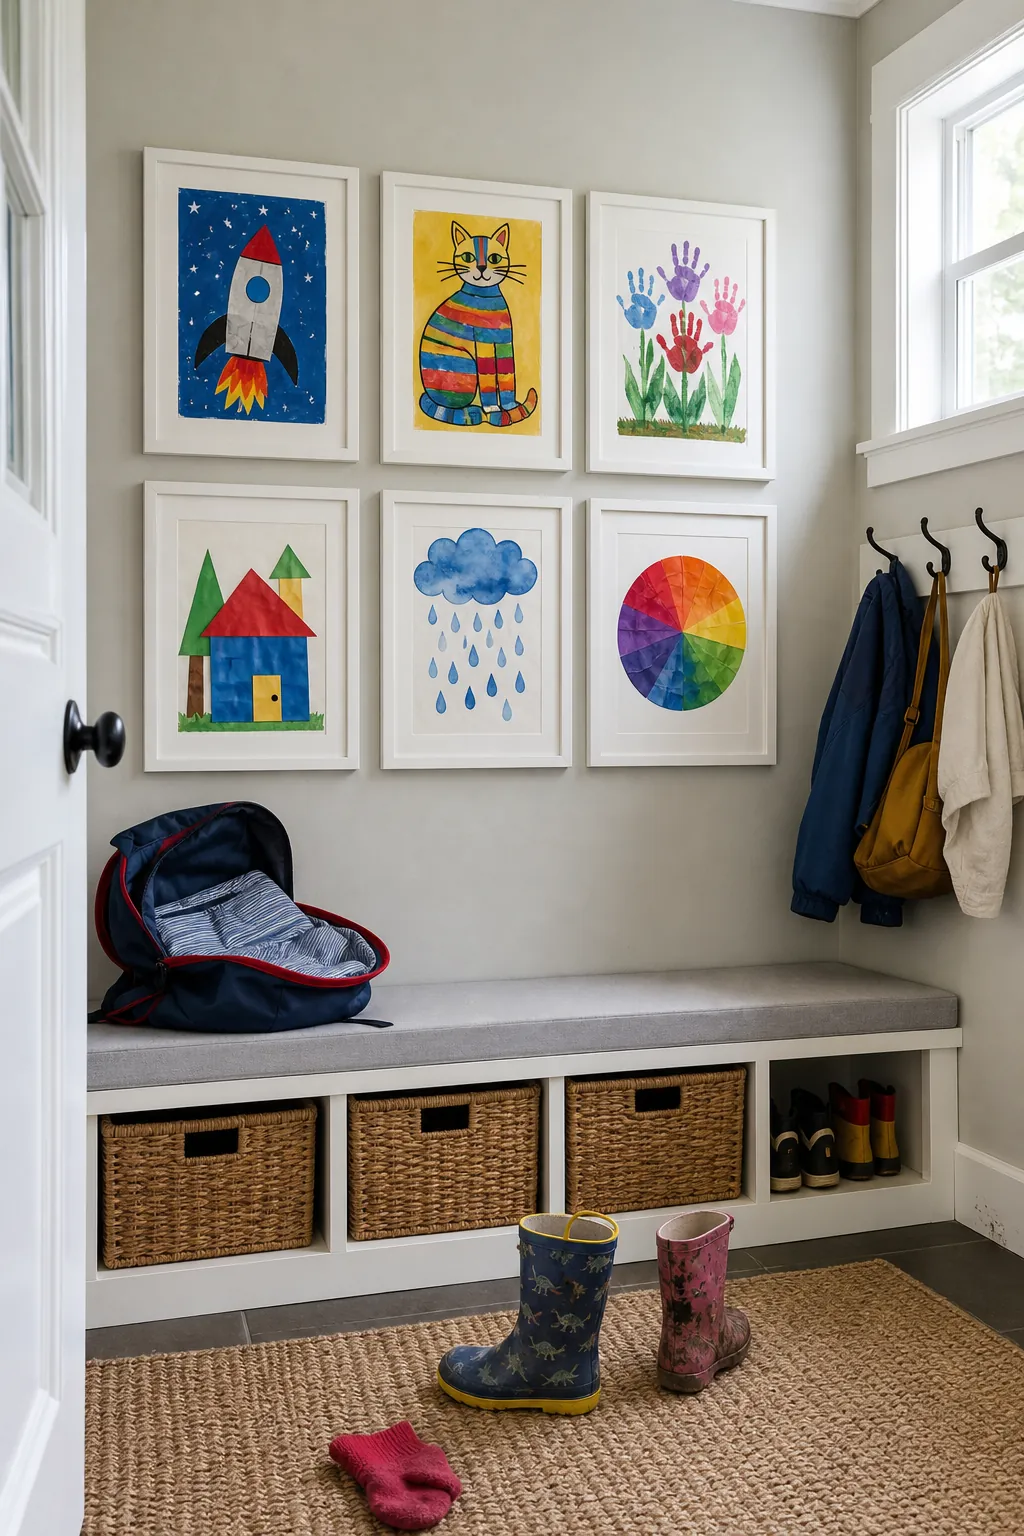
Make a Playful Kids’ Art Rotation
Turn children’s drawings into a polished display by using front-opening frames or simple magnetic hangers. Establish a compact grid at a height where adults can see the work but children can still participate in changing it. Repeat one frame color while allowing the bright paper, paint, and crayon marks to supply energy. Store retired pieces in a dated portfolio so the wall stays edited instead of expanding endlessly. A rotating system honors creative effort and keeps a family room or hallway feeling current without permanent decorating decisions.
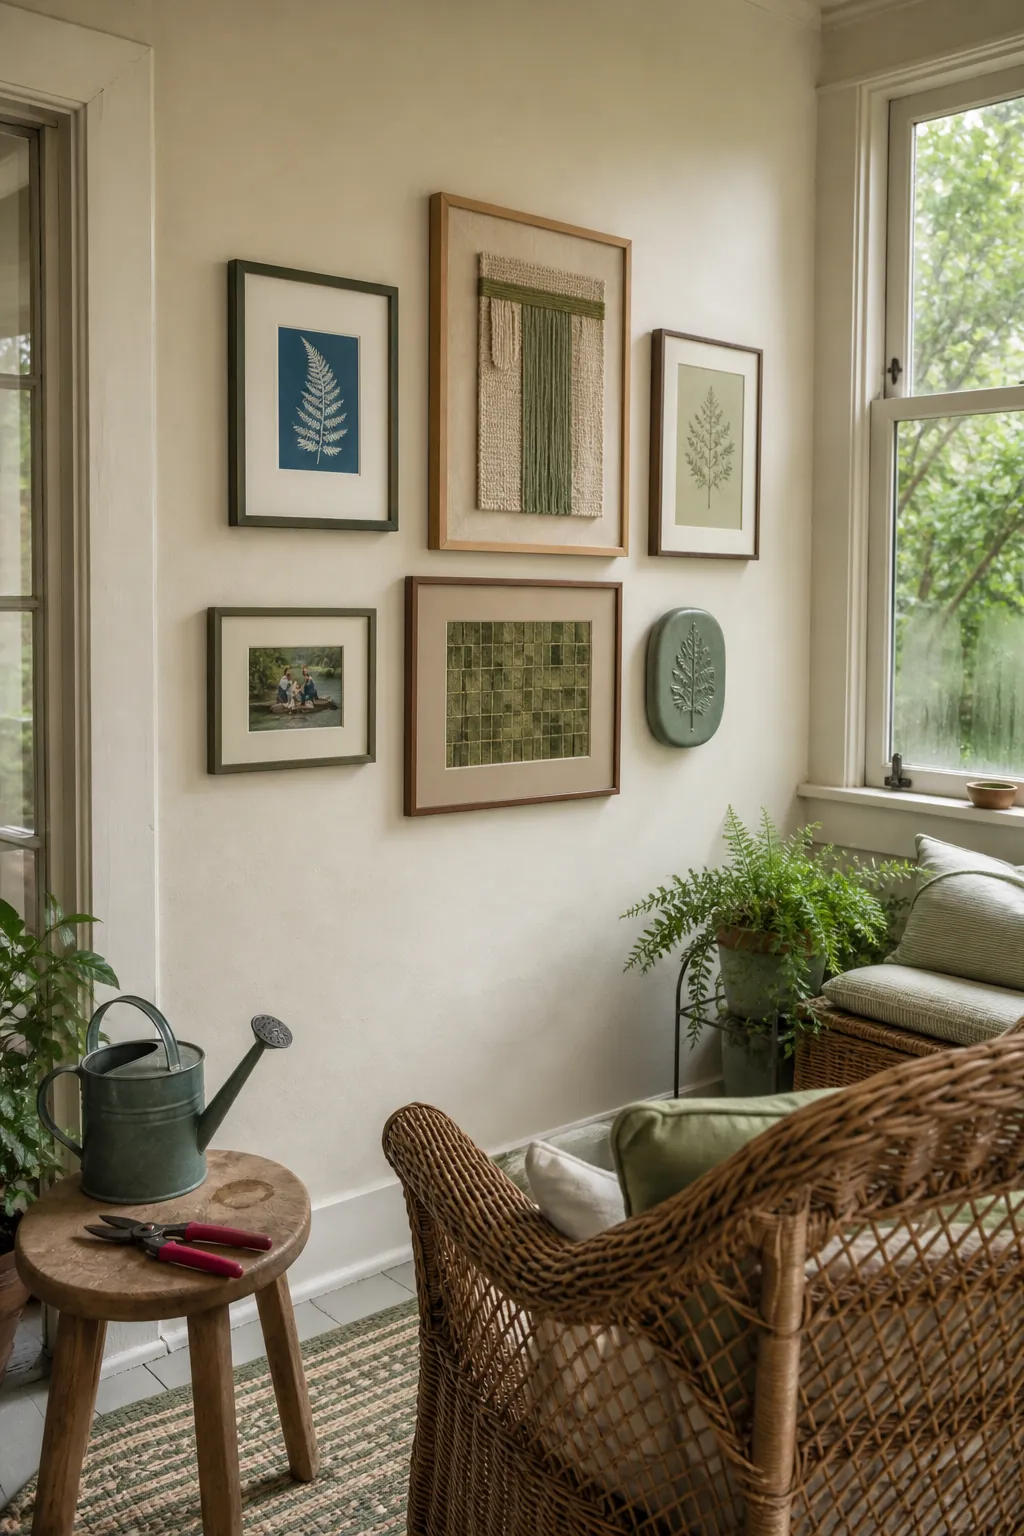
Group Frames by a Single Color Story
Collect images that share one dominant color, then vary their subjects and frame styles for depth. A thread of green might connect a botanical print, a family photograph, a textile fragment, and an abstract painting. Spread the strongest color moments across the wall so one side does not feel visually heavier. Neutral mats create pauses between saturated pieces and protect the grouping from becoming loud. This strategy is useful when beloved art seems unrelated, because color provides cohesion without requiring identical frames or matching genres.
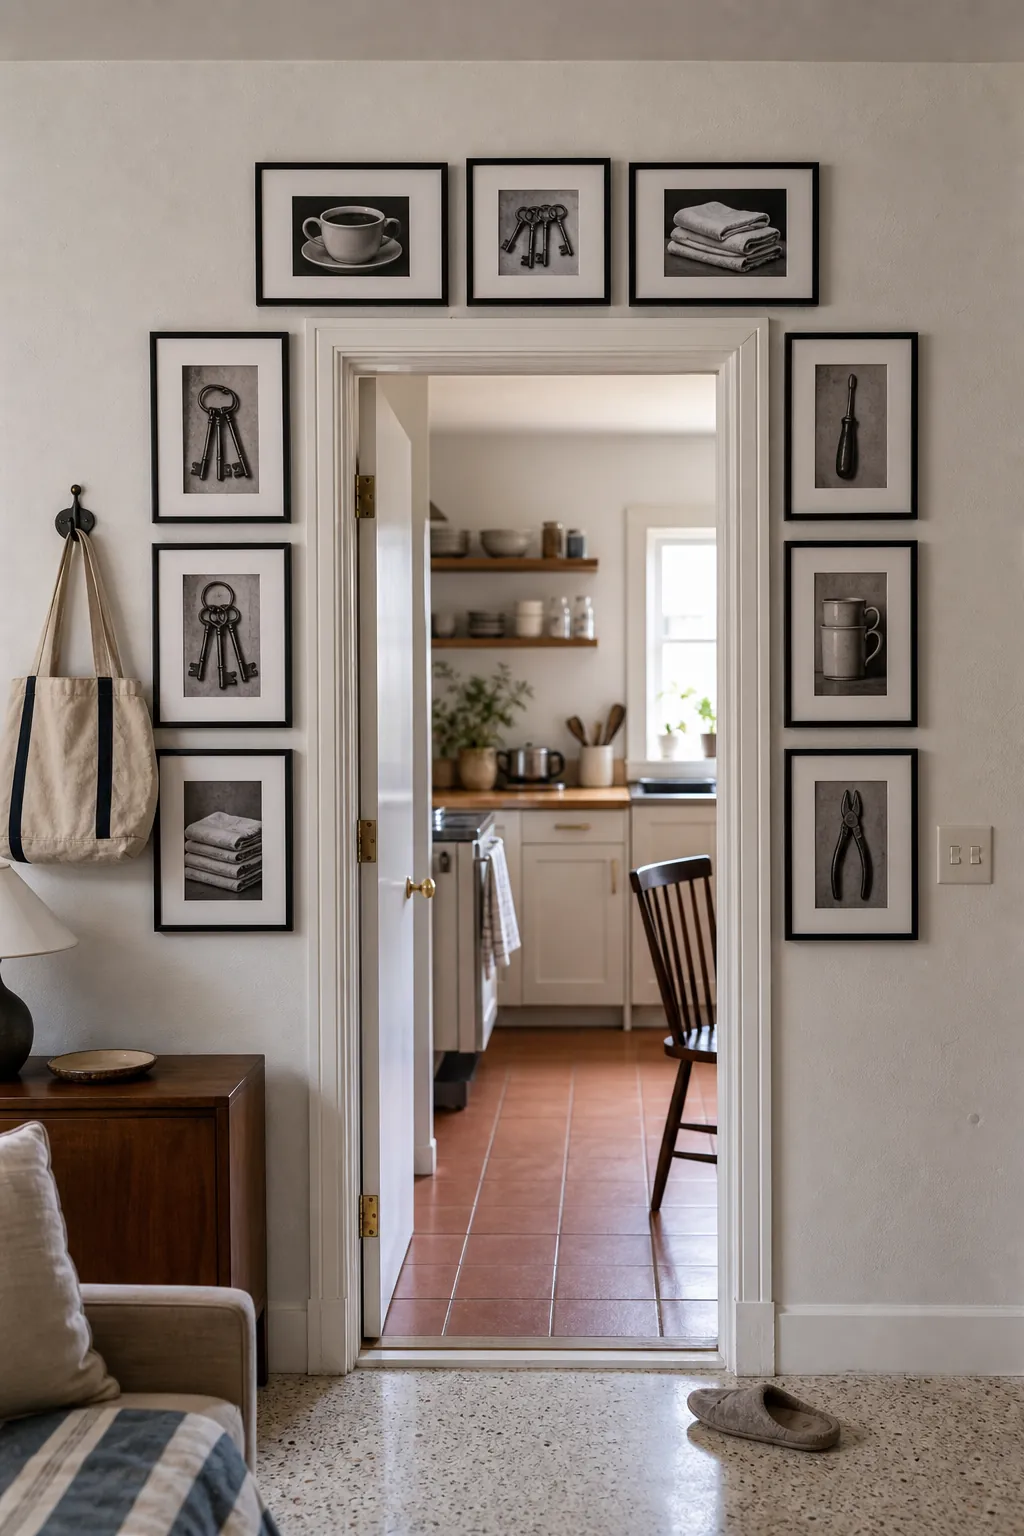
Outline a Doorway With Slim Frames
Slim frames can follow the vertical sides and top of a doorway, turning circulation space into a memorable display. Use shallow profiles so shoulders, bags, and opening doors will not knock the frames. Keep a consistent offset from the trim and mirror the overall density on both sides, even if individual sizes differ. Lightweight art and secure closed hooks reduce movement in a busy passage. This picture frame arrangement works best with small prints or monochrome photographs that reward a closer look while people move between rooms.
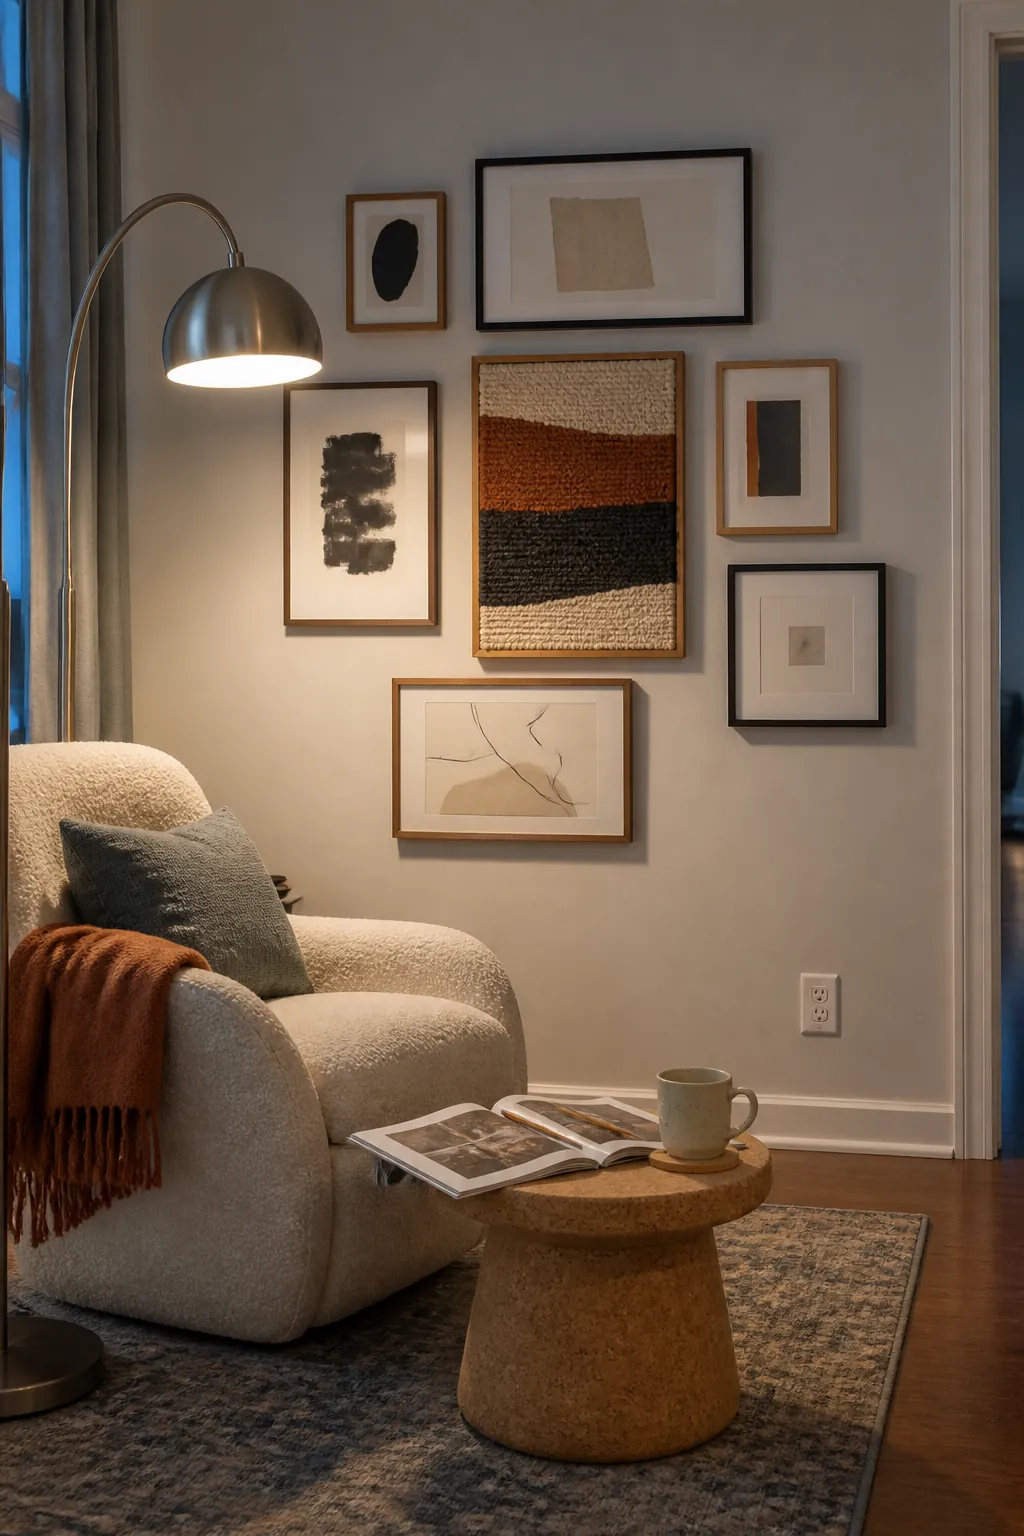
Compose an Off-Center Cluster Beside a Lamp
An asymmetrical cluster can balance the height of a floor lamp, bookcase, or tall plant without covering the whole wall. Position the grouping on the open side of the vertical object and let the two elements form one broader composition. Use one medium anchor frame, then tuck smaller pieces around its upper and lower corners. Step back from several viewing angles to ensure the cluster does not lean visually away from the furniture. This approach makes a room feel collected and responsive to its contents rather than decorated from a generic centered template.
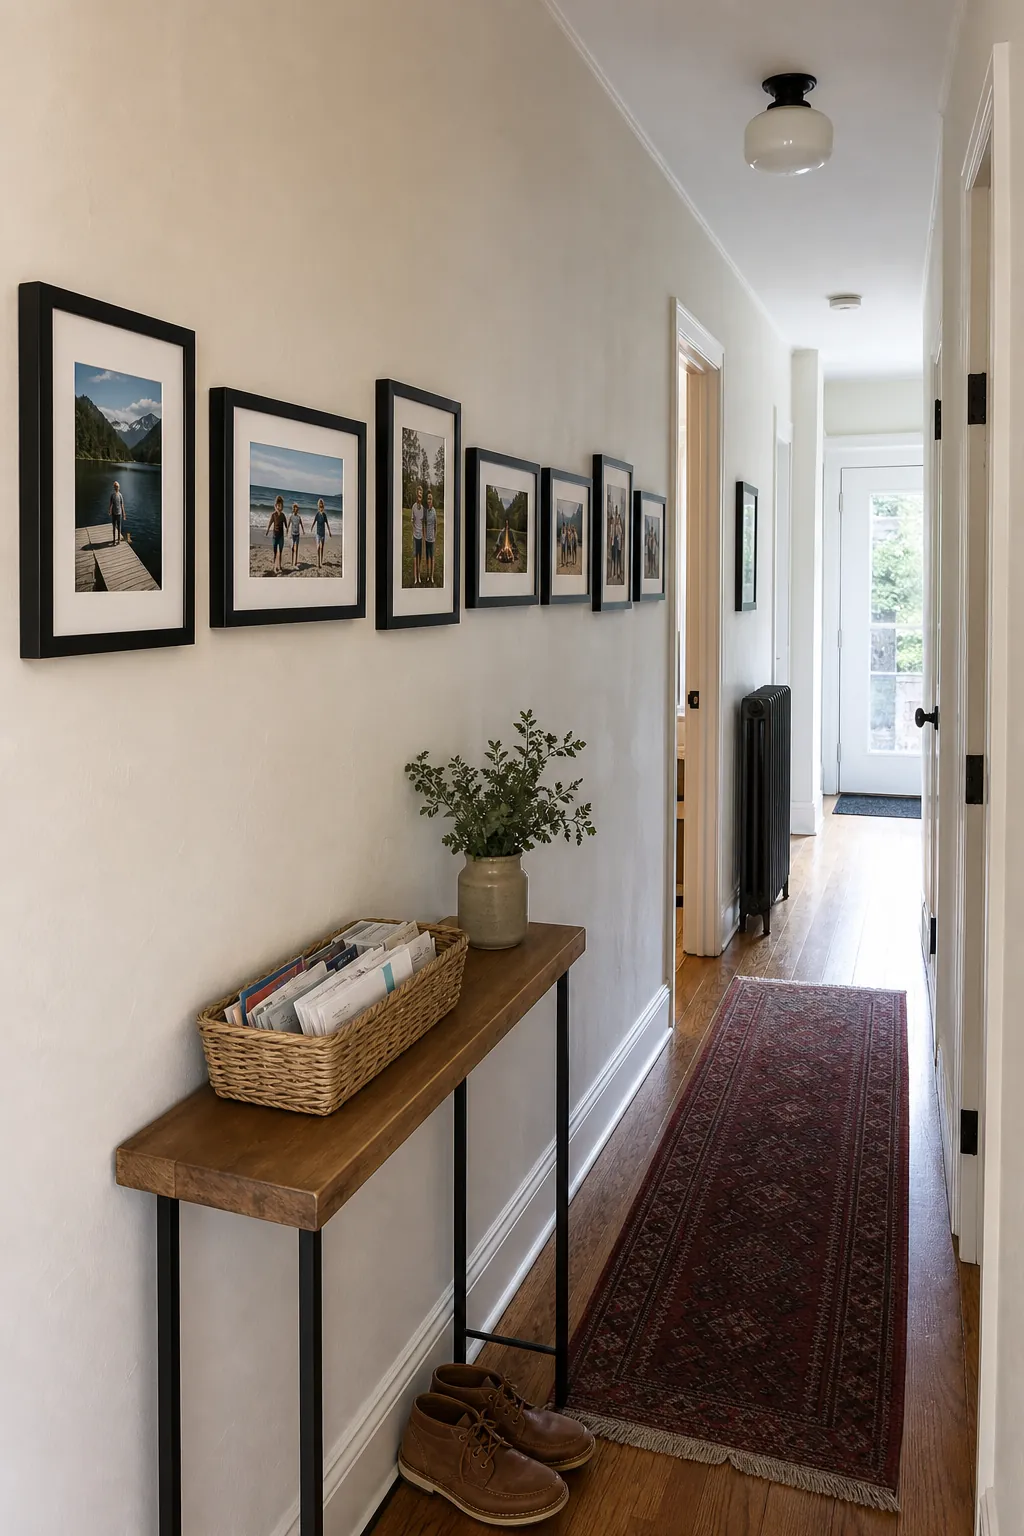
Create a Black-Frame Ribbon Down a Hallway
A continuous ribbon of black frames guides movement through a long hallway and makes changing family photographs easy. Align frame centers at one comfortable viewing height instead of following a potentially uneven floor or ceiling line. Alternate portrait and landscape orientations to create cadence while keeping the outer frame finish consistent. Use nonreflective glazing or side lighting where possible, because overhead fixtures can produce distracting glare along a long sequence. Leave a deliberate stopping point before the next doorway so the display ends cleanly rather than fading out.
Keep an Organic Cluster Inside an Invisible Rectangle
The most dependable free-form grouping still respects a clear outer boundary. Tape an invisible rectangle on the wall, place your largest two or three frames first, and fill around them while preserving steady breathing room. Mix orientations, materials, and subjects, but repeat at least one finish or color so the collection has a visual handshake. Photograph the paper-template layout and live with it for a few days before installing hardware, adjusting anything that feels crowded from your normal seat. When every frame supports the whole shape, an eclectic grouping looks personal and composed rather than accidental.