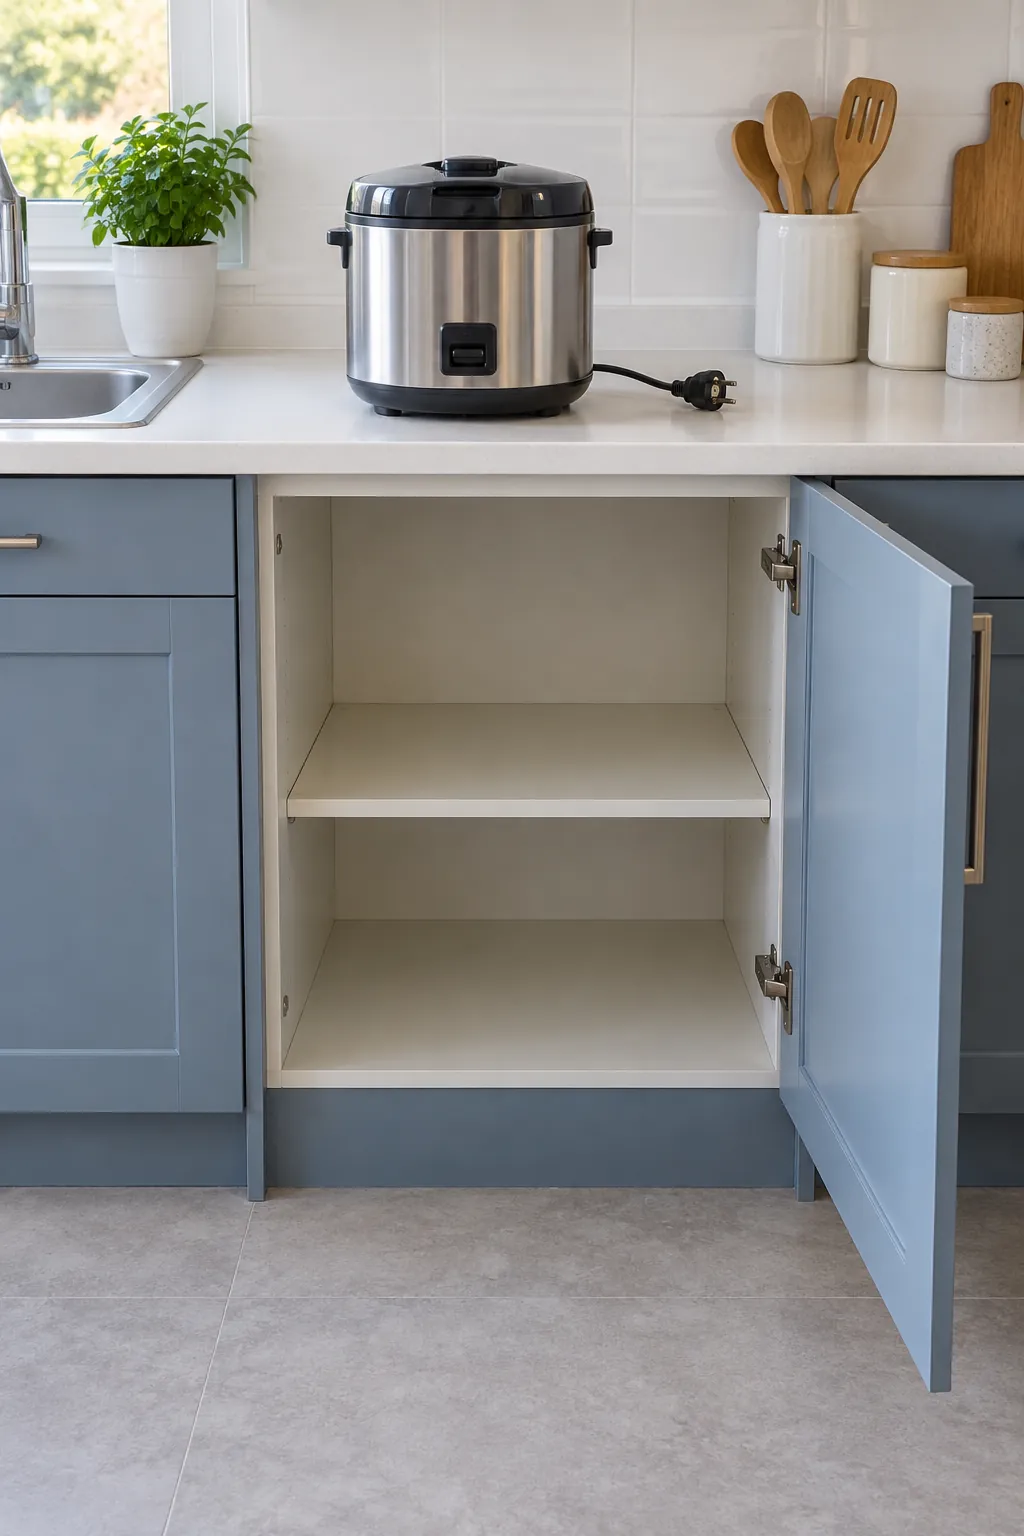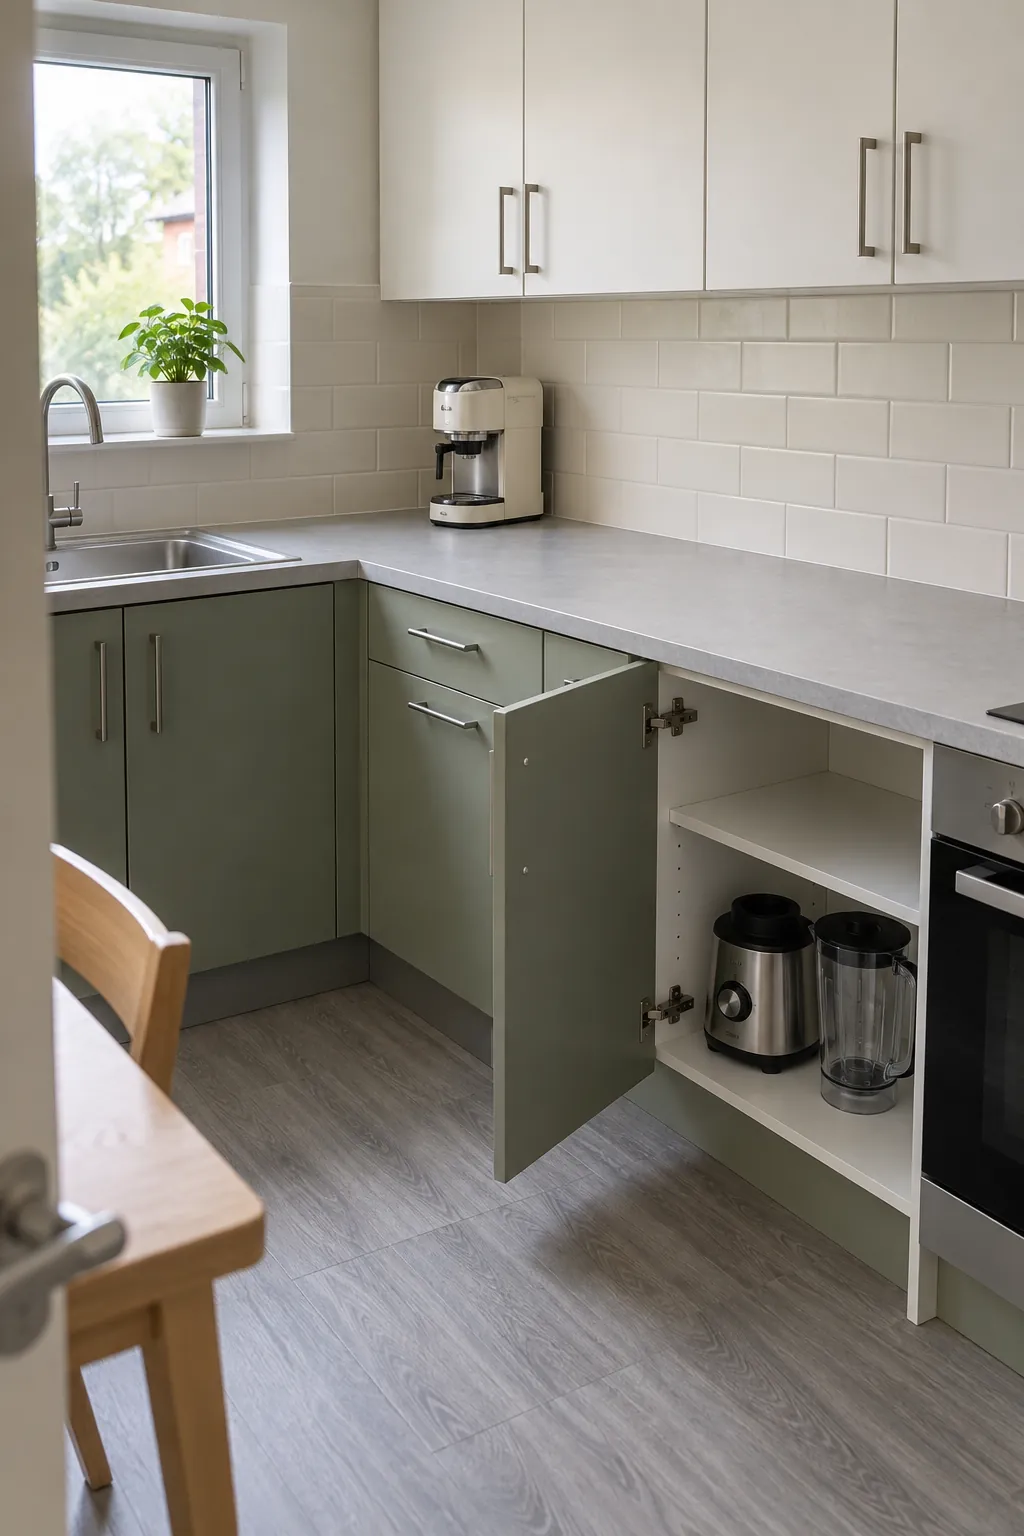
The hardest appliance to put away usually keeps its place on the counter. Give each machine a home that suits its weight, size, and actual use, while leaving a clear surface for preparing food. Storage and operation are different jobs: follow each appliance’s instructions for cooling, ventilation, electricity, and safe use before changing its position.
Reserve one counter position for the daily appliance
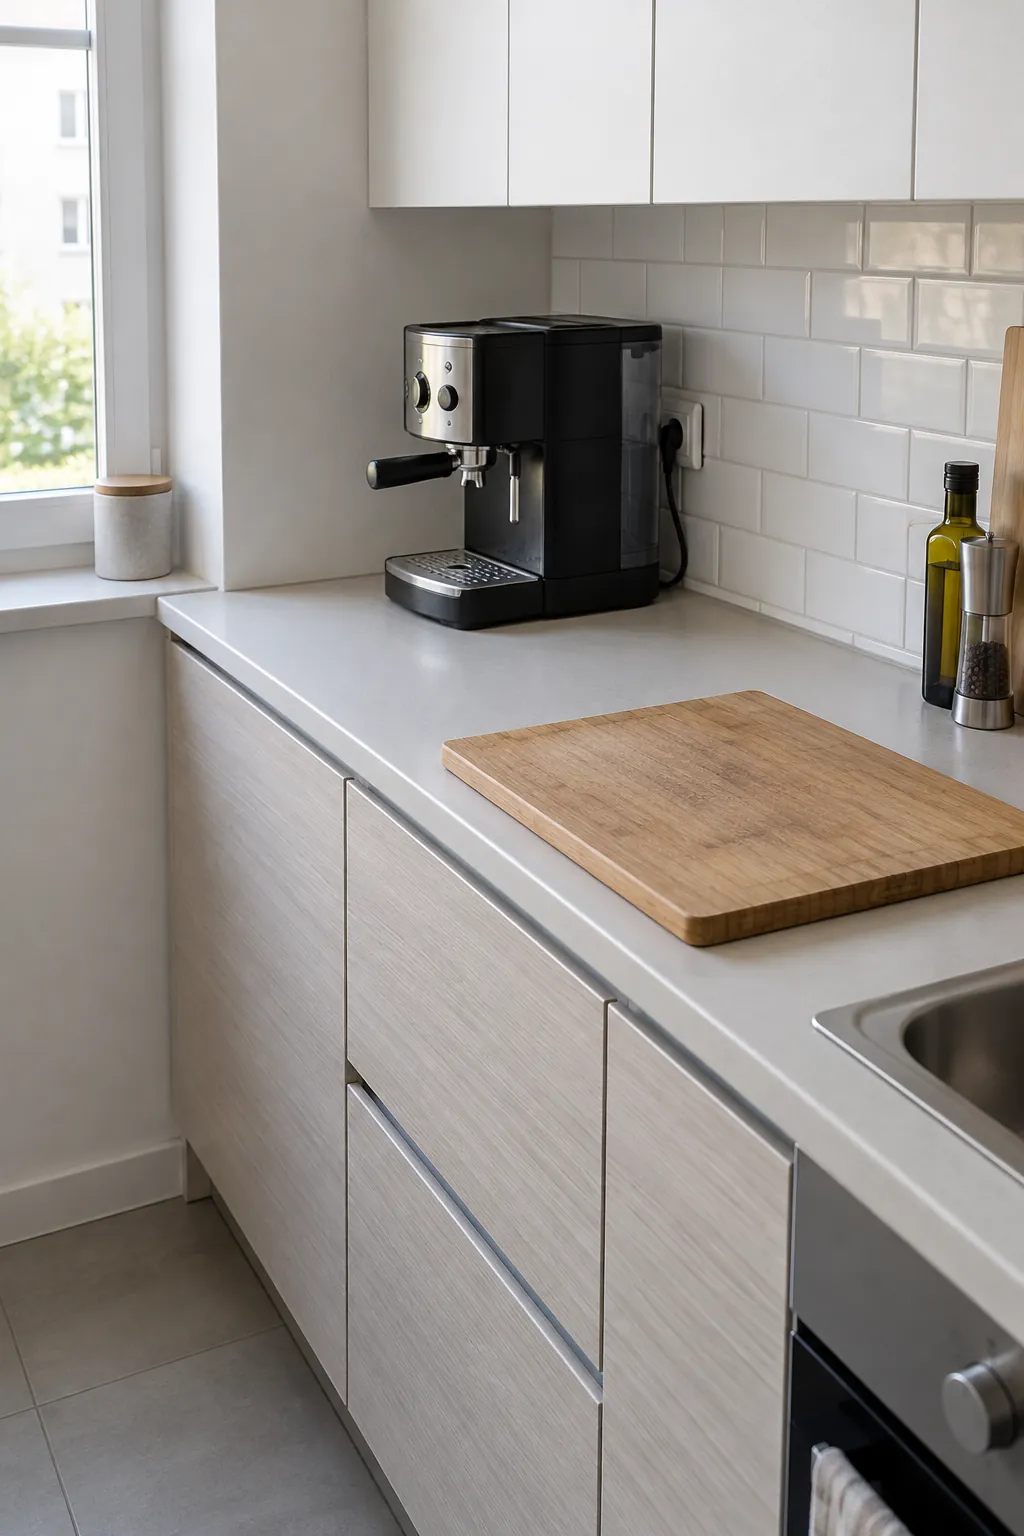
Keep the appliance you actually use every day in a deliberate counter position rather than moving it into a cupboard after every use. Check the maker’s heat, steam, ventilation, and electrical requirements before choosing that spot. Protect the neighboring preparation area from becoming a parking place for every other machine.
Give weekly appliances one reachable cabinet
Group machines used a few times a week in a cabinet near the counter where you operate them. Put each appliance at the front with its cord contained and enough space to grip its body. Avoid hiding one machine behind another that must be lifted first. Use this cabinet for cool, dry, unplugged storage, and bring each appliance to a suitable operating surface.
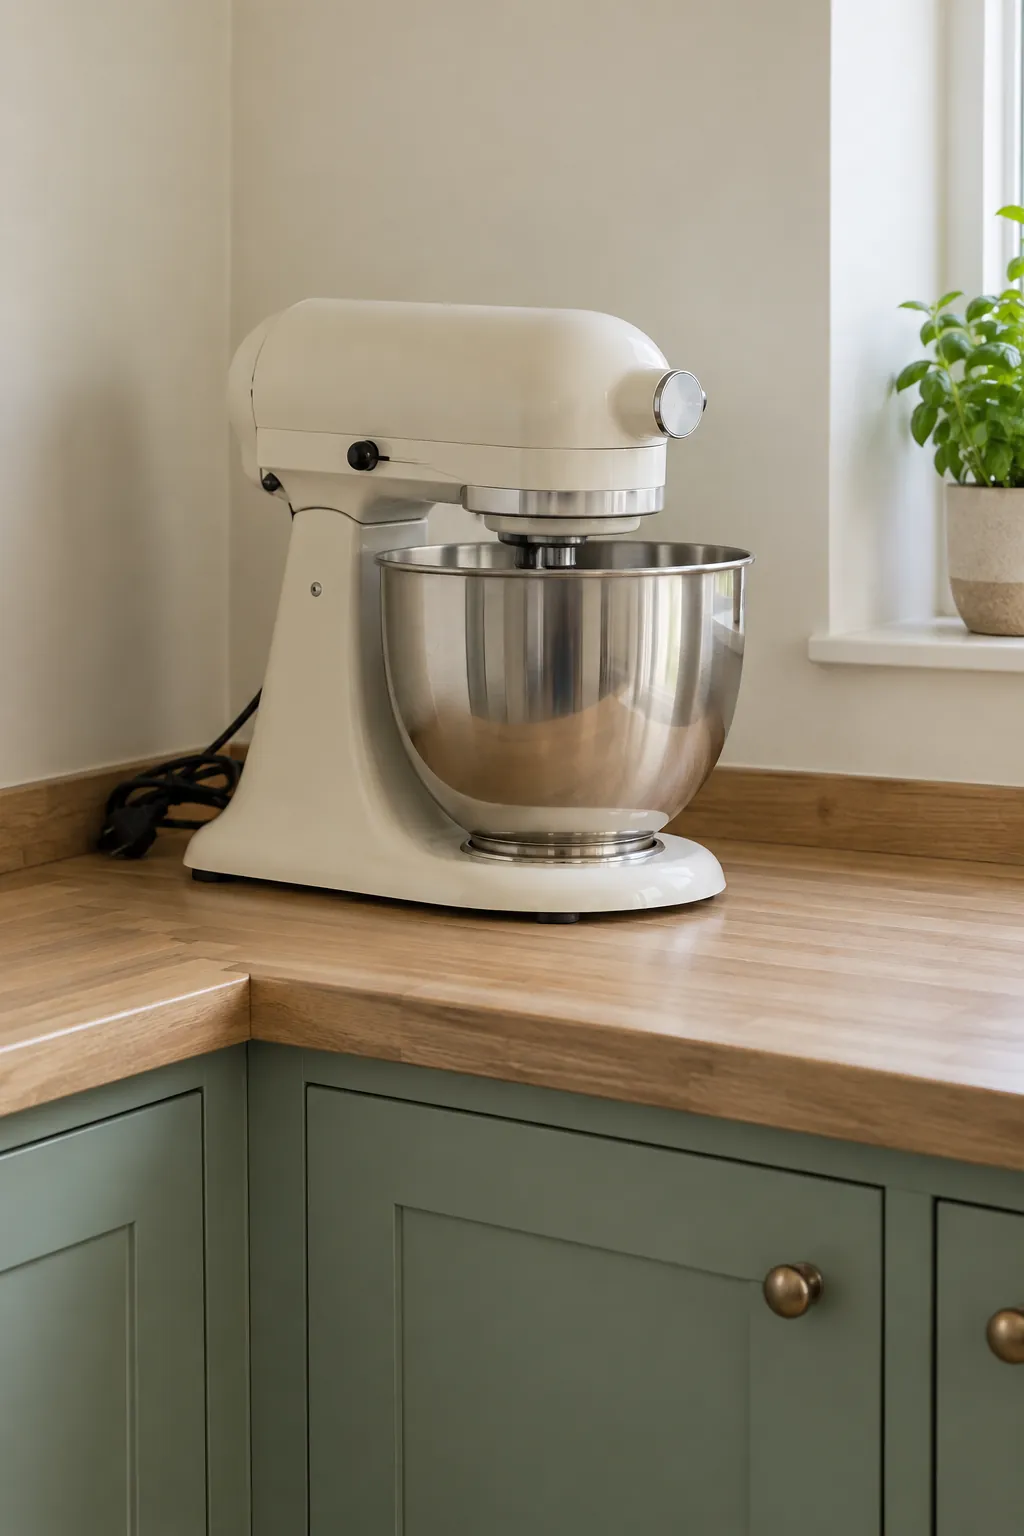
Park a heavy mixer at a comfortable lifting height
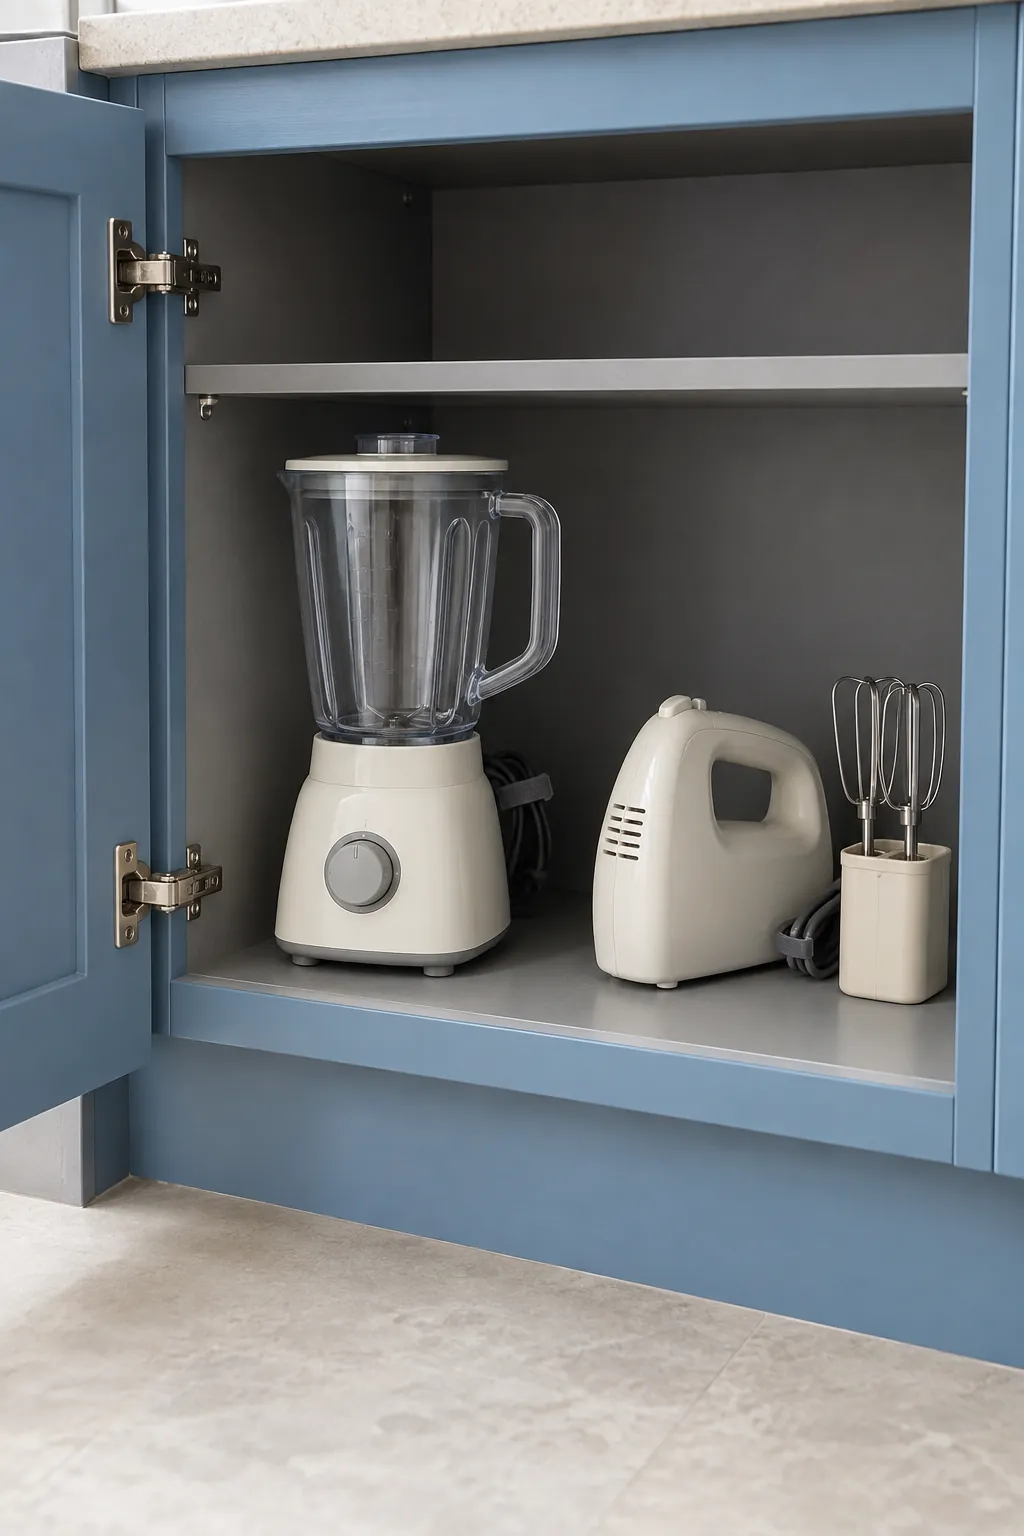
A heavy mixer may deserve a sturdy counter or accessible shelf even if you do not use it daily. Choose a position that avoids lifting overhead, reaching across a deep shelf, or twisting with the load. Check the furniture’s capacity and your own comfortable handling range before moving it.
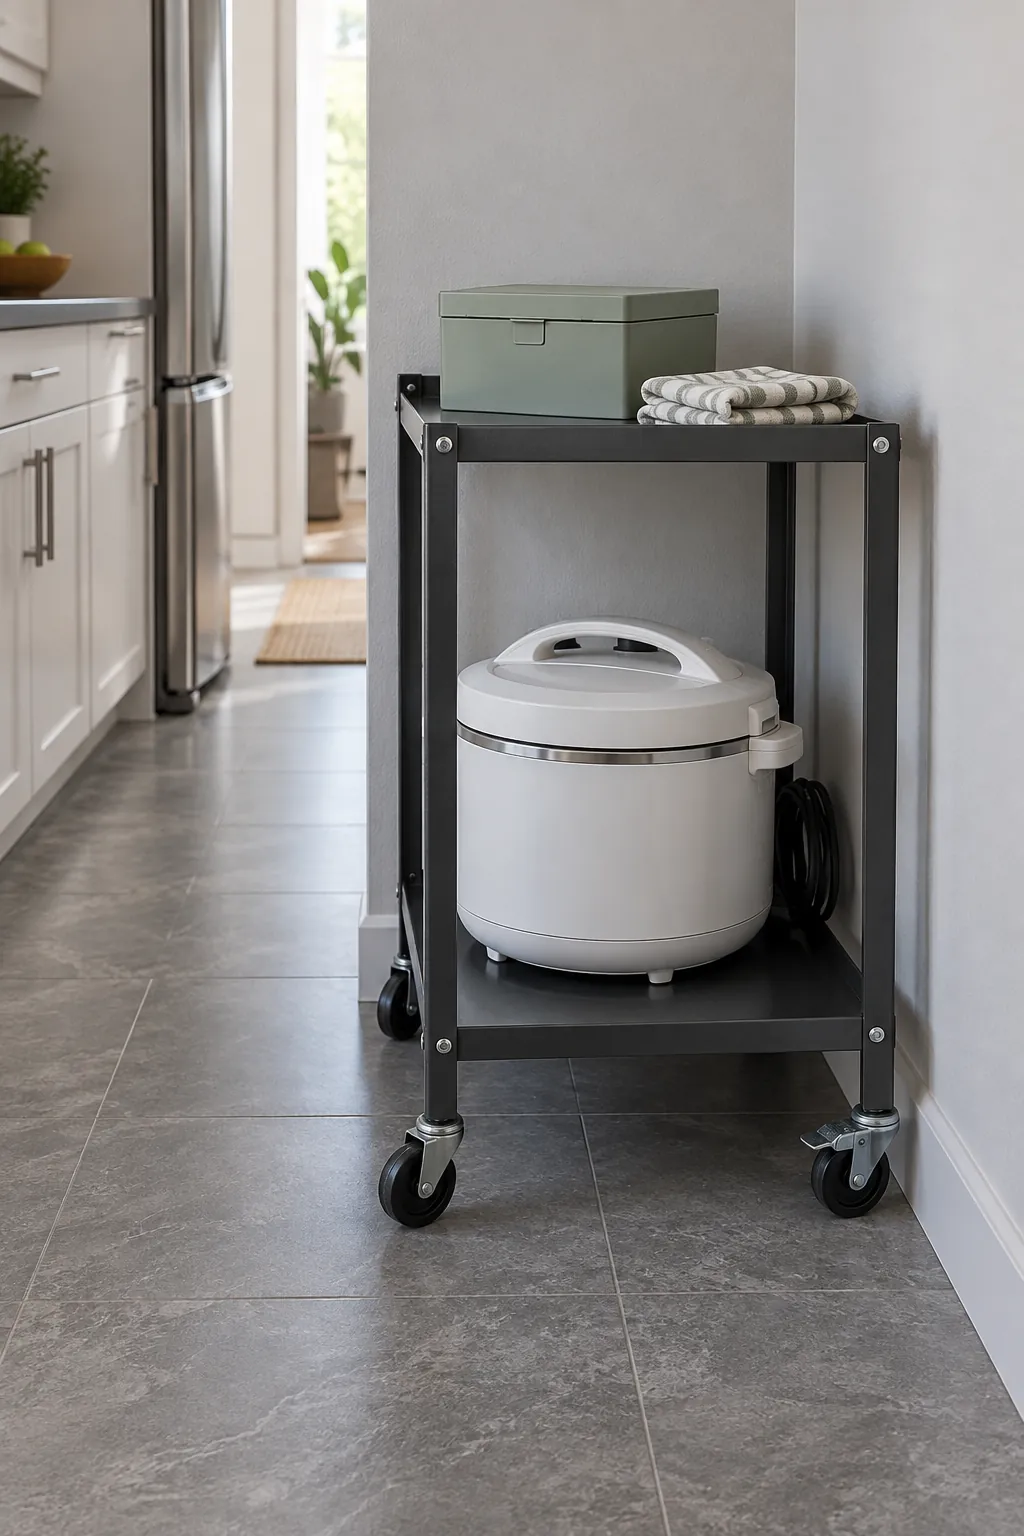
Use a load rated appliance cart
A cart can hold occasional machines when it has enough shelf depth and a suitable load rating. Store the heavier unit low, keep every foot on the shelf, and lock the wheels while parked. Leave the kitchen aisle and appliance doors clear. Treat the cart as storage unless both the cart and appliance instructions permit operation there.
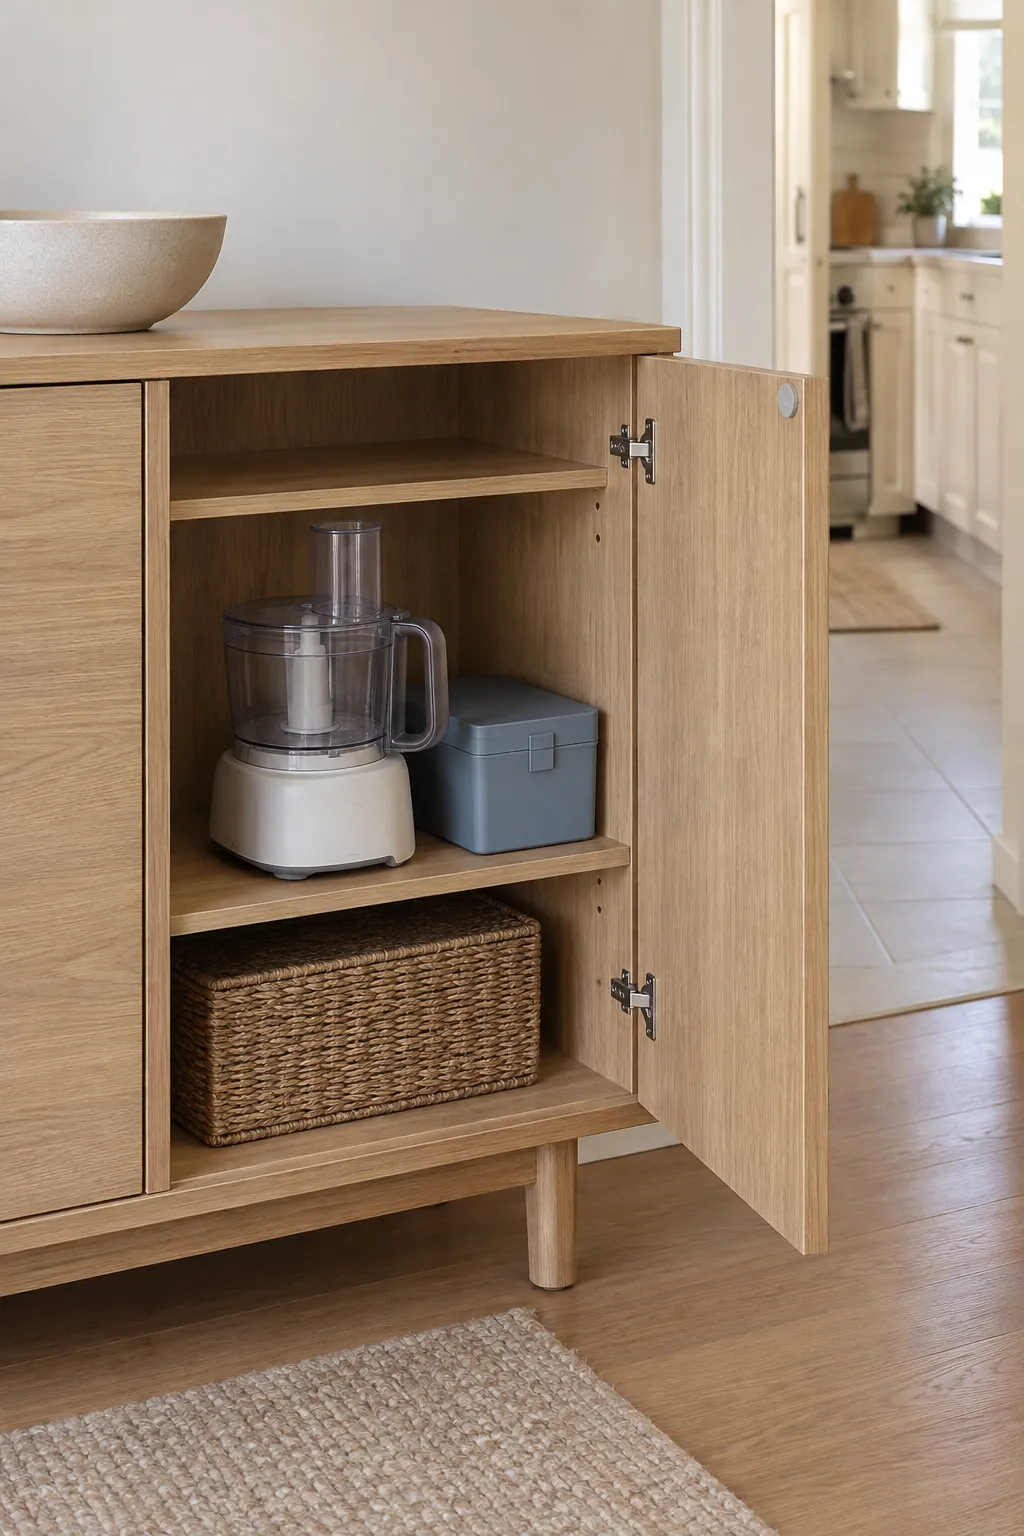
Move occasional machines into a dining sideboard
A nearby sideboard can house a blender or food processor that does not need a permanent counter position. Measure the opening, shelf depth, and available lifting room before relocating it. Keep the appliance unplugged and dry, with its attachments beside it in a small container. Follow furniture stability instructions and preserve a clear walking route. Do not run a heat producing appliance inside the furniture.
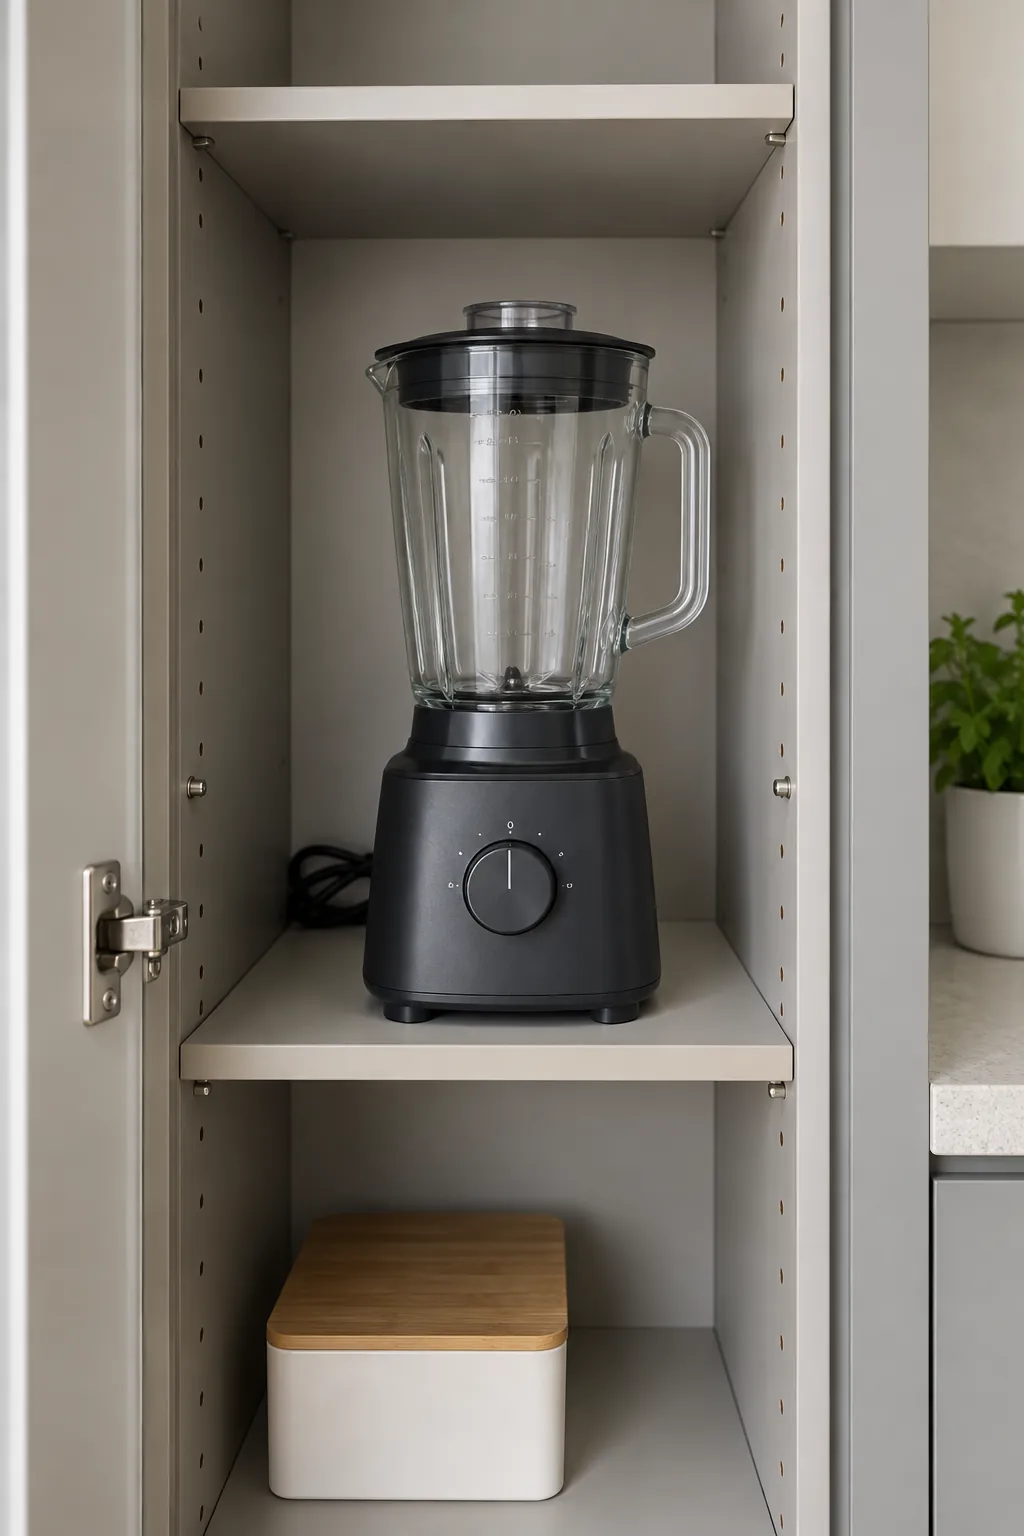
Adjust a pantry shelf to the appliance height
An adjustable pantry shelf can make a tall machine fit without wasting the whole section above it. Check the shelf and support ratings for the actual load, then leave room to lift the appliance rather than fitting it tightly against the next shelf. Put the most frequently used machine at the easier reach level.
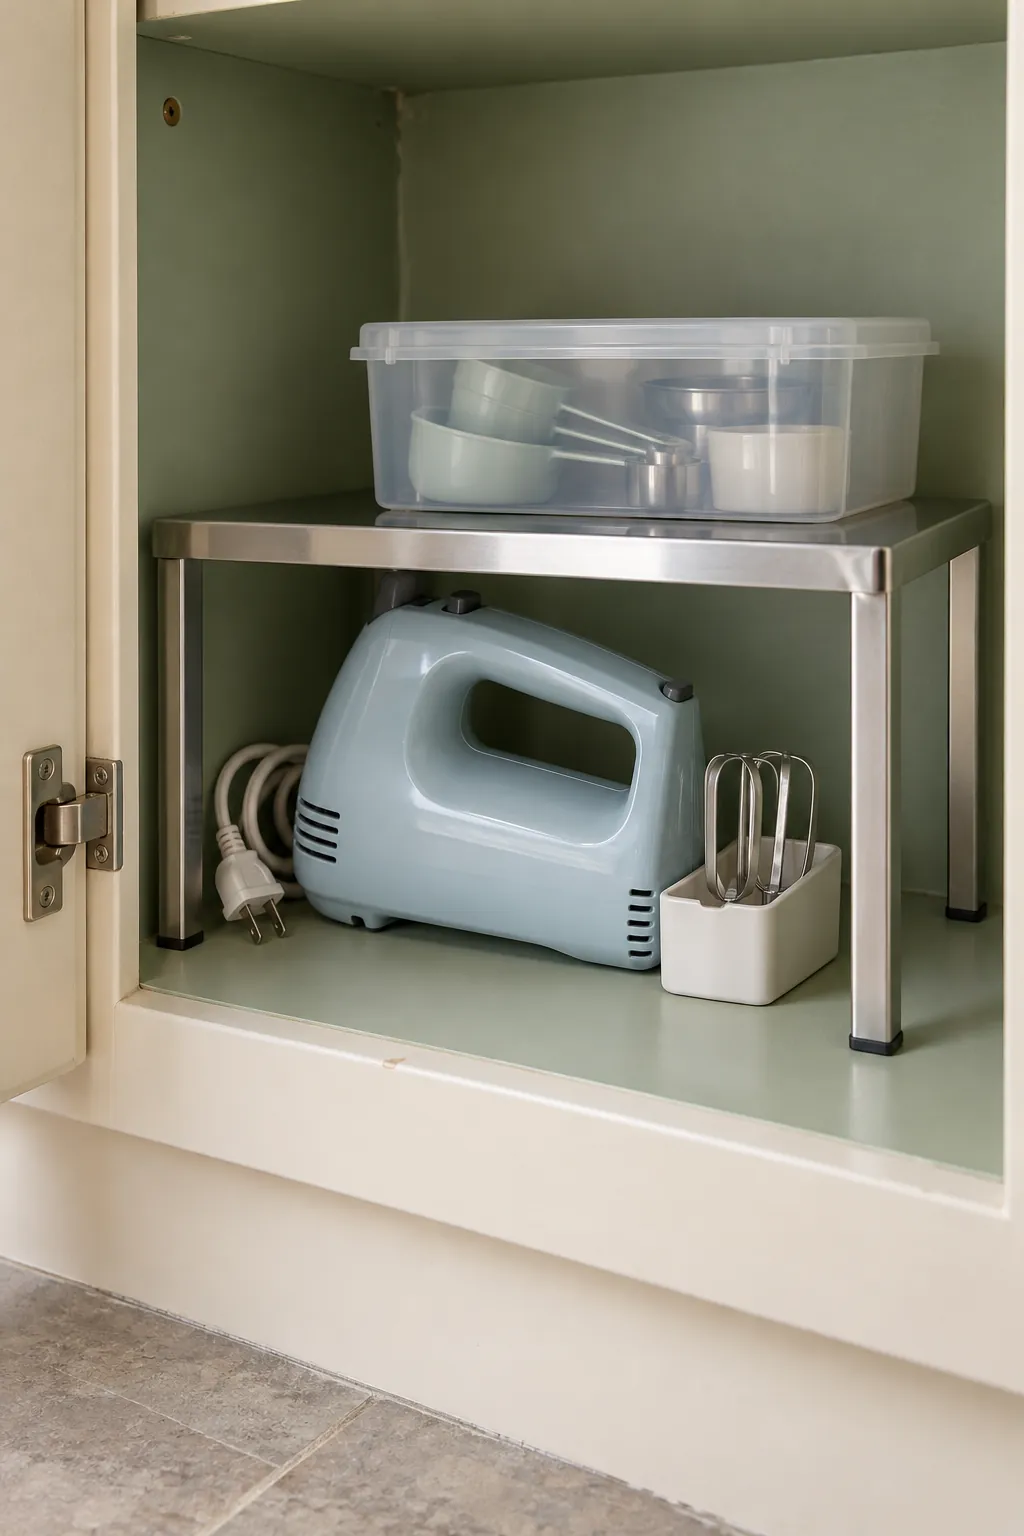
Fit a sturdy riser over a small appliance
A properly rated freestanding shelf insert can use the height above a small, cool stored appliance. Choose a stable unit whose legs and platform do not interfere with the appliance or its removal. Keep the upper load modest and place nothing directly on the machine. Remove the appliance from this storage arrangement before using it.
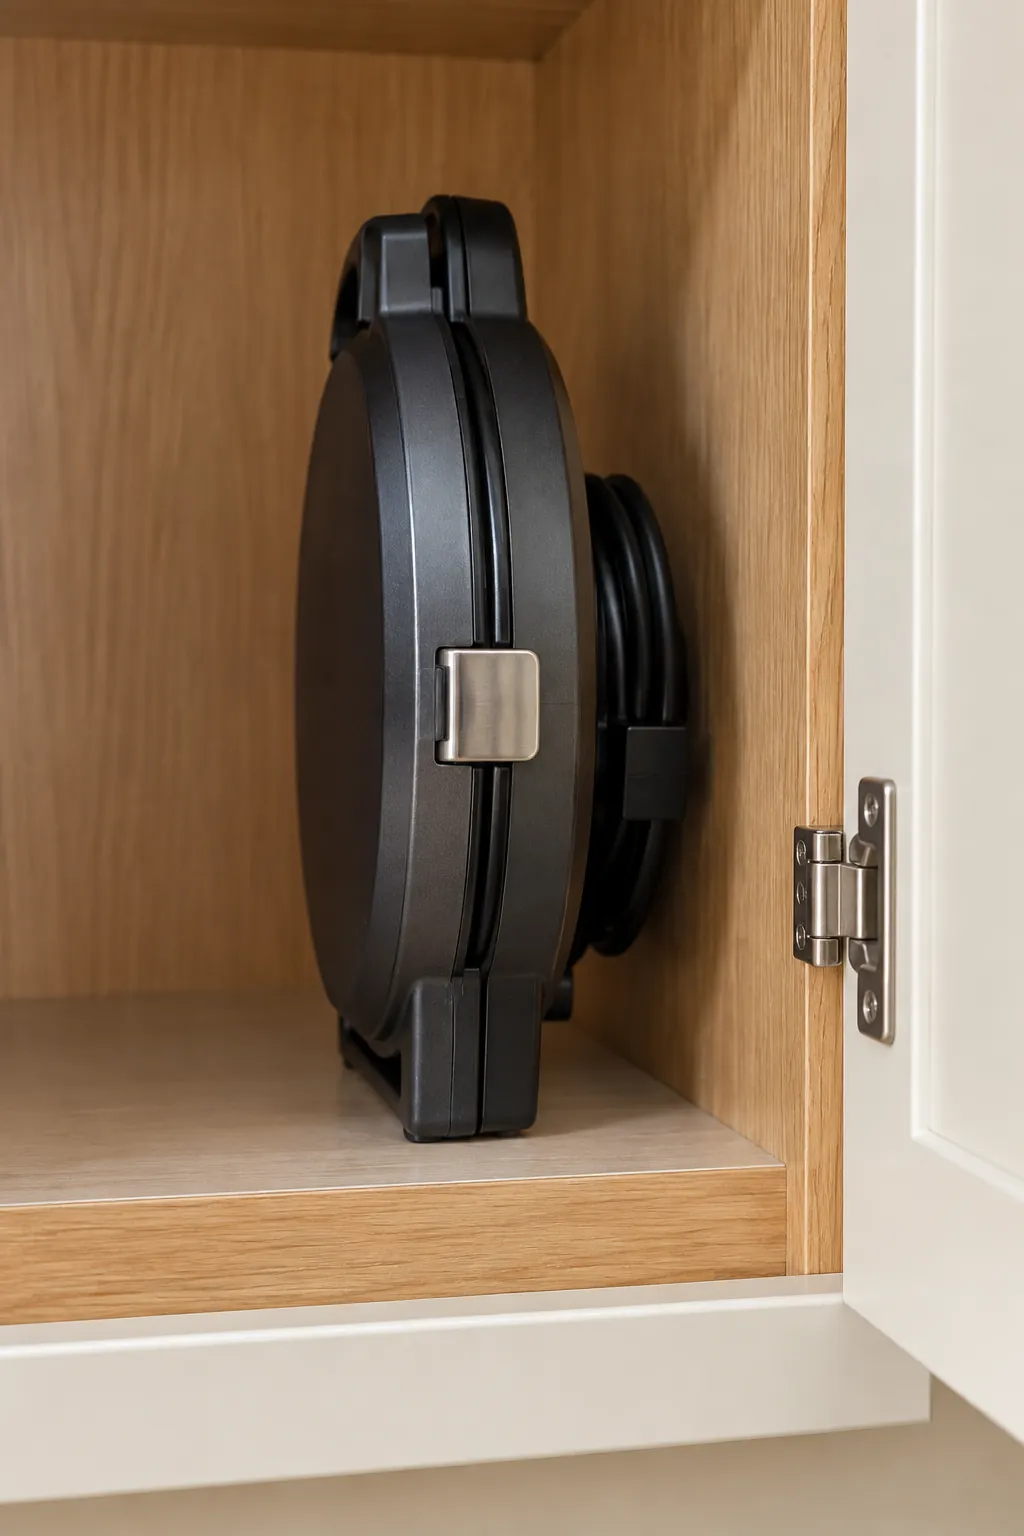
Store a waffle maker upright only when designed for it
Some waffle makers have a specified upright storage position that reduces their footprint. Use that position only if the manual permits it and the unit has cooled completely. Secure any latch or cord arrangement as directed, then stand it where it cannot topple onto dishes or trap your fingers.
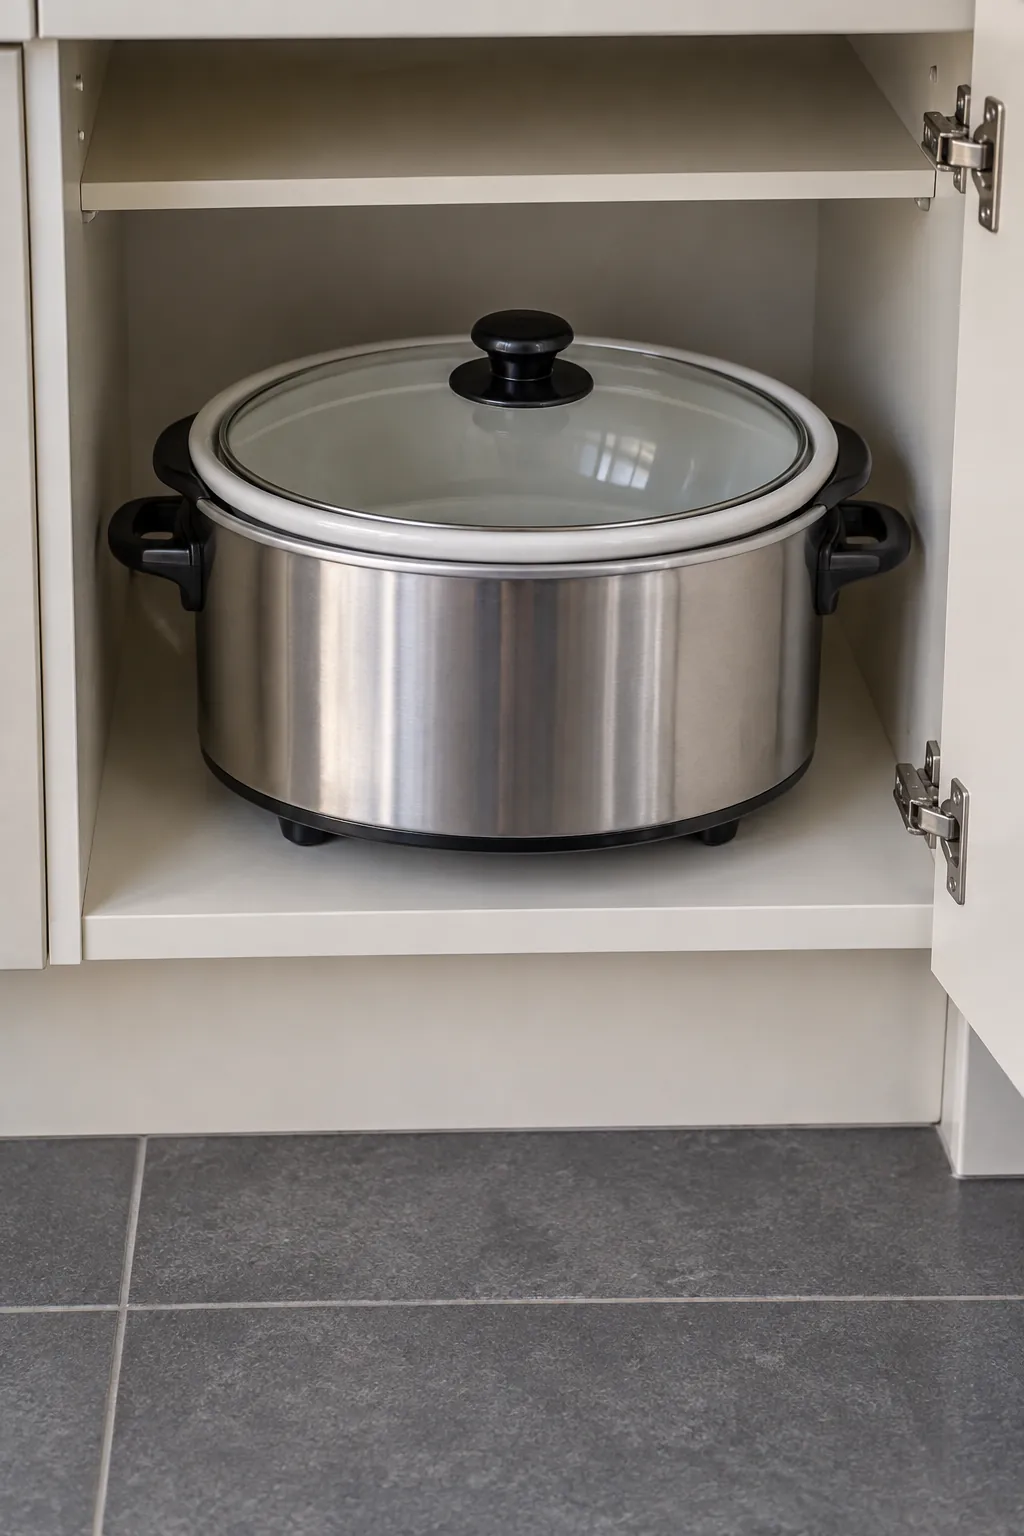
Keep a slow cooker and its insert together
Give a slow cooker a shelf that supports its full base and allows a two handed lift. Keep the clean dry insert and lid in the positions recommended by the maker, without using the lid as a shelf for other equipment. Leave a small gap around the handles so the machine can be removed without shifting neighboring objects. A lower reachable shelf often works better than a deep high cupboard.
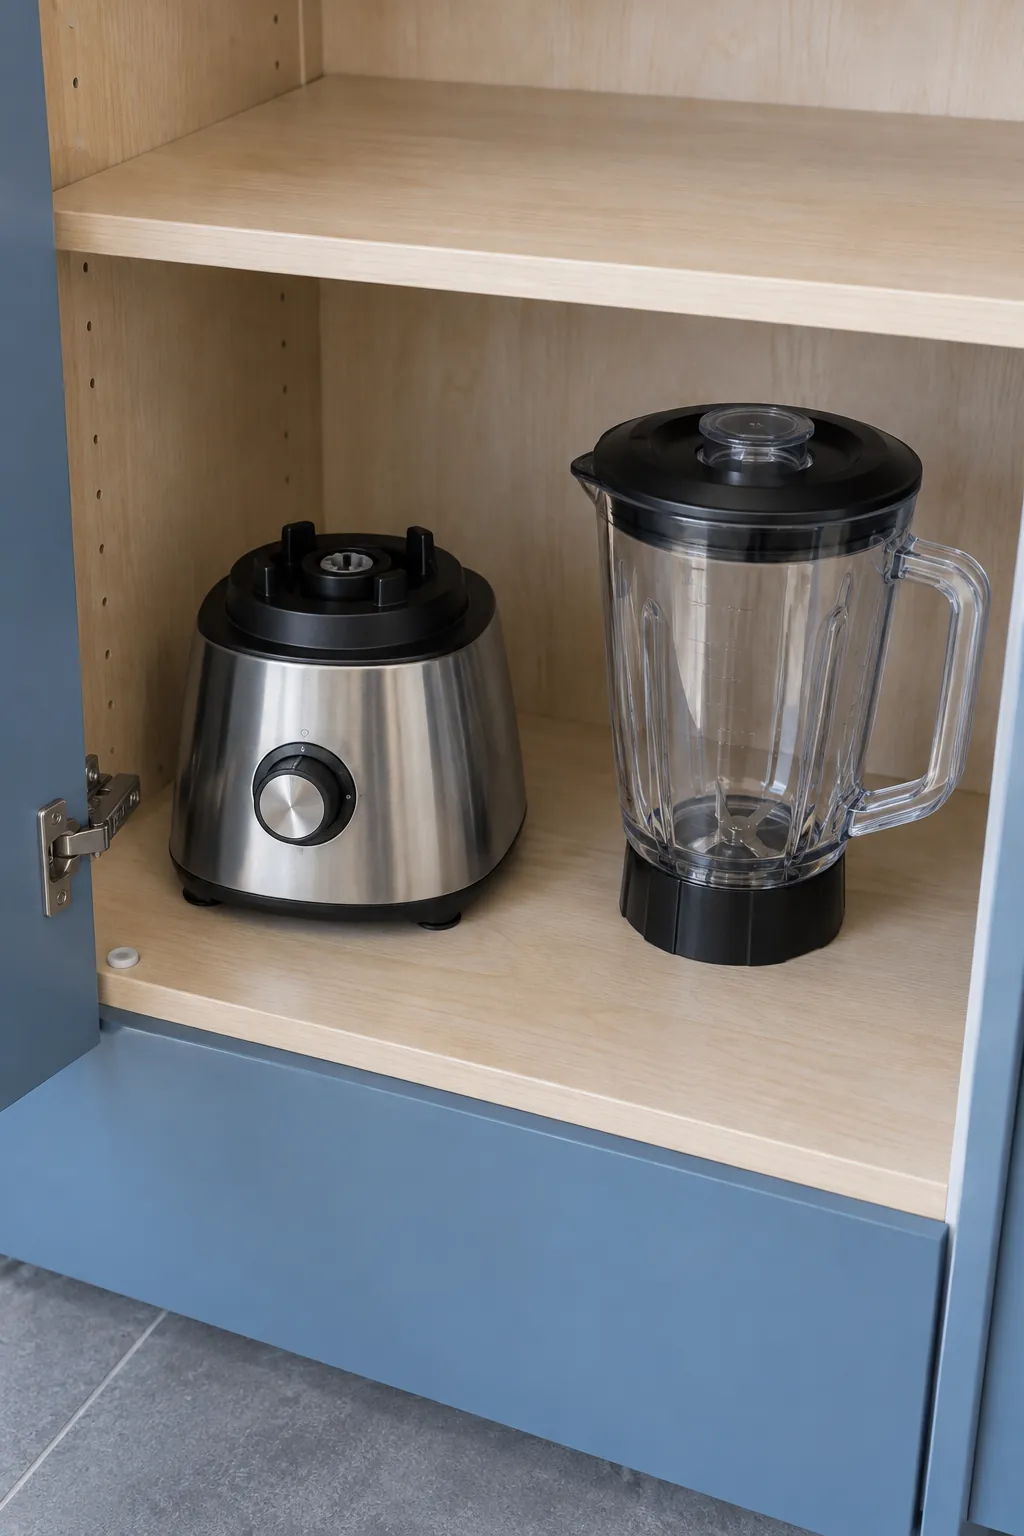
Separate blender height from blender storage
If the blender manual allows the jug to be removed for storage, place the base and clean dry jug beside each other. This can fit a lower shelf without forcing the assembled machine under it. Protect any exposed blade assembly as directed, and do not leave sharp parts loose. Check that the extra width still leaves both pieces easy to retrieve.
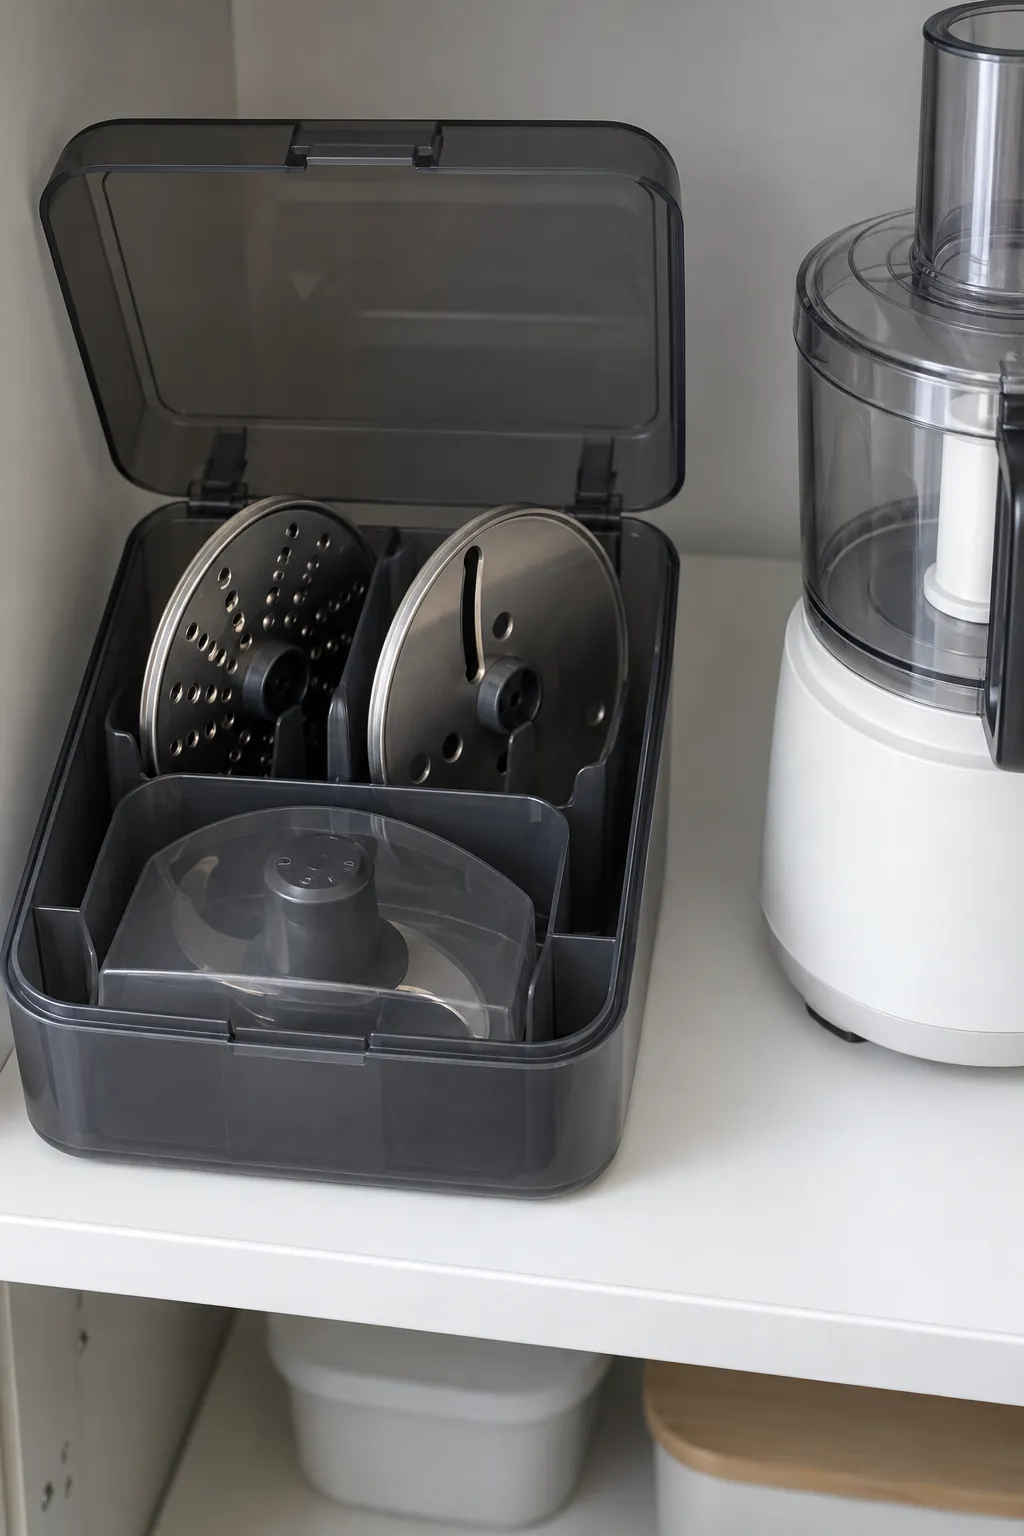
Give processor attachments a protected companion box
Food processor disks and blades need their own protected storage, ideally the maker’s fitted holder. Keep that holder next to the processor so the machine remains usable without a search through several cupboards. Do not drop sharp attachments into a loose basket or hide them under a cloth. Allow enough room to remove the protected holder without tipping it.
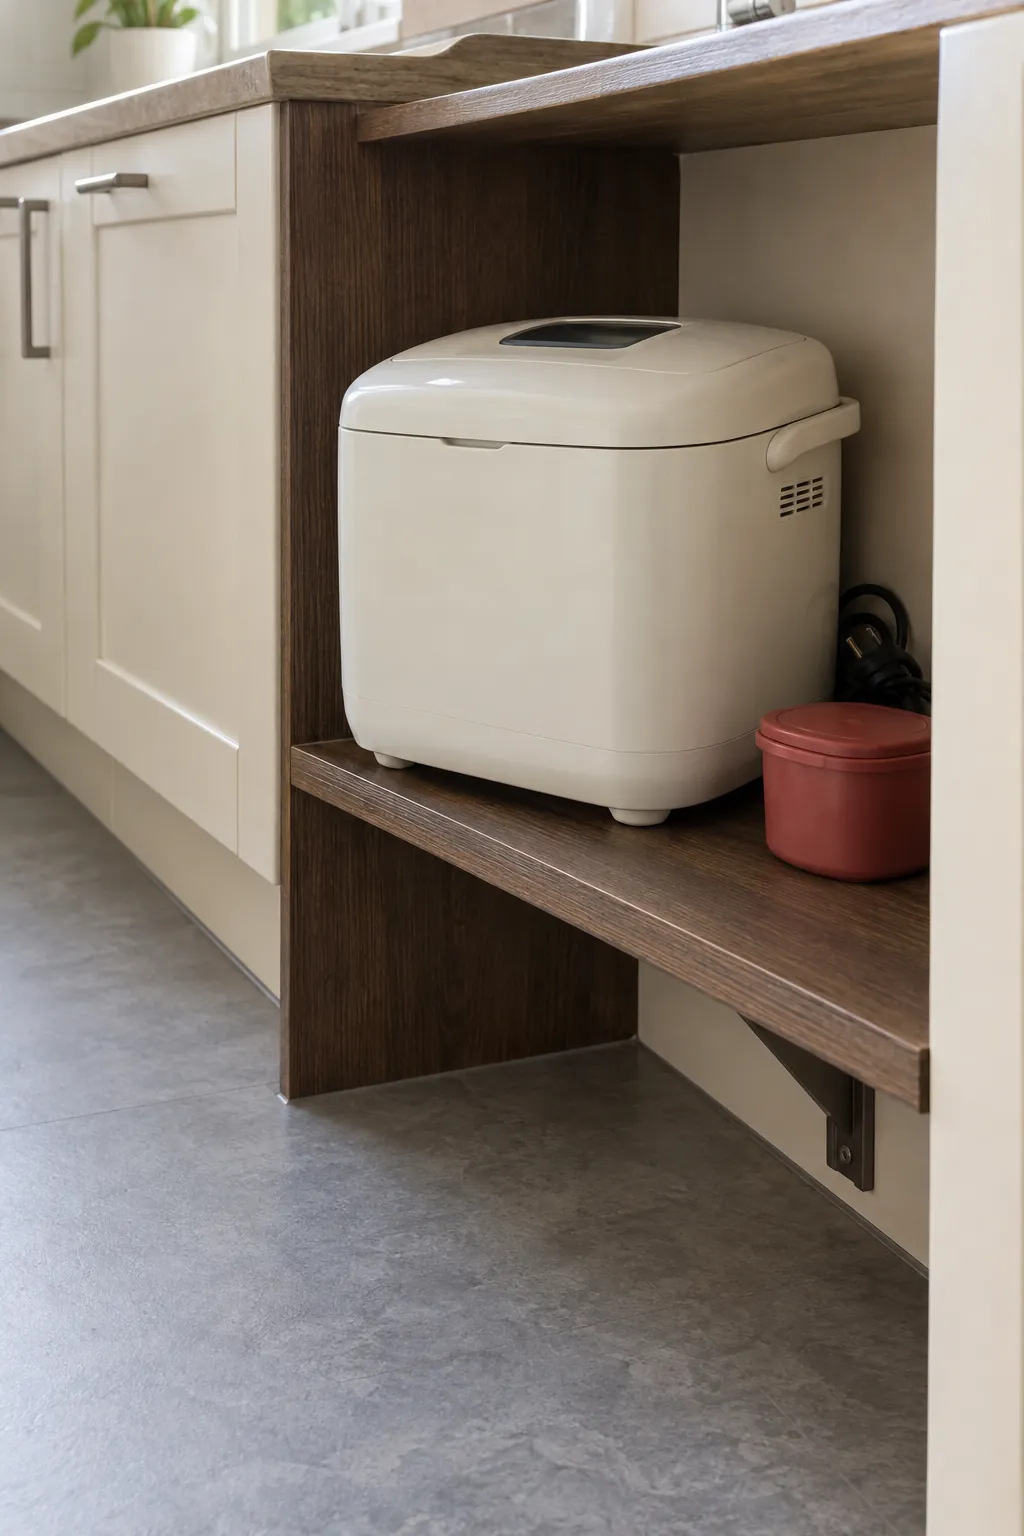
Use a low open shelf for a bread maker
A bread maker can occupy a sturdy low shelf when its size makes upper cabinets awkward. Confirm the shelf depth, weight capacity, and a comfortable grip before loading it. Store the kneading paddle in its proper place or a small nearby container. Move the cool unplugged machine to a suitable clear counter before operating it.
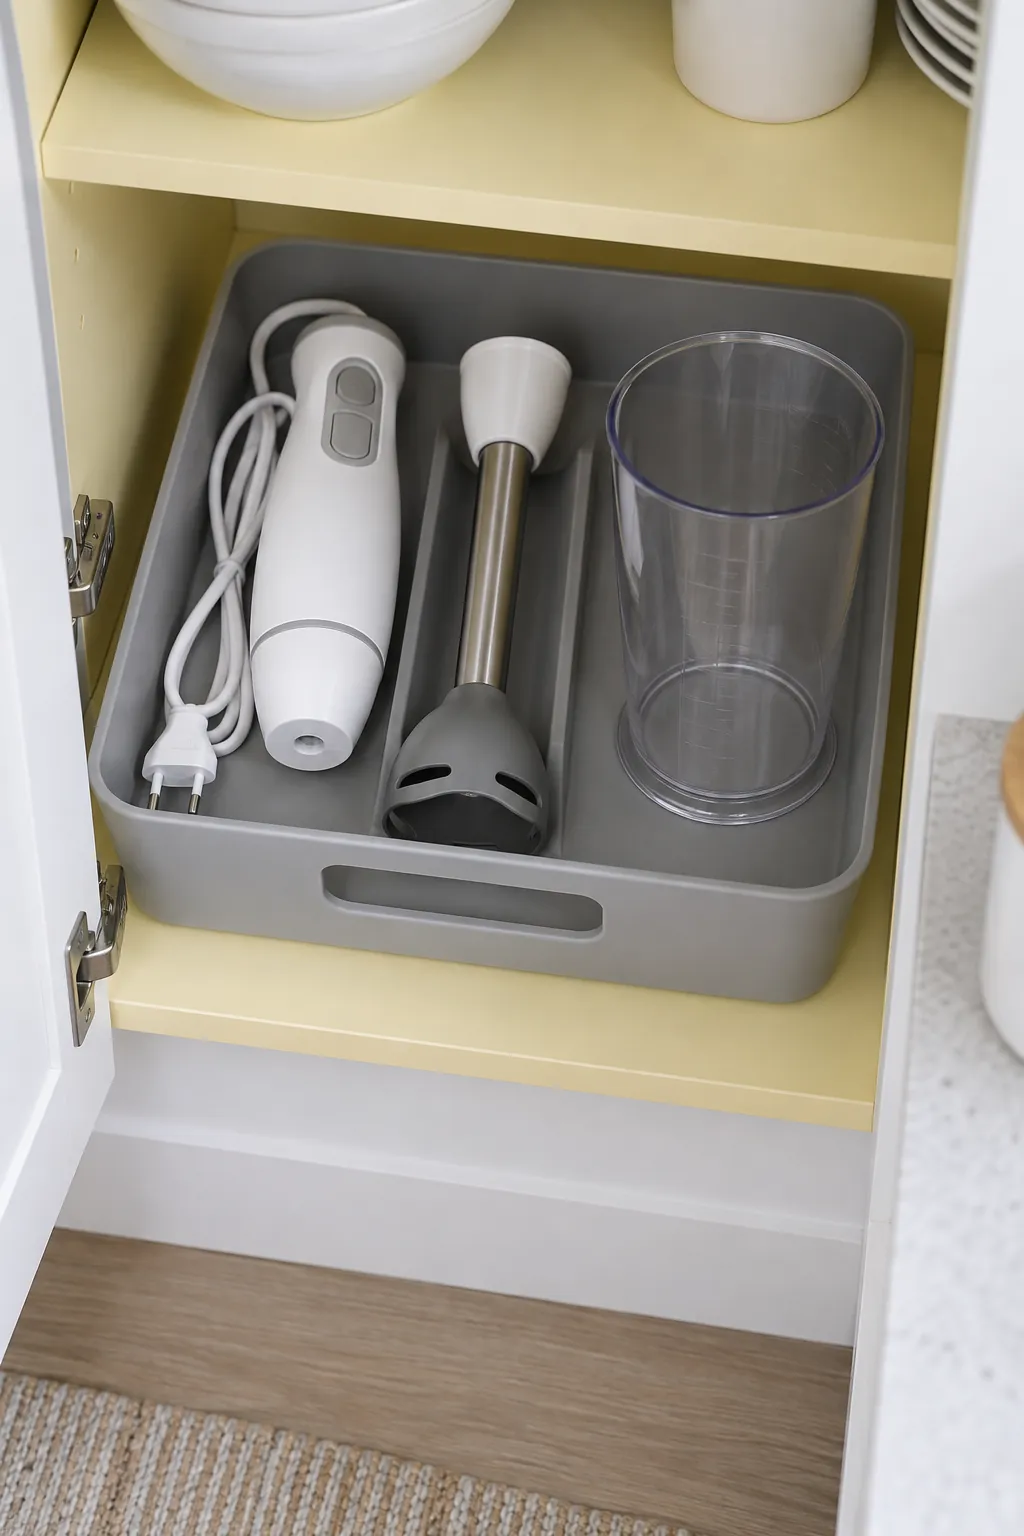
Put an immersion blender set in a shallow bin
A shallow bin can hold an immersion blender motor, its clean dry shaft, and a small blending beaker as one group. Protect the blade end with the supplied guard or another maker approved arrangement. Choose a bin that lifts out easily and does not force the cord into a tight bend.
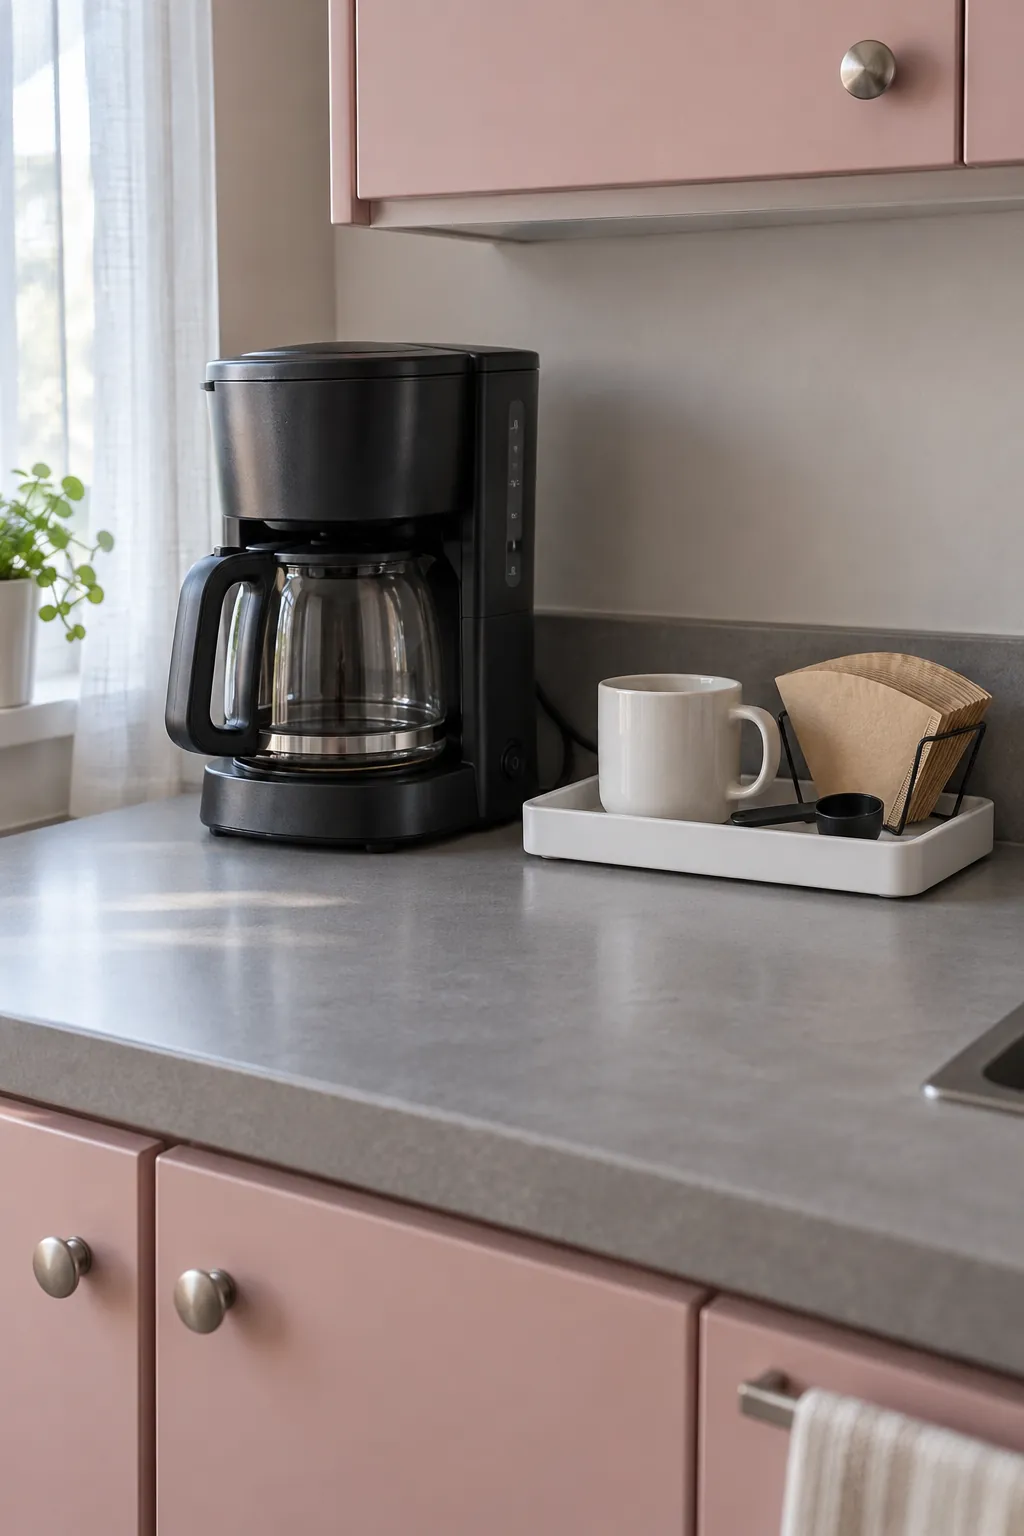
Consolidate coffee accessories around one machine
A small coffee setup becomes crowded when spare filters, scoops, mugs, and the machine all spread into separate areas. Store backup supplies in a cupboard and keep only the daily accessories beside the appliance. Use a small accessory tray if it helps move those loose pieces together. Give the machine its own stable operating position with the clearances and electrical connection its instructions require.
Return the toaster only after it cools
A toaster can live in a nearby cupboard if you can lift it comfortably and return it after it has cooled completely. Unplug it, clean out crumbs as directed, and keep the cord from catching under its feet. Never operate it in the cupboard or cover a warm toaster to make it look tidy.
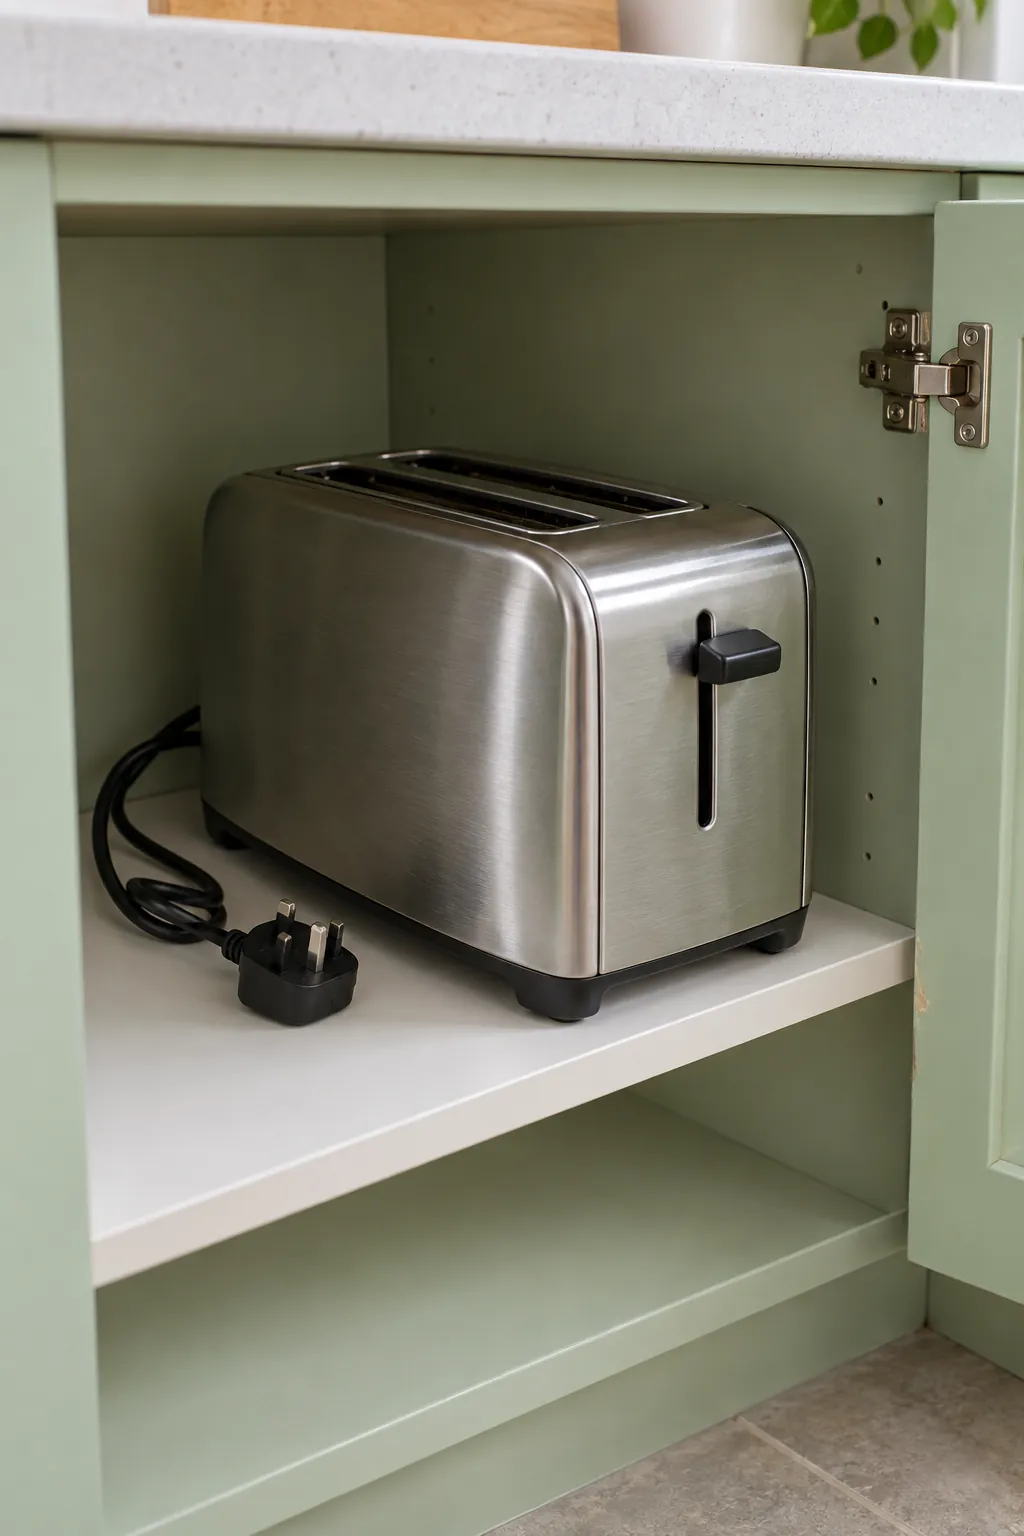
Treat an appliance garage as a storage enclosure
A counter cabinet can hide appliances between uses, but it does not automatically provide a safe place to run them. Compare its dimensions and door travel with the appliance’s instructions, including heat and steam clearance. Plan a suitable counter position outside the enclosure for operation unless the complete installation is expressly designed and approved for use inside. Ask a qualified professional about any electrical changes.
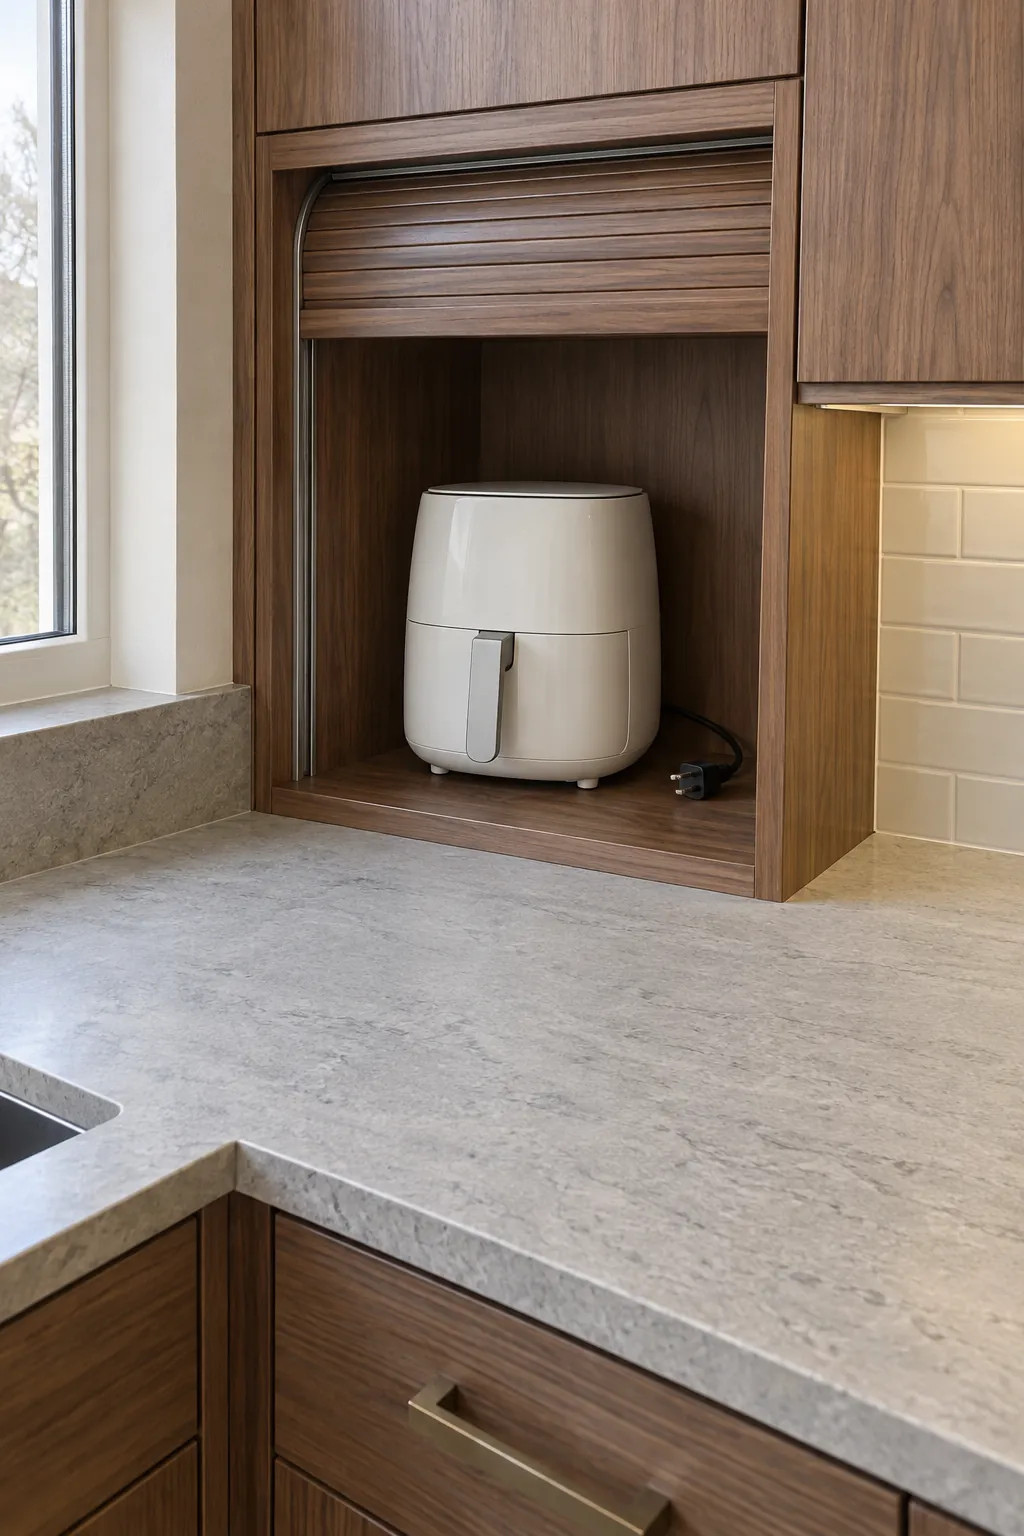
Consider a fitted lift for a heavy mixer
A purpose made appliance lift can reduce repeated lifting if the cabinet and machine are compatible. Check the mechanism’s rated load, platform size, locking position, and installation requirements with its maker. A qualified installer can assess the cabinet structure and available travel. Do not treat a general pullout shelf as an equivalent lift. Confirm whether operation on the platform is permitted before using the mixer there.
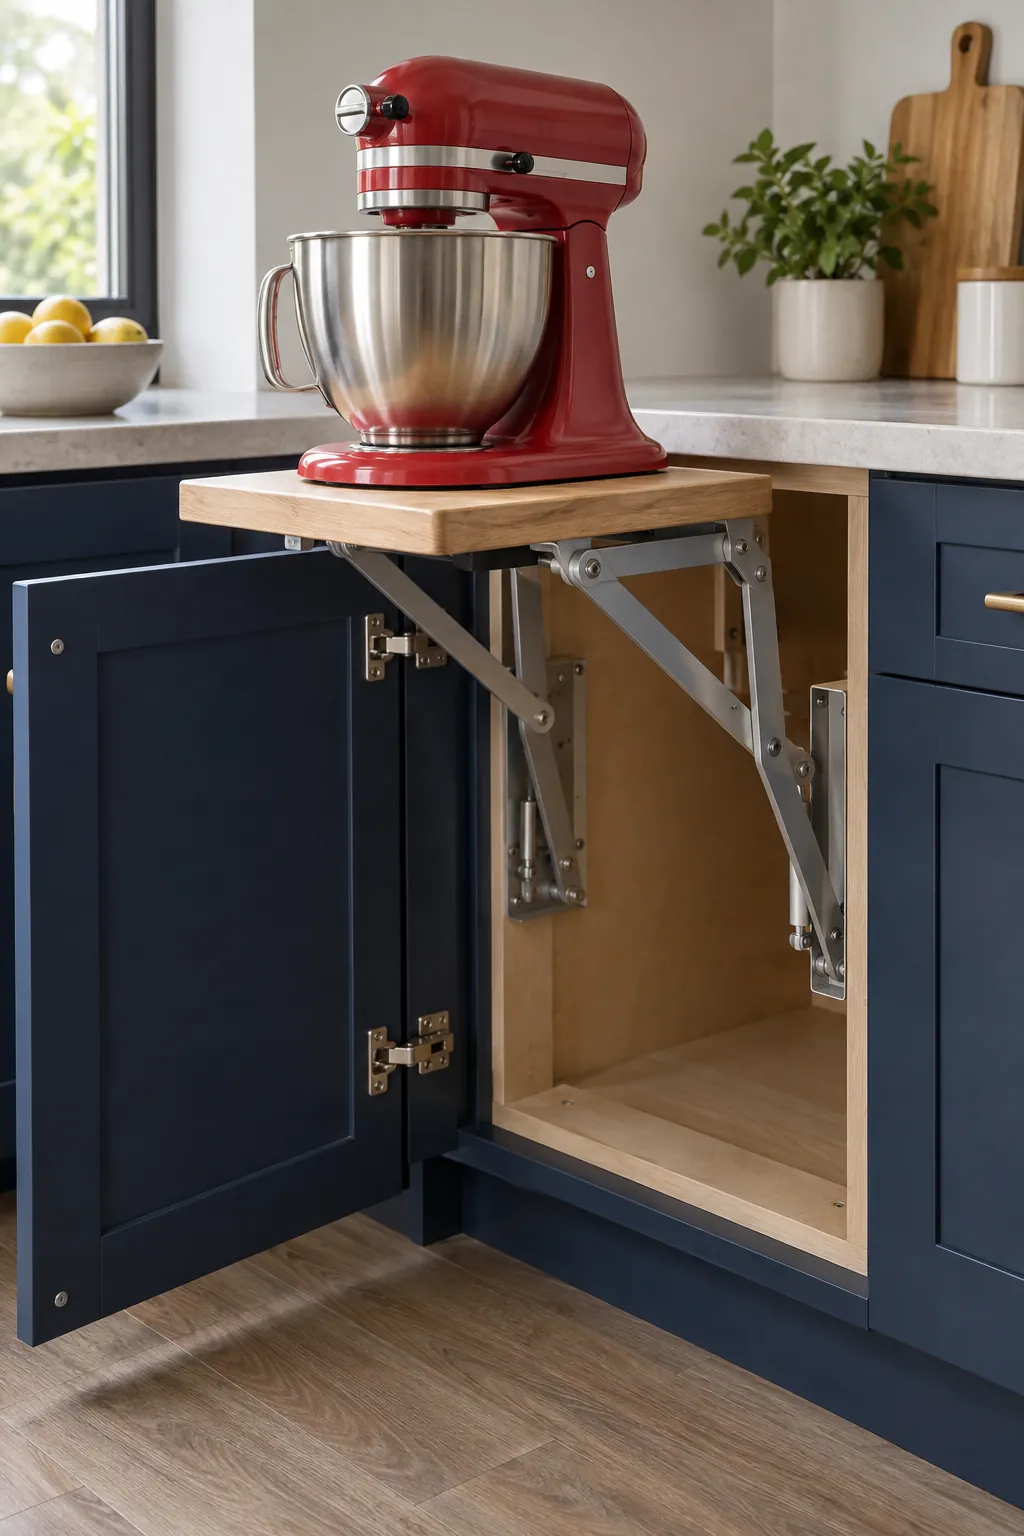
Slide an appliance forward on a rated pullout shelf
A fitted pullout can make a deep storage position easier to reach. Choose hardware rated for the full appliance load and install it into suitable cabinet structure. Check that the shelf clears hinges and neighboring handles at full extension. Bring the appliance to its proper operating surface unless the complete setup is approved for use on the shelf.
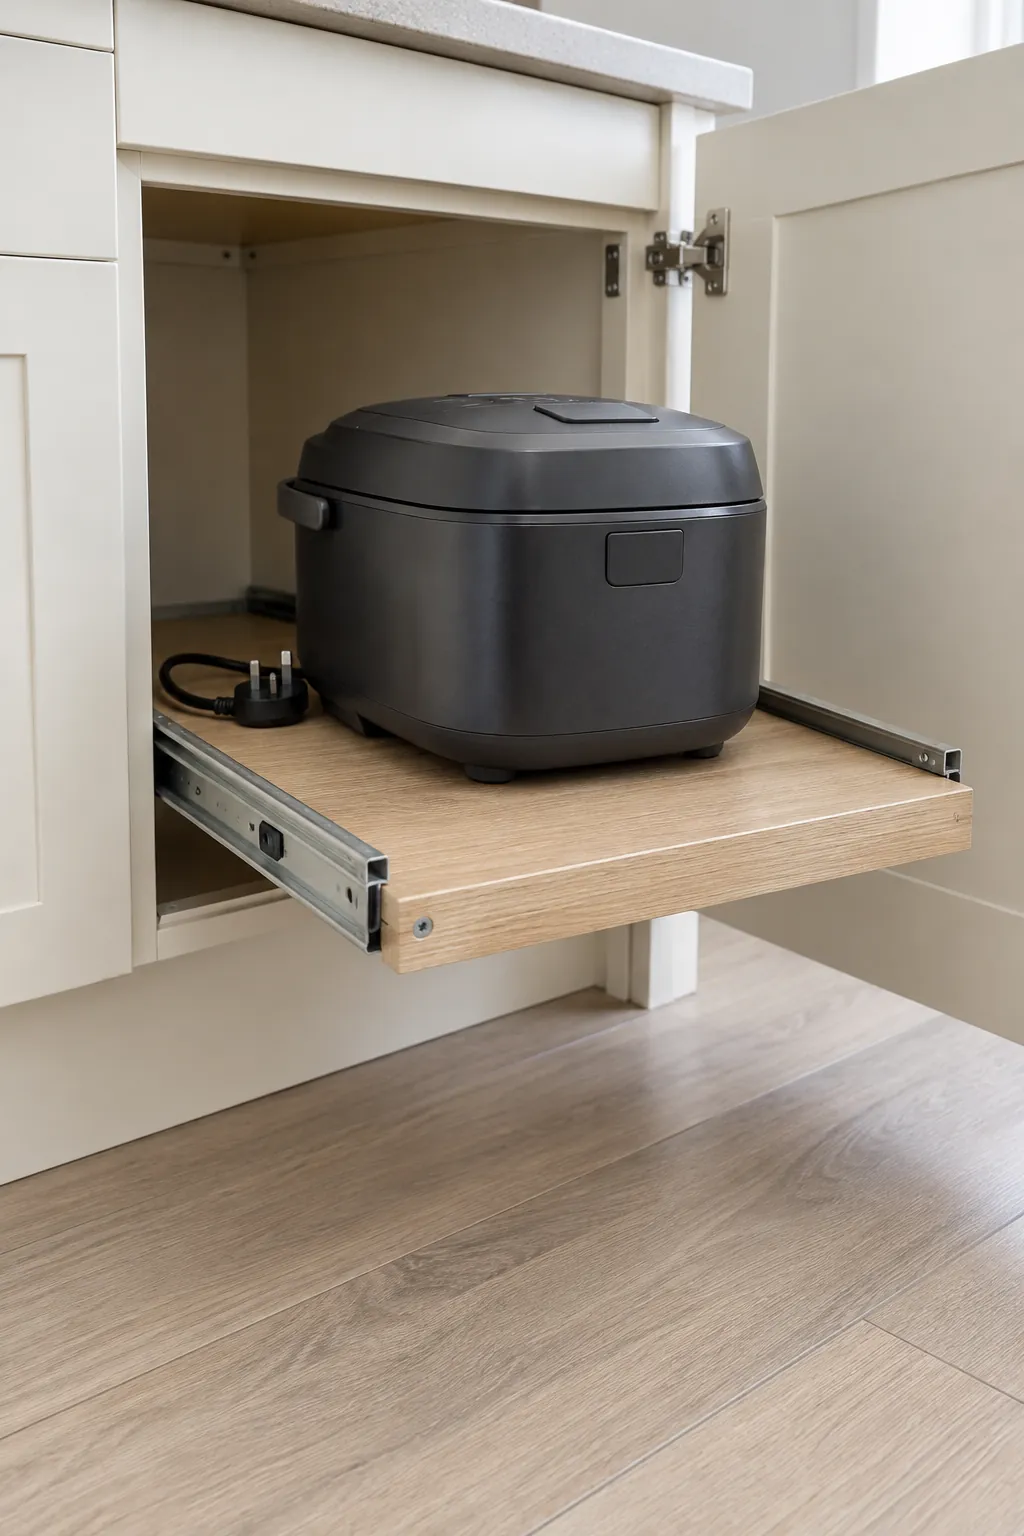
Use a dry hall cupboard for seasonal equipment
A waffle maker used for occasional gatherings can live outside the daily kitchen work area. Choose a dry accessible shelf and keep the machine cool, clean, and unplugged before storing it. Avoid heavy equipment on high shelves or a remote position that requires an awkward carry down stairs.
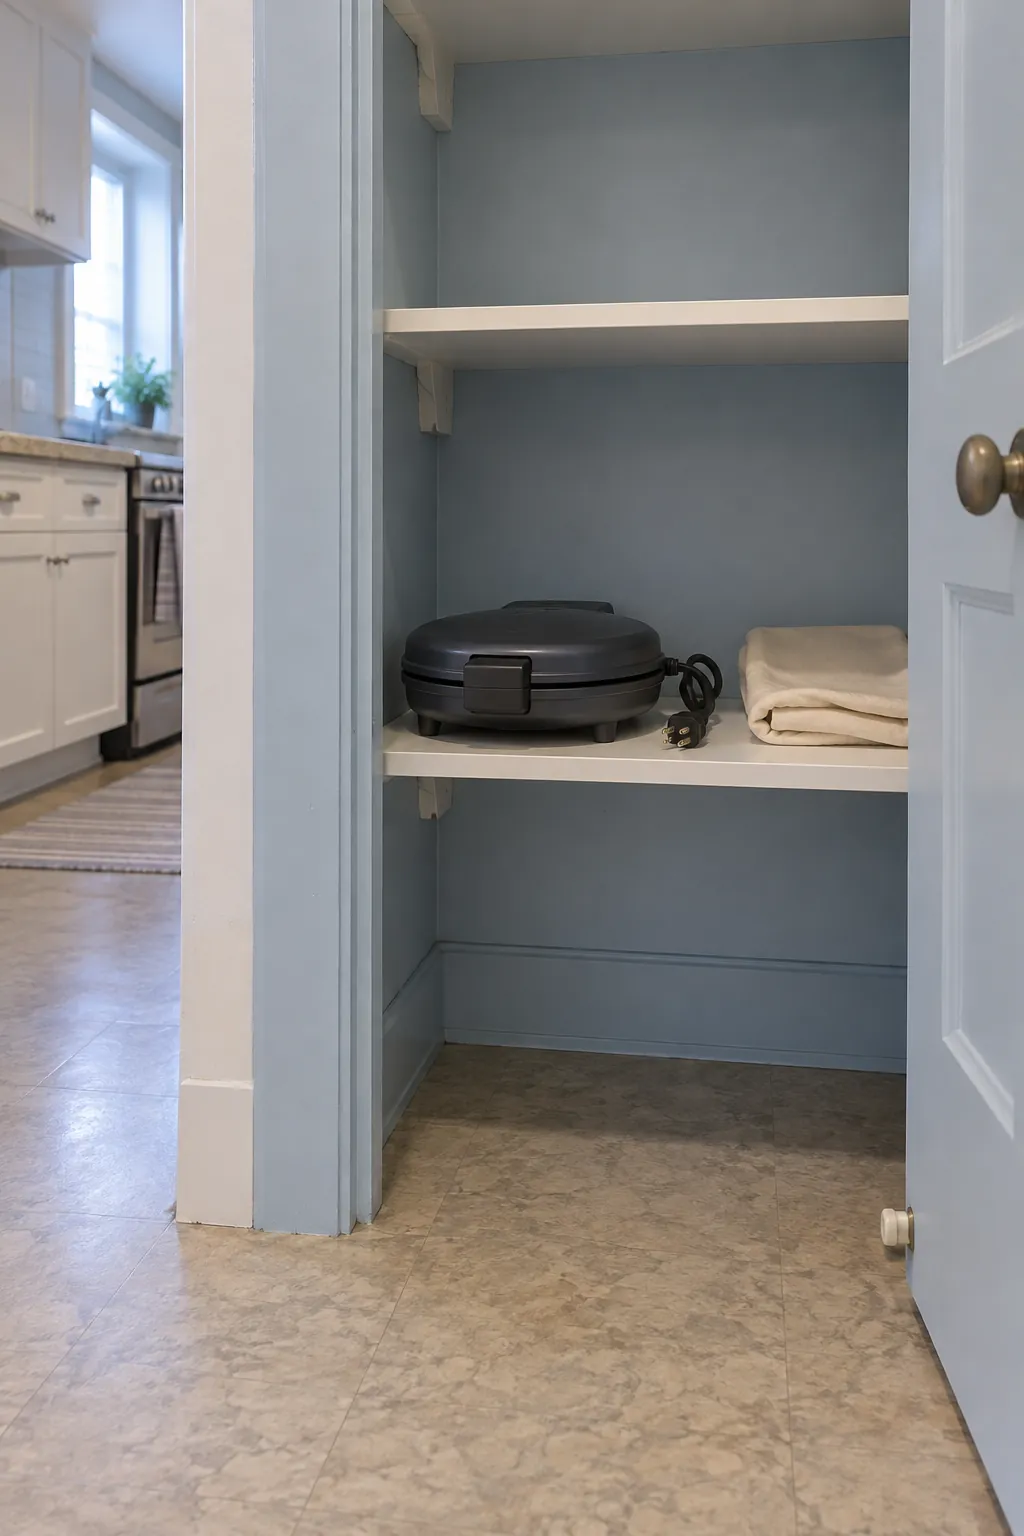
Create a baking station on existing sturdy furniture
An existing sturdy table or cabinet near the kitchen can group a mixer and its protected accessories for storage. Check its load capacity and stability rather than assuming a decorative console can support the machine. Keep the top clear around the base and the electrical cord contained. If you plan to operate the mixer there, confirm the furniture and location meet the machine’s instructions.
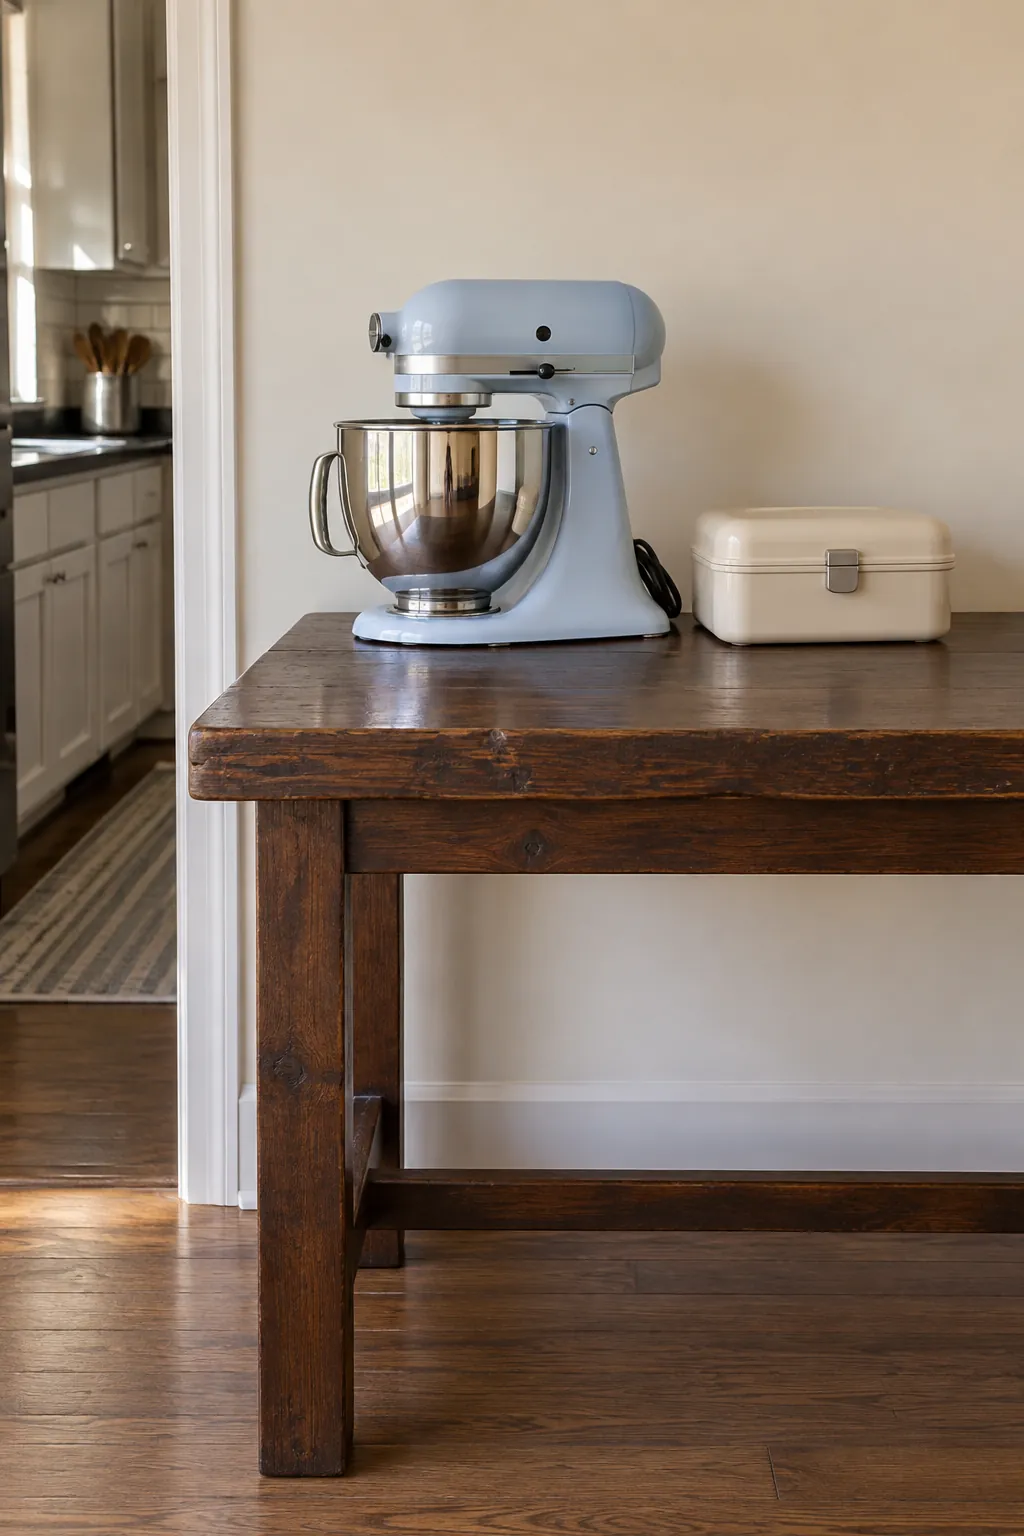
Contain cords without tightening them
A loose reusable cord strap can keep an unplugged appliance’s cable from spreading across its shelf. Follow the maker’s cord storage instructions and avoid sharp bends, crushing the plug, or wrapping a cable around a still warm body. Leave the plug visible enough that you can confirm the machine is unplugged before moving it.
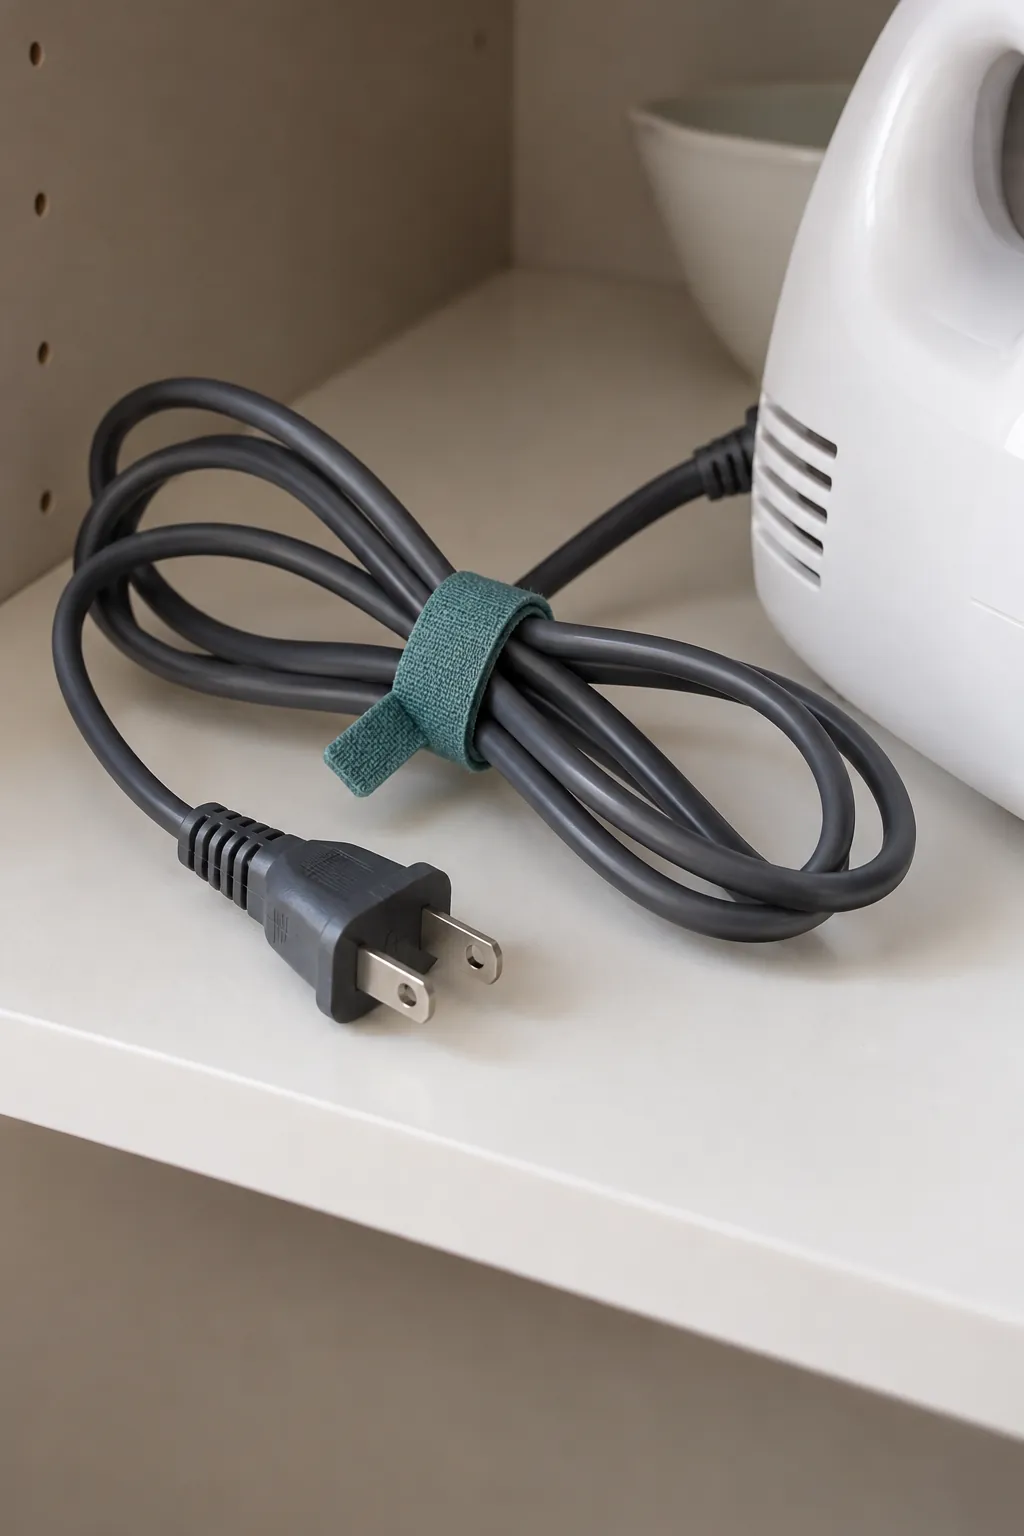
Group compact tools in a carry tray
A light hand mixer and its beaters can share a tray with a small kitchen scale if the tray comfortably supports the combined load. Keep beaters secured so they cannot roll out, and place the scale where it will not be struck by the motor body. Lift the loaded tray once to test its handling before committing the shelf space. Store sharp or heavy equipment separately.
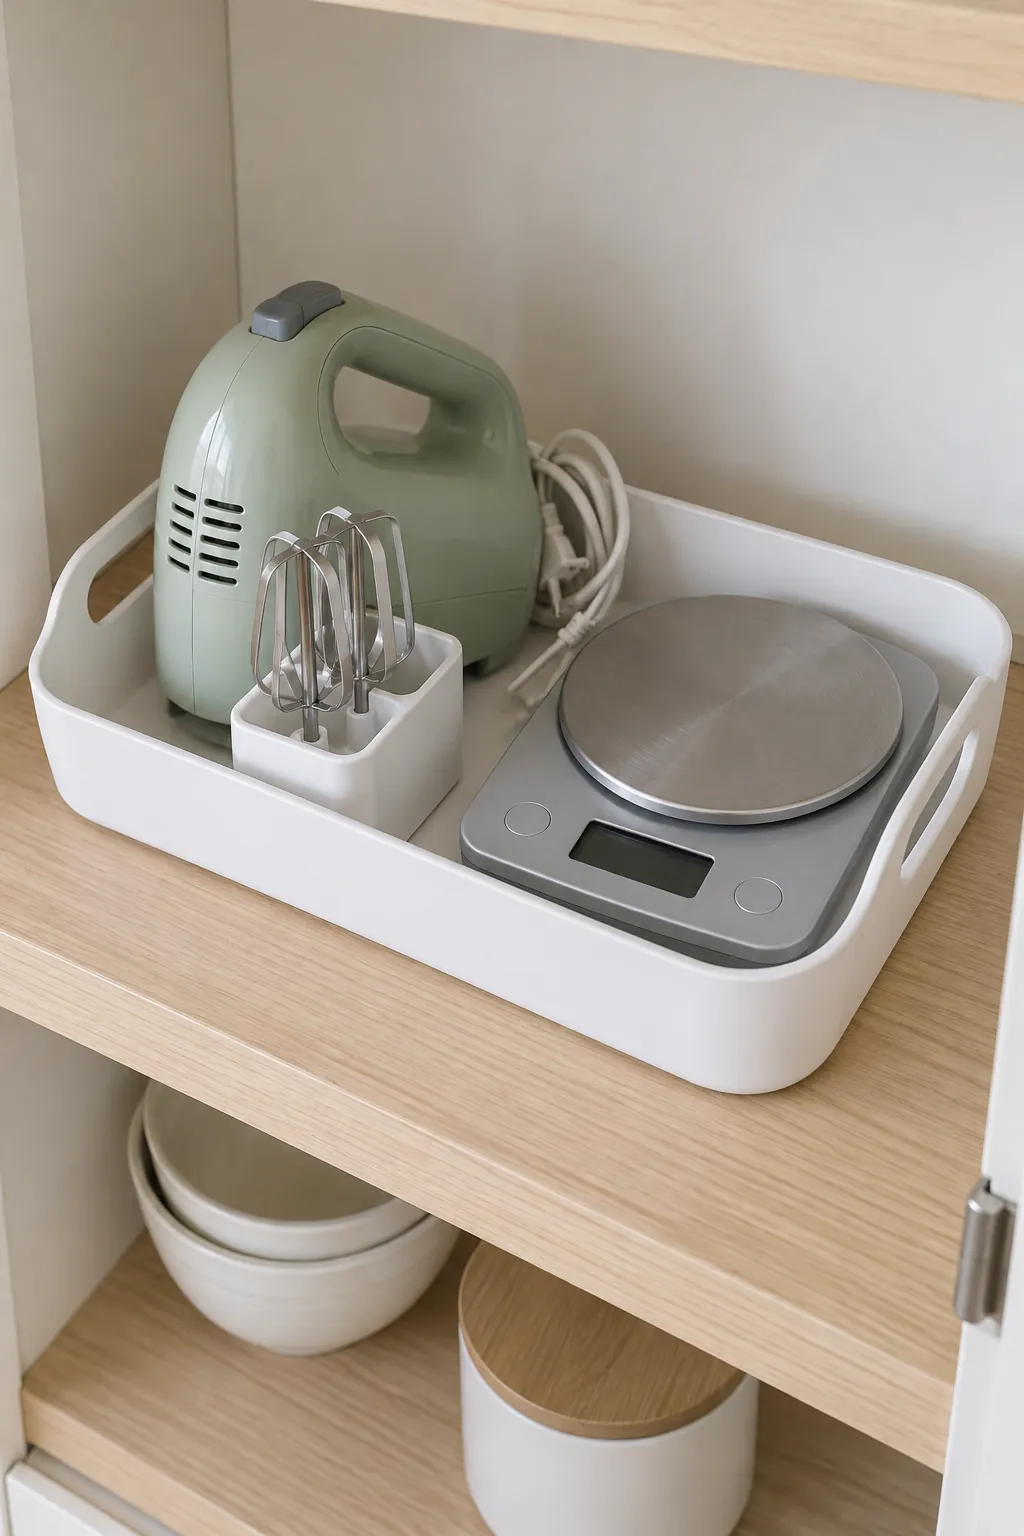
Give a vacuum sealer a shallow dedicated shelf
A slim vacuum sealer often fits a shelf that would be too low for a blender or cooker. Store compatible bags beside it in a flat container, leaving the machine’s lid and seals in the storage position the manual specifies. Do not clamp the lid shut for long storage unless instructed to do so.
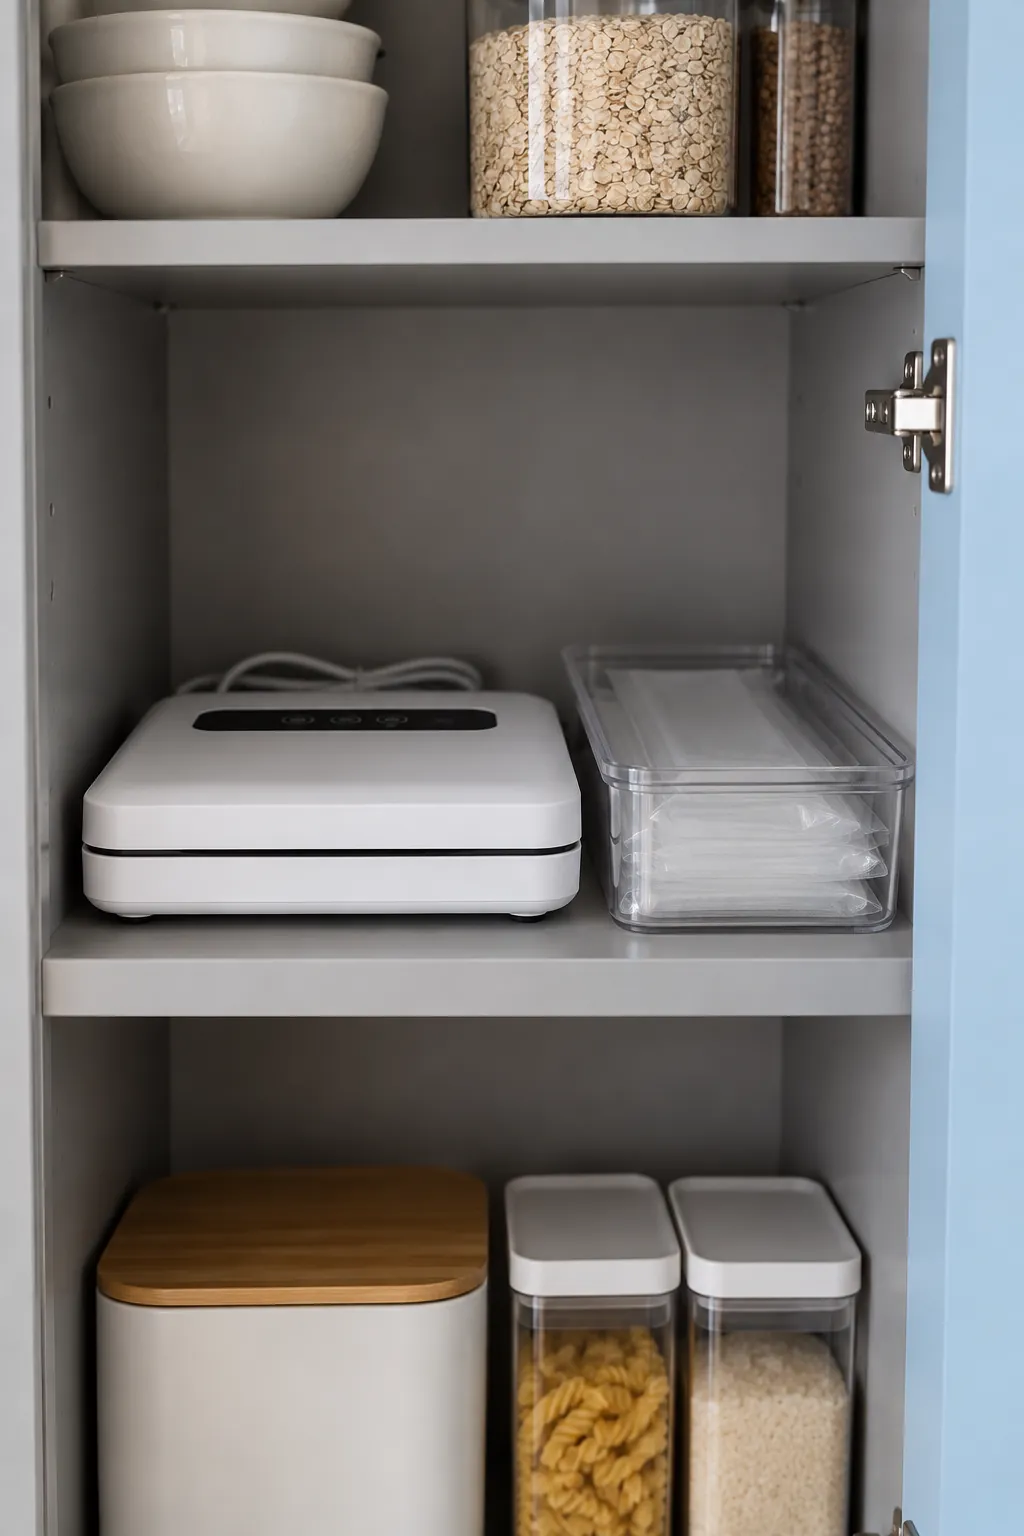
Make the appliance footprint the shelf boundary
Mark a proposed storage footprint with a removable paper template before buying a rack or cabinet. Include projecting handles, feet, plugs, and the space your hands need to lift the appliance. Test the route through the door, not just the shelf dimensions. A machine that fits inside but cannot come out level has no useful storage position.
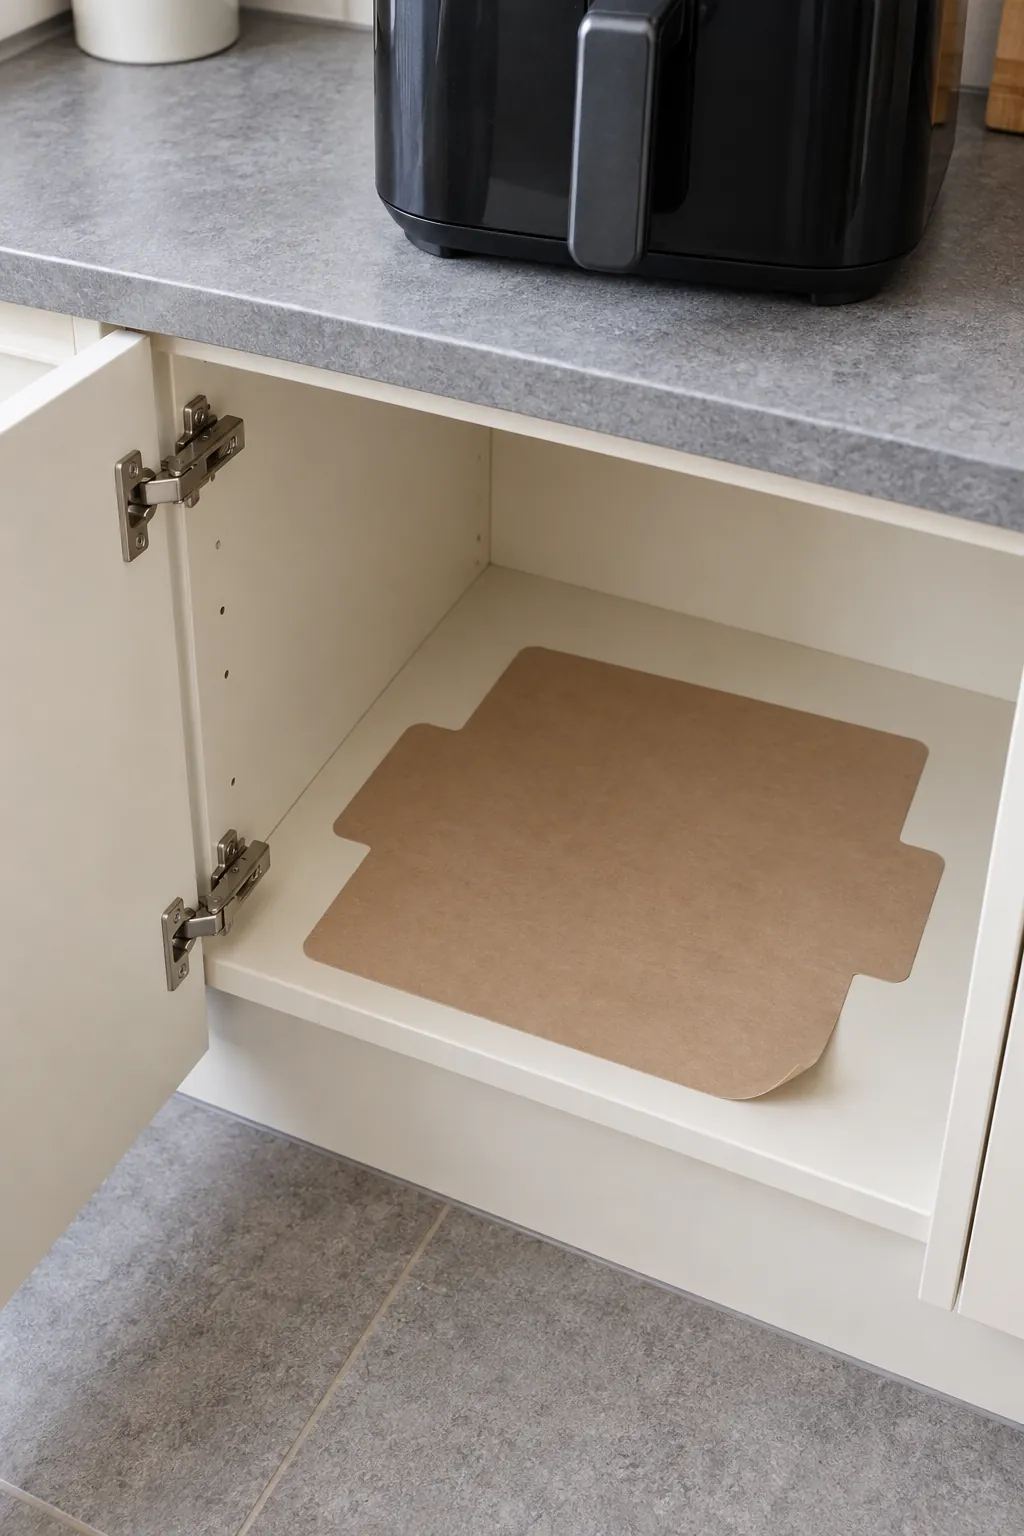
Keep a clear return position after each use
Leave the chosen shelf spot empty while its appliance is on the counter. Allow the machine to cool, clean and dry it as directed, then return it without shifting a second load. If the spot fills with unrelated items during an ordinary week, reduce that shelf’s contents or choose a more convenient home. A storage arrangement earns its space when putting the appliance away is a normal part of finishing the task.