
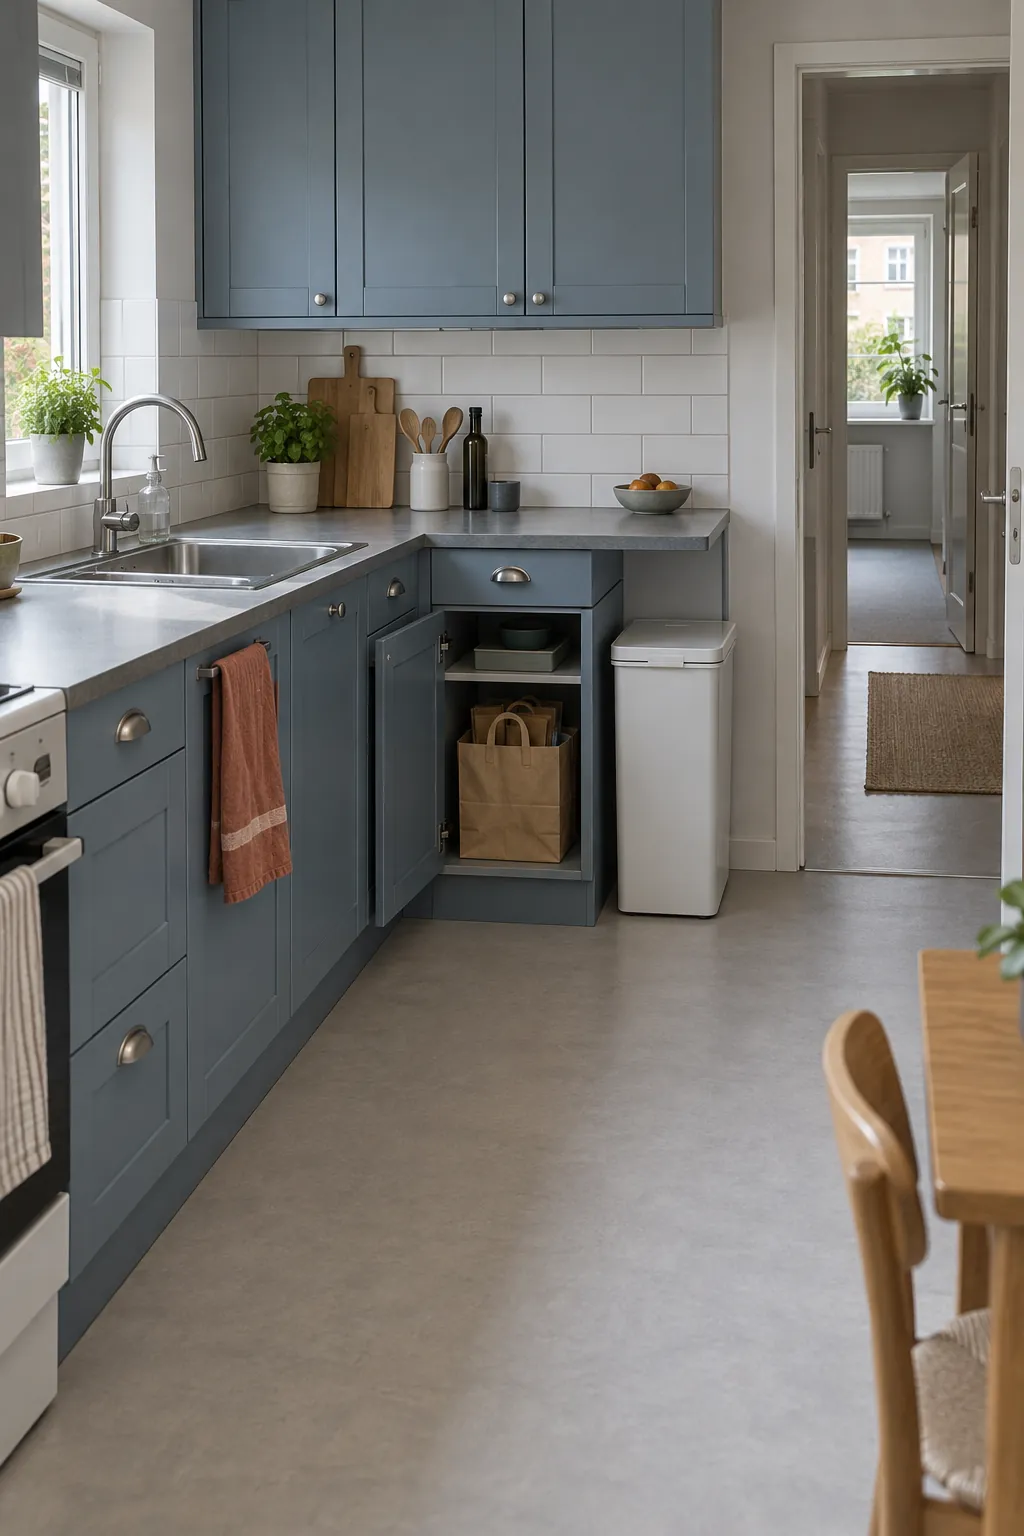
Recycling often spreads onto the floor because the kitchen is expected to hold everything until collection day. A better starting point is to separate daily sorting from longer storage, then size each container around the next emptying trip. You can make a workable arrangement without reserving an entire cupboard for a row of large bins.
Decide what actually needs a separate container
A household recycling setup should follow the collection rules for your address, rather than the compartments in an attractive bin. Check which materials your council, building, or waste service collects together, which must stay separate, and where special items go. If paper and containers share one collection stream, you may not need separate kitchen bins for them. Keep batteries, electronics, and other special waste out of ordinary recycling and use the approved local collection route.
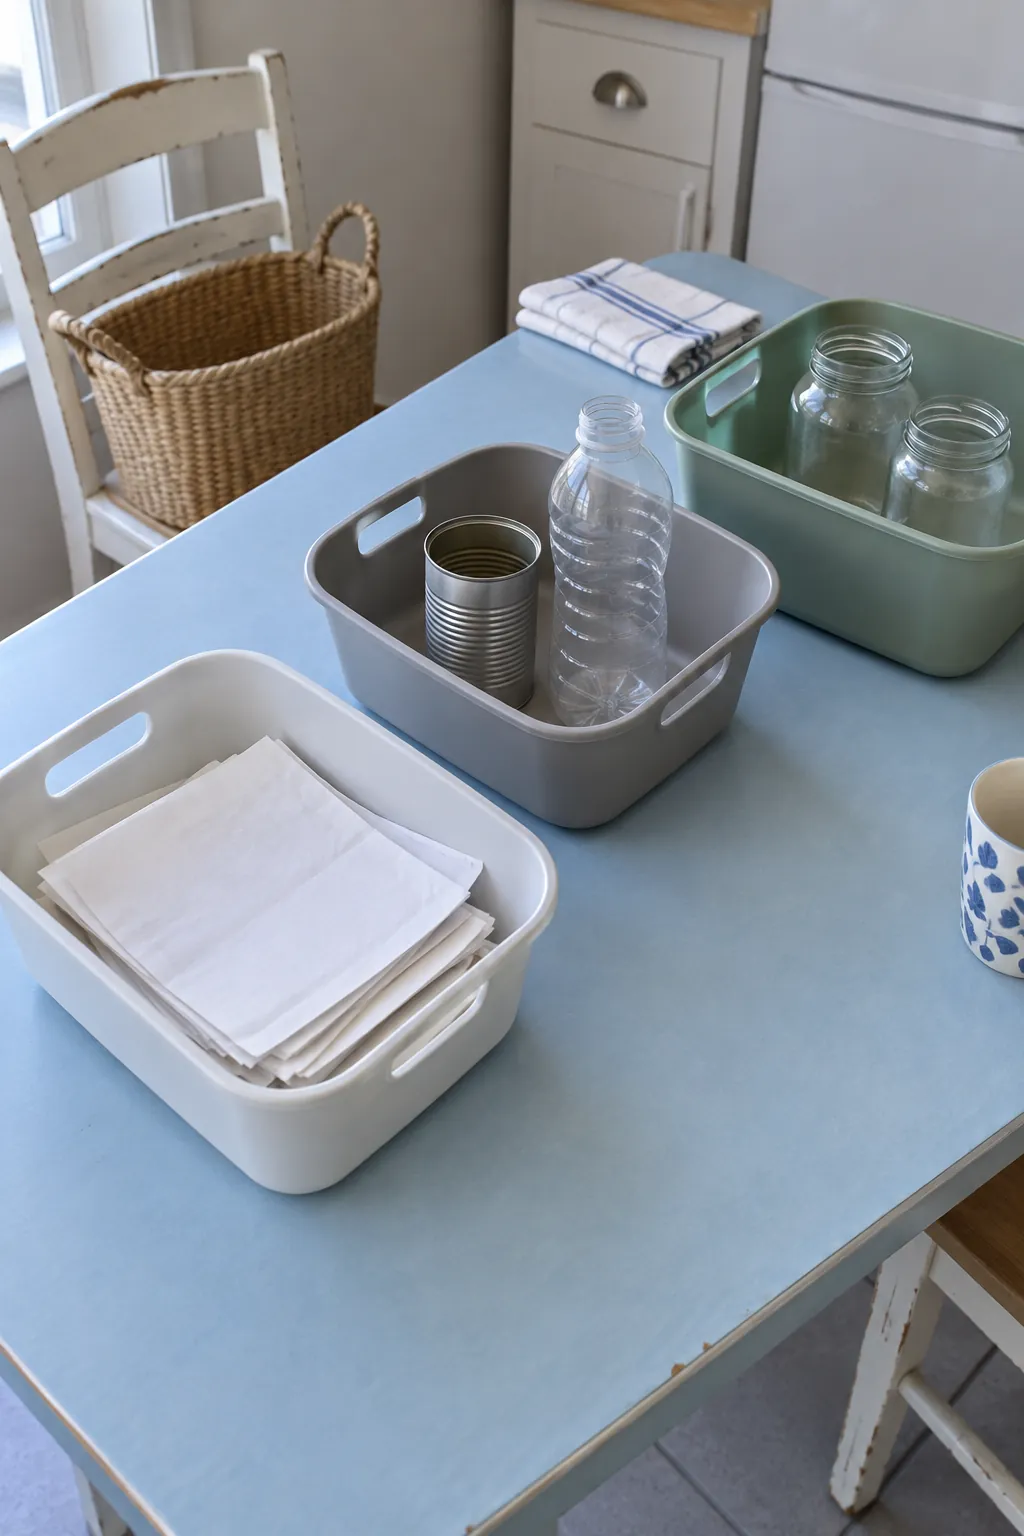
Watch what your household discards over several normal days before choosing capacities. A home that receives many deliveries may need more flat cardboard storage than bottle space, while another fills its container bin first. Note when each category fills and how often you can realistically take it out. This gives you a useful size target without keeping unnecessary rubbish indoors.
Measure the opening as well as the empty space
A narrow gap is useful only if you can open the container and remove its contents. Measure the available width, depth, and height, then check the lid arc, handles, door hinges, and space needed to lift out a full liner. Place a cardboard box of a similar size in the proposed position and walk through the kitchen with the dishwasher and nearby drawers open. The box should not obstruct the exit, catch a chair, or force you to turn sideways while carrying hot food.
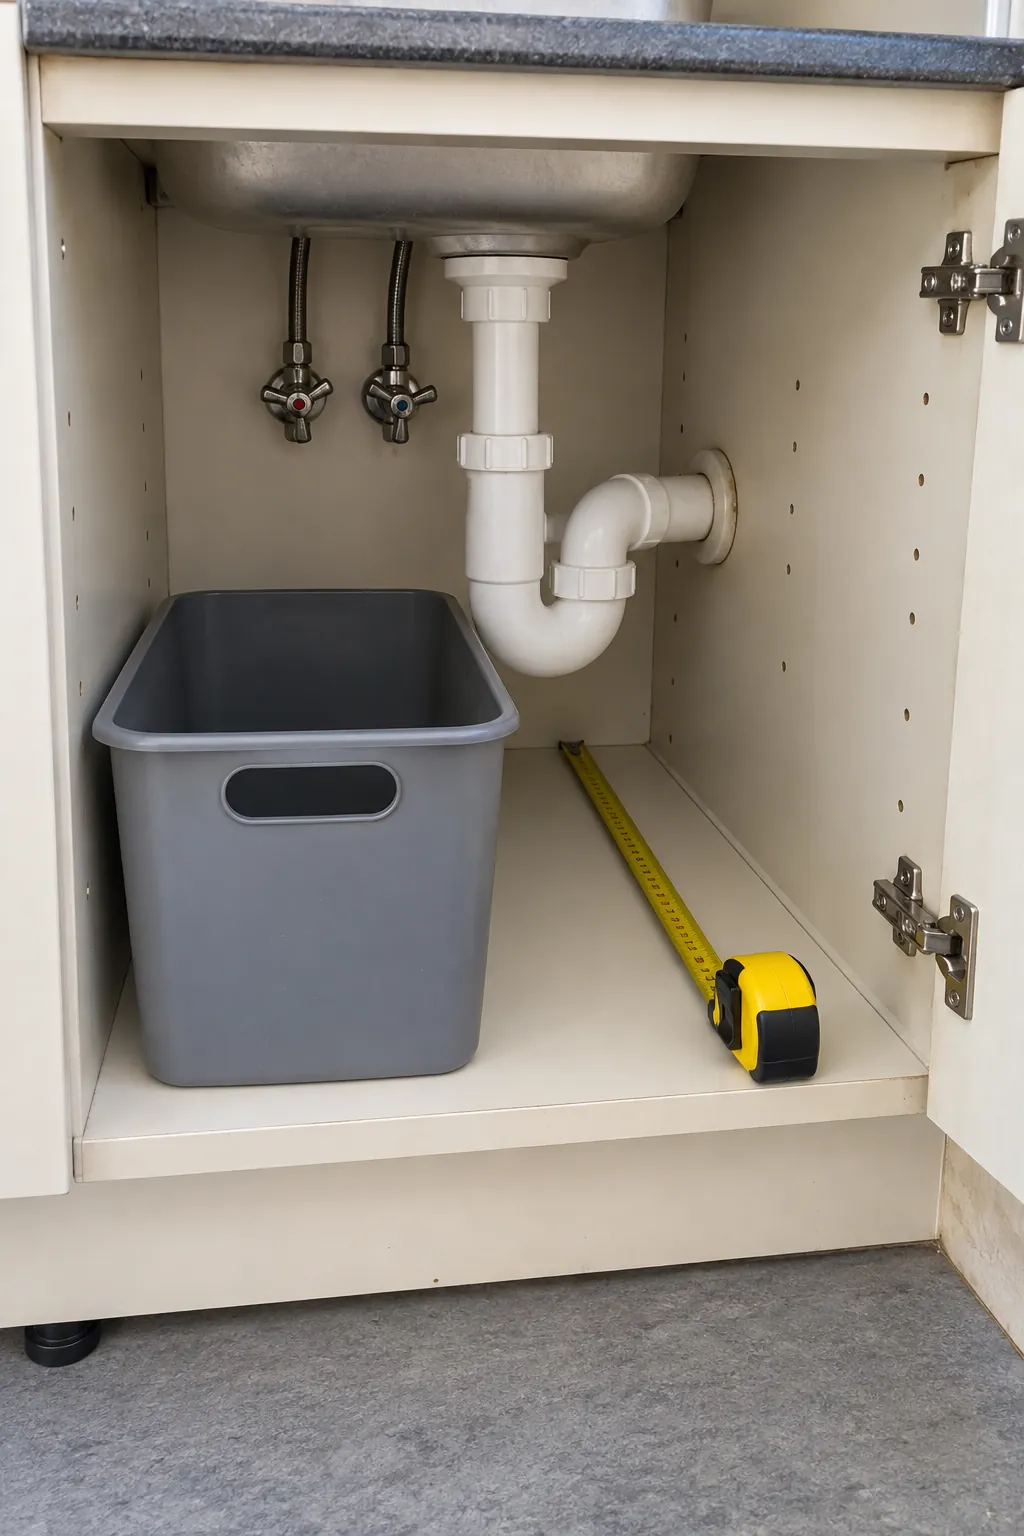
For under sink recycling, measure around the actual pipes and leave access to valves and plumbing. A tall bin that fits at the front may still collide with the trap when pushed back. Keep household chemicals separately secured, and do not use a bin as support for stored bottles. If the cupboard is damp or leaks, resolve that problem before using it for paper.
Compare complete usable capacity rather than the external dimensions alone. Thick frames, curved lids, and several tiny compartments can consume the space you hoped to save. A simple removable tub may fit better than a large sorting cabinet. Choose the smallest arrangement that lasts until your next planned emptying trip.
Choose one primary location that stays accessible
Start beside the point where you empty and rinse packaging, provided the position stays clear of the cooker and main walking route. A slim freestanding container can work at the end of a cabinet run, while removable tubs can use a spare lower cupboard. A fitted pullout can hide the contents but needs suitable fixings, enough clearance, and permission in a rental. Test the location before buying hardware, especially when a door must open every time someone discards a carton.
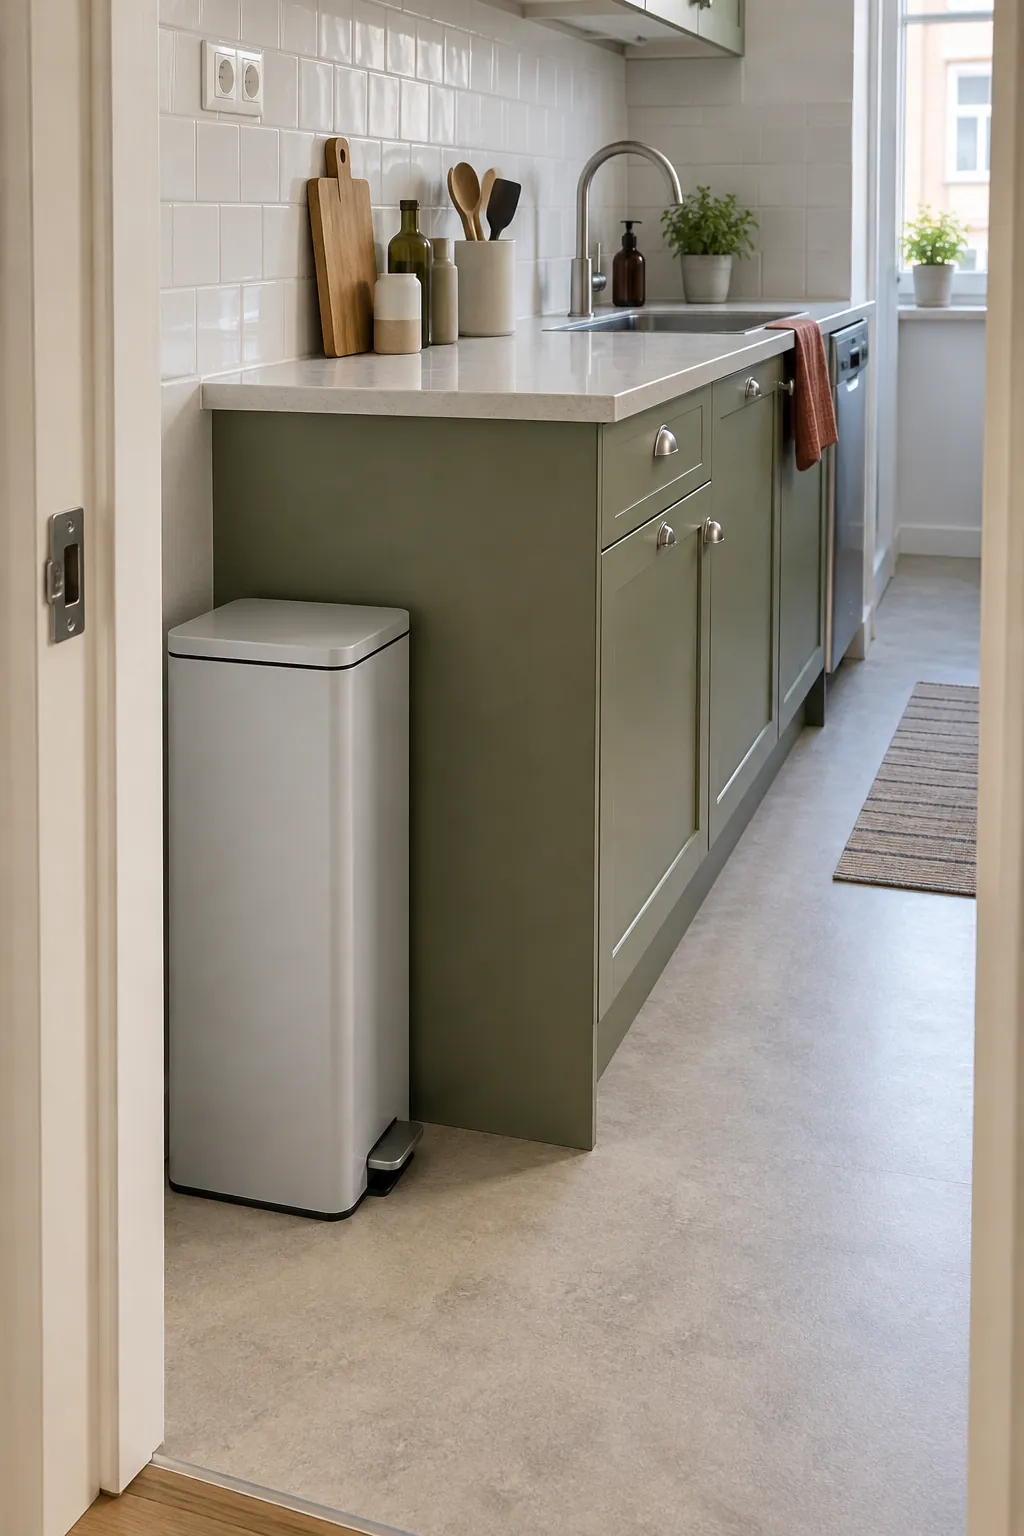
If you use stacking bins, check that you can fill and empty each compartment without lifting a heavy tower. Put dense glass low, and choose a stable product designed for the intended arrangement. Open baskets suit clean, dry packaging but are a poor choice for wet food waste. Keep the small kitchen recycling station easy to clean, even if that means choosing a visible washable container over a decorative enclosure.
Split daily collection from bulky dry storage
You do not need to store every category beside the sink. Keep a small collection container in the kitchen for the material you handle most often, then give clean cardboard or occasional bottles a separate approved holding place nearby. A dining sideboard compartment or a washable carrier in a suitable hallway cupboard can provide compact recycling storage without taking over the preparation surface. Keep corridors, exits, electrical equipment, and ventilation clear, and follow the building rules for shared areas.
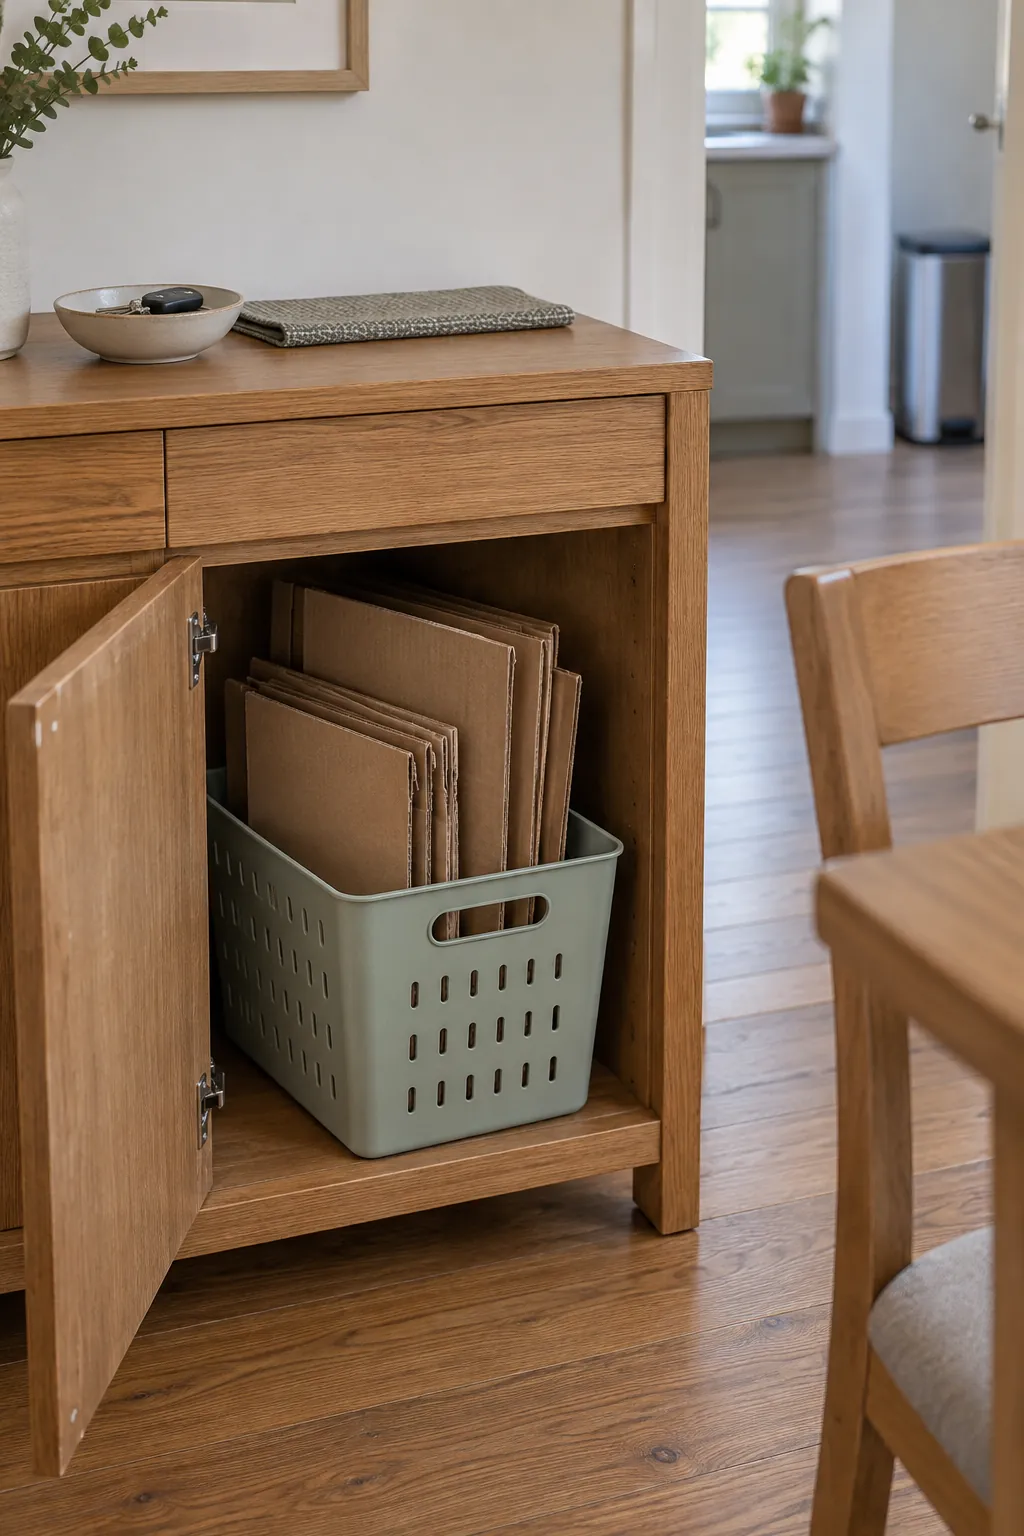
Flatten cardboard where your service permits it and remove the parts that its rules exclude. Keep paper dry and separate from damp containers. Empty and rinse packaging to the standard your collector requests, then let it drain before storing it. Do not crush cans, attach lids, or bag recyclables unless your local guidance allows that treatment.
Make emptying and cleaning part of the design
Pick up each proposed container as though it were full. Handles must be comfortable, the opening must let contents come out freely, and the load must stay manageable on the route to the collection point. Use a smaller container for glass if a larger one would be difficult to carry. A removable insert is especially useful when the outer housing cannot be washed easily.
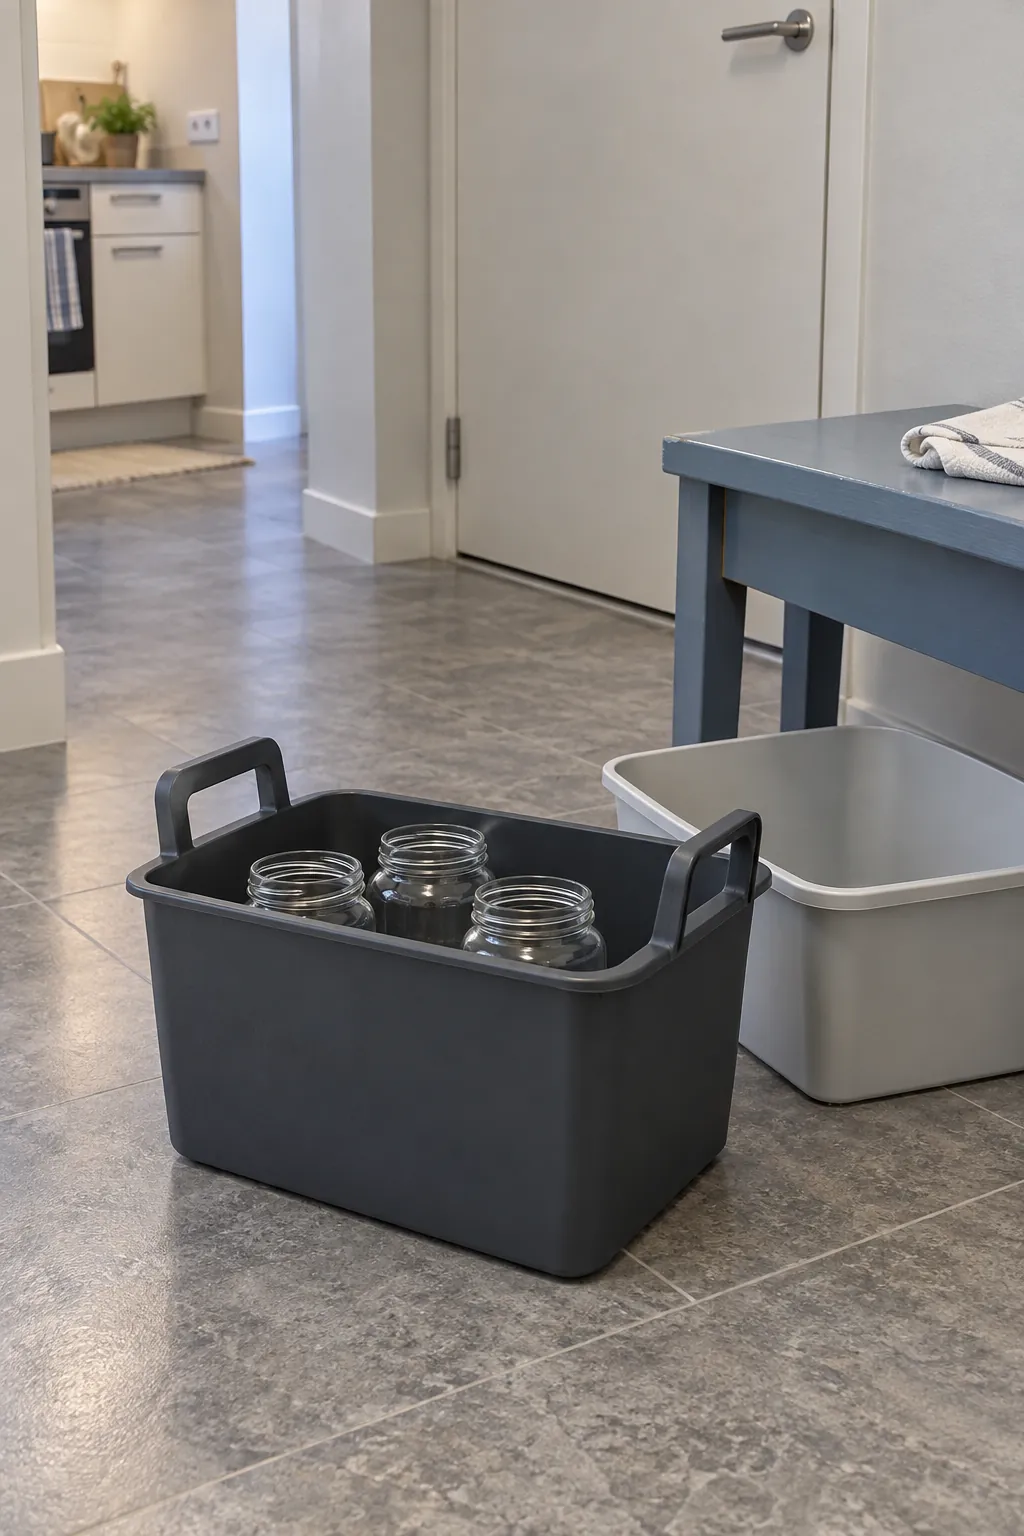
Store spare liners only where liners are accepted for that waste stream. Loose recycling may need to be tipped out of a reusable carrier at the collection point, so check the rules before tying everything into a plastic bag. Wash sticky residue from the tub and dry it before returning it to a cupboard. Food scraps need their own suitable collection arrangement, with a lid and an emptying routine appropriate to your local service and indoor conditions.
Choose a regular transfer moment, such as leaving for work or returning from the evening walk. Make the trip sooner if contents smell, leak, attract pests, or become too heavy. More indoor capacity will not solve a container that nobody can carry or empty. A small system works when its exit route is as clear as its sorting route.
Run a short trial before committing to permanent fittings
Use existing washable tubs or sturdy reusable carriers to try the layout through a normal collection cycle. Tell everyone which material belongs in each container, using simple labels that match the local rules. Place labels where they remain visible when the lid is open or a carrier is lifted out. If visitors repeatedly choose the wrong compartment, simplify the label or move that container rather than adding more categories.
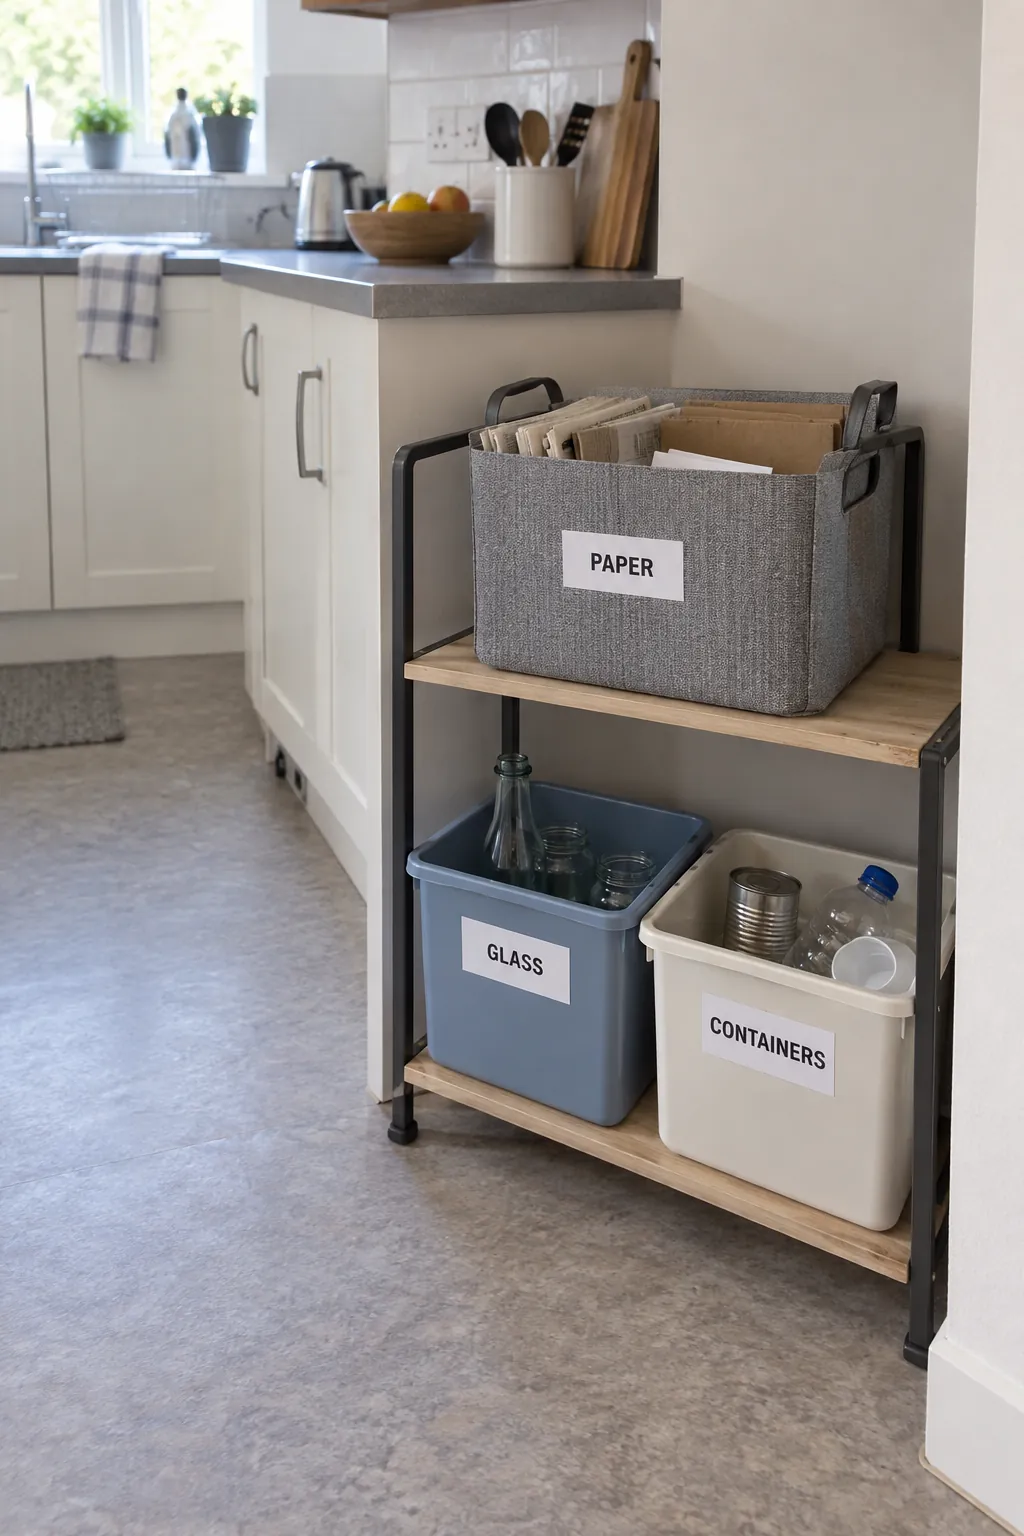
Review the first category that overflows, the container that stays nearly empty, and the door that is annoying to open. Adjust capacity or transfer frequency before spending money on a matching set. Keep the successful arrangement for another cycle before installing rails or drilling holes. The right kitchen waste sorting system fits your actual habits and leaves enough room to cook, walk, and clean.