
Standard bathroom vanities often look generic and lack character. If you want a bathroom that feels more like a lived-in room and less like a showroom, converting an old sideboard or buffet is a smart way to add personality. This project allows you to repurpose a piece of furniture you already love while creating a functional, one-of-a-kind center for your bathroom.
In this guide, we will walk through the practical steps of turning a wooden sideboard into a working vanity. You will learn how to choose the right piece, modify the internal structure for plumbing, and protect the wood from the inevitable splashes and humidity of a bathroom environment.
Choosing a Sideboard with the Right Dimensions and Structure
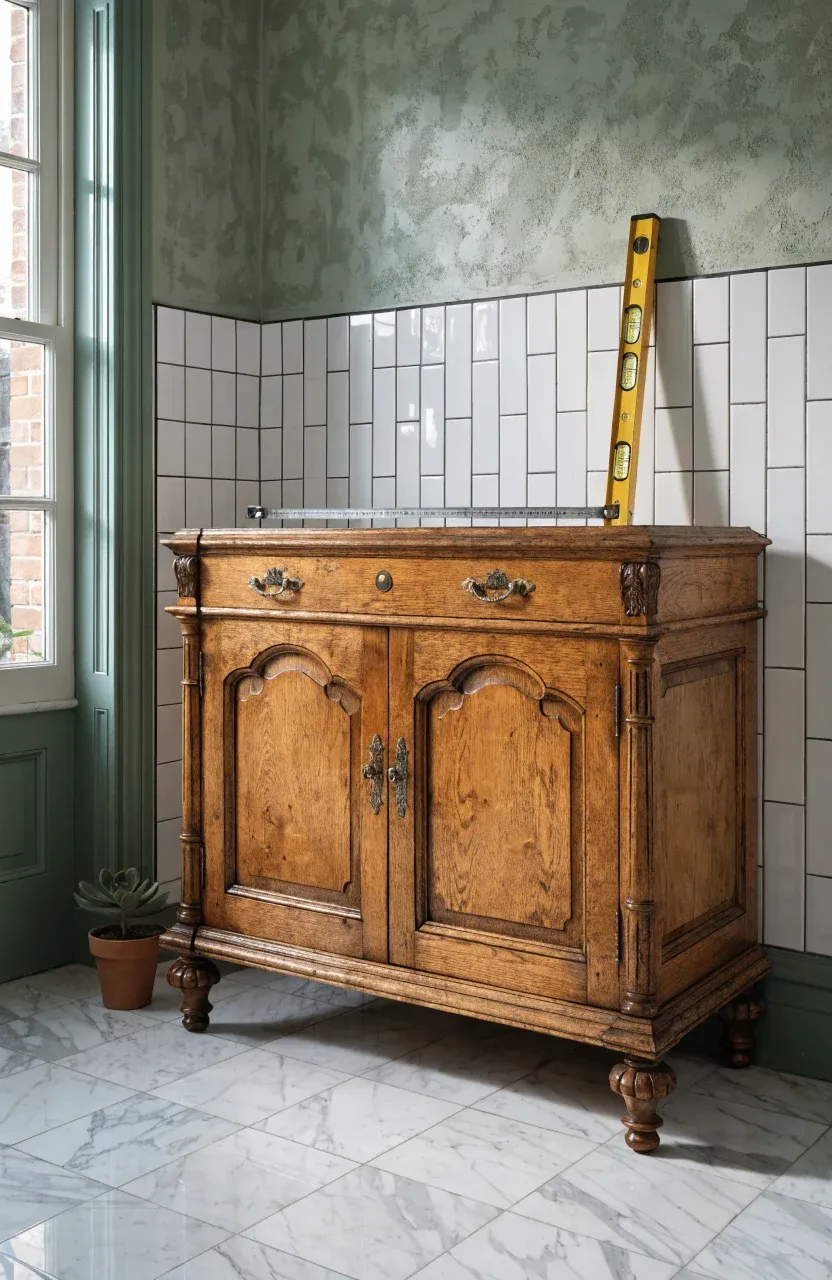
Not every piece of furniture works as a vanity. The most important factor is height. Standard vanities are usually between 30 and 34 inches tall. If your sideboard is too tall, you will struggle to reach into the sink; if it is too short, you will be hunched over. Measure your current setup to see what feels comfortable. Also, check the depth. A sideboard needs to be deep enough to hold a sink basin while still leaving room for the faucet hardware behind it.
Look for a piece made of solid wood rather than particle board. Solid wood is much easier to cut and handles moisture better over time. Check the leg structure as well. The piece needs to be sturdy enough to support the weight of a stone countertop or a heavy ceramic sink filled with water. If the legs feel wobbly, you may need to reinforce them before starting the conversion.
Selecting Plumbing Fixtures and Sinks for Furniture Conversions
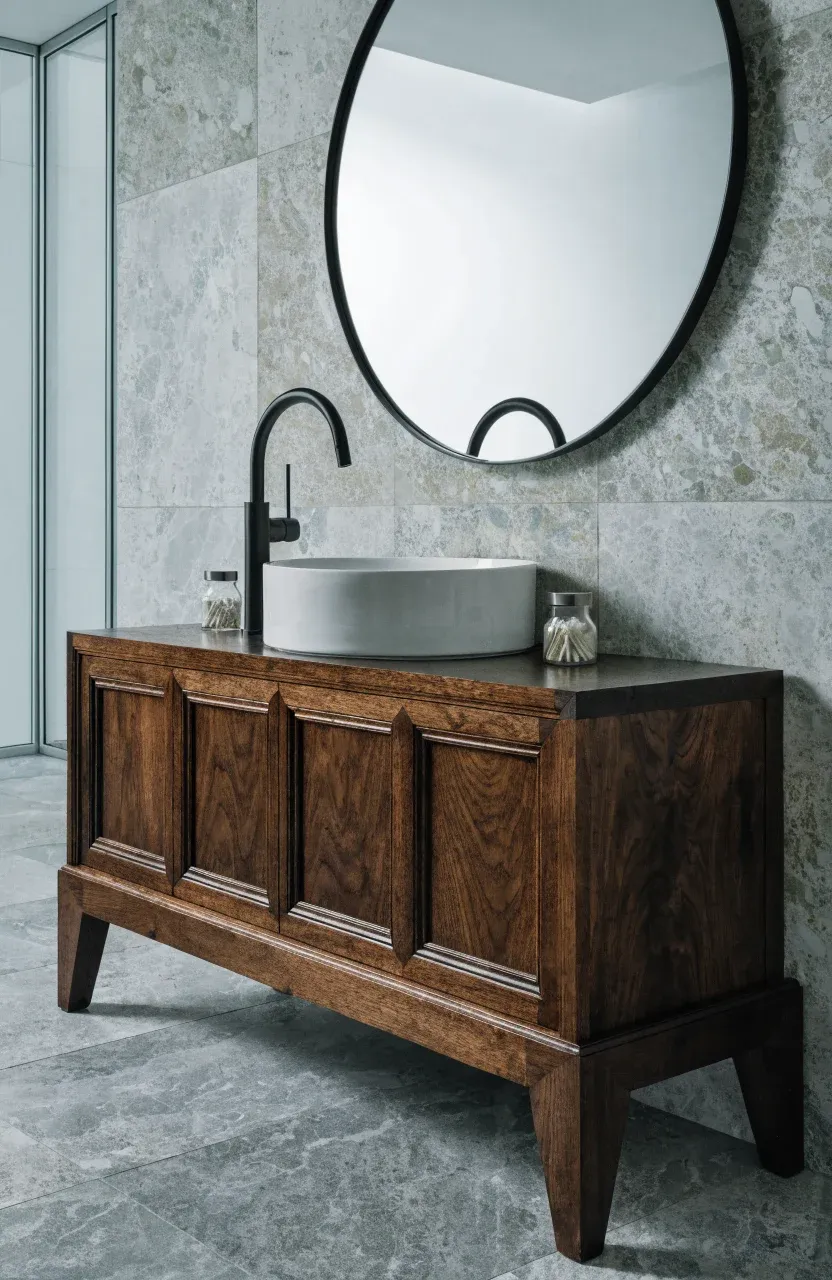
You have two main choices for sinks: drop-in or vessel. A drop-in sink sits inside the furniture, which requires cutting a large hole in the top. This hides the plumbing well but takes up more internal drawer space. A vessel sink sits on top of the sideboard. This is often easier for DIY projects because you only need to drill a small hole for the drain.
When picking a faucet, consider the reach. Since you are using furniture not originally designed for plumbing, the faucet needs to extend far enough over the rim of the sink to prevent water from splashing onto the wood top. Wall-mounted faucets are another great option if you want to keep the surface of the sideboard completely clear, though they require more intensive wall plumbing.
Modifying the Back Panel and Drawers for Pipe Clearance
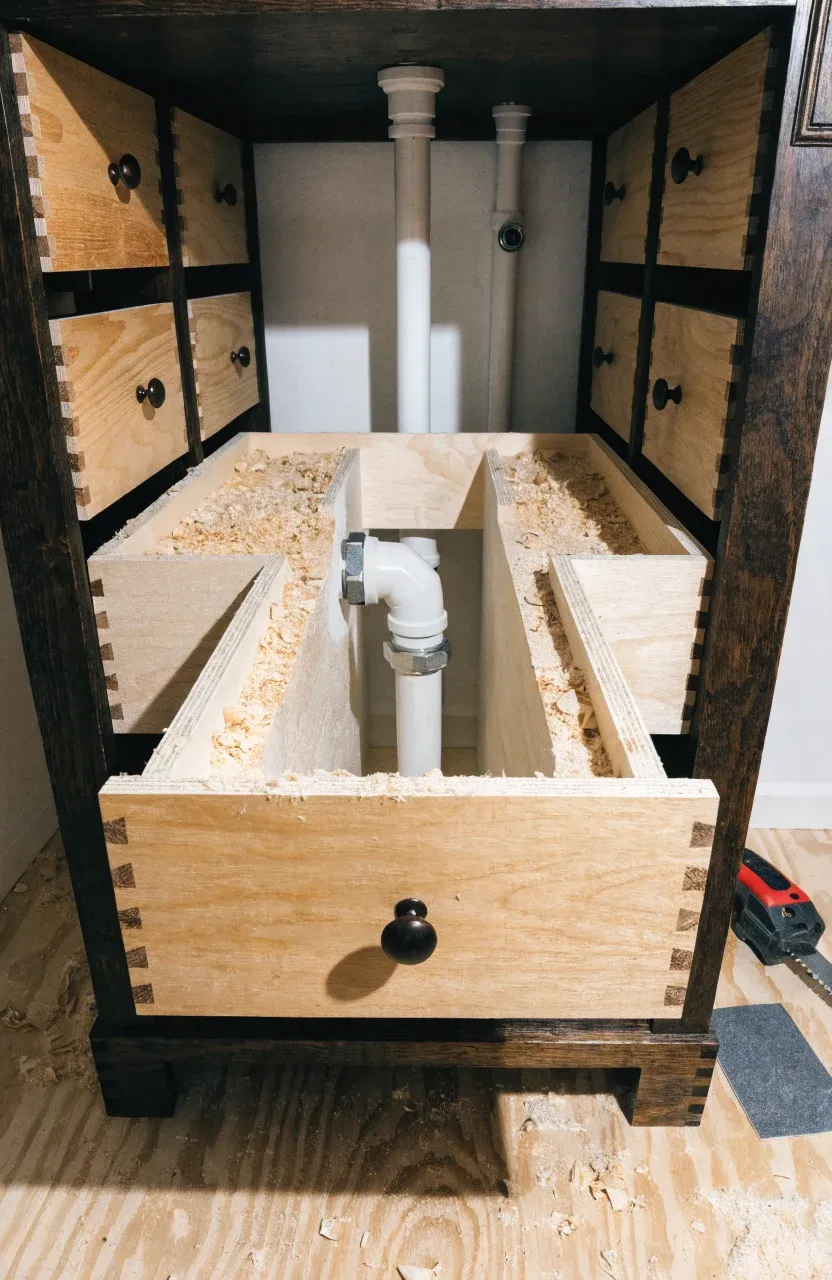
The biggest challenge in this project is making room for the P-trap and water lines. Most sideboards have drawers or shelves that will be right where the pipes need to go. You will likely need to remove the back panel entirely or cut a large square out of it to allow the vanity to sit flush against the wall over the plumbing stubs.
For the drawers, you do not have to lose all your storage. You can create 'U-shaped' drawer boxes. This involves cutting out the center of the drawer and rebuilding the inner walls so the drawer can still slide in and out around the vertical drain pipe. If the drawer is directly in front of the sink bowl, you might choose to glue the drawer front shut so it looks like a drawer but remains stationary.
Protecting Wood Surfaces from Water and Humidity
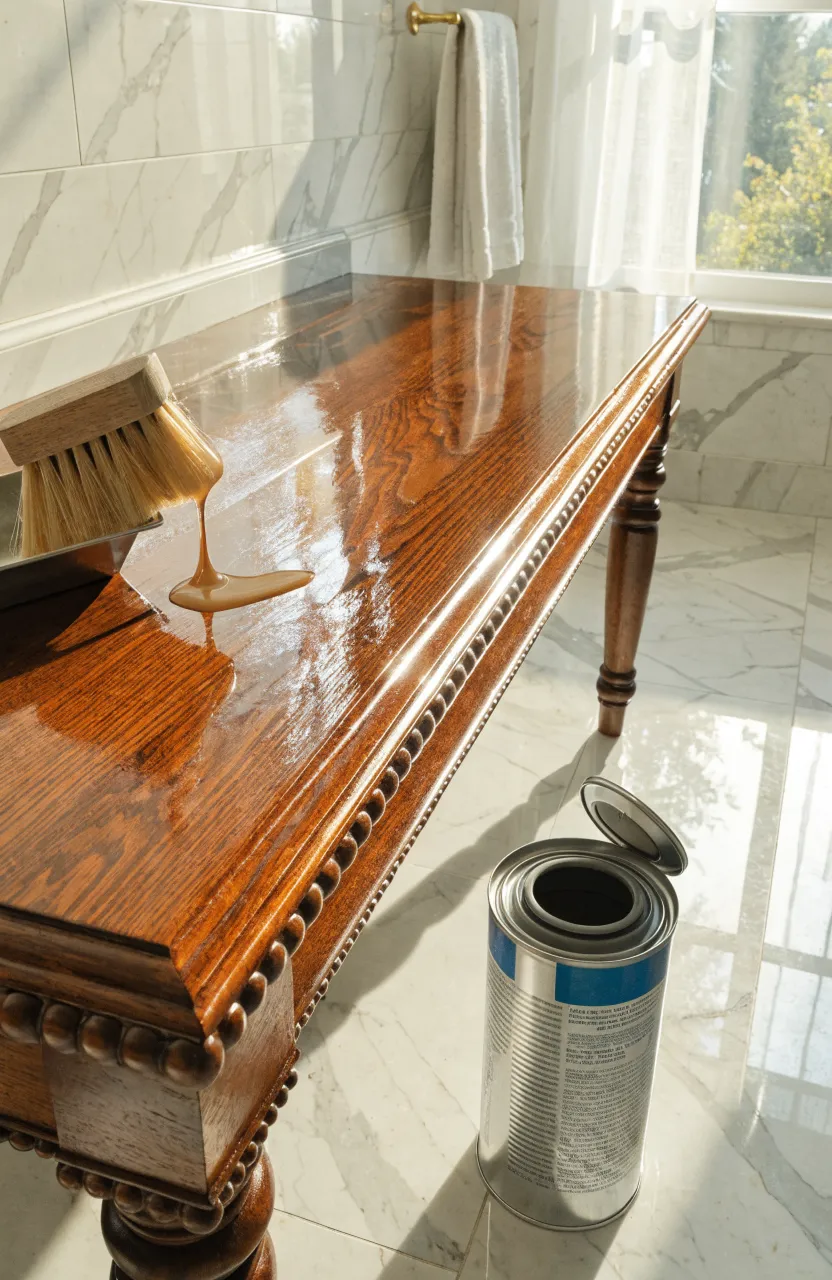
Bathrooms are wet, and wood's biggest enemy is standing water. To keep your new vanity from warping or rotting, you must seal it thoroughly. Use a high-quality polyurethane or a marine-grade spar urethane. These provide a plastic-like barrier that sheds water. Apply at least three coats to the top surface, sanding lightly between each layer for a smooth finish.
Don't forget to seal the inside of the cabinet and the edges of any holes you cut for the sink or pipes. If water leaks under the sink, you want the wood protected there too. For an extra layer of safety, some people choose to replace the wooden top with a custom-cut piece of quartz or granite, which eliminates the worry of water damage on the most used surface.
Installing the Sink Basin and Faucet Hardware
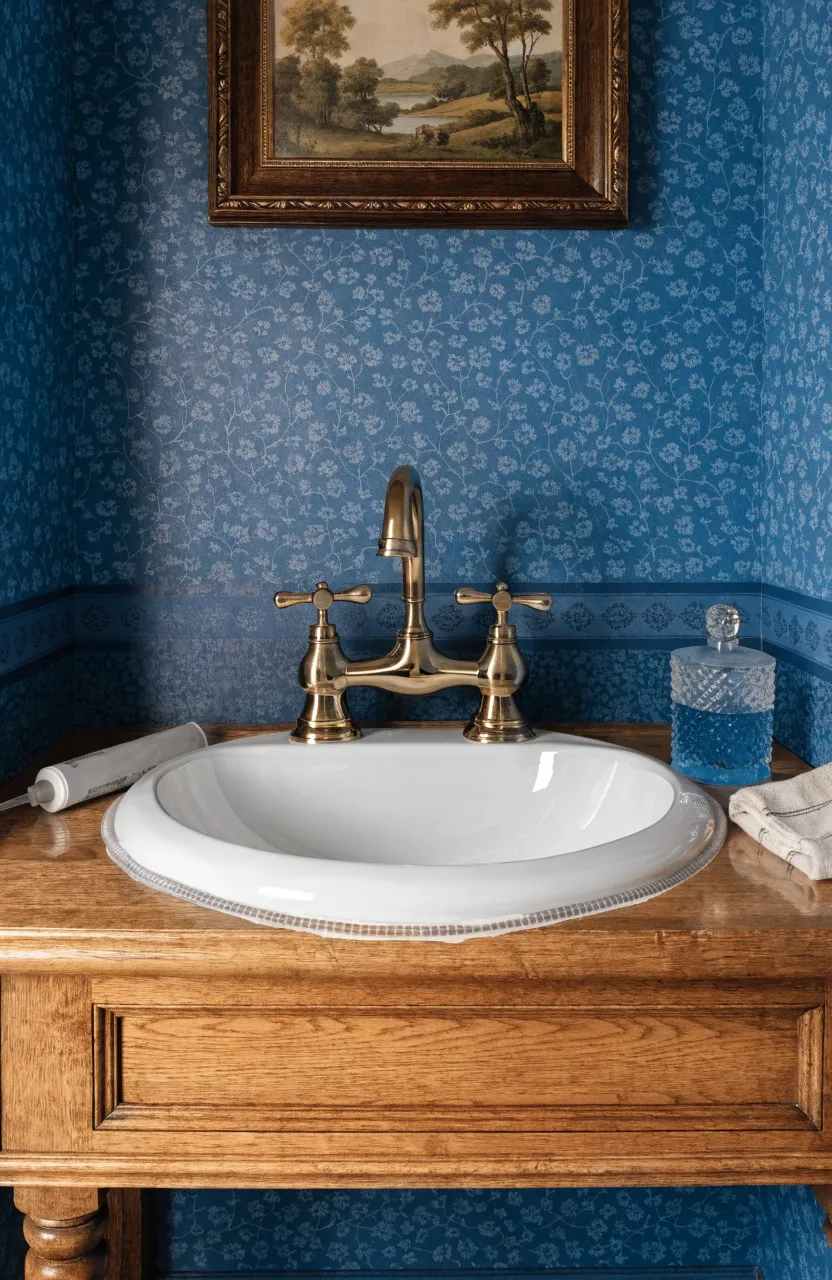
Once the wood is sealed and dry, it is time to set the sink. If you are using a vessel sink, apply a bead of silicone sealant around the drain hole before setting the sink down. For drop-in sinks, apply the sealant around the underside of the rim. This prevents water from seeping under the sink and into the wood cabinet.
Install the faucet and the drain assembly into the sink before you move the vanity into its final position against the wall. It is much easier to tighten the mounting nuts and connect the tailpiece while you have full access to the piece, rather than laying on your back inside a cramped cabinet later.
Connecting the Water Lines and Testing for Leaks
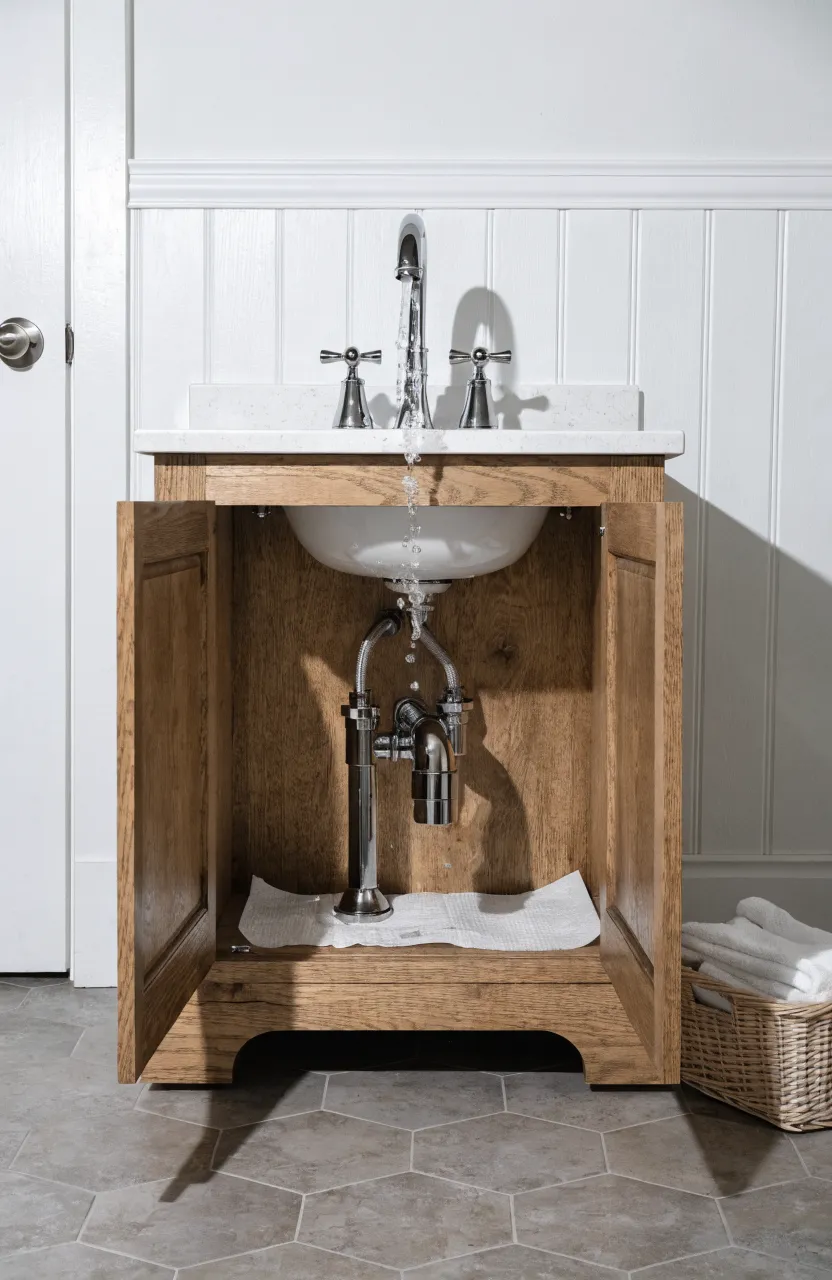
Slide the vanity into place and line it up with your wall plumbing. Connect the flexible supply lines to the hot and cold water valves. Then, connect the P-trap from the sink drain to the waste pipe in the wall. Use plumber's tape on threaded connections to ensure a tight seal.
Before you put the drawers back in, turn on the water. Run both the hot and cold taps for several minutes. Watch the connections closely for any drips. Place a piece of paper towel under the joints; if it stays dry, your seals are good. Once you are sure there are no leaks, use a kitchen and bath silicone to caulk the gap where the back of the vanity meets the bathroom wall.
Converting a sideboard into a vanity takes some planning and a bit of woodworking, but the result is a bathroom with much more warmth and style. By choosing a solid piece of furniture and taking the time to seal it properly, you create a functional piece that can last for decades. Start looking at local thrift stores or antique shops for your base piece, and you'll be well on your way to a custom bathroom.