
Morning routines can feel like a race against the clock, especially when two people are fighting over one sink. Upgrading to a double vanity is one of the most practical changes you can make to a master bathroom. It provides personal space, doubles the storage, and can significantly increase your home's value.
Before you start shopping, you need to understand the logistics of fitting a larger unit into your existing layout. This guide covers how to measure your space, manage the plumbing for two drains, and select materials that stand up to daily moisture and use.
Measuring your bathroom space for a double sink setup
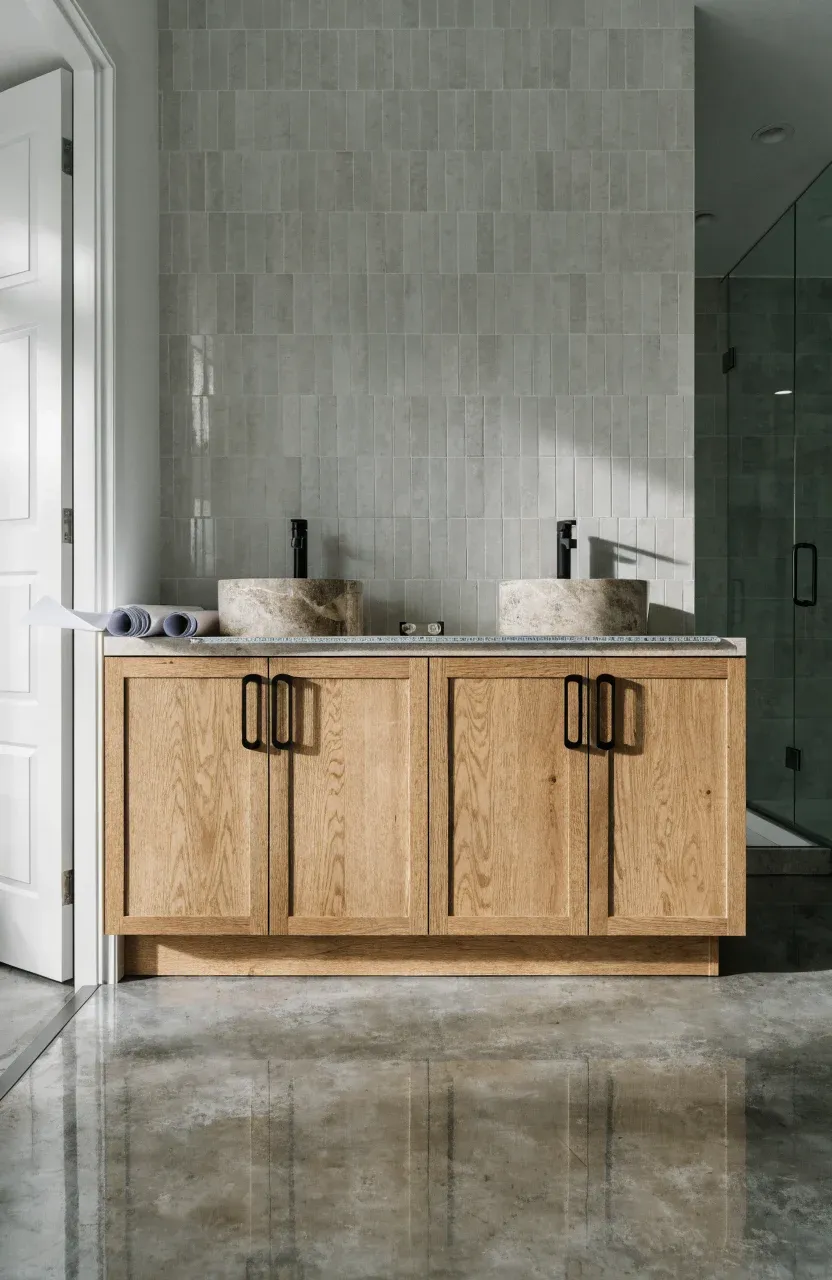
A double vanity usually requires a width of at least 60 inches to function well. While you can find 48-inch double units, they often feel cramped and leave very little counter space. Measure the wall where the vanity will sit, but also account for the 'swing' of the bathroom door and the shower glass. You don't want the vanity to block entryways or hit other fixtures.
Leave at least 4 inches between the vanity ends and the side walls to make cleaning easier. If you are placing it in a corner, ensure the drawers can open fully without hitting the door frame. Depth is also key; most standard vanities are 21 inches deep. If your bathroom is narrow, look for 'slim-depth' models that save a few inches of floor space.
Plumbing requirements and drain configurations for two sinks
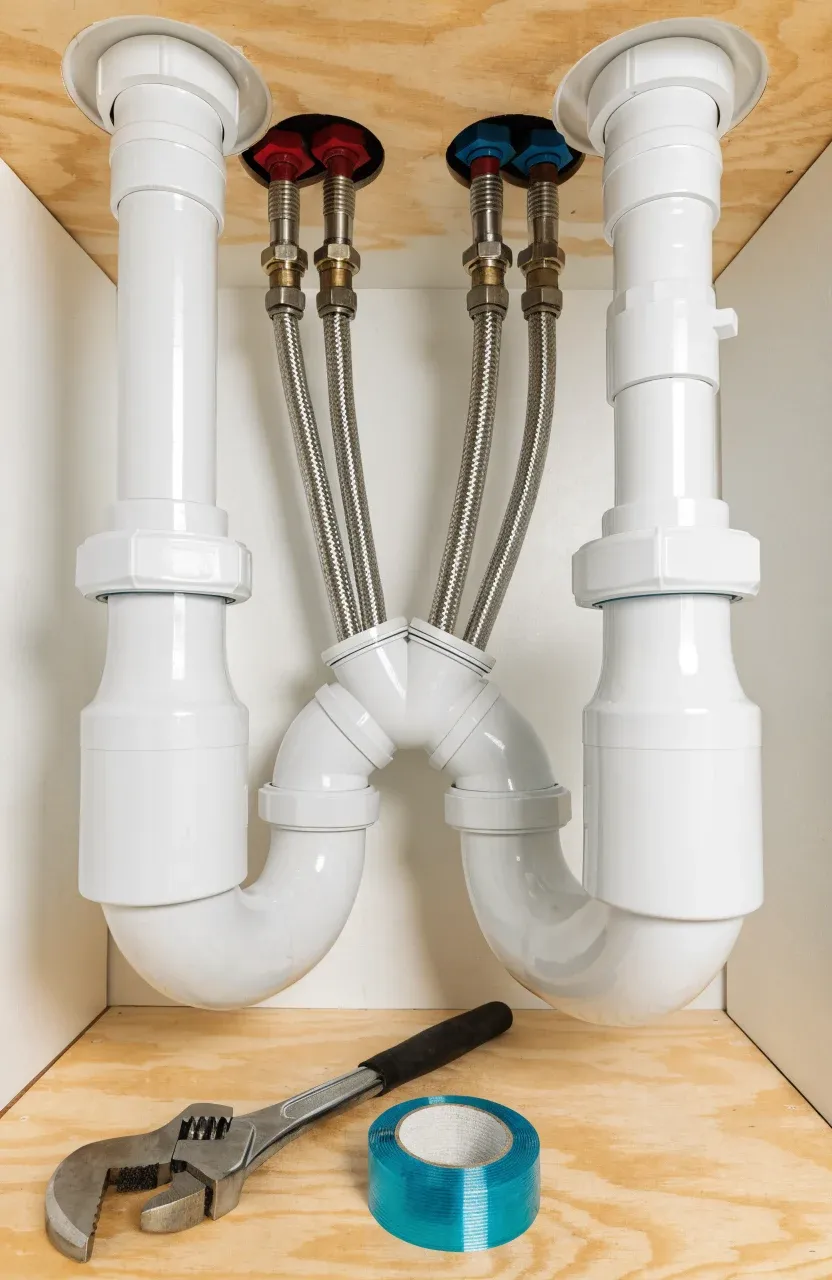
Moving from one sink to two is the most technical part of the project. You will need to split the water supply lines and the drain pipe. If your existing drain comes out of the wall in the center of the new vanity, you can often use a 'double wye' or 'tee' fitting to branch the drain to both sinks.
However, local building codes often dictate how far a sink can be from the vent stack. If your sinks are spread far apart, you might need to open the wall to install additional venting. Always check the height of your current drain. If you choose a vessel sink, which sits on top of the counter, the drain hole in the wall may need to be lowered to ensure water flows out properly.
Selecting the right countertop materials for daily use
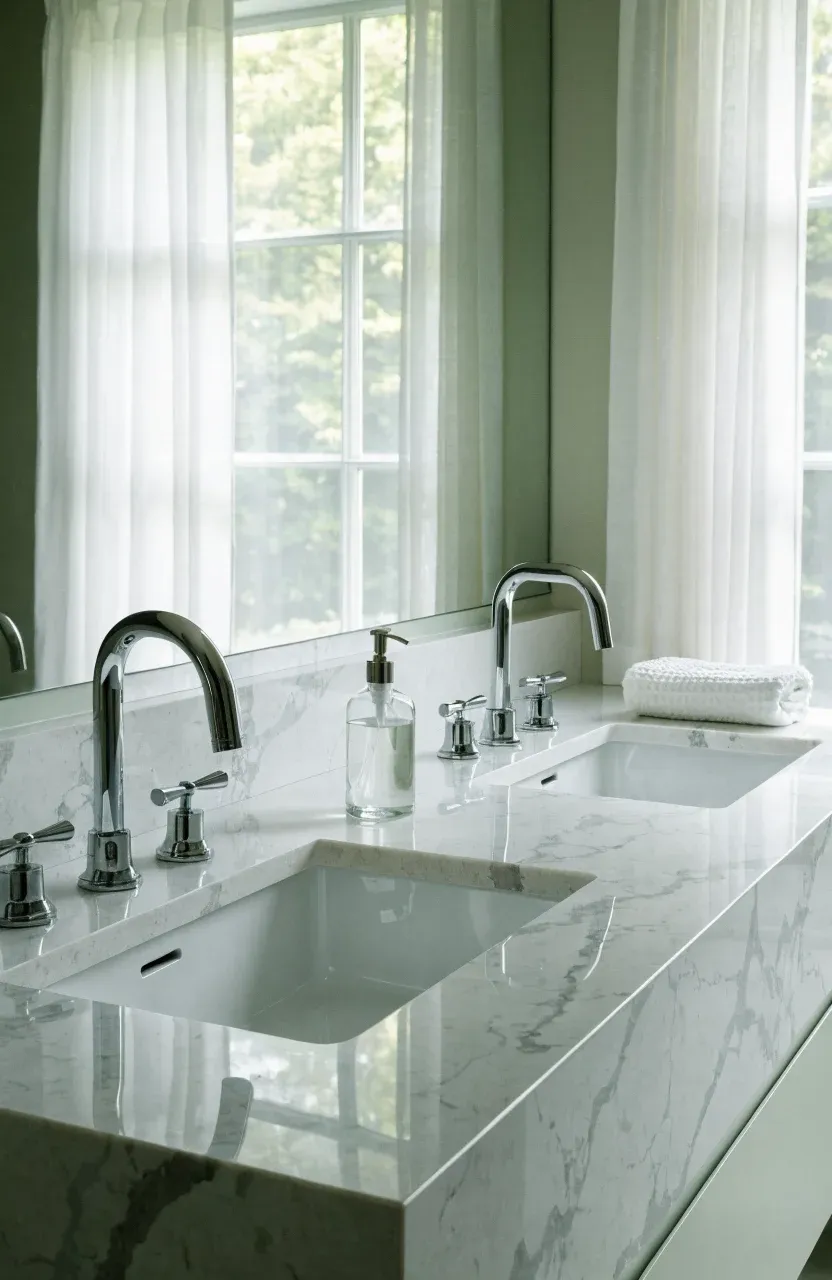
The countertop takes the most abuse from water, toothpaste, and hot styling tools. Quartz is a top choice because it is non-porous and doesn't require sealing like granite or marble. It resists stains and scratches effectively. If you prefer a natural look, granite is durable but needs to be sealed once a year to prevent water spots.
Avoid porous stones like marble for a high-traffic shared bathroom unless you are okay with 'patina' and potential etching. For a more budget-friendly or modern look, solid surface materials are seamless and easy to repair if they get scratched. Ensure the countertop comes with a backsplash to protect your drywall from splashes.
Storage options and cabinet styles to keep your bathroom organized
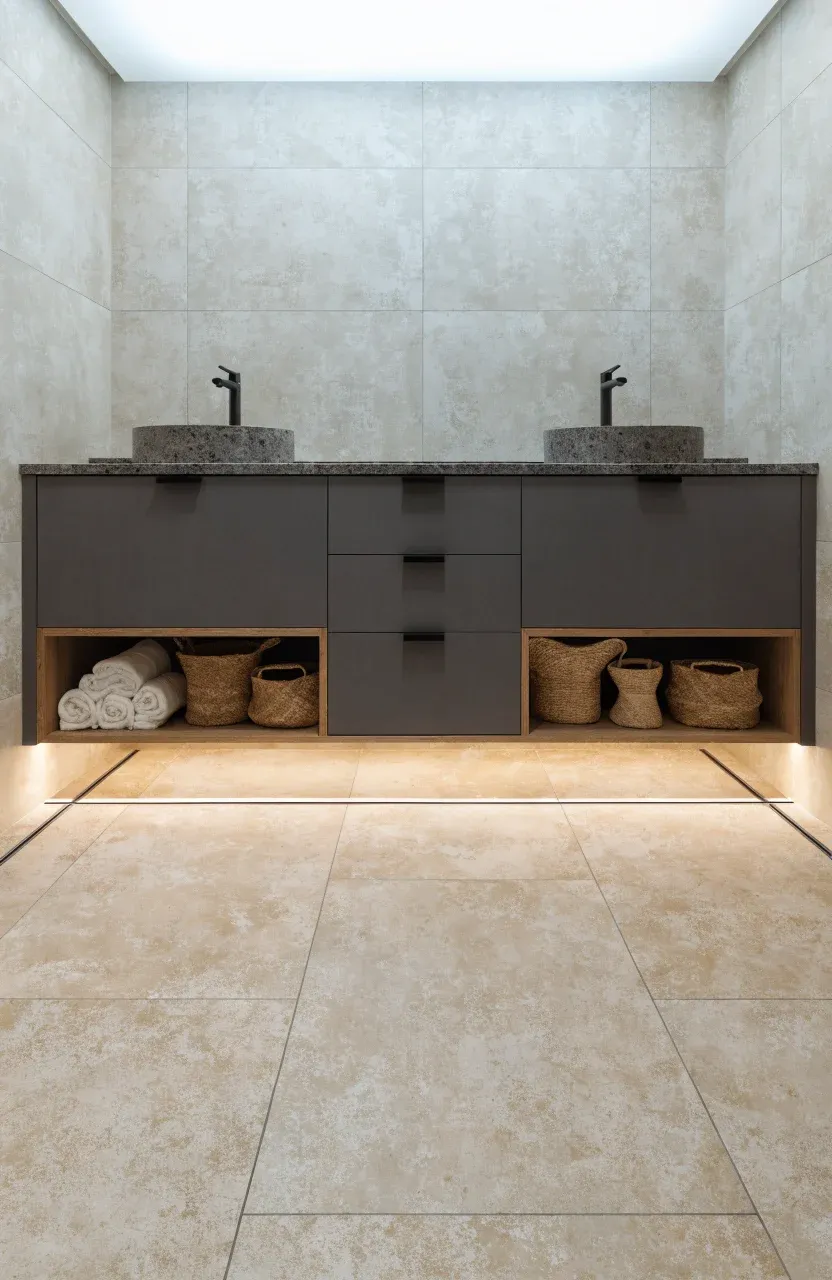
With two people using the space, organization is a priority. Look for vanity cabinets that offer a mix of drawers and open shelving. Center drawers are highly efficient because they provide a clear boundary between the two users' zones. Deep drawers are better for hair dryers and towels, while shallow top drawers work well for toothbrushes and skincare.
Consider the base style as well. Freestanding vanities look like furniture and are easier to install. Floating vanities are bolted to the wall and leave the floor visible, which makes a small bathroom feel larger and simplifies floor cleaning. Just be sure your wall studs can support the weight of a heavy floating unit.
Lighting and mirror placement for shared vanity areas

Proper lighting prevents shadows on your face while you get ready. Instead of one long light bar over the top, try installing three sconces: one on each side and one in the middle. This provides even side-lighting. If you prefer a single overhead light, make sure it is wide enough to cover both sink areas.
For mirrors, you can choose one large sheet of glass or two individual mirrors. Two mirrors often look more intentional and allow for a decorative sconce to be placed in the center. Ensure the mirrors are hung at eye level for both users, typically with the center of the glass about 60 inches from the floor.
Installation steps for securing the cabinet and connecting fixtures
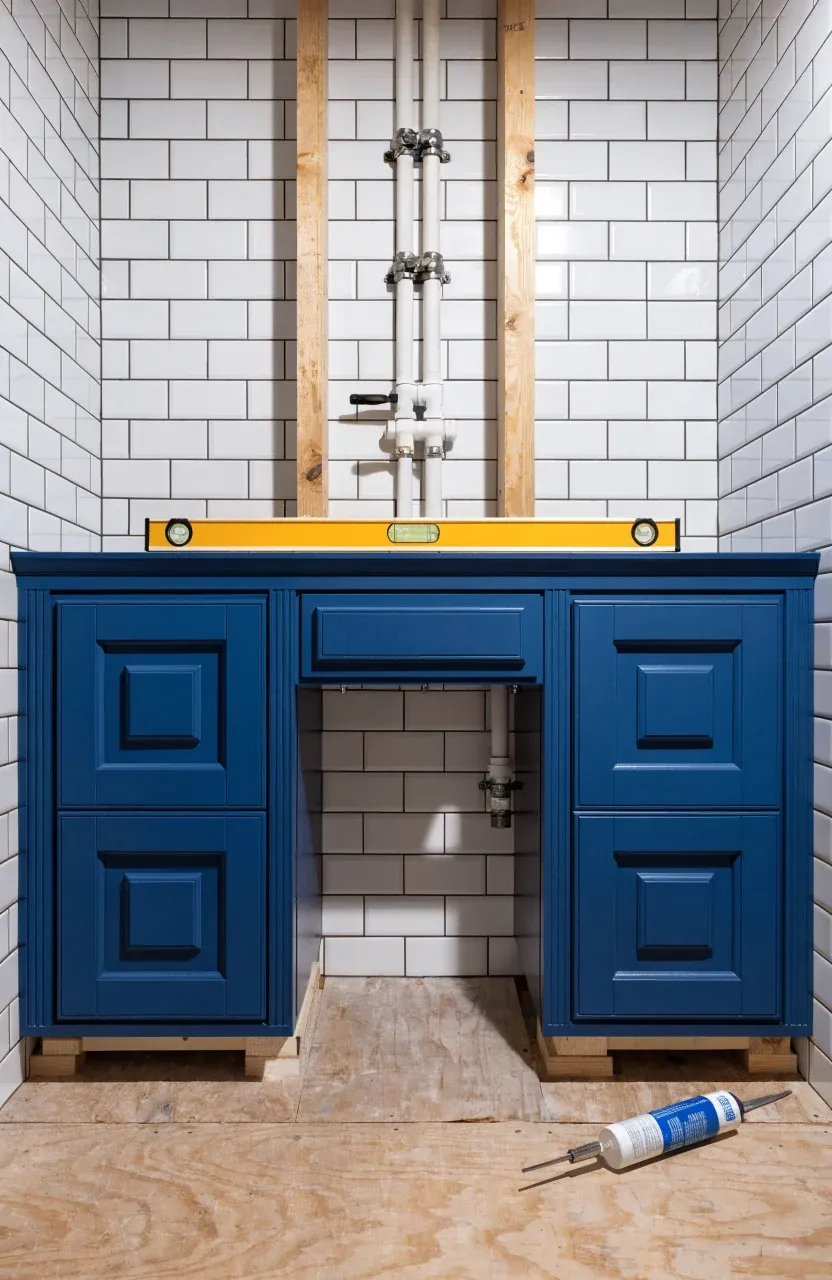
Start by finding the wall studs with a stud finder and marking them. Slide the vanity cabinet into place and use shims underneath the base to ensure it is perfectly level. If the cabinet isn't level, the doors won't hang straight and the water won't drain correctly. Screw the cabinet directly into the studs through the back rail.
Apply a bead of silicone caulk to the top of the cabinet before setting the countertop. Once the top is secure, install the faucets and pop-up drains. It is much easier to attach the faucets to the countertop before you glue the top down, as you won't have to crawl inside the cabinet. Finally, connect the P-traps to the wall drains and test for leaks by running the water for several minutes.
A double vanity is a significant upgrade that balances style with everyday functionality. By taking the time to measure carefully and plan your plumbing layout, you can avoid common installation headaches. Once your new vanity is in place, you will likely find that your morning routine is much calmer and your bathroom feels more like a retreat. If you are ever unsure about the pipe connections, don't hesitate to call a professional plumber to handle the final hookups.