
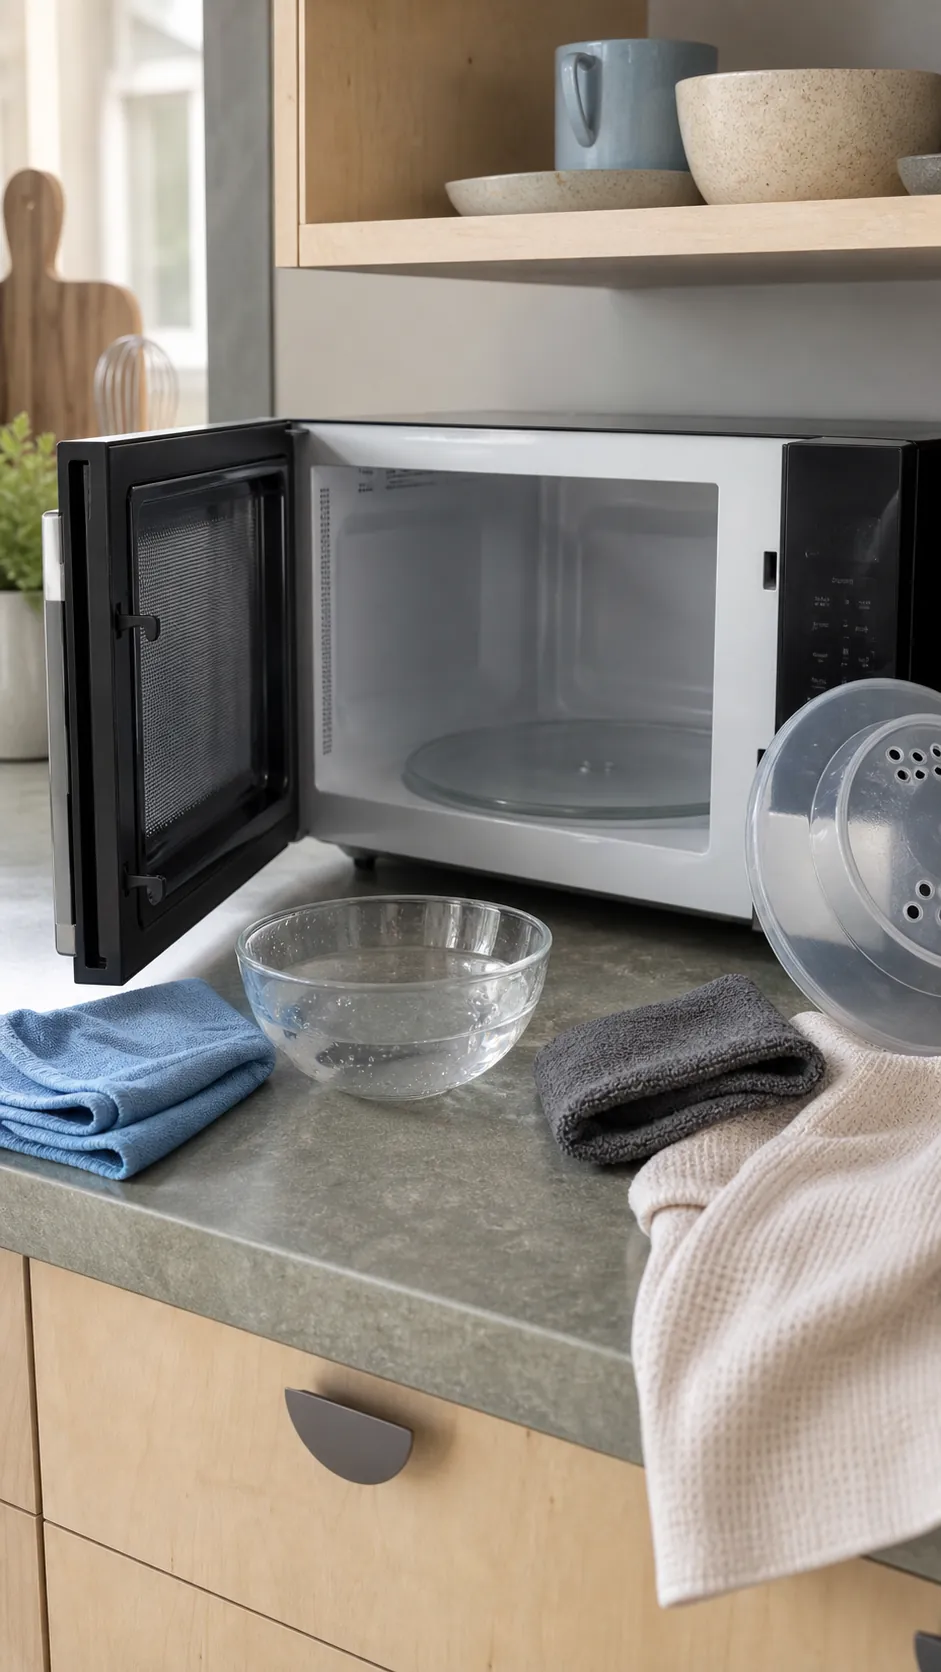
The easiest microwave clean is not the one with the cleverest ingredient. It is the one that puts each task in the right order: loosen, wipe, wash the removable parts, rinse, then dry. That sequence turns a sticky small microwave into a manageable ten-minute job without a counter full of products.
This routine uses water, mild dish soap, two soft cloths, and a microwave-safe bowl. Check your microwave oven manual before you begin. Some manufacturers recommend unplugging before cleaning, especially around the exterior or controls. Never use oven cleaner, steel wool, or an abrasive pad inside.
Clear One Small Work Zone First
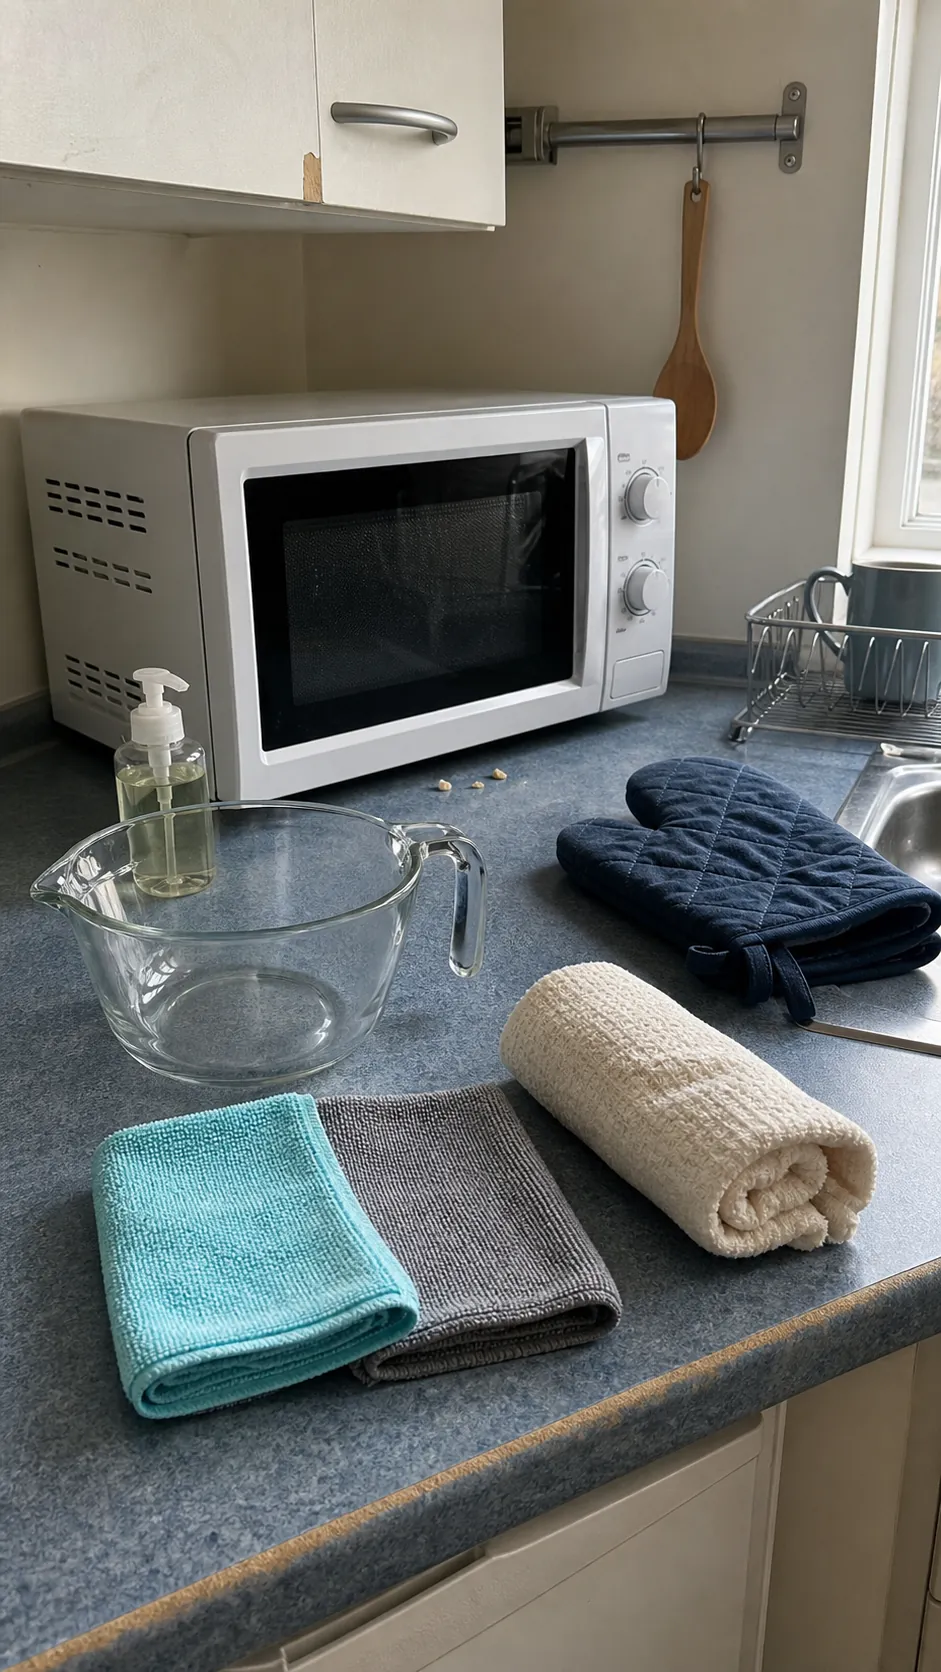
Move food containers and loose papers away from the microwave. Set out a roomy microwave-safe glass bowl, a soft cleaning cloth, a second damp cloth for rinsing, a dry towel, mild dishwashing liquid, and oven mitts. That is enough for routine soil.
Keeping the kit small matters in a tight kitchen. It prevents the familiar cycle of decluttering half the counter, opening three cabinets, and abandoning the job. You also avoid mixing products that do not need to be combined. Plain water supplies the steam; a few drops of soap handle the grease.
Brush dry crumbs from the door channel with a dry cloth before adding moisture. Do not poke tools into vents, seams, or the perforated cover inside the cavity.
Steam the Interior and Let It Sit
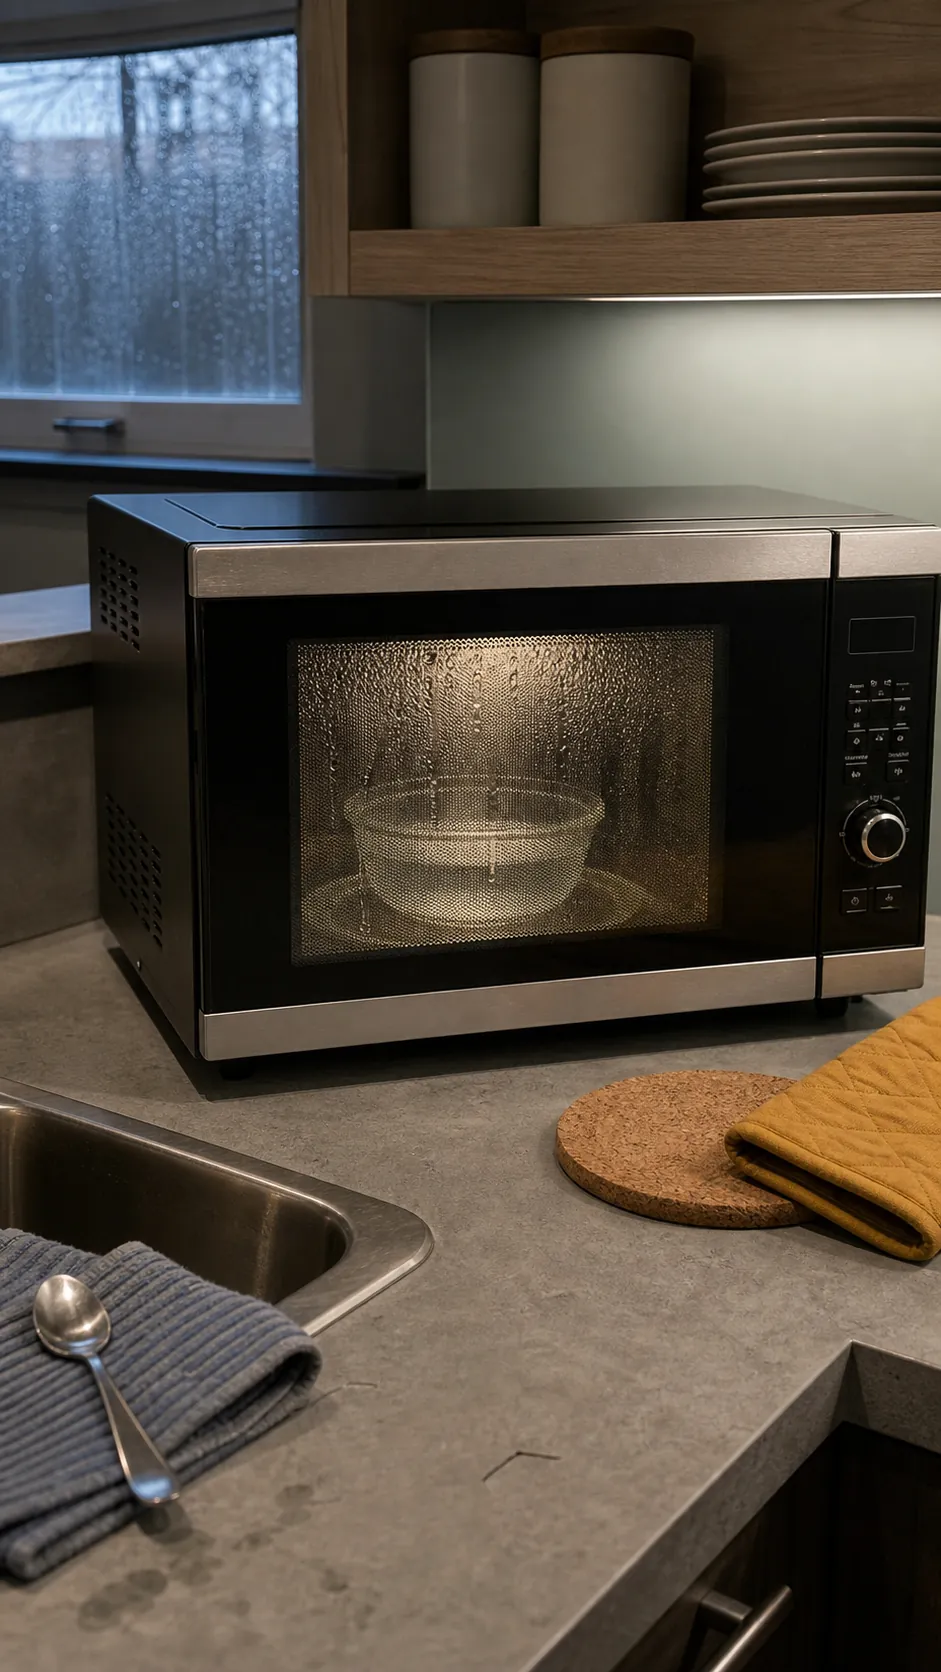
Add about a cup of water to the bowl and heat it until the interior becomes steamy. Because wattage and cavity size vary, stay nearby and use your model’s guidance rather than treating one heating time as universal. Leave the door closed for several minutes after heating stops.
The closed-door rest is the labor-saving part. Condensation softens dried splatter while you wash another dish or wipe the nearby counter. When you open the door, stand back from hot vapor and lift the bowl with dry mitts. Place it on a heat-safe surface.
If you prefer a fresh scent, lemon can go in the water, but it is optional. Easy microwave cleaning should still work on the day you have no lemon or vinegar in the house.
Wipe the Ceiling Before the Floor
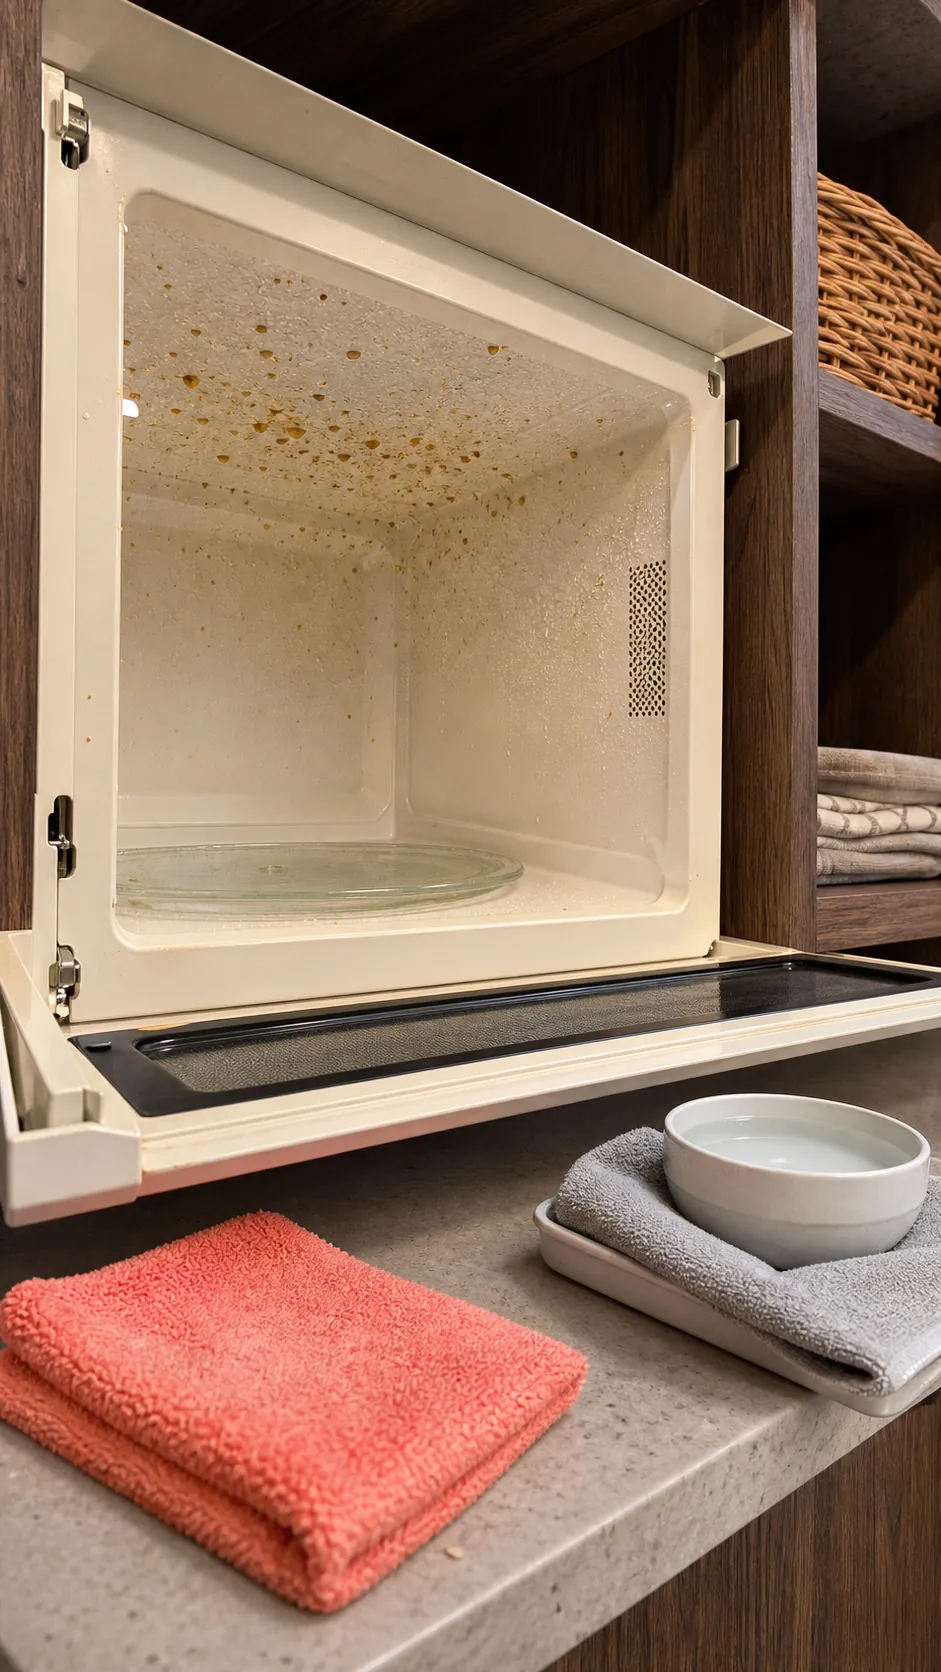
Use the first cloth to wipe the ceiling, back wall, side walls, and floor in that order. The ceiling is where splatter hides, especially when the appliance sits above eye level. Top-down cleaning also keeps crumbs from landing on a surface you already finished.
For a greasy patch, put a few drops of mild dish soap in warm water and dampen the cloth. Do not spray liquid into the cavity. Wipe with light overlapping passes, then follow with the second cloth dampened in plain water. If you can see or smell soap, rinse again.
More pressure is not the shortcut. Moisture and dwell time are. If residue will not release gently, repeat the steam step or check the care guide for an approved treatment rather than scraping the interior coating.
Wash the Turntable and Roller Ring Separately
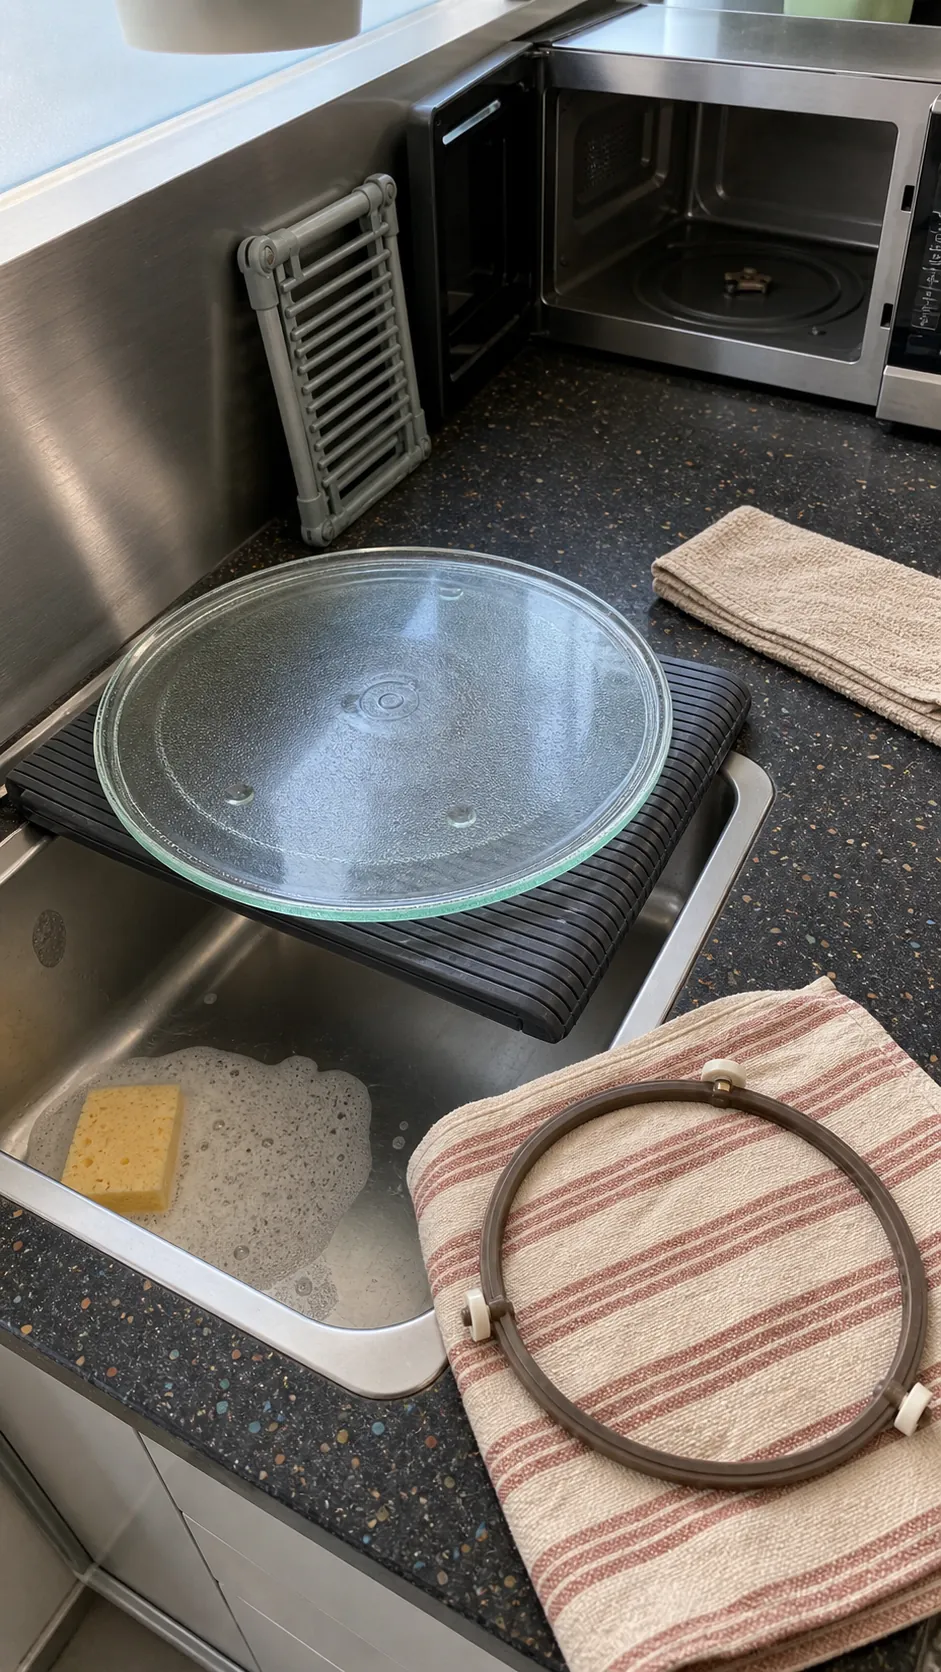
Wait until the glass is cool, then lift out the turntable and its support ring. Wash both as the manual directs, usually with warm water and mild detergent. In a small sink, wash one piece at a time and support the glass rather than balancing it against a hard faucet.
With the parts removed, crumbs around the center coupler become easy to reach. Wipe the bare floor with a damp cloth, keeping moisture out of openings. Dry everything before putting the ring back in its correct orientation and seating the tray on the coupler.
Gently rotate the tray by hand after reassembly. It should sit level and follow the ring. If it wobbles, check for a trapped crumb or a misaligned wheel instead of forcing it.
Clean the Door and Controls With Less Moisture
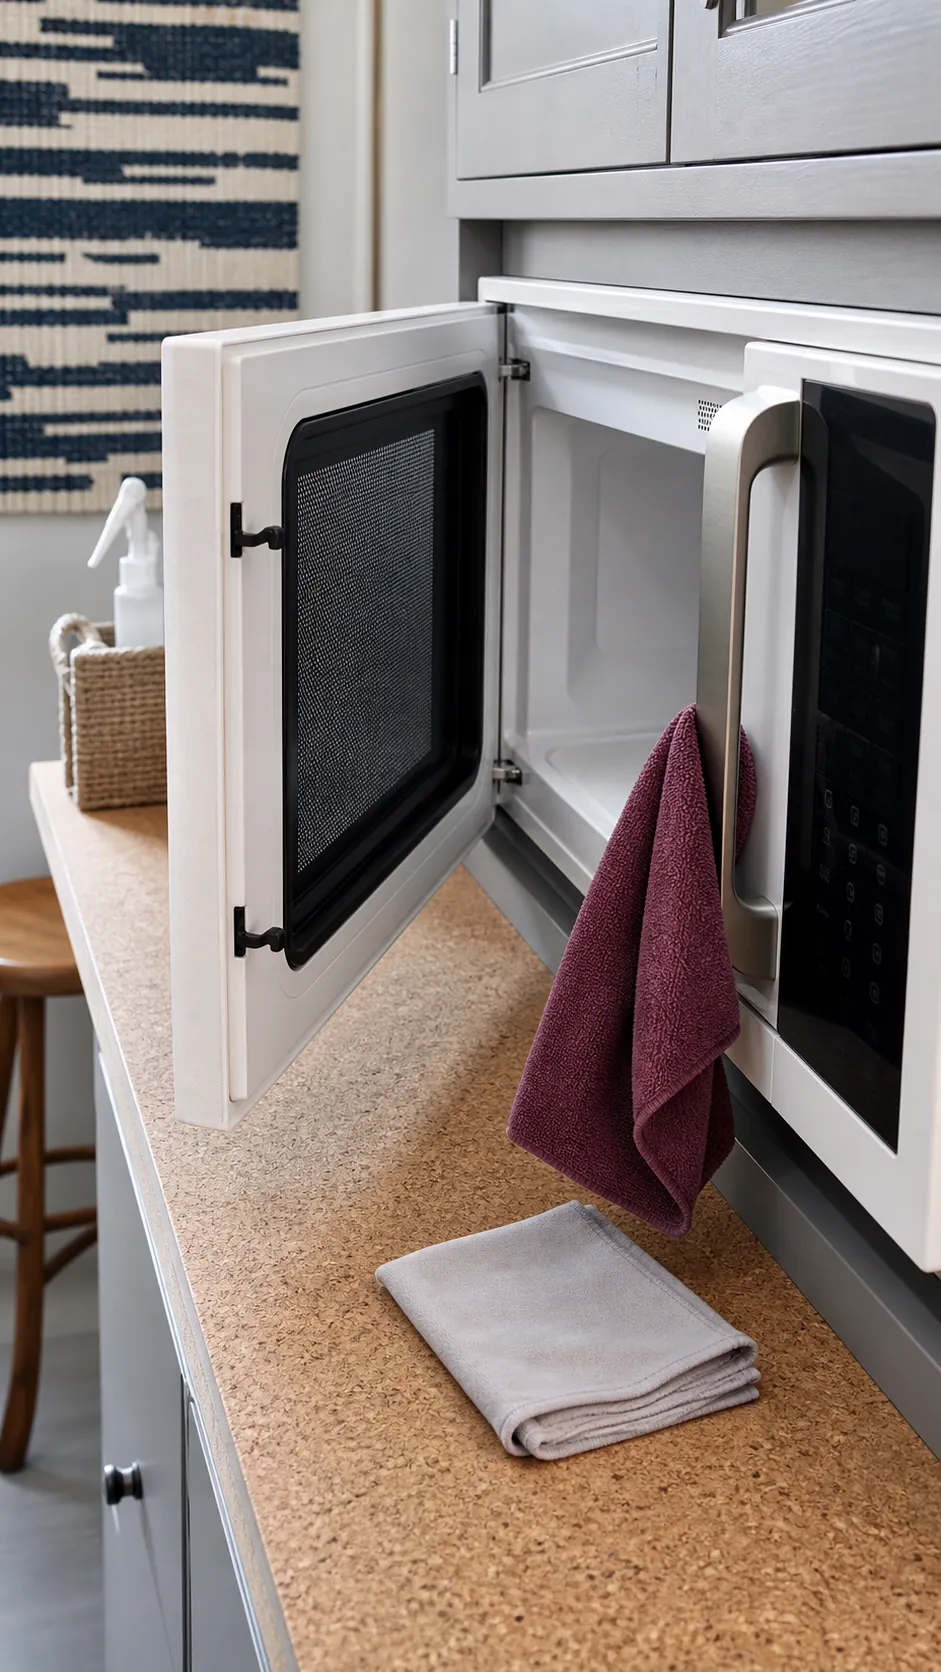
Food film collects on the inside door window, the frame where the door meets the cavity, and the handle. Wipe these surfaces with a soft damp cloth, taking care around the seal and latch. The door must close normally; never scrub, bend, remove, or modify its safety components.
For the control panel, put any manufacturer-approved cleaner on the cloth rather than on the appliance. The cloth should be barely damp. Some manuals suggest leaving the door open or using a control lock so a button press does not start the microwave while you wipe.
Match the exterior method to its finish. Painted, plastic, and stainless surfaces can have different recommendations, so this is one place where the model guide beats a general cleaning hack.
Dry, Air, and Reset the Routine
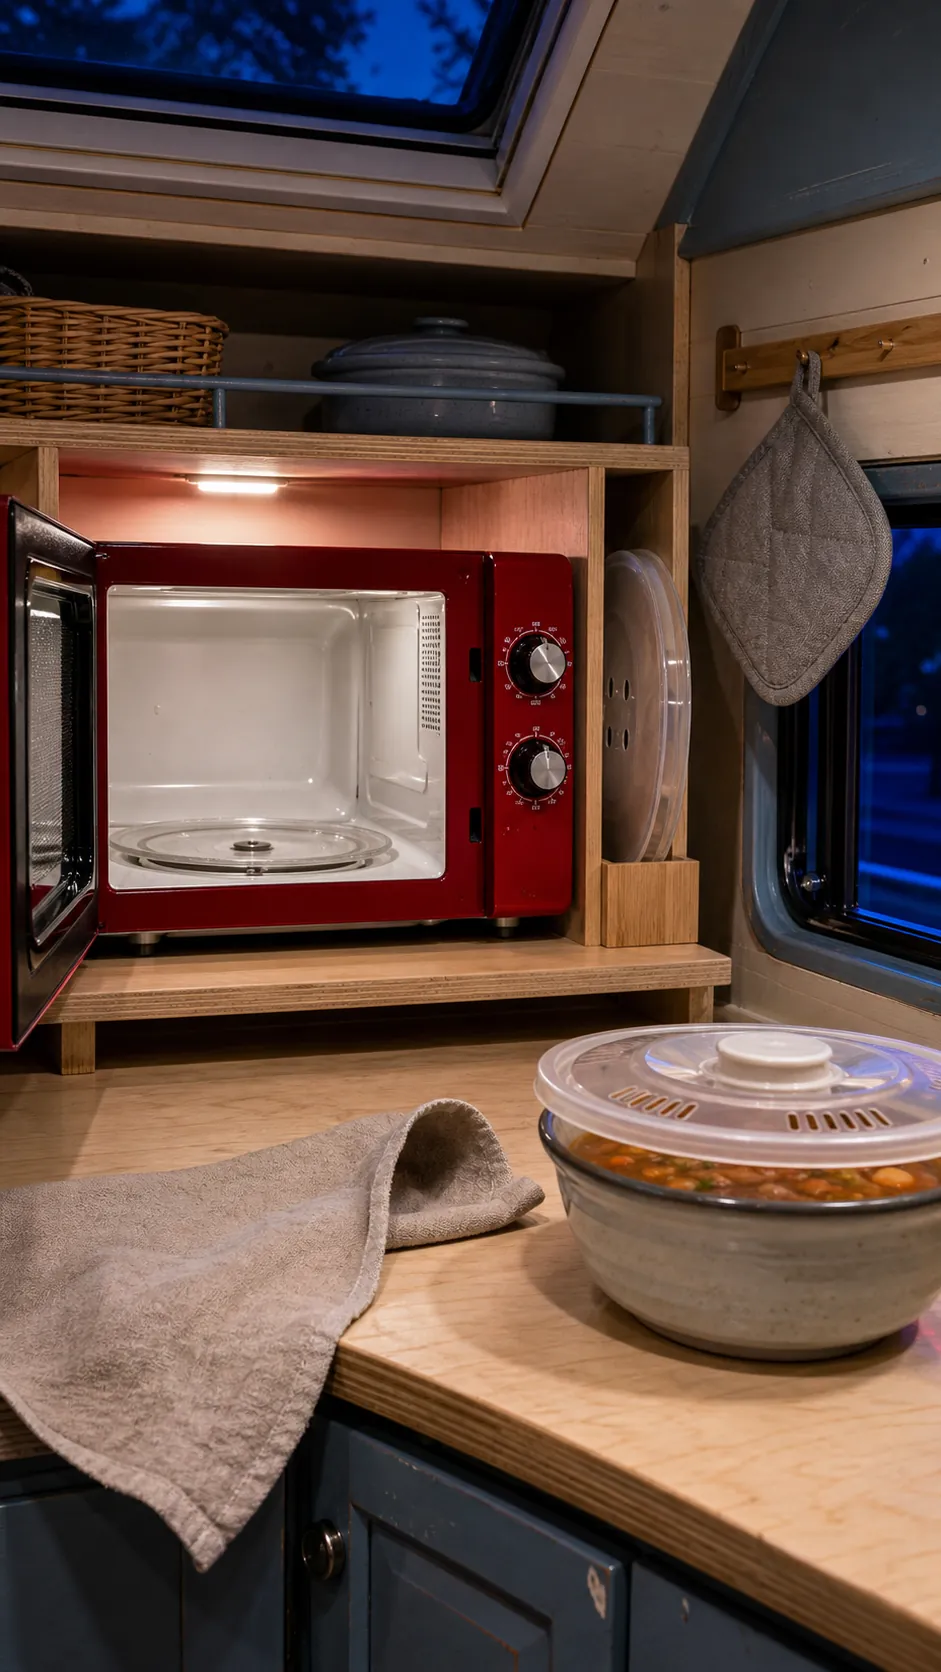
Finish with the dry towel so no soap film or pooled water remains. Leave the door open briefly to air, then close it once the cavity is dry. Return only the items that belong in the zone: the correctly seated turntable and, if you use one, a clean vented microwave-safe splatter cover.
From now on, wipe a spill after the appliance cools and before the next heating cycle bakes it on. A weekly ceiling check takes seconds. Wash the tray when it feels tacky, and follow the manual’s schedule for any removable filter on an over-the-range model.
The cleaning aesthetic worth keeping is not a flawless appliance. It is a small microwave that is dry, neutral-smelling, safe to close, and easy to use again.