
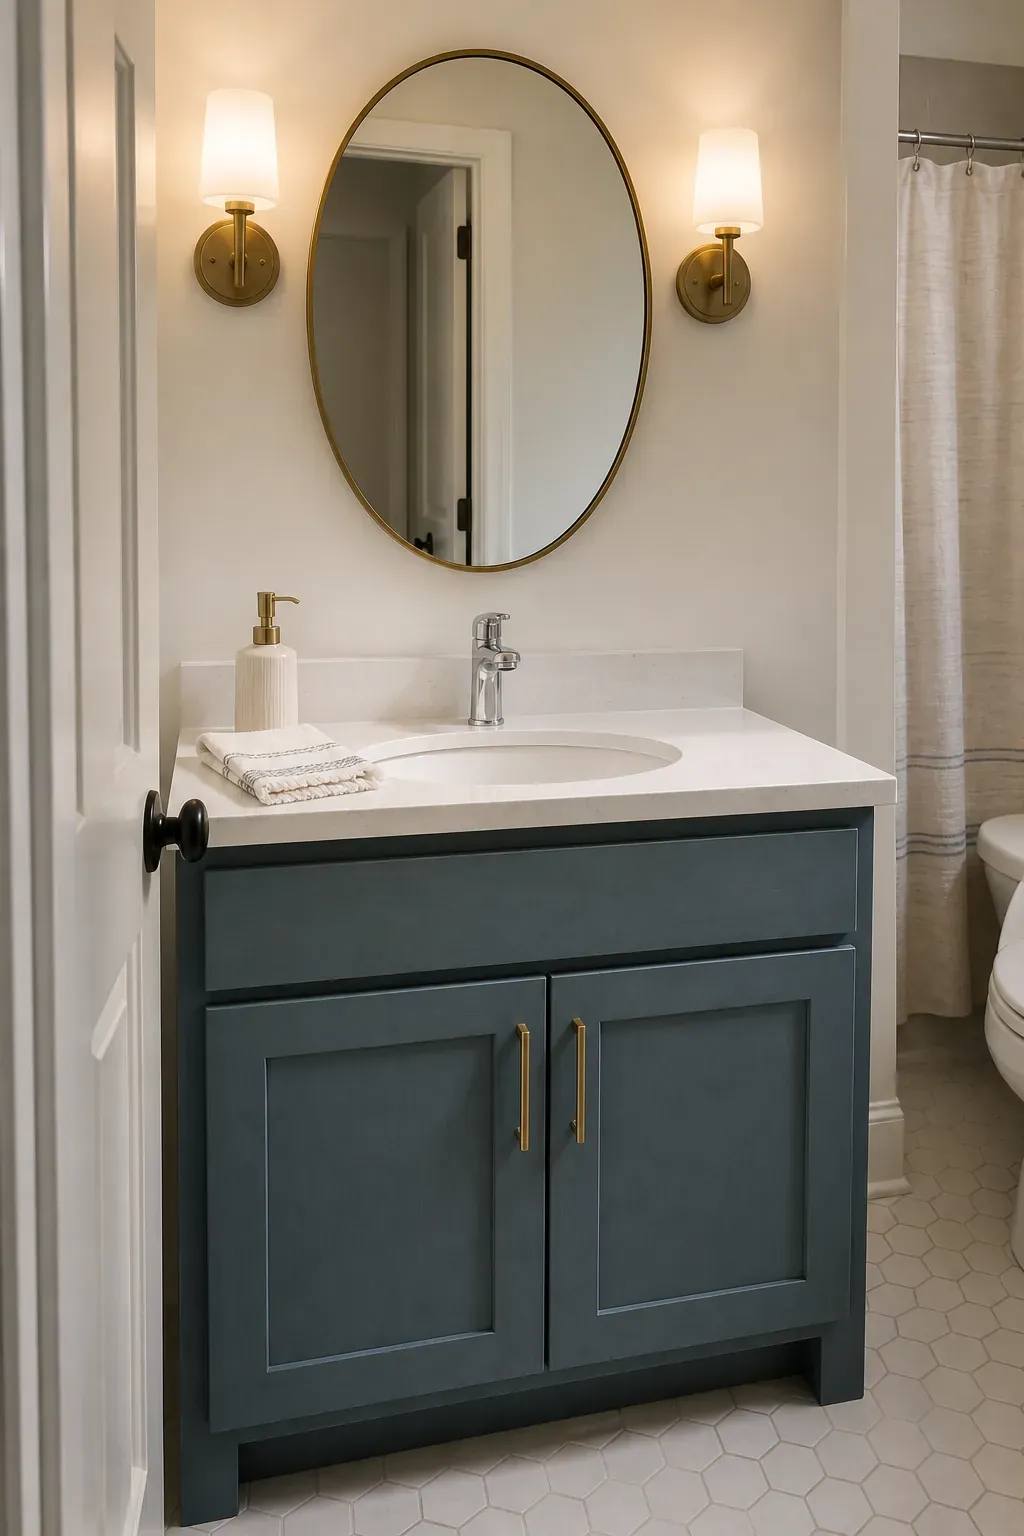
A builder grade vanity rarely looks bad because of one fatal flaw. It looks unfinished because every visible choice—the flat cabinet front, tiny knobs, frameless mirror, harsh light, and crowded counter—lands at the same basic level. The good news is that you usually do not need to replace the cabinet. The smartest makeover improves the fixed pieces in the right order, so each small upgrade makes the next one look more intentional.
Start by deciding what is worth keeping. A solid vanity box with working drawers and a serviceable top is an excellent candidate for a budget bathroom makeover. Swollen MDF, peeling thermofoil, active leaks, or a top that has separated around the sink need repair before styling. That distinction matters: paint can refresh an intact surface, but it cannot stabilize water-damaged material.
Fix the clues that make the vanity feel cheap
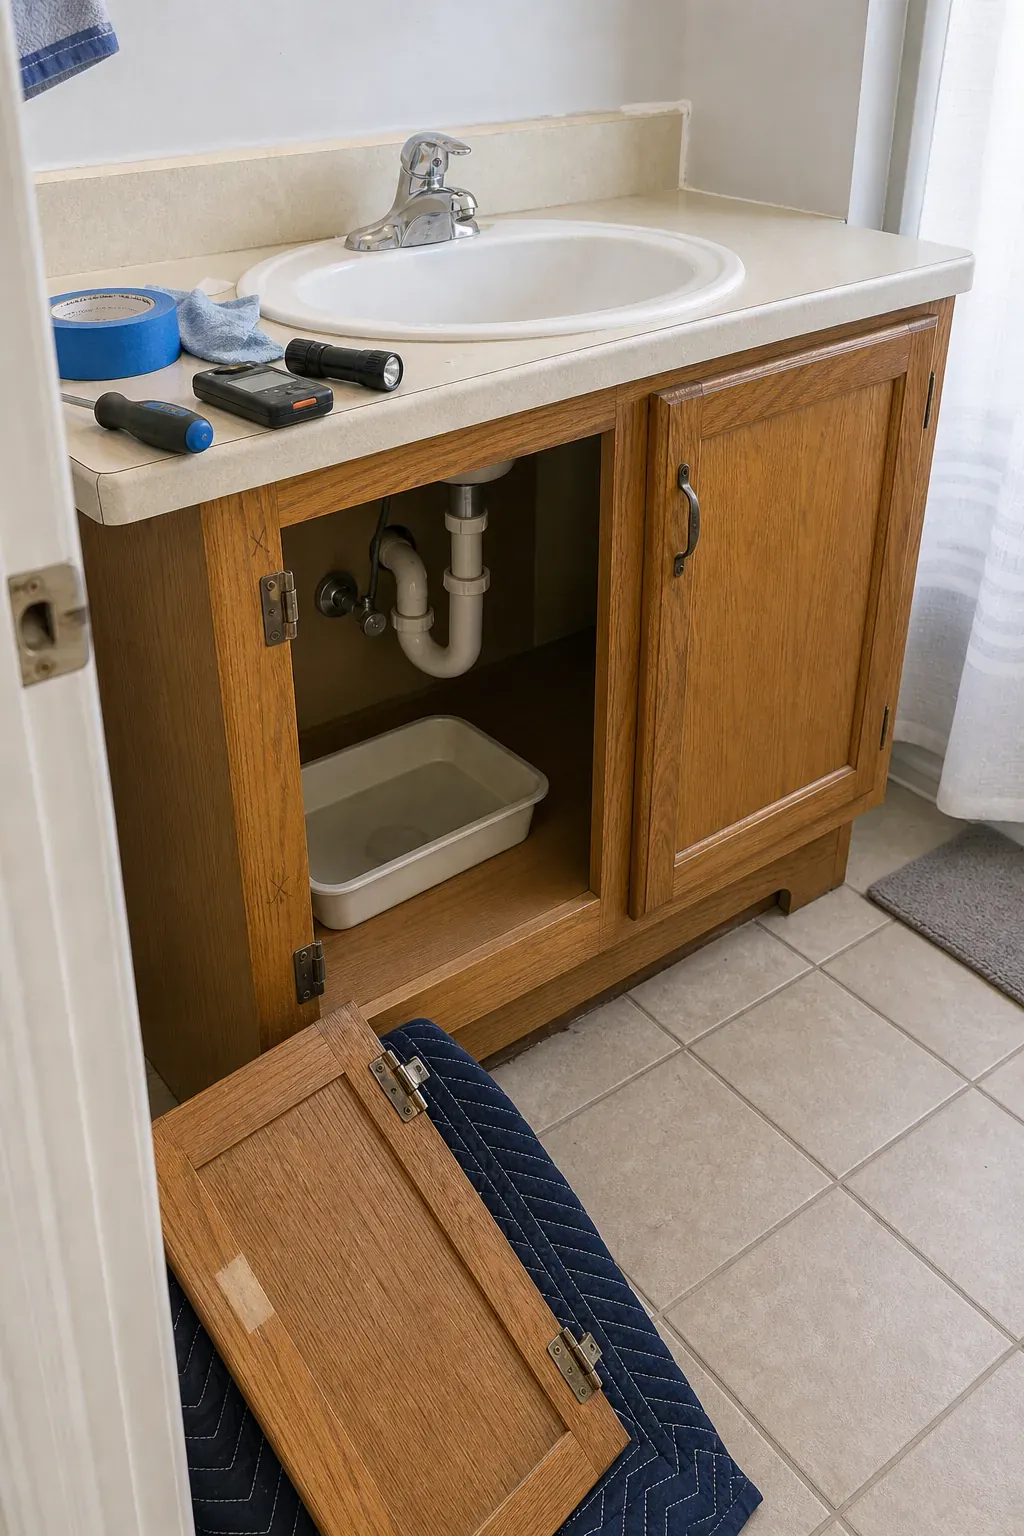
Empty the cabinet, clean the room, and look at the vanity as a group of lines. Uneven door gaps, sagging hinges, exposed plumbing, old caulk, and a mirror that is too wide or too high can make even a newly painted cabinet feel builder grade. Tighten hinges, align doors, fill unused hardware holes, replace stained caulk, and correct any leak before reaching for decorative finishes.
Then identify the cabinet surface. Solid wood, wood veneer, melamine, laminate, and thermofoil do not accept coatings in exactly the same way. If a thin plastic skin is lifting, determine whether it can be secured or should be carefully removed before priming. A durable result depends more on adhesion and dry conditions than on the color you choose. When the material is uncertain, test the full prep system on the inside of a door and let it cure before committing.
Paint the cabinet like a wet-room fixture
Remove doors, drawers, pulls, and hinges; label each piece so it returns to the same opening. Degrease every touch point, especially around handles and beneath the sink lip. Scuff-sand only enough to dull the finish and give primer a key, then remove dust. Use a bonding primer compatible with the substrate and a cabinet-grade coating rated for frequent cleaning. Follow the manufacturer’s recoat and cure times rather than rushing the doors back into service.
Color should respond to the immovable countertop and floor. A cool white top can support mushroom, slate blue, muted green, charcoal, or a cleaner white; a cream or beige top usually looks calmer with warm taupe, olive, clay, or deep brown. Sample beside the counter at morning and evening. The undertone match is more important than whether the paint color is currently fashionable.
Give flat doors depth without replacing them
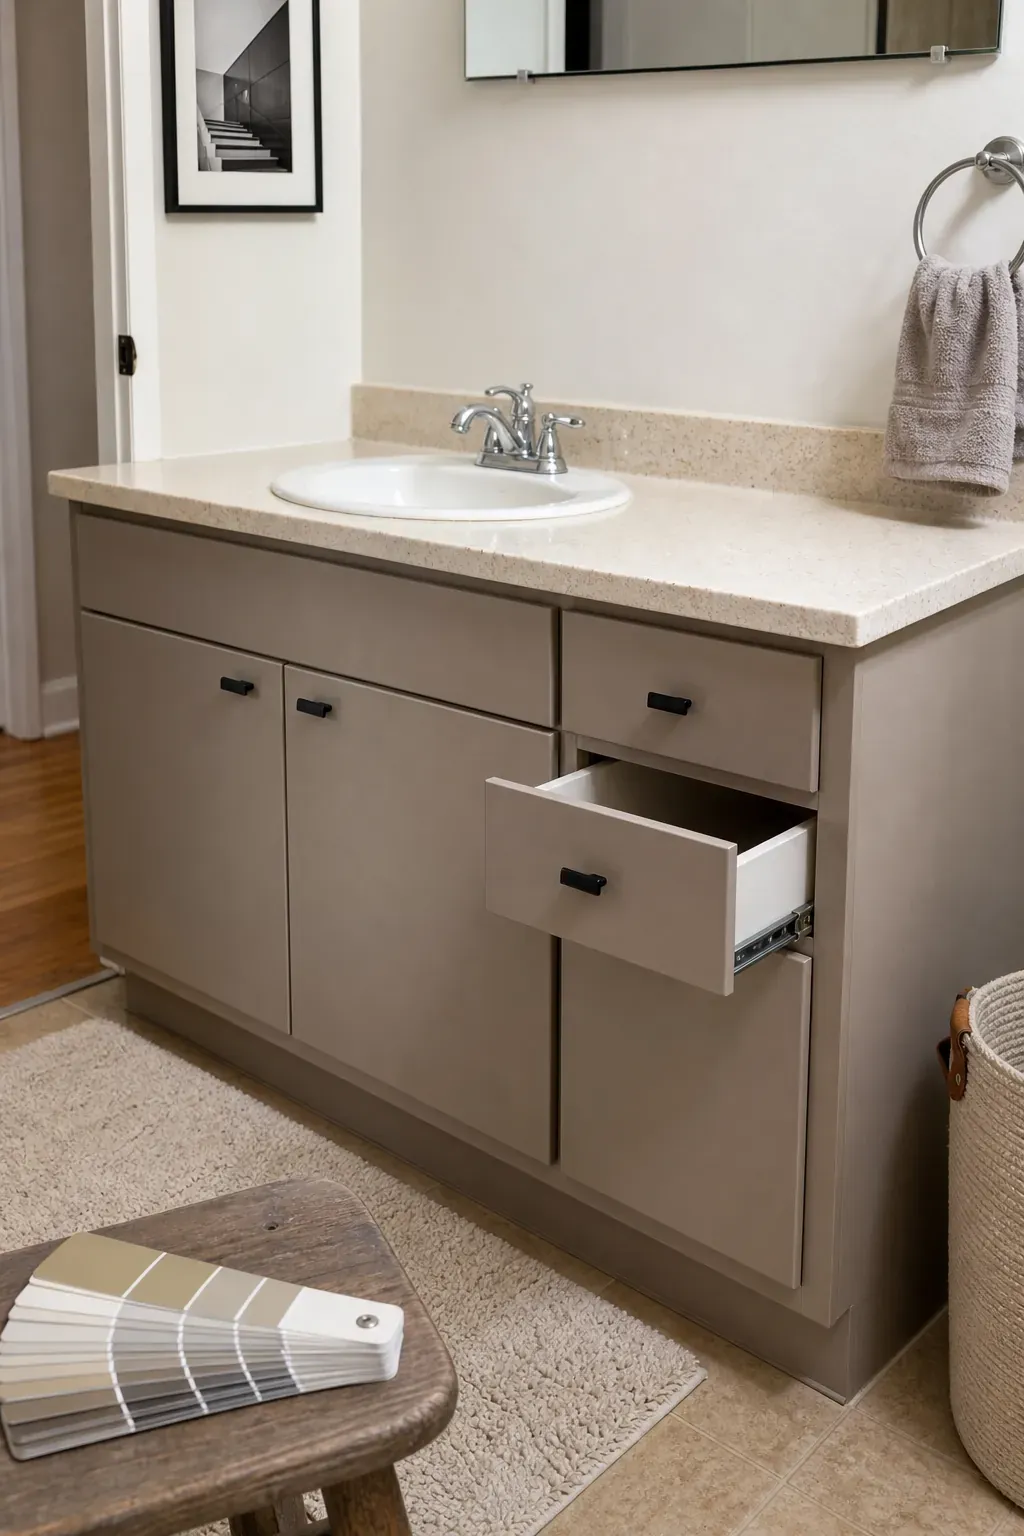
Perfectly flat slab doors can look more finished with narrow applied molding, but the proportions need restraint. Lay out a simple inset rectangle with equal margins, miter the corners cleanly, and use trim thin enough that doors and drawers still open without rubbing. Prime the molding and door as one surface so the detail reads as part of the cabinet instead of an add-on.
If trim would interfere with adjacent doors, skip it. Longer pulls, a strong paint color, and corrected gaps can give slab fronts enough structure on their own. For a recessed toe kick, a painted plinth or a slim furniture-style base detail can make the vanity feel grounded, provided you preserve access and keep water-prone edges sealed.
Use hardware and plumbing as one visual family
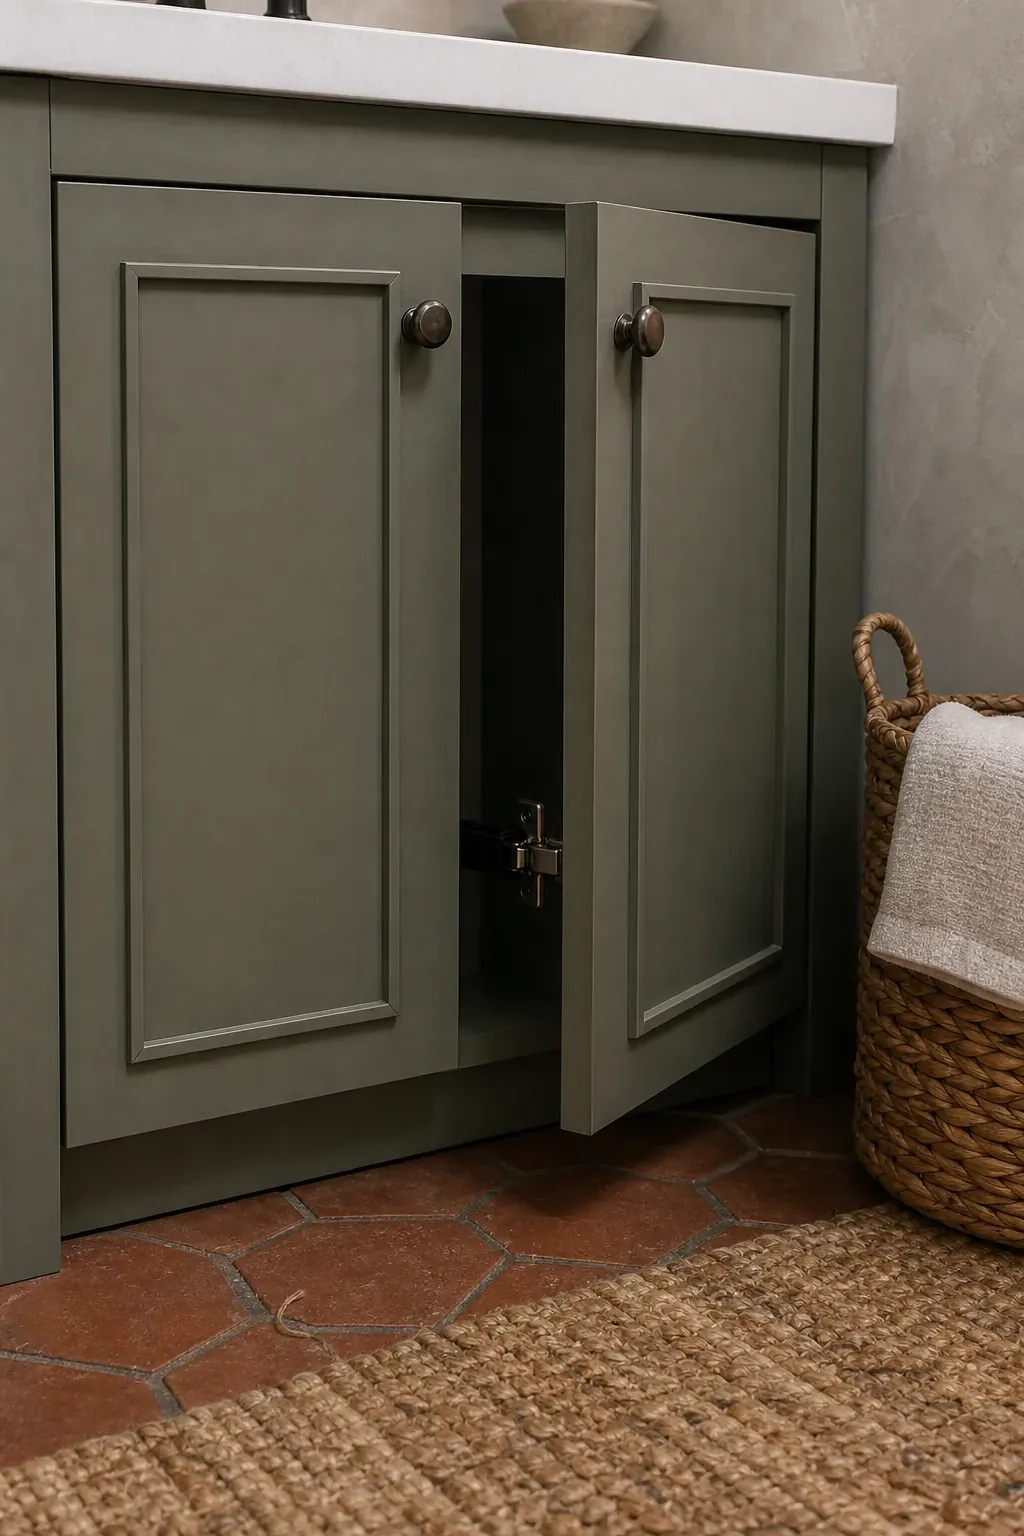
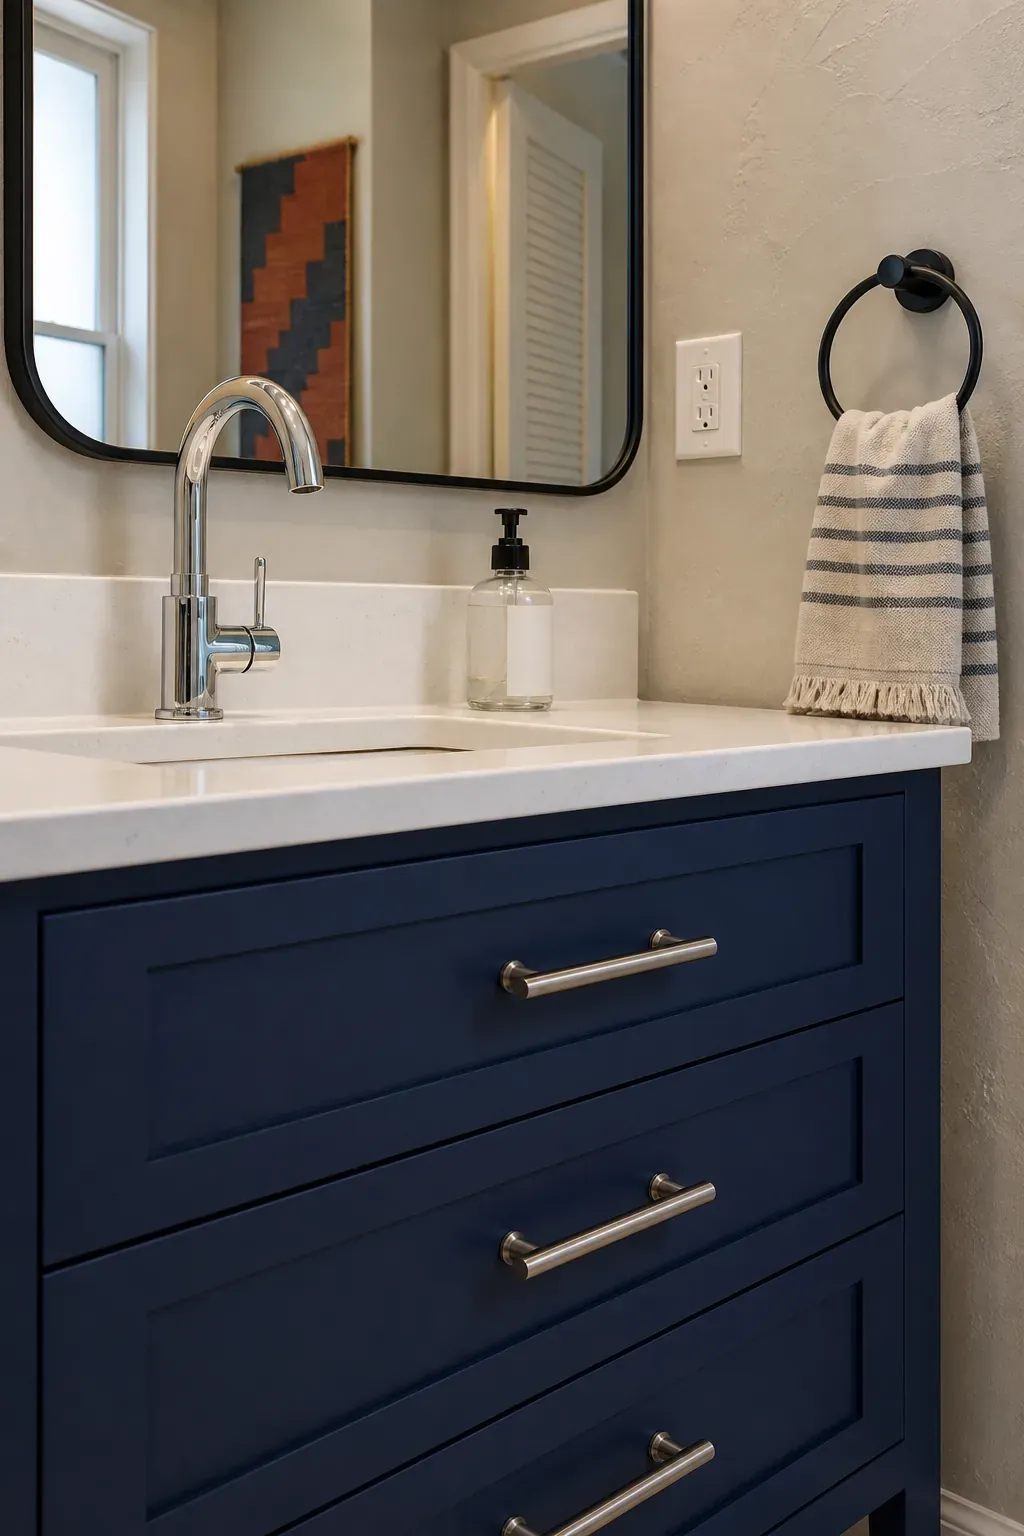
New pulls create crisp scale and shadow on basic cabinet fronts. Measure the existing hole spacing before shopping; matching it avoids filling and redrilling. On small doors, knobs or compact pulls keep the face balanced. On wide drawers, a longer pull often looks more substantial than two small knobs. Make a cardboard drilling template and check every door from the room before making permanent holes.
The faucet, cabinet hardware, mirror frame, and light do not have to match exactly, but they should feel related. Two finishes are usually enough: for example, brushed nickel plumbing with matte black accents, or aged brass hardware with a dark bronze light. Repeat each finish at least once and avoid mixing several different versions of warm metal. Cohesion comes from repetition and shape, not buying a boxed matching set.
Replace or frame the builder mirror
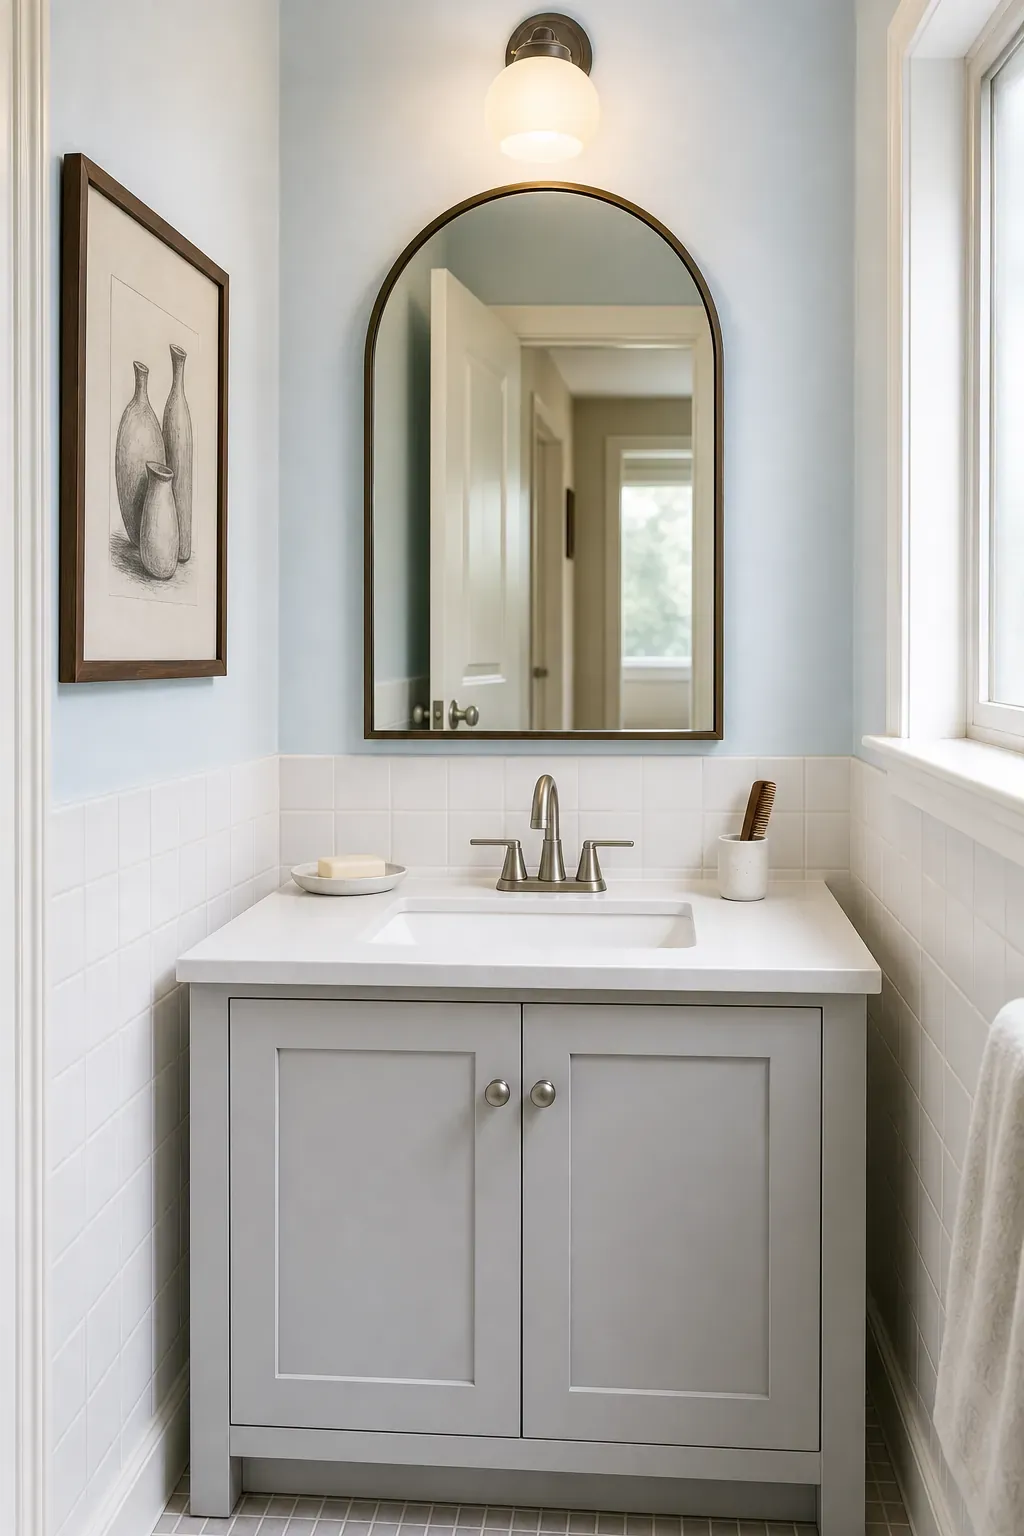
A frameless sheet mirror is useful, but its edge can make the whole wall feel temporary. If the mirror is well sized and securely installed, add a moisture-resistant frame that clears clips and does not trap water. If it overwhelms the vanity, replace it with one framed mirror per sink or a single mirror slightly narrower than the cabinet. Rounded corners soften a boxy vanity; a thin rectangular frame reinforces a cleaner architectural look.
Before removing a glued mirror, plan for wall repair and safe handling—the labor can outweigh the price of the new mirror. Also check the existing electrical box, backsplash height, faucet clearance, and the eye height of household members. The best bathroom mirror is not merely decorative; it fits the available wall and makes daily grooming comfortable.
Trade harsh vanity lighting for useful light
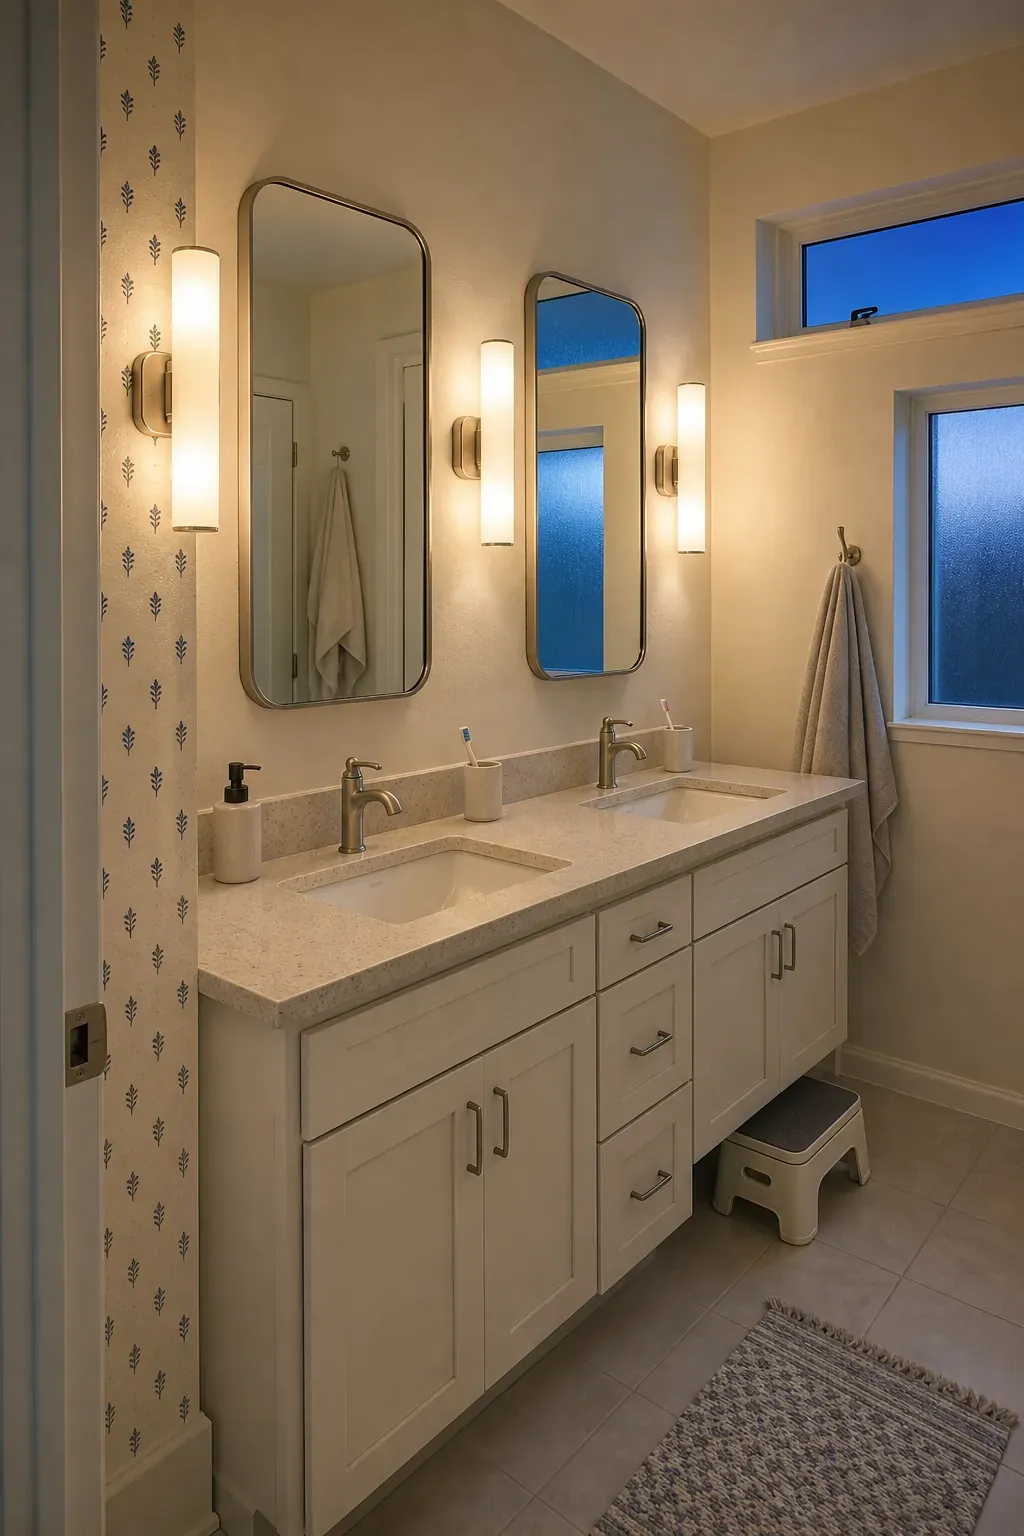
The familiar strip above a mirror often throws downward shadows and calls attention to the wall more than the vanity. When wiring and clearances allow, sconces on both sides of the mirror provide more even face light. If you must keep an above-mirror fixture, choose one proportional to the mirror, with diffused shades and bulbs that render color accurately. Use a damp-rated fixture where required and have electrical changes completed to local code.
A dimmer lets the same bathroom handle grooming in the morning and a softer mood at night. Keep bulb color consistent across fixtures; mixed cool and warm whites make new finishes look disconnected. Around 3000K often offers a warm but clear appearance, while high color rendering helps skin tones and paint colors look natural. Lighting is not the final accessory—it changes how every other upgrade is perceived.
Style the counter so the makeover can breathe
Once the permanent pieces look coherent, remove most of what was living on the counter. Keep daily essentials in a drawer, divided tray, or lidded container, then leave only a small useful grouping: soap, a hand towel, and perhaps one moisture-tolerant stem or plant if the room has suitable light. A shallow tray can corral bottles, but it should not become another crowded surface.
Spend where touch and function reveal quality: hinges that align, a faucet that operates smoothly, lighting that helps you see, and a finish that withstands cleaning. Save on easily changed decor. That is the real way to make a builder grade vanity look better—not by disguising it with more objects, but by making its proportions, surfaces, and everyday use feel deliberately resolved.