
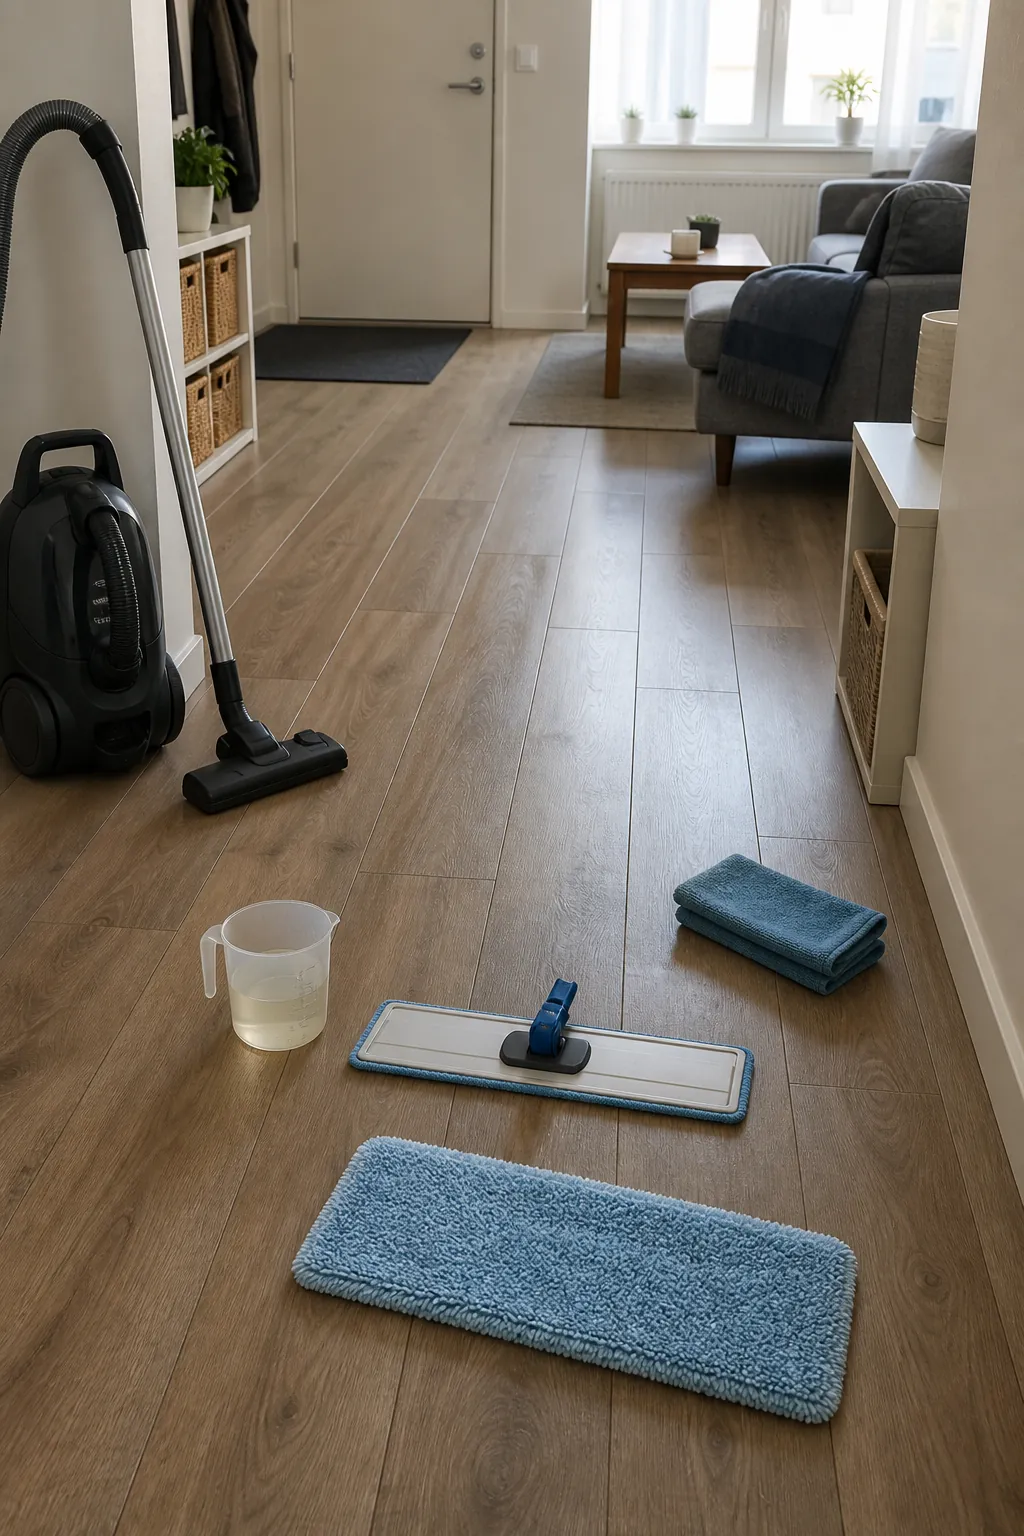
If a clean cloth still turns brown after you mop, the answer is not automatically a stronger chemical. The usual causes are dry grit left behind, too much detergent, dirty water being spread across the room, or a method that does not suit the floor.
Cleaning forums are full of people who mop repeatedly, use eight pads, or reach for steam and vinegar because the floor still feels sticky. That frustration is real, but escalation can damage a finish while leaving the underlying process unchanged.
These floor cleaning hacks follow a safer order: identify the material, remove dry soil, use the correct dose, carry dirty water away, target stubborn spots, and finish dry.
Identify the Floor Before You Mix Anything
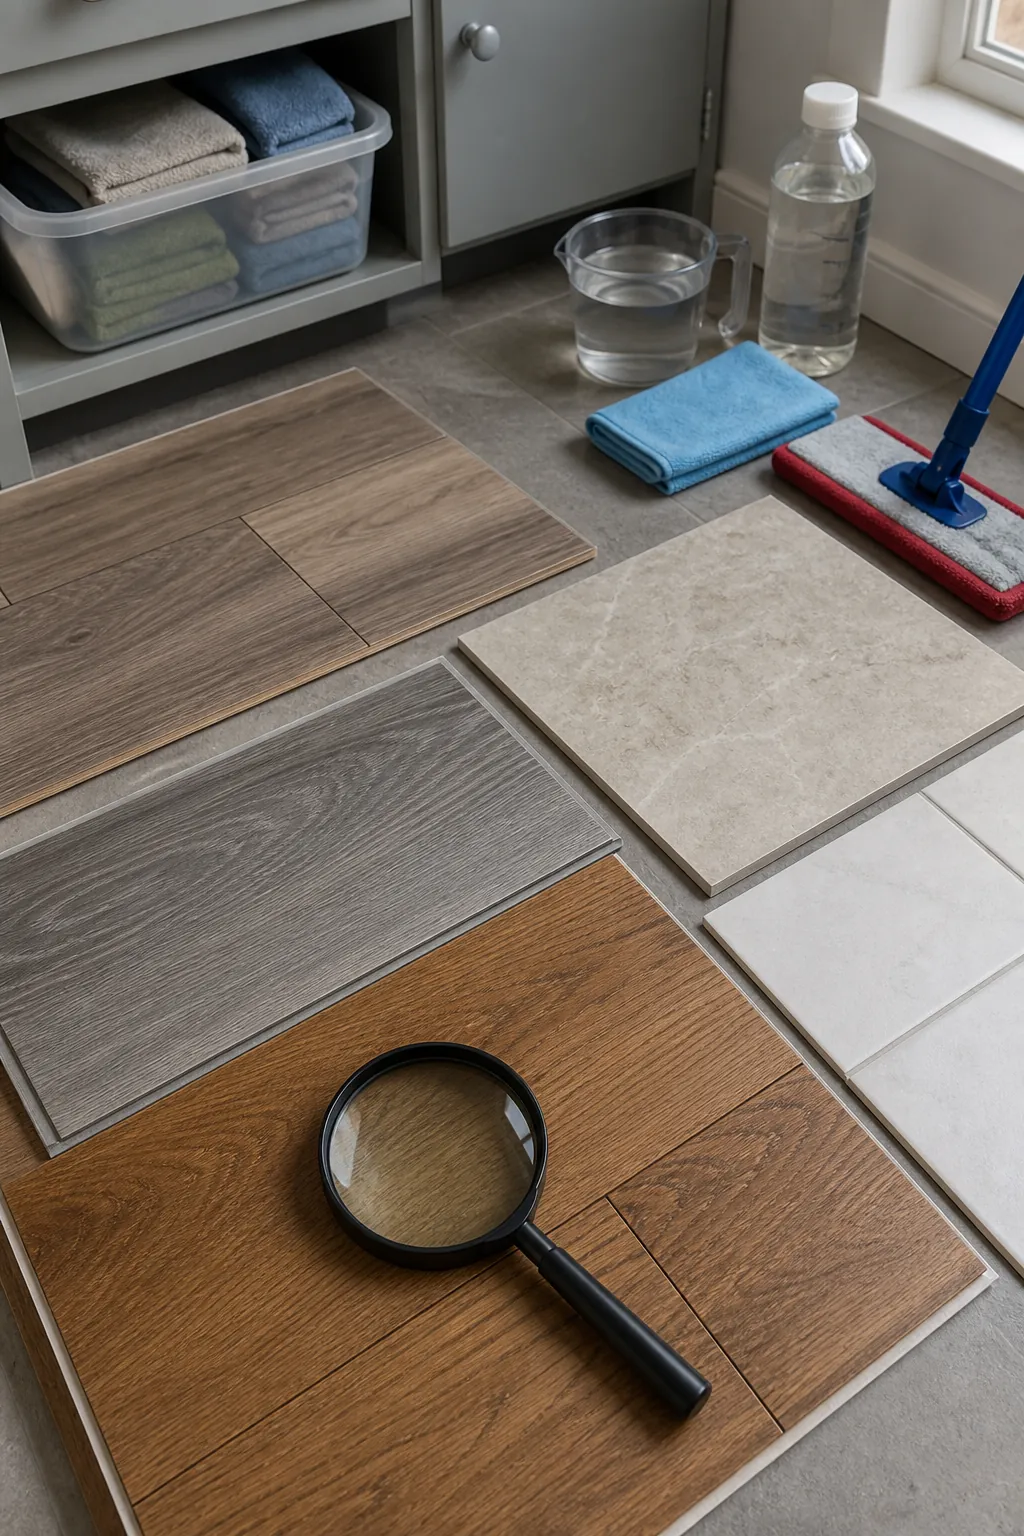
The best floor cleaning hack is the one that does not damage the finish. Hardwood, laminate, luxury vinyl, ceramic tile, and natural stone can look similar in a quick photo while needing very different amounts of water and different chemistry.
Check purchase records, a spare plank, an inconspicuous edge, or the landlord’s care information before experimenting. Manufacturer guidance beats a viral floor cleaner recipe because it accounts for the actual wear layer, sealer, joints, and warranty.
When the material is uncertain, start with the least aggressive method: dry soil removal, a barely damp microfiber pad, and a small amount of pH-neutral cleaner approved for the likely surface. Never treat steam, vinegar, bleach, ammonia, wax, or oil soap as universal.
Test in a hidden area and let it dry fully. A clean-looking wet patch can reveal haze, color change, swelling, or dullness only after the moisture is gone.
Remove Dry Grit Before the Mop Comes Out
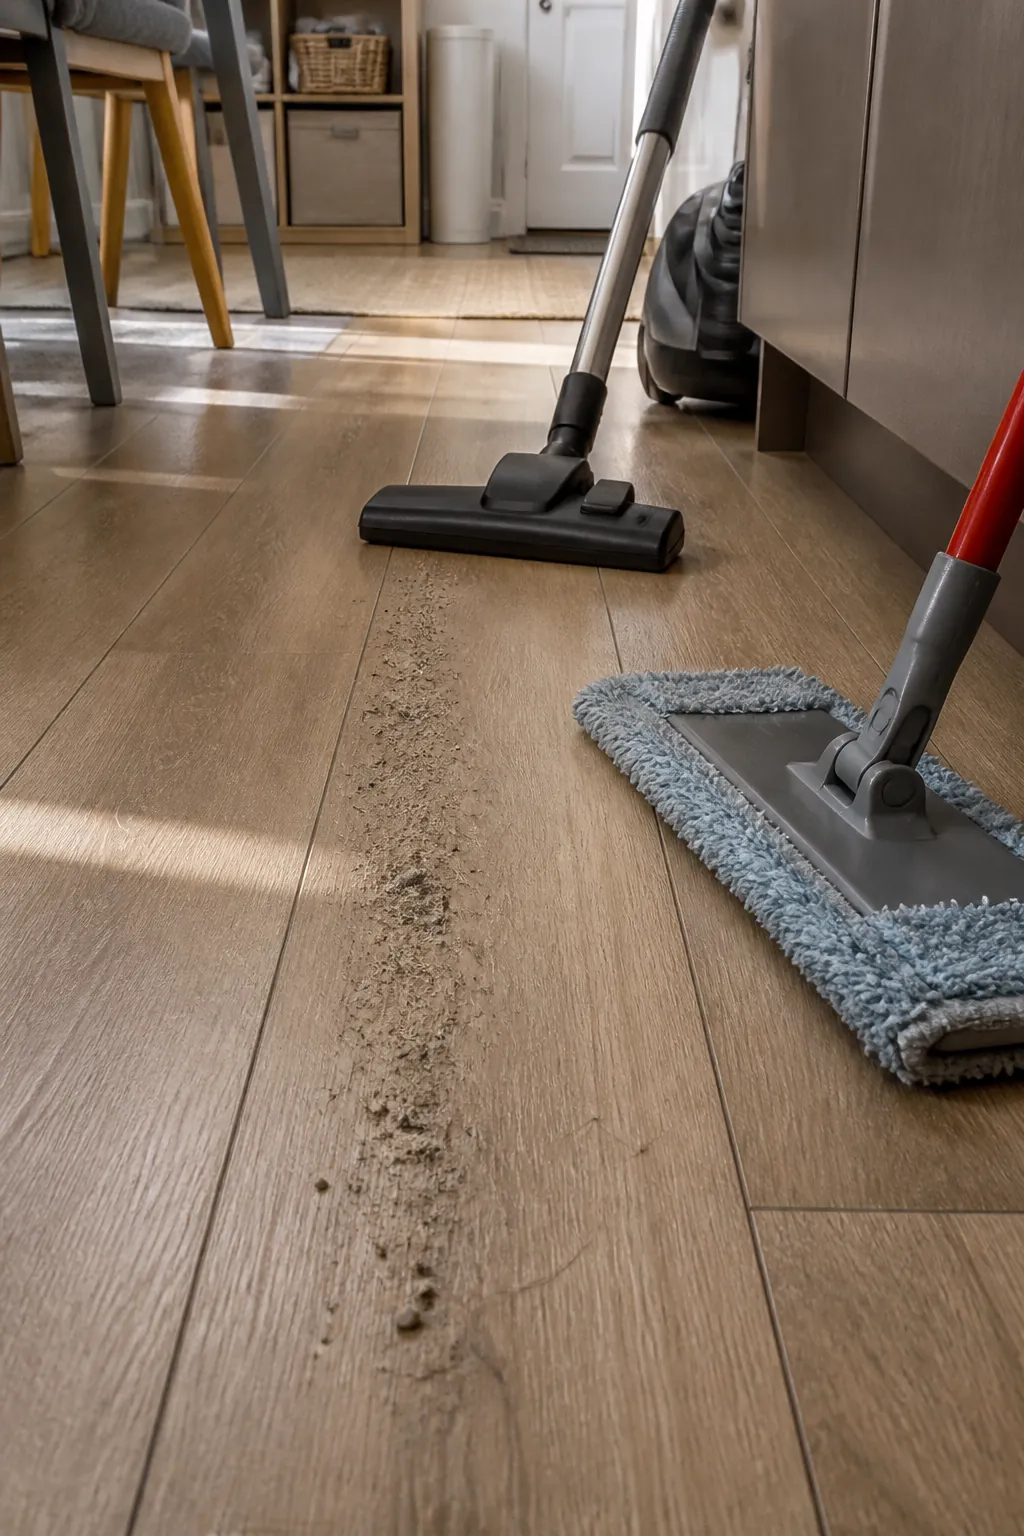
Mopping over crumbs, hair, sand, and dust turns loose debris into gray slurry. It also drags grit across the finish and makes the mop pad dirty before it reaches the stuck-on soil.
Vacuum with the correct hard-floor setting or use a microfiber dust mop, then work the edges and the strip beneath cabinet toes where debris collects. Turn off a powered brush roll when the floor maker recommends it.
Move light objects instead of steering around the same chair legs every time. A fast dry pass under the table and along baseboards often removes the dirt that later appears on socks.
This step is also the easiest maintenance win: frequent dry removal means the floor needs less wet cleaning, less product, and less scrubbing.
Measure Cleaner Instead of Pouring by Eye
More detergent does not mean more cleaning. Excess product can dry into a film that feels sticky, shows footprints, catches dust, and creates the impression that the floor becomes dirty immediately after mopping.
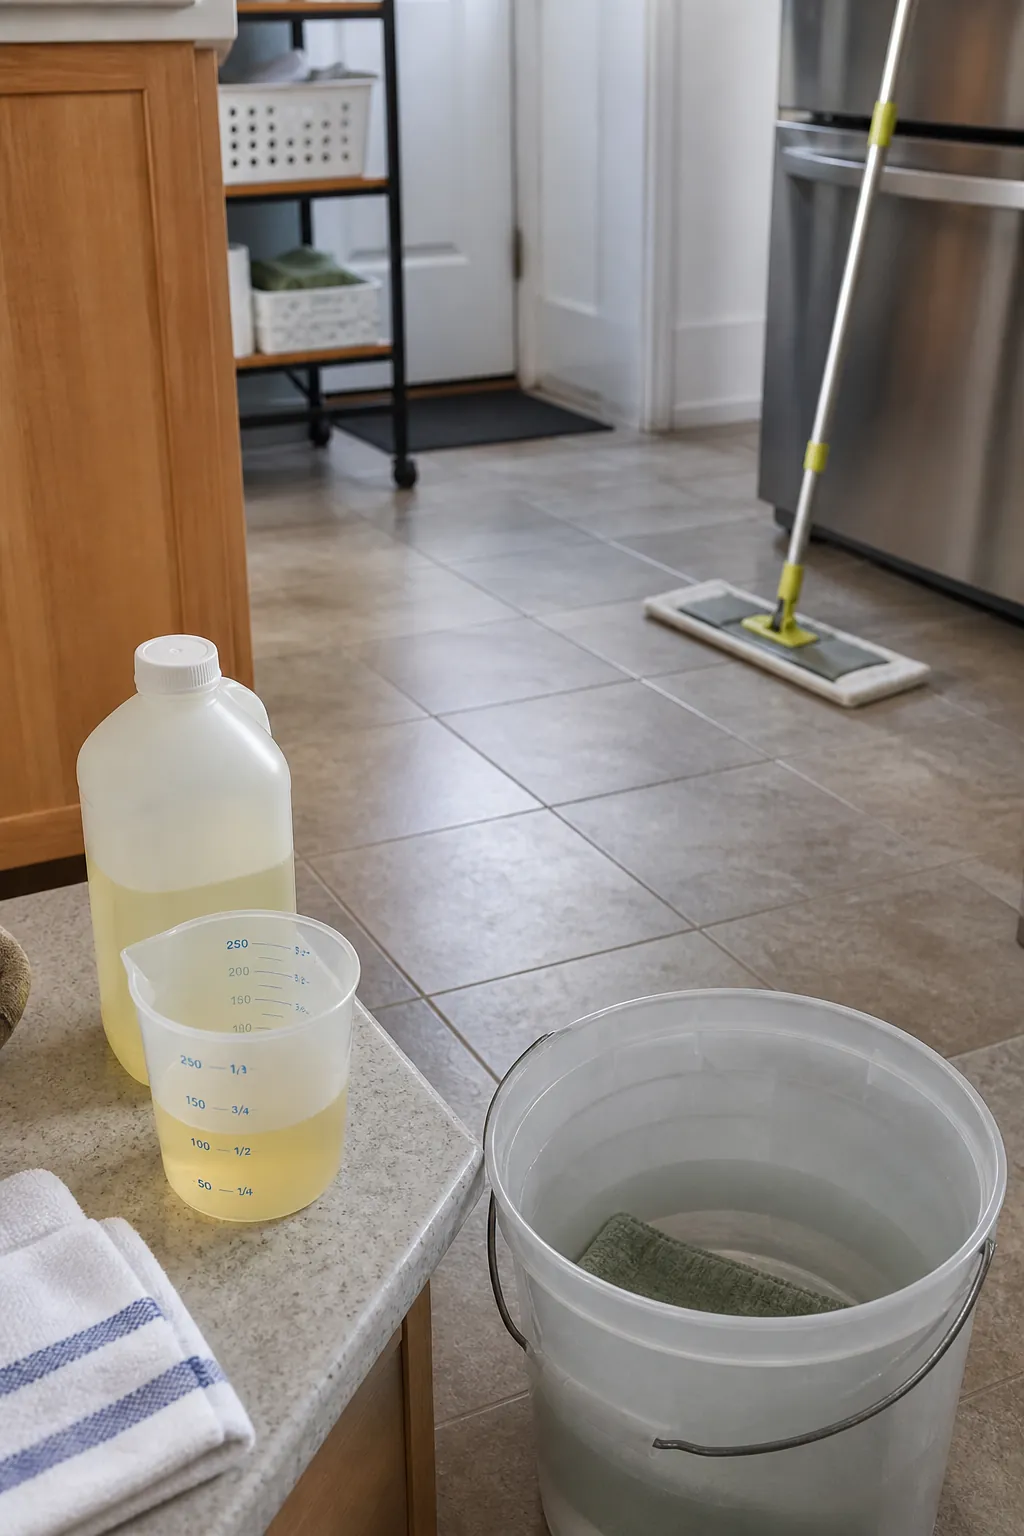
Read the dilution label and measure the concentrate for the actual amount of water in the bucket. If the cleaner is ready to use, do not strengthen it with another product.
Use cool or comfortably warm water unless the label specifies otherwise. Extremely hot water can flash-dry solution, soften some finishes, or make a strong scent seem like proof of cleaning when residue is actually building.
If a known-compatible cleaner has left haze, a carefully controlled plain-water pass with a clean pad may lift the remaining film. Stop if the floor seams or finish should not receive that moisture.
Keep Dirty Water Off the Clean Side
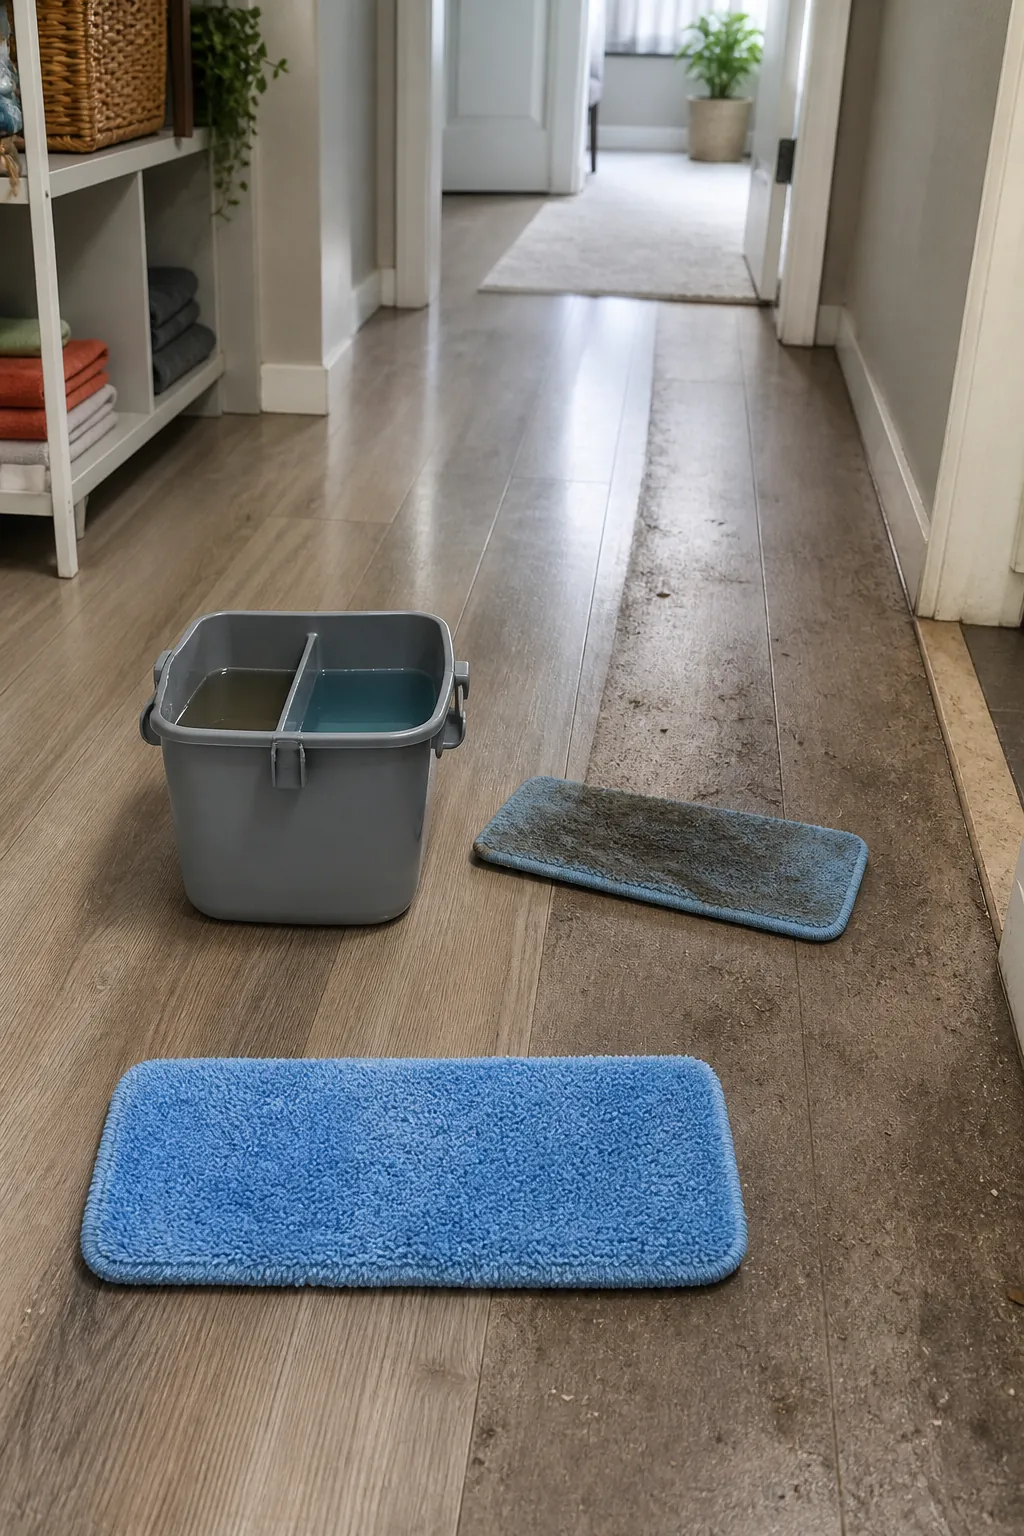
A dark bucket is evidence that soil has been suspended; it is not a reason to keep spreading the same water. Change solution when it becomes visibly dirty and replace or rinse pads before they are saturated.
Work in small zones from the far side of the room toward the exit. Use overlapping passes, then inspect the pad before moving into the next zone.
For a flat mop, keeping several washable microfiber pads nearby is often simpler than trying to rinse one pad perfectly in a small sink. For a bucket system, separate wash and rinse water if the tool is designed for it.
Wring thoroughly on moisture-sensitive flooring. The mop should collect released soil, not leave a puddle carrying it into seams.
Spot-Treat the Soil You Actually Have
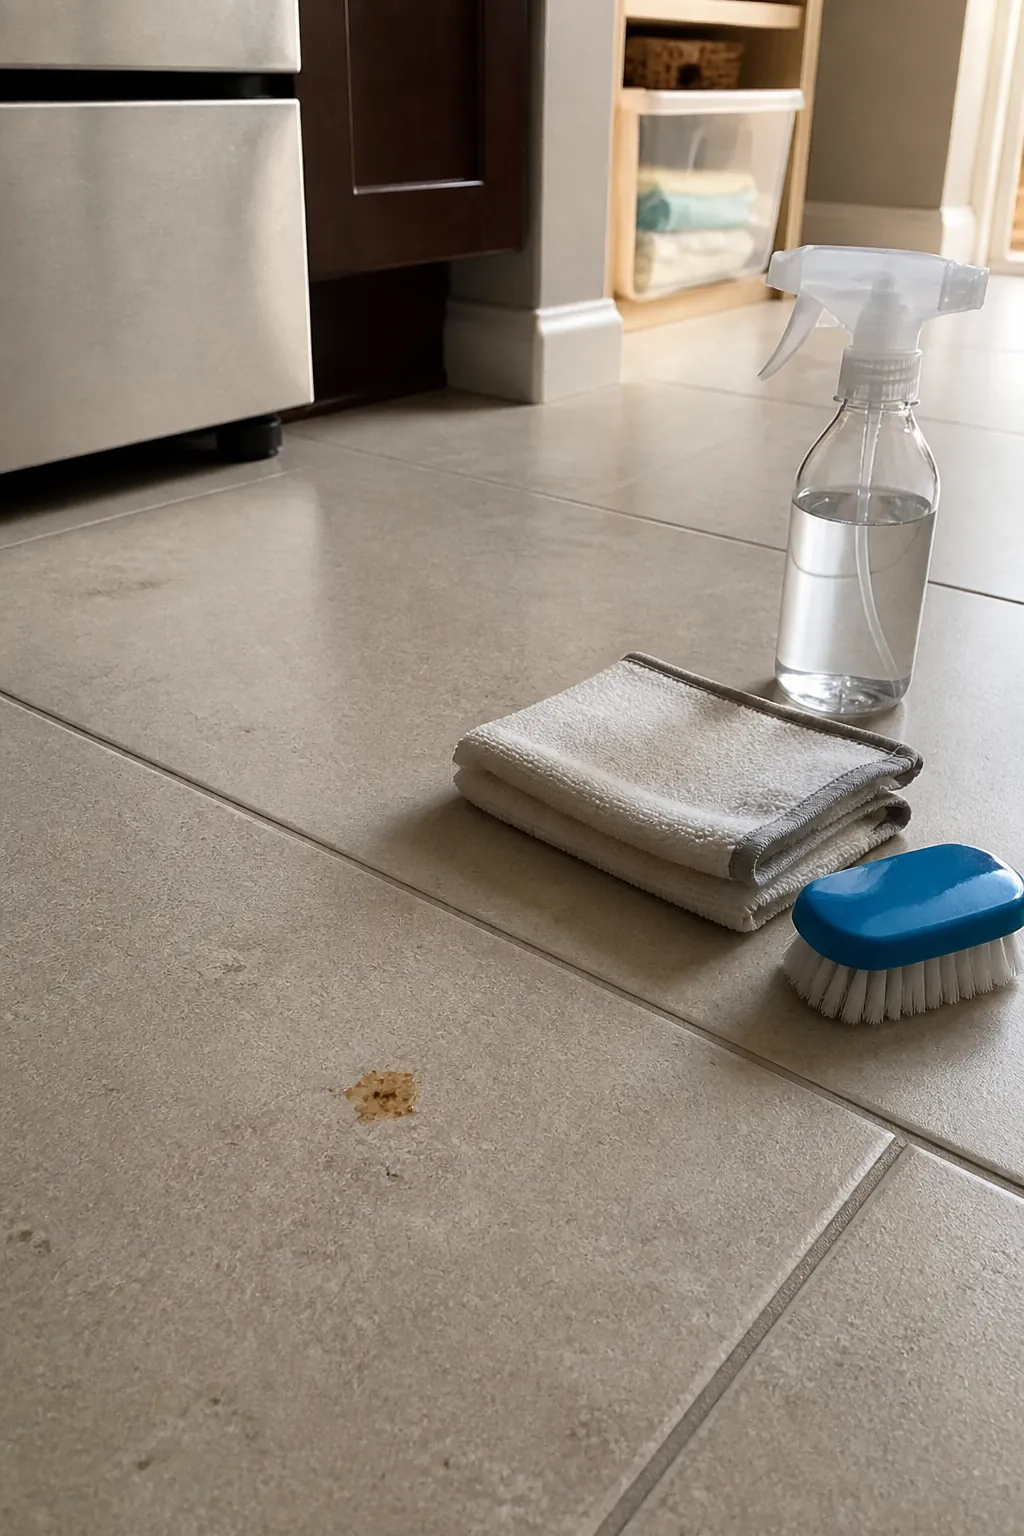
Whole-room scrubbing is inefficient when most of the floor is dusty and only a few places hold grease, dried food, heel marks, or tracked mud. Treat those spots before the general damp pass.
Blot spills first, use the surface-approved cleaner, and allow only the label’s recommended dwell time. Agitate gently with a nonabrasive cloth or soft brush that cannot scratch the finish.
Kitchen grease may need a compatible degreasing product, while mineral deposits on suitable tile need a different approach. Natural stone, unsealed grout, wood finishes, and laminate joints require particular caution.
Do not combine cleaning chemicals. Besides creating dangerous reactions, a homemade mixture can make it impossible to know which ingredient caused bleaching, haze, etching, or adhesive failure.
Finish Dry, Then Fix the Dirt Route
After the final pass, remove remaining moisture with a clean dry microfiber pad when the floor care guide permits it. This reduces water spots, exposes residue before it hardens, and keeps moisture from lingering at joints and baseboards.
Let the room dry before replacing rugs or walking through it in outdoor shoes. If a clean white cloth still picks up brown soil after the floor is dry, distinguish embedded old buildup from a damaged or discolored finish before repeating aggressive cleaning.
Then reduce what arrives: use an entry mat with enough length for several steps, adopt an indoor-shoe routine if practical, wipe pet paws, and clean spills promptly. Keep a small dry mop where daily debris appears rather than saving everything for deep-cleaning day.
The floor stays cleaner when the system interrupts dirt at the door, removes grit frequently, uses the right dose, and carries dirty water away. That routine is less dramatic than a miracle recipe—and far more reliable.
