
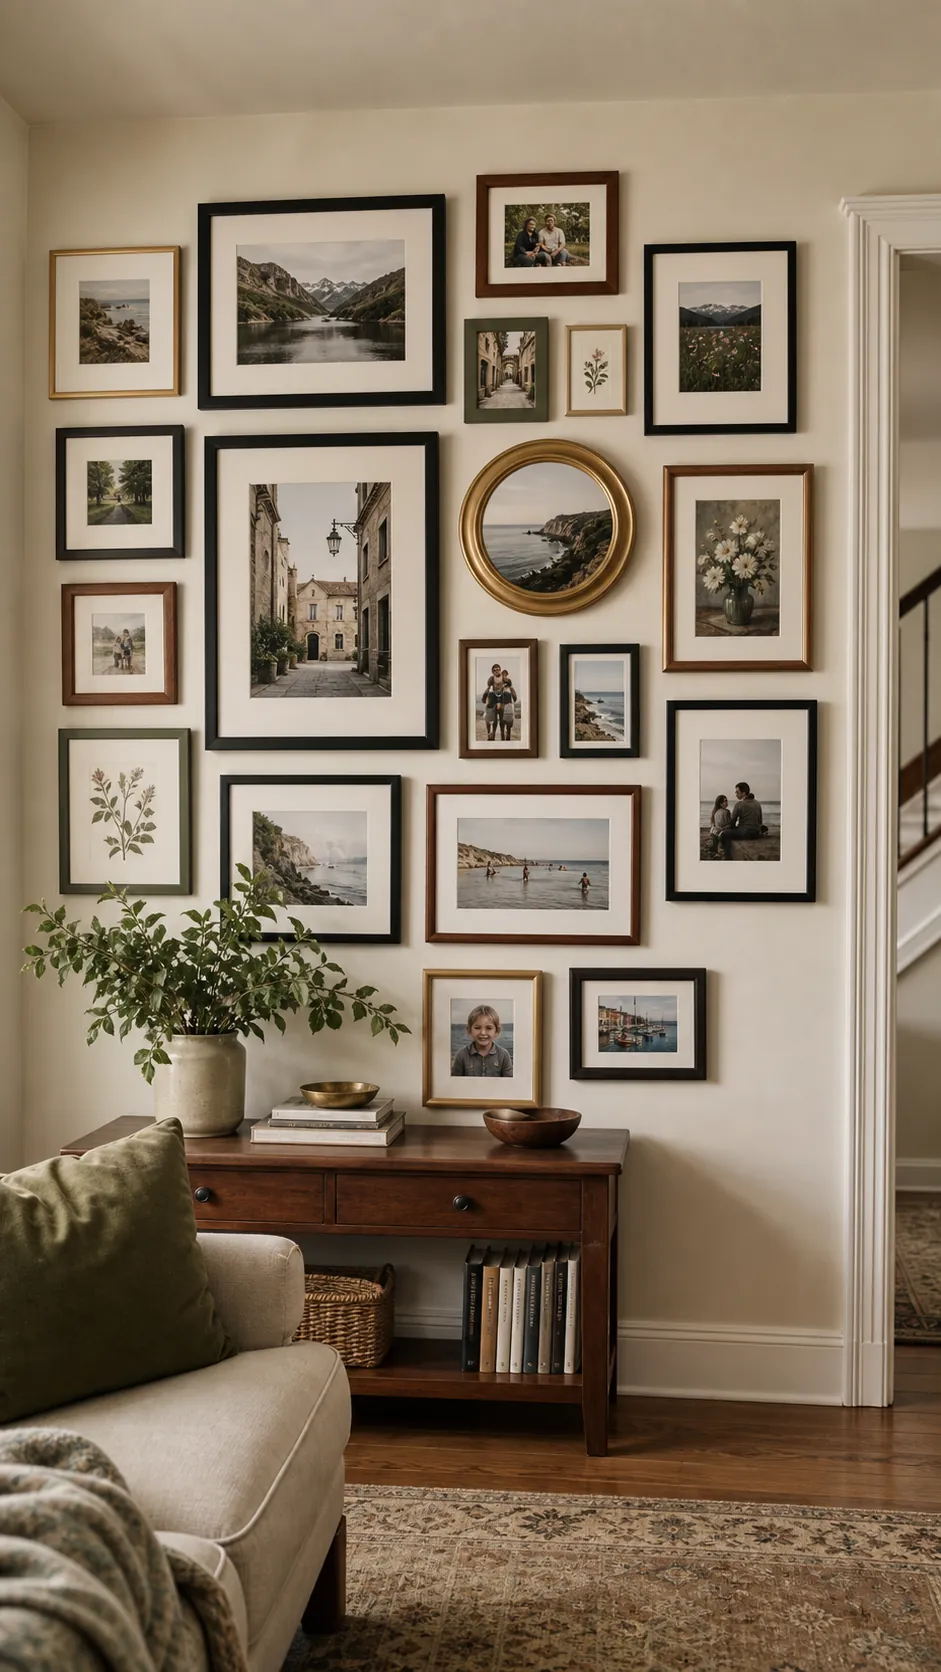
Mixed photo frames can make a wall feel personal, layered, and lived in, but variety works best when it rests on a few quiet rules. The most useful advice from experienced decorators is to begin with one strong anchor, repeat key finishes, keep spacing consistent, and test the entire arrangement with paper templates before making holes. These 27 mixed photo frames wall ideas translate those principles into practical layouts for living rooms, bedrooms, hallways, stairs, rentals, and small spaces.
1. Start With an Off Center Anchor
Choose the largest photograph as your starting point, but place it a little away from the exact center. Arrange smaller frames around it so the eye moves through the collection instead of stopping in one rigid spot. This approach gives mixed photo frames wall ideas a relaxed shape while the anchor keeps everything grounded.
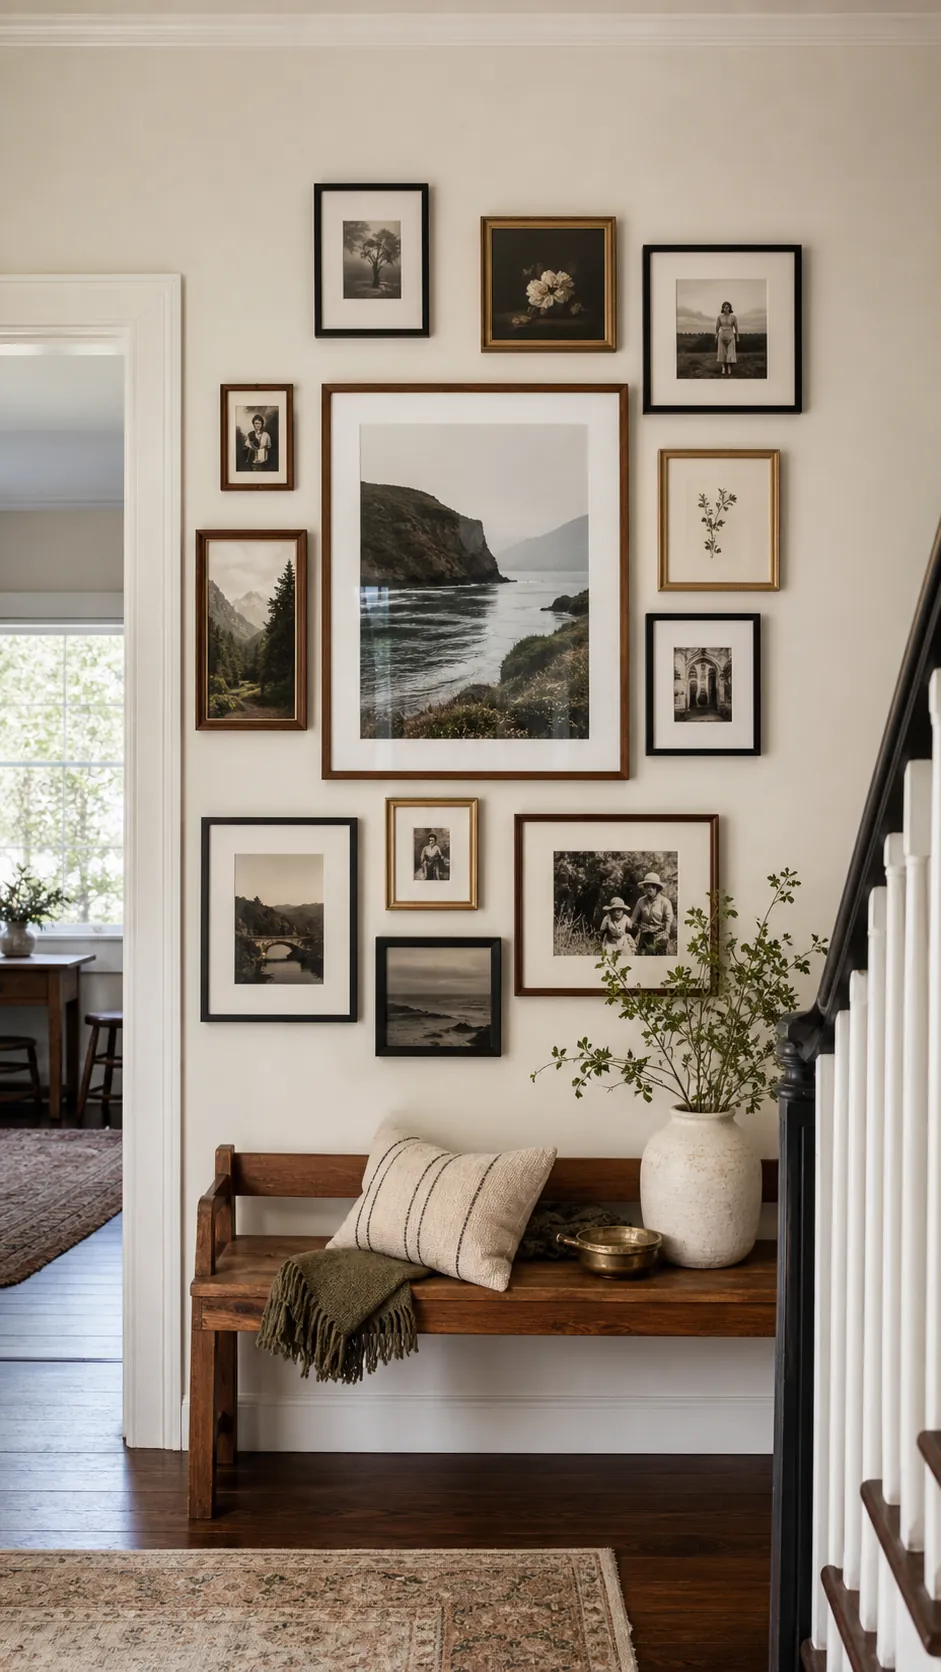
Keep the gaps between neighboring frames consistent even when the frame sizes change. A spacing guide cut from cardboard makes the measuring quick and helps the finished cluster read as one large composition. Step back after each row and check that the visual weight feels even on both sides.
2. Mix Black Frames With Warm Walnut
Black frames create a crisp outline while walnut introduces warmth and visible grain. Repeat each finish at least three times so neither color looks accidental. Use white or cream mats across both frame types to give the varied collection one quiet connecting detail.
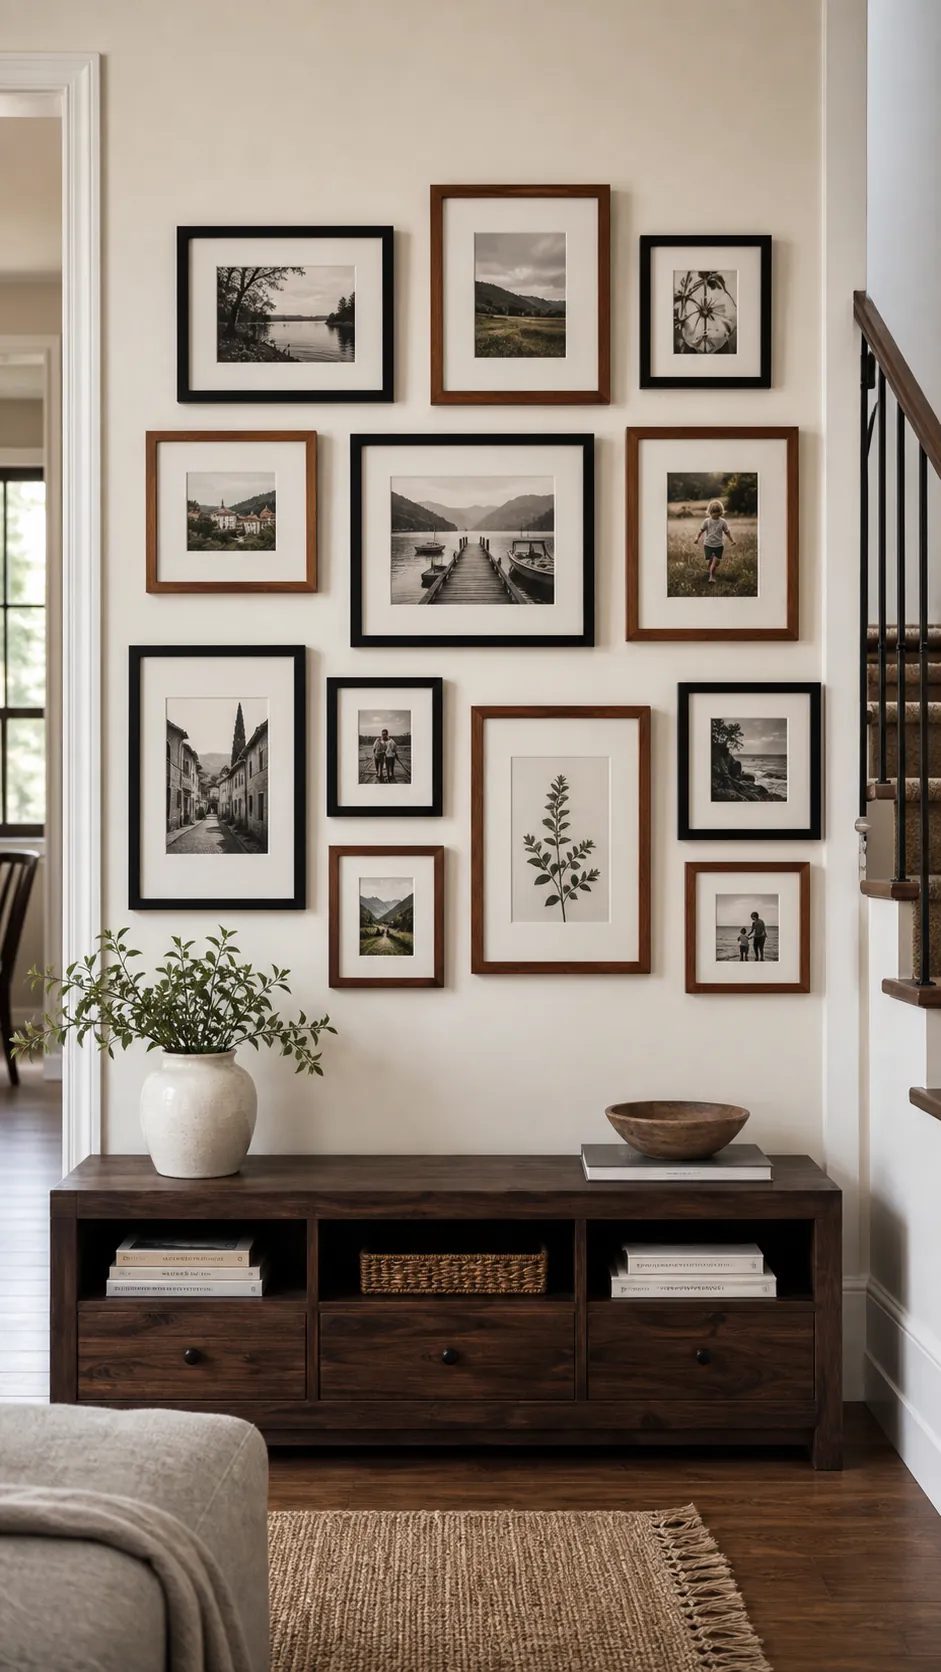
Place the darkest frames where the wall needs definition, then distribute walnut pieces through the remaining spaces. Avoid grouping every matching finish together because that can split the display into separate islands. A black frame beside a walnut frame makes the contrast feel deliberate and collected.
3. Follow the Rise of a Staircase
Let the lower edge of the arrangement climb at roughly the same angle as the stair rail. Begin with a larger frame near the bottom landing and use smaller pieces as the wall rises. The changing sizes create movement without making the staircase feel crowded.
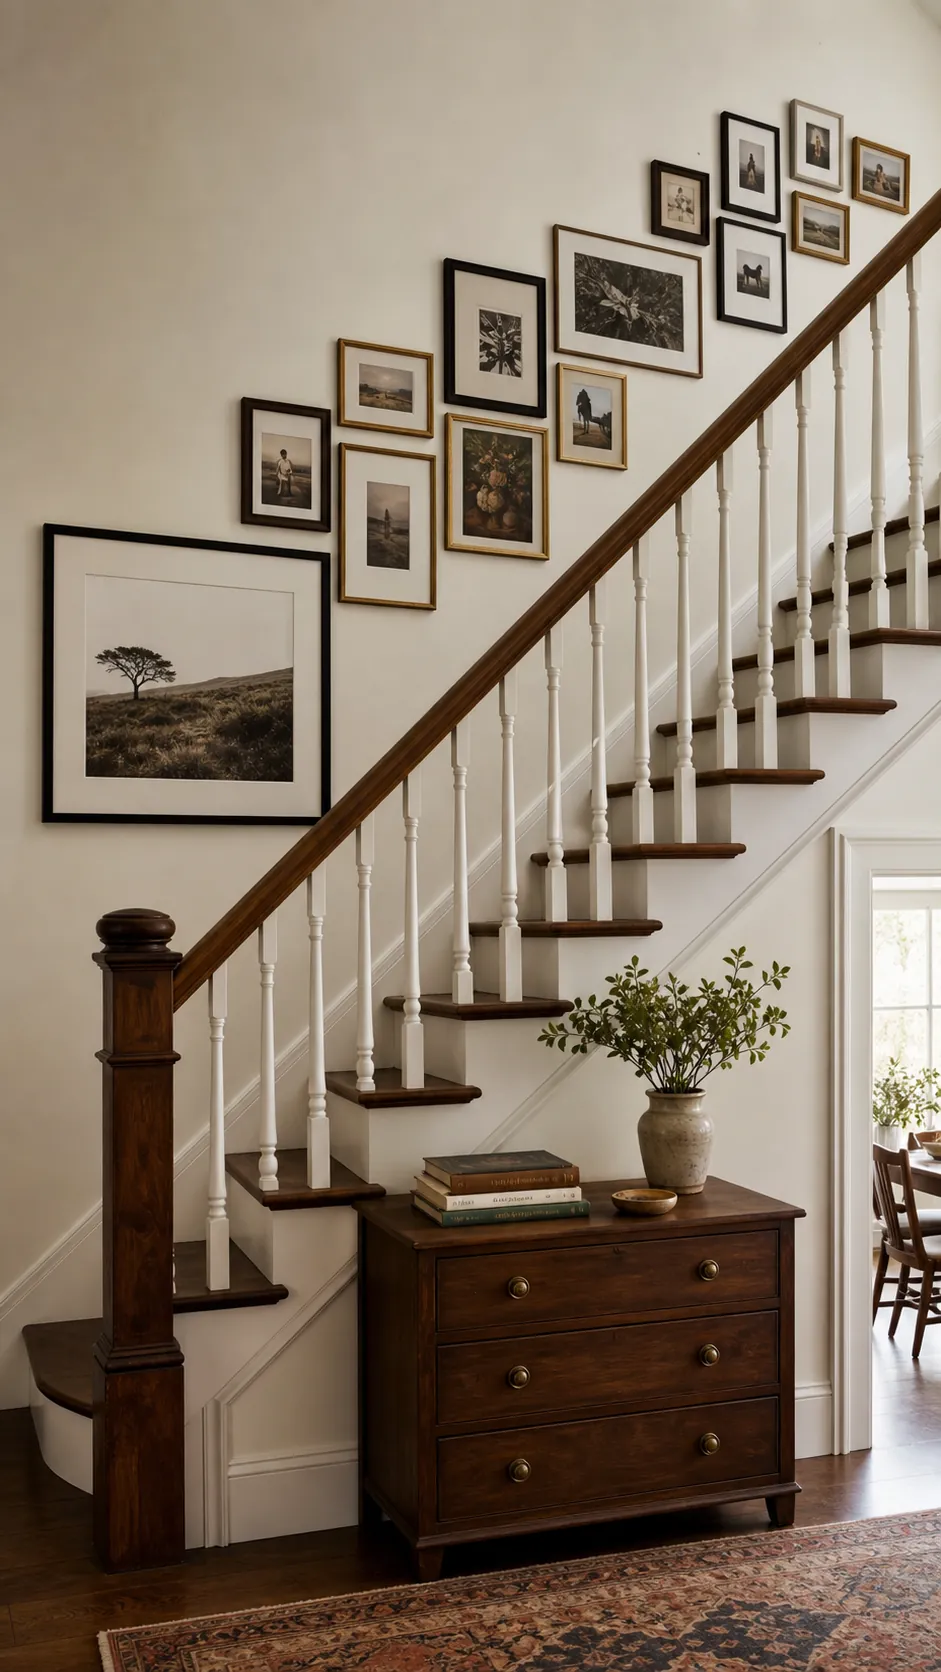
Maintain a generous border of empty wall near the ceiling and along the handrail. Consistent gaps are more important than perfectly aligned outer edges on this kind of display. Paper templates help you check sightlines from both the bottom and the top of the stairs before hanging anything.
4. Build a Rectangle Above a Dresser
Imagine one broad rectangle that contains every frame above the dresser. Place one substantial portrait or landscape slightly off center, then align at least one edge of each smaller piece with a neighbor. The invisible boundary makes mixed frames look composed rather than scattered.
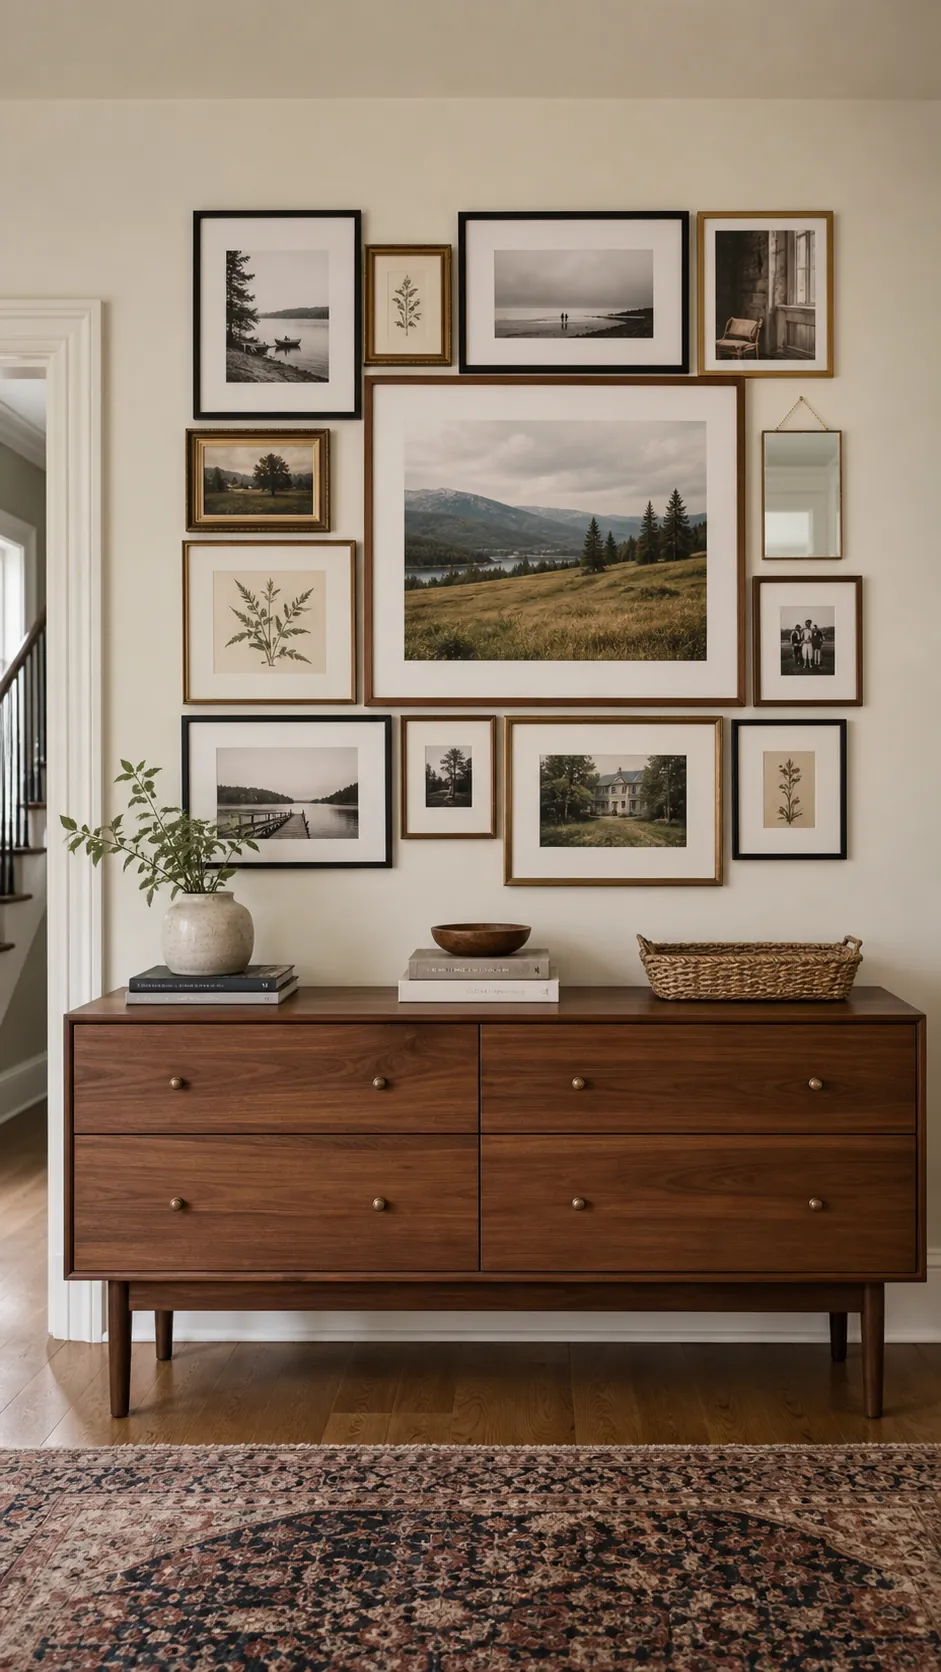
Keep the bottom of the collection comfortably above lamps, plants, and objects on the dresser. Repeat a wood tone from the furniture in two or three frames to connect the wall with the room. Leave enough open space at both ends so the arrangement does not overpower the surface below.
5. Use a Loose Grid Above the Sofa
A loose grid combines the order of straight lines with the character of varied sizes. Establish one horizontal line through the middle, then let portrait and landscape frames extend above and below it. Aligning a few key edges is enough to make the entire grouping feel stable.
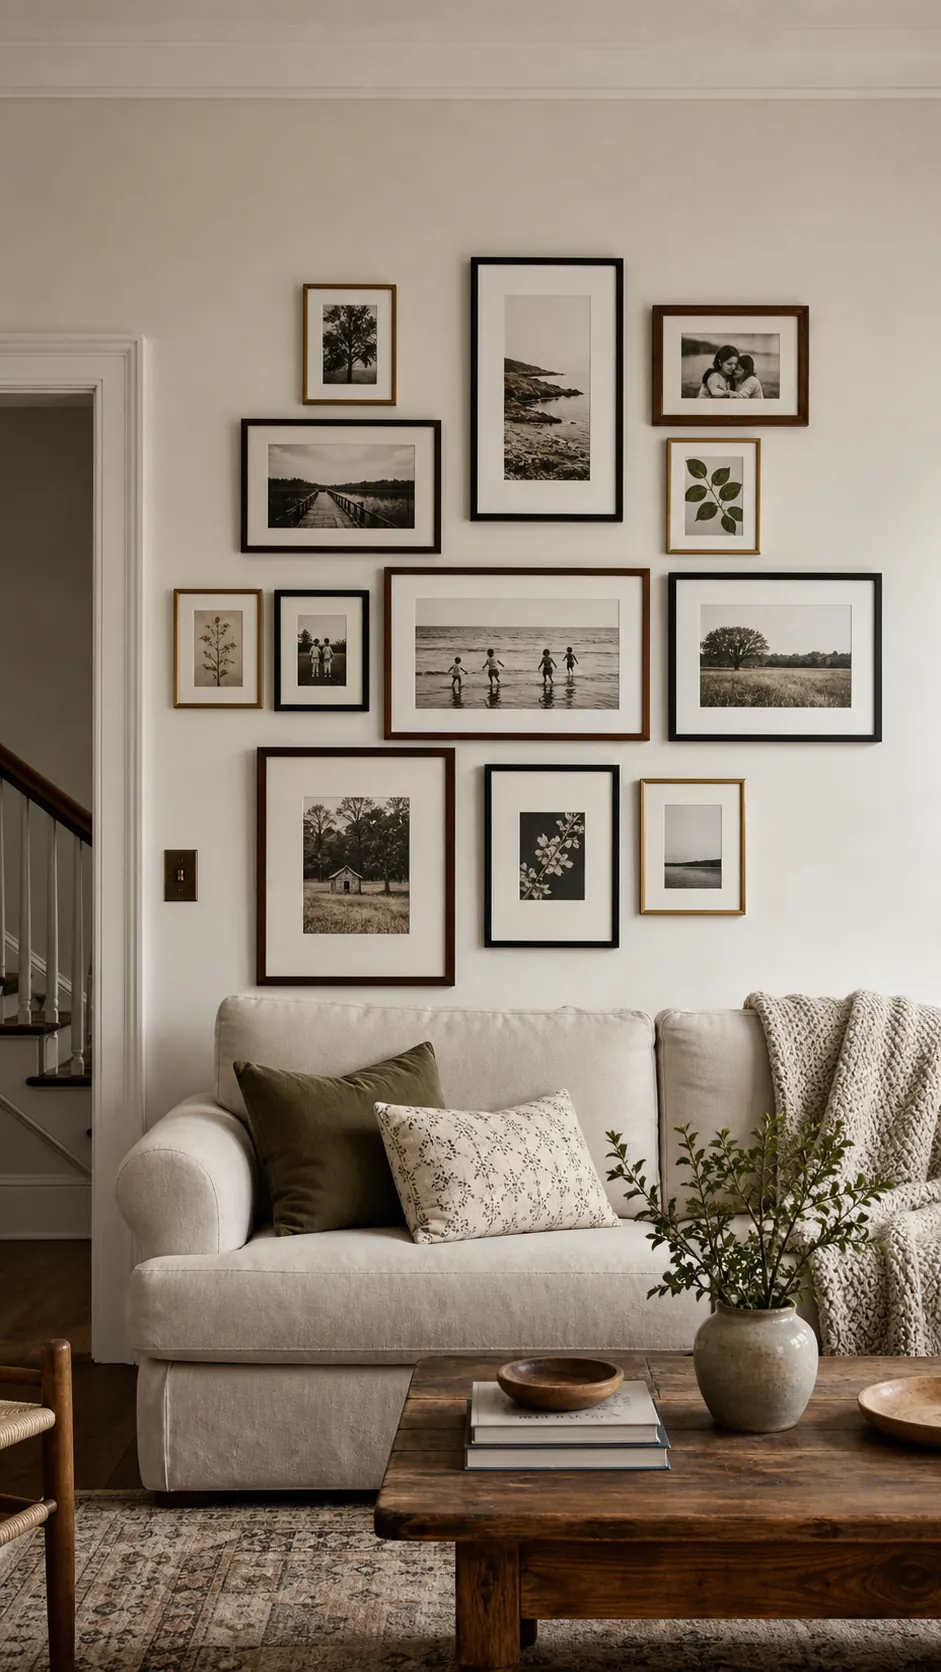
Center the visual mass over the sofa rather than across the full wall. Keep the lowest frames safely above seated heads and use similar gaps throughout. One larger piece near the middle gives the small photographs a clear place to gather around.
6. Choose Soft Tones for the Bedroom
Muted oak, pale blush, soft gray, and antique brass frames suit the calmer mood of a bedroom. Choose photographs with gentle contrast so the wall supports rest instead of demanding attention. A narrow arrangement above a nightstand or low dresser often feels more intimate than a wall filling display.
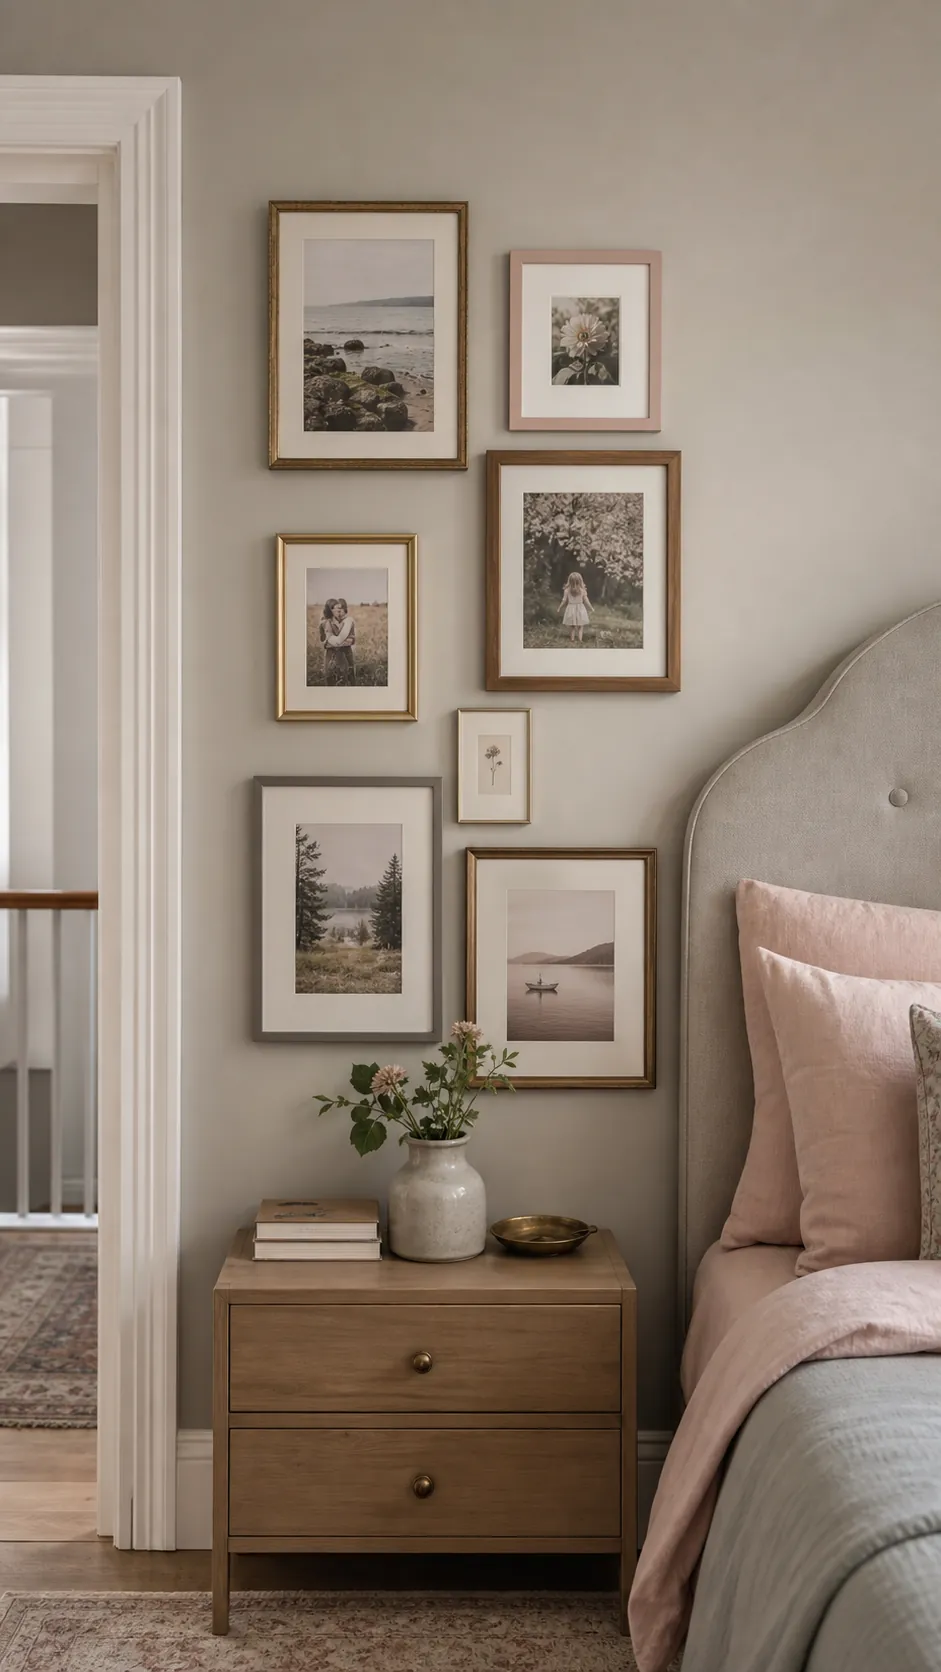
Use mats in related warm whites to soften differences between old and new frames. Keep the overall outline simple and leave breathing room around the collection. A small lamp below the wall can highlight the frames in the evening without creating harsh glare.
7. Add One Round Frame in the Entry
A single round frame breaks up a field of rectangles and gives an entry wall a memorable focal detail. Set it near the upper third of the cluster rather than directly in the middle. Surround it with straight edged frames that share one or two colors.
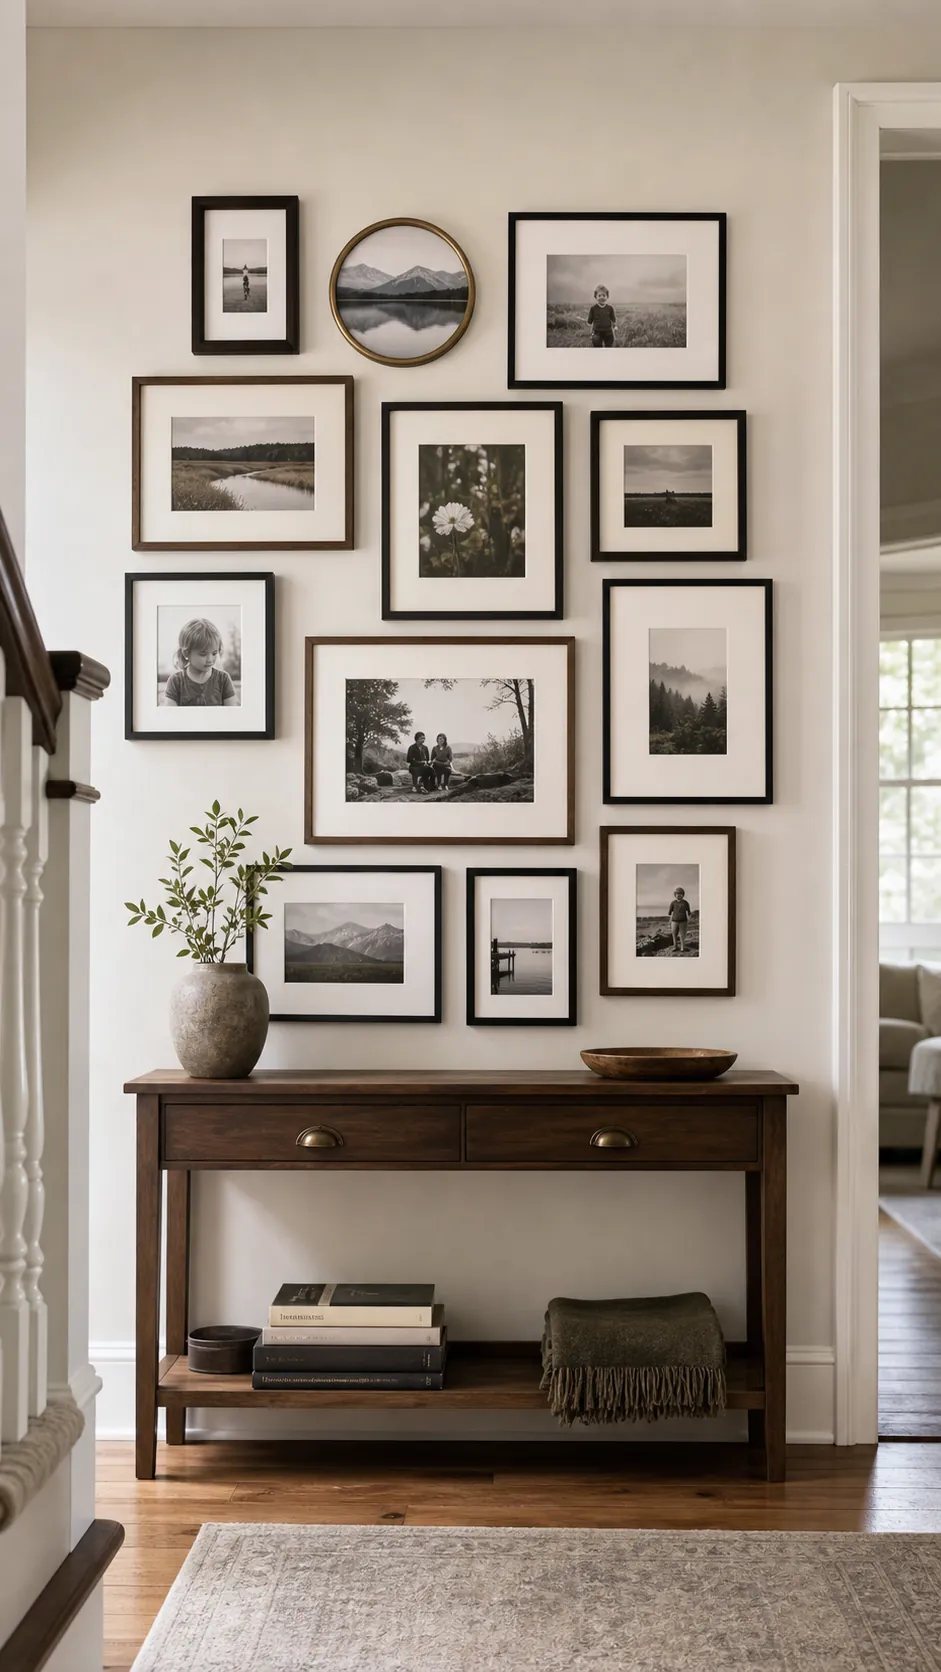
Because an entry is viewed quickly, limit the number of photographs and keep faces easy to recognize. A narrow console anchors the composition and provides a practical place for keys. Make sure the wall arrangement stays clear of door swings, hooks, and light switches.
8. Repeat a Painted Frame Palette
Paint several thrifted frames in a planned palette such as deep green, dusty blue, cream, and warm clay. Repeat every color so the arrangement looks curated rather than made from leftovers. Leaving a few natural wood frames in the mix keeps the palette relaxed.
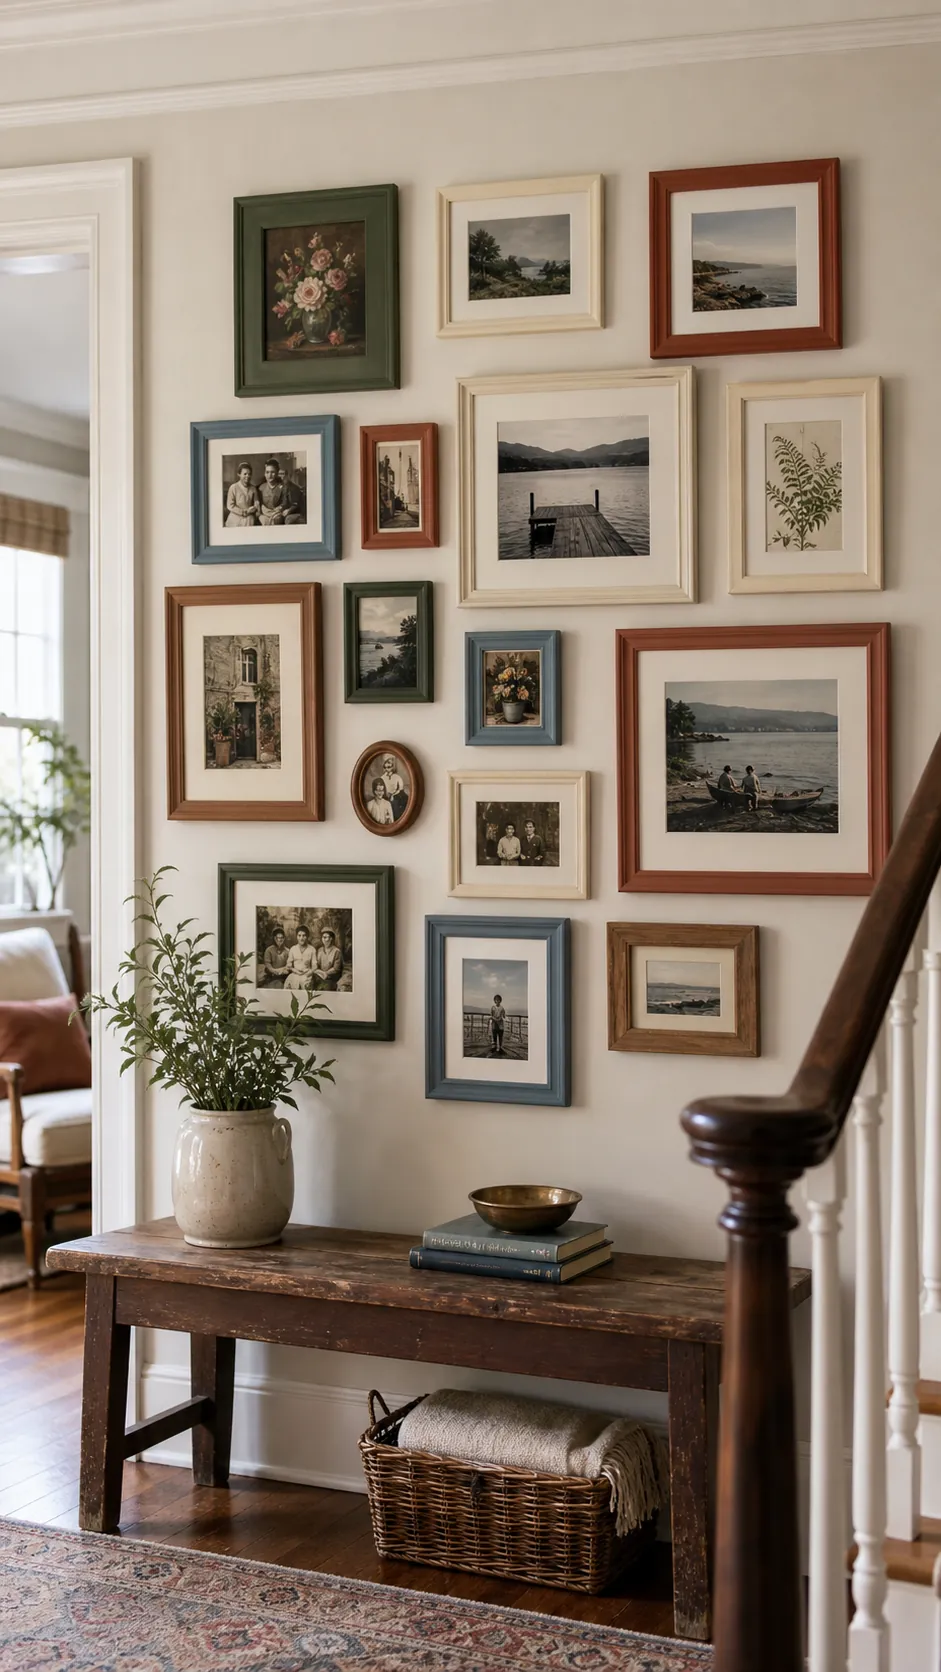
Use a satin finish for easier dusting and allow every coat to cure before adding photographs. Similar mat colors will calm the varied painted edges. Spread the strongest colors across the wall so no single corner becomes visually heavy.
9. Blend Vintage Frames With Modern Mats
Ornate vintage frames can live comfortably beside clean modern profiles when the mats provide consistency. Place a detailed frame near a simple one so each style looks intentional. Two or three repeated finishes help bridge the different eras.
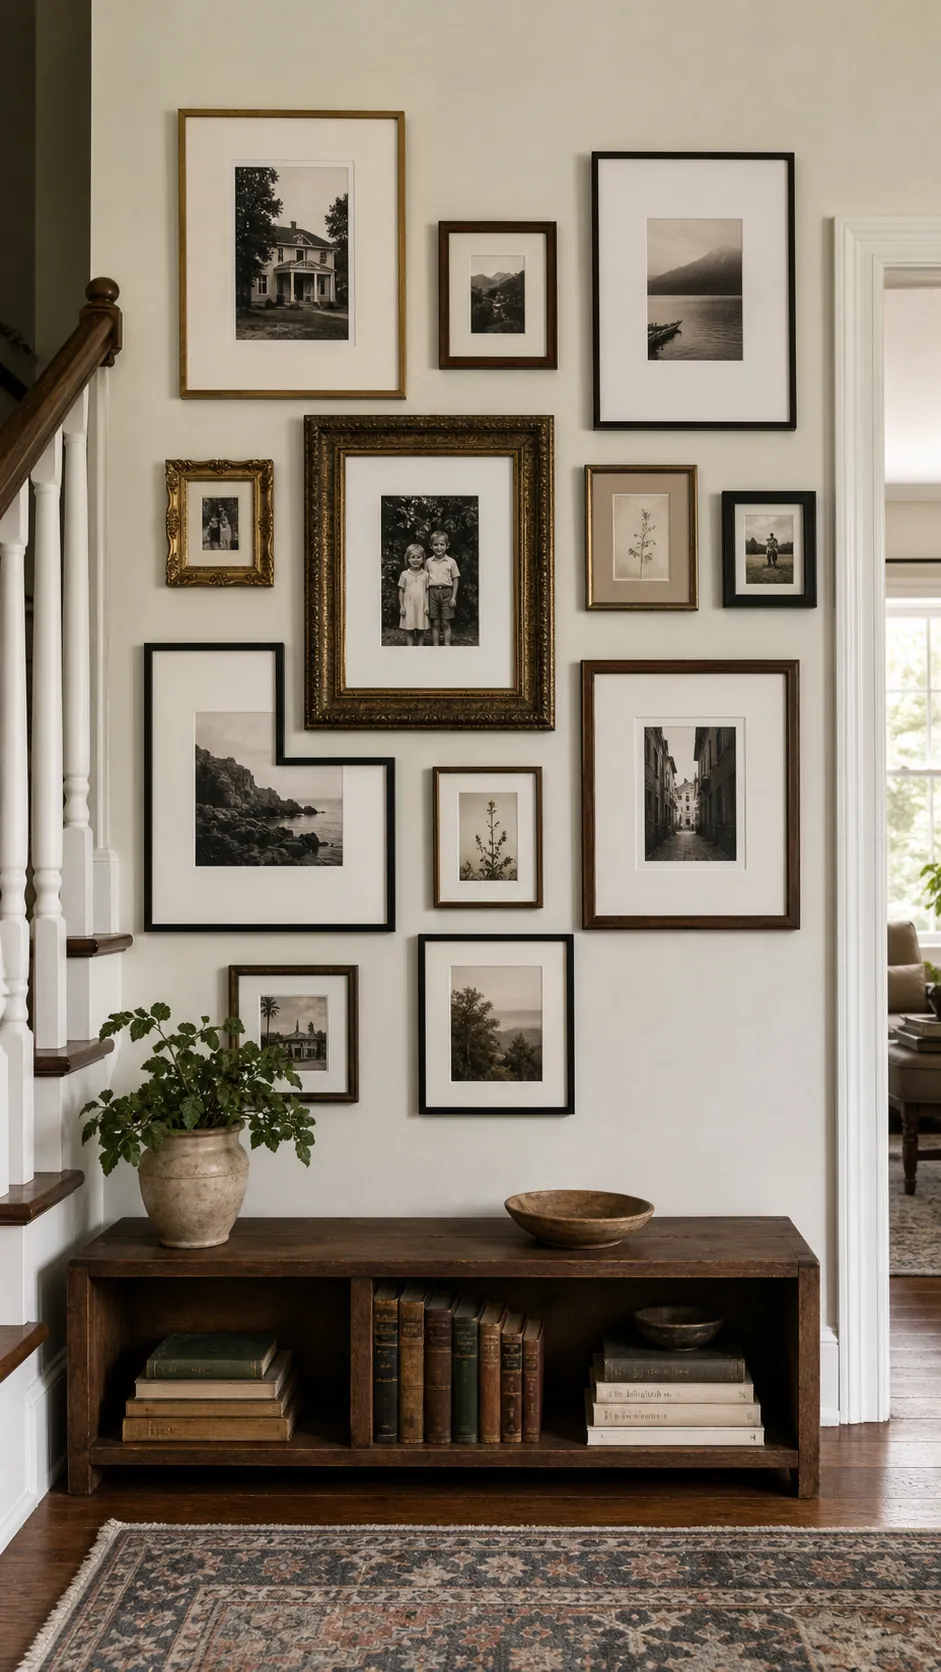
Choose modern mats with generous openings for older photographs that need more breathing room. Let one carved frame serve as the feature instead of making every piece compete. The result feels collected over time while still fitting a current room.
10. Mix Family Photos With Small Art
Family photographs become more personal when they share the wall with a small watercolor, handwritten recipe, or simple line drawing. Alternate photo and art pieces so the wall has varied visual pauses. Keep the subject matter meaningful to the household rather than filling spaces with random decoration.
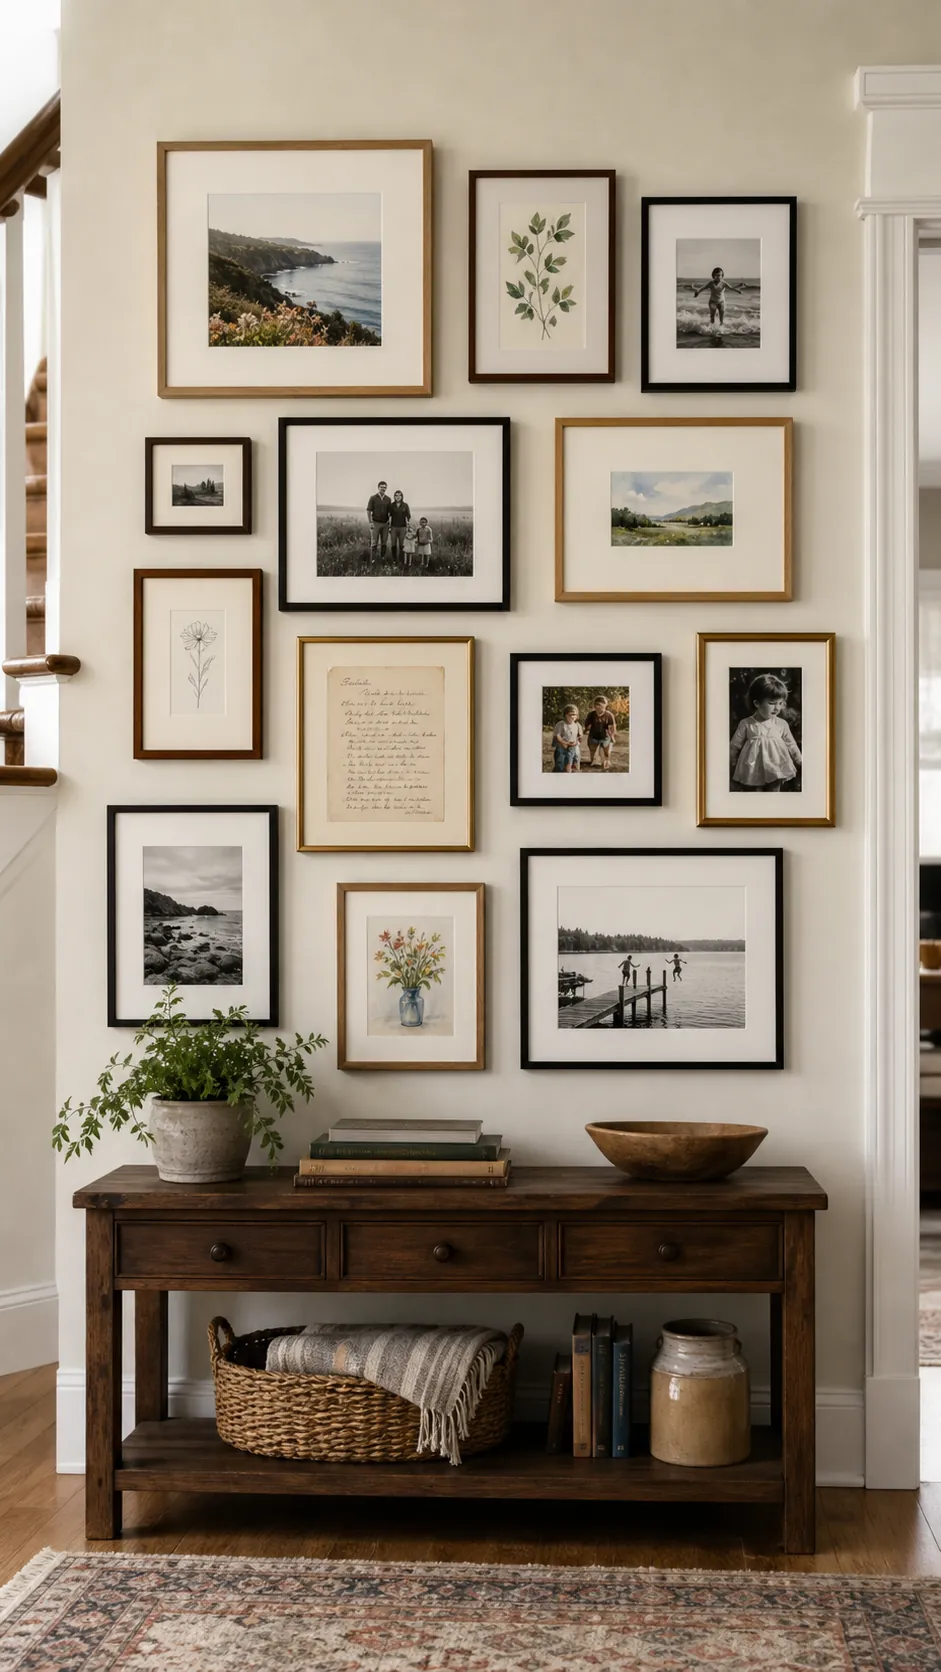
Use frames with related undertones even if their shapes and finishes differ. A repeated mat color makes candid photos and artwork feel like parts of one story. Place the most emotionally important photograph close to eye level where it can be enjoyed every day.
11. Turn Travel Memories Into a Wall Story
Combine landscapes, street details, maps, and candid travel photographs rather than using only posed portraits. Group images by color or destination loosely, then distribute them across mixed frame sizes. A broad landscape can act as the anchor for smaller vertical moments.
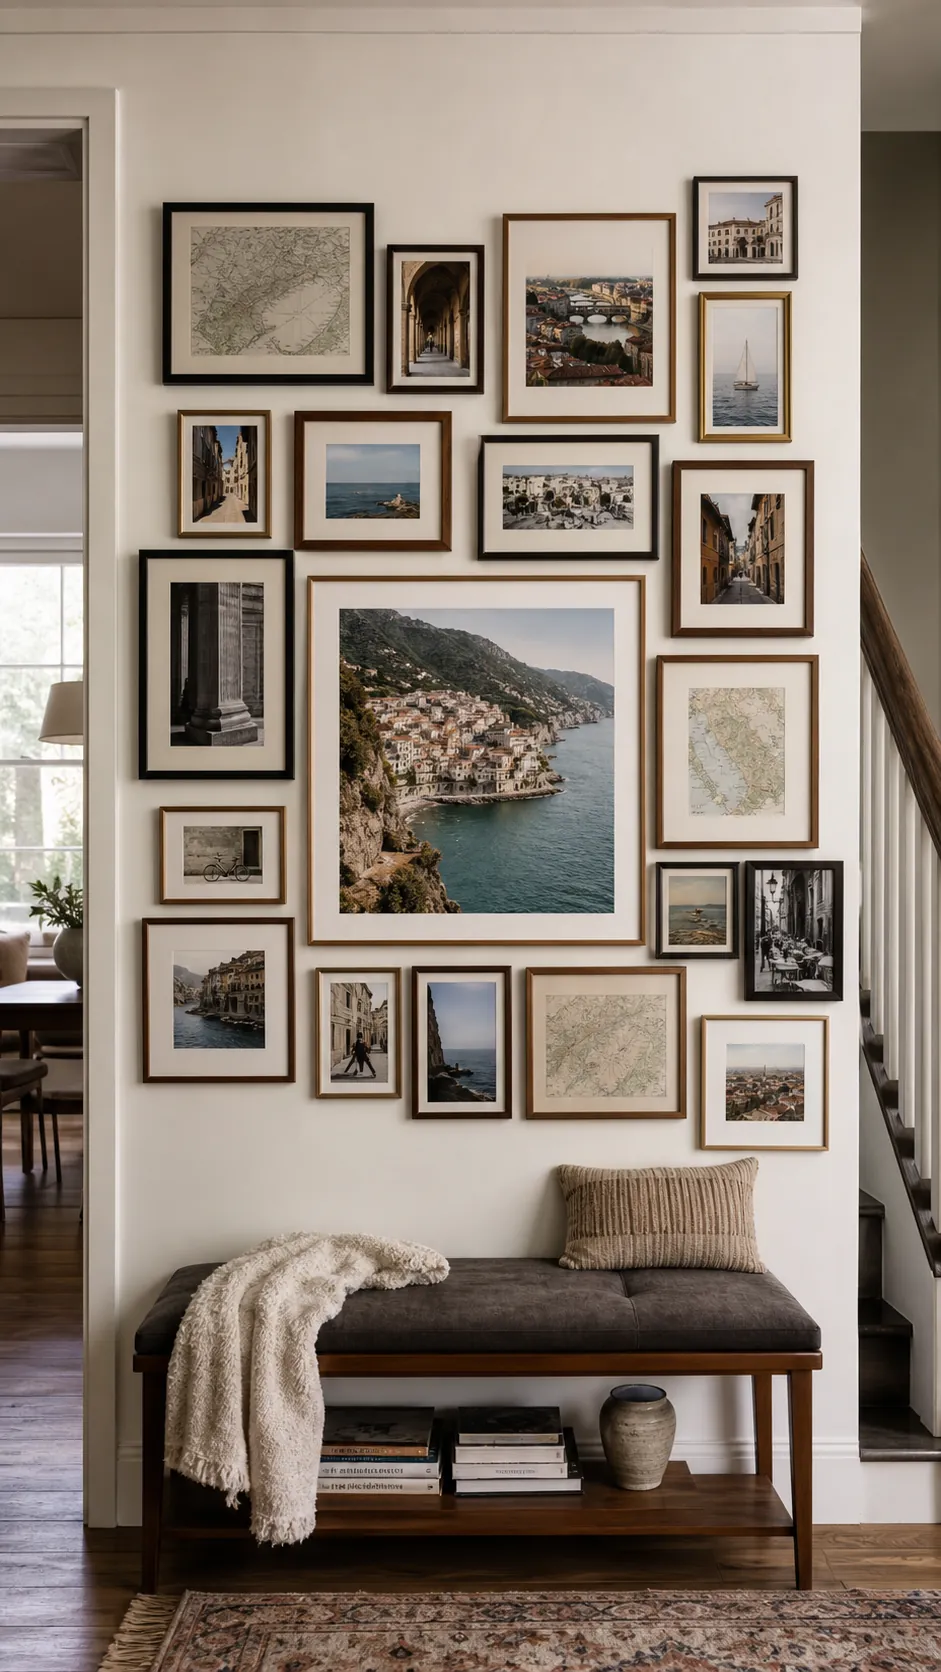
Include one tangible memory such as a ticket or postcard in a shallow frame. Keep labels tiny or omit them so the photographs remain the focus. The display should invite a closer look without resembling a travel bulletin board.
12. Balance Black and White With Color
Black and white photographs give a mixed frame wall a calm foundation, while a few color images add energy. Spread the color pieces around the arrangement instead of placing them in one block. This keeps the viewer’s eye moving evenly across the wall.
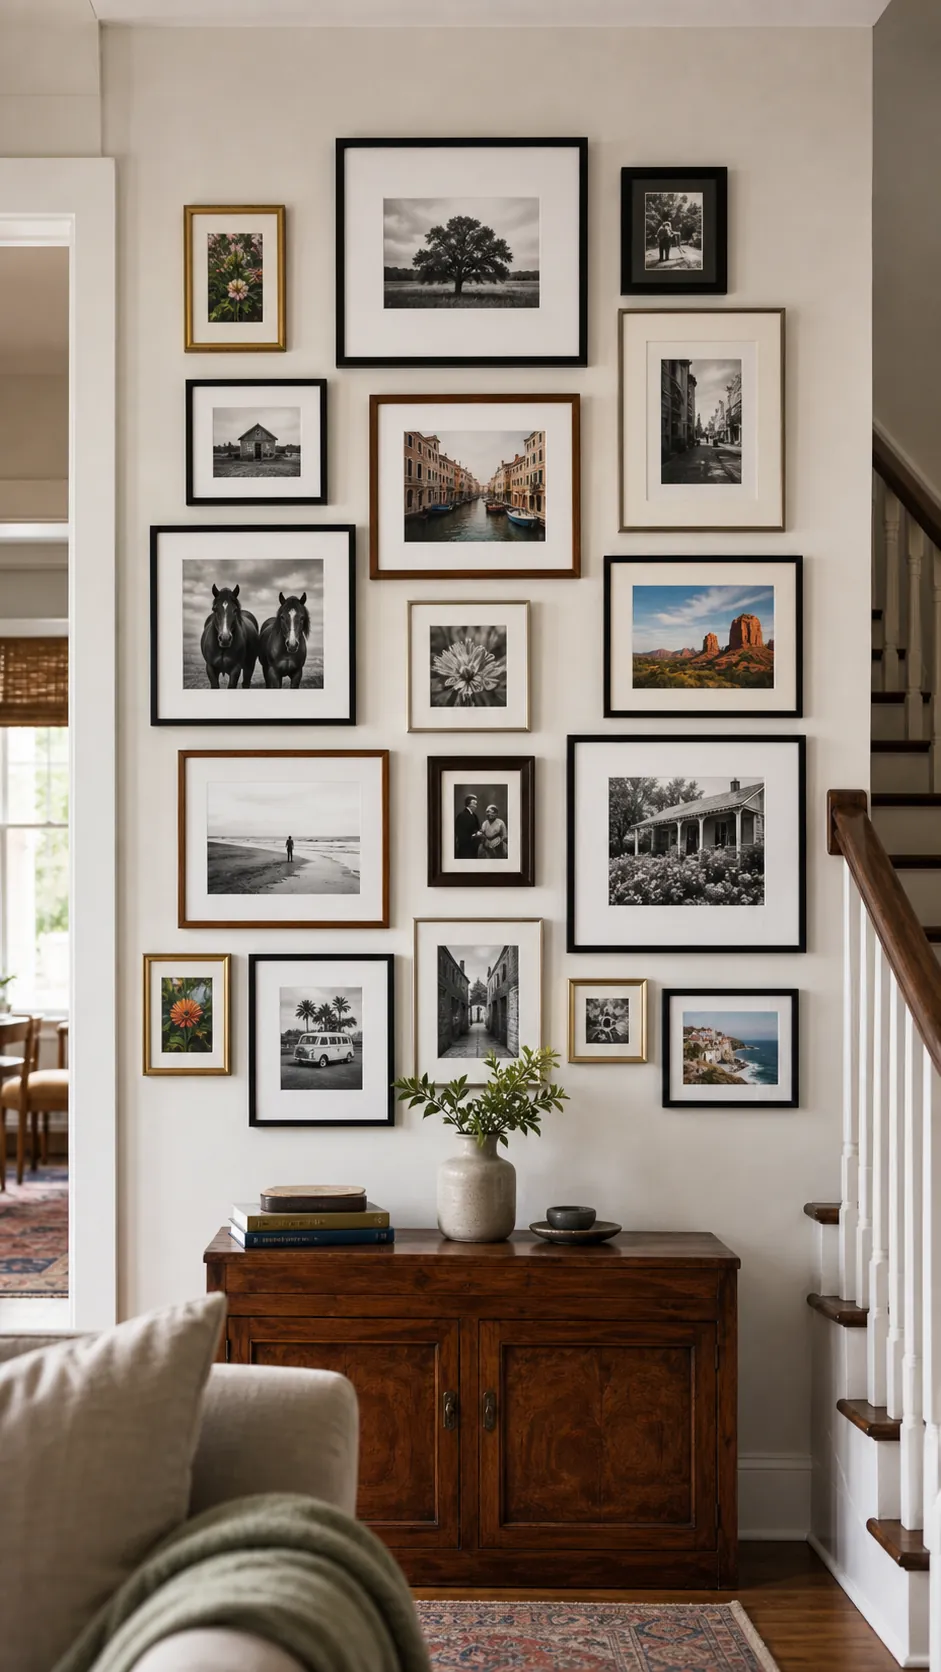
Frames can vary widely when the photograph treatment provides cohesion. Use white mats around both monochrome and color images for a consistent border. Choose color photographs with related tones so the accents feel purposeful.
13. Layer Frames Along a Picture Shelf
A picture shelf allows frames to overlap slightly and makes seasonal changes easy. Place the largest frame toward one side, lean medium pieces beside it, and use small frames to fill lower gaps. The layered depth creates a casual collected look without many wall holes.
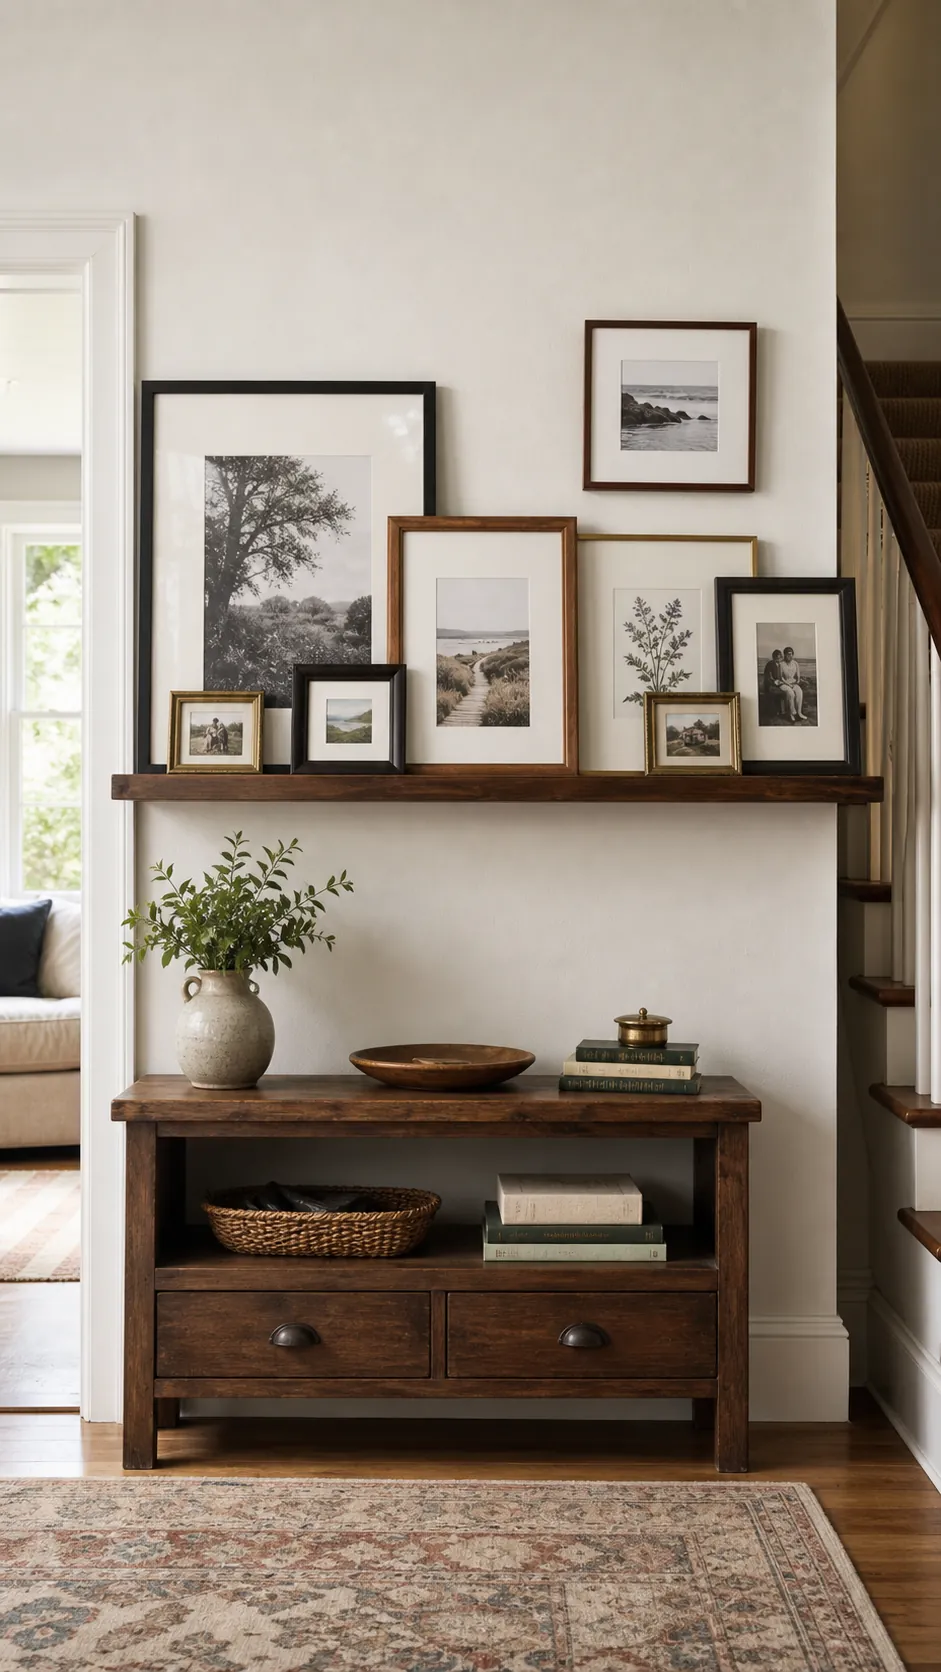
Keep enough of each photograph visible so important faces are not covered. Add only one or two small objects because too many accessories weaken the photo story. Secure taller frames where needed so the display remains stable in a busy room.
14. Wrap a Collection Around a Corner
A corner gallery can make two short walls feel like one connected feature. Start with the strongest photograph a little away from the corner, then let smaller frames continue around the turn. Repeat frame finishes on both walls to link the two sides.
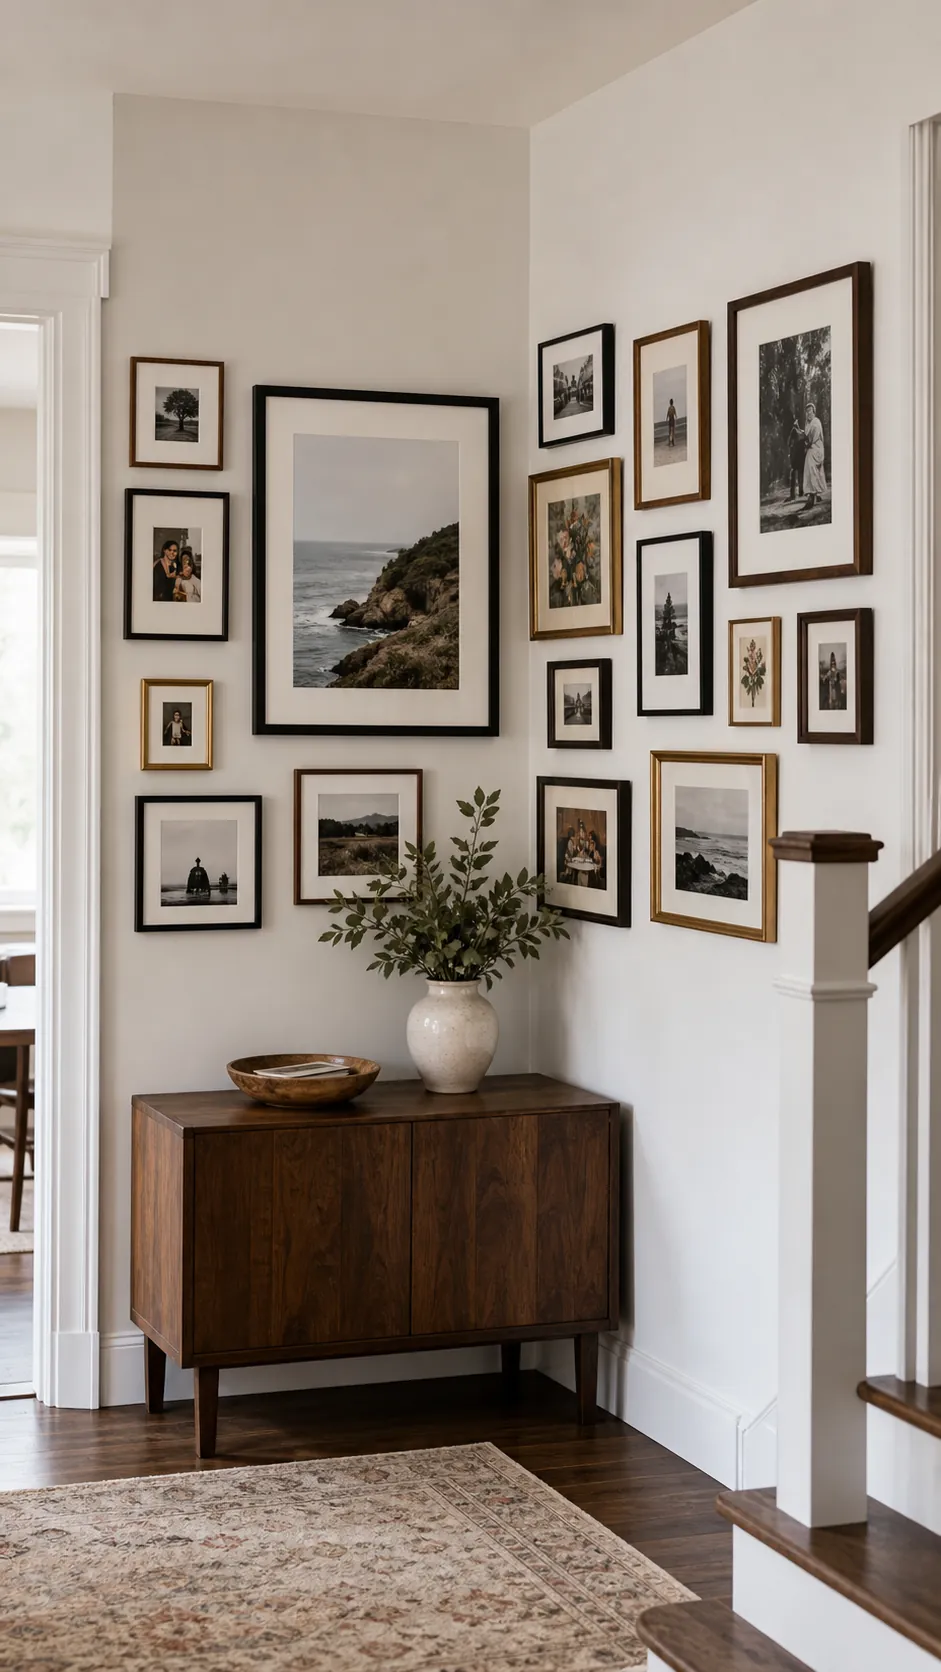
Keep similar spacing as the arrangement crosses the corner. View the layout from the doorway and from inside the room before choosing the final positions. Avoid placing a valuable frame where furniture or foot traffic could bump it.
15. Make a Small Wall Feel Intentional
A narrow wall beside a doorway needs a compact cluster with a clear outline. Choose three to five frames in noticeably different sizes and keep them close enough to read as one unit. A vertical arrangement uses the available height without crowding the trim.
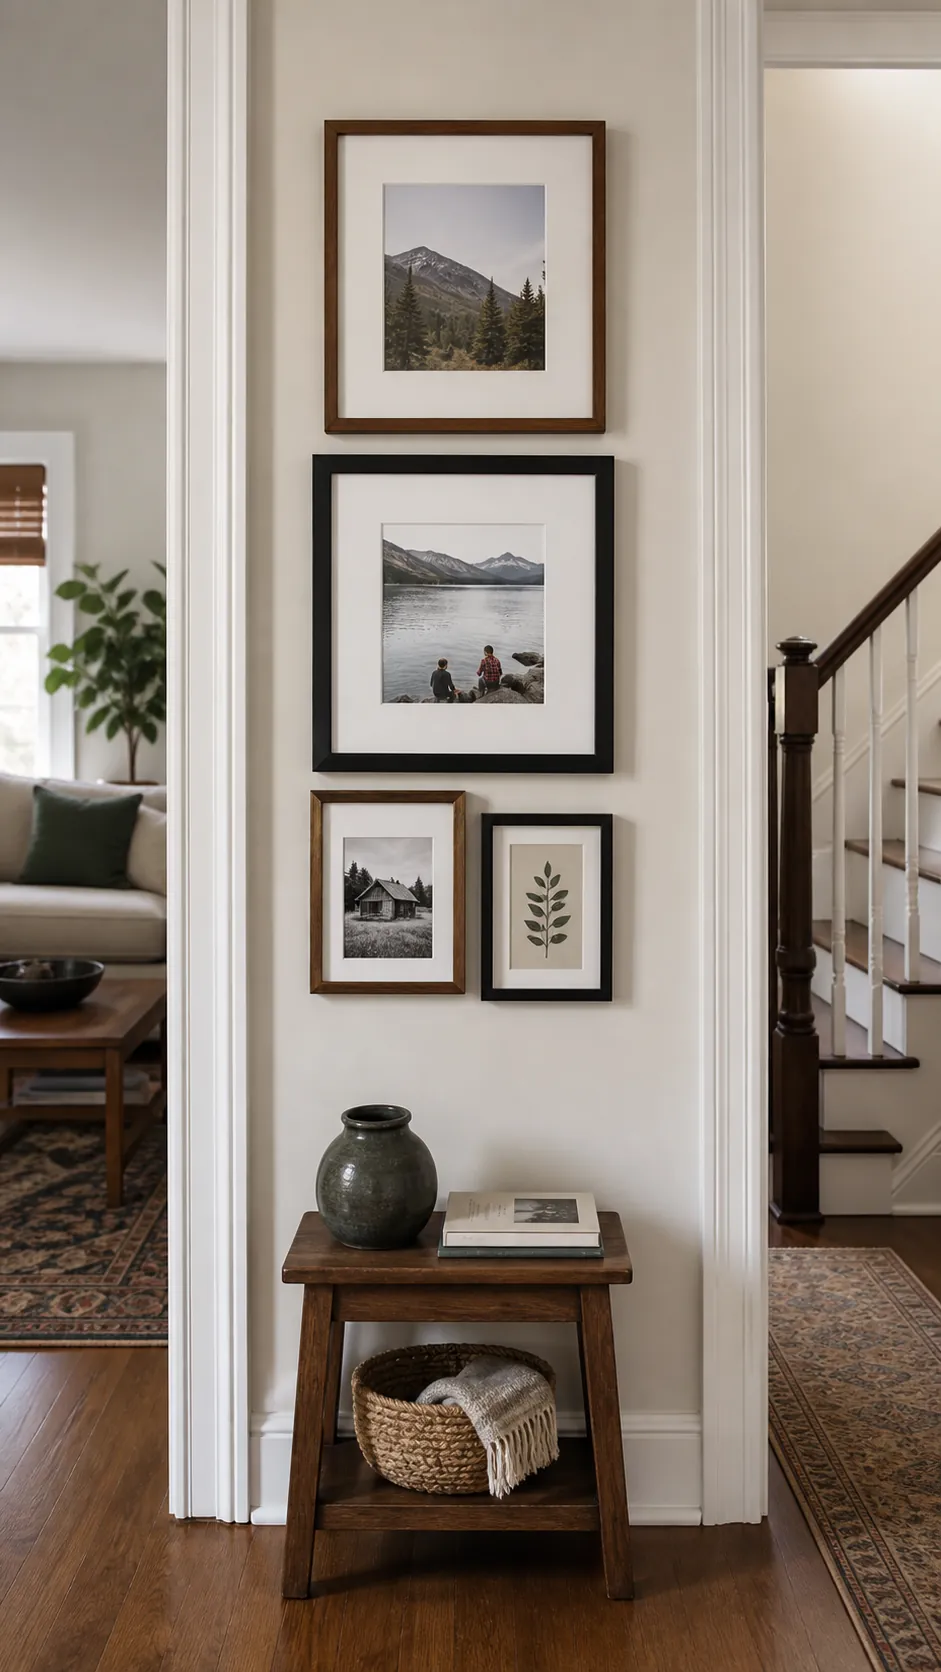
Place the largest piece around eye level and use the smallest frame as a finishing accent. Matching mats can bring order to mixed finishes. Leave a clean margin around the cluster so the small wall still feels open.
16. Balance One Large Frame With Small Ones
One oversized photograph can support several tiny frames that would look lost on their own. Position the large piece slightly low or to one side, then form a tight satellite group with the smaller frames. Their combined area should visually answer the weight of the anchor.
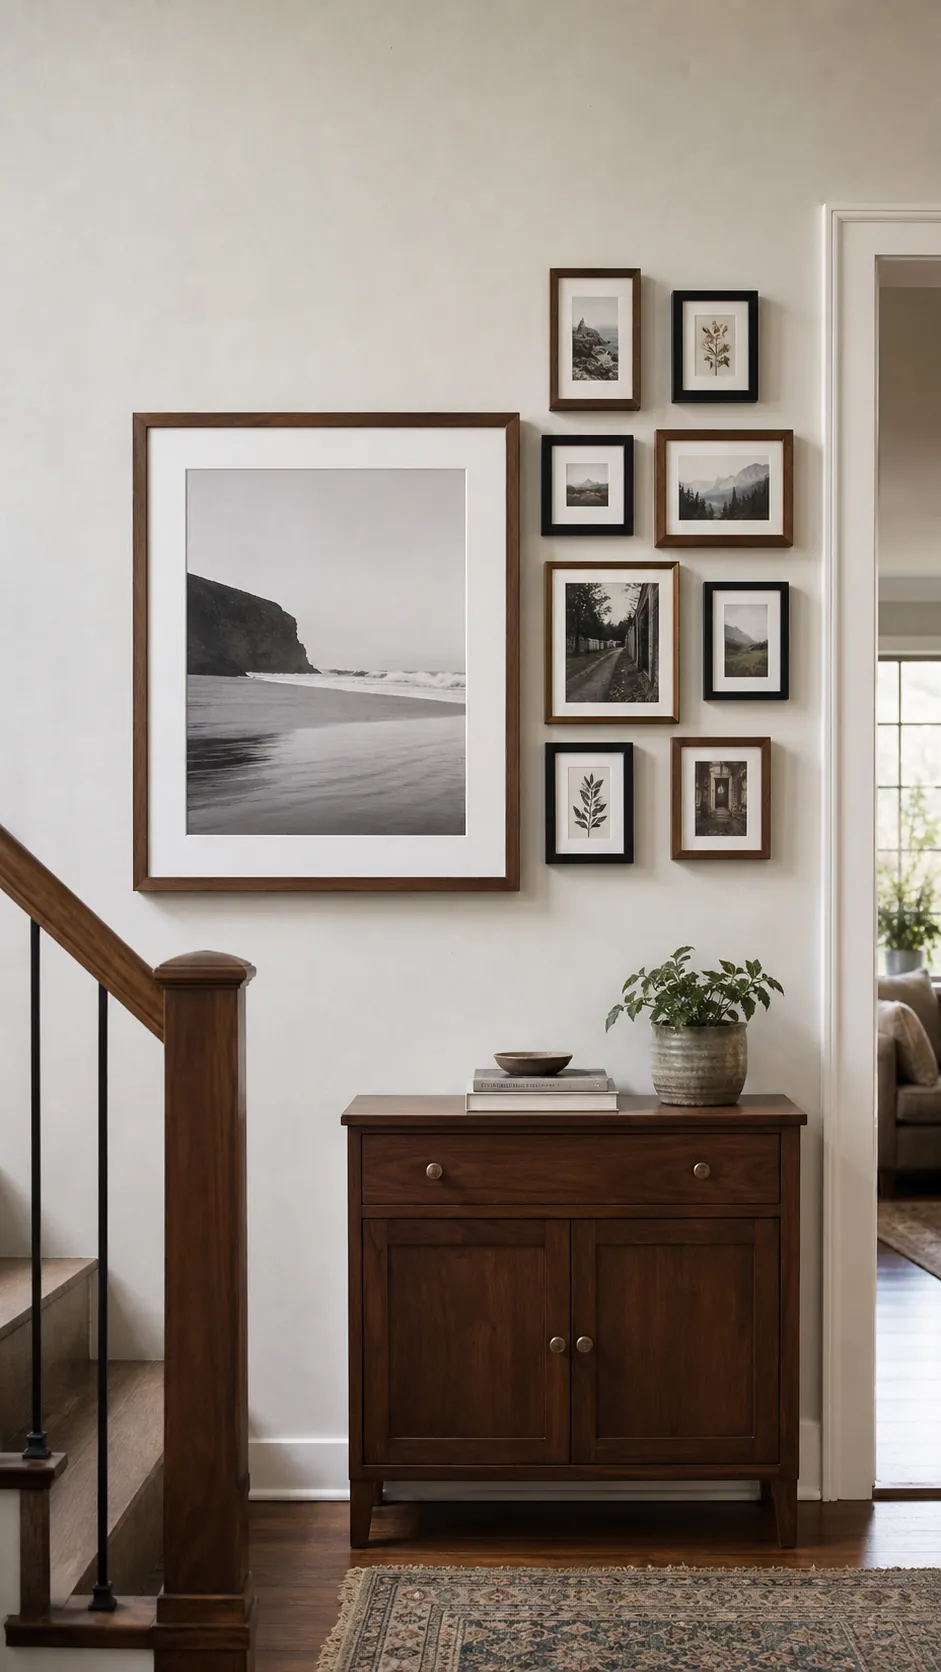
Repeat one color from the large frame among the small pieces. Keep internal gaps consistent and avoid pushing the smallest frames too far away. The contrast in scale gives the wall energy while the close spacing preserves unity.
17. Vary Mat Widths Without Losing Rhythm
Different mat widths add depth when their colors remain related. Use a generous mat around a special portrait, a narrow mat for a detailed landscape, and no mat for one small vintage print. Distribute these treatments instead of clustering identical borders.
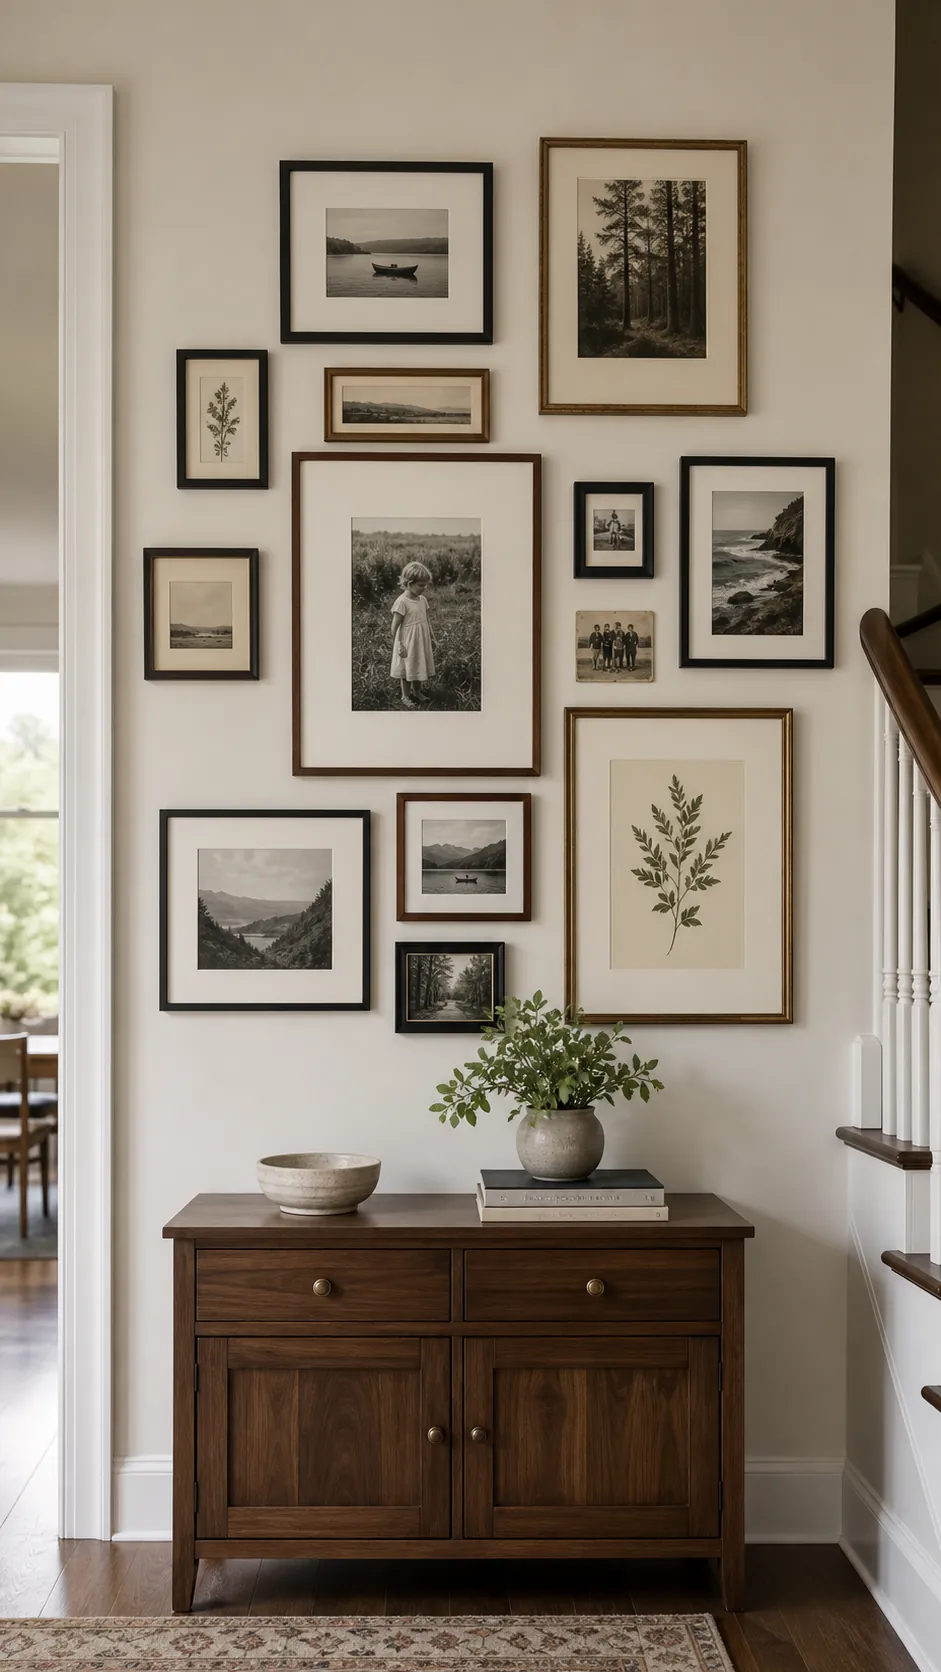
The outside frame spacing should stay steady even as the interior borders change. Avoid placing the widest mat on the largest frame if that makes it dominate too strongly. A floor mockup reveals whether the pale mat areas are balanced across the full composition.
18. Limit the Collection to Three Finishes
Choose three recurring frame finishes, such as black, medium wood, and aged brass. This limit provides enough variety for an eclectic wall while establishing an easy rule. Each finish should appear more than once and move across the arrangement.
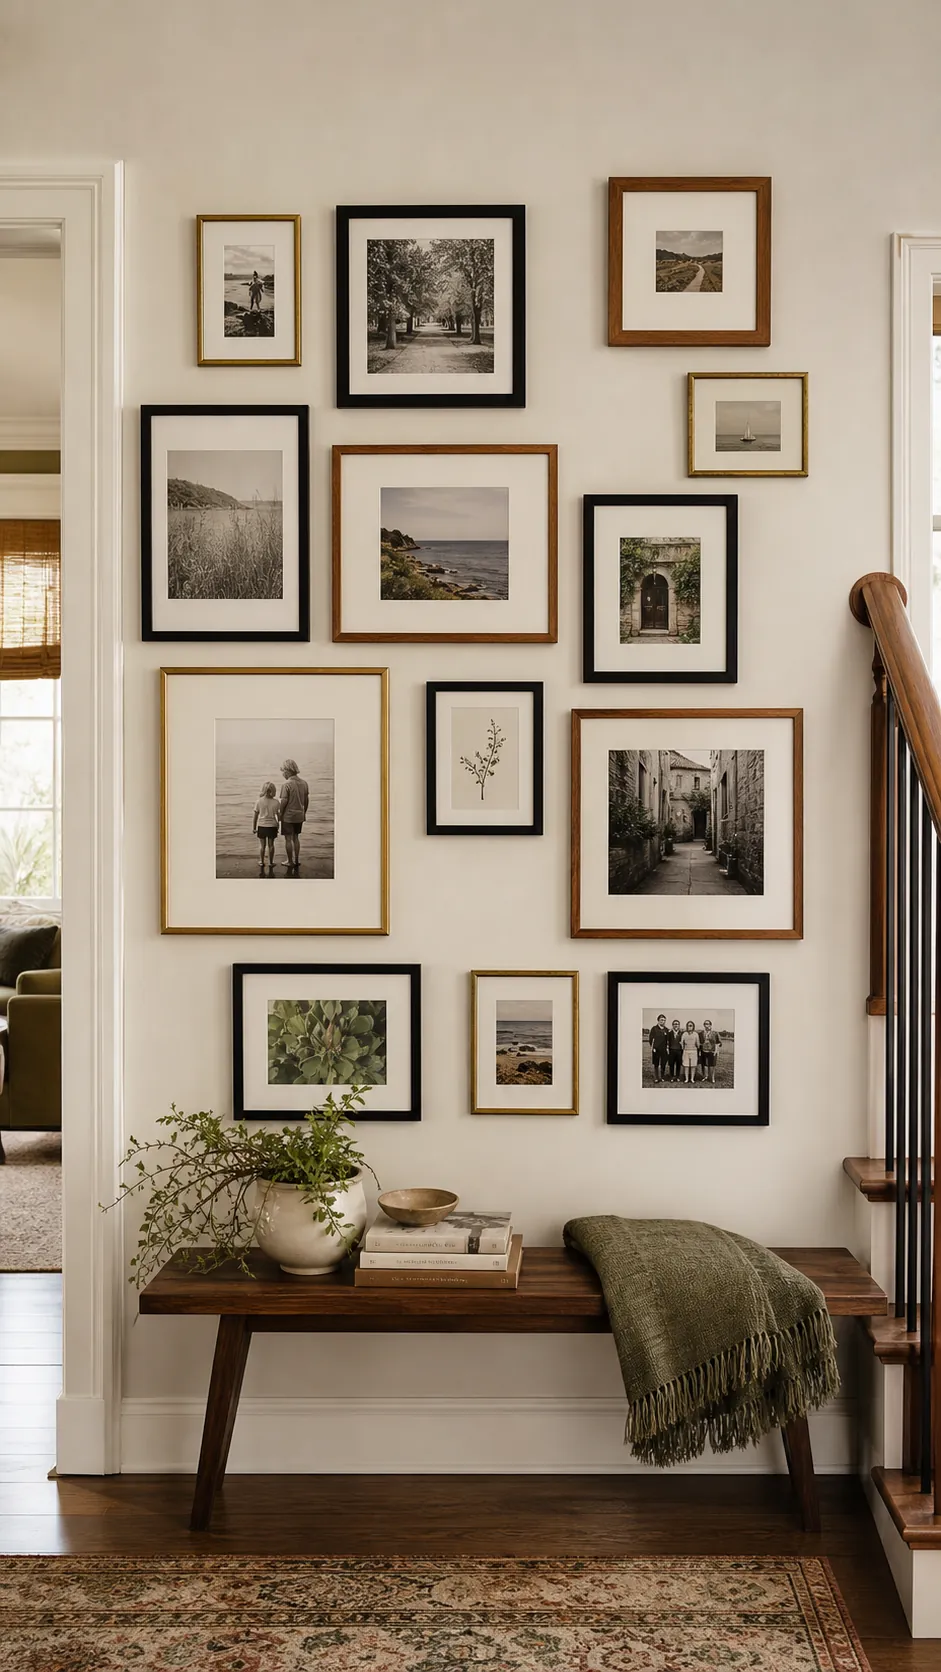
Use the same three finishes for new additions so the gallery can grow without losing its identity. Frames do not need to match in profile or age. The repeated materials create cohesion even when photographs, sizes, and orientations differ.
19. Alternate Portrait and Landscape Frames
A lively wall benefits from both upright portraits and wide landscapes. Alternate orientations across the composition so no row becomes a line of identical shapes. A square frame can bridge areas where the two directions meet awkwardly.
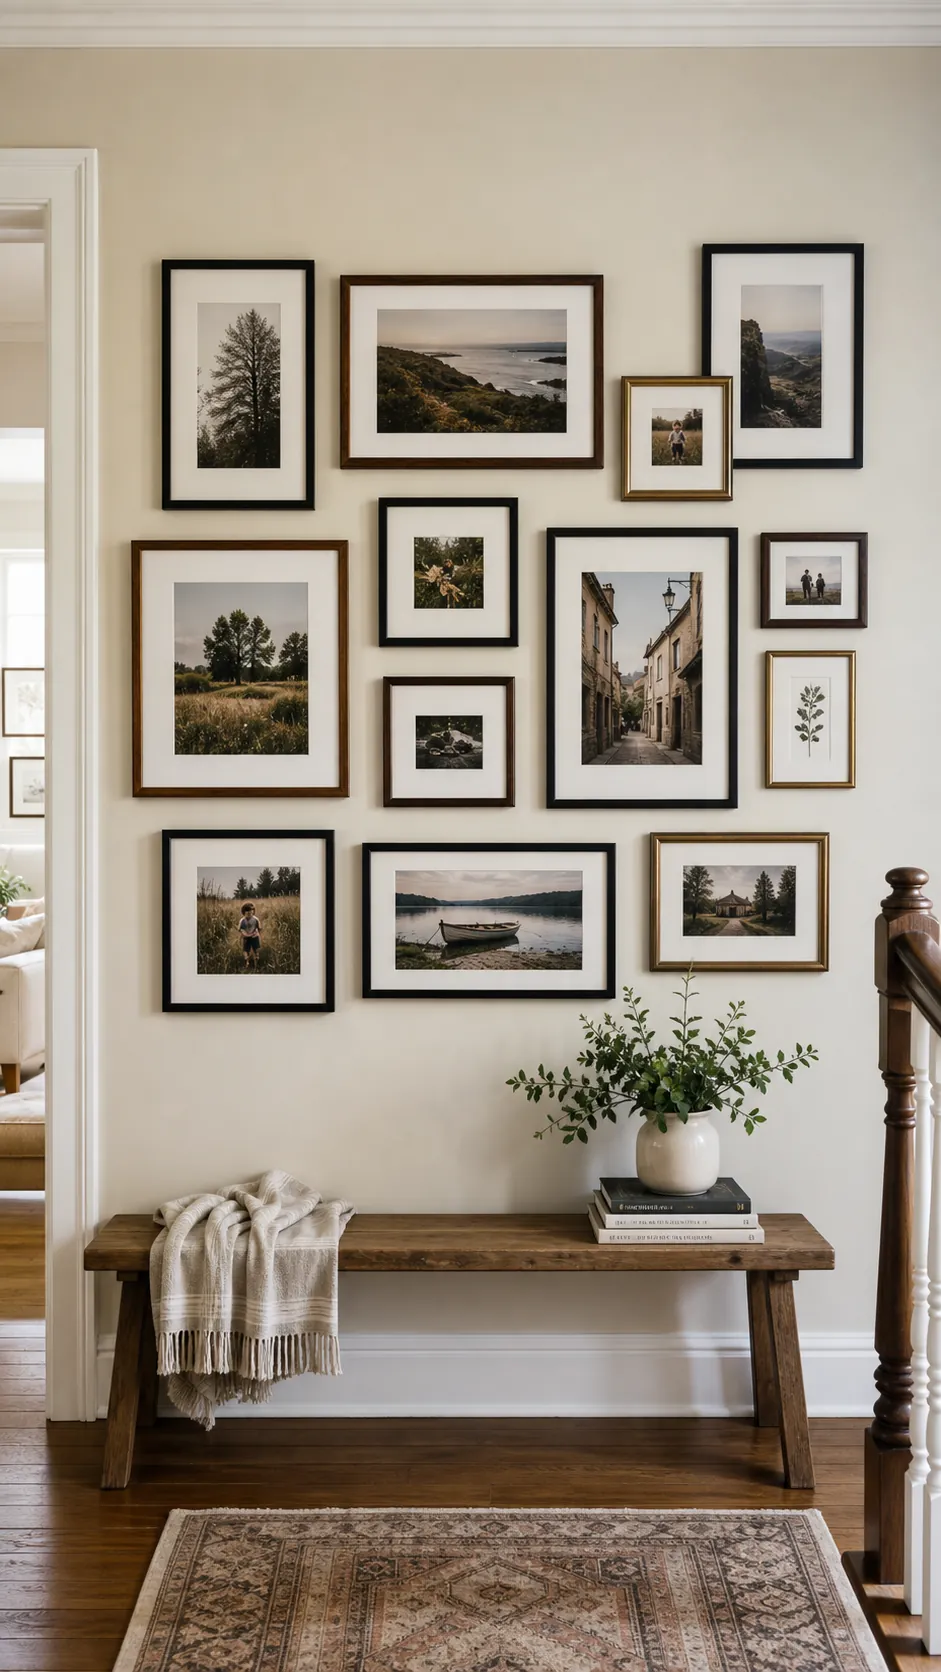
Keep the largest orientation change near the center where it can organize smaller pieces. Align at least one edge of each frame with another nearby frame. The mix feels spontaneous, but those quiet alignments give it structure.
20. Use a Heart Frame as a Small Accent
A heart shaped frame works best as a small surprise rather than the main feature. Place it near a meaningful couple or family photograph and repeat its finish elsewhere in rectangular frames. This keeps the novelty from feeling disconnected.
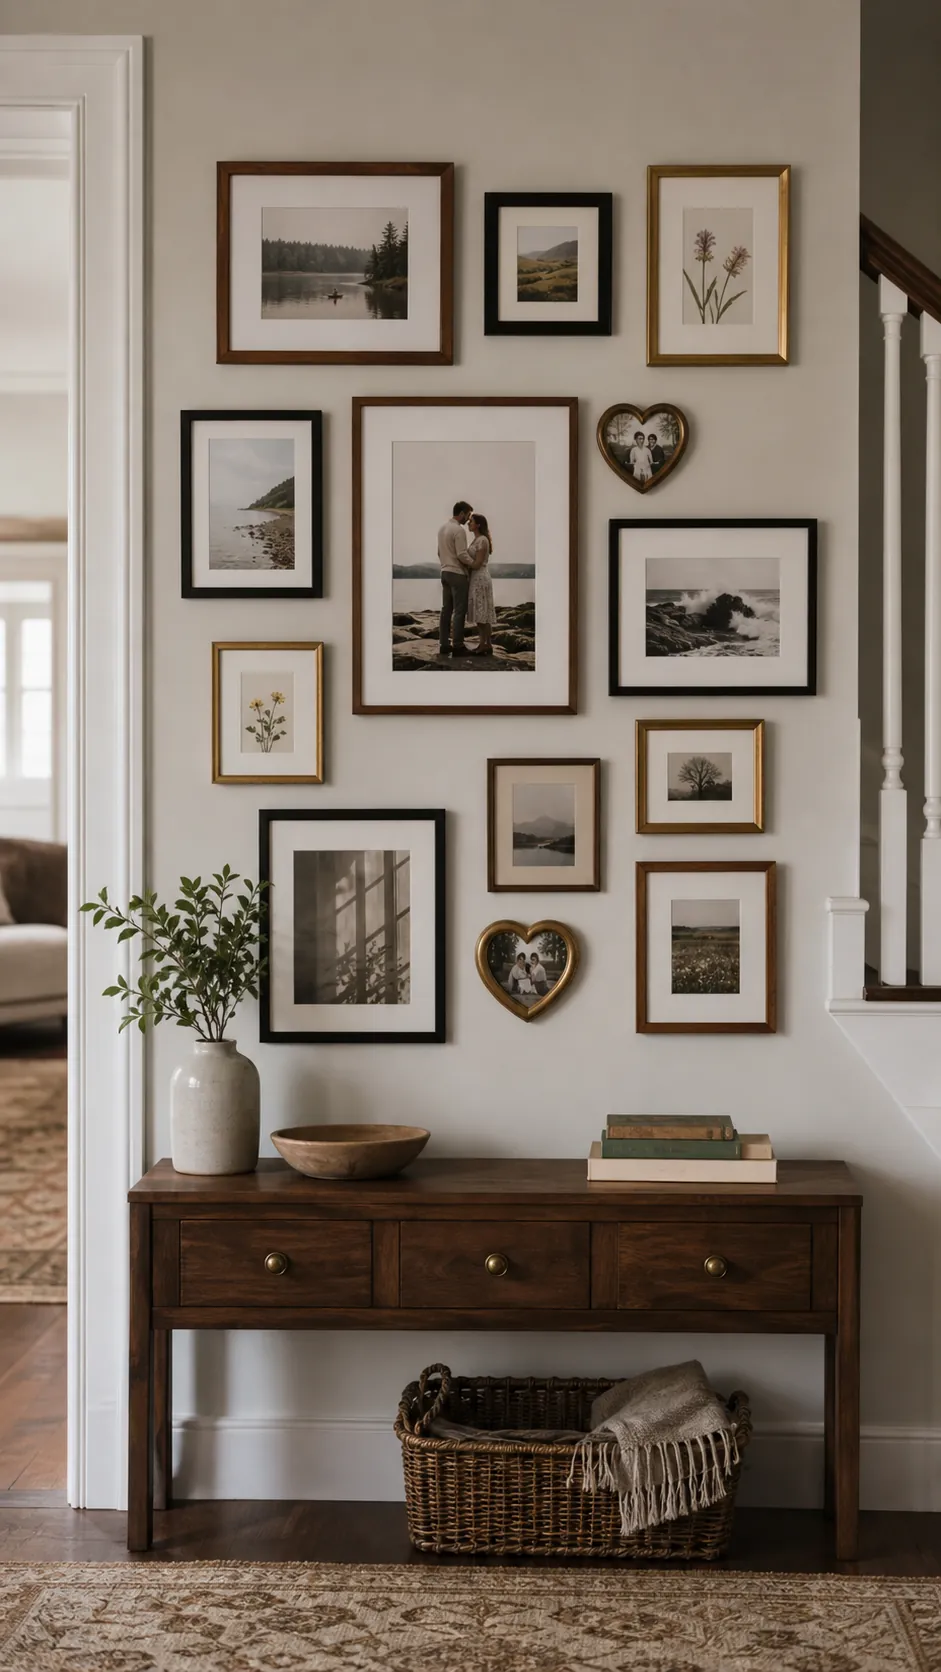
Use a simple image inside the heart opening because detailed group photos can be difficult to read. Surround it with calm mats and clean frame shapes. One unusual silhouette is usually enough to animate a mixed gallery.
21. Give Kids Art a Grown Up Gallery
Frame children’s paintings and drawings with the same care as family photographs. Mix bright art among candid images so the wall reflects both creativity and everyday life. Clean mats make irregular paper sizes feel intentional.
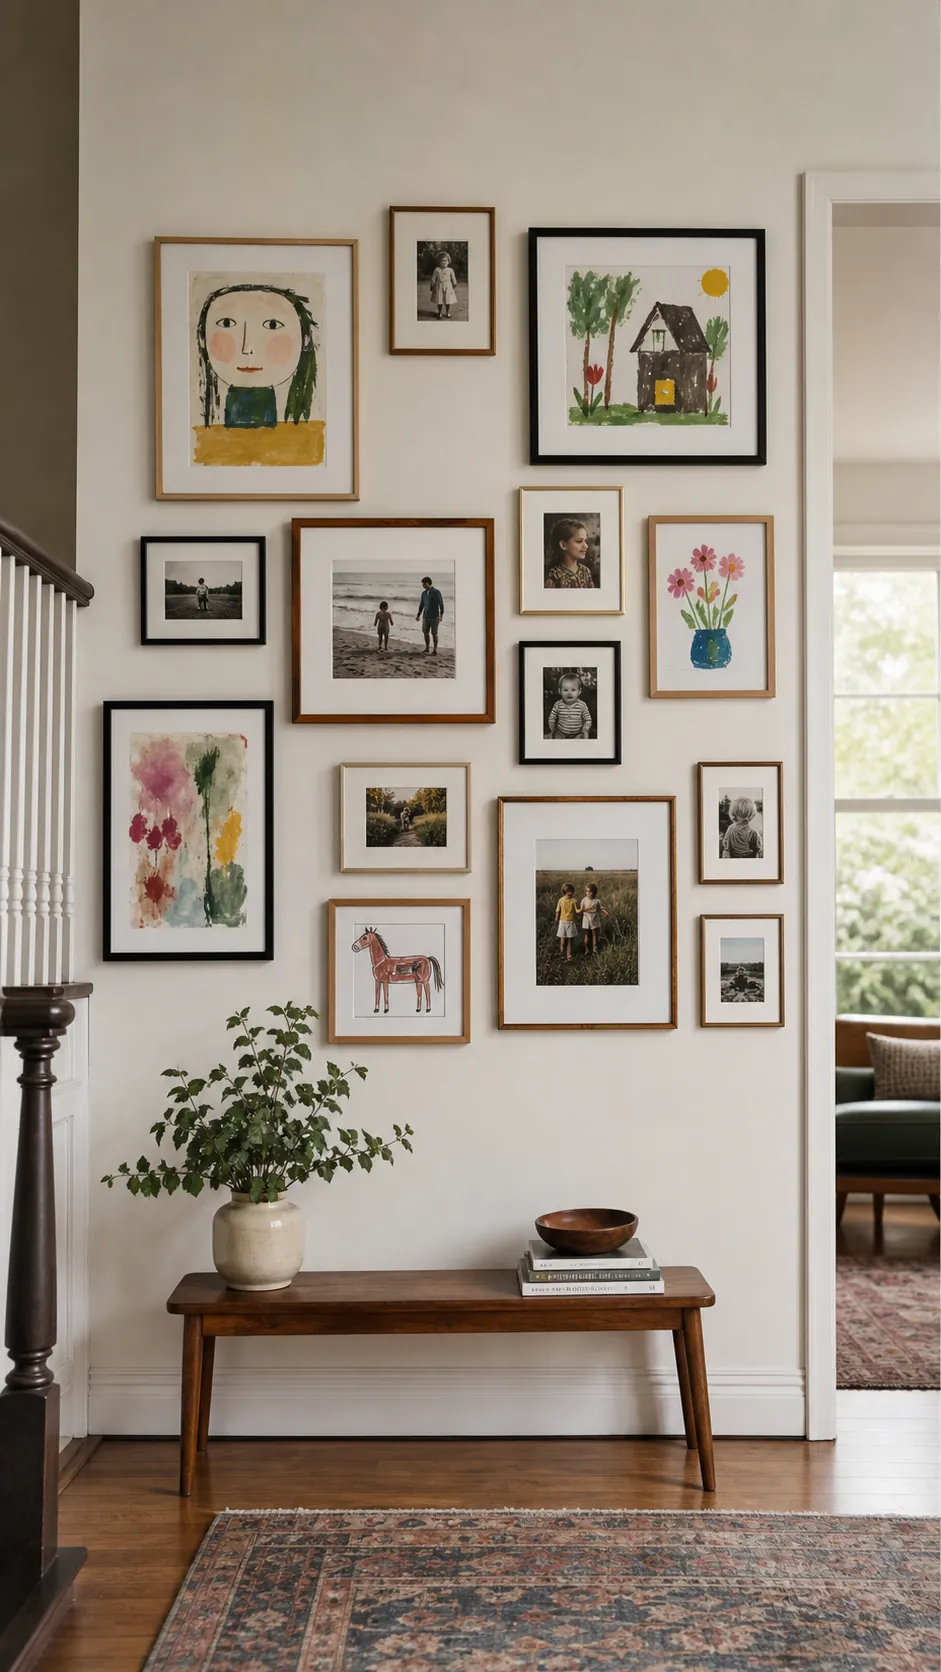
Rotate new art into a few accessible frames while leaving favorite pieces in permanent spots. Spread strong colors through the display to maintain balance. The result feels polished enough for a living room while remaining personal to the family.
22. Pair Botanical Prints With Personal Photos
Botanical prints provide quiet pattern between photographs of people and places. Choose plants with colors that echo the room, then alternate them with personal images. Slim wood and black frames suit both subjects and keep the wall from becoming overly themed.
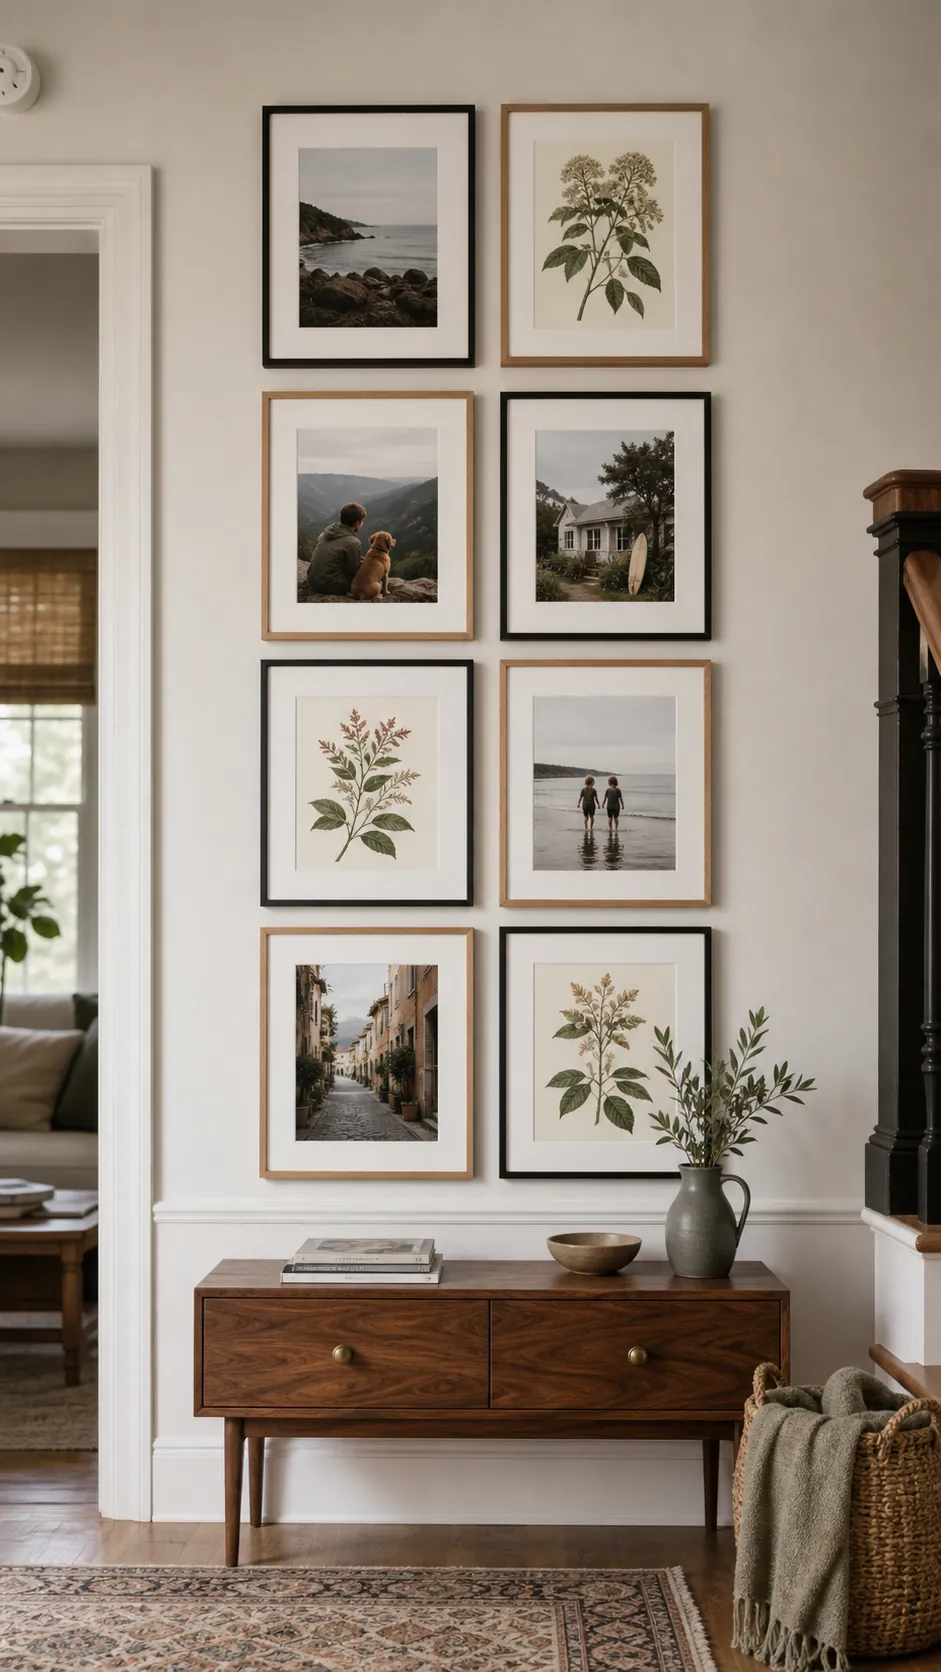
Use one larger botanical image as a visual rest if the photographs are busy. Repeat natural green in small details across the collection. The mix brings life to the arrangement while ensuring family photos remain central.
23. Use a Picture Ledge in a Rental
A long picture ledge is ideal when nails are limited or the layout needs to change often. Lean mixed frames in overlapping layers, with the largest pieces against the wall and smaller ones in front. This produces depth without committing to a fixed grid.
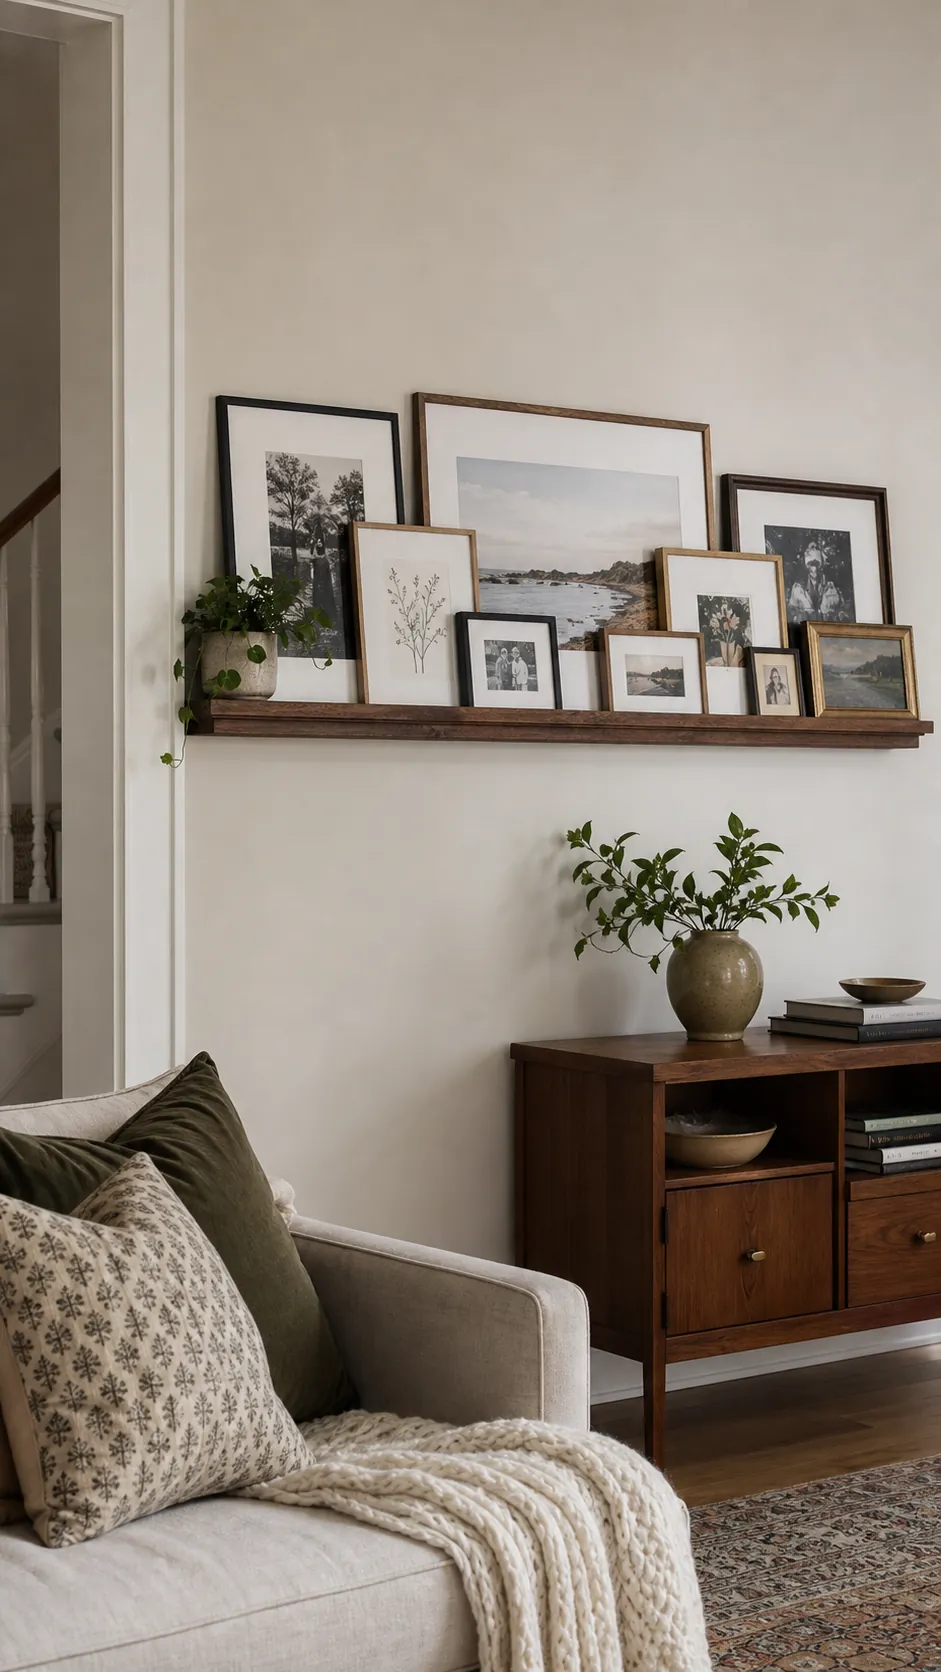
Check the ledge rating and use the required anchors even in a rental. Keep heavy glass frames low and stable. A consistent color repeated across several frames makes the flexible display look considered.
24. Create a Dining Room Conversation Wall
Dining rooms invite slower viewing, so a collection can include group portraits, celebrations, recipes, and travel food memories. Arrange the frames above a sideboard where guests can approach them easily. Warm woods and aged metal finishes echo the social character of the space.
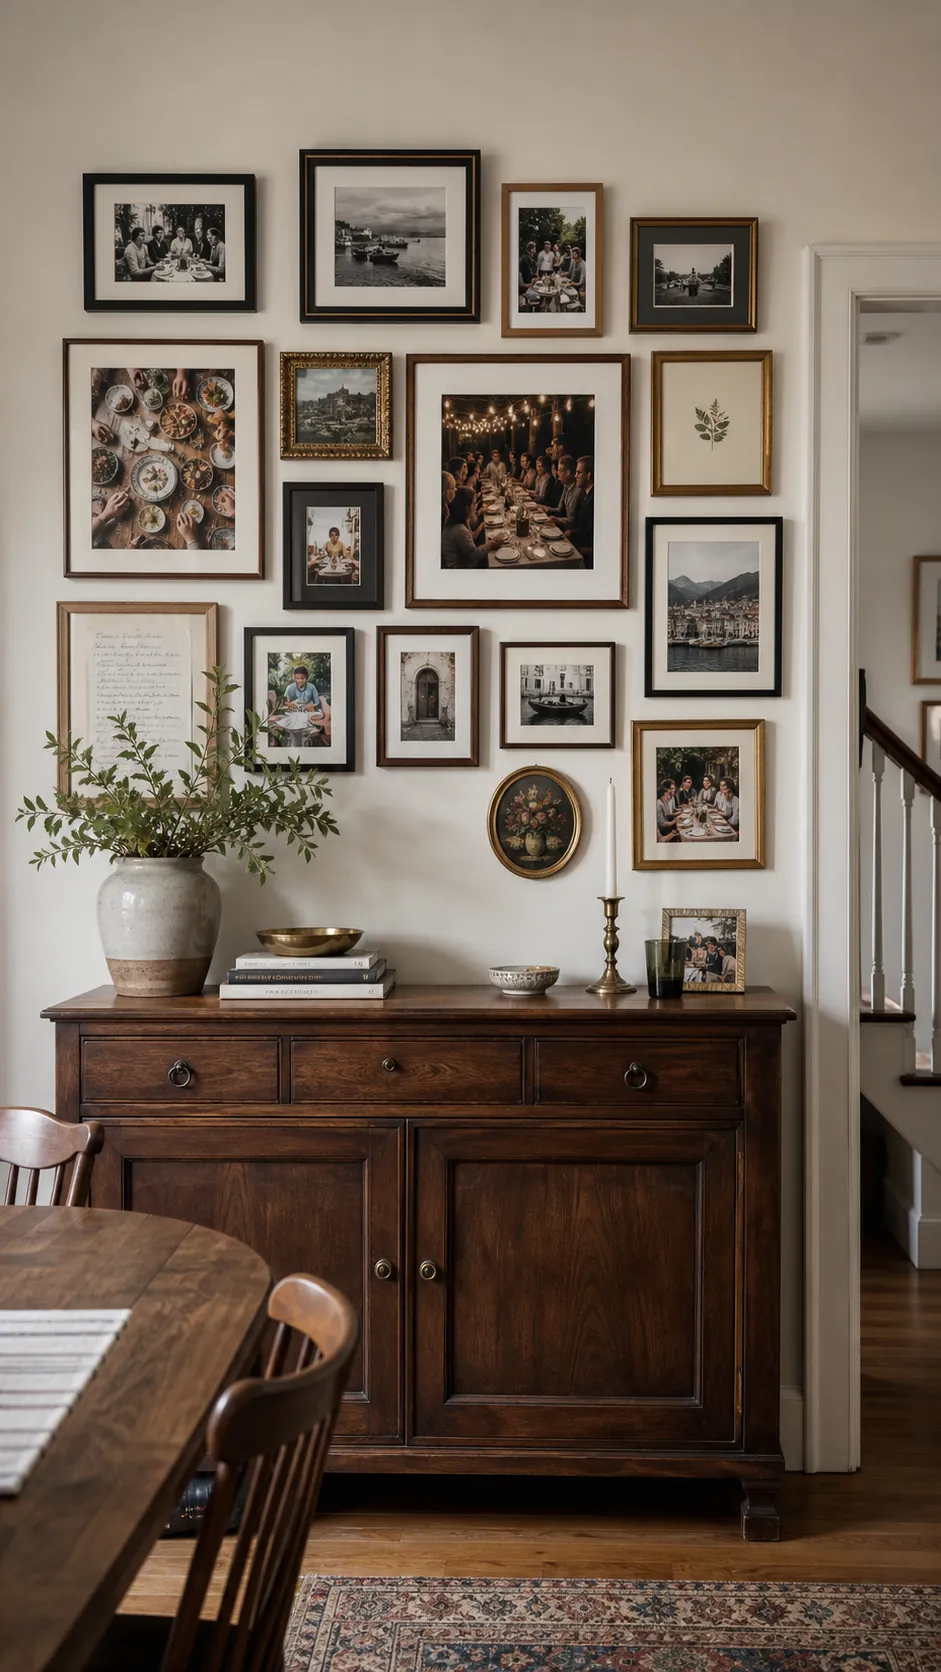
Keep the bottom row high enough to clear serving pieces and tall arrangements. Place conversation starting photographs near eye level. Consistent spacing allows the varied subjects to feel like one generous family narrative.
25. Build a Hallway Timeline
Arrange photographs in a loose chronology along a hallway without turning the wall into a strict chart. Older images can begin near one end and newer moments can continue toward the other. Mixed frames mark different eras while repeated mats hold the timeline together.
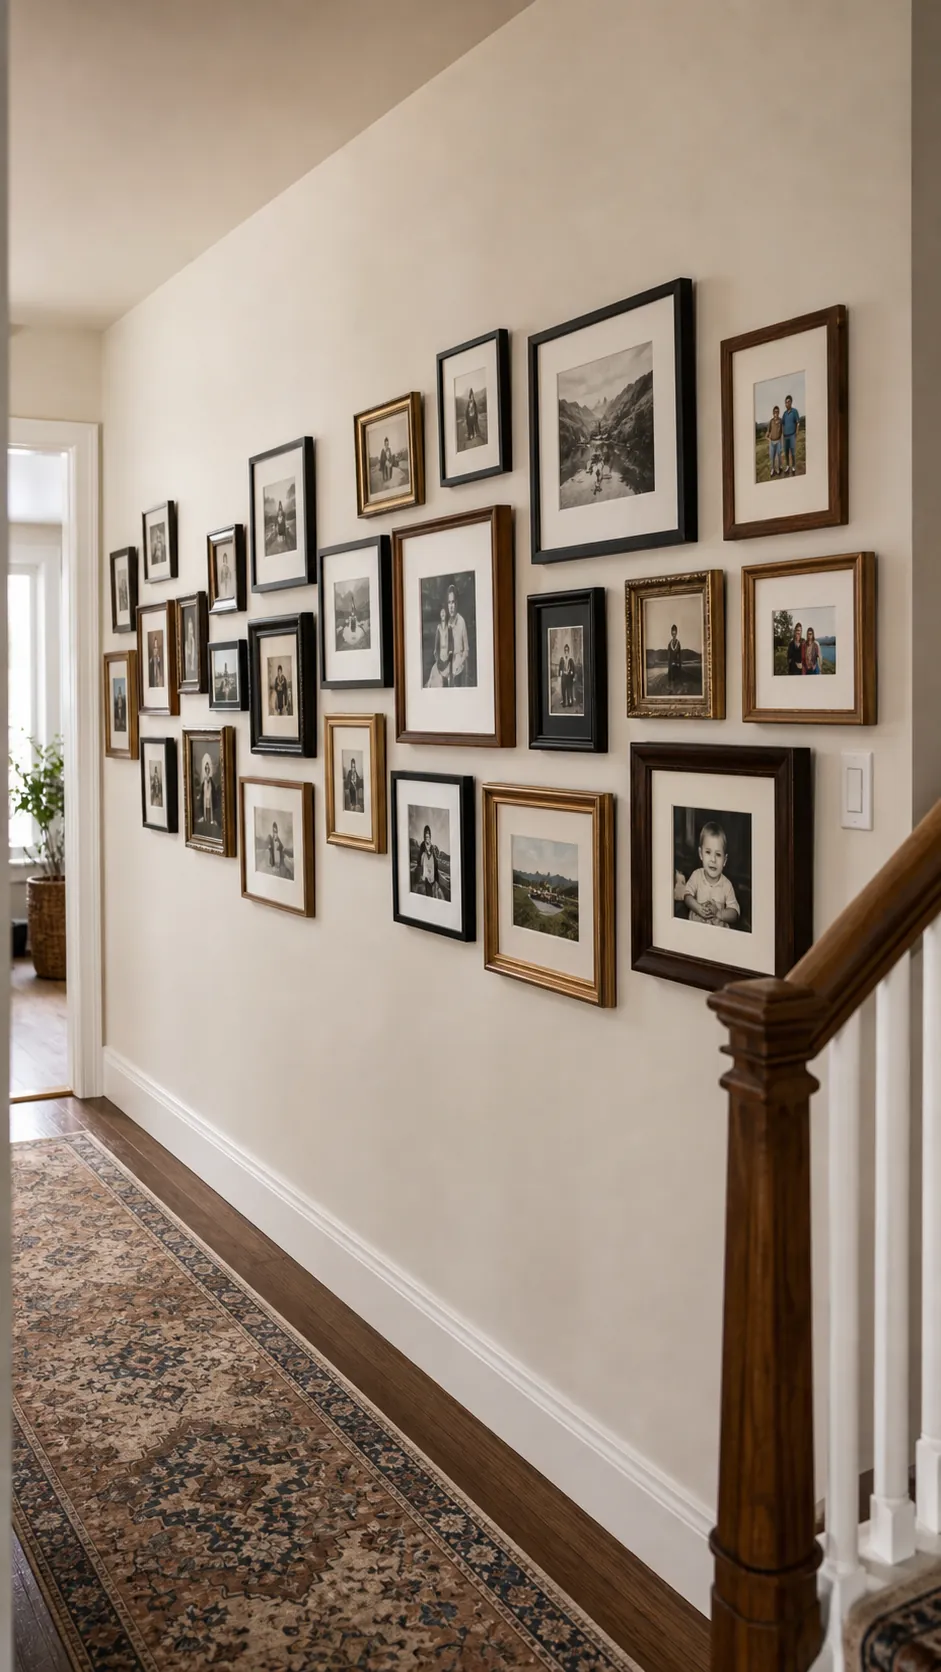
Use larger frames for major family milestones and smaller ones for candid details. Maintain a common center height so the long arrangement does not wander. Hallway lighting should be even and gentle to reduce glare on glass.
26. Test the Whole Layout With Paper
Trace every frame onto kraft paper and label its hanging point before touching the wall. Tape the templates in place, then live with the arrangement for a day and view it from several angles. Moving paper is much easier than patching misplaced holes.
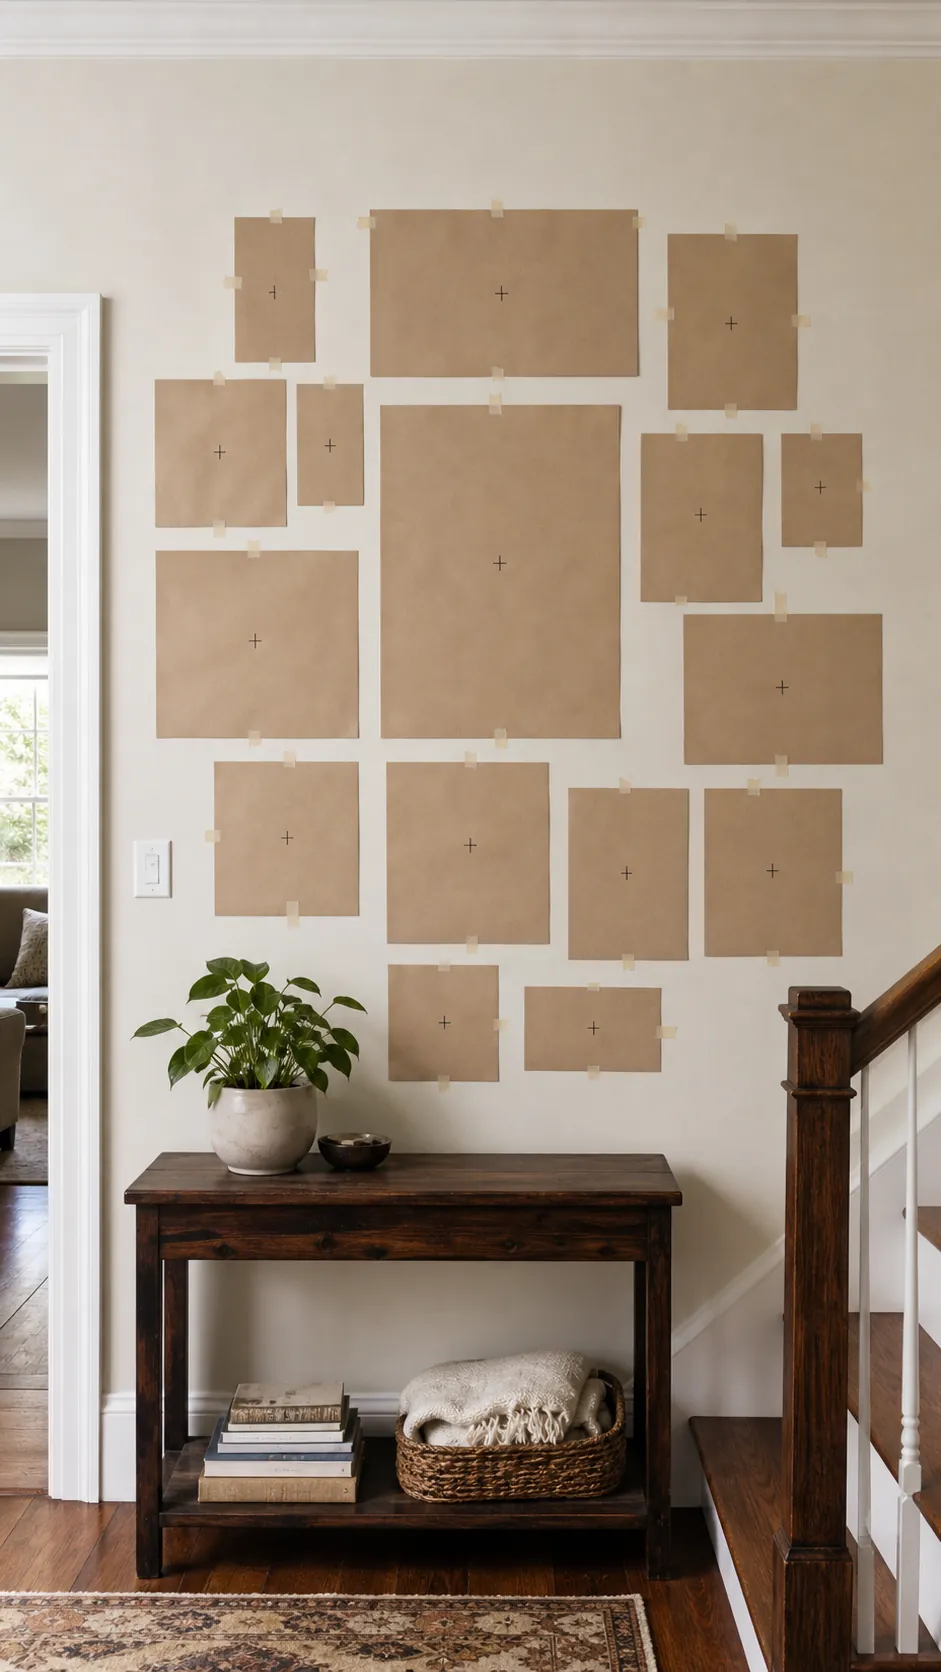
Measure the gaps with one cardboard spacer and check the full outer shape. Mark studs, switches, and furniture edges on the paper plan. Once the layout feels balanced, transfer each hook location directly through the template.
27. Leave Room for the Gallery to Grow
Plan one open edge where future photographs can join the collection naturally. Finish the current arrangement with a balanced shape, but avoid boxing it into a rigid border. Repeating established finishes and spacing lets later additions feel intentional.
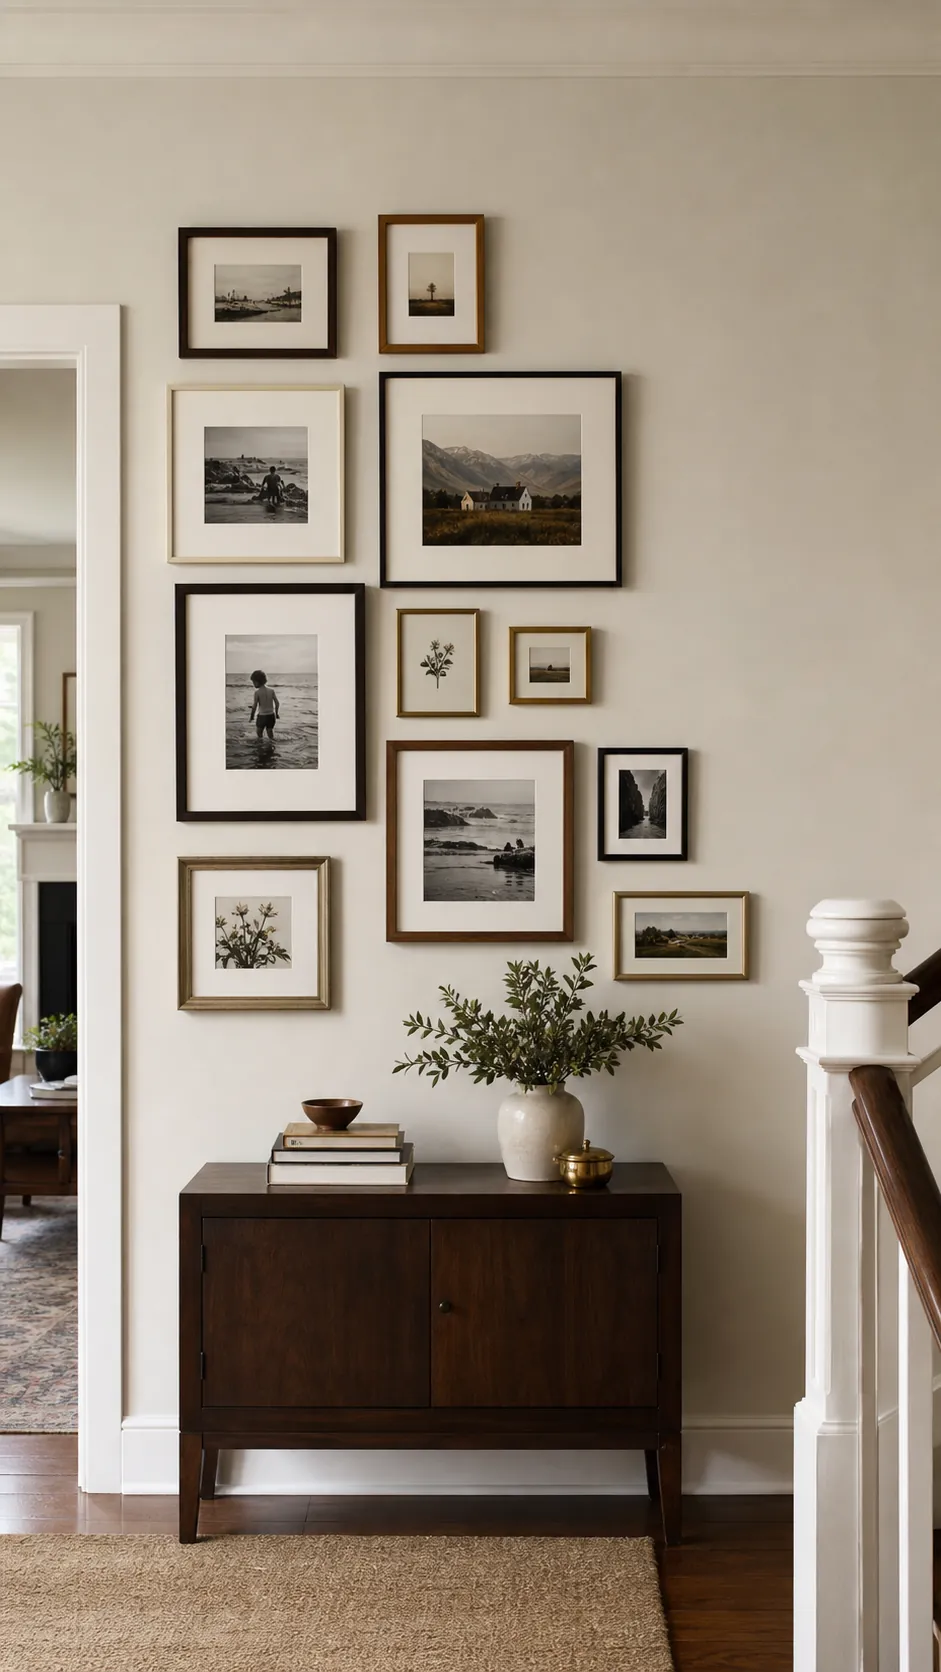
Keep a note of frame colors, mat tones, and the gap measurement for future shopping. Add one or two pieces at a time and retest the balance with paper templates. A growing gallery becomes a living record without looking perpetually unfinished.