The ribbon box can be full while none of the pieces is long enough to wrap a present. Sort the scraps by length, width, and stiffness before choosing a project. Small ties, flat bands, and glued shapes use different pieces, so you can work with what you have rather than buying another roll.
Set aside dirty, damaged, or heavily frayed pieces, and keep loose wire ends away from children and pets. Use scissors to trim ends neatly; do not melt them with a flame. Follow the instructions for any adhesive, protect your work surface, and let glued decorations dry before you put them on display.
Tiny bows for bare tree branches
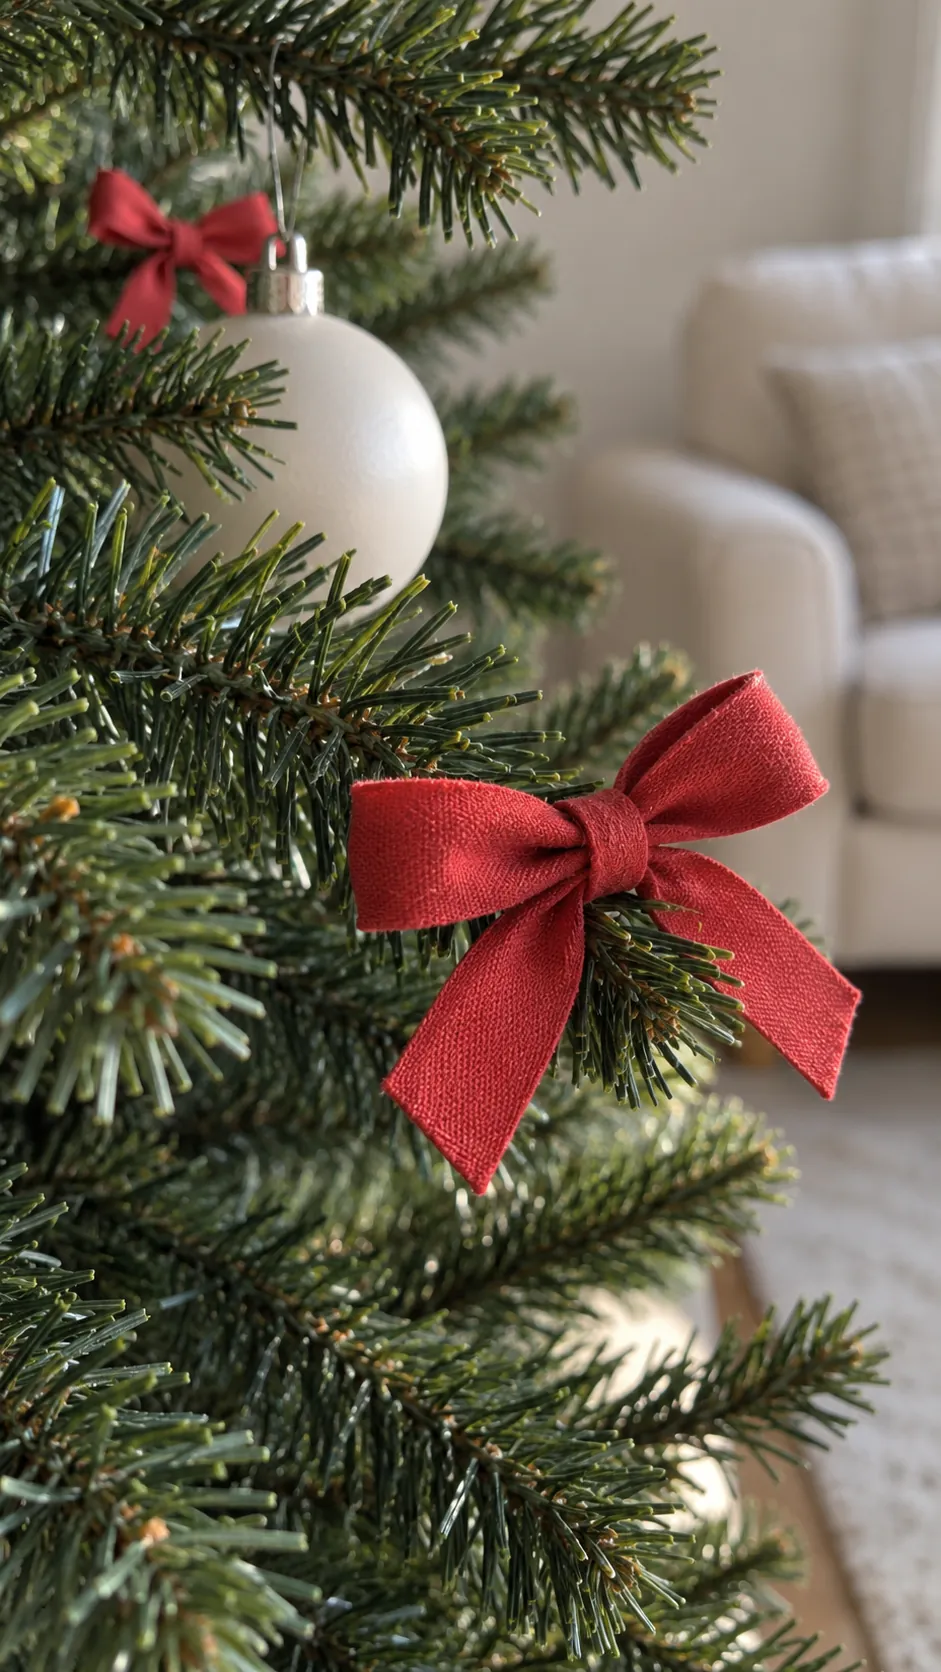
Use a short piece of soft ribbon to tie a small bow directly around an undecorated branch. Make the loops small enough that the tails still have a little length, then trim both ends evenly. Space these DIY Christmas bows between larger ornaments so they fill gaps without making the tree look crowded. Avoid pulling the knot so hard that it bends a delicate branch.
New hanging loops for ornaments
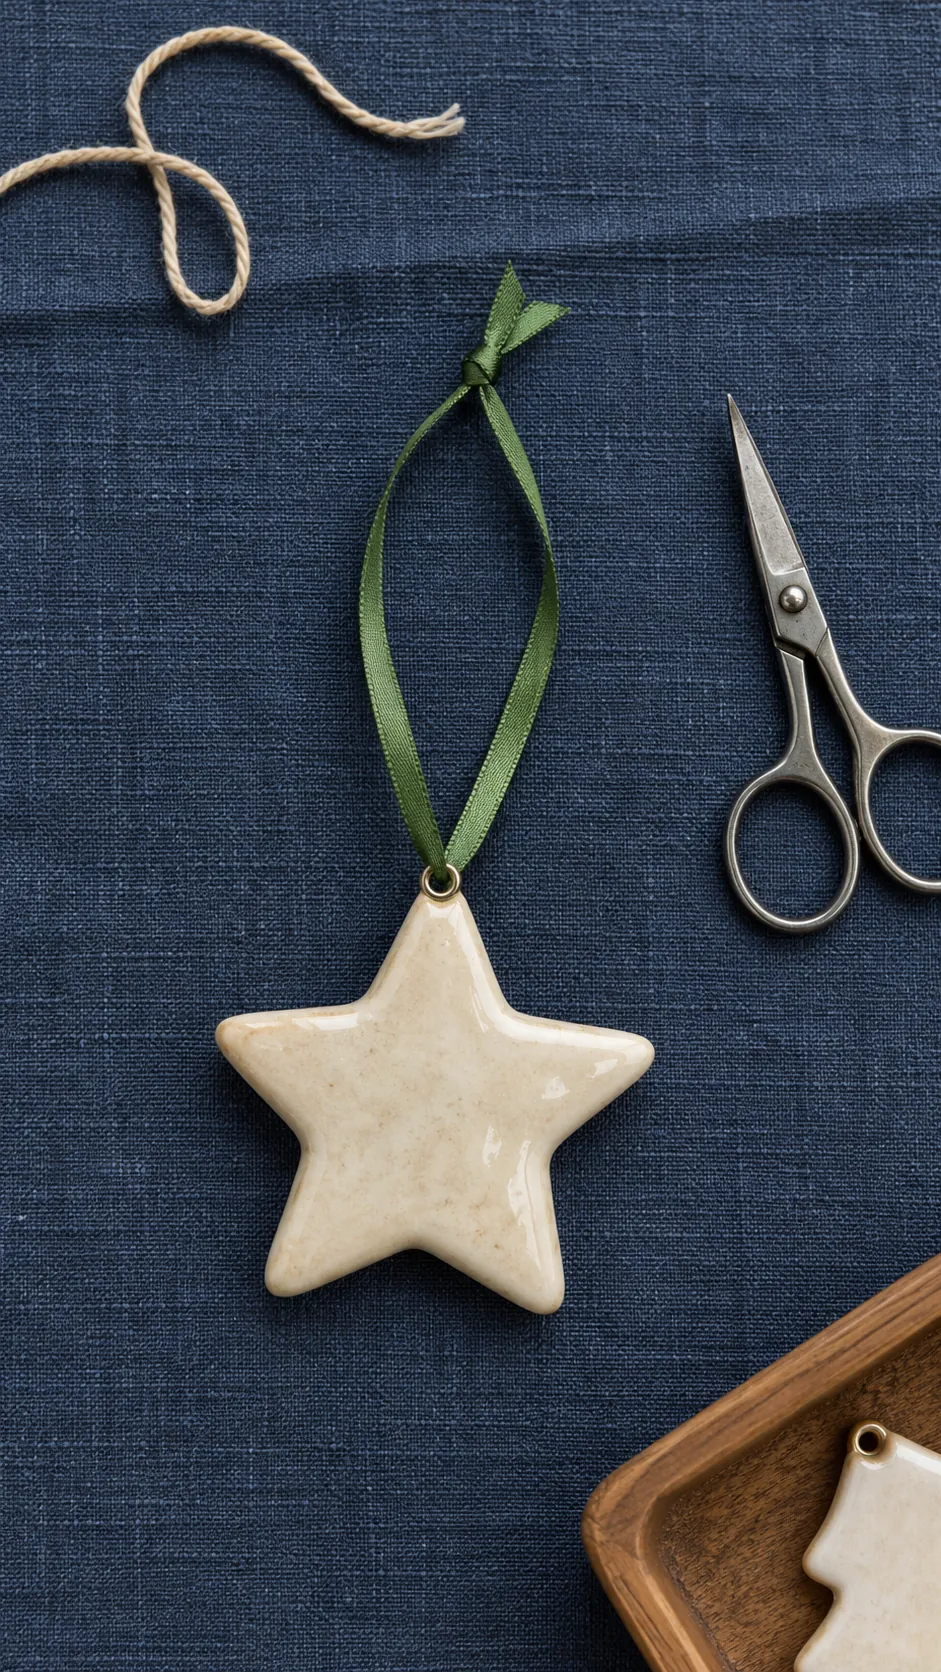
Replace worn ornament loops with narrow ribbon that fits through the existing eye. Thread it through, bring the ends together, and tie a firm knot above the ornament. Test the loop over a table before using it on the tree, especially if the ornament is breakable.
Ribbon collars for plain baubles
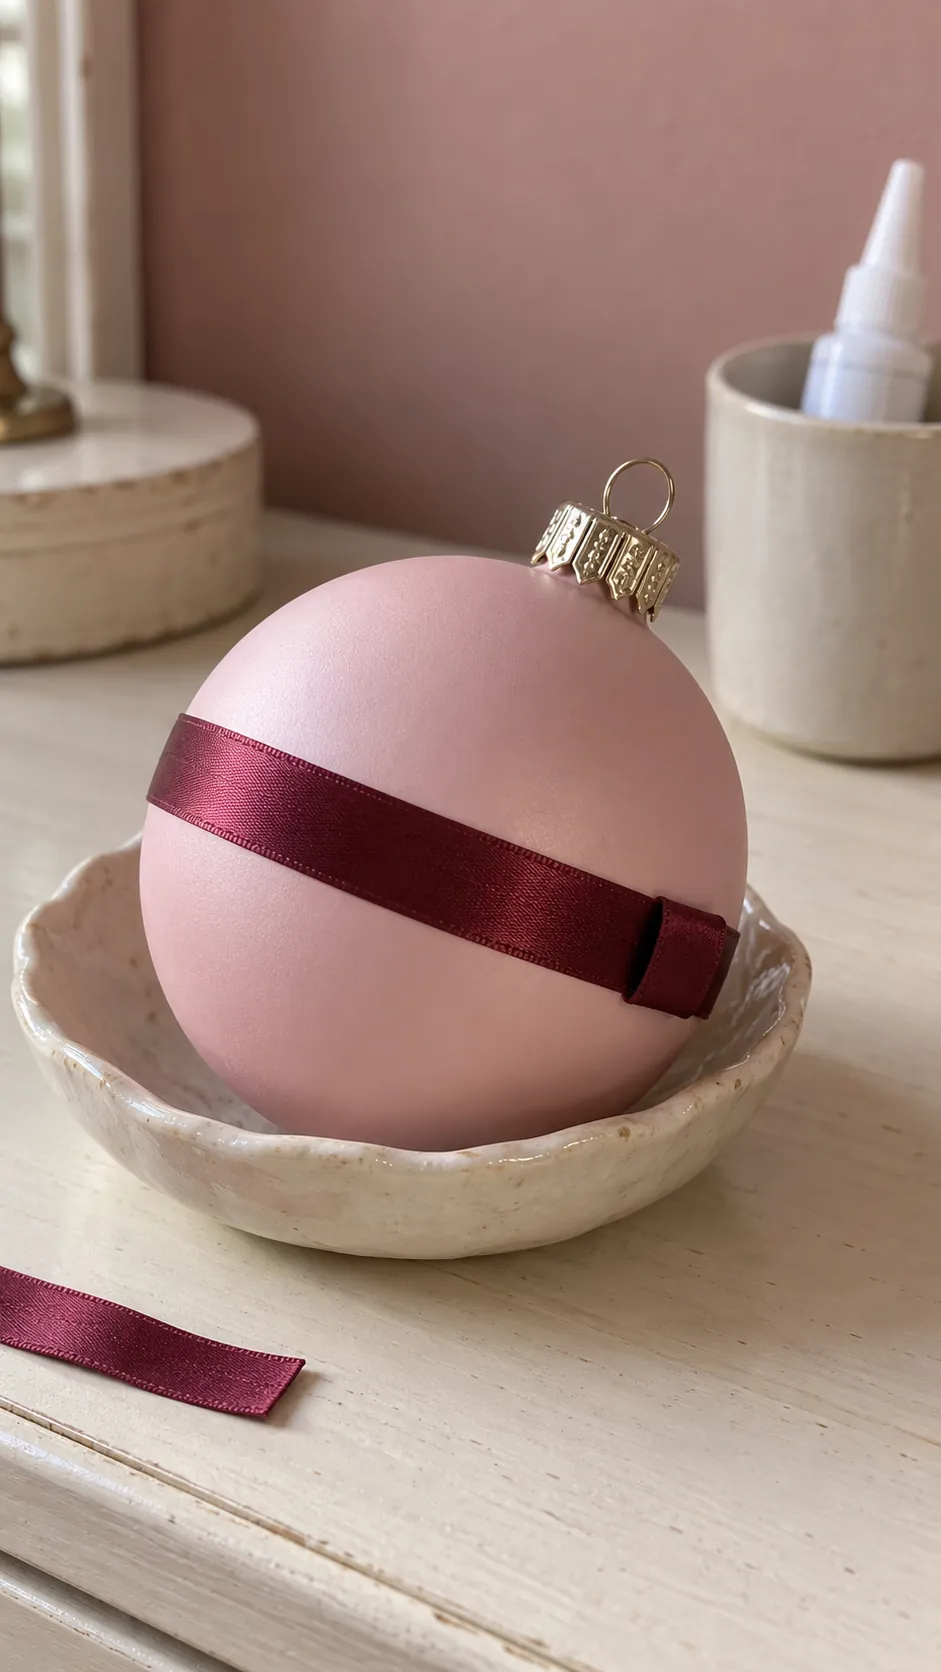
Wrap a narrow ribbon around the centre of a plain shatter resistant bauble to add a band of color. Use small dots of craft glue suitable for both materials and let them dry completely before hanging. Cover the meeting point with a tiny folded tab rather than building a bulky bow. Keep glue away from the hanging cap so the ornament remains easy to handle.
Scrap tied twig trees
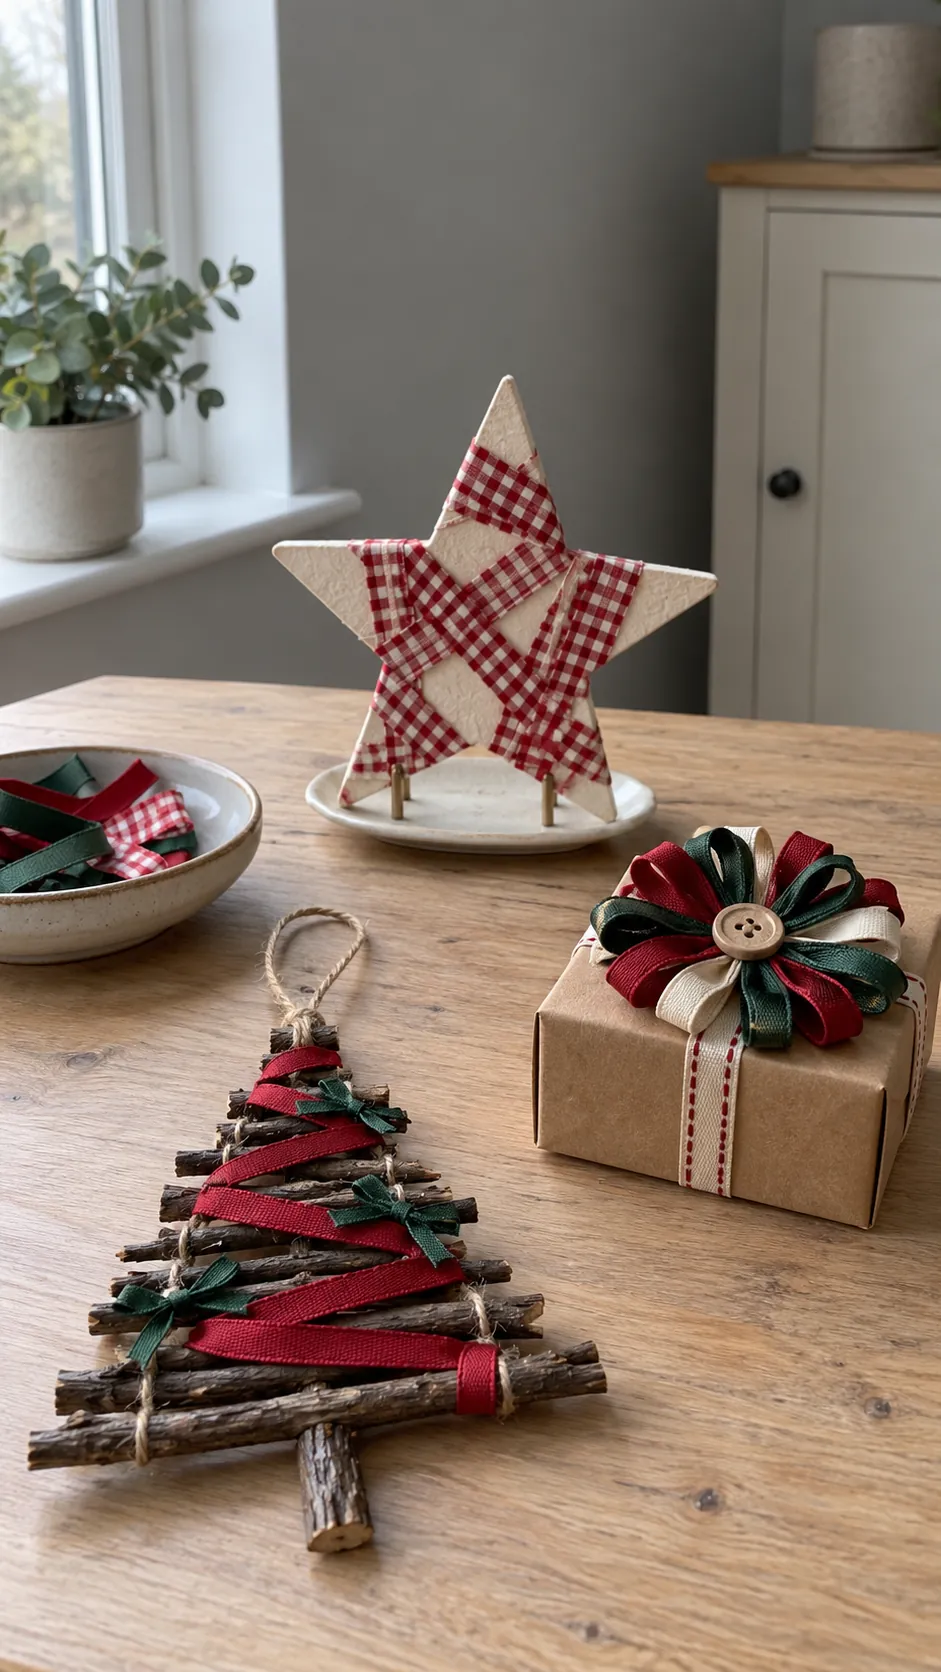
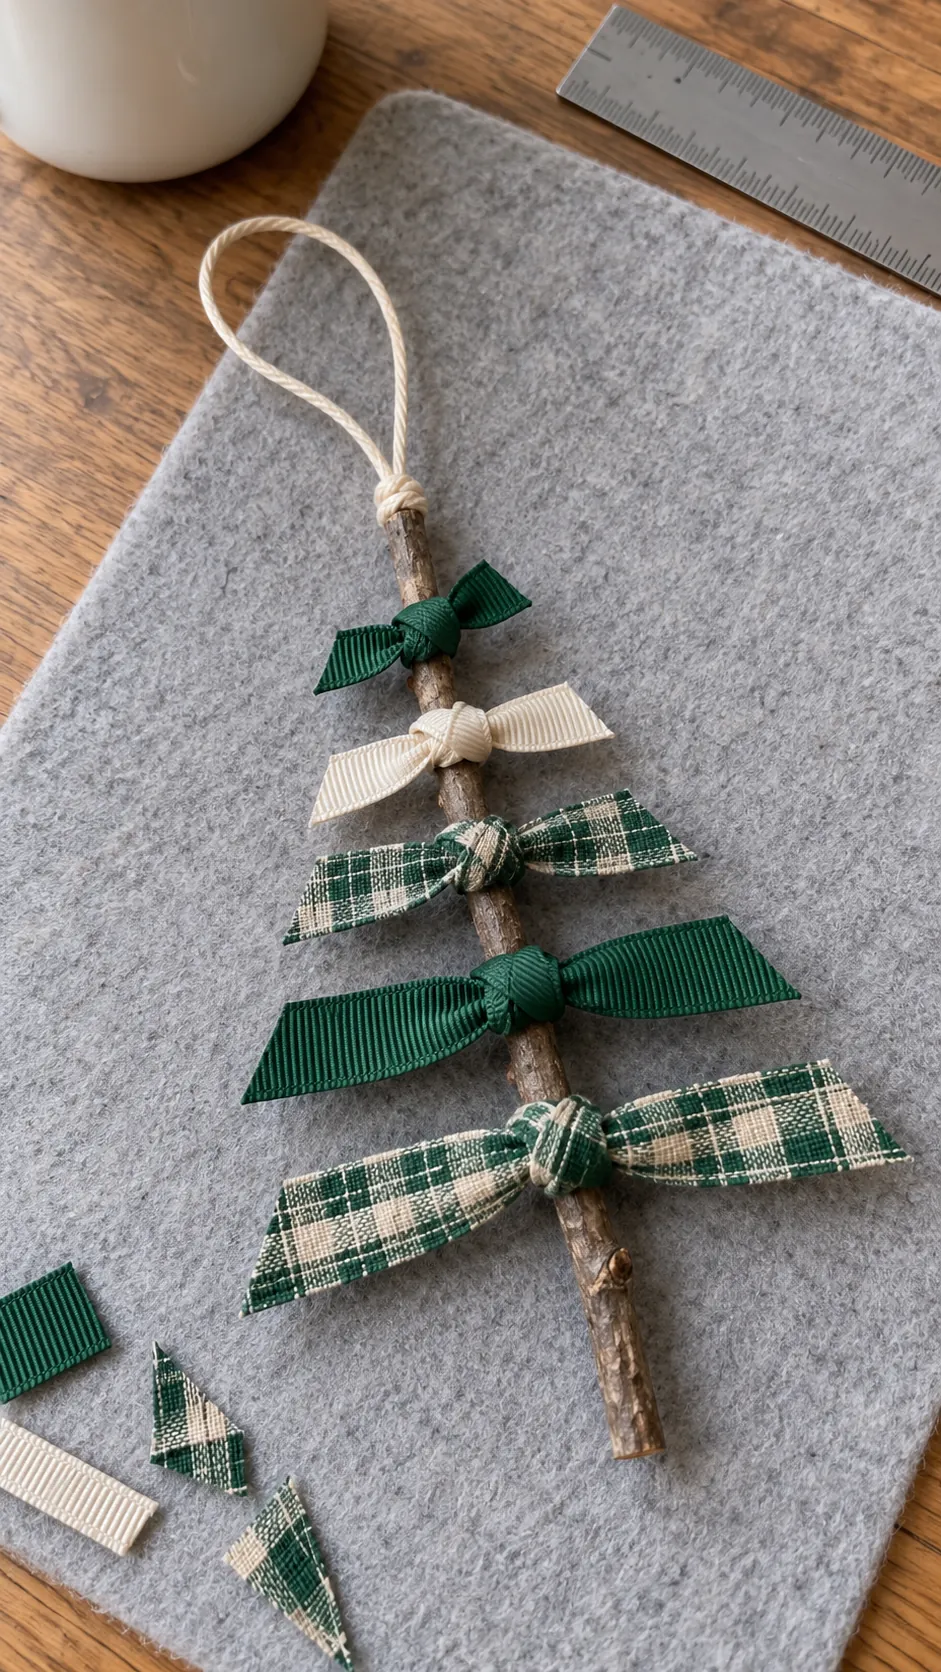
Tie several ribbon scraps around a straight twig, leaving their ends pointing sideways. Arrange the longest pieces near the bottom and shorter pieces toward the top, then trim the outline into a tapered tree shape. Add a separate hanging loop at the top of the twig, securing it firmly. Soft grosgrain works well because its texture gives the little branches some body. Lay the ornament flat while trimming so both sides stay balanced.
Ribbon tassels for sturdy branches
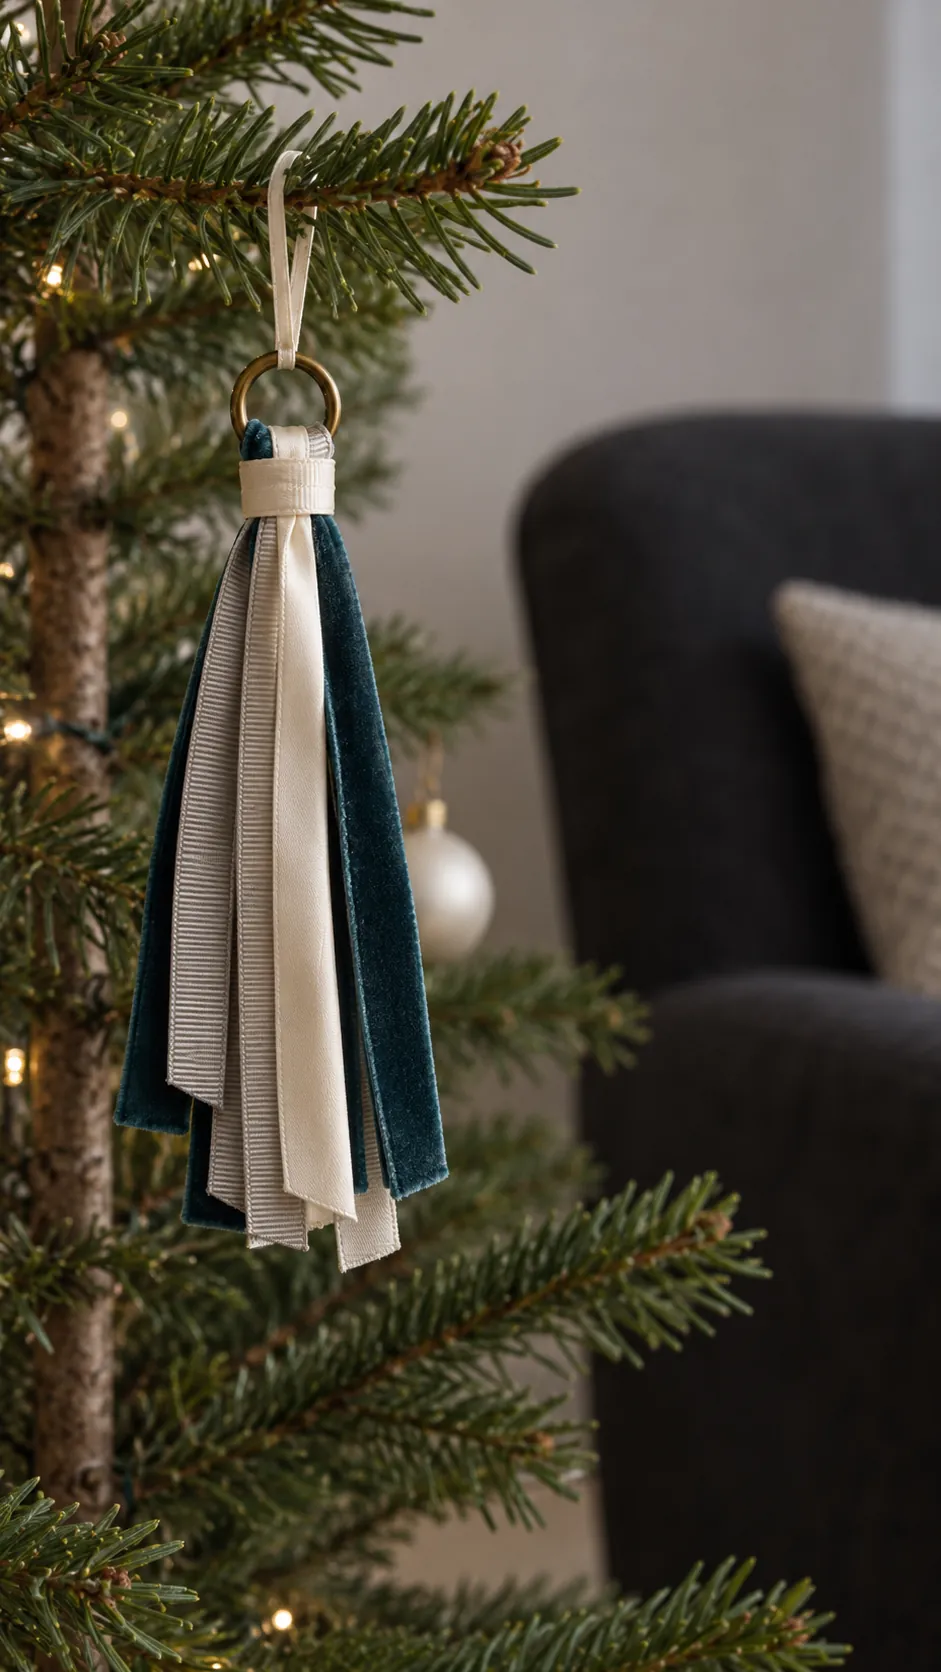
Fold a group of narrow scraps in half over a small ring and bind them near the fold with another short piece. Trim the loose ends into a tidy tassel and attach a separate loop to the ring. Use similar ribbon weights within each tassel so one stiff strip does not jut out from the rest.
Wrapped cardboard stars
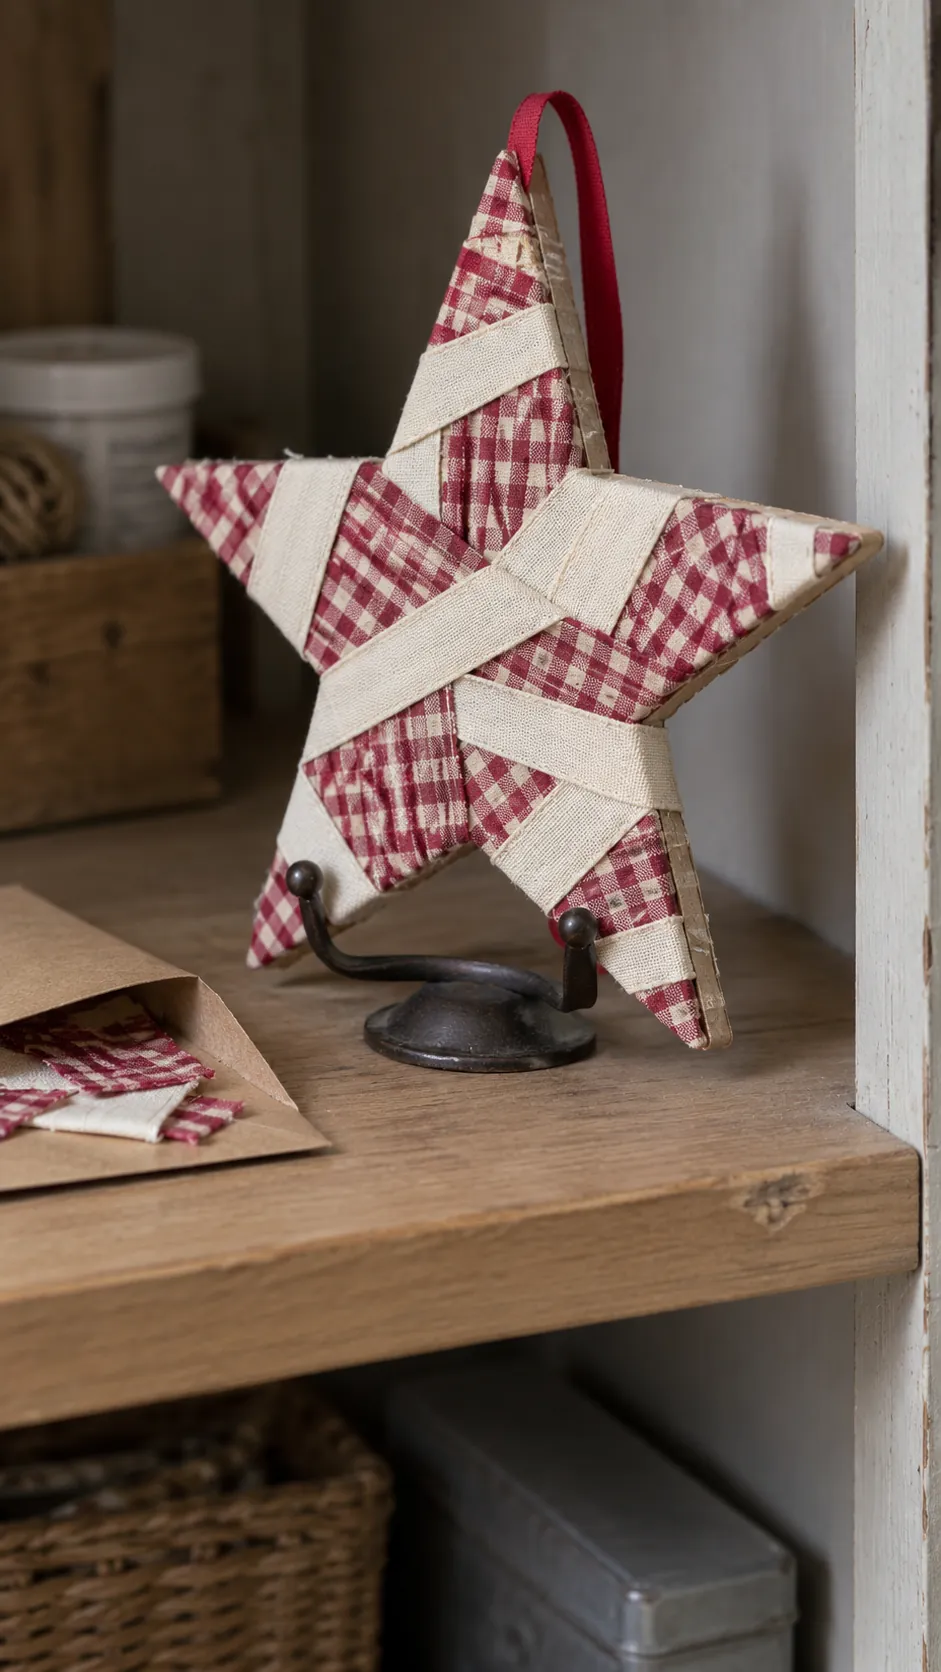
Cut a star from sturdy scrap cardboard and wrap it with overlapping ribbon strips. Fix each strip on the back with suitable craft glue, leaving the front free of visible glue marks. Keep the points recognizable by changing direction around each tip rather than wrapping straight across every gap. Attach a hanging loop after the wrapped surface is dry.
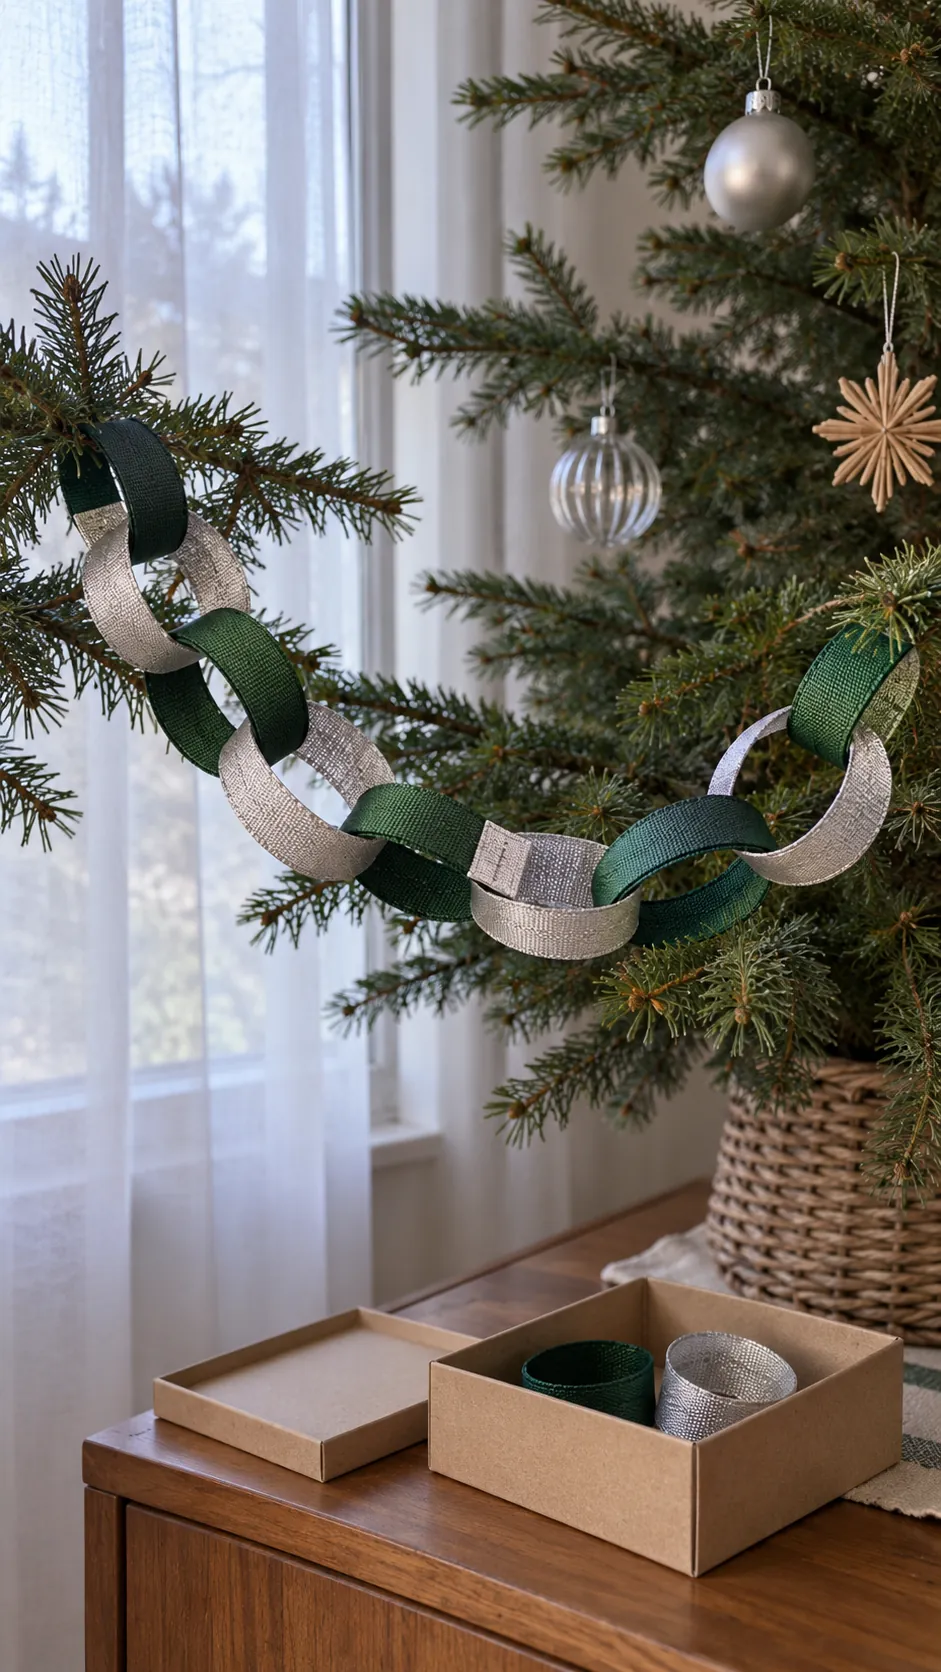
Ribbon chain links
Turn short strips into loops by overlapping and gluing their ends. Thread each new strip through the previous loop before closing it, then let the joins set on a flat surface. Use firm ribbon, or glue soft ribbon onto thin paper strips first so the links hold their shape. Display the finished chain on a tree or furniture surface where it does not block a walking route.
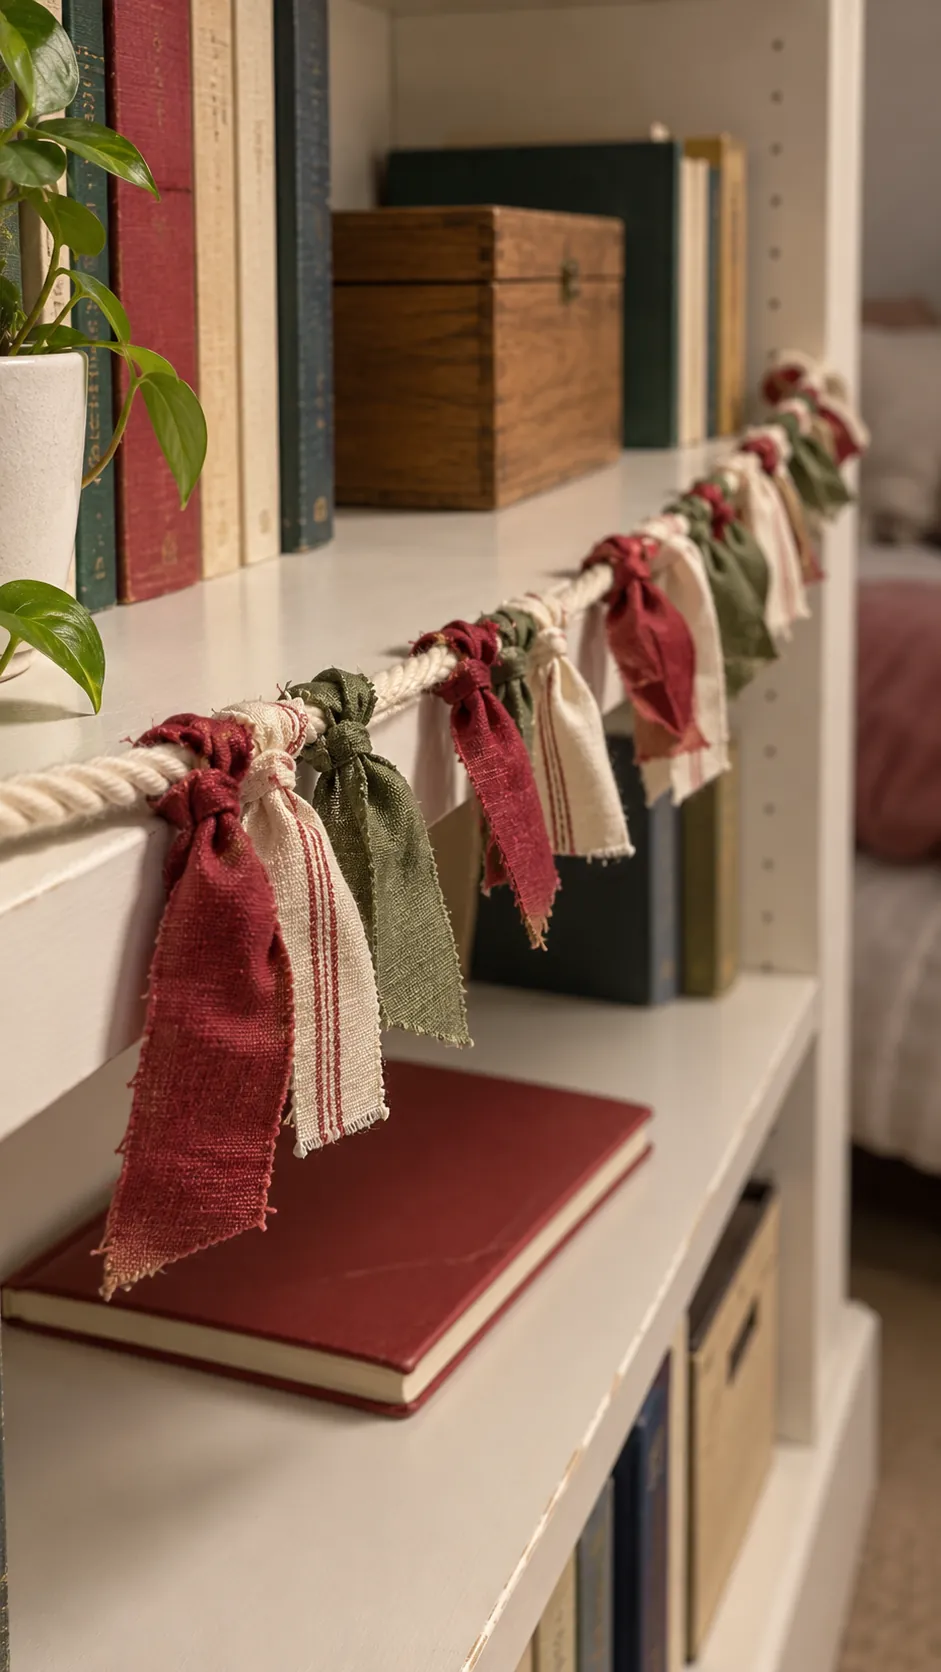
Knotted scrap garlands
Tie leftover ribbon around a length of sturdy cord, placing the knots close together for a full effect or farther apart for a lighter one. Keep the hanging ends short enough that they do not catch on nearby objects. This ribbon garland craft can rest across an existing shelf, with the entire cord supported and its ends tucked in. Mix patterns within a limited palette rather than using every scrap at once.
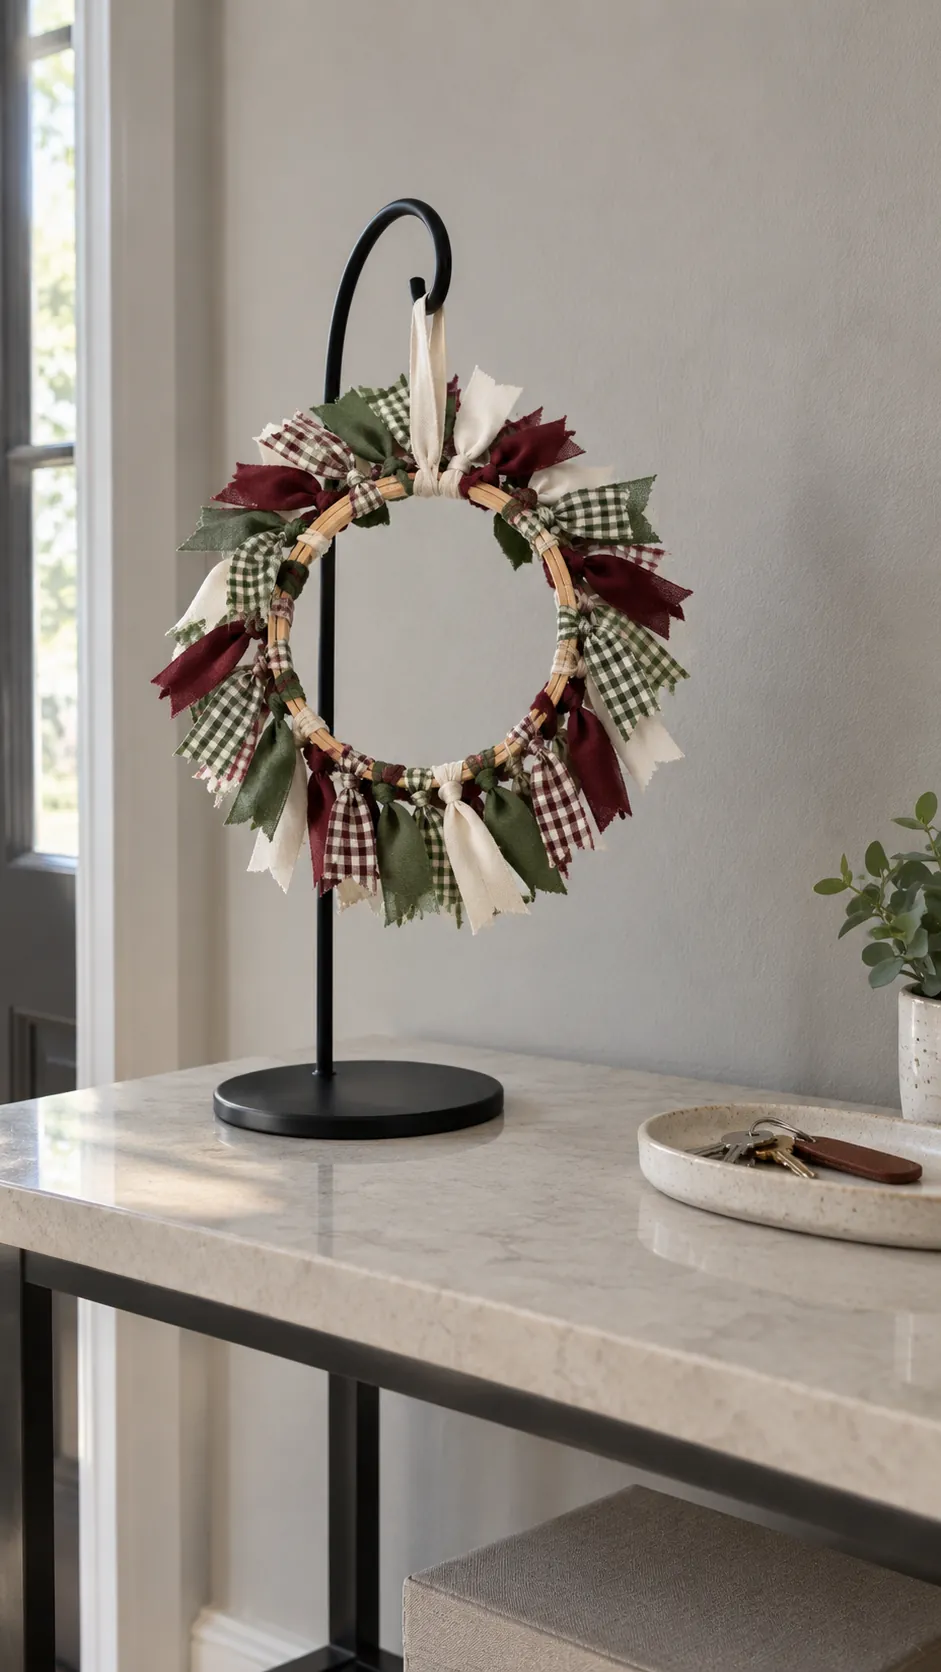
A ribbon wreath around a small hoop
Tie short lengths around a small craft hoop until the base is mostly covered. Slide the knots into position and trim only the pieces that interrupt the outer shape. A freestanding ornament stand can support the finished wreath without fixing it to a wall. Choose an existing hoop where possible so reusing ribbon does not require a large new supply purchase.
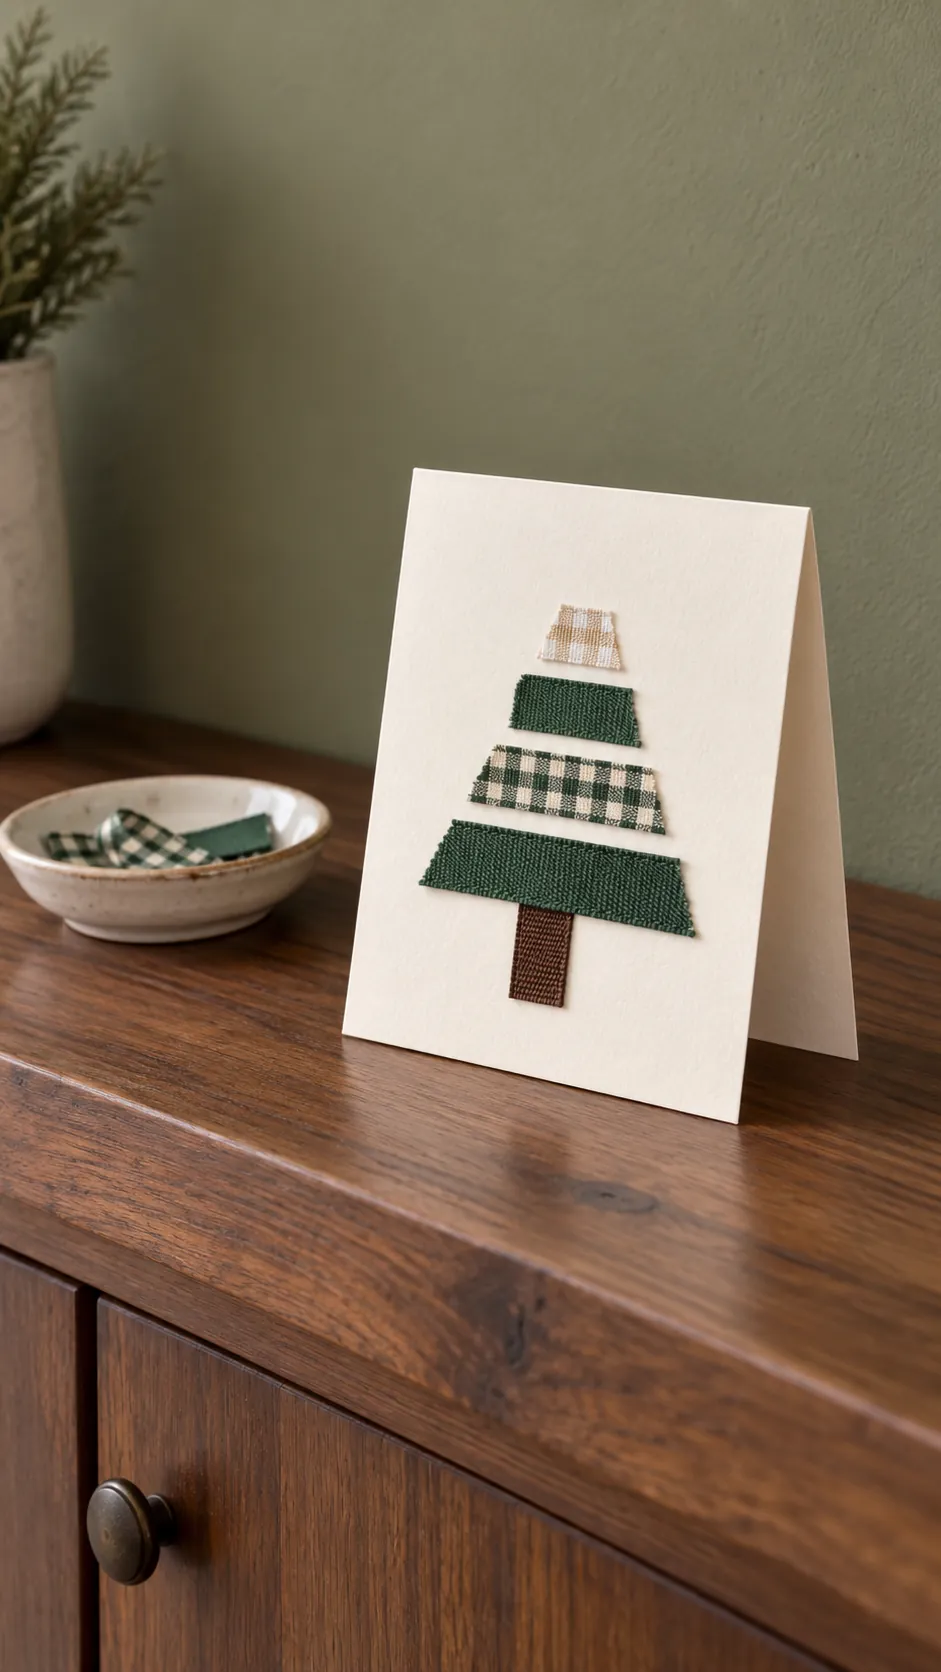
Flat ribbon trees on folded cards
Glue ribbon strips across a plain folded card, using shorter strips as you move toward the top. Add a small brown scrap beneath them for the trunk, keeping the design low enough for the card to fold and stand normally. Let it dry open before placing it on a shelf. These cards make small decorations as well as a way to use pieces too short for tying.
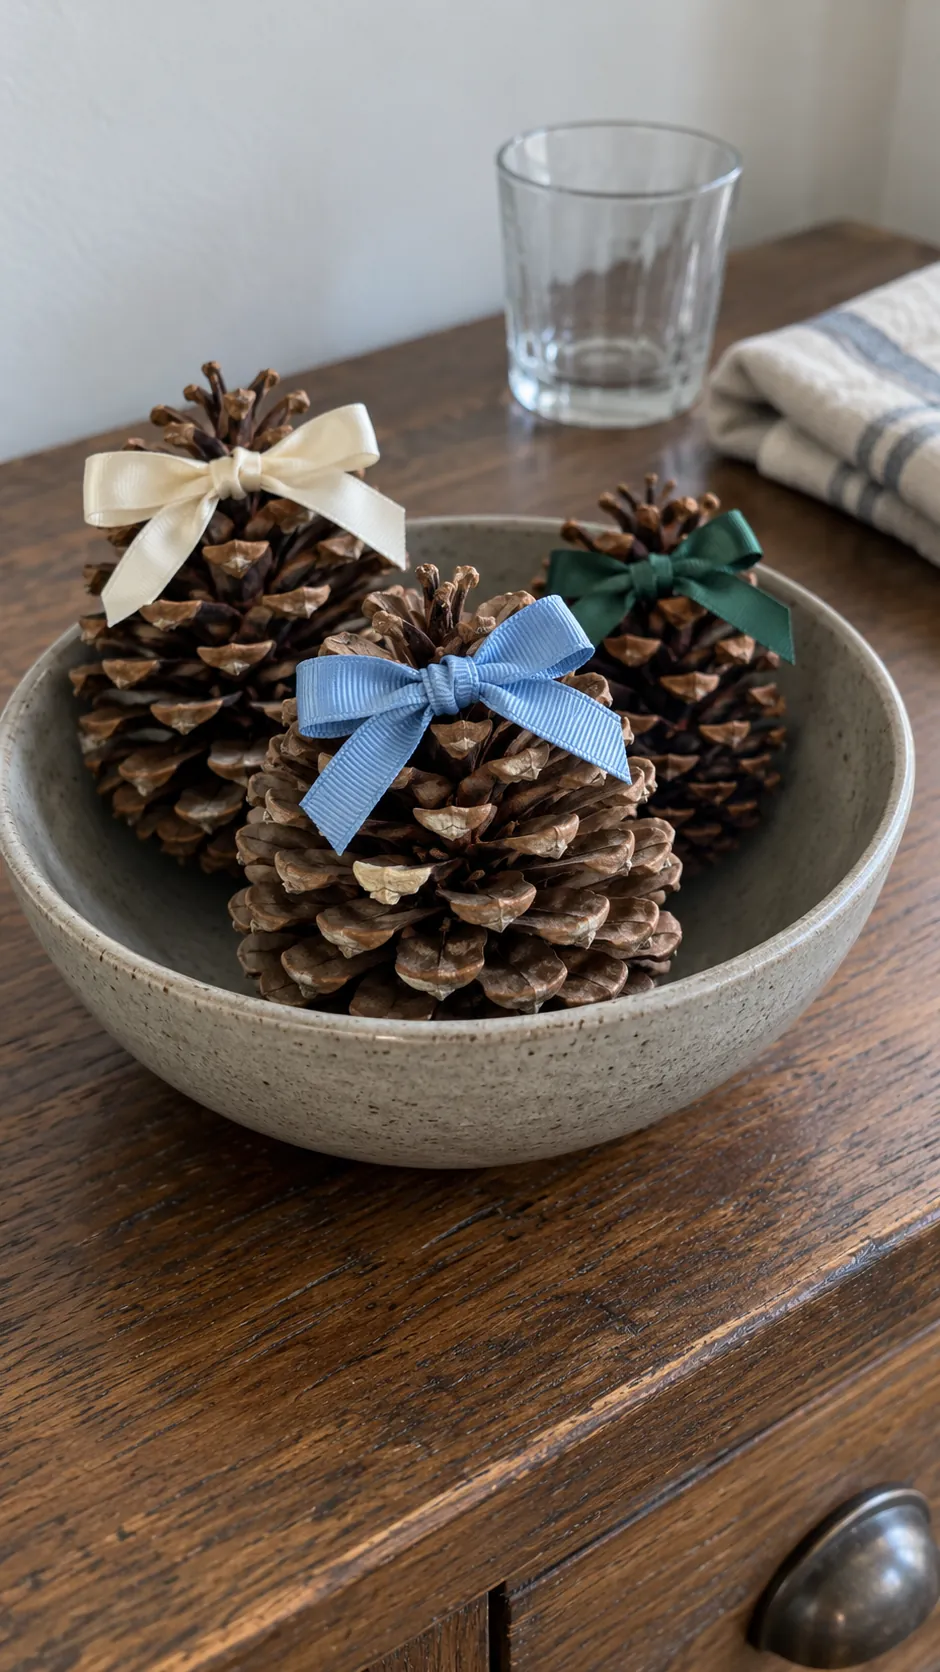
Bow topped pinecones
Wrap a thin ribbon around the upper scales of a dry, clean pinecone and tie a small bow. Keep the knot snug enough to stay in place without breaking the scales. Set several finished cones in a shallow bowl for a contained tabletop display, rather than leaving them loose where they can roll.
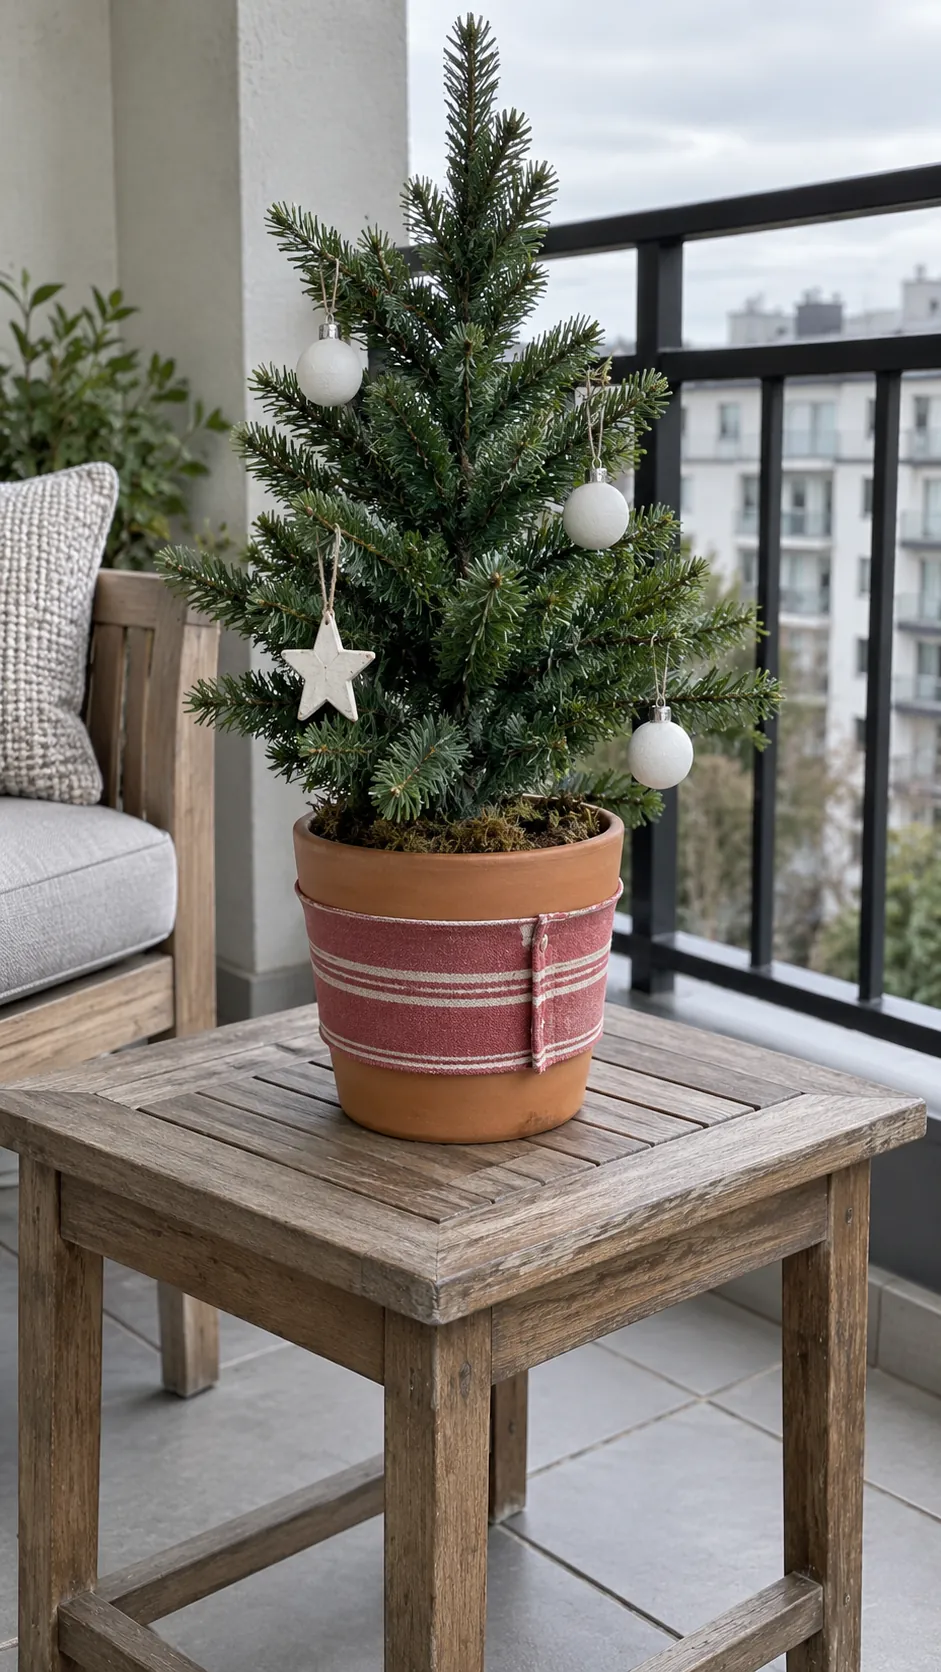
Ribbon sleeves for miniature pots
Measure a scrap around a small pot holding an artificial tree, then join the ribbon ends at the back. Choose a removable sleeve or a tiny spot of suitable glue rather than covering the whole pot in adhesive. Keep the ribbon away from water and drainage holes if you use a living plant. A wide strip can hide a mismatched pot color while leaving the rim and base visible.
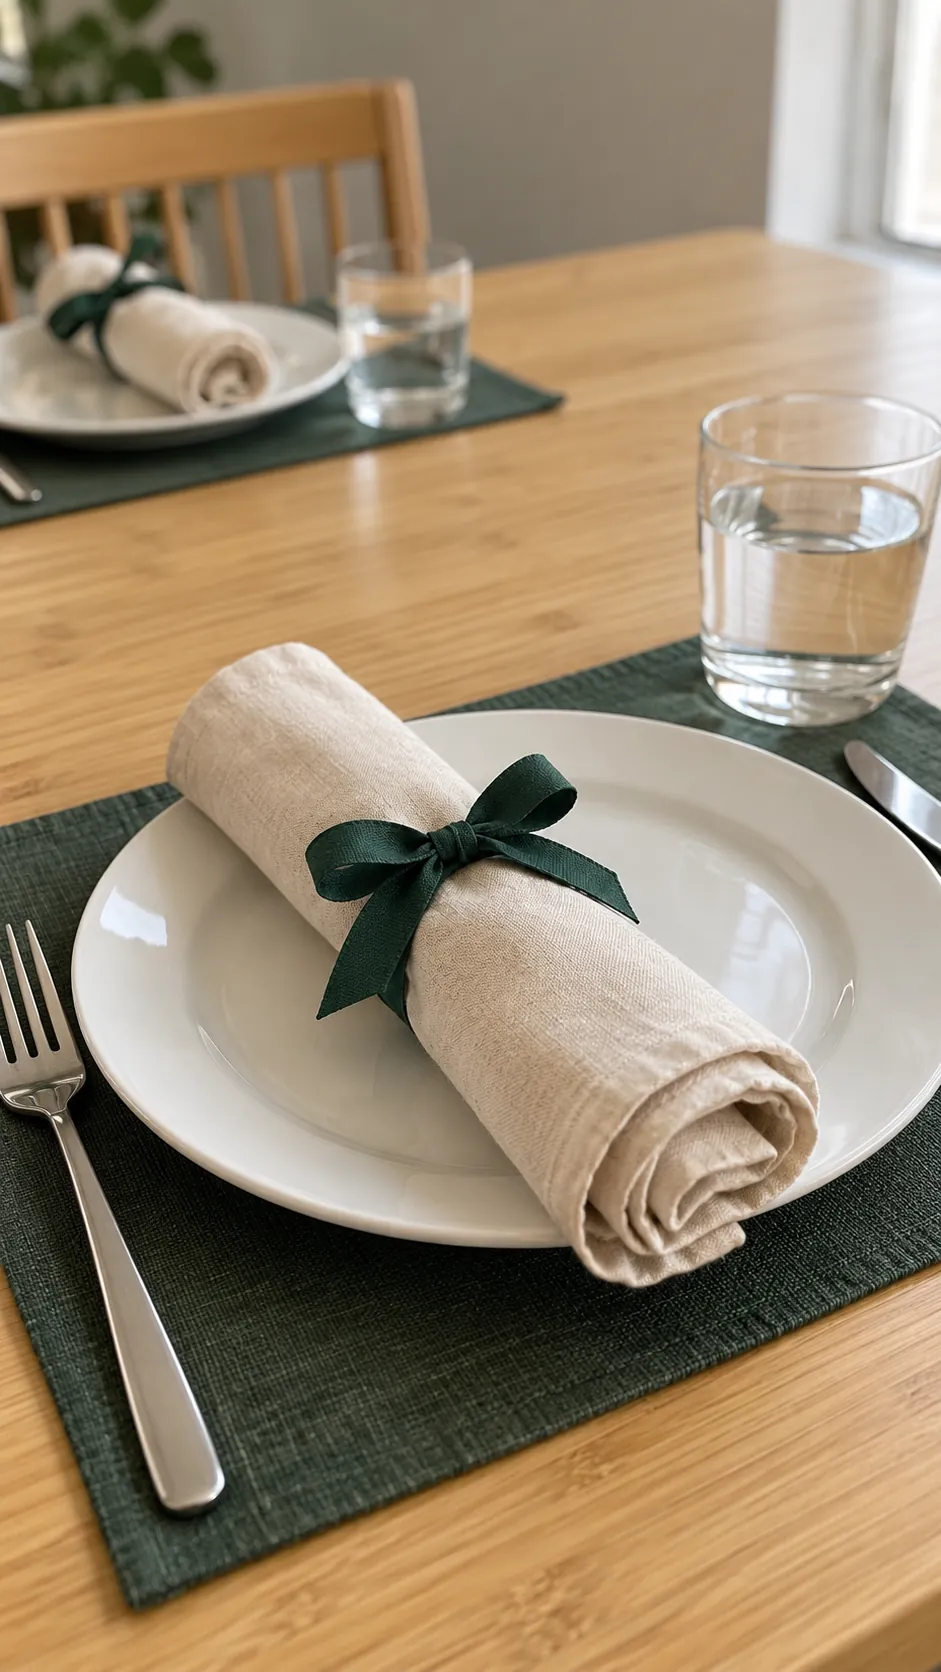
Napkin rings from ribbon loops
Make a ribbon loop around a rolled napkin and tie a small bow or flat knot. Check the fit on one napkin before cutting more pieces, since thick fabric needs more length than a paper napkin. Remove the ribbon before washing or eating, and use clean scraps that have not been in contact with craft glue.
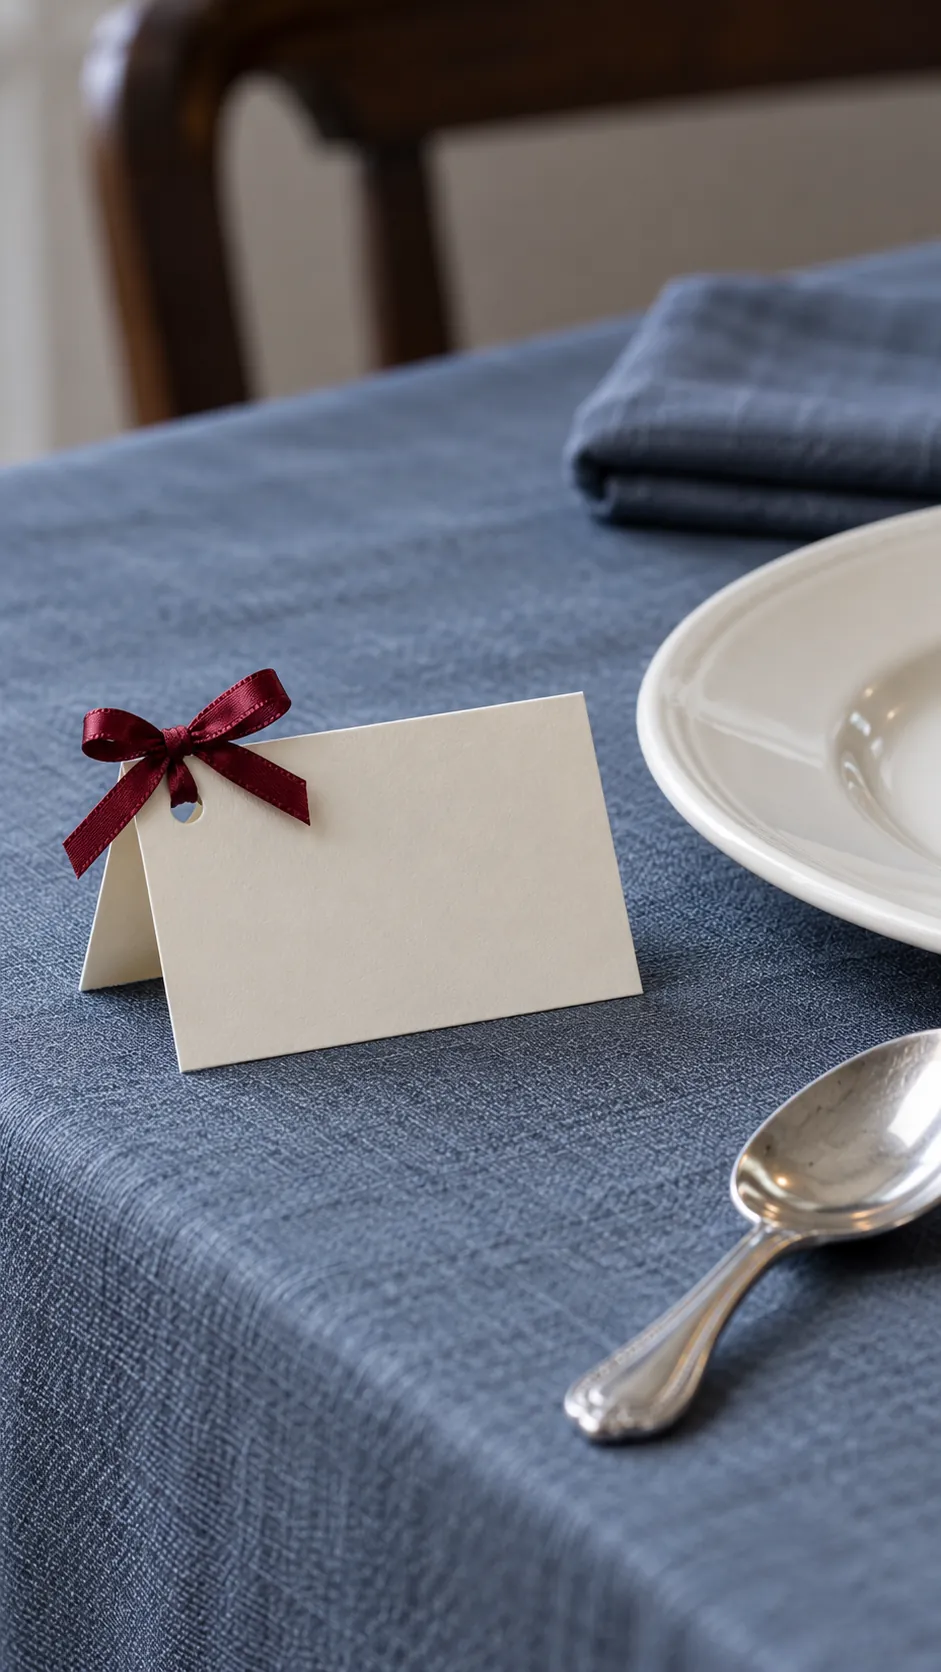
Small bows on place cards
Thread a narrow ribbon through a punched hole in a sturdy place card and tie a compact bow. Put the hole far enough from the edge that the paper does not tear when you tighten the knot. Let the ribbon add color while leaving the guest name area clear. Match its color to another table detail so it feels connected to the setting.
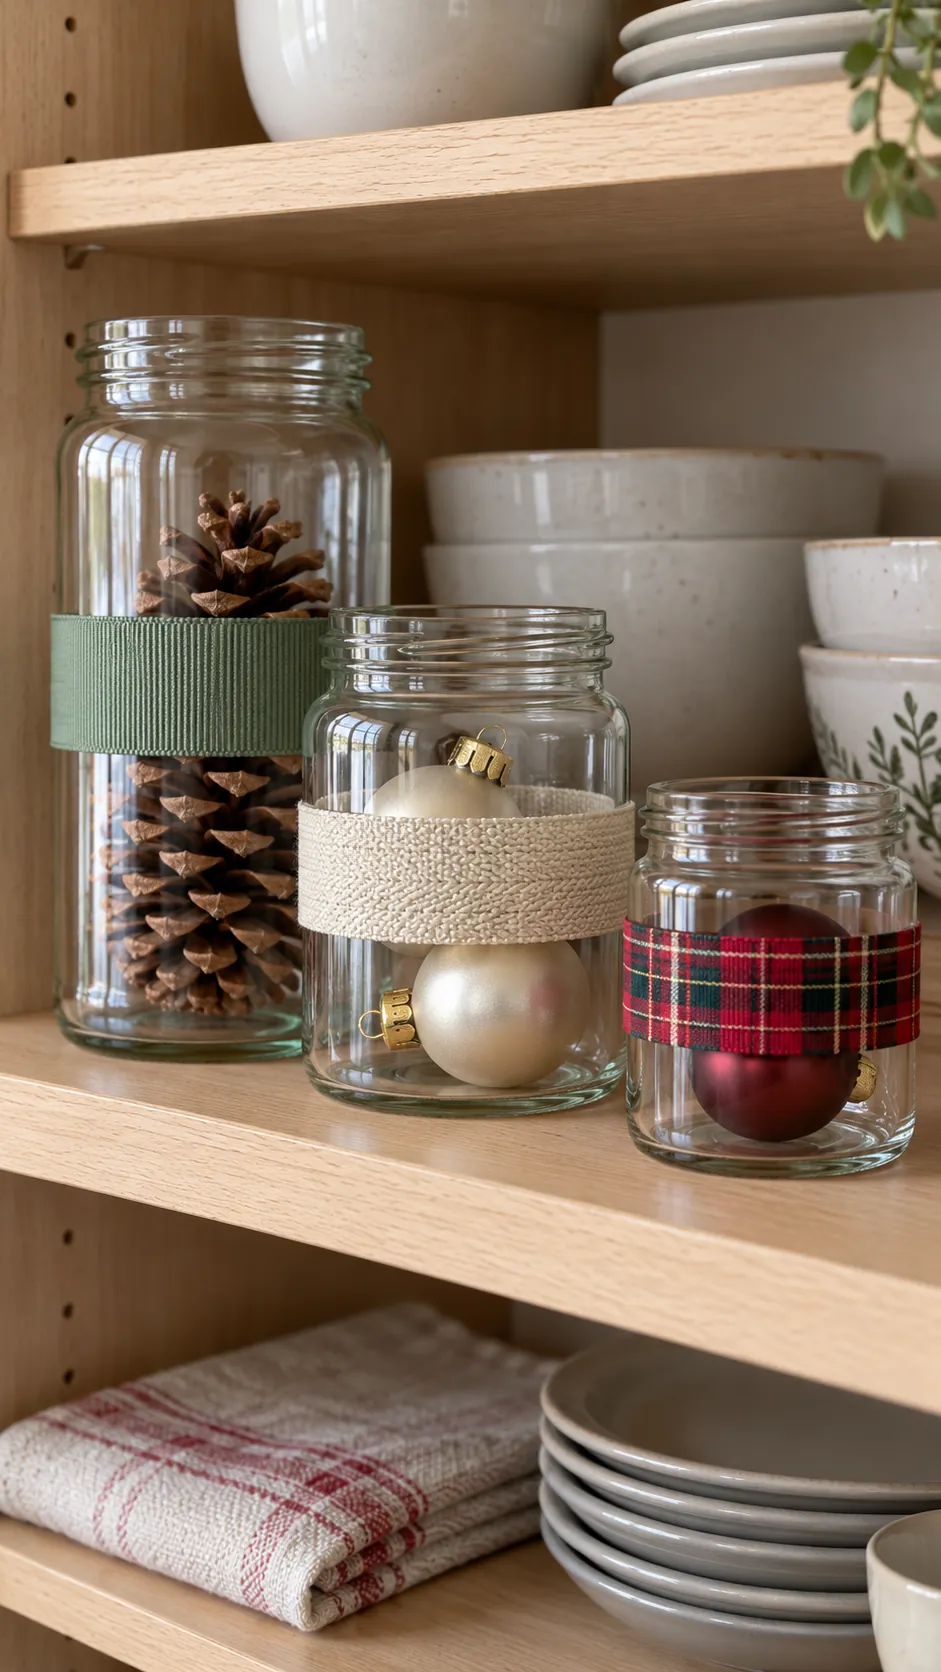
Ribbon bands around empty display jars
Wrap clean empty jars with a short ribbon band and secure the ends to each other at the back. Group the jars with pinecones or shatter resistant ornaments inside, keeping their mouths free of dangling ribbon. Use them as decorations, not candle holders, because fabric near a flame can catch fire. Different jar heights give the small arrangement shape without extra objects.
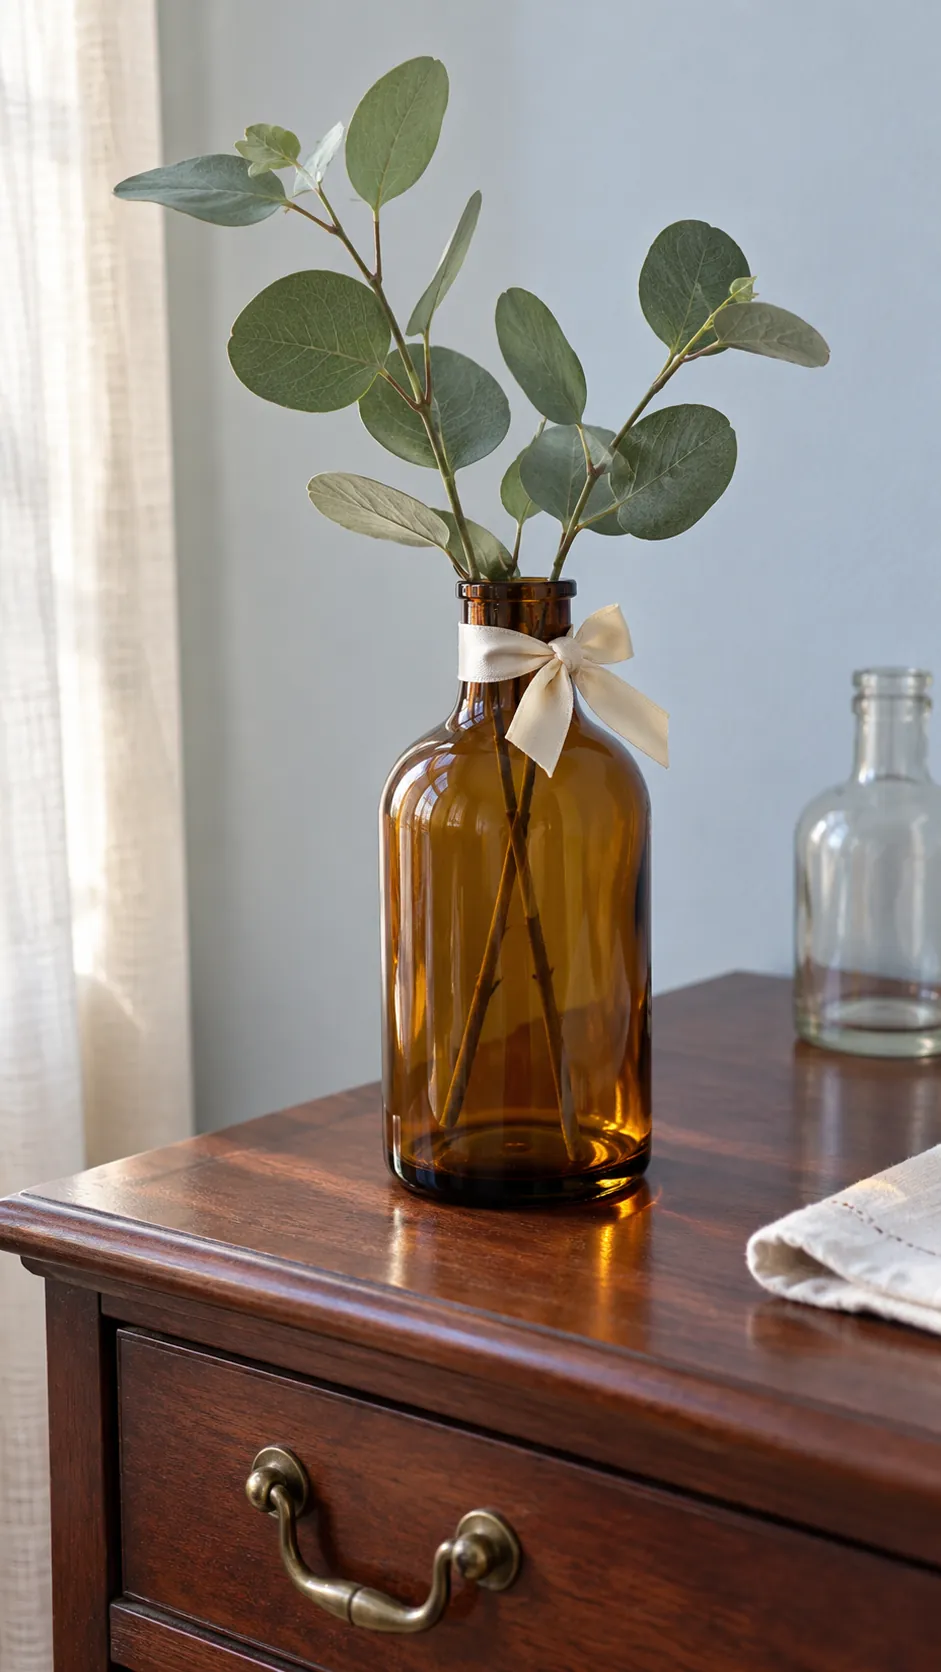
Bottle neck bows for a greenery display
Tie a scrap around the neck of a sturdy empty bottle used to hold artificial stems. Keep the bow small enough that it does not hide the glass shape or interfere with placing the stems. Set the bottle on a stable surface and use light stems so the arrangement does not become top heavy. Several mismatched bottles can share the same ribbon color without needing paint.
A removable band for a plain vase
Use a broad ribbon scrap as a cuff around a plain vase, overlapping the ends at the back. Secure the ribbon to itself so you can slide it off after the holiday without scraping the vase. If the vase contains water, keep the fabric above the wet area and check for drips when filling it.

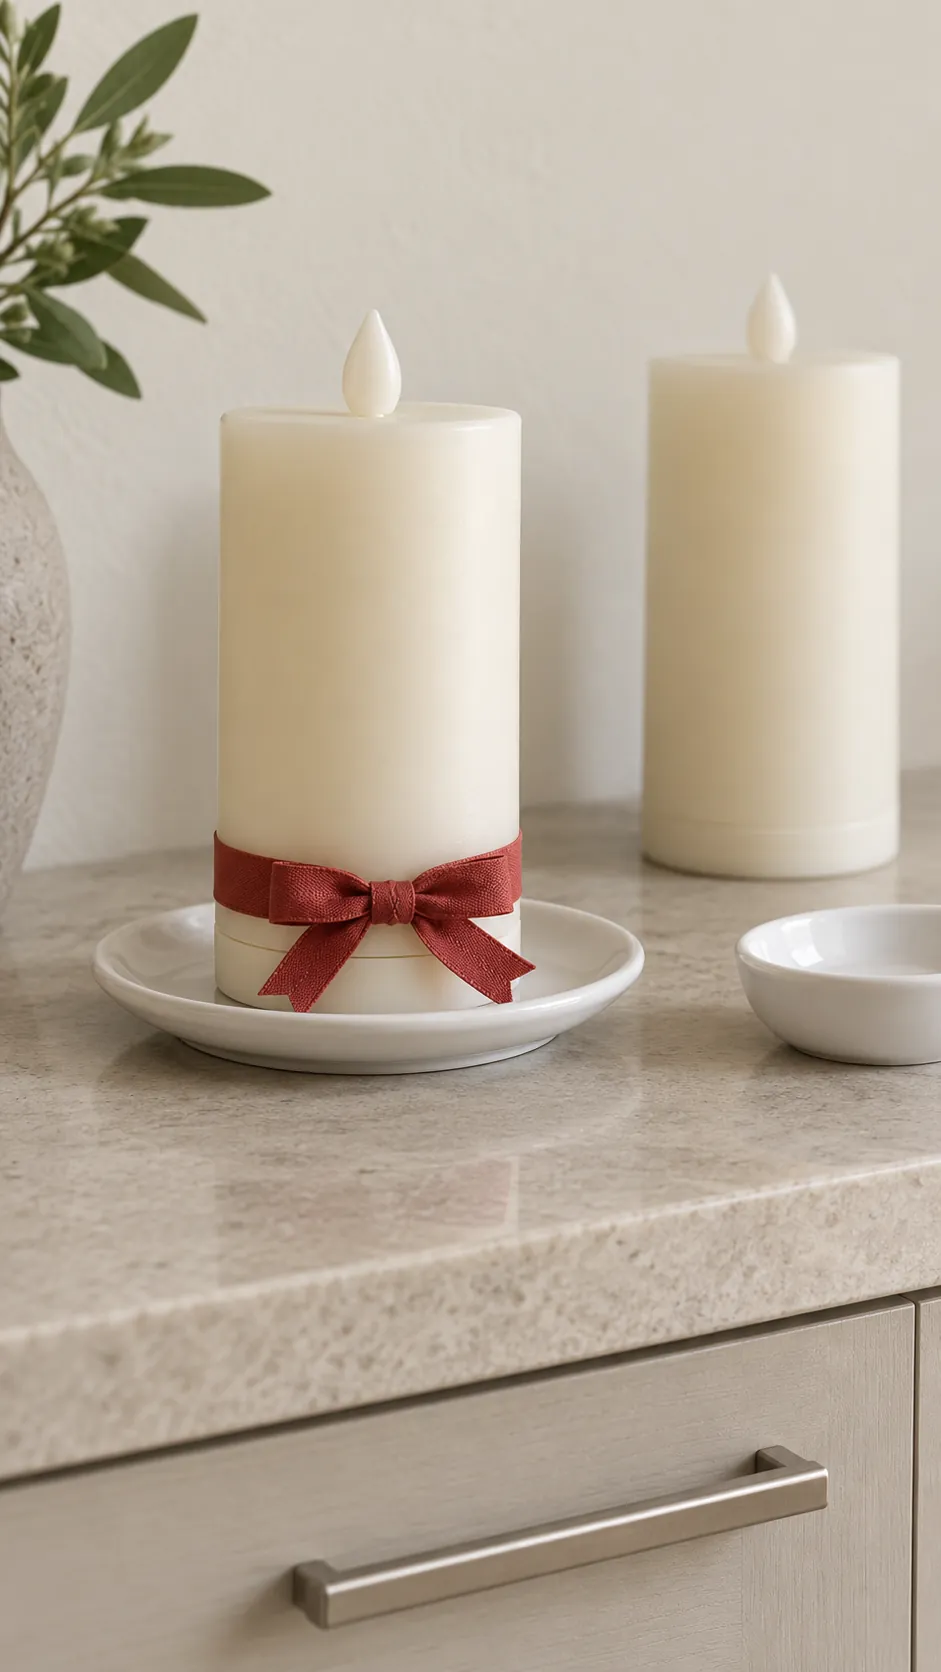
Ribbon accents on battery candle bases
Tie a short ribbon around the base of an unlit decorative battery candle where its instructions allow that treatment. Keep it away from any light source, vents, controls, or battery access panel. Do not apply this idea to a real candle or a product that gets hot. A small knot can repeat your table colors without covering the candle body.
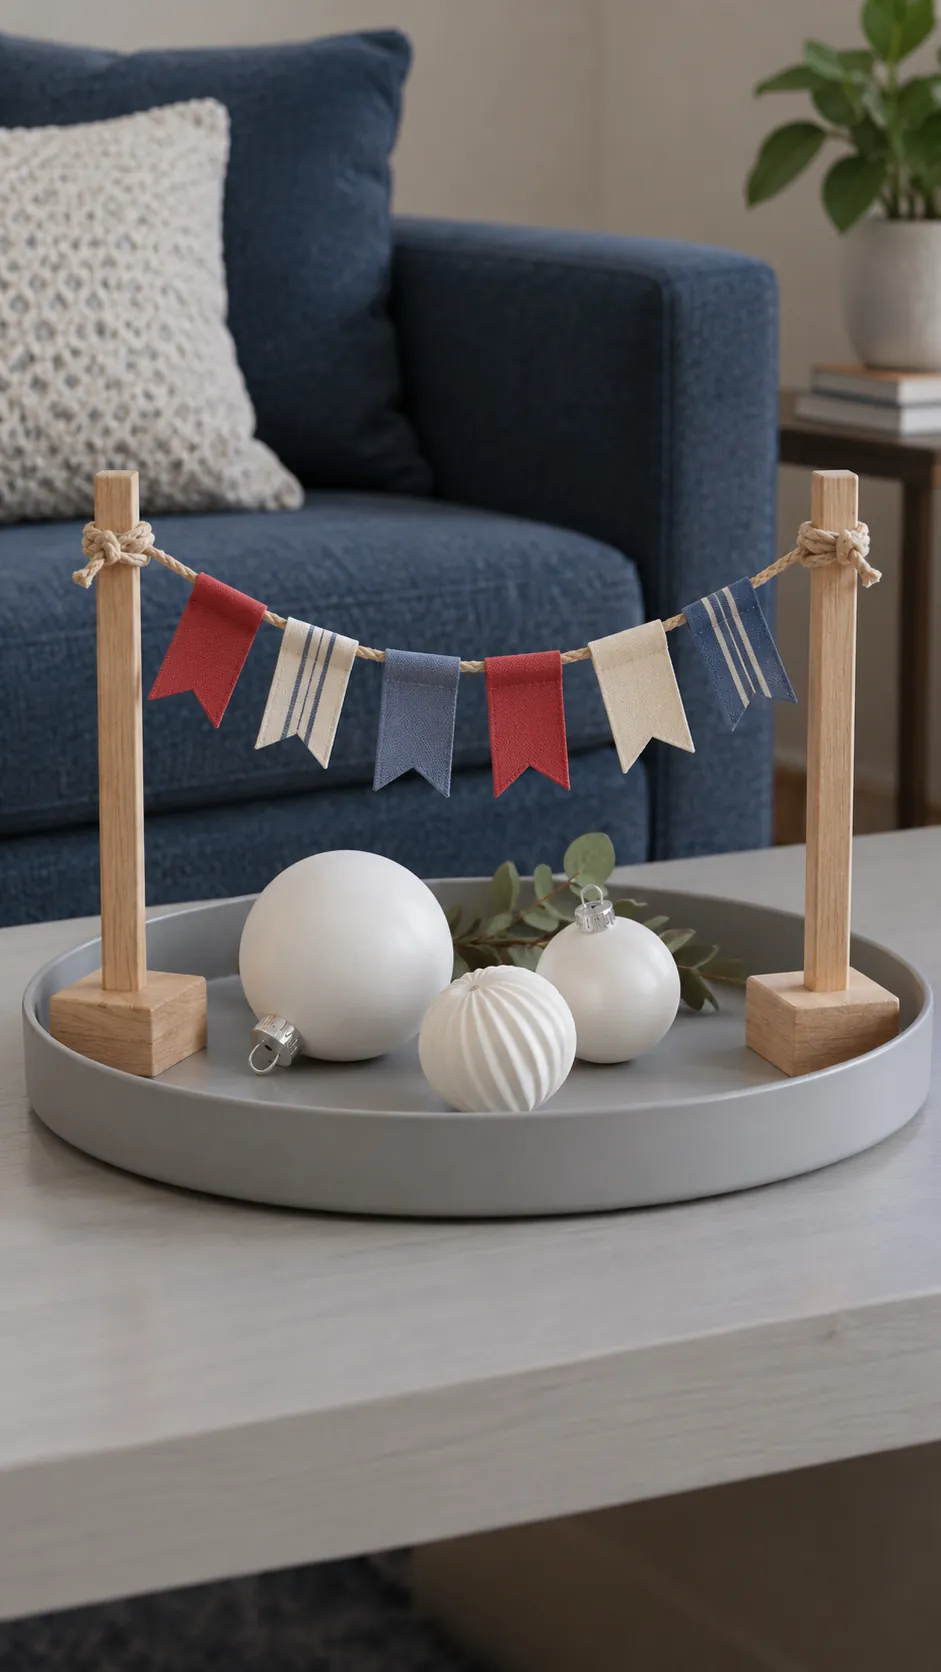
Scrap flags on a tabletop cord
Fold short ribbon pieces over a small cord and glue each folded piece to itself. Trim the free ends into shallow notches, then stretch the cord between two sturdy miniature supports on a tray. Keep this little bunting low and contained, and make sure both supports stand securely. Alternate widths for interest while maintaining one clear color family.
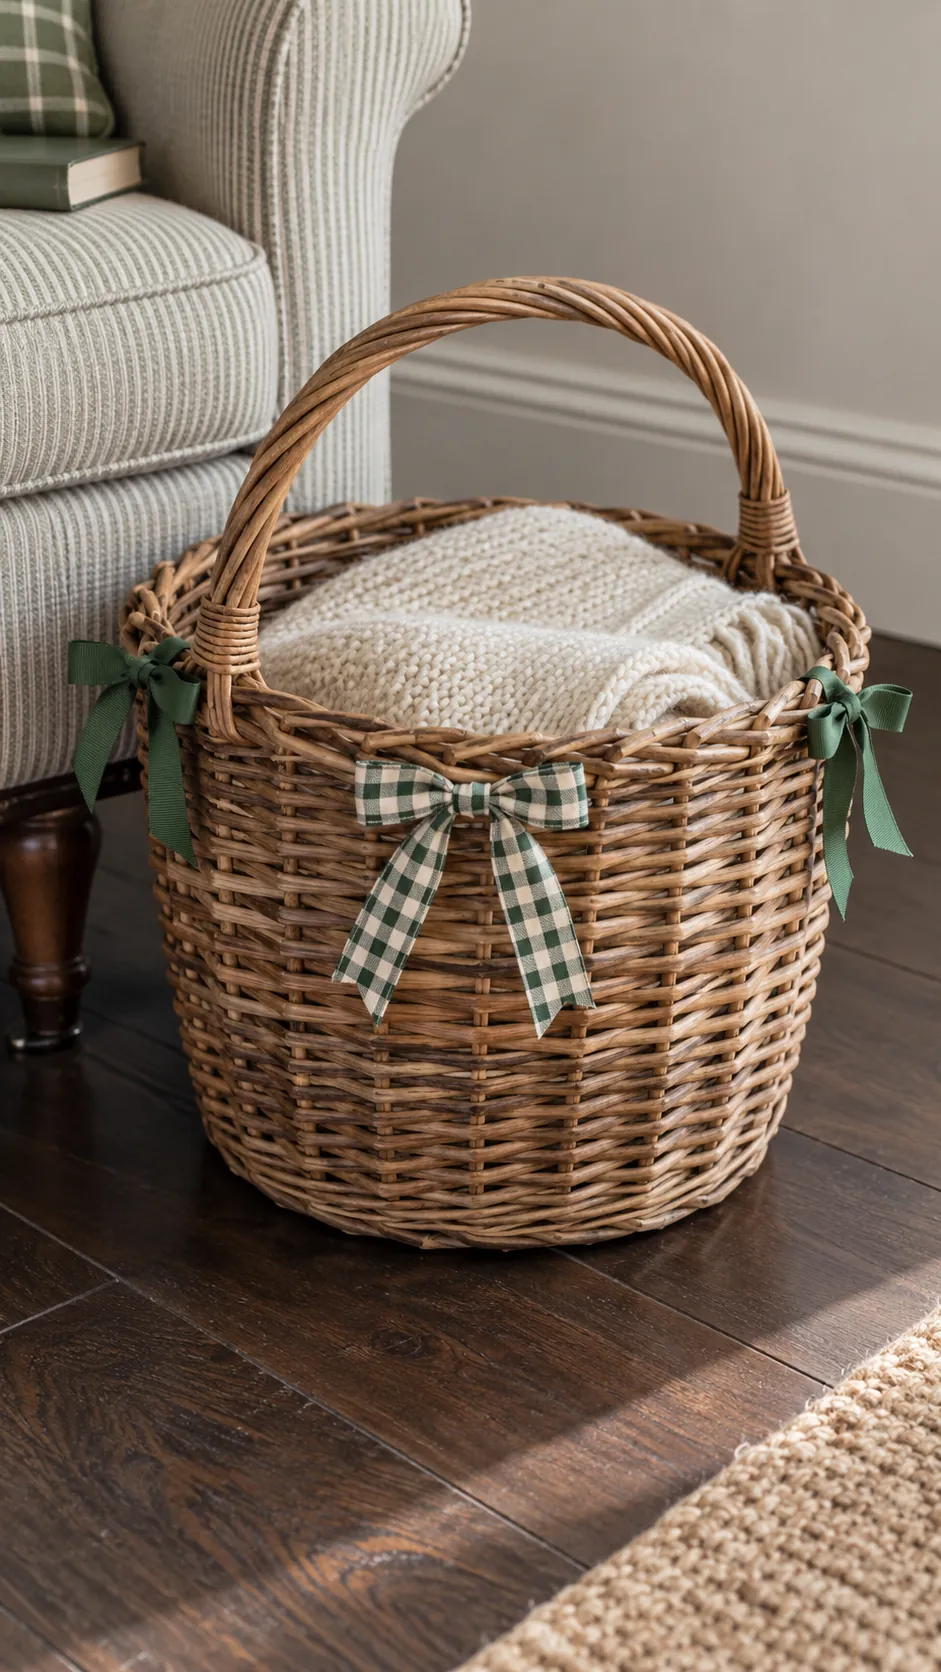
Ribbon ties on a decorative basket
Thread soft scraps through the upper weave of a sturdy basket and tie small bows outside the rim. Leave the handles clear and keep the interior free for folded throws or seasonal ornaments. Remove the ribbons before washing the basket or using it for food. A few spaced ties are more useful than covering every opening.
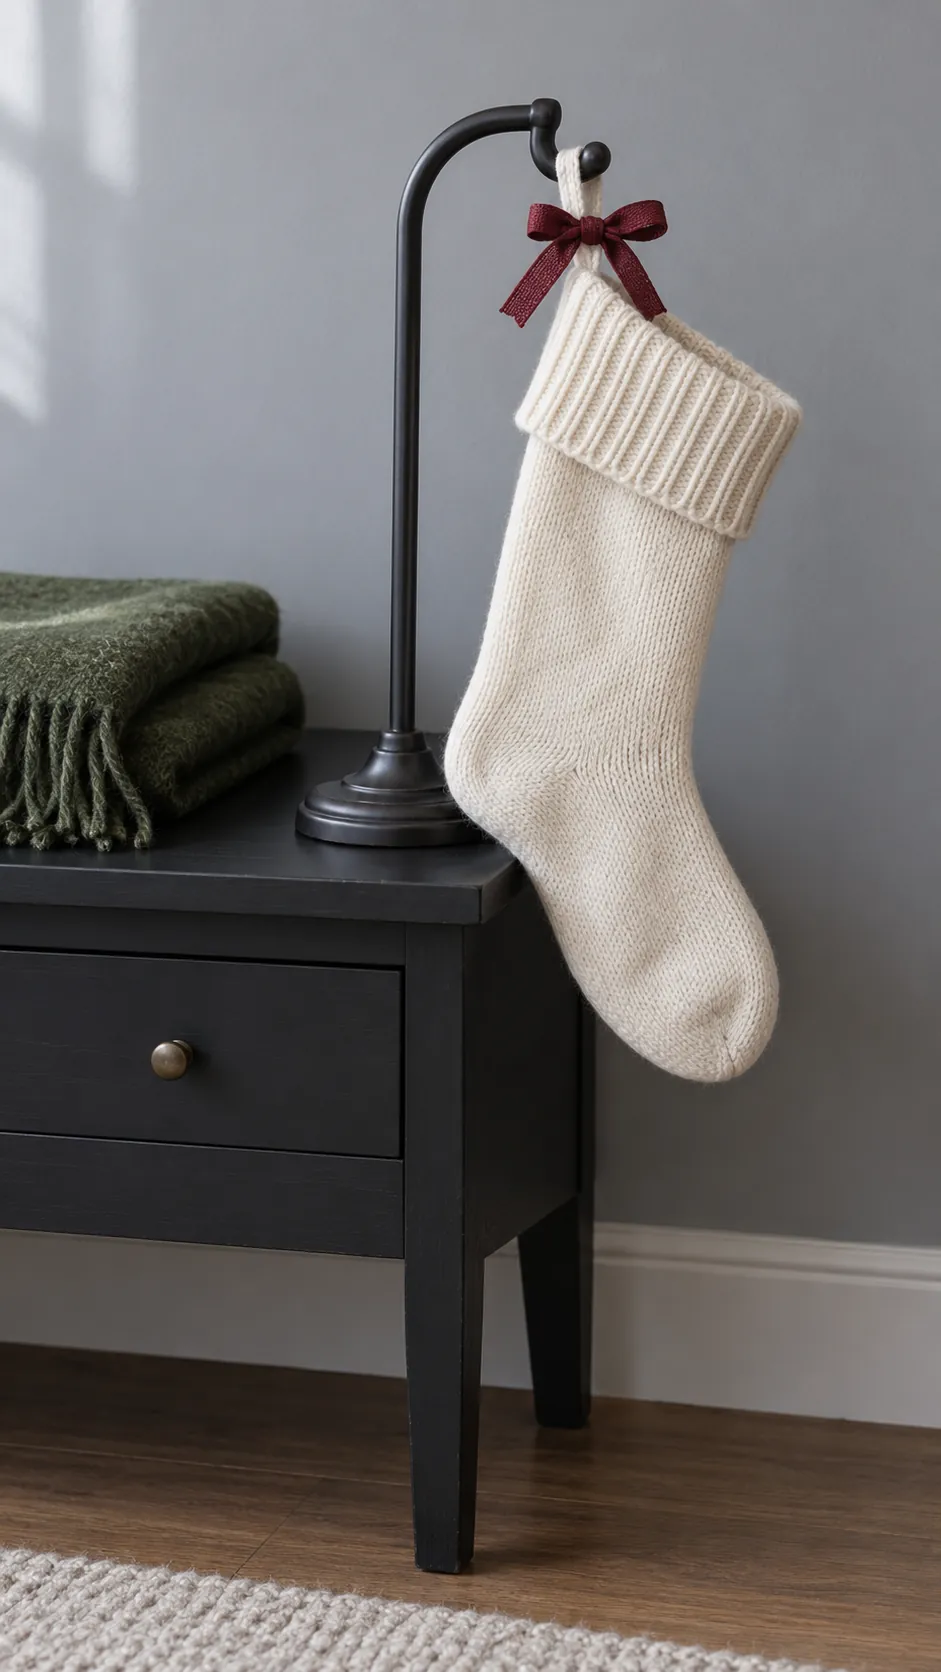
A bow on a stocking loop
Tie a small scrap bow around an existing stocking loop to dress up the top edge. Keep the original loop responsible for supporting the stocking rather than replacing it with an untested decorative tie. Display the stocking on a stable freestanding holder within its load limit, and keep it away from heat. The ribbon adds color even when the stocking itself is plain.
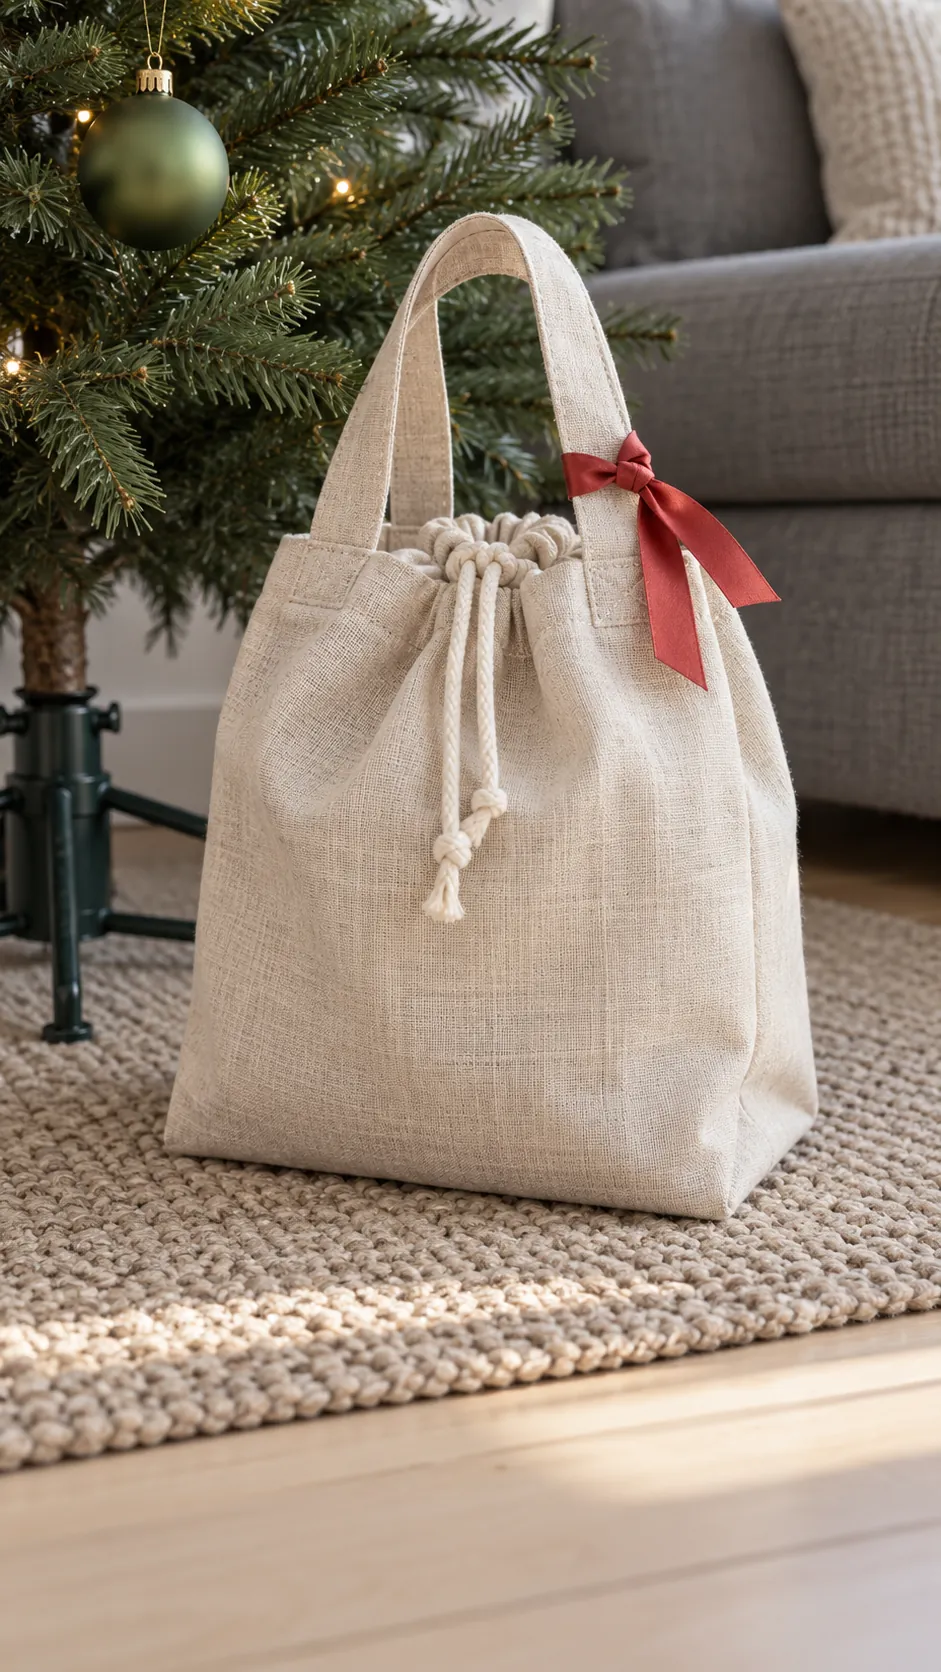
Ribbon tabs on fabric gift bags
Tie a short scrap to the handle or drawstring of a clean reusable gift bag. Choose a color that helps the bag fit into your Christmas display, then stand it beside the tree with the contents secure inside. Keep the ribbon separate from the closure so opening the bag does not destroy the decoration.
Layered ribbon flowers for gift boxes
Fold a few wider scraps into loops and join their ends at the centre with suitable craft glue. Arrange the loops like petals on a small cardboard disc, then cover the centre with a tiny ribbon knot. Let the flower dry before attaching it to a closed display gift box. Flat petals use less ribbon than a large traditional bow and stack more easily for storage.

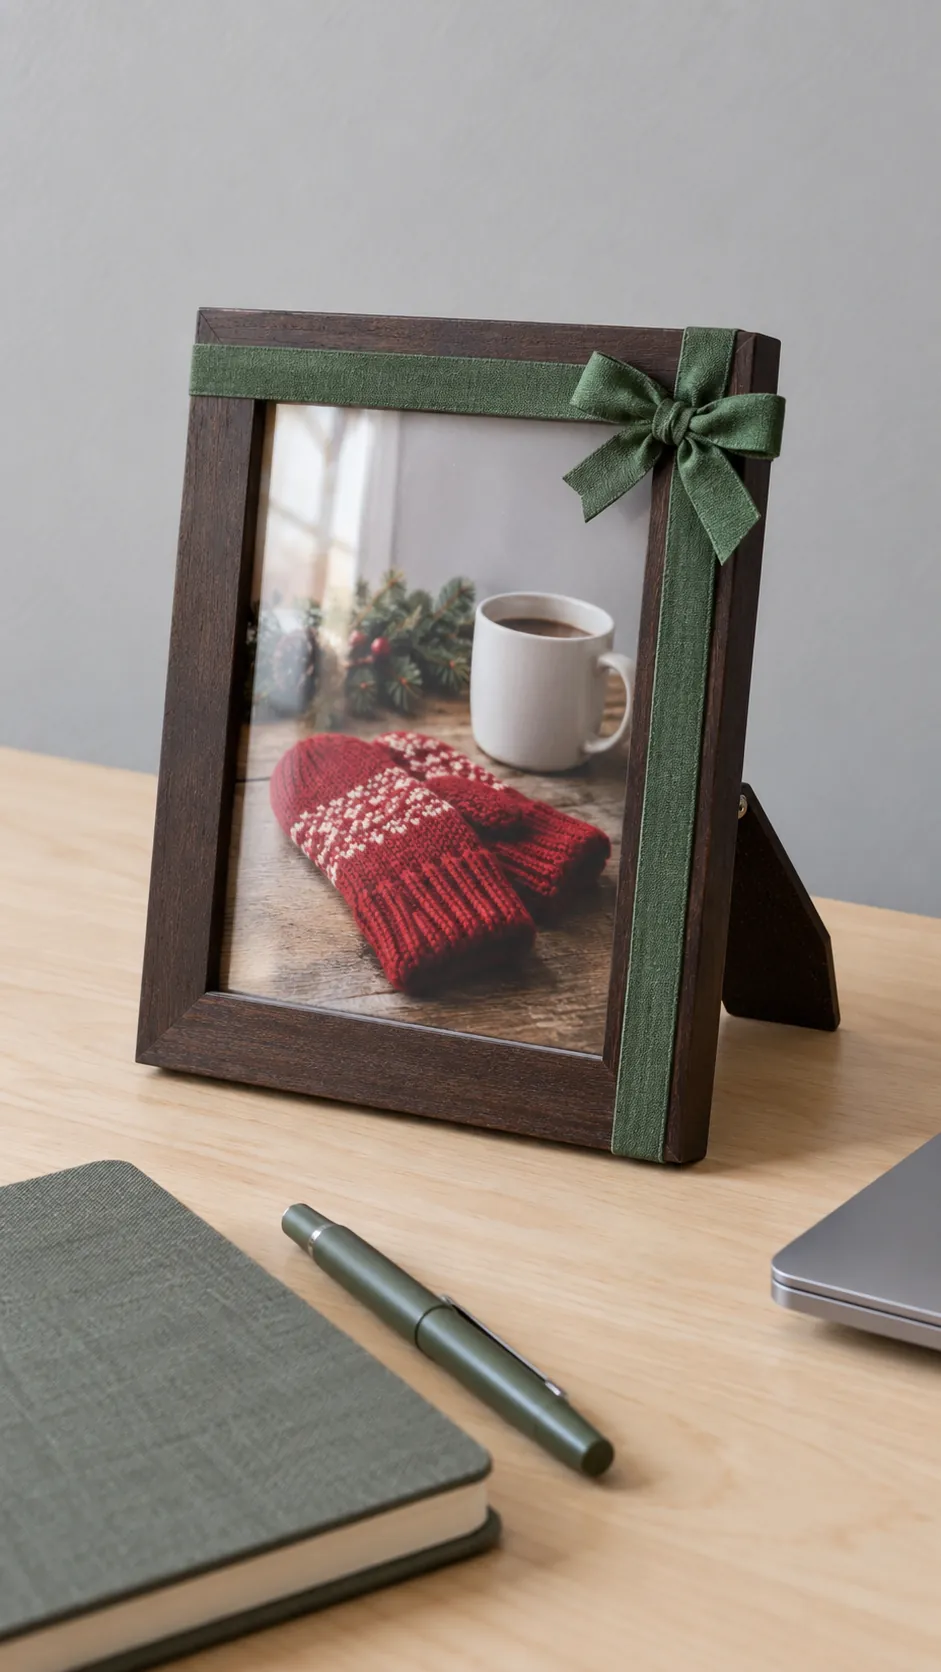
Ribbon corners on decorative picture frames
Add a small ribbon bow to a corner of a freestanding frame holding your own holiday photo. Attach the ribbon only where a suitable removable method will not harm the frame finish, and test a hidden spot first. Keep the picture opening clear and leave the stand functioning normally. If you cannot attach it safely, tie a narrow band around the frame instead.
Ribbon patches on cardboard houses
Cover a small cardboard house roof with overlapping ribbon scraps to suggest colorful roof panels. Keep the walls simple so the ribbon texture remains the main detail. Set the finished house on a shelf as a dry decoration and do not place a real candle or hot light inside. This works with an existing plain craft house or a carefully made sturdy cardboard form.

A ribbon rosette for an ornament stand
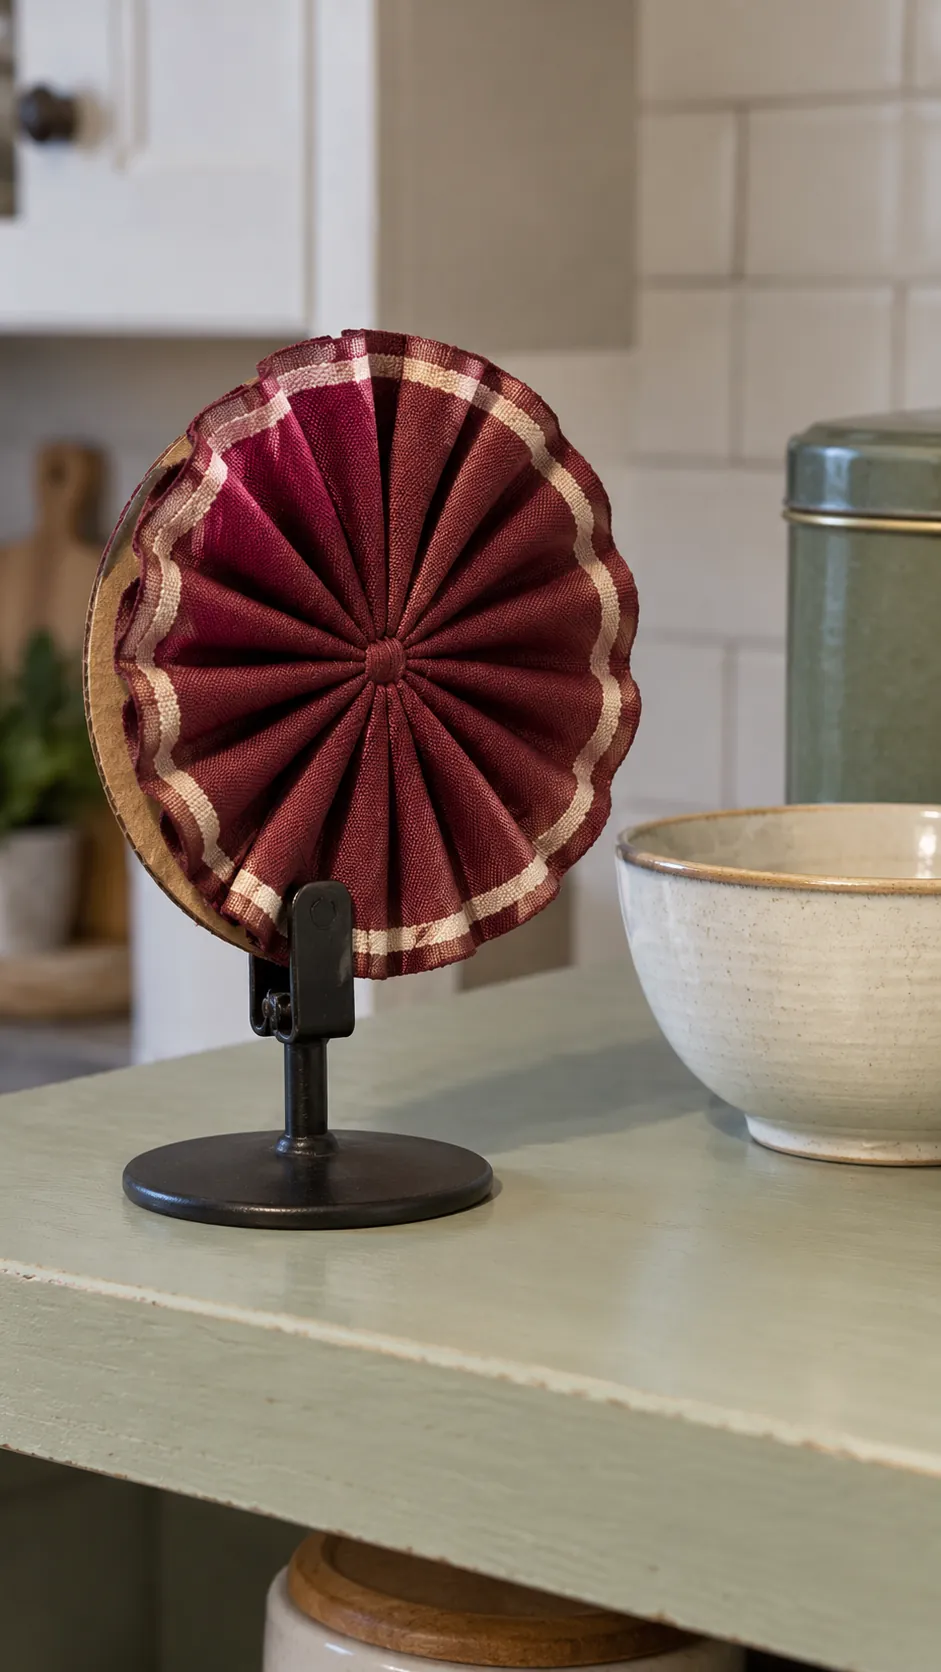
Fold a wide scrap back and forth into a small accordion, secure its centre, and fan out both sides. Join the ends into a rosette with suitable glue, then fix it to a lightweight cardboard backing. Clip the backing to a small display stand so the rosette sits upright on a table. Use a shorter strip for a shallow fan if there is not enough ribbon to complete a circle.
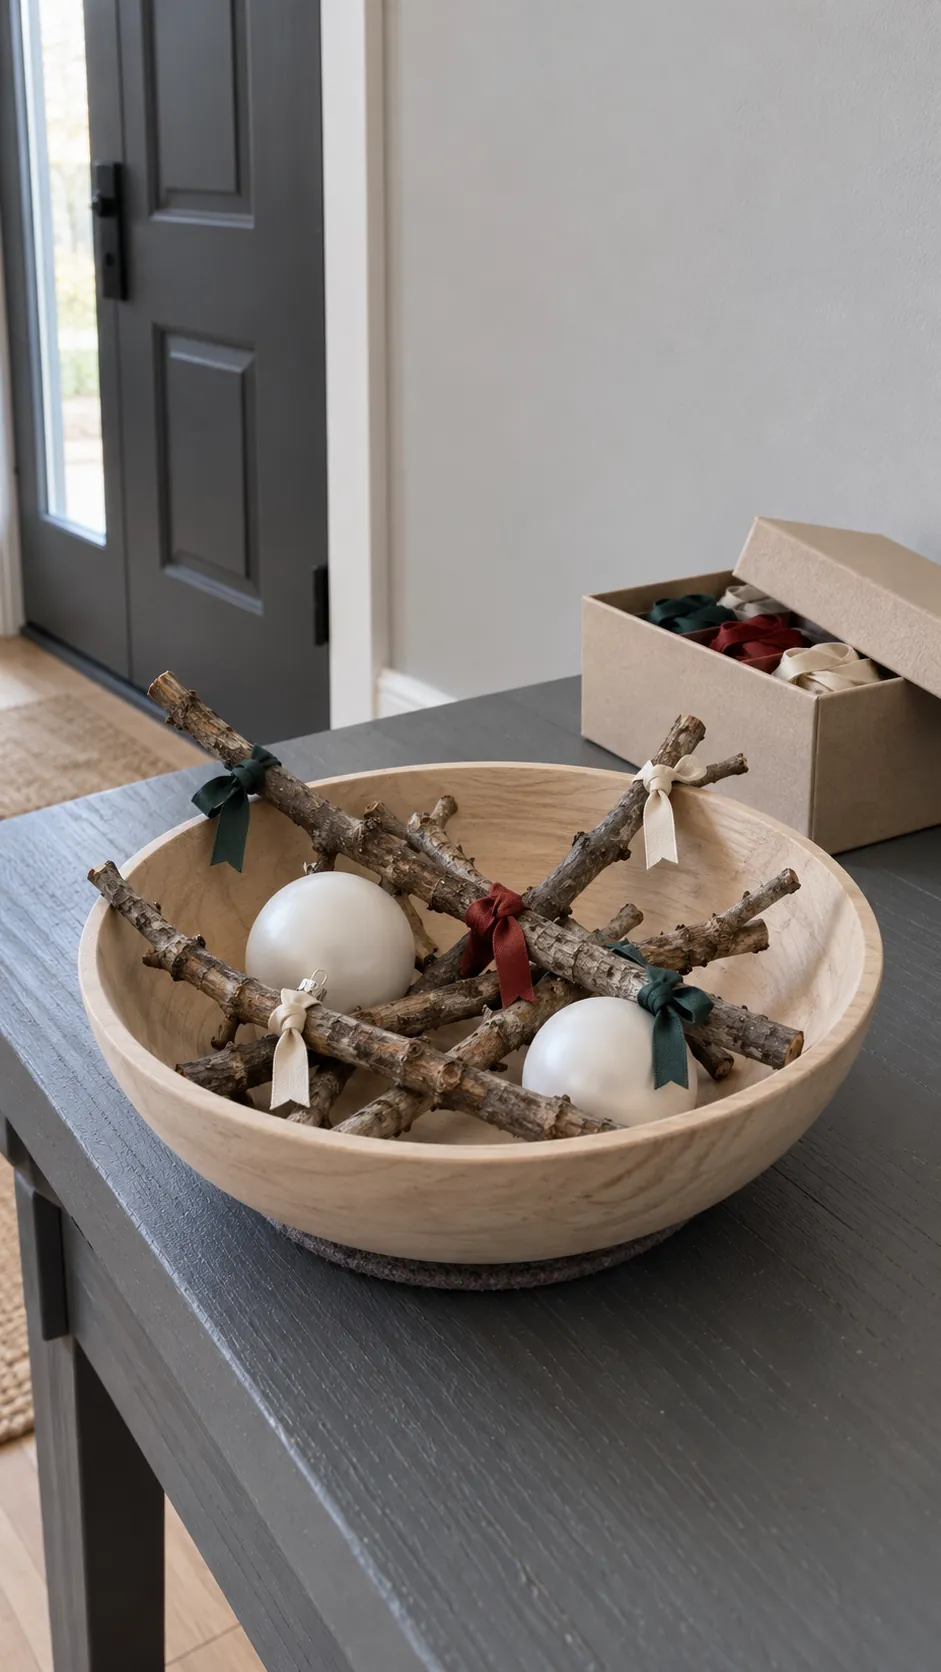
Short ties for a branch bowl
Collect the smallest tieable pieces and knot them around clean dry twigs arranged in a shallow bowl. Keep the ribbon ends compact so the twigs still look like the main structure, then add a few plain ornaments around them. Place the bowl away from food preparation and any heat source. At the end of the season, untie the scraps and store them by length so the next project starts with usable pieces rather than a tangled bundle.