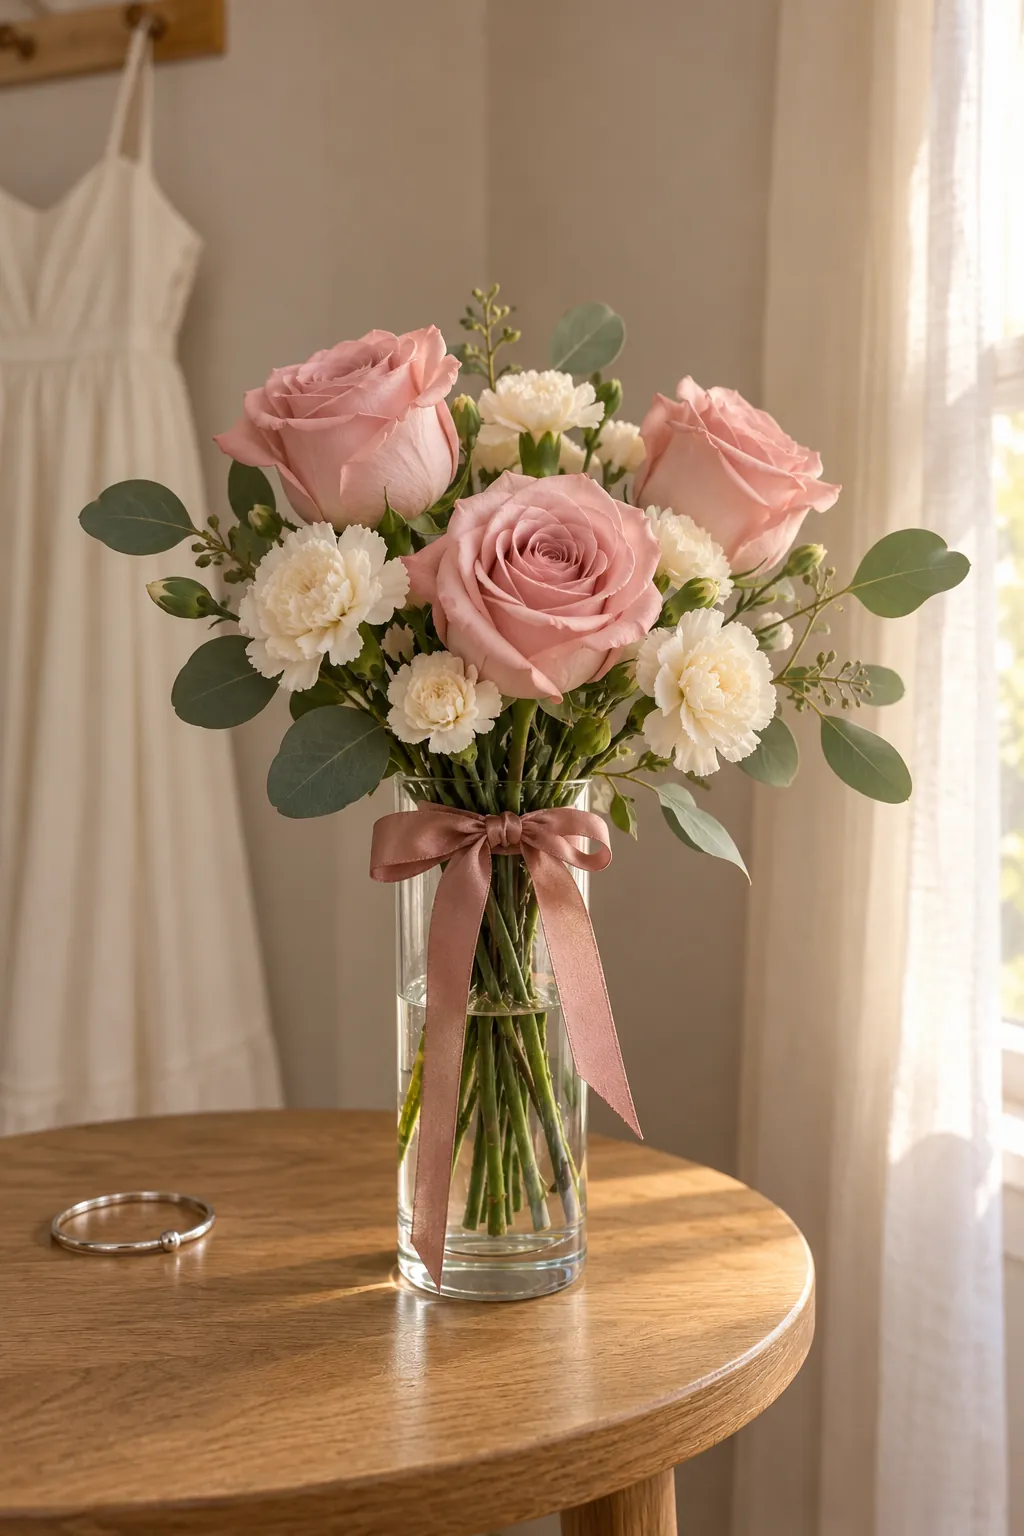
Flowers can look beautiful in the store and still become a cramped bundle when you tie them together. The easiest way to keep control is to work small, hydrate the stems first and check the shape before covering the handle. You can get a personal result from ordinary bunches without trying to copy a large florist arrangement.
Choose flowers that can handle the evening
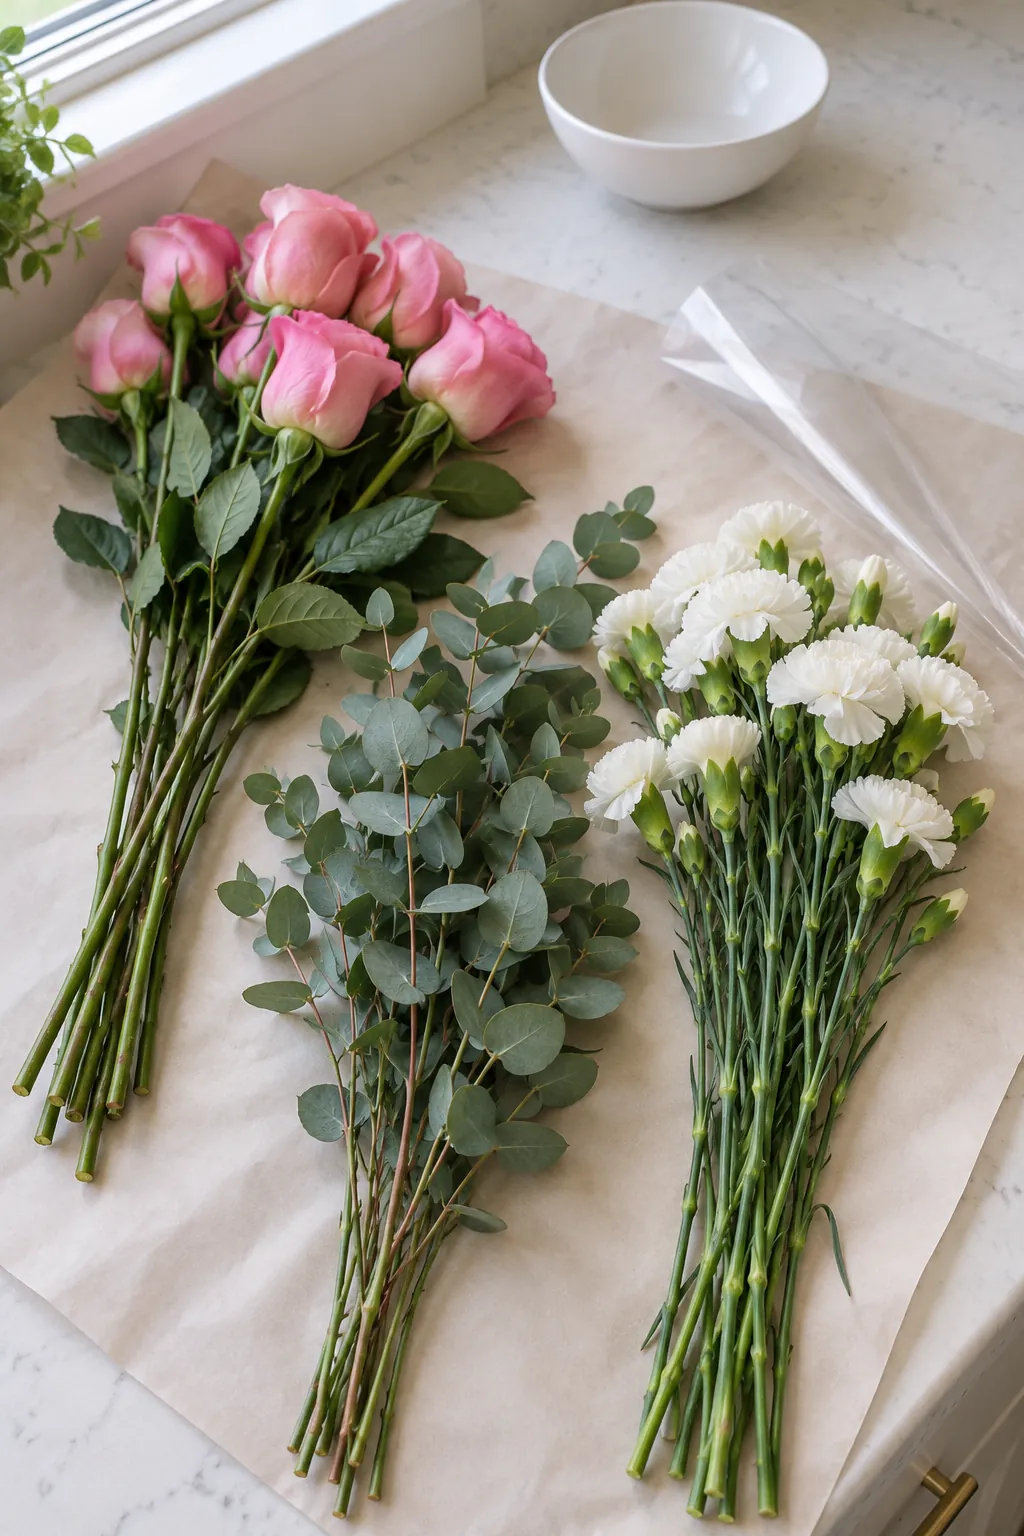
Start with your outfit color and choose one flower color that echoes it, then add a softer supporting shade. Roses, spray carnations and small chrysanthemums are practical grocery store choices because their stems are usually manageable and their blooms can make a compact shape. Look for upright heads, firm stems and petals without brown edges before you buy. A cheap bunch that is already collapsing is a poor bargain if you need the bouquet for pictures.
For a small bouquet, begin with about three focal flowers, five to seven smaller blooms and a few sprigs of greenery, then adjust for the size of the heads. This is a starting recipe rather than a required stem count. Large roses need less company than tiny spray flowers, and you can remove excess stems as you arrange. Avoid strong fragrance if it bothers you, and skip loose glitter or dyed blooms that could transfer color to clothing.
Set up your supplies and hydrate the stems
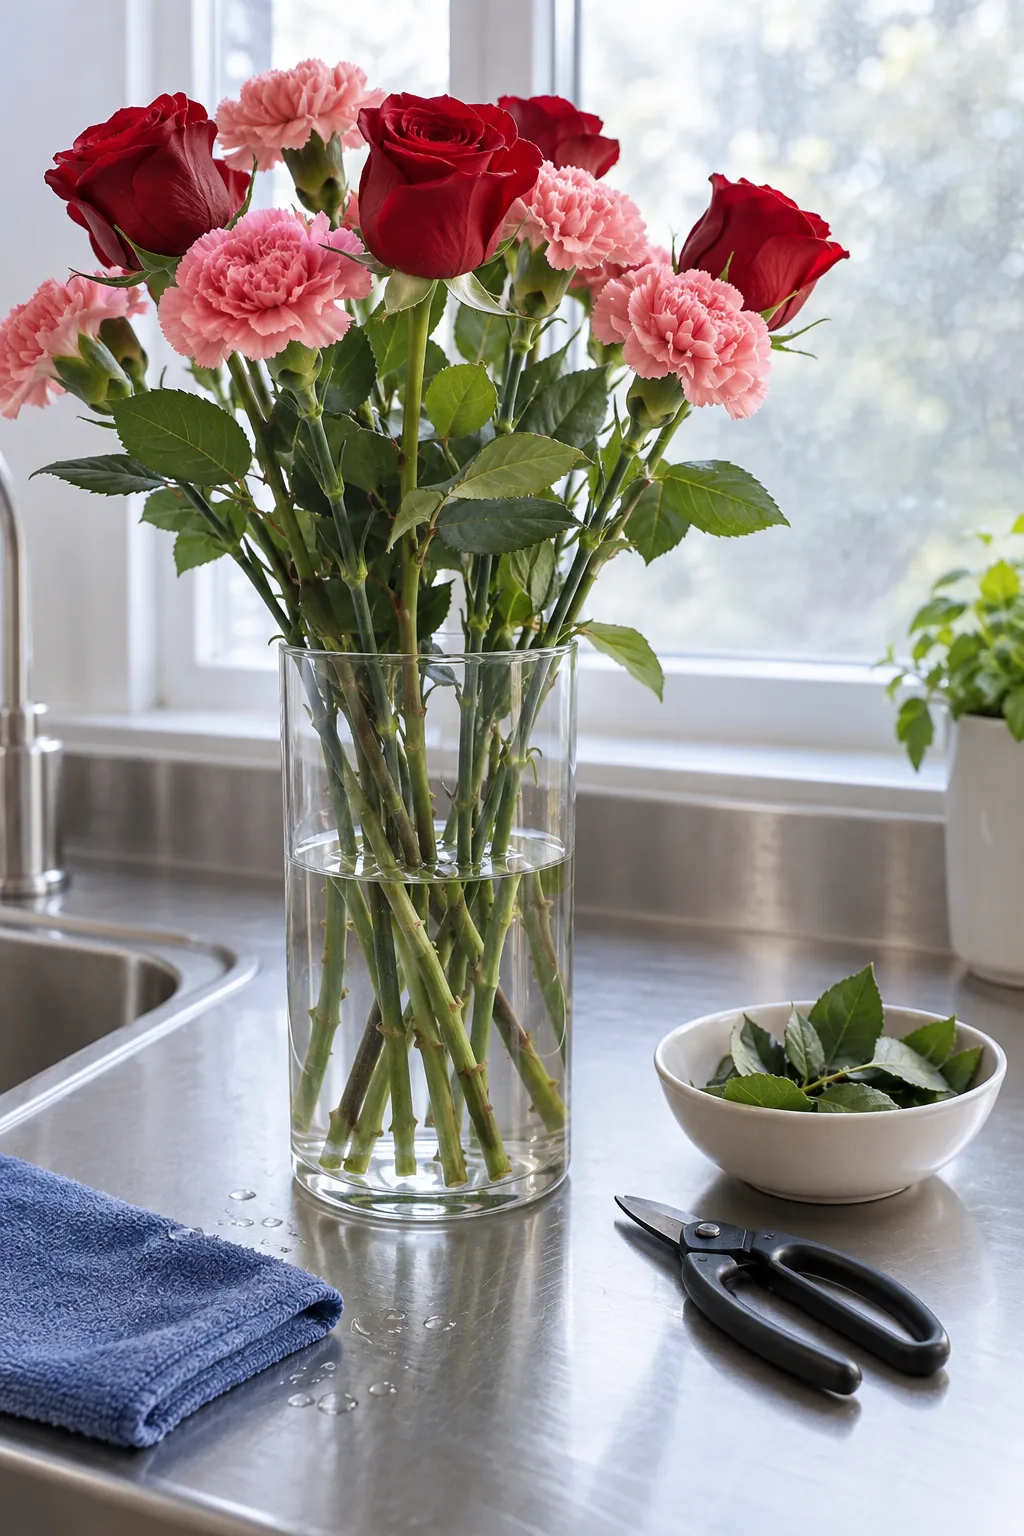
Gather clean flower snips, a washed vase, flower food, narrow floral binding tape and ribbon before opening the bunches. Set a towel beside the vase to catch water and keep your wrapping materials dry. Mix flower food according to the packet instructions rather than guessing a stronger dose. Keep the flowers away from direct sun and heating vents while you work.
Remove leaves that would sit below the waterline, then recut the stems with clean snips and place them in water promptly. Leave healthy leaves higher on the stem if they help the design, but remove foliage that crowds the eventual handle. Give the flowers a few hours to drink before arranging if your schedule allows.
Buy with bloom stage in mind, since a tight rose may not open on your timetable and an overblown flower may shed petals. Grocery store availability varies, so inspect the actual bunch instead of relying on a named variety. A practice arrangement can show whether the flower heads overwhelm your hand or whether you need fewer stems. Store spare flowers in water so you can replace a damaged bloom later.
Build a small rounded bouquet
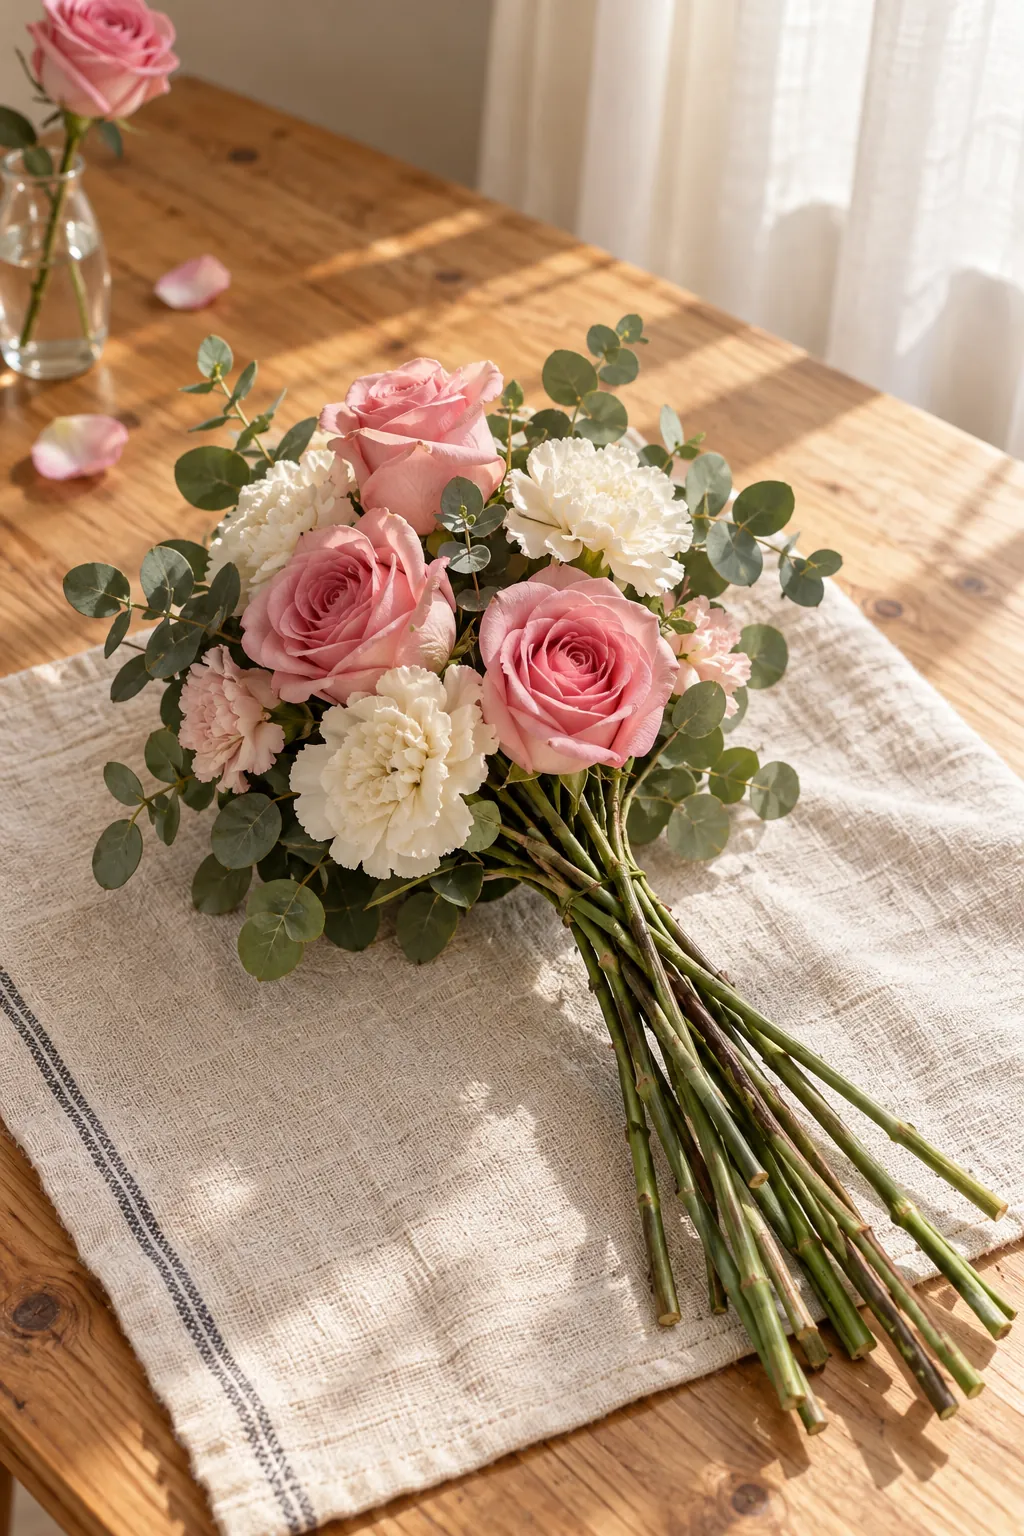
Choose a strong focal bloom and hold it gently just below the flower head, leaving room for the other stems. Add a second stem at a slight angle across the first, then rotate the bundle a little before adding the next. Continue placing stems in the same slanting direction so the handle gathers together rather than becoming a tangle. If this spiral motion feels awkward, make a small central group first and add stems around its outside.
Position the main flowers at slightly different heights so their faces stay visible without forming a flat, crowded disk. Tuck smaller blooms into open spaces and keep the greenery around the edge instead of hiding every petal. Turn the bouquet toward a mirror or take a quick phone photo to spot a heavy side. Remove a stem when the shape feels too wide; adding more flowers does not always fix a gap.
Keep the finished head small enough to carry comfortably beside your outfit. A bulky bouquet can cover details in photos and become tiring to hold. Check the shape from the side as well as from above, because a bare patch underneath can show when you tilt it. Stop adjusting when the flowers look balanced and the handle sits easily in your palm.
Bind the handle without crushing it
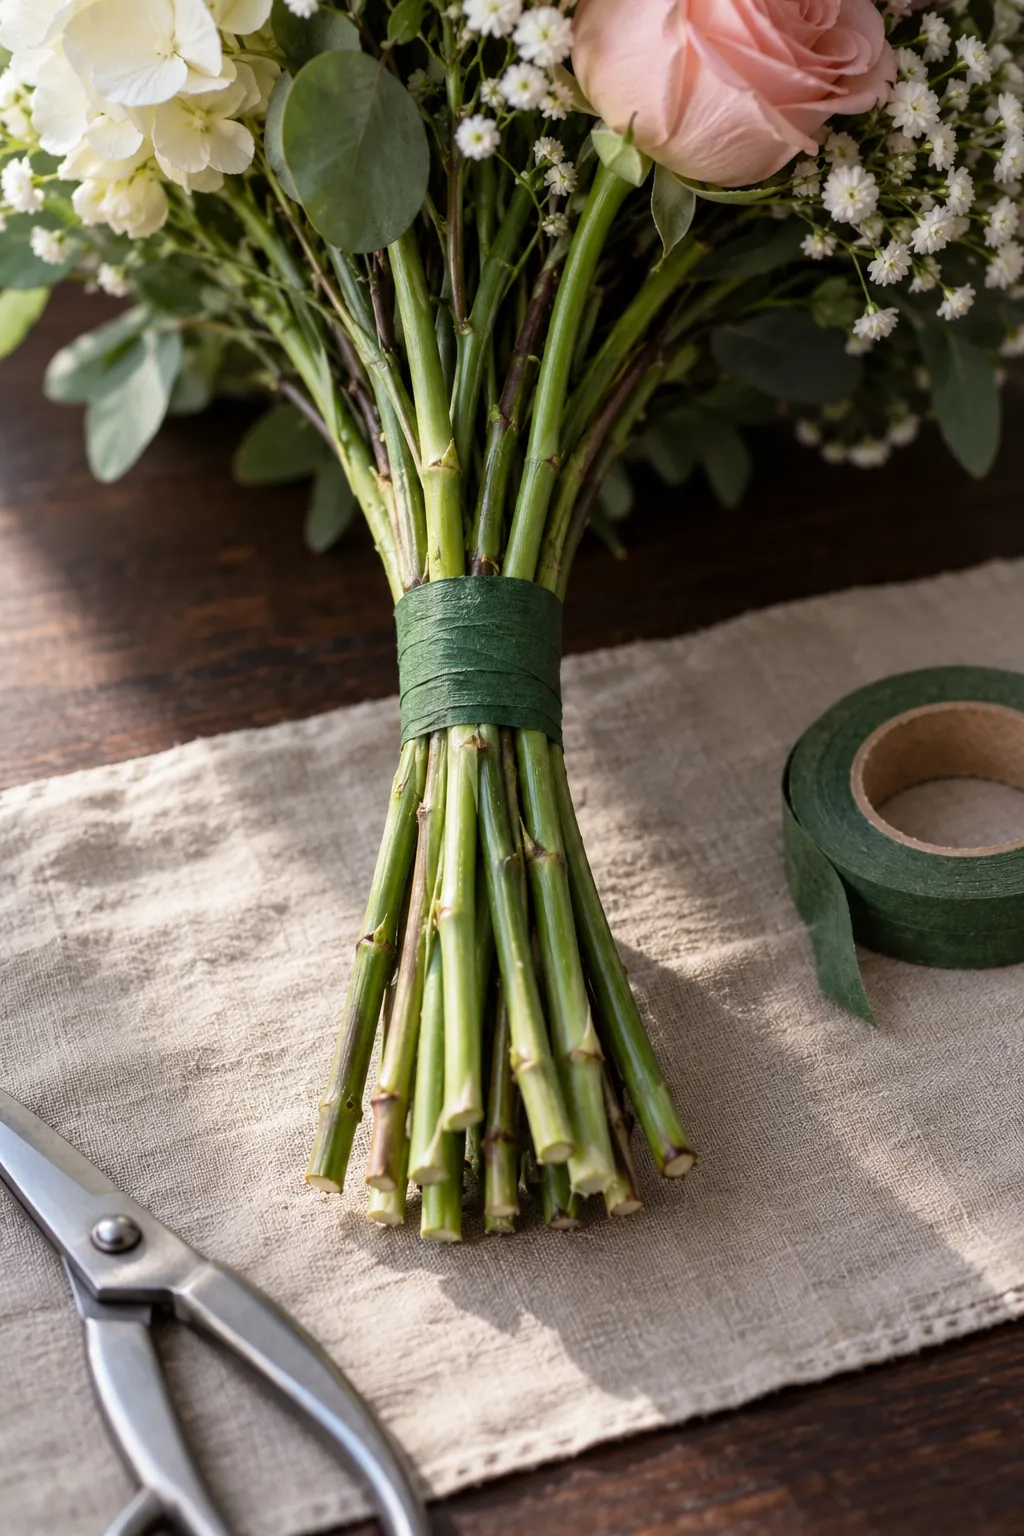
Keep your fingers around the gathering point and wrap narrow binding tape around that same area. Make the band firm enough to prevent sliding, but do not tighten it until stems flatten or snap. A few tidy turns at one binding point leave the upper stems room to fan out. If your tape needs stretching to become tacky, follow its packaging instructions.
Rest the bound bouquet on a clean towel and check that individual stems no longer slip out. Trim the bottom ends to a comfortable carrying length with clean snips, taking small cuts rather than removing too much at once. Leave enough exposed stem below the wrap to stand in shallow water later. Keep blades away from the ribbon so the final handle stays clean.
Wrap with ribbon and keep the base dry
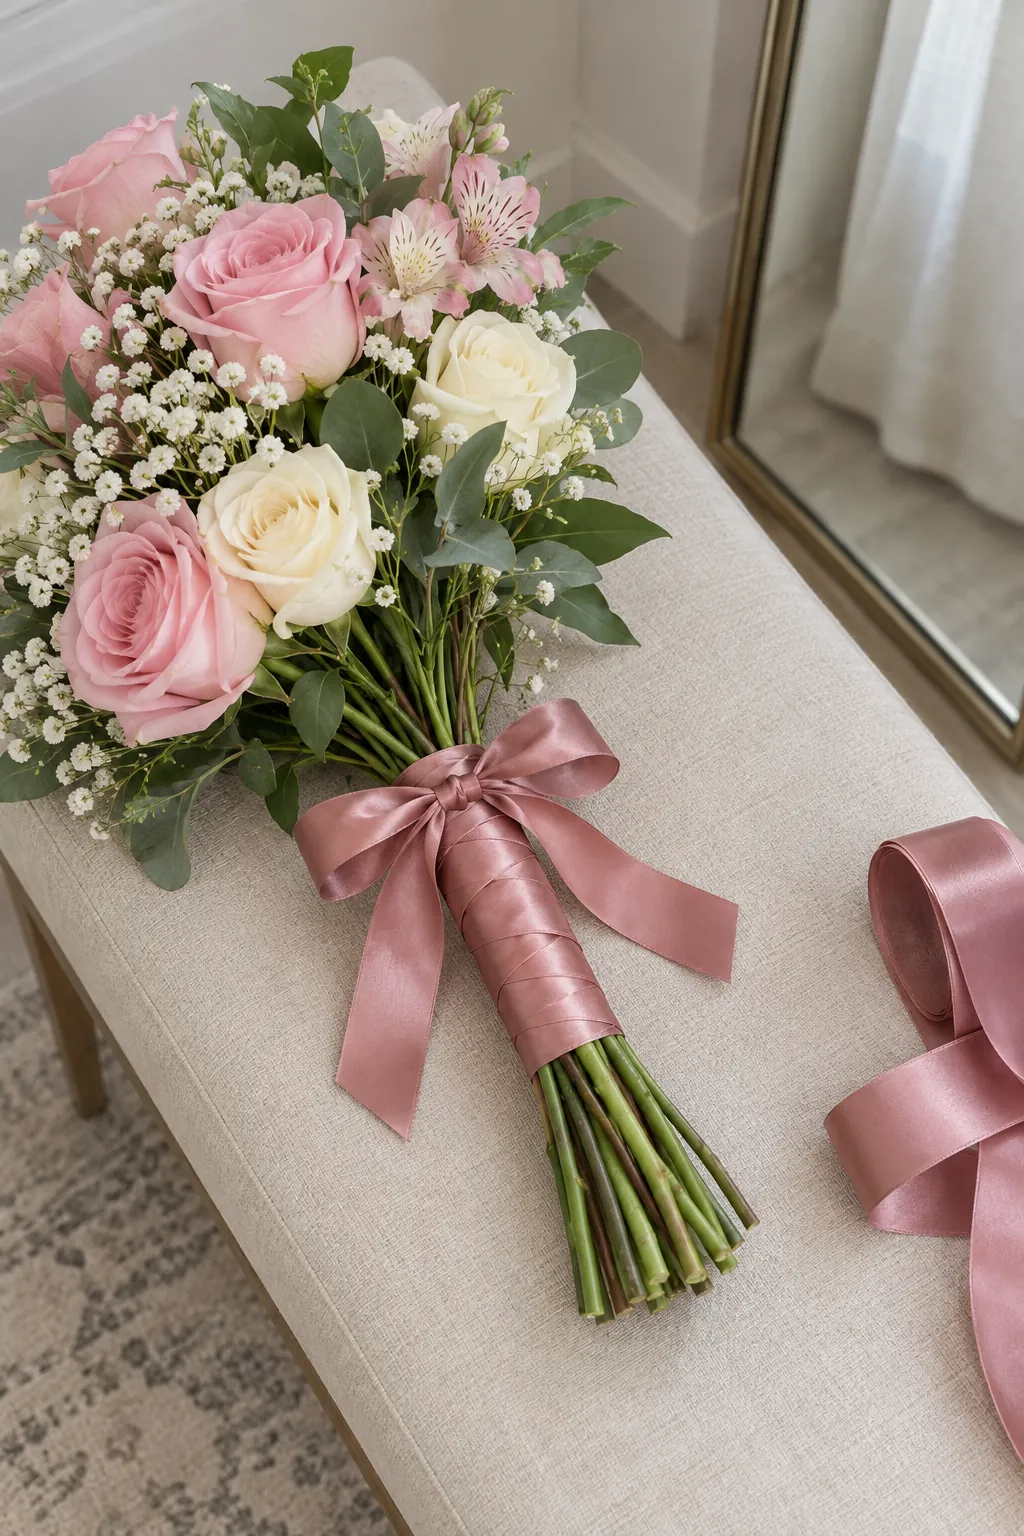
Start a ribbon wrap over the binding band and overlap each turn enough to cover the tape. Work downward without pulling so hard that the stems bend together. Finish with a small knot or bow instead of leaving an exposed pin point near your hand. If you use florist pins, insert them into the stems with the sharp ends fully contained and ask an experienced adult to check them.
A narrow bow can echo a dress accent without turning the handle into a large decoration. Test a short piece of ribbon for color transfer on a damp white cloth before wrapping, especially with strong dyes. Leave the lowest stem ends uncovered so they can drink without soaking the fabric.
Paper is optional and works best as a loose outer collar rather than a tight cone around the flower heads. Fold a small sheet around the bouquet with the top below the petals, then secure it at the handle. Remove or loosen the paper if it compresses the blooms. Hold the bouquet beside your outfit before you leave to confirm the wrapping does not snag embellishments.
Store it upright and plan the trip
Stand the finished bouquet in a stable vase with enough water to cover the exposed stem ends while keeping ribbon and paper above the water. Put it in a cool room away from sunlight, heaters and ripening fruit until you need it. A home refrigerator can freeze delicate petals near a vent or expose them to fruit, so use it only if you can provide a suitable separate space. Never leave the bouquet in a hot parked car.
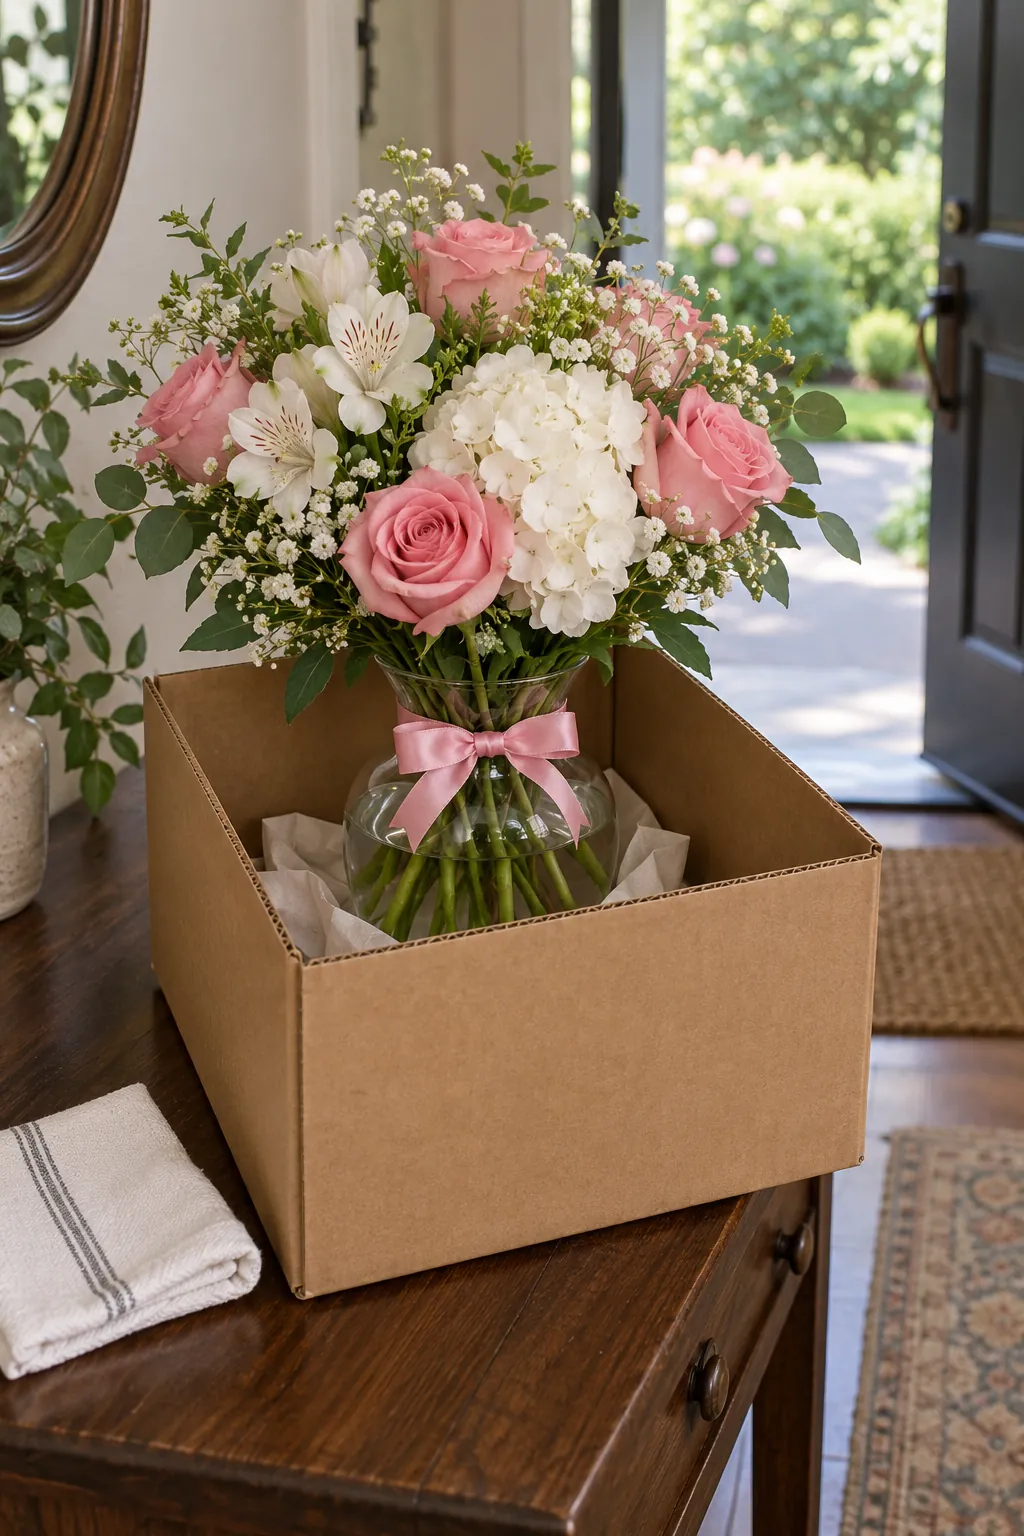
For transport, place the vase in a snug box on a level surface where it cannot tip, and protect nearby clothing from spills. Lift the bouquet out for the final part of the trip and blot the stem ends before holding it against fabric. Carry it by the wrapped stems rather than squeezing the flowers. If a bloom droops, replace that stem with a hydrated spare instead of spraying the whole bouquet until it drips.
Take your main photos while the flowers are fresh, then give the bouquet a safe place to rest during the dance. A sturdy jar at home can hold the stems again afterward if you recut them and use clean water. Keep one spare ribbon and a small length of binding tape in your preparation kit for repairs before departure. The useful test is simple: the bouquet stays together, feels comfortable and leaves your clothing dry.