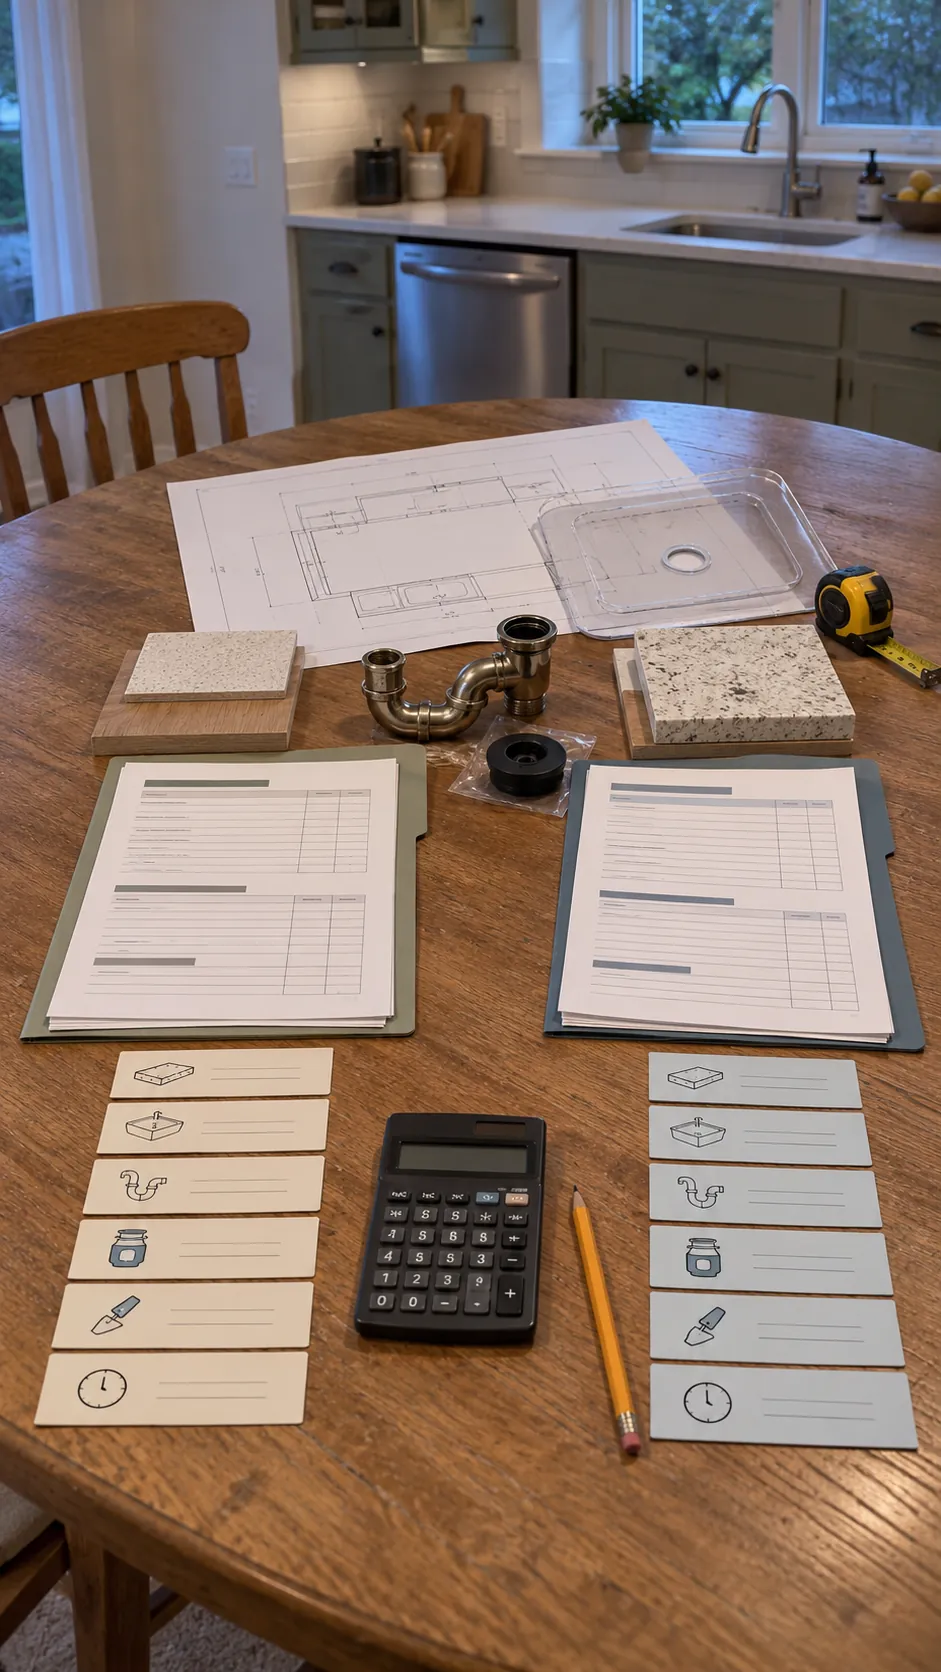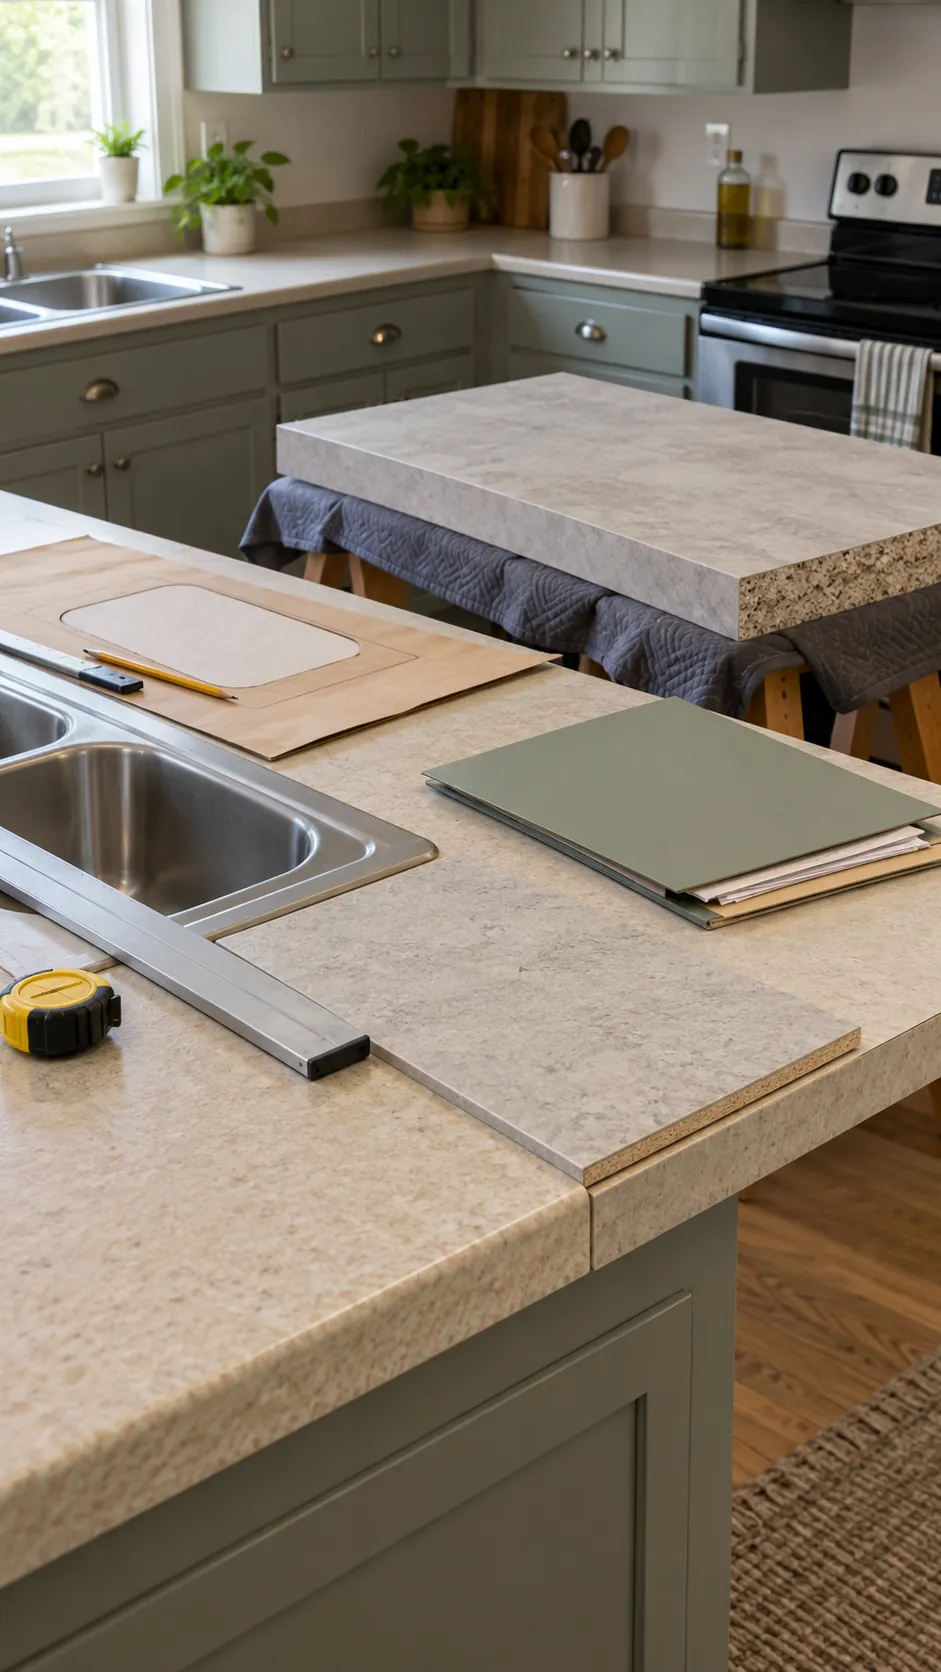
A surface refresh saves money only when the old counter is flat, dry, stable, and worth keeping. If the substrate is swollen or the layout needs to change, covering it can delay a necessary replacement and create a second project bill.
Inspect the existing counter first
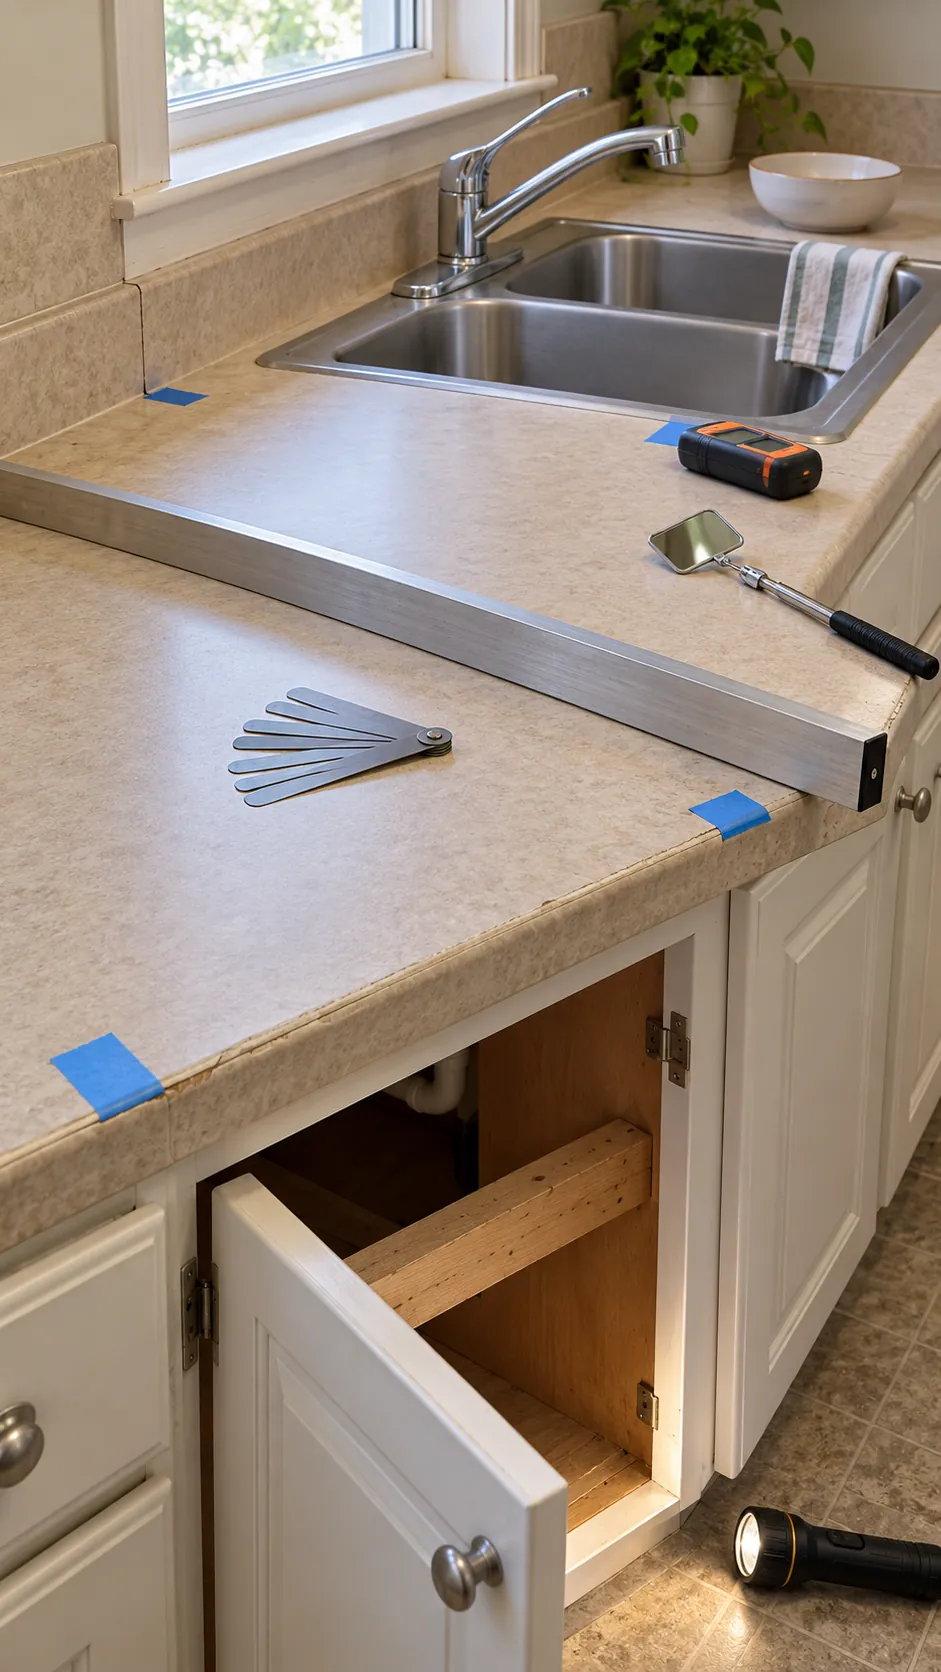
Check every seam, sink cutout, wall joint, and front edge for movement or water damage. An overlay depends on the counter below it, so loose laminate, swollen particleboard, deep cracks, and unsupported spans must be corrected first. A sound but dated surface is the best candidate.
Use a long straightedge to find humps and dips. Confirm that added thickness will not trap appliances, block drawers, or reduce the backsplash gap. If the sink or cooktop must change size, ask whether the chosen overlay system permits a new cutout.
Compare complete overlay costs
Countertop overlay cost includes more than the visible material. Add degreaser, repair filler, abrasion supplies, primer, edge treatment, seam products, protective gear, and replacement caulk. Professional systems may also charge for templating, fabrication, sink work, and plumbing disconnects.
A countertop refinishing kit can suit a small temporary makeover, but calculate the quantity from the actual surface area and required coats. Epoxy countertop kit cost can rise when a second kit is needed for coverage or corrections. Follow the maker’s ventilation, temperature, curing, and food contact directions.

Understand temporary cover limits
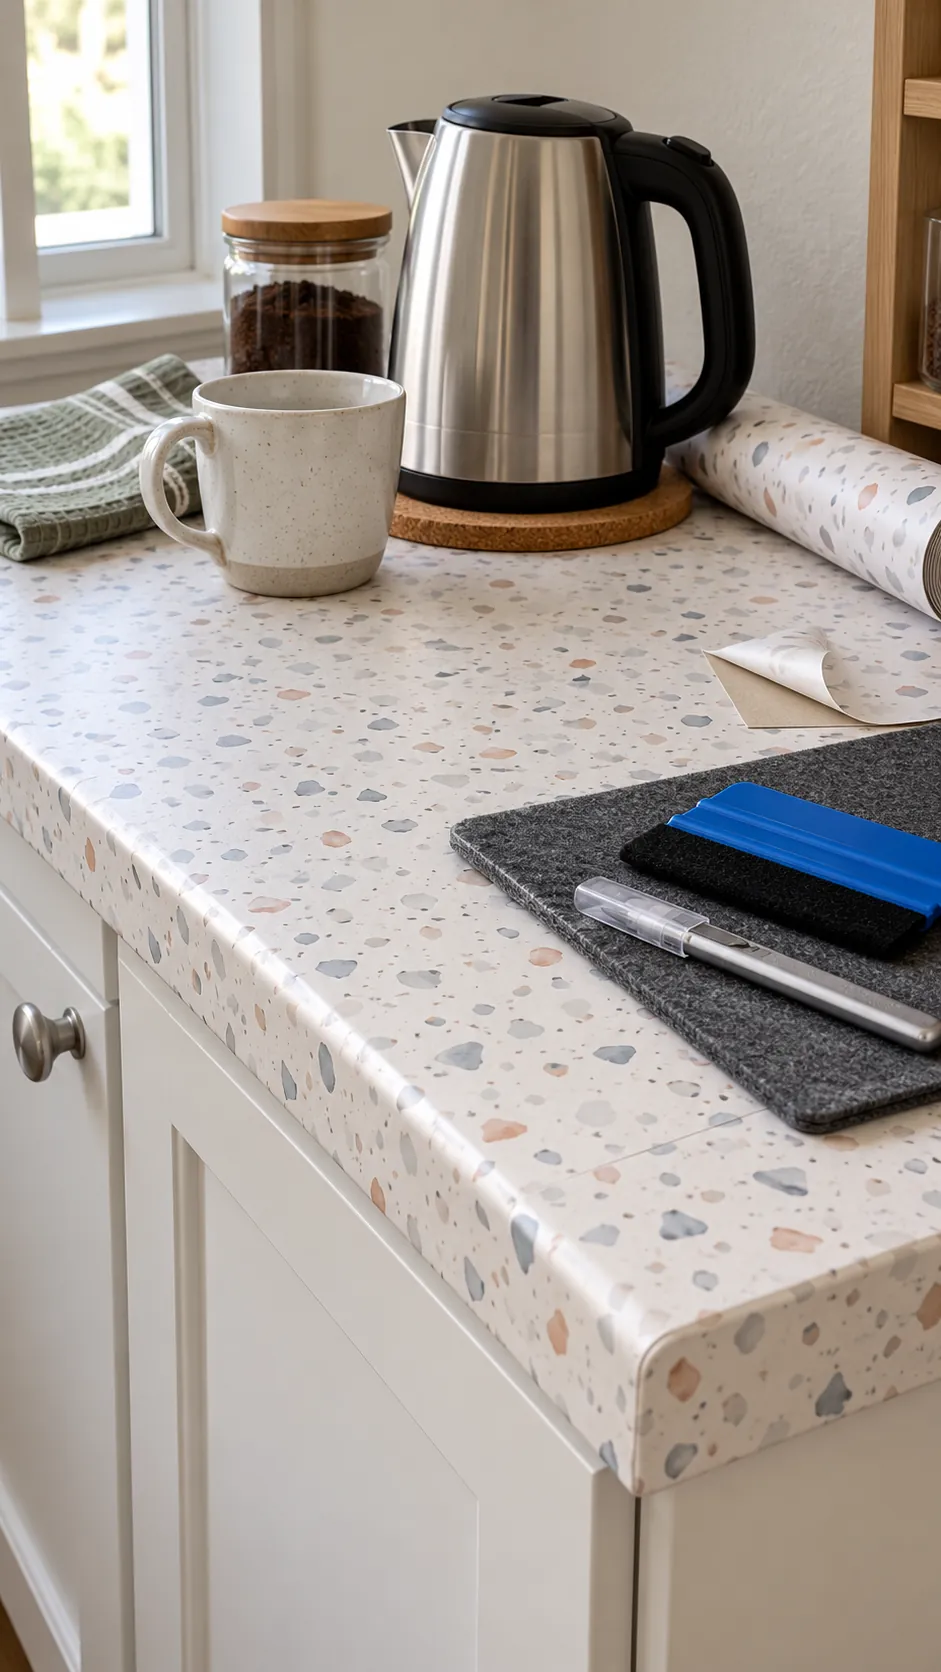
Countertop contact paper durability depends on preparation, edge detail, heat exposure, and water habits. It can be useful for a renter approved visual change or a short bridge before renovation. It is not equal to a permanent fabricated surface.
Seams and sink edges are the common weak points. Do not place hot cookware directly on temporary kitchen countertop covers, and do not allow water to work under an edge. Keep a spare matching section for small repairs if the product allows them.
Price full replacement as one project
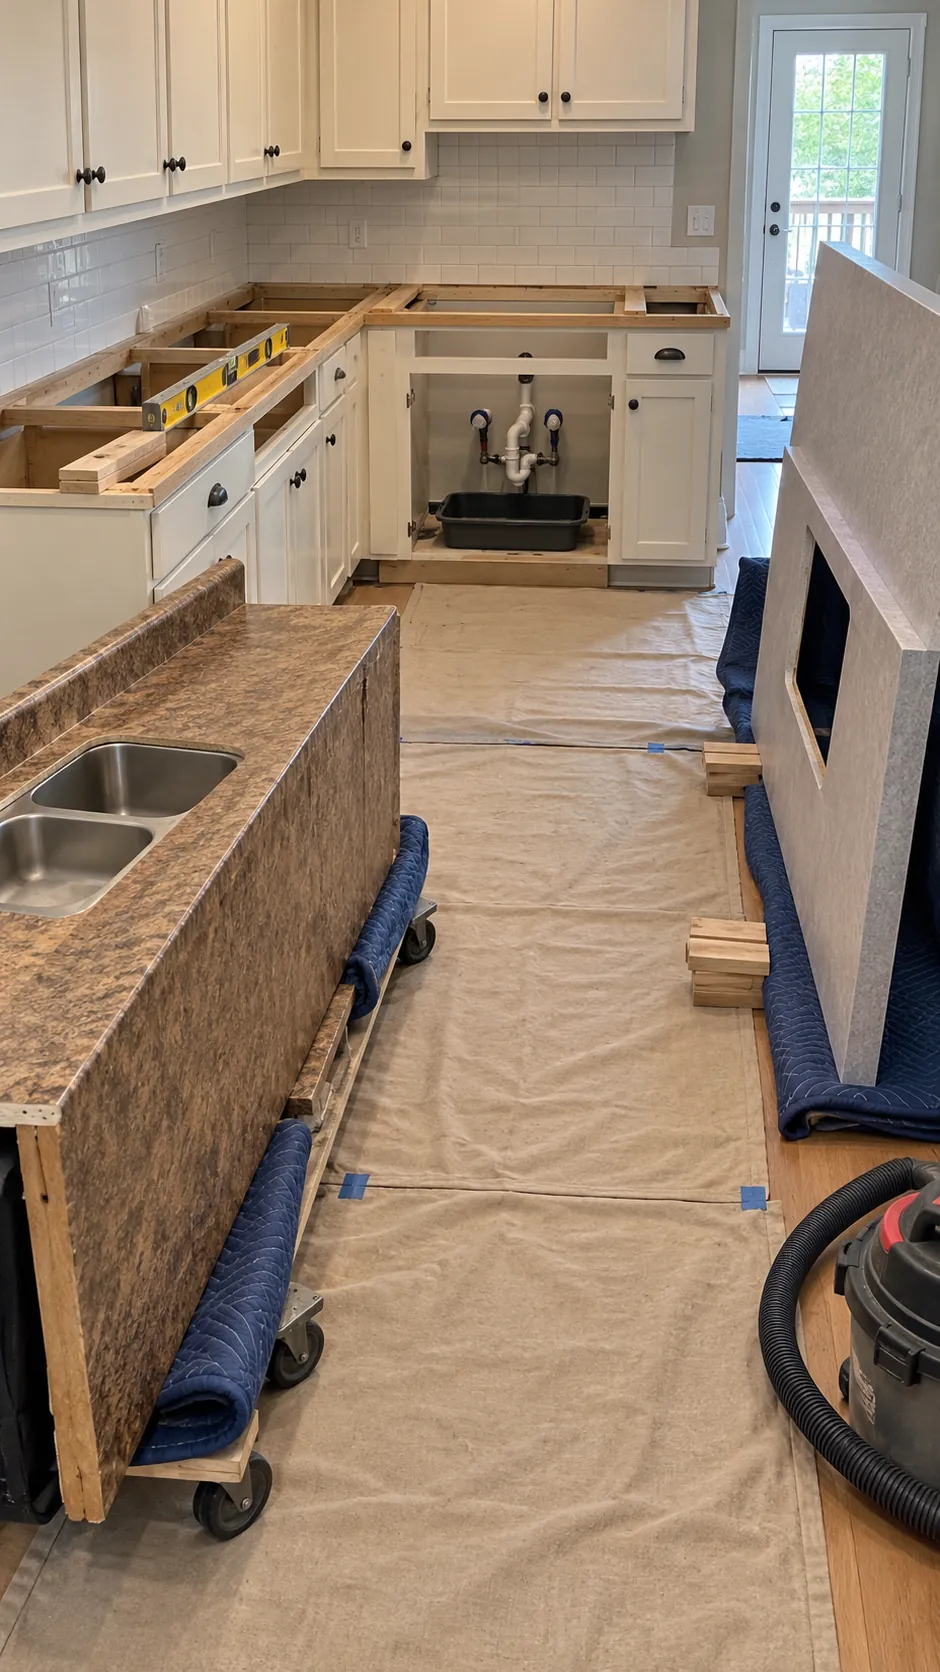
Countertop replacement labor cost can include demolition, disposal, templates, fabrication, delivery, installation, sink mounting, plumbing, and backsplash repair. Ask every bidder to list what is included. Quotes that use the same price per square foot may still differ because of minimum charges, edge profiles, cutouts, or access.
Replacement offers a sound new substrate, a new layout opportunity, and predictable edge construction. It also creates more disruption and carries a greater risk of damaging an old backsplash or weak cabinet. Include those repairs in the comparison rather than treating them as surprises.
Match the method to the time horizon
A low cost countertop makeover makes sense when the counter is sound, the layout works, and the goal is a limited service period. A durable professional overlay can also be a longer term choice when the manufacturer approves the substrate and installation details. Evaluate the warranty and repair route.
Full replacement is easier to justify when water damage exists, the sink changes, the cabinets need leveling, or the household expects many years of heavy use. Divide the complete project cost by the realistic service period. The cheapest first invoice is not always the lowest annual cost.
Use a fair quote checklist
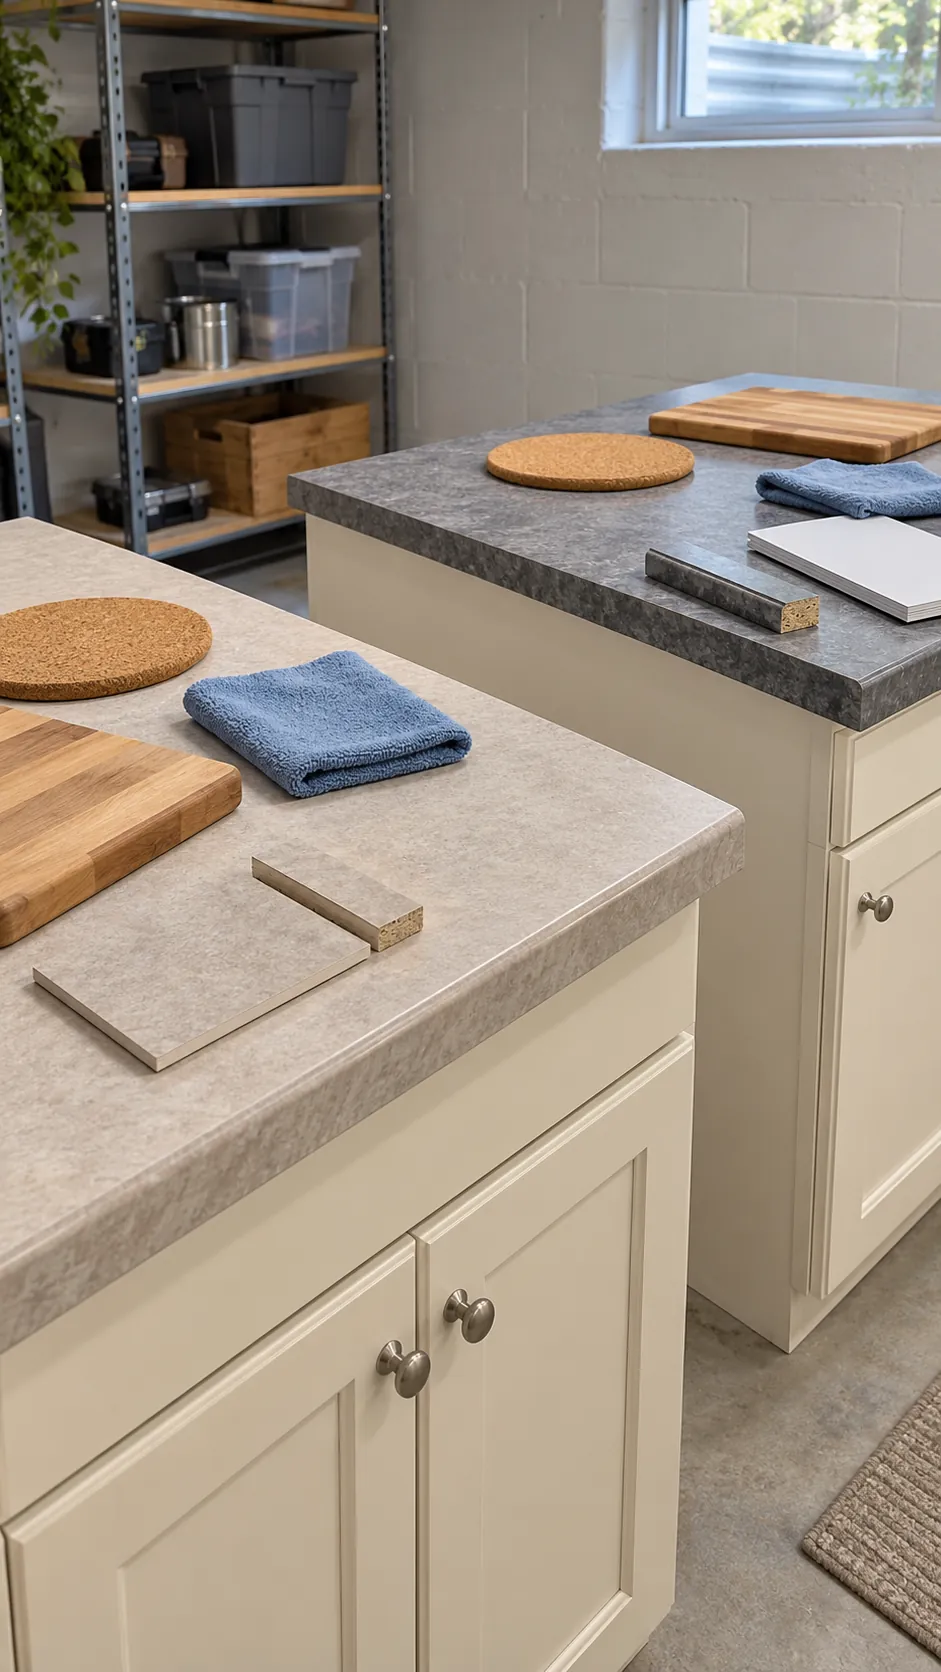
Give every contractor the same measured layout, sink details, edge request, access conditions, and removal needs. Ask who handles plumbing, appliance movement, wall repair, disposal, and final sealing. Confirm the payment schedule and cure time before comparing totals.
For DIY countertop resurfacing, make the same list and price your own tools, protective equipment, and lost kitchen time. Add a contingency for substrate repair or extra material. Choose an overlay only when the inspection supports it, and choose replacement when the existing counter cannot provide a reliable foundation.