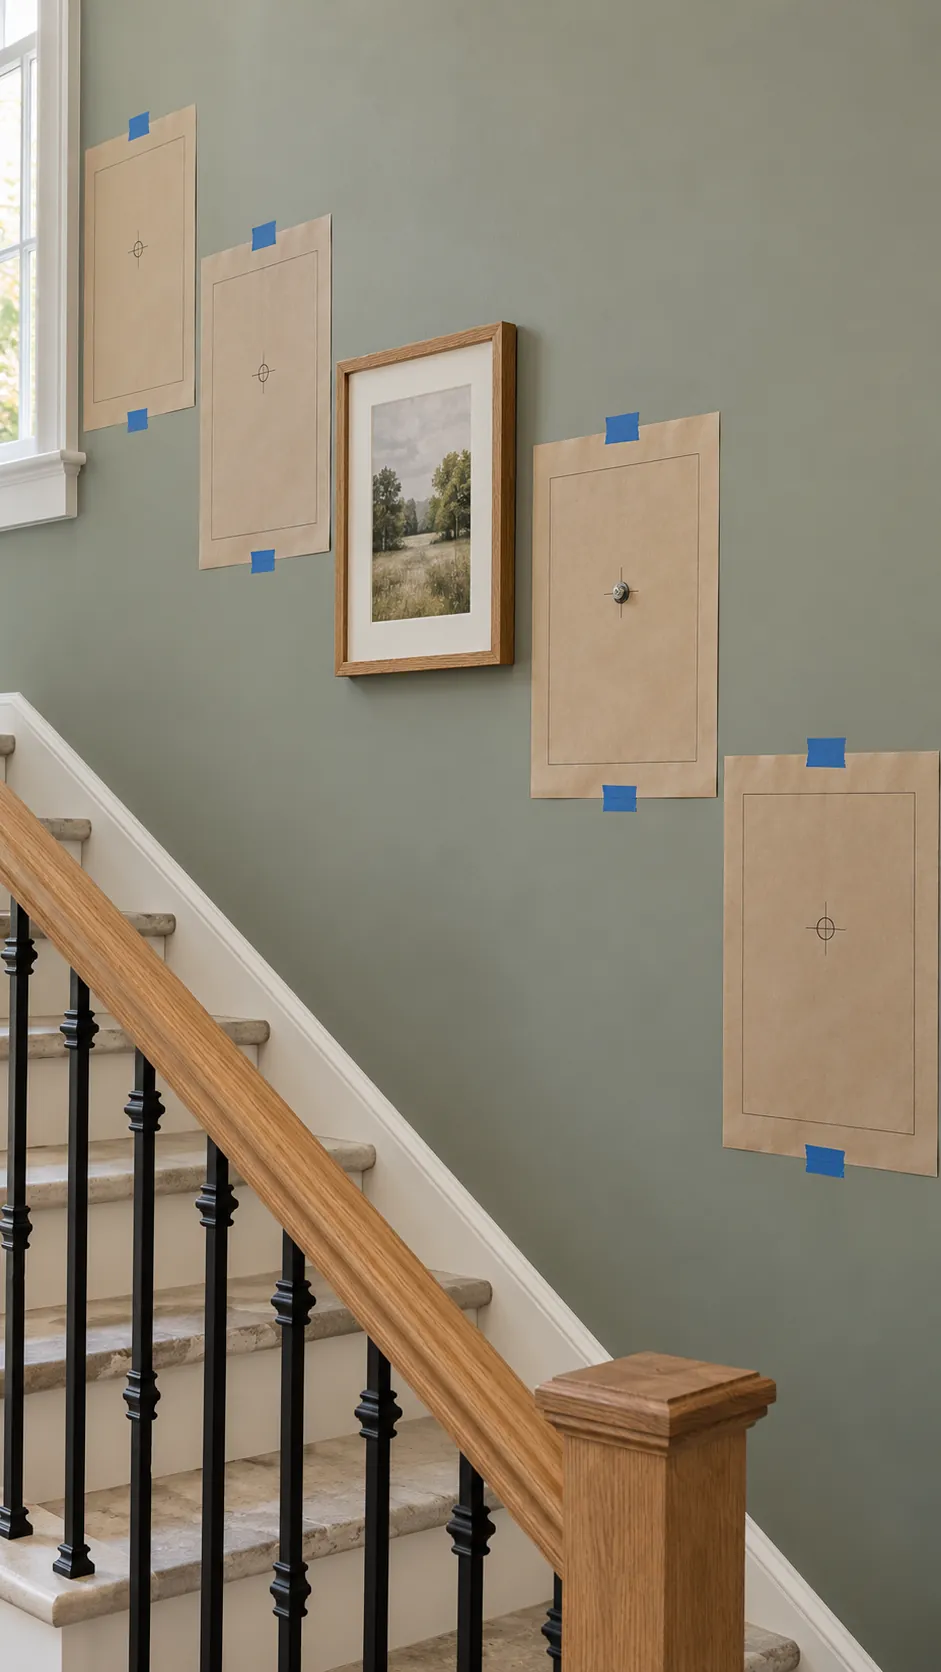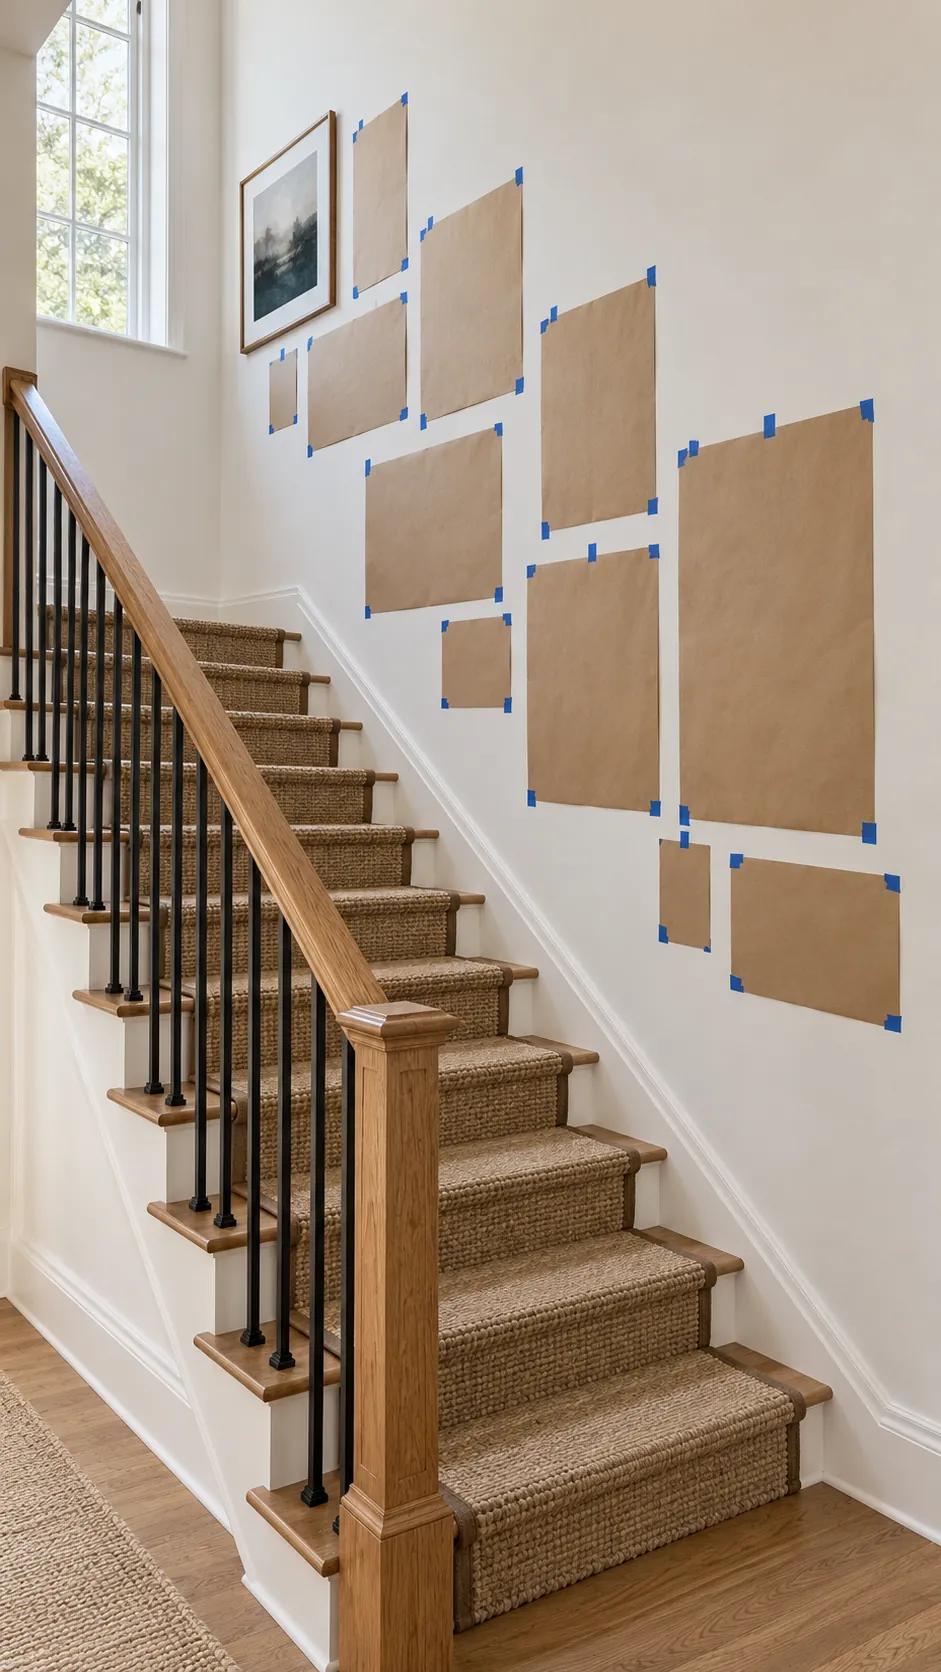
A staircase gallery wall fails most often because the arrangement is planned as a flat rectangle instead of a composition that moves with the steps. The safest process separates visual planning from hardware placement. You can adjust paper shapes many times, then make each hole only after the full wall works from the bottom, middle, and landing.
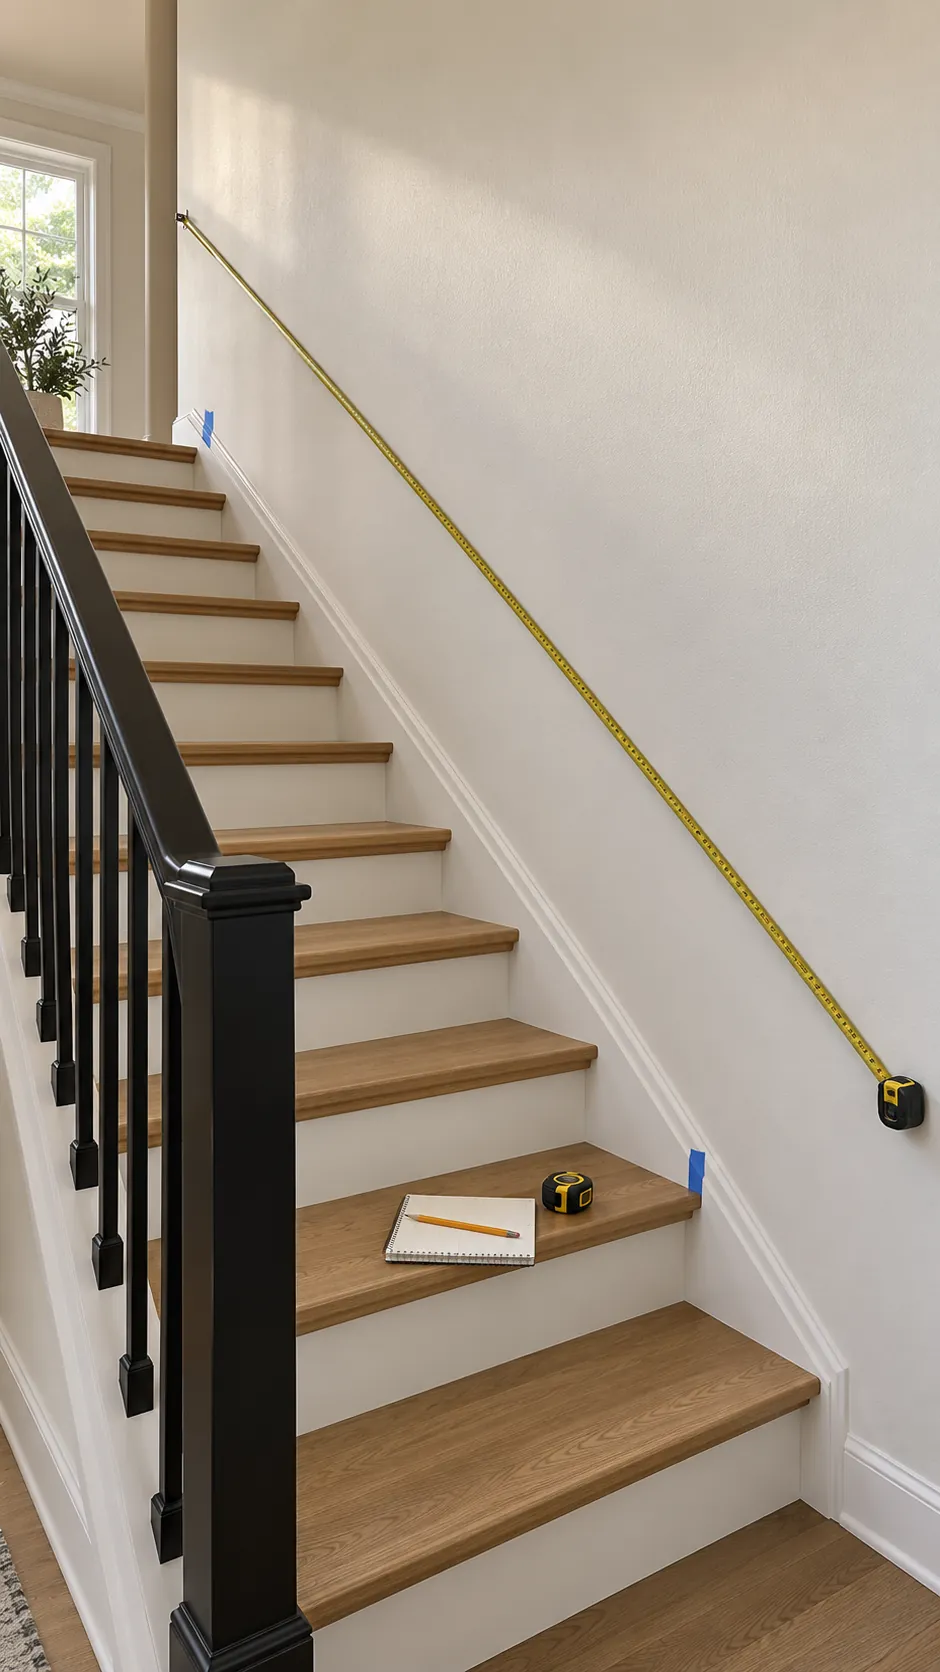
Measure the Usable Wall and the Stair Pitch
Measure the wall length, ceiling changes, trim, switches, handrail, and any point where a frame could be touched while someone uses the stairs. Choose two stair nosings several steps apart and measure their rise and run to understand the visual angle. You do not need to calculate a perfect degree value, but you do need a reference line that follows the climb.
Inventory Every Frame and Hanging Point
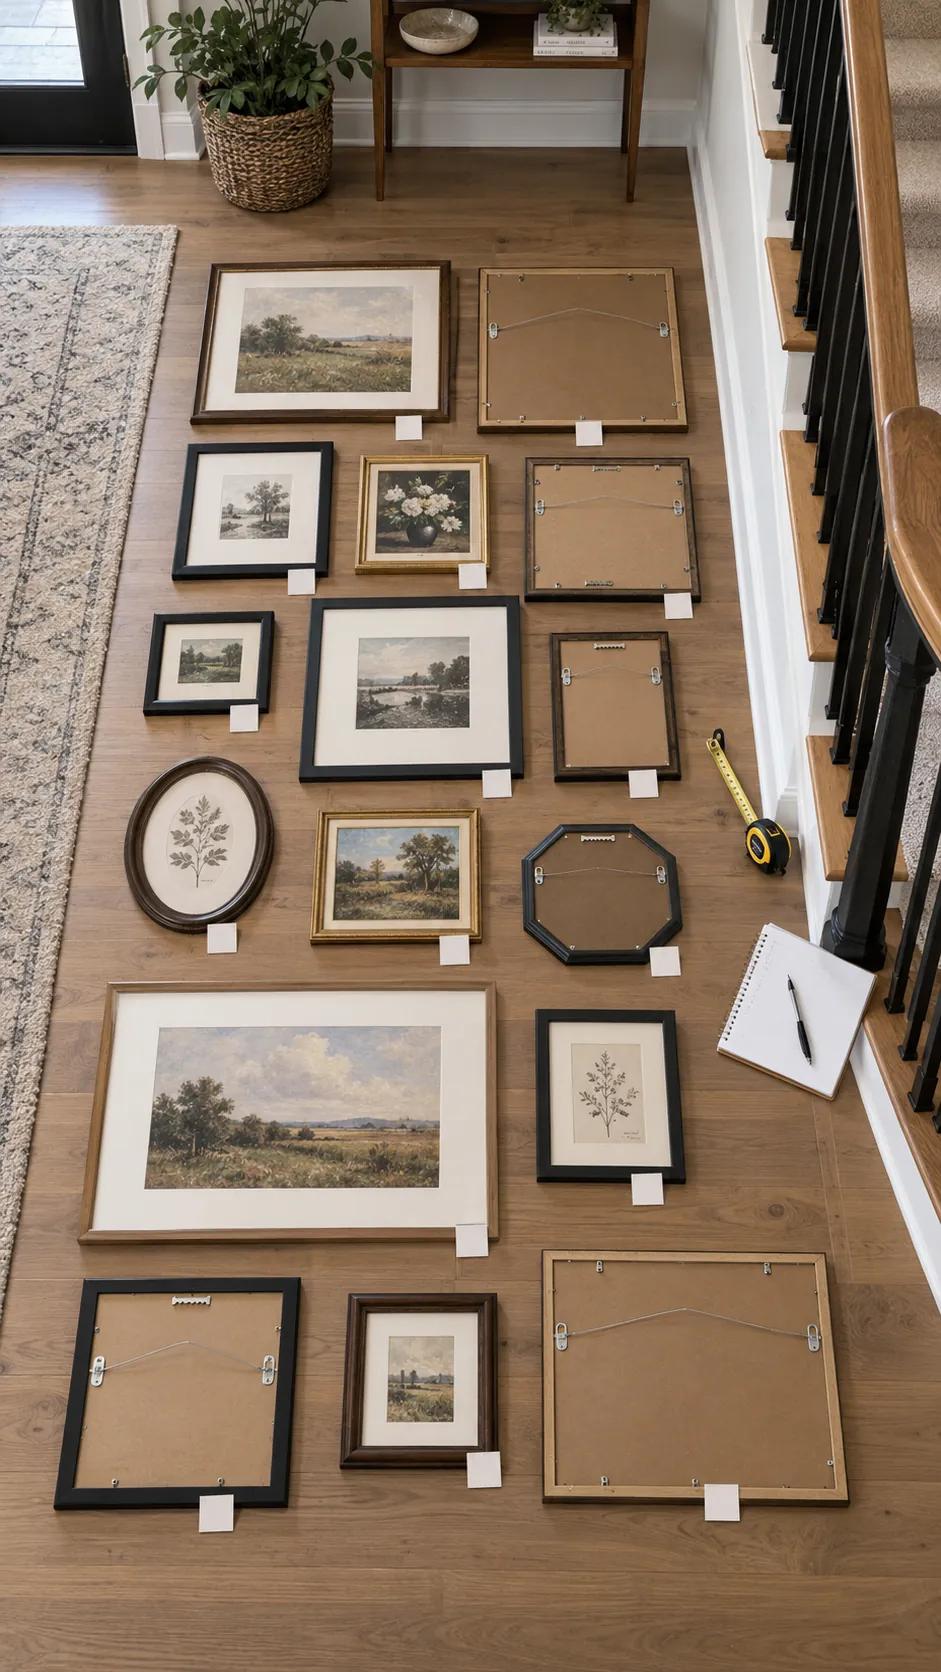
Record each frame width and height, then note whether its hook, wire, or sawtooth hanger sits at the center or below the top edge. A picture hanging plan needs the hardware offset, not only the outside dimensions. Photograph the backs so you can check each attachment without repeatedly lifting frames on the stairs.
Lay the real frames on the floor and choose the strongest anchor piece. Mix portrait and landscape formats around it while keeping very deep or heavy frames away from narrow stair traffic. This first arrangement is a draft, not a drilling map.
Create a Center Line That Climbs With the Steps
Use removable tape to mark a light guide that follows the stair pitch through the visual center of the future display. This guide does not need to pass through every frame center. It keeps the overall mass moving upward while allowing individual frames to sit above or below it.
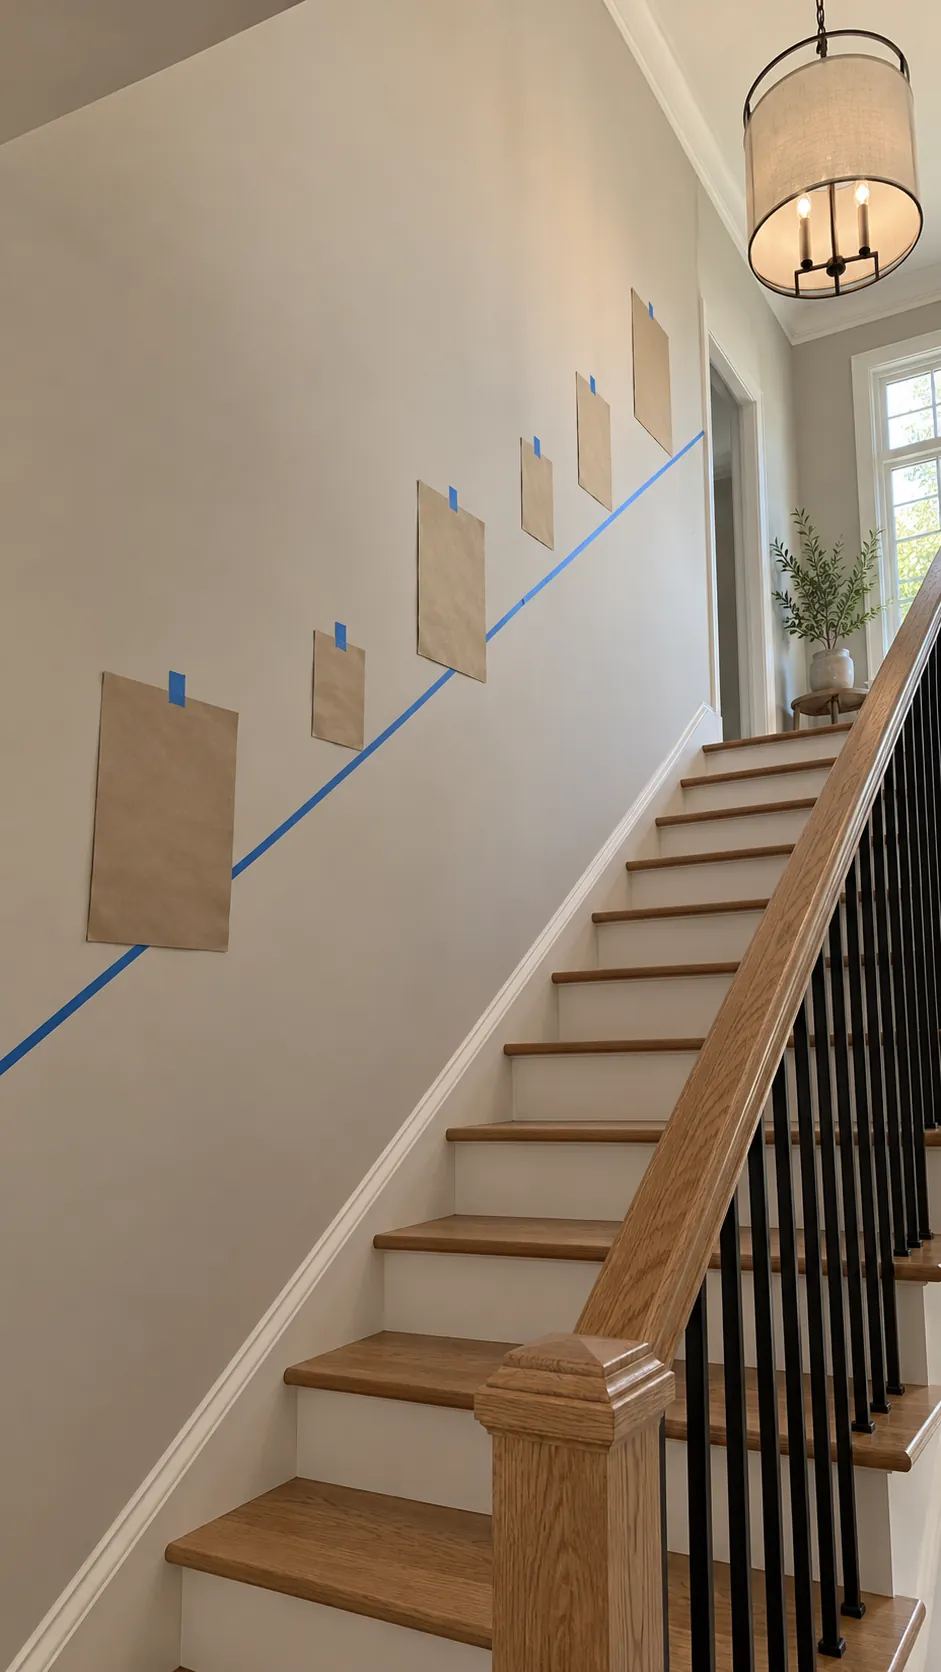
Cut and Label Full Size Paper Templates
Trace every outside frame edge on kraft paper, cut the shape, and write a small identifier that matches your inventory notes. Mark the exact hanging point on each paper shape by measuring down from the top and across from one side. That mark is where the final wall fastener will go.
Start with the anchor template near the middle of the staircase, then work outward. Keep gaps visually consistent along the shortest routes between neighboring shapes. Secure templates with low tack painter tape and press only enough to hold them safely.
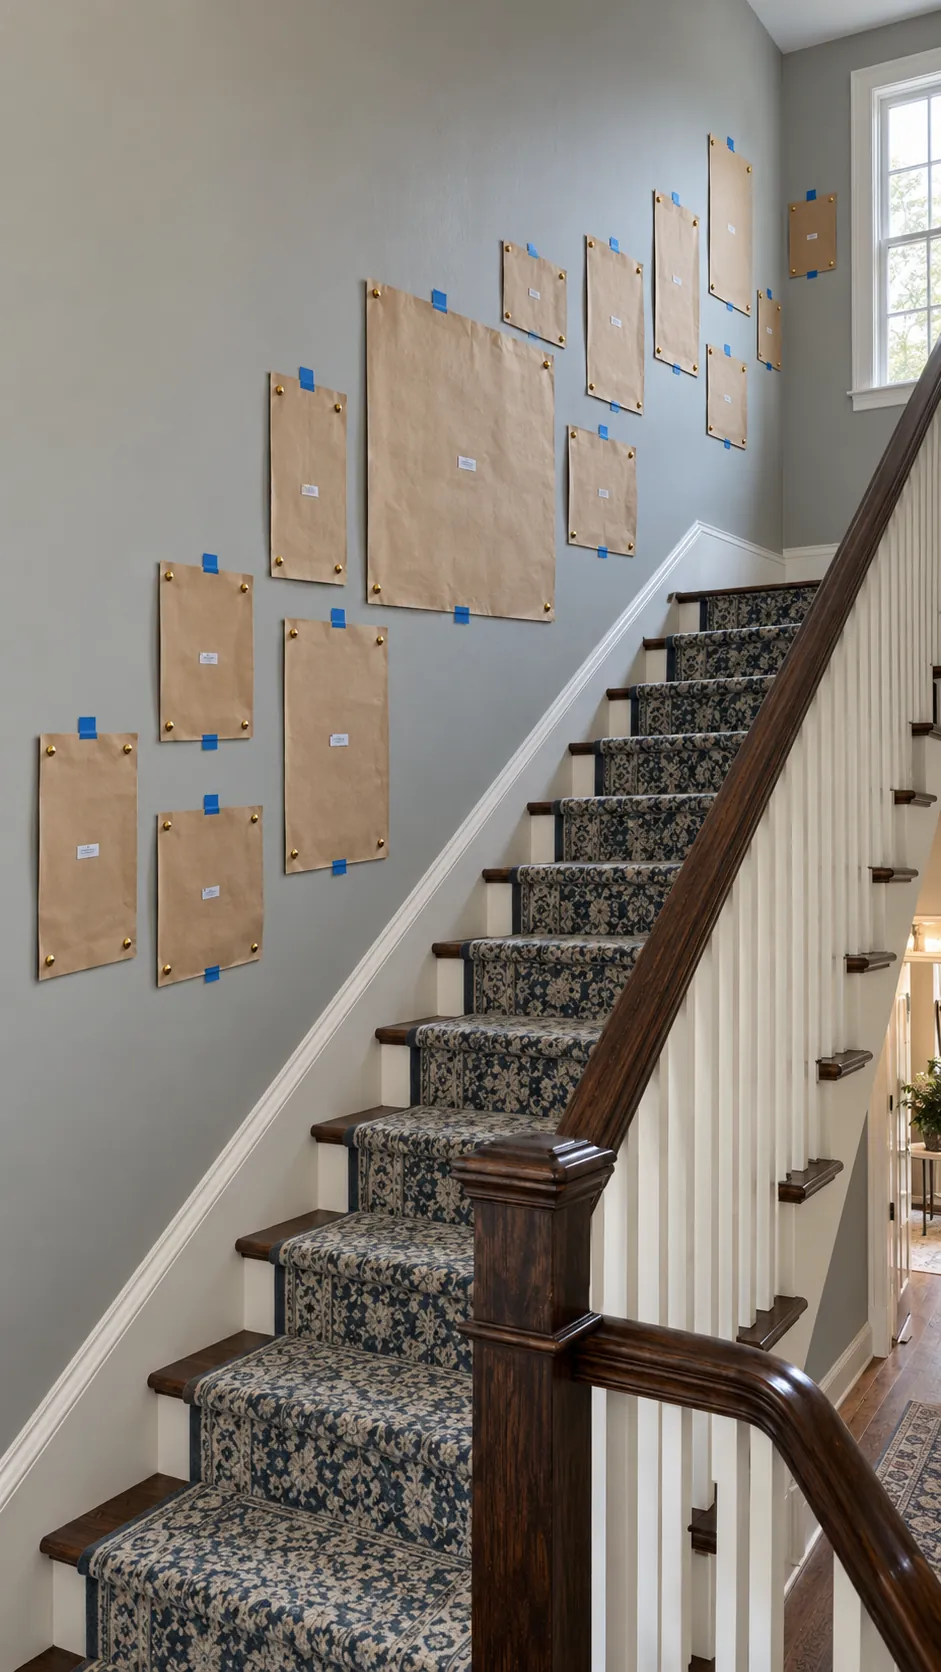
Check Balance From Every Normal Viewpoint
Walk the stairs at a normal pace and pause at the bottom, the turn, and the landing. The display should rise naturally without making viewers lean over a rail or stop in a narrow section to see important photos. Move detailed personal pictures toward comfortable viewing zones and place broader graphic pieces higher or farther away.
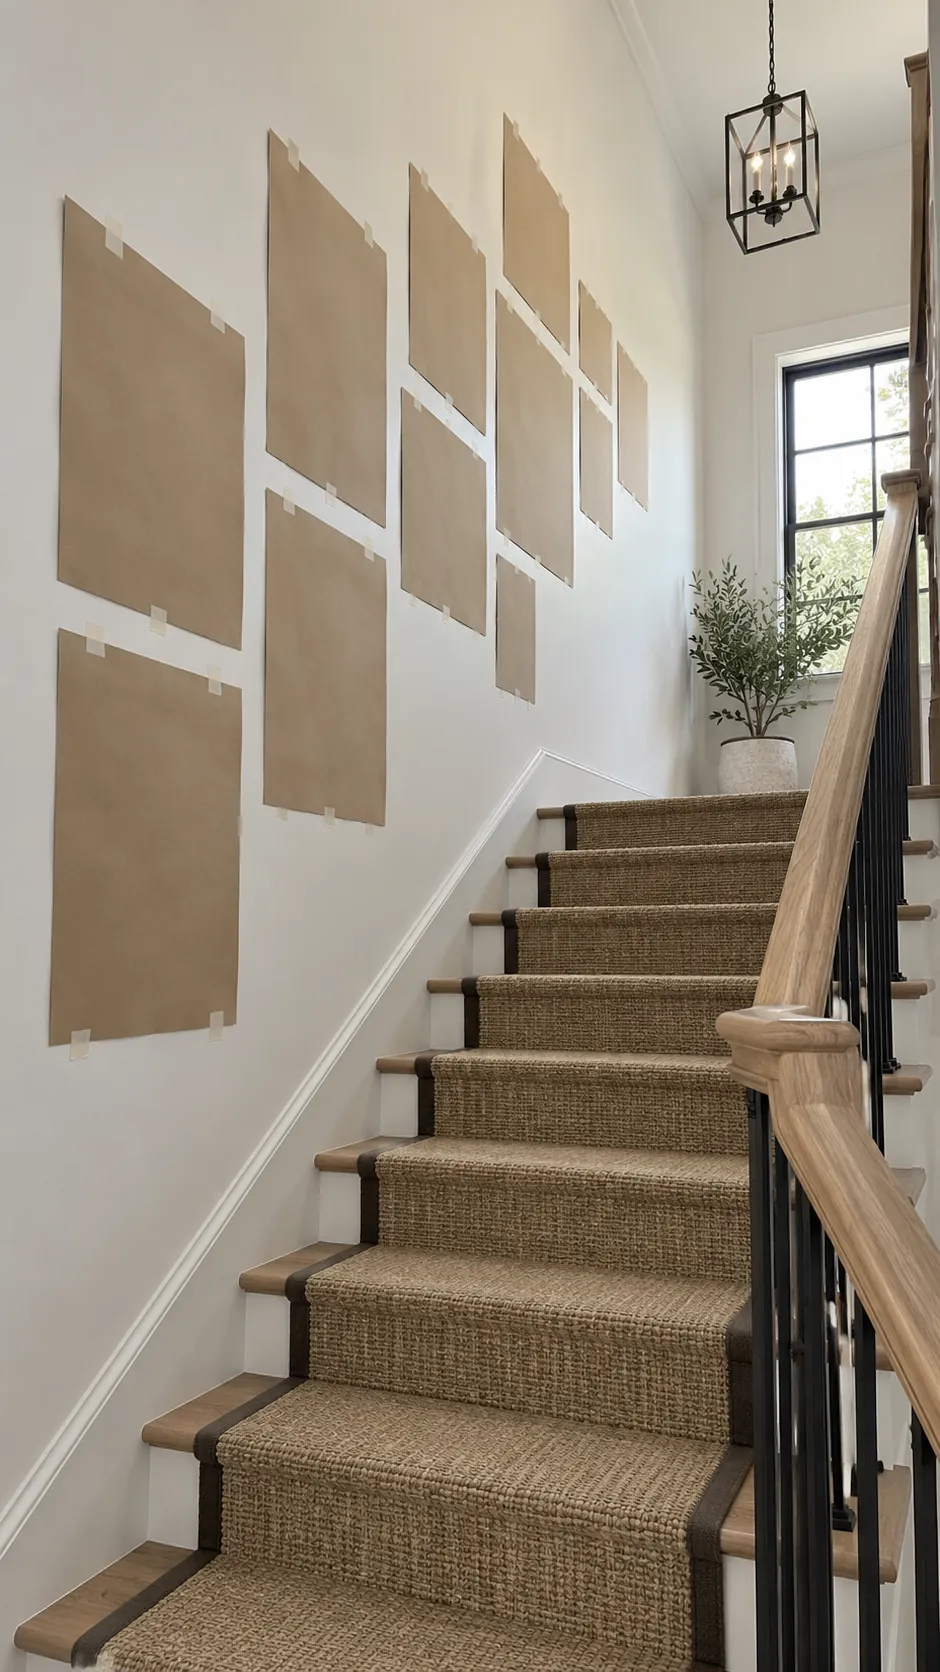
Transfer One Hanging Point at a Time
Leave every template on the wall while you begin with the anchor. Place the suitable fastener through its marked hanging point, remove only that paper, and hang the real frame. Check the frame against neighboring templates before continuing.
Work outward from the anchor so small measurement errors do not accumulate across the whole staircase. Use a stable platform designed for stairs when the work is above easy reach, or hire an installer for tall and difficult sections. After all frames are in place, add removable bumpers at lower corners to reduce shifting and protect the wall.