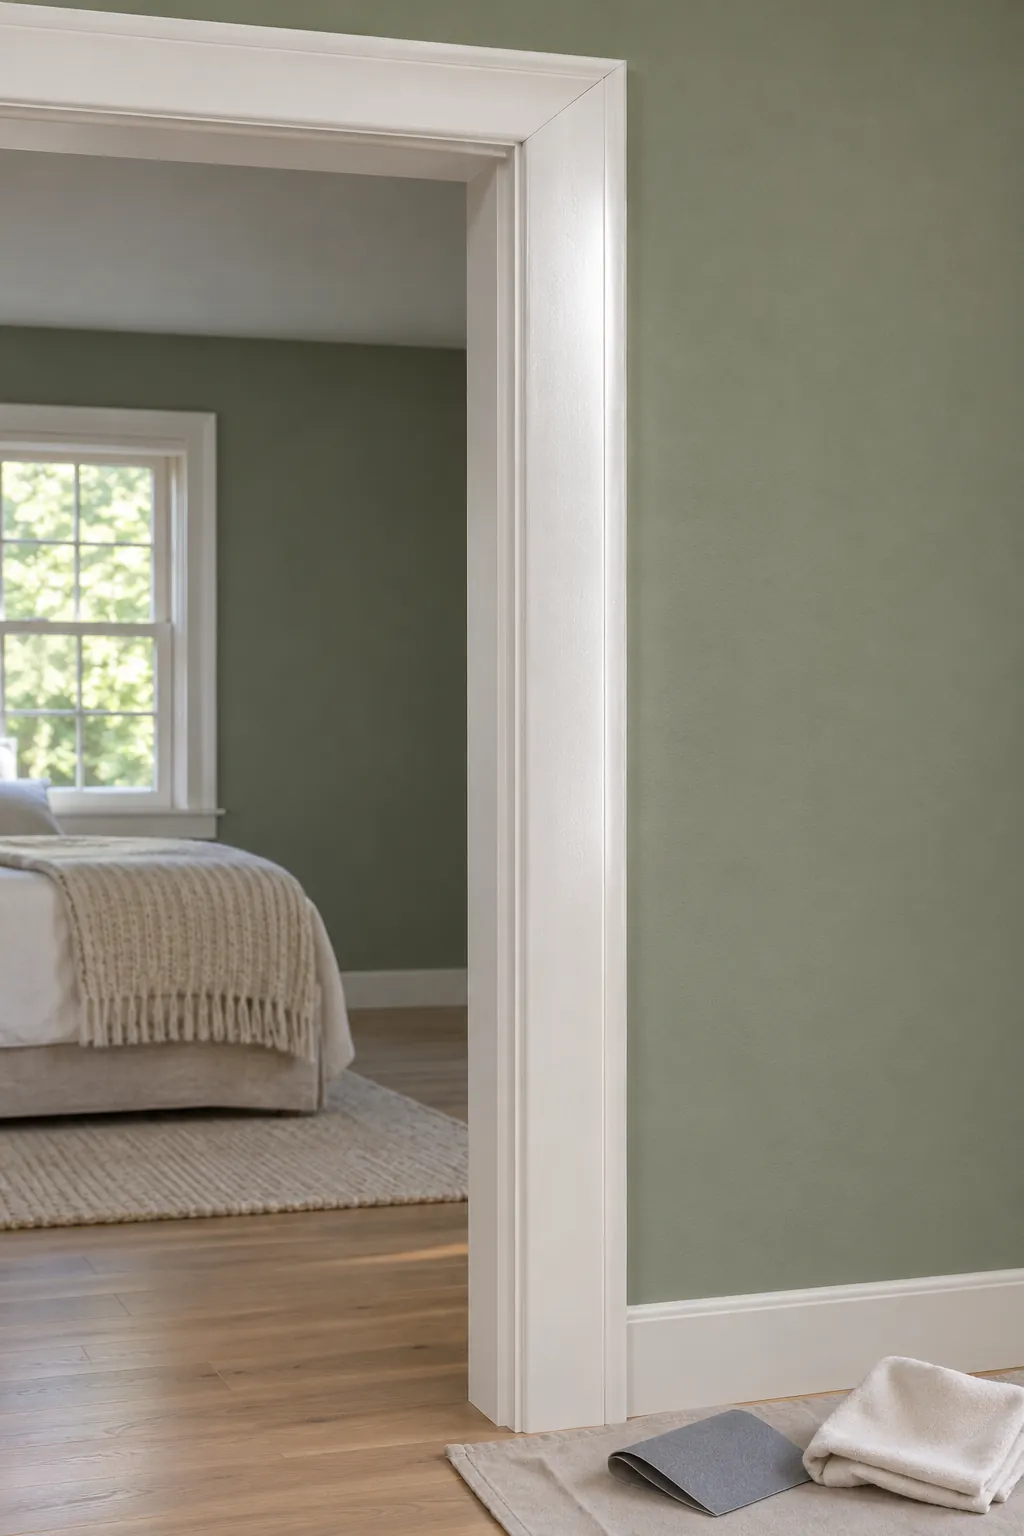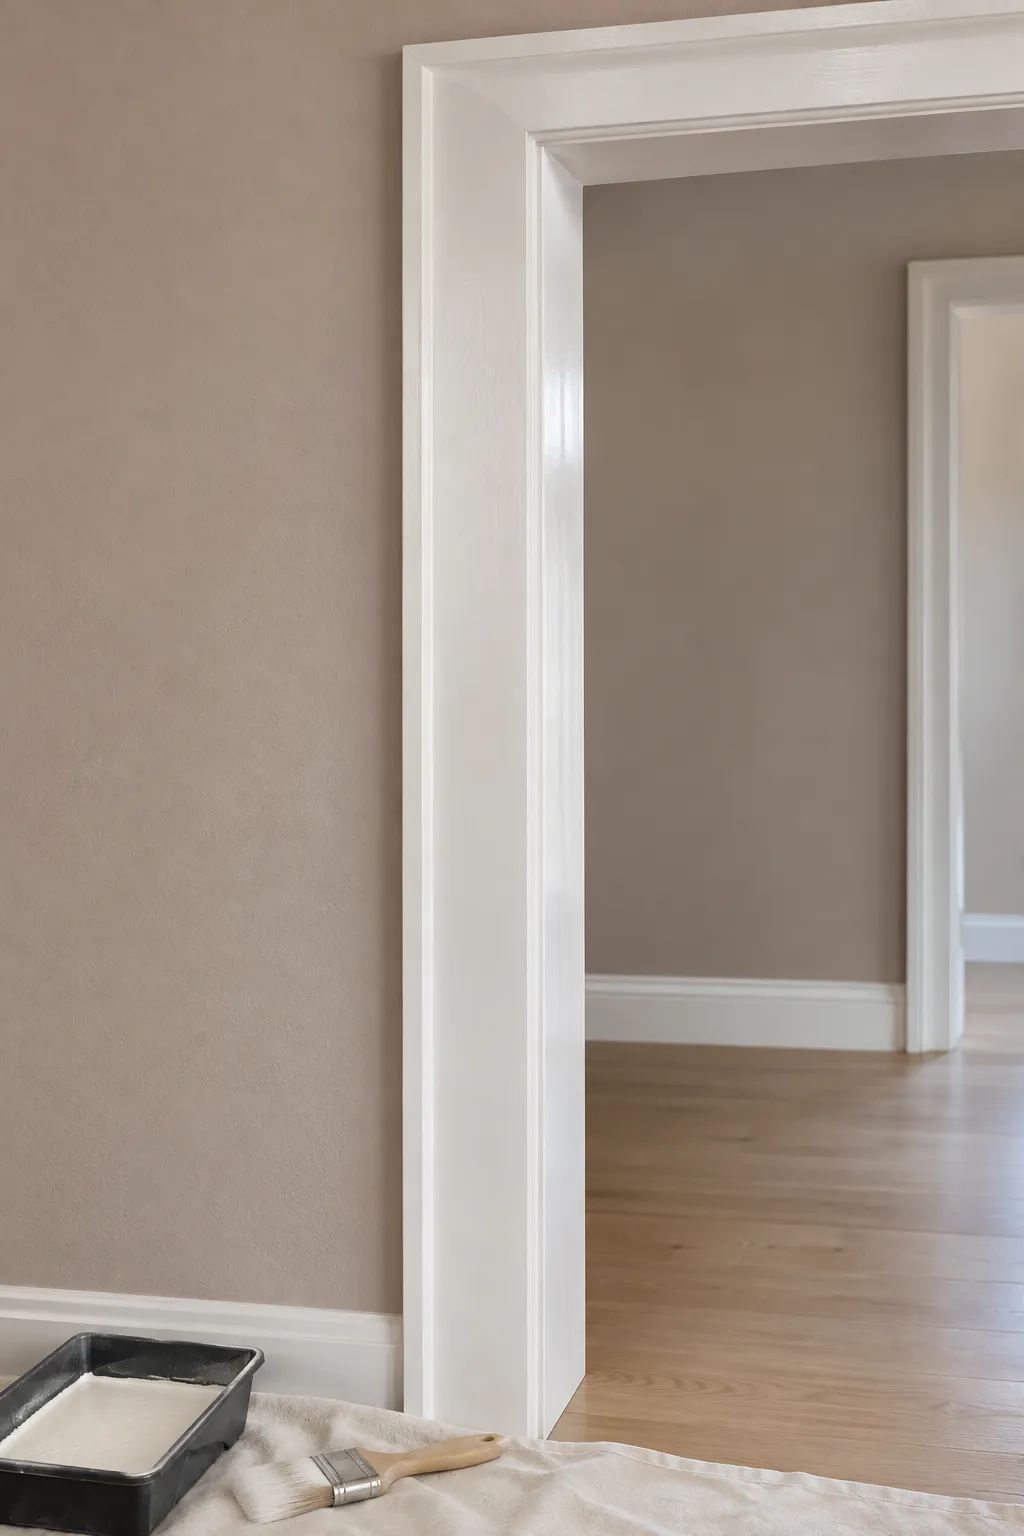
A smooth trim finish is decided before the last brush stroke. Fresh enamel cannot hide deep ridges, open joints, dust, or loose old paint. It follows the surface beneath it, then makes those defects easier to see when light reflects from the harder finish.
The best technique is controlled and brief. Prepare the woodwork until it feels level, use a coating designed to flow on trim, apply enough paint to level, and stop touching it before the film starts to set.
Flatten Old Ridges Before Repainting
Wash the trim with a cleaner compatible with the old coating, especially near doors and baseboards where skin oil and household residue collect. Scrape loose paint and sand obvious brush ridges until a fingertip no longer catches on them. Feather chipped edges so the transition disappears beneath primer.
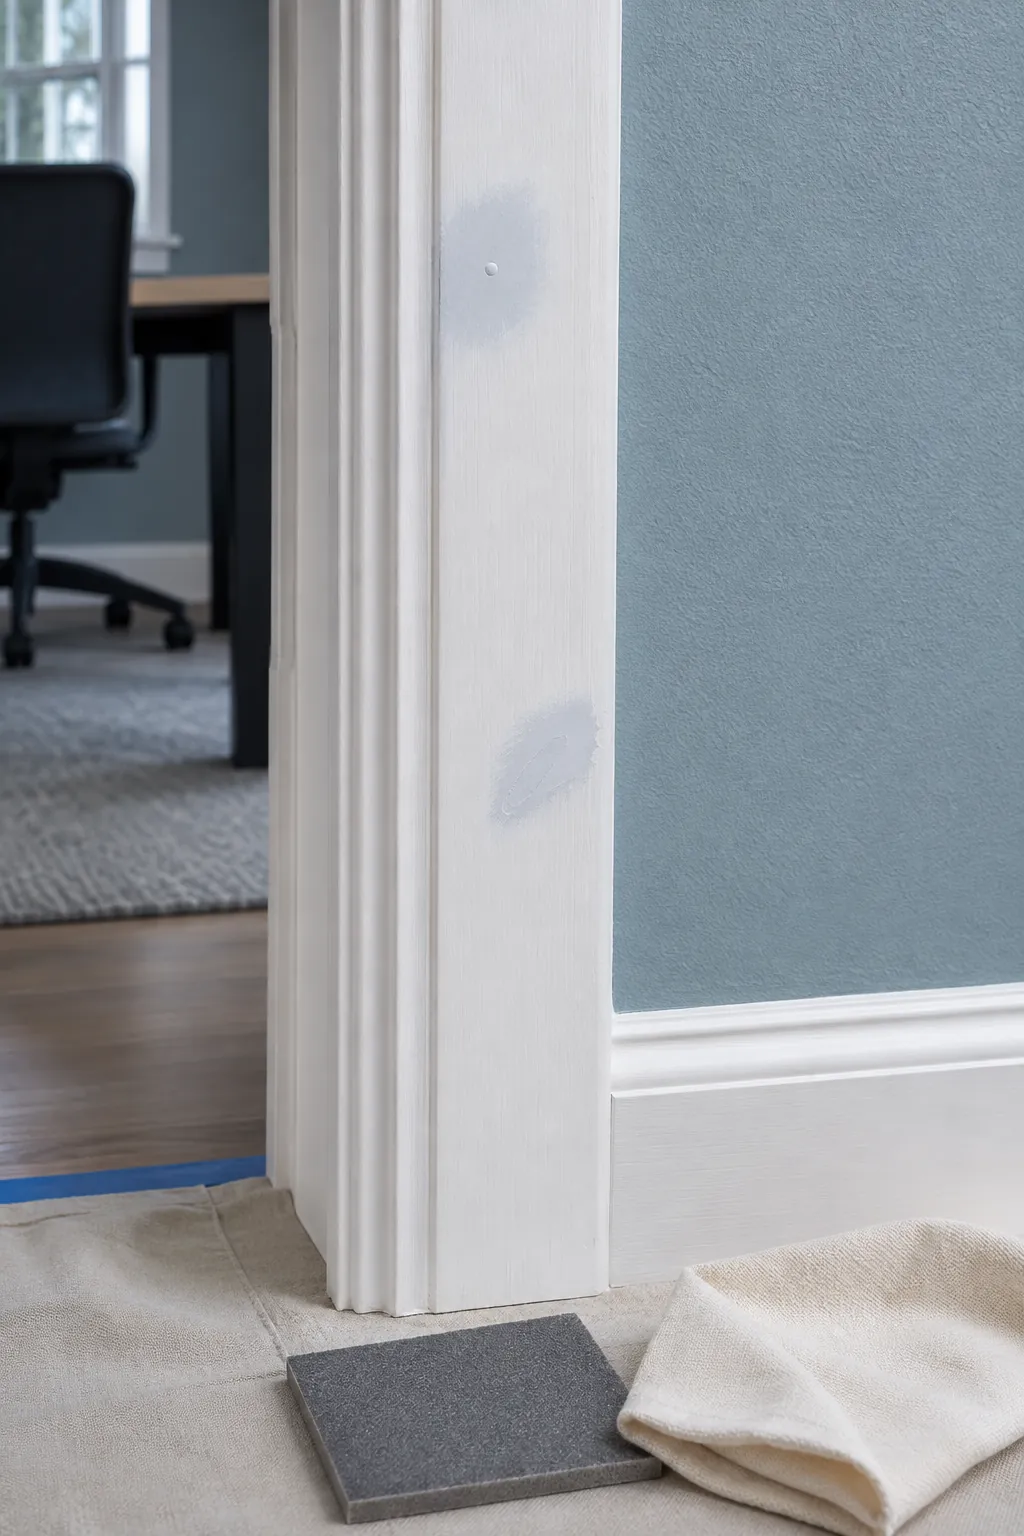
Fill dents and open nail holes with a material suited to interior woodwork. Sand the repair after it cures, then vacuum and wipe away the remaining dust. Paint applied over powder develops a rough surface even when the brush work is perfect.
Prime Bare and Glossy Areas Correctly
Bare wood, exposed filler, stained knots, and glossy old enamel need different primer performance. Spot prime repairs and select a bonding or stain blocking primer when the substrate requires it. Follow the product instructions for cleaning, abrasion, ventilation, and drying.
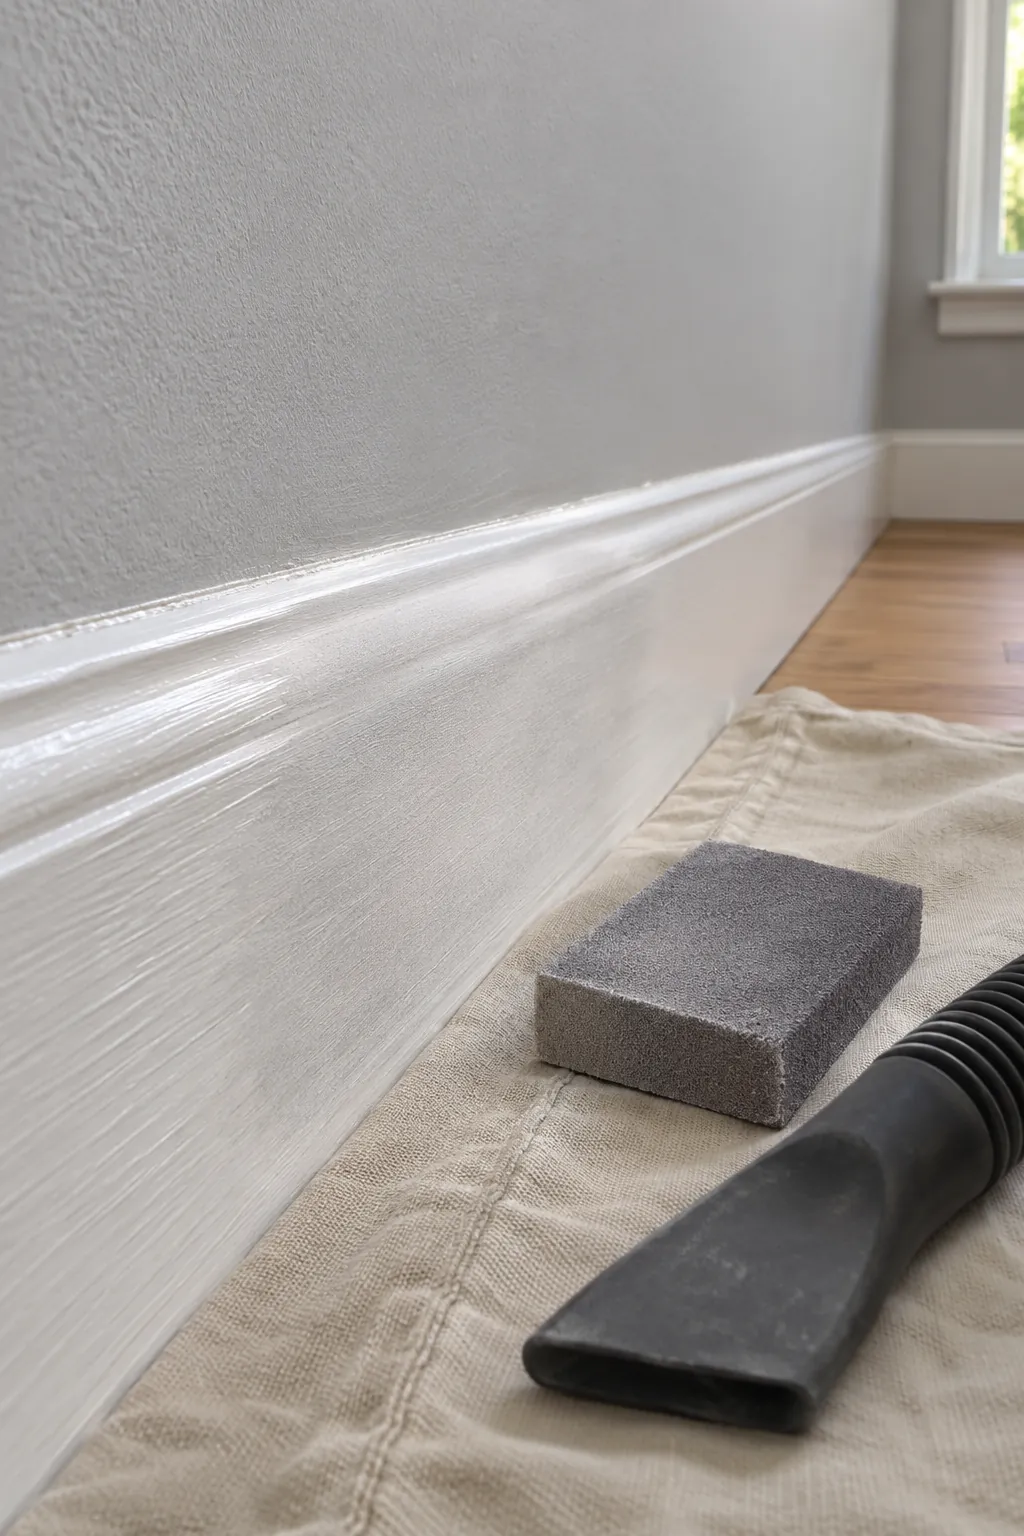
Sand a rough primer coat lightly before applying trim enamel. Primer dust and raised wood fiber will telegraph through the finish. The prepared surface should feel continuous from old paint across every repair.
Choose a Leveling Trim Enamel and Fine Brush
Use a durable coating made for trim, doors, or cabinets rather than ordinary wall paint. A quality trim enamel stays open long enough for shallow brush tracks to relax, then cures to a harder film. Confirm that it is compatible with the primer and old coating.
Match the brush to the paint type and profile. A fine tipped angled brush gives control along door casing, while a slightly wider straight brush can cover flat baseboard faces efficiently. Replace a brush with hooked, split, or hardened bristles because it will drag grooves into every pass.
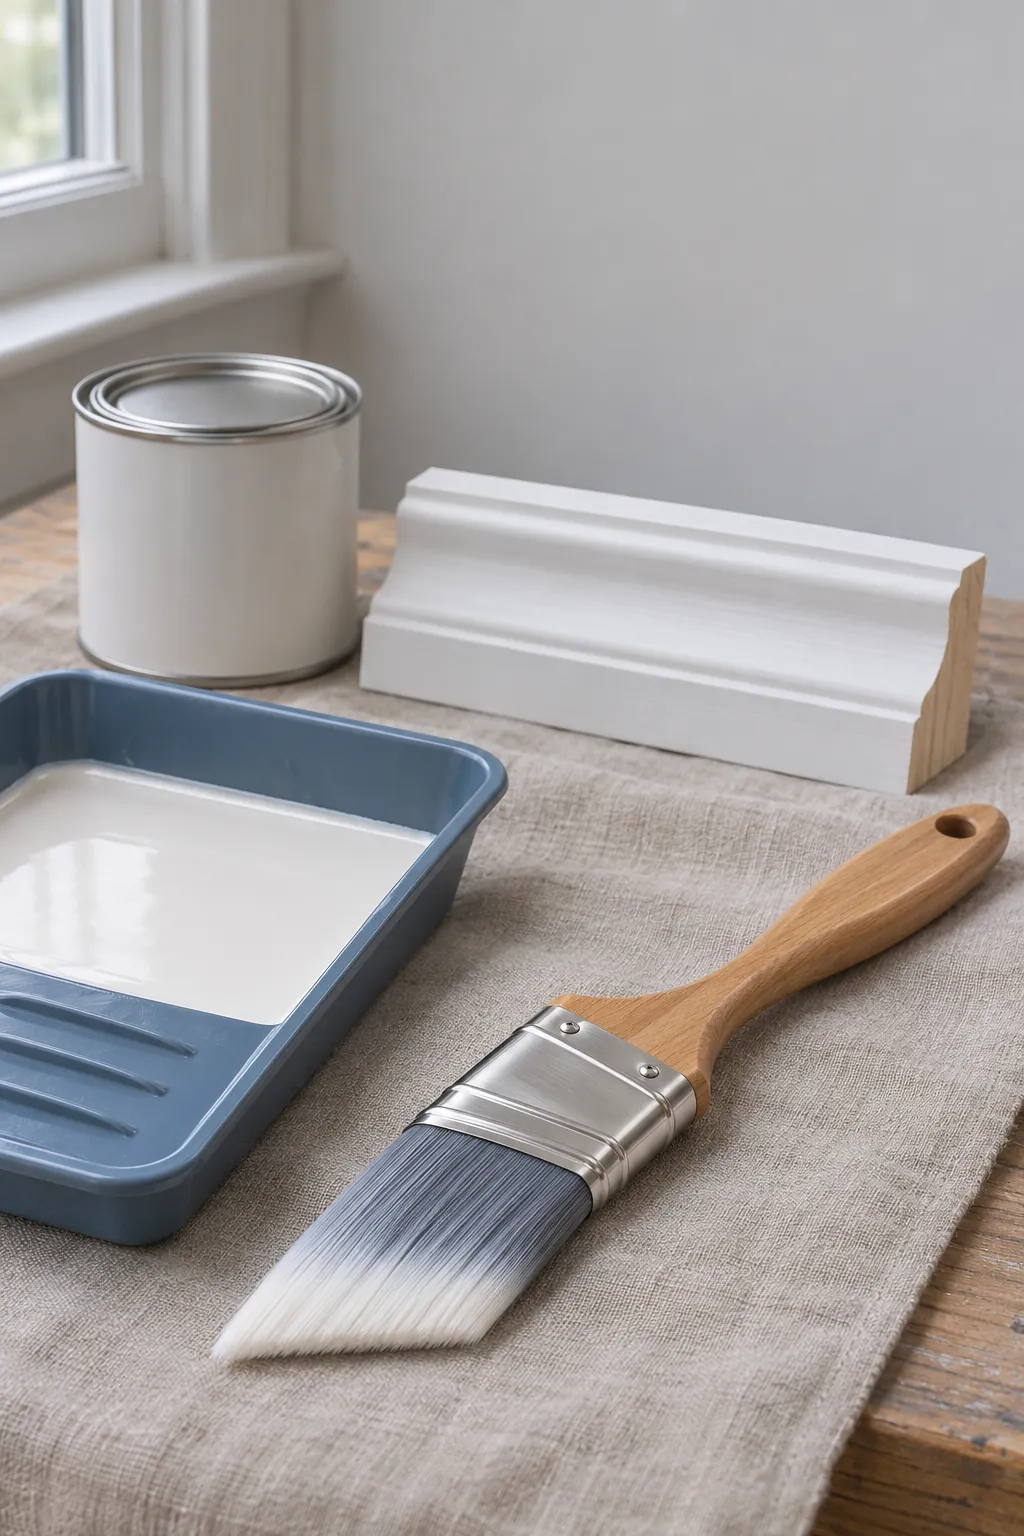
Load Enough Paint Without Flooding Details
Dip only part of the bristle length and tap the brush lightly against the container instead of scraping it dry. The brush needs enough enamel to leave a continuous film. Too little paint creates dry drag marks, while too much collects in corners and sags down profiles.
Work in short sections that you can finish while the edge remains wet. Spread the paint first, then distribute it evenly across the flat and shaped surfaces. Watch lower profile edges for a forming bead before moving to the next section.
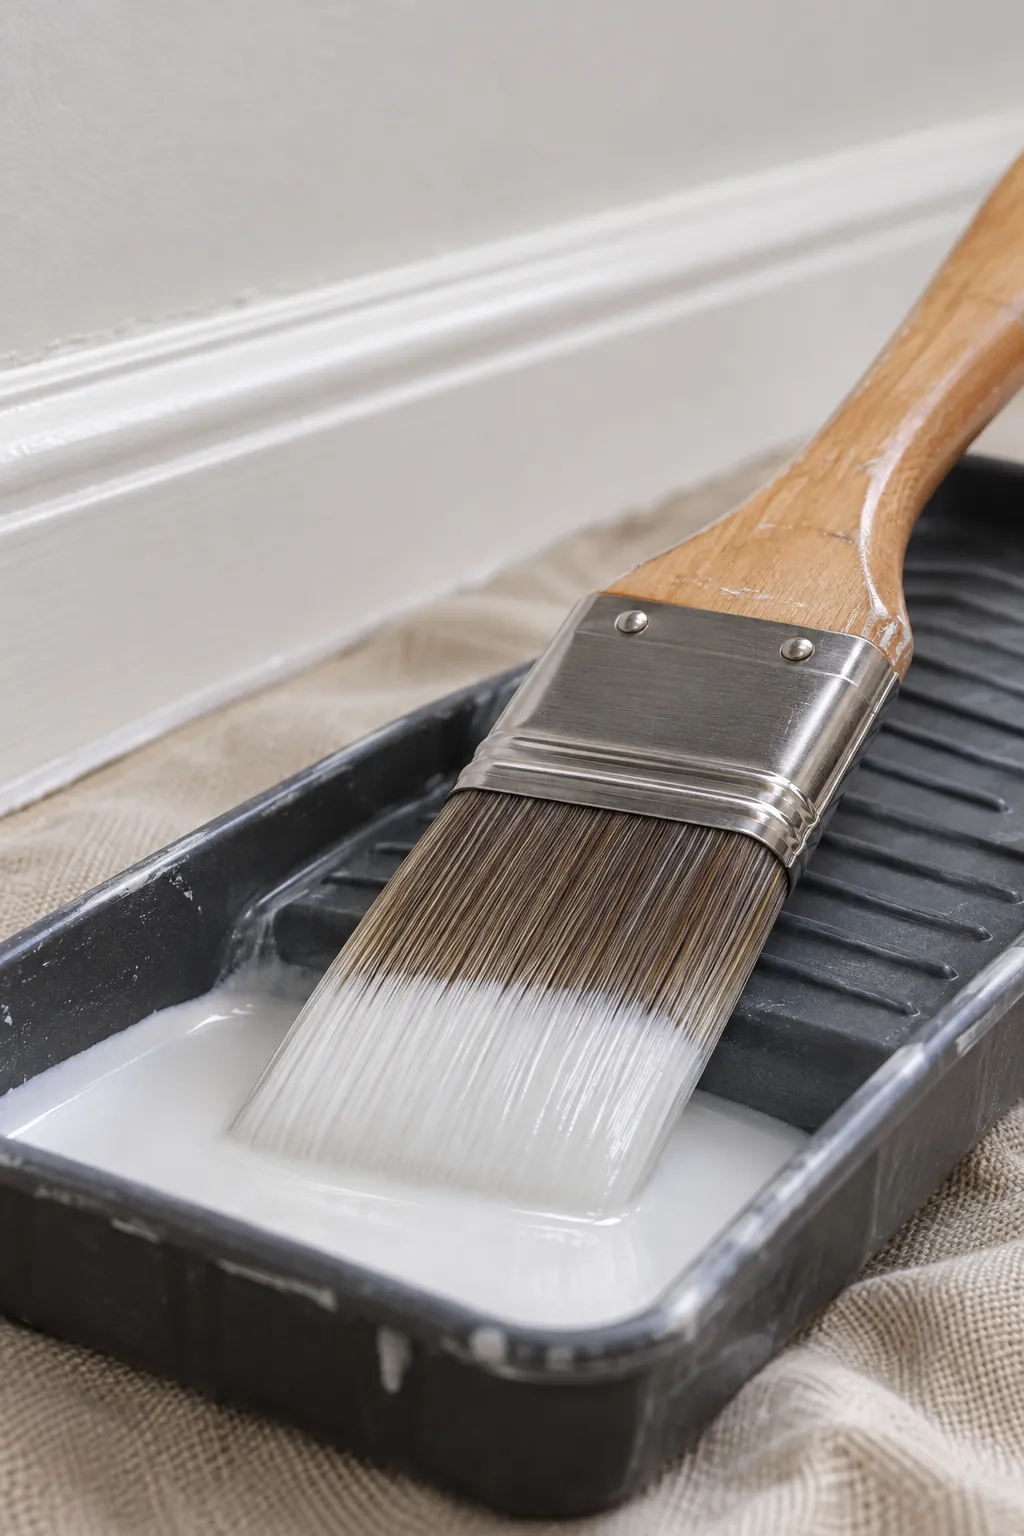
Tip Off Once and Leave the Film Alone
After spreading the enamel, make one light finishing pass in the direction of the trim. Use the tips of the bristles with minimal pressure and lift away gradually at the end. This evens the film without pulling most of it back off.
Do not return to a section that has begun to tack. Repeated brushing breaks the leveling surface and leaves permanent tracks. If you notice a missed spot too late, let the coat cure, sand it smooth, and correct it with the next coat.
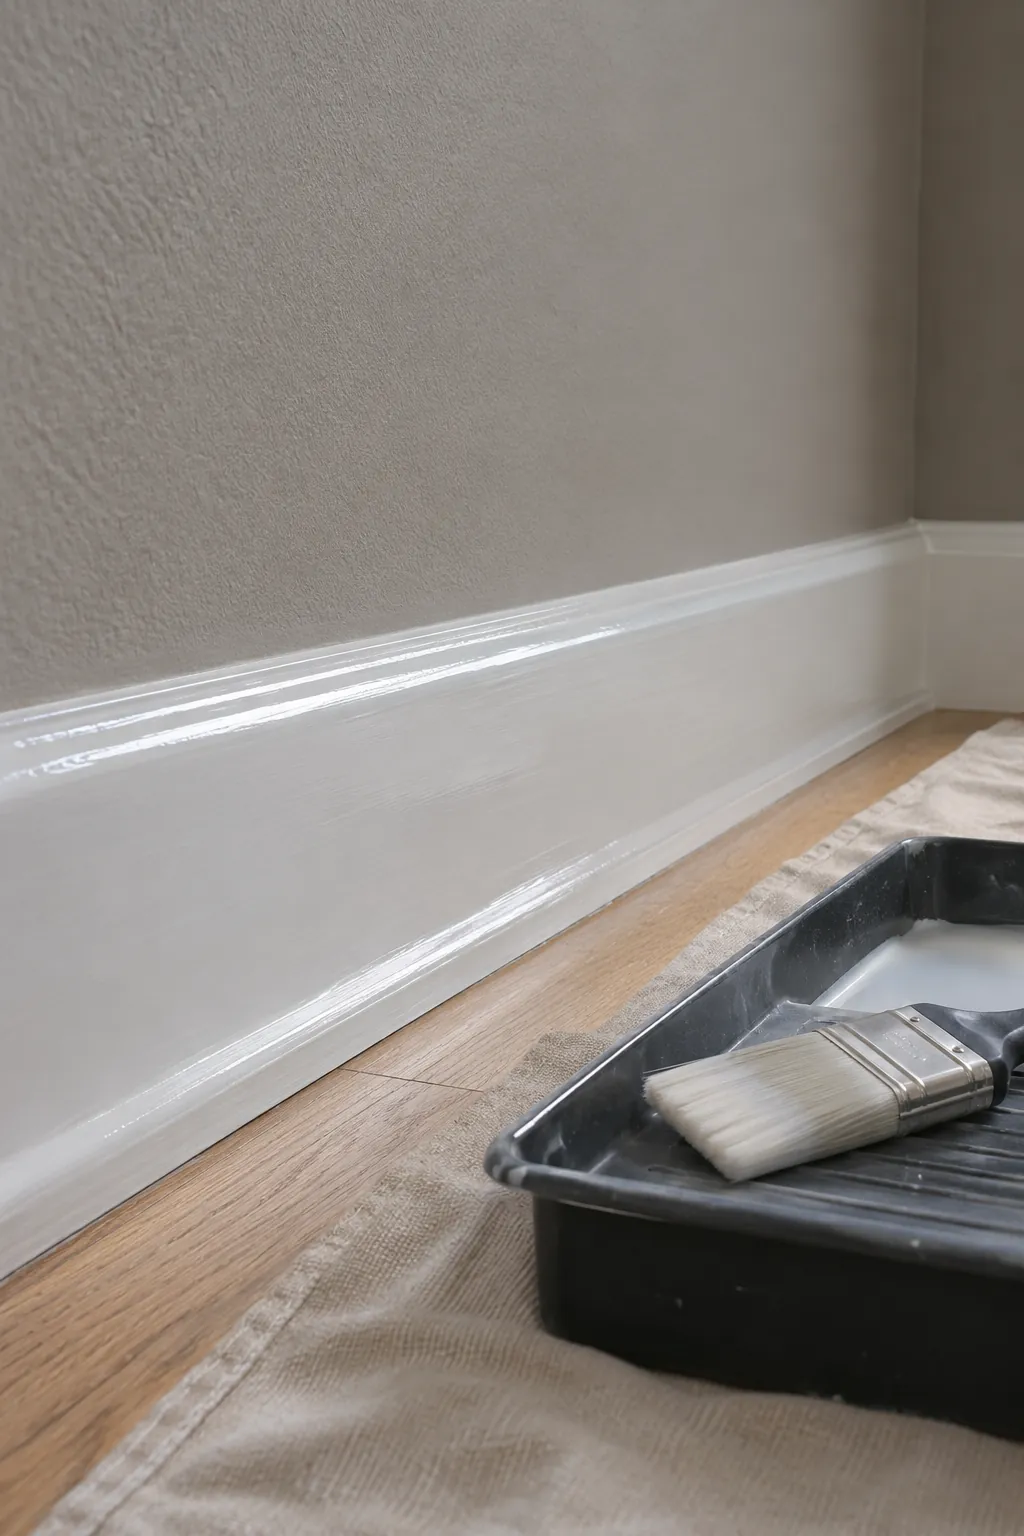
Let Each Coat Level and Cure
Keep the room within the coating maker’s temperature and humidity range. Strong airflow, heat, or a dry surface can shorten working time before the enamel levels. Protect the trim from dust and contact during the full drying period.
Inspect the cured coat in side light. Remove a dust nib or remaining ridge with fine abrasive, clean the surface, and add another thin coat when coverage needs it. A smooth paint finish comes from several controlled layers, not one heavy application.