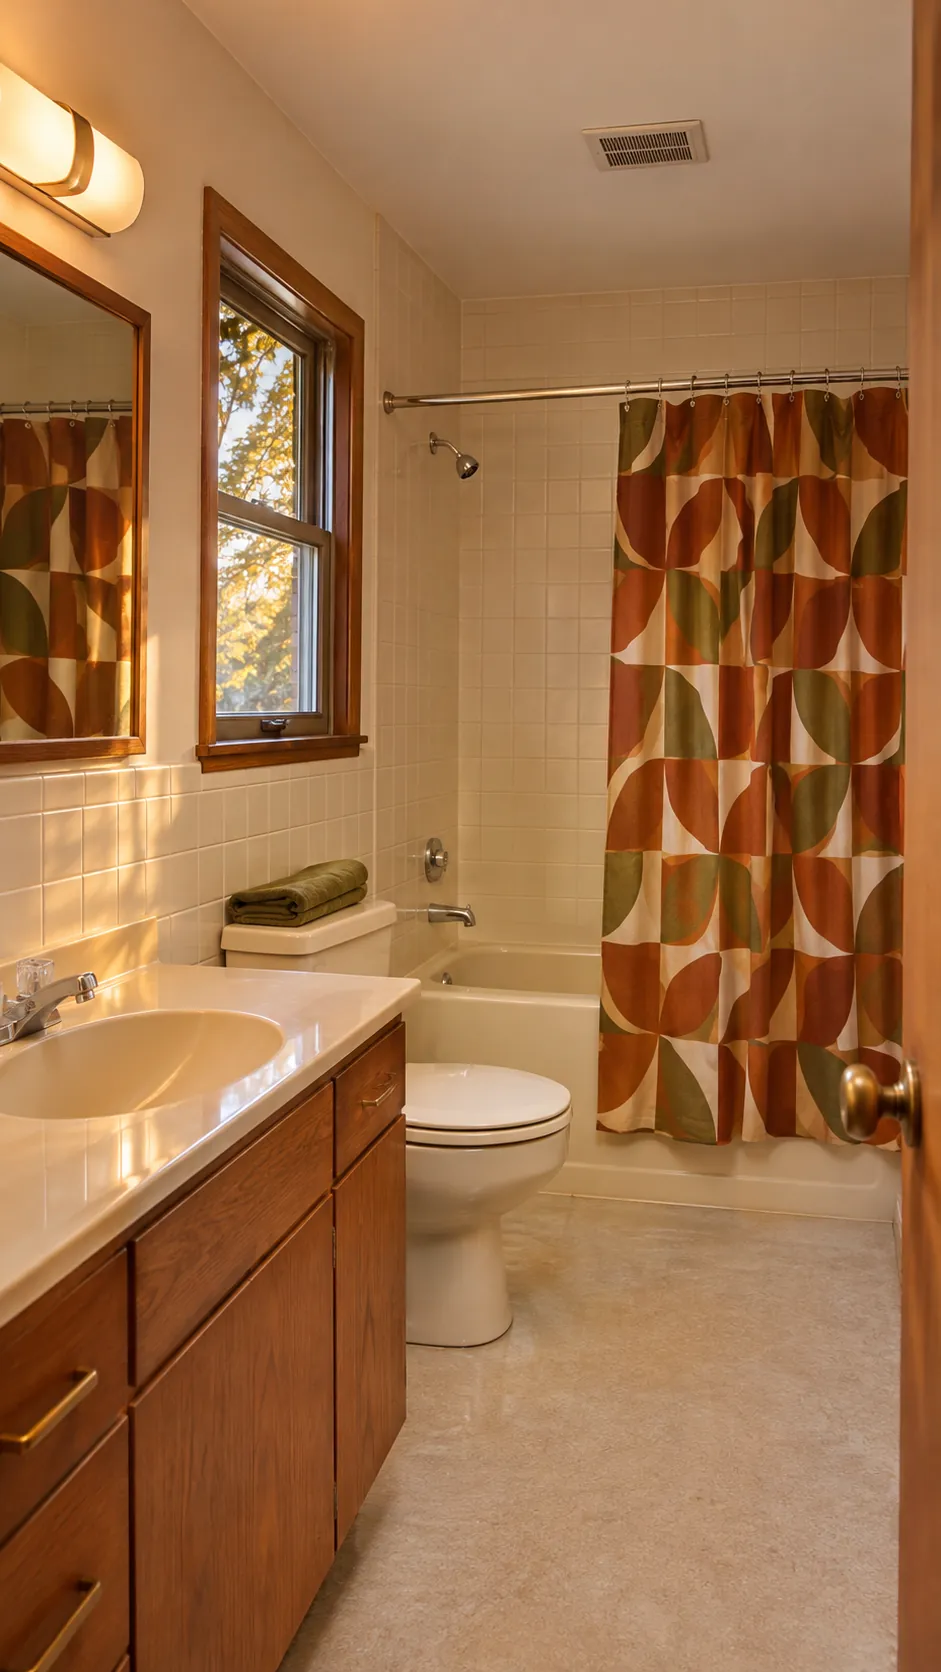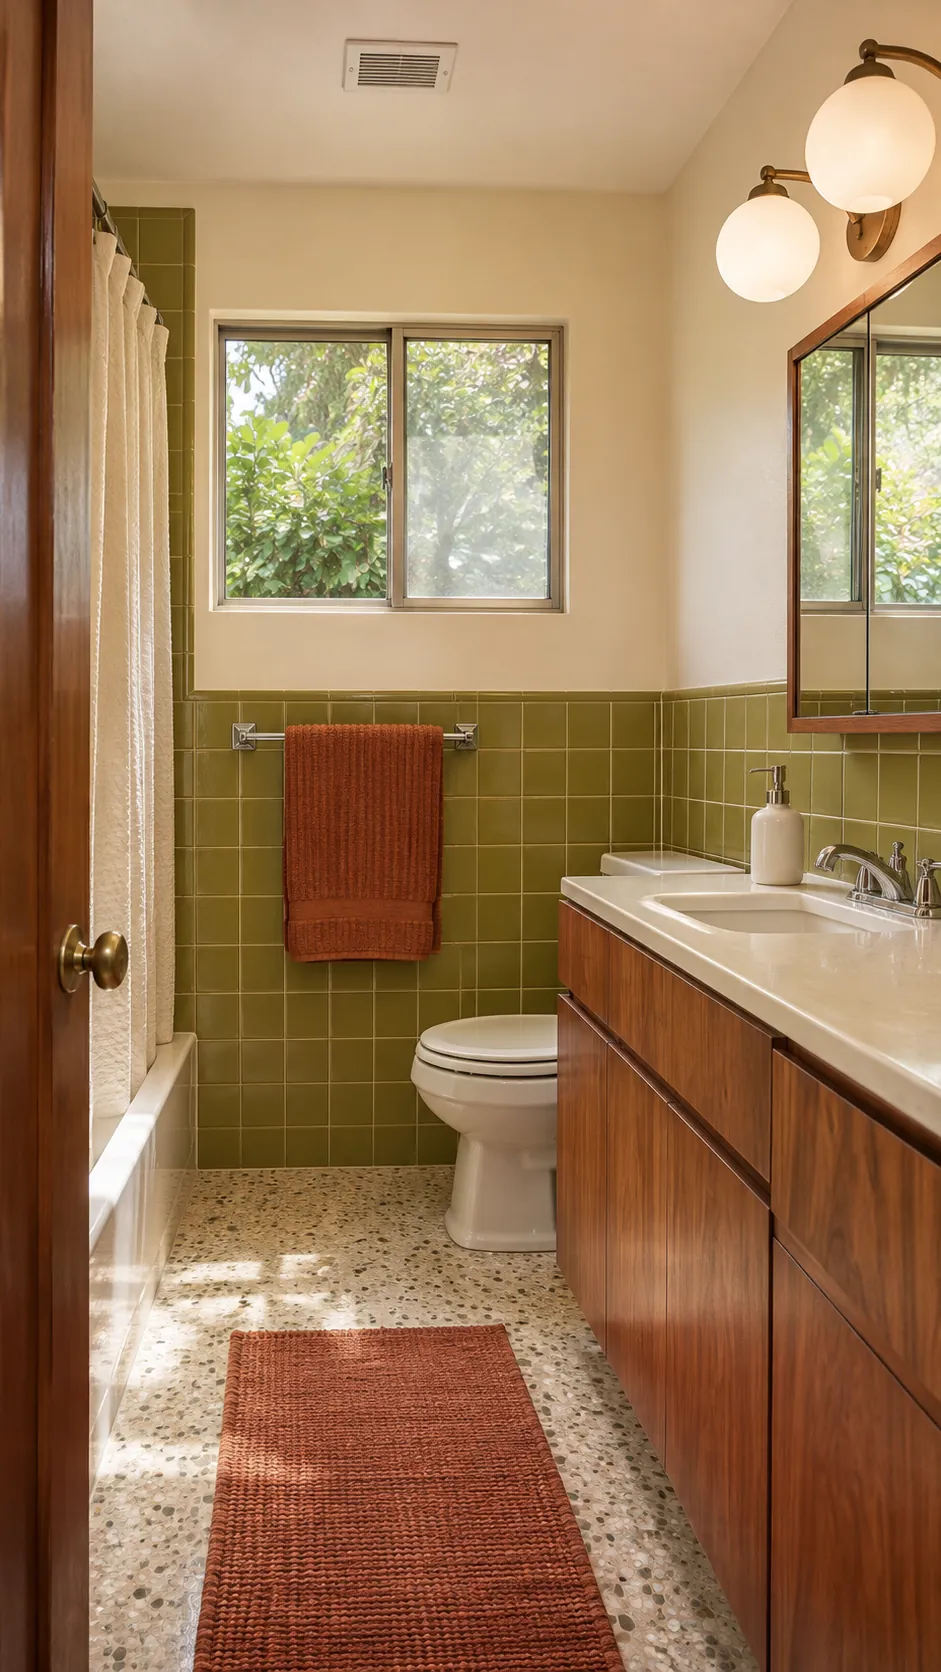
A room from this decade rarely fails because every original surface is wrong. More often, strong tile, dark wood, weak lighting, and later repairs compete until the whole space feels tired. The useful task is to separate sound character from moisture problems, then make a small number of connected changes.
Homeowner discussions show a repeated tension between limited budgets and fear of destroying good material. Many people want cleaner grout, safer lighting, better storage, and a palette that respects the existing tile. Those priorities create a practical order for renovation.
Assess The Room Before Changing Style
Begin with evidence, not color samples. Check for active leaks, soft flooring, loose tile, failed sealant, and poor ventilation, because water damage changes the scope immediately. If the room is dry and the tile is sound, many dated surfaces can become useful anchors rather than demolition targets.
Build A Grounded Earth Tone Palette
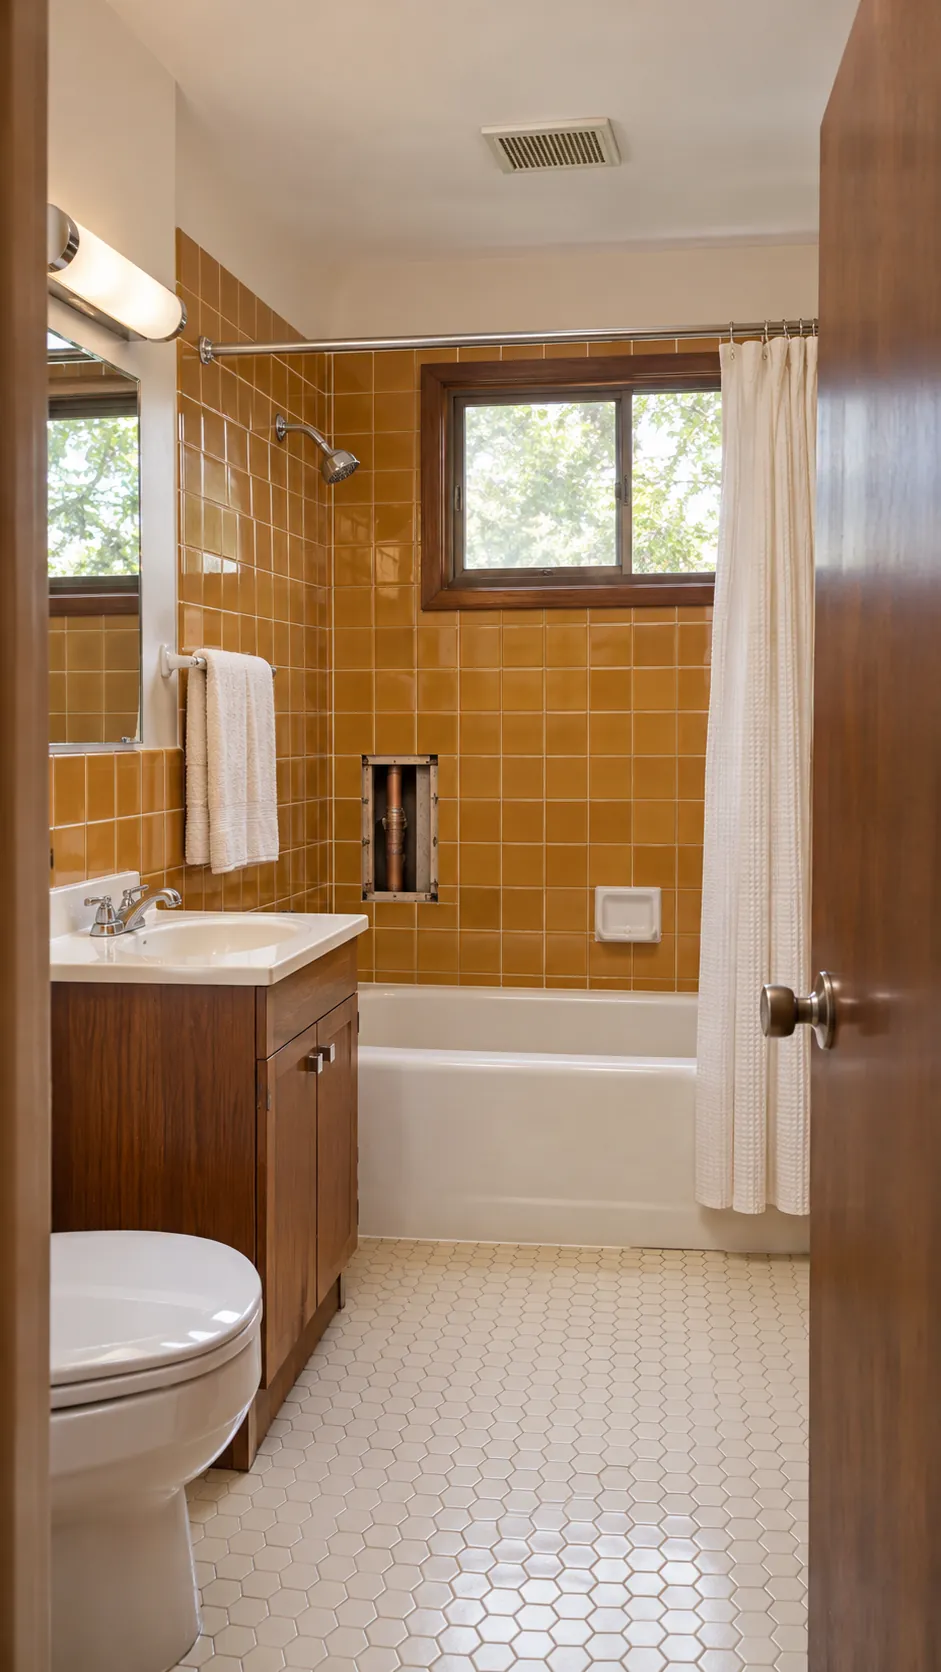
A 70s bathroom aesthetic usually works best when its warm colors have space to breathe. Choose one dominant period tone, one natural wood, one pale neutral, and one smaller accent. This keeps avocado, ochre, brown, or rust from competing with every object in the room.
Warm white is often safer than a cold bright white beside harvest gold or brown tile. Test paint on several walls and view it in daylight and electric light before committing. The goal is connection, not a perfect match.
Keep Strong Original Tile Intentional
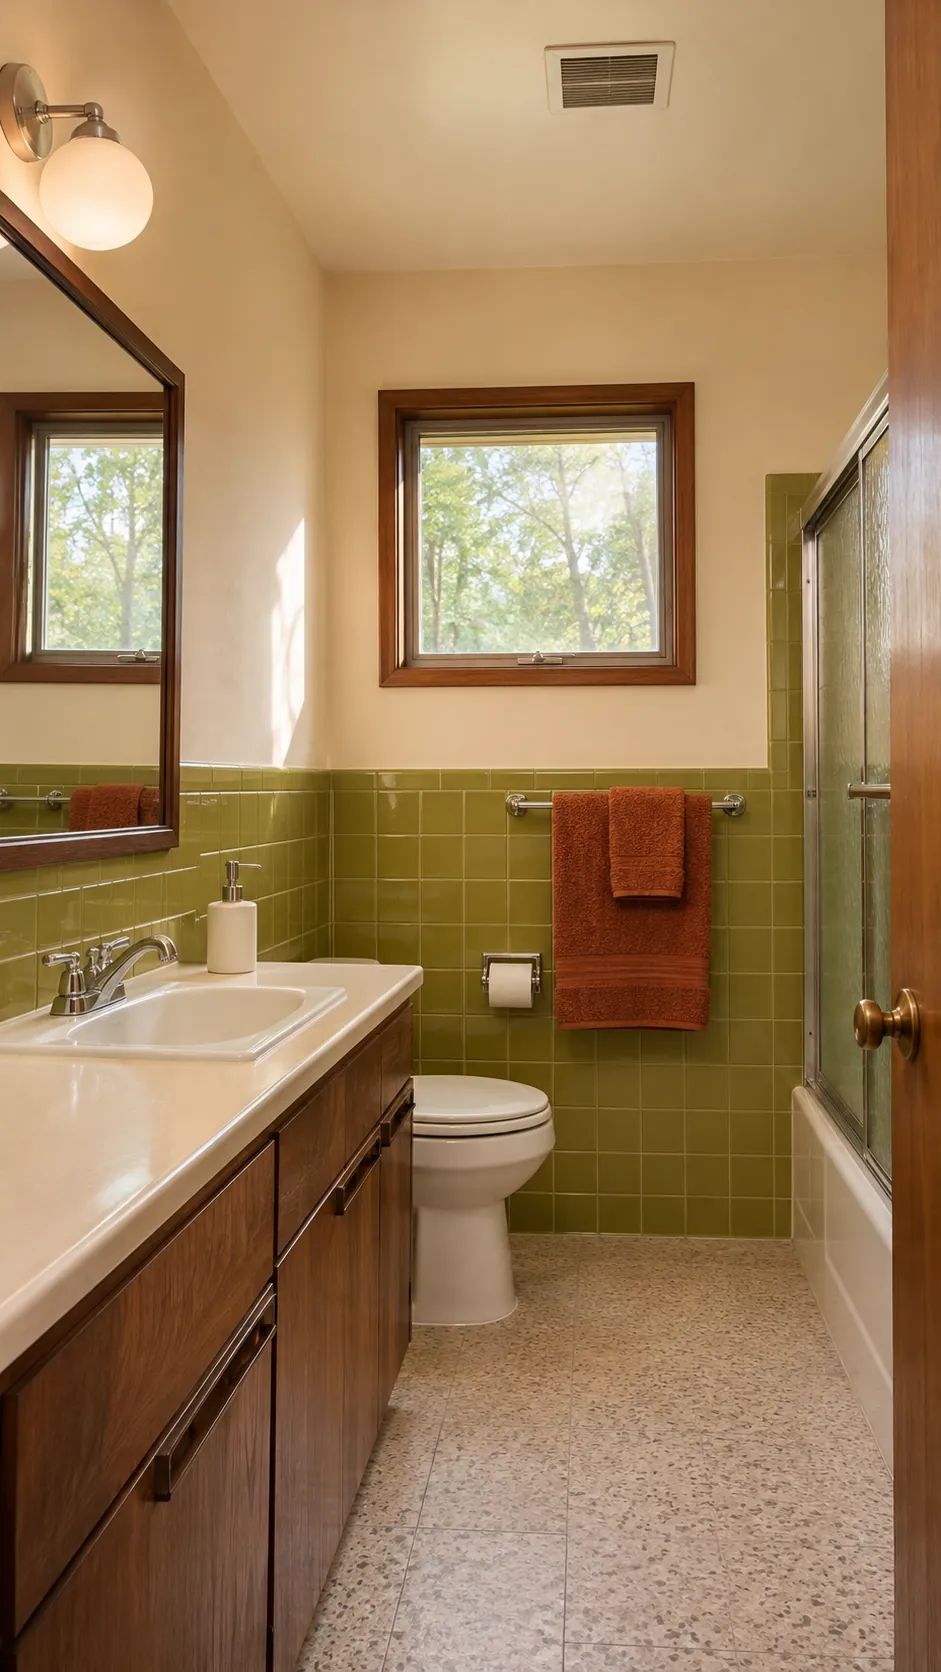
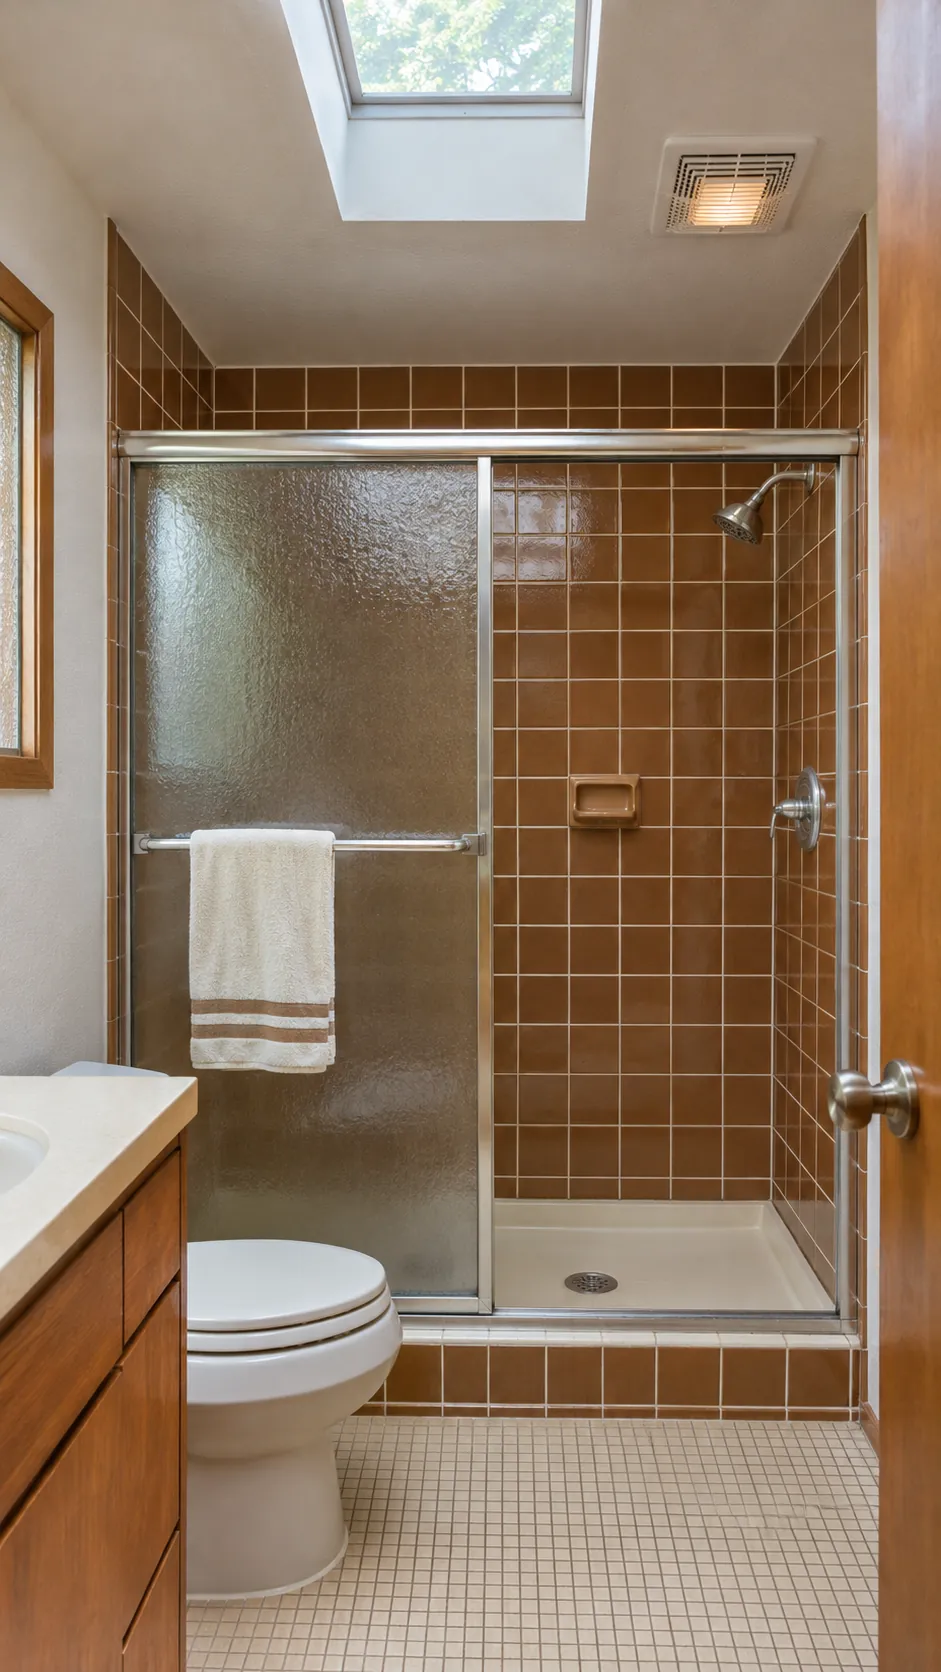
Full height square tile can look impressive when the surrounding finishes stop apologizing for it. Clean it gently, repair the correct grout type, and repeat its color once in a textile or painted cabinet. Plain white porcelain gives the eye a resting place.
Do not coat sound wet area tile merely because the color feels difficult. Coatings can fail at joints and edges, while demolition may reveal a much larger waterproofing project. A qualified tile professional can identify movement, hollow areas, and repairs that need more than cosmetic work.
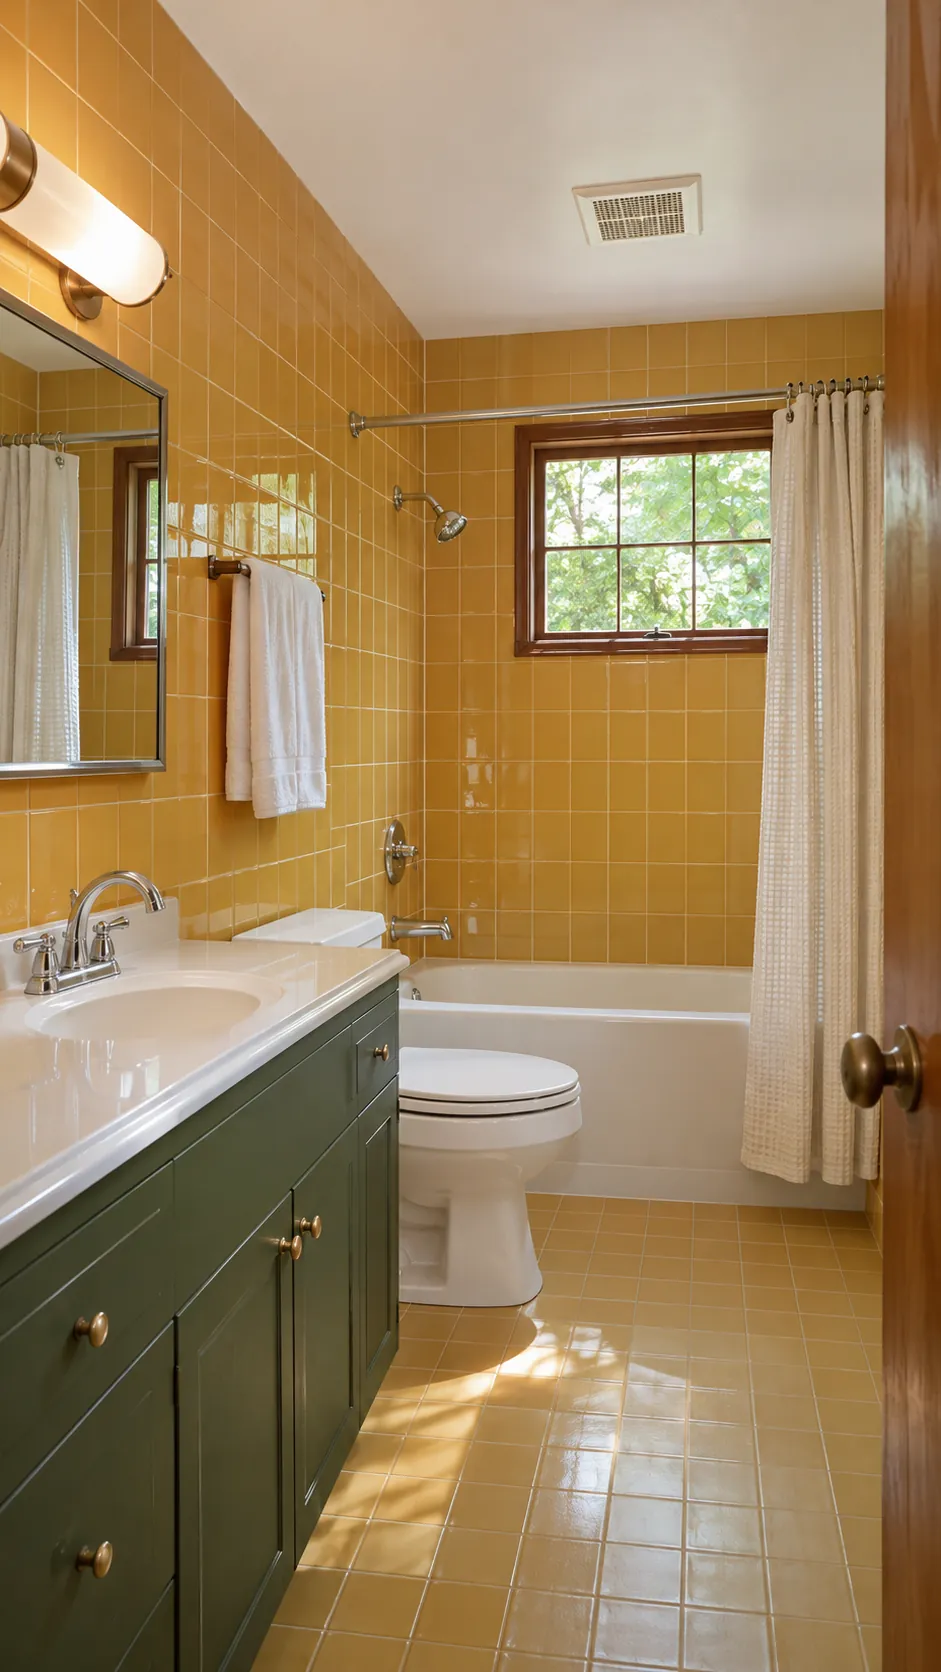
Refinish A Sound Wood Vanity
Dark slab front cabinetry is a defining part of many midcentury bathroom designs. If the boxes are solid, cleaning, minor veneer repair, and a suitable clear finish can preserve better material than a low cost replacement. A pale counter and simple sink keep the mass of wood from feeling heavy.
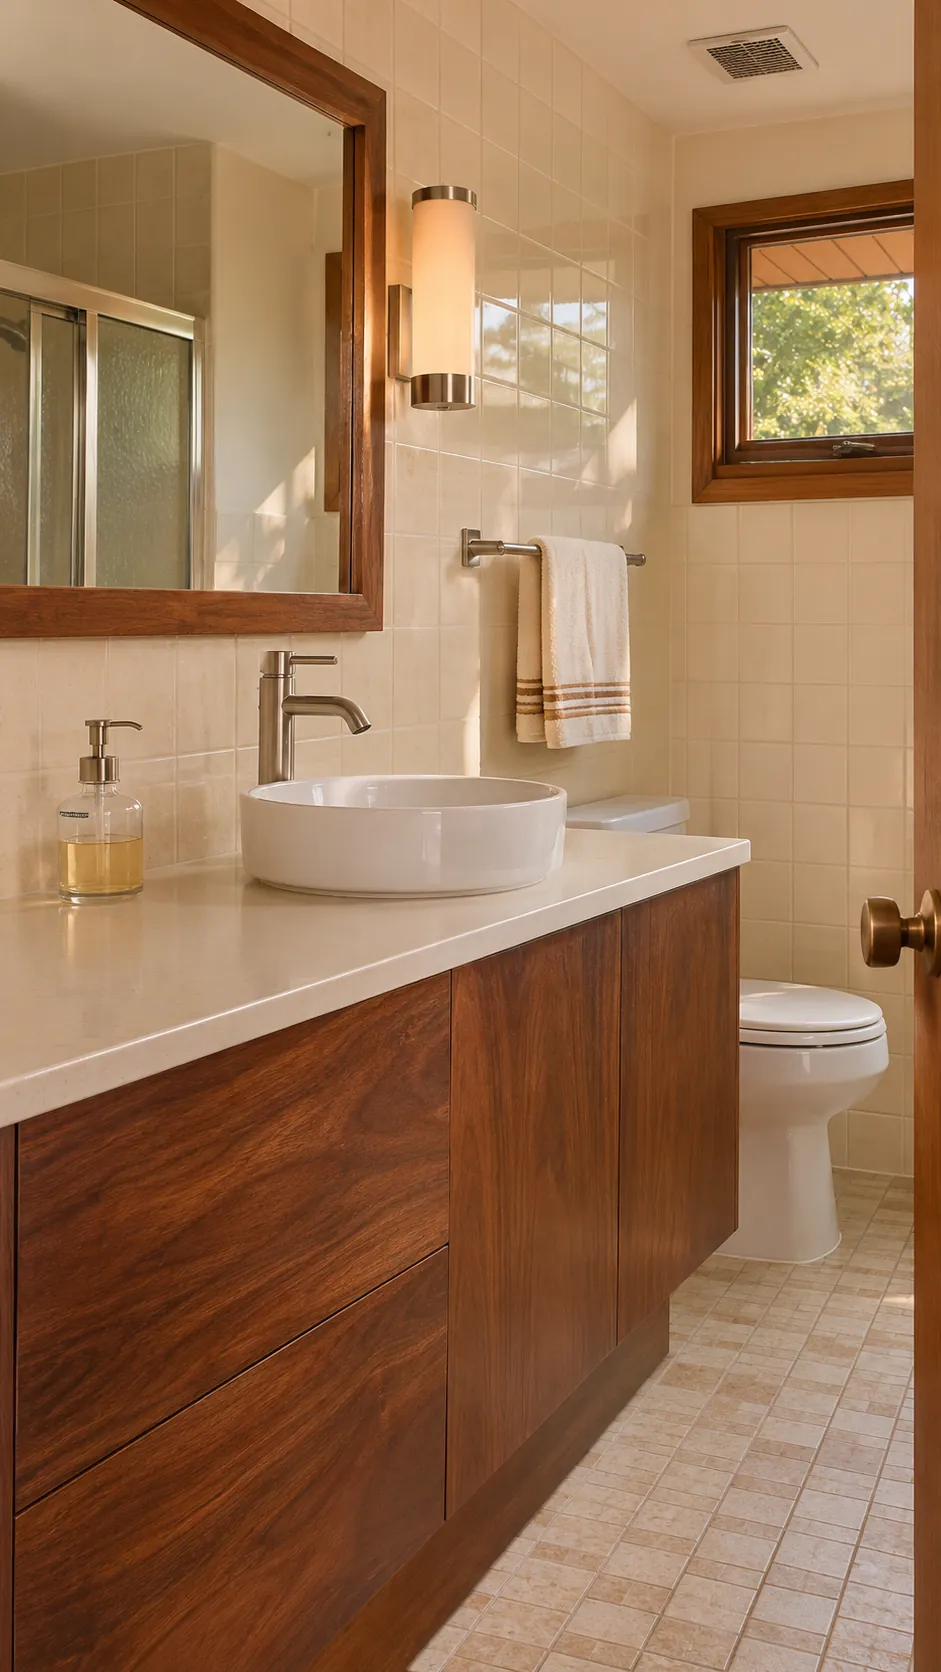
Replace Harsh Vanity Lighting
Poor light makes brown tile muddy and green tile gray. Use a diffused fixture on each side of the mirror when space allows, then add a soft ceiling source for general light. Select lamps with consistent color and enough output for grooming.
Keep every electrical change outside prohibited wet zones and use fixtures rated for the location. An electrician can confirm required protection and safe placement. Opal glass fits the decade without producing glare.
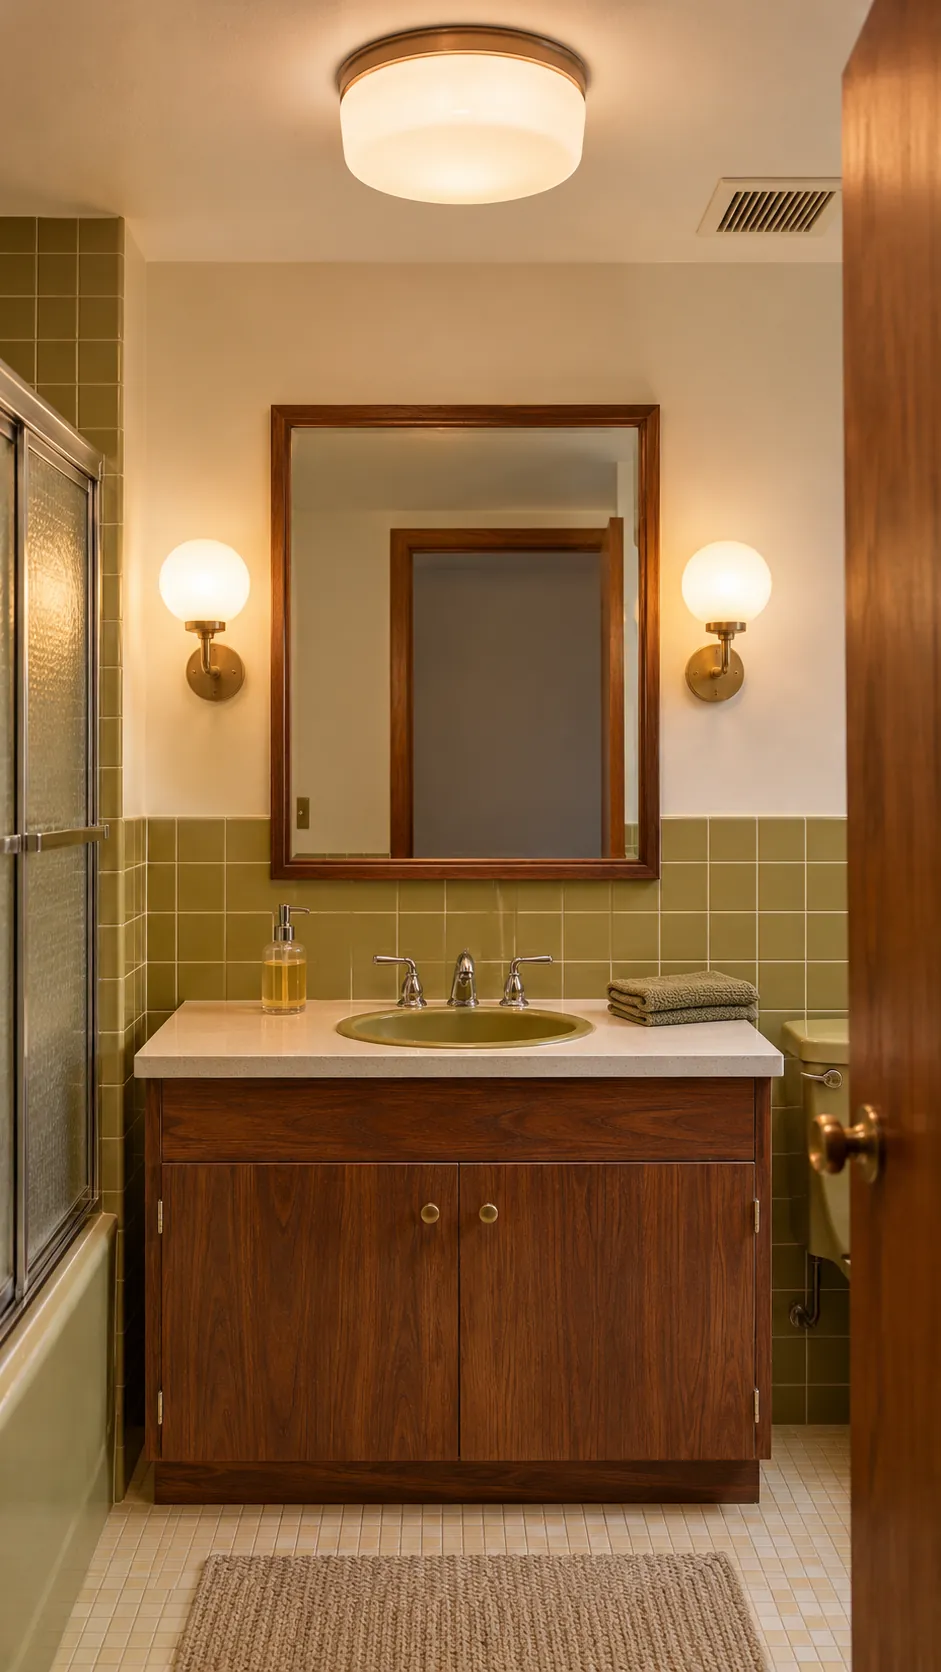
Add Storage Without Closing The Room
A shallow medicine cabinet provides useful depth without consuming floor area. Add a narrow teak shelf or small wall cabinet only where doors, shoulders, and towel use remain clear. Closed storage should hold visual clutter, while one open shelf can carry daily items.
Avoid a deep cabinet above the toilet if it makes the room feel pinched or creates a head hazard. Measure the real path through the room before ordering. Storage succeeds when it reduces friction, not when it fills every blank wall.
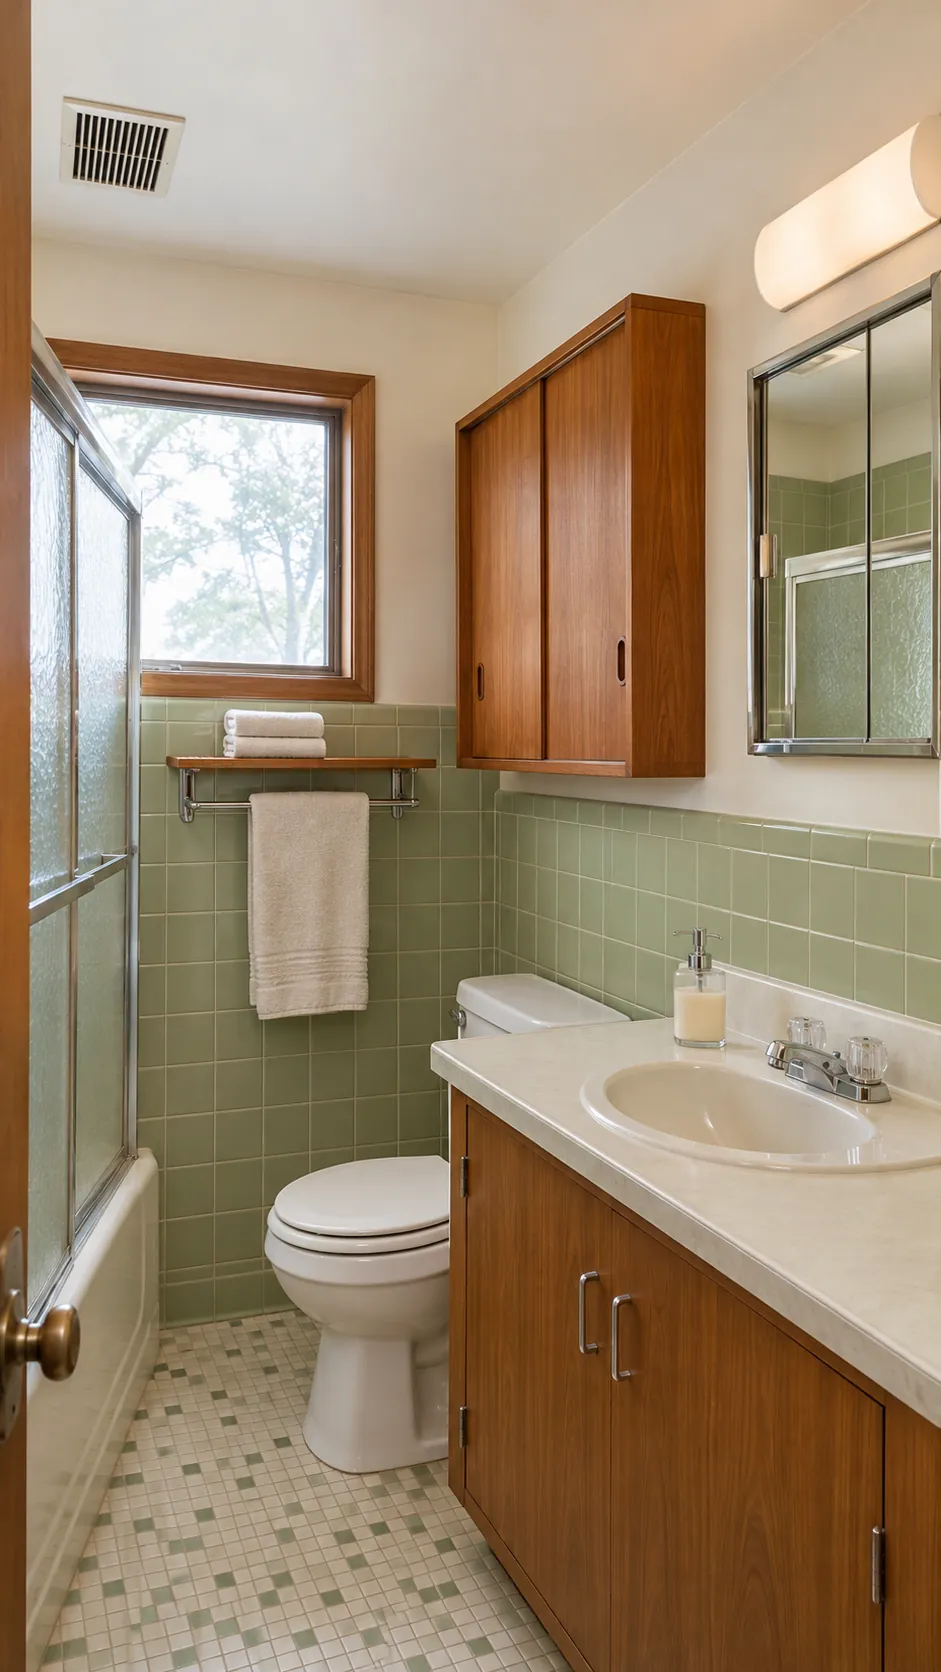
Repair Grout And Control Moisture
Cracked or missing grout can indicate movement, not just age. Find and correct the cause before filling joints, and use products compatible with the tile, joint width, and wet area. Replace failed flexible sealant at changes of plane rather than packing those joints with rigid grout.
A quiet exhaust fan that actually vents outdoors protects paint, wood, and grout. Run it during bathing and long enough afterward to clear moisture. Persistent odor, staining, or soft material needs professional assessment rather than concealment.
Use Pattern As A Controlled Accent
Geometric pattern can carry the playful side of retro bathroom ideas vintage fans enjoy. Put it on one replaceable surface such as a curtain or towel so the fixed tile remains the architectural lead. Rust, olive, cream, and walnut create a strong period relationship without copying a catalog set.
Finish with restraint. Keep counters clear, choose hardware that relates to existing metal, and let one healthy plant or useful textile soften the hard surfaces. A 1970s bathroom feels convincing when function and color work together.