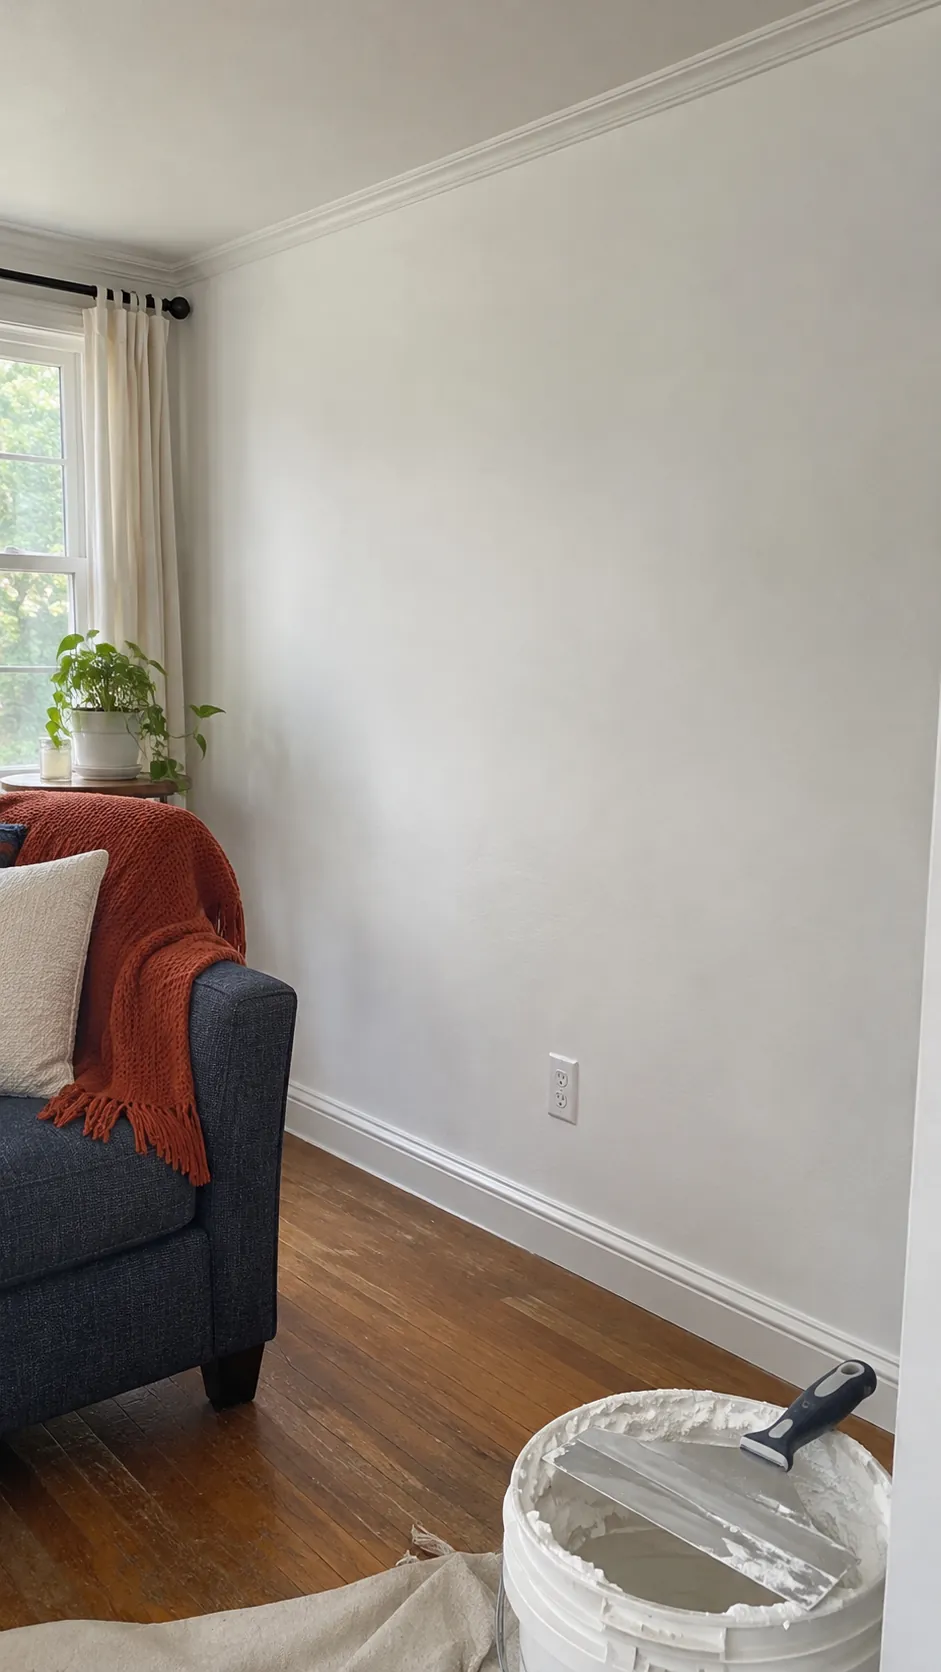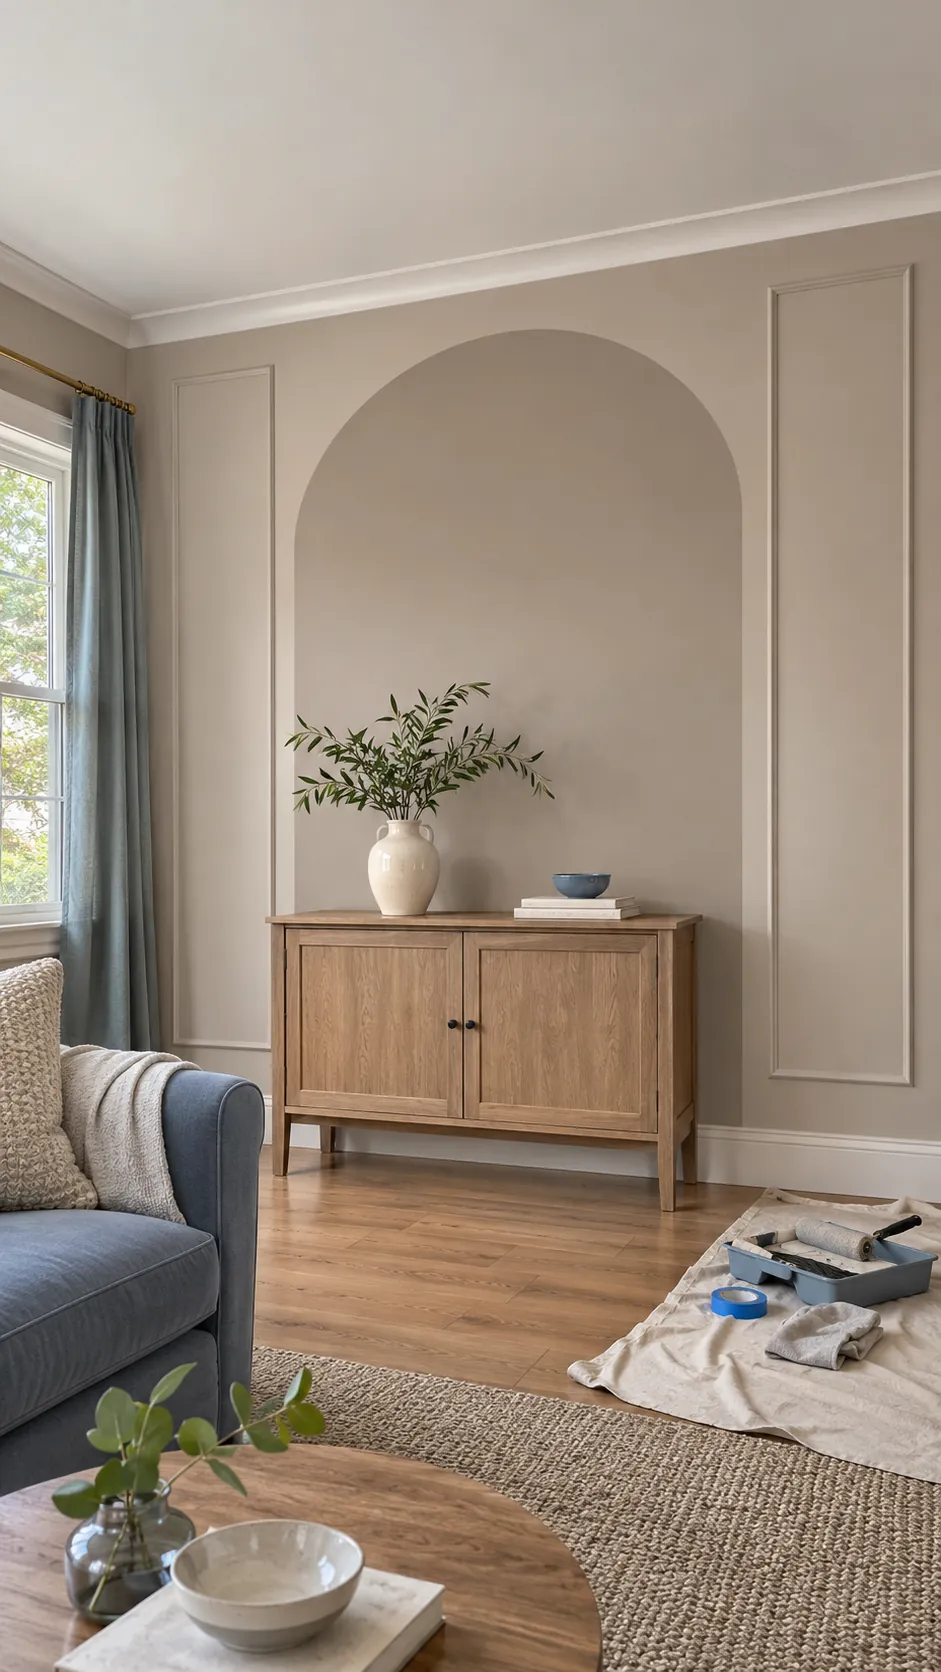
A tired wall does not always need demolition. If the surface is dry, stable, and safely attached, paint, molding, panels, paper, or a careful skim coat can change its character with less waste. Diagnose leaks, movement, mold, and unsafe materials before choosing a cosmetic treatment.
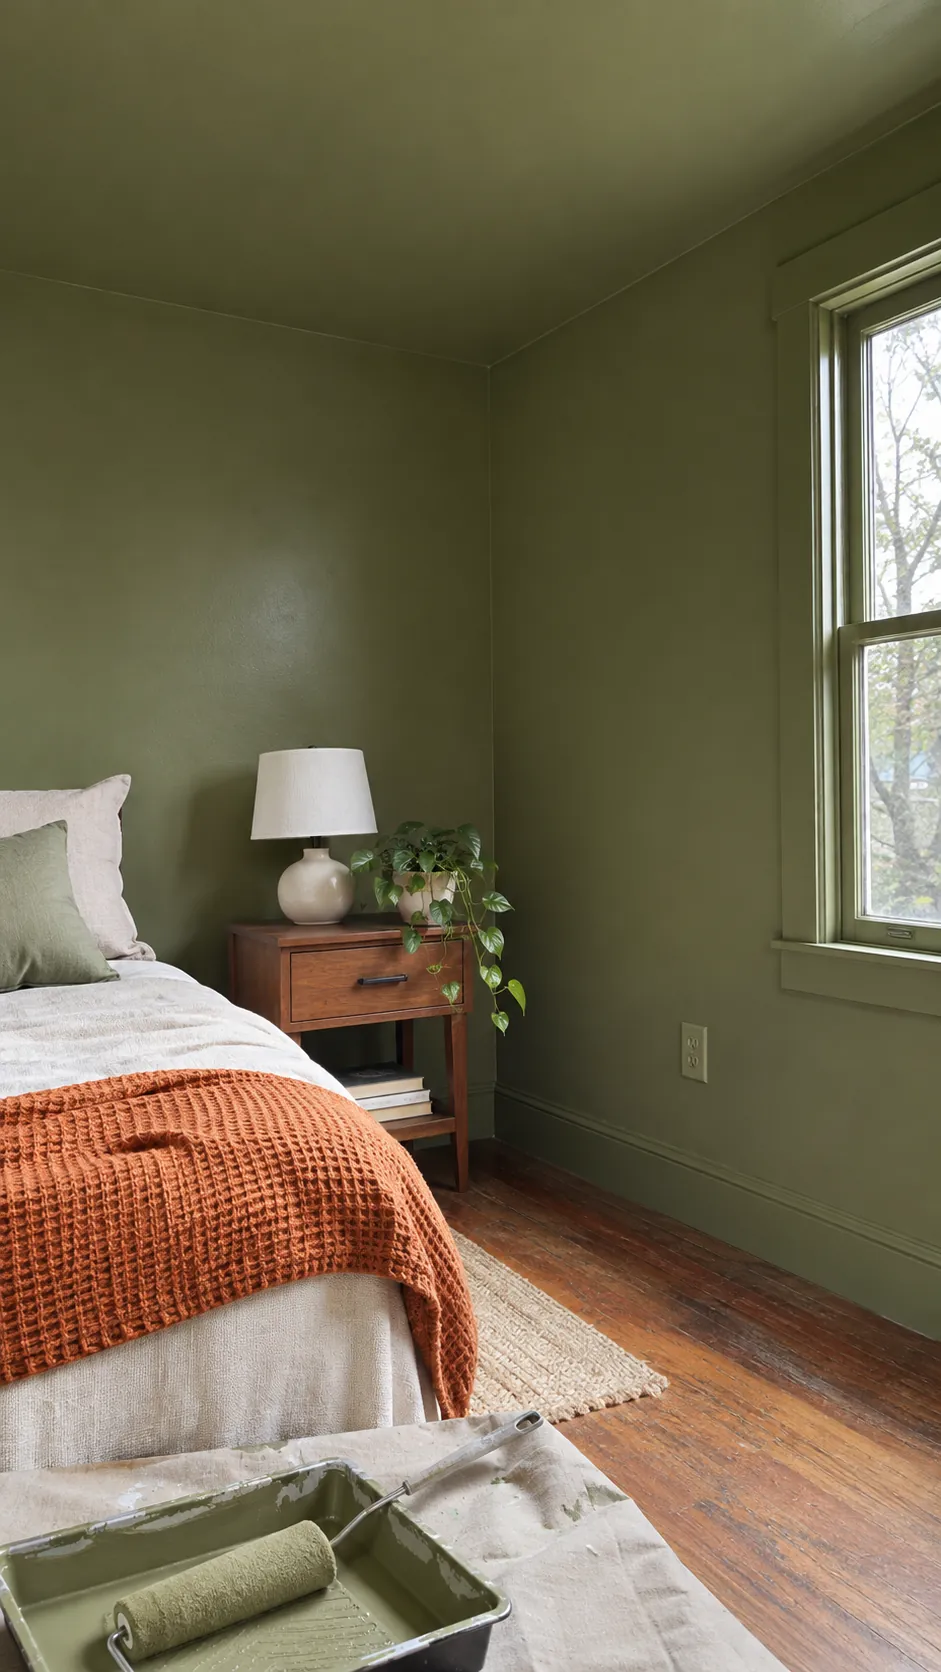
Color Drenched Paint
Test the color on every plane because ceiling and trim light differ from the wall. Use the correct enamel on woodwork even when the color matches. A unified envelope can soften awkward breaks and make a small room feel intentional.
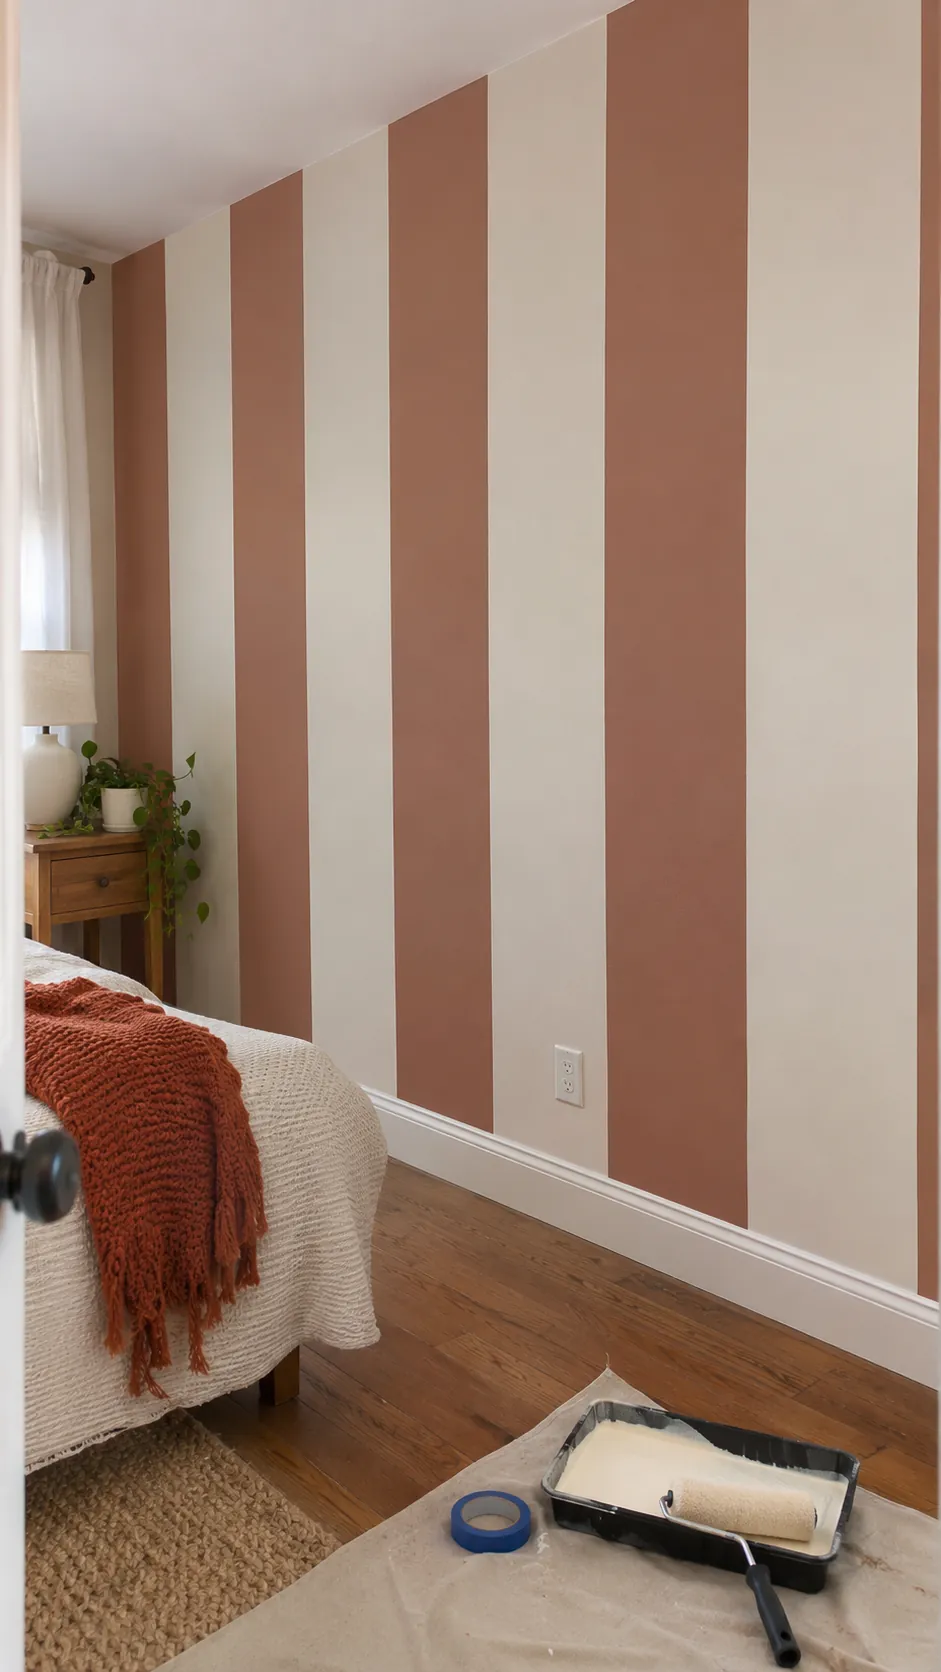
Wide Painted Stripes
Mark a full layout before taping so the final stripe does not become noticeably narrow. Seal tape edges with the base color before applying the contrast. A low contrast palette adds rhythm without making the room feel busy.
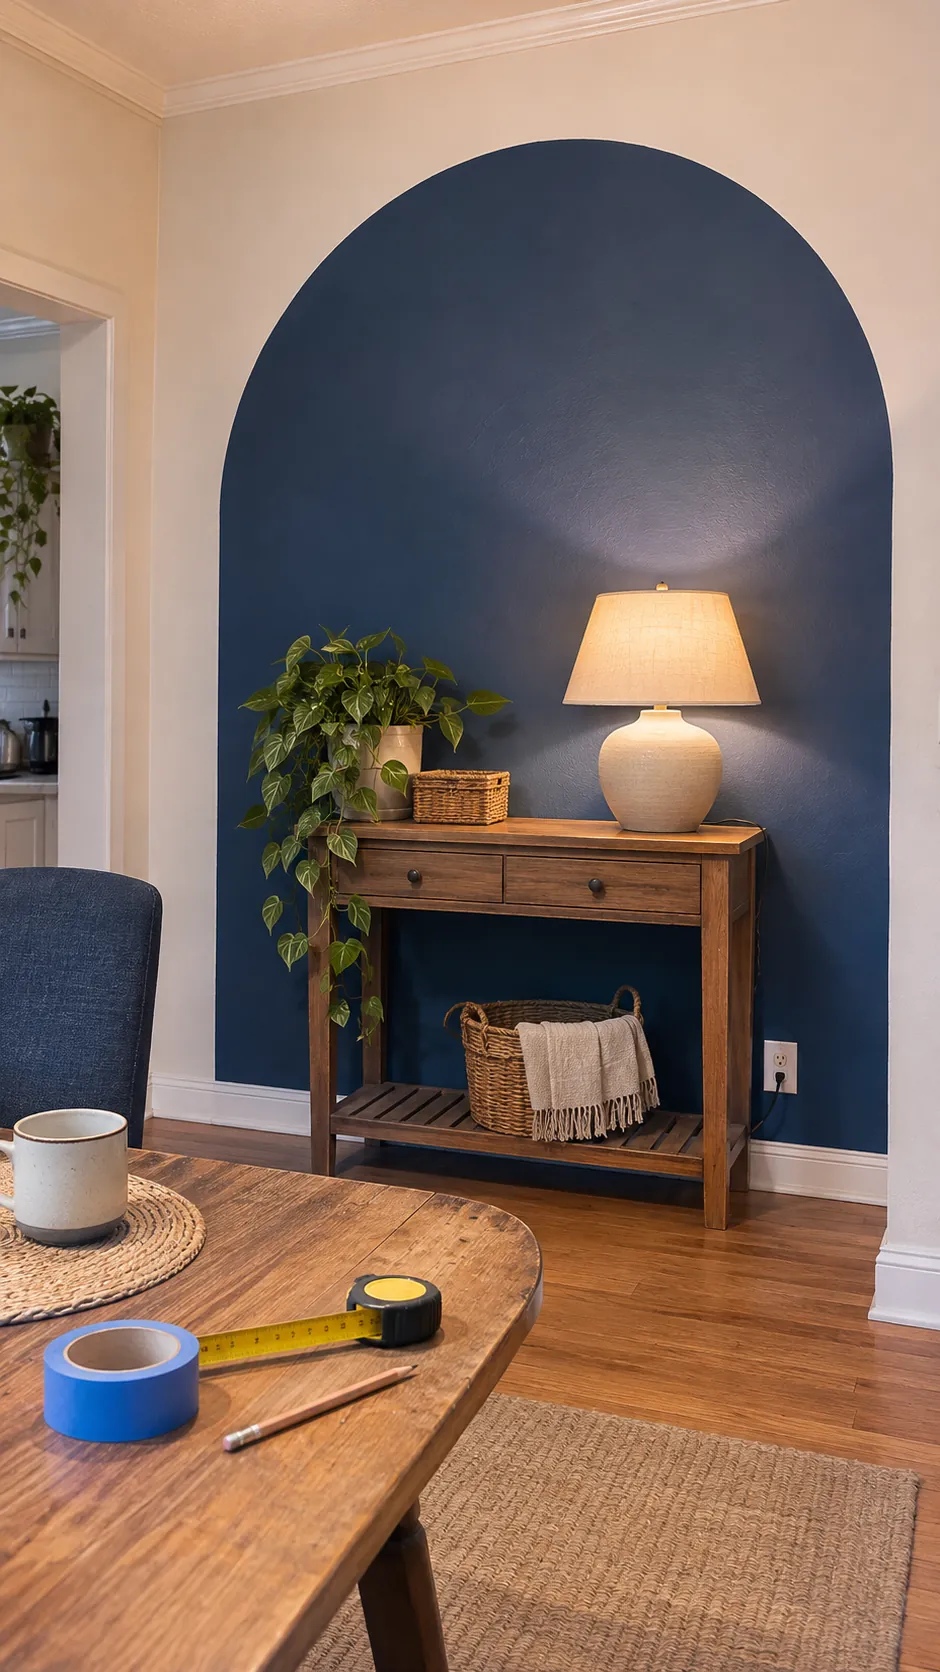
Painted Arch Niche
Build the curve with a string compass or flexible template, then check it from across the room. Place furniture inside the painted boundary so the shape reads as an intentional niche. This treatment creates a focal zone without adding wall thickness.
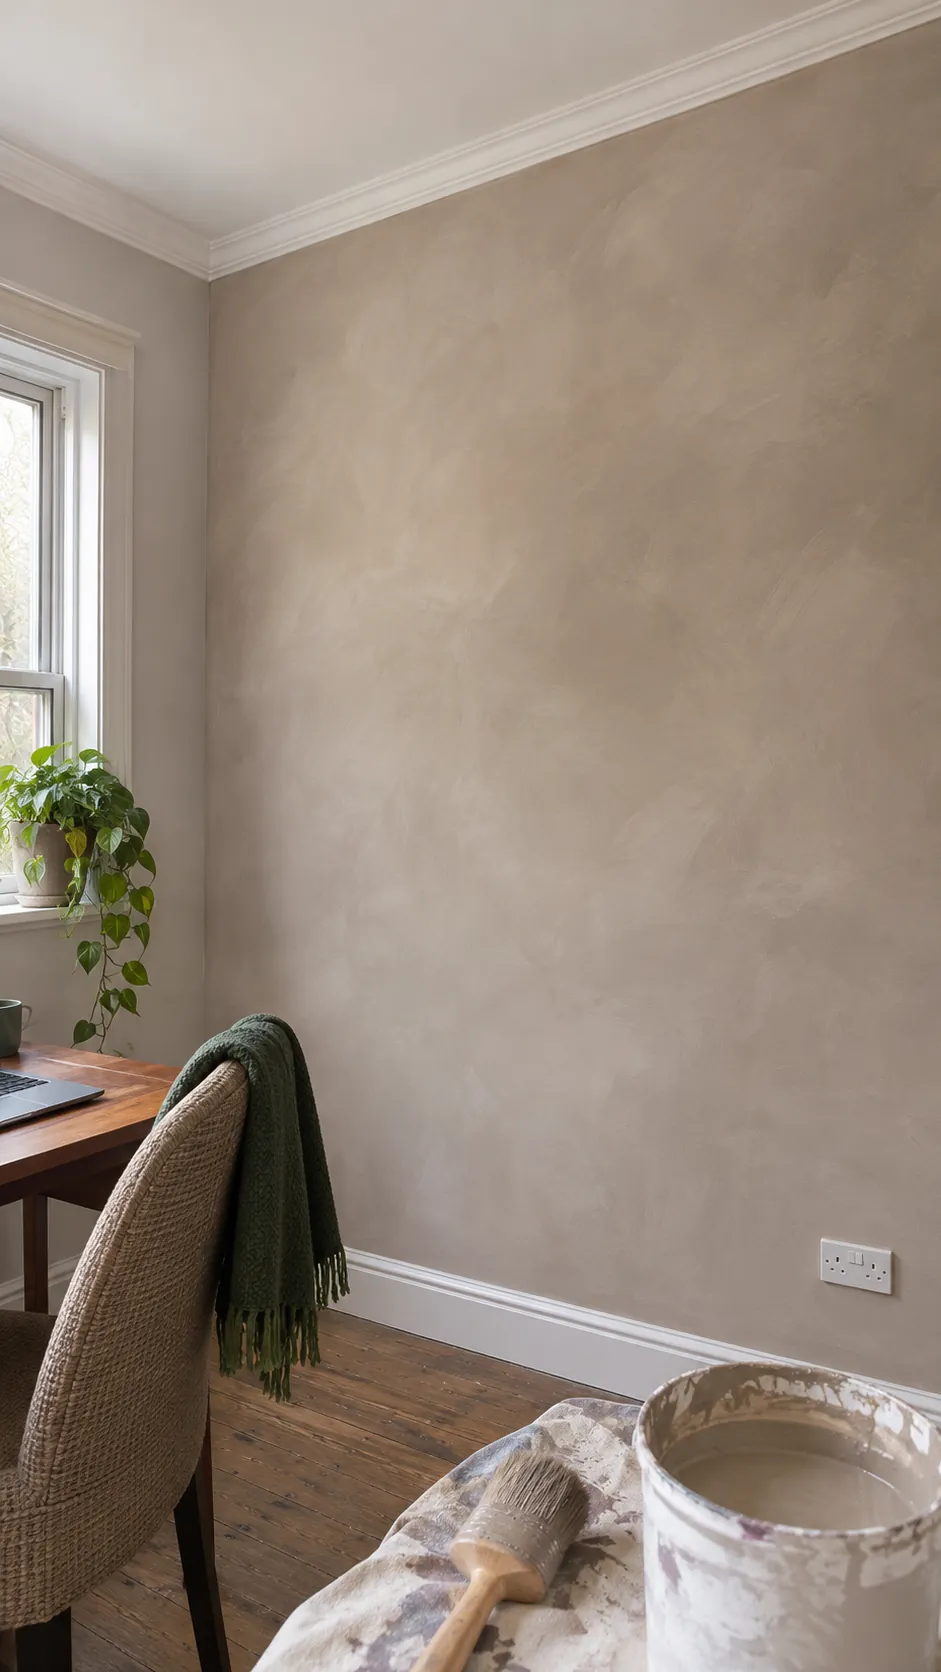
Limewash Style Finish
Confirm the chosen coating is compatible with the existing primer and follow its crossed brush technique. Repair moisture sources first because a decorative finish cannot hide active dampness. Subtle tonal movement is forgiving on older walls when the substrate remains stable.
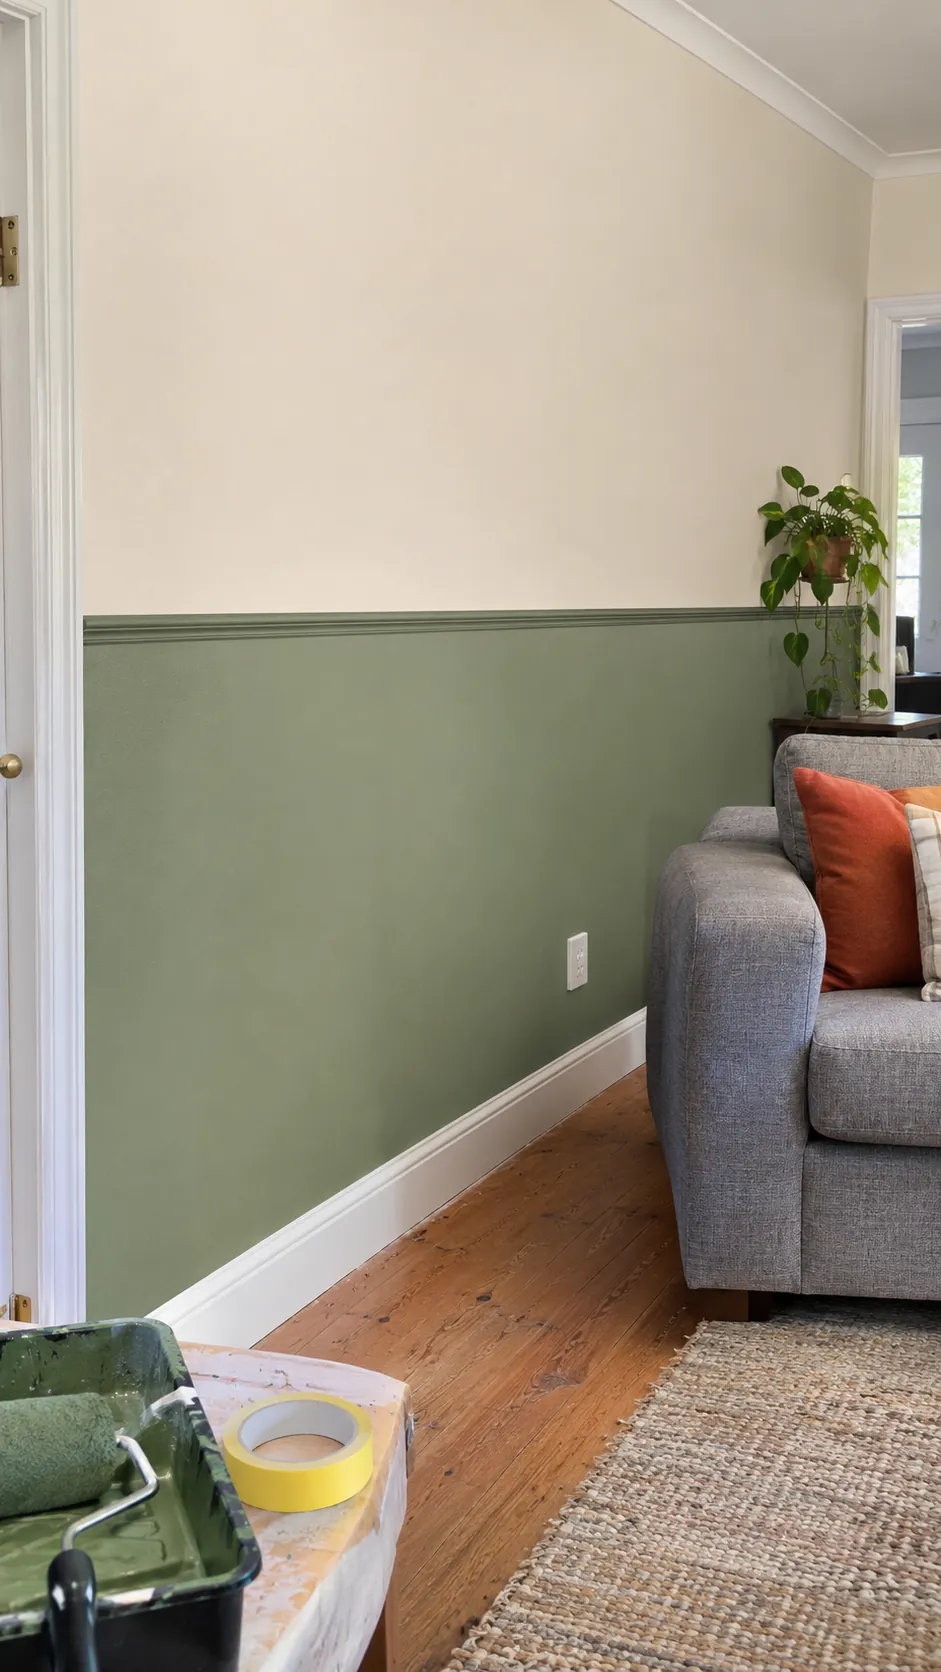
Color Blocked Lower Wall
Set the dividing line from a fixed room feature rather than trusting a floor that may slope. A laser or level keeps the band visually steady around corners. The darker lower field can ground furniture and disguise routine scuffs.
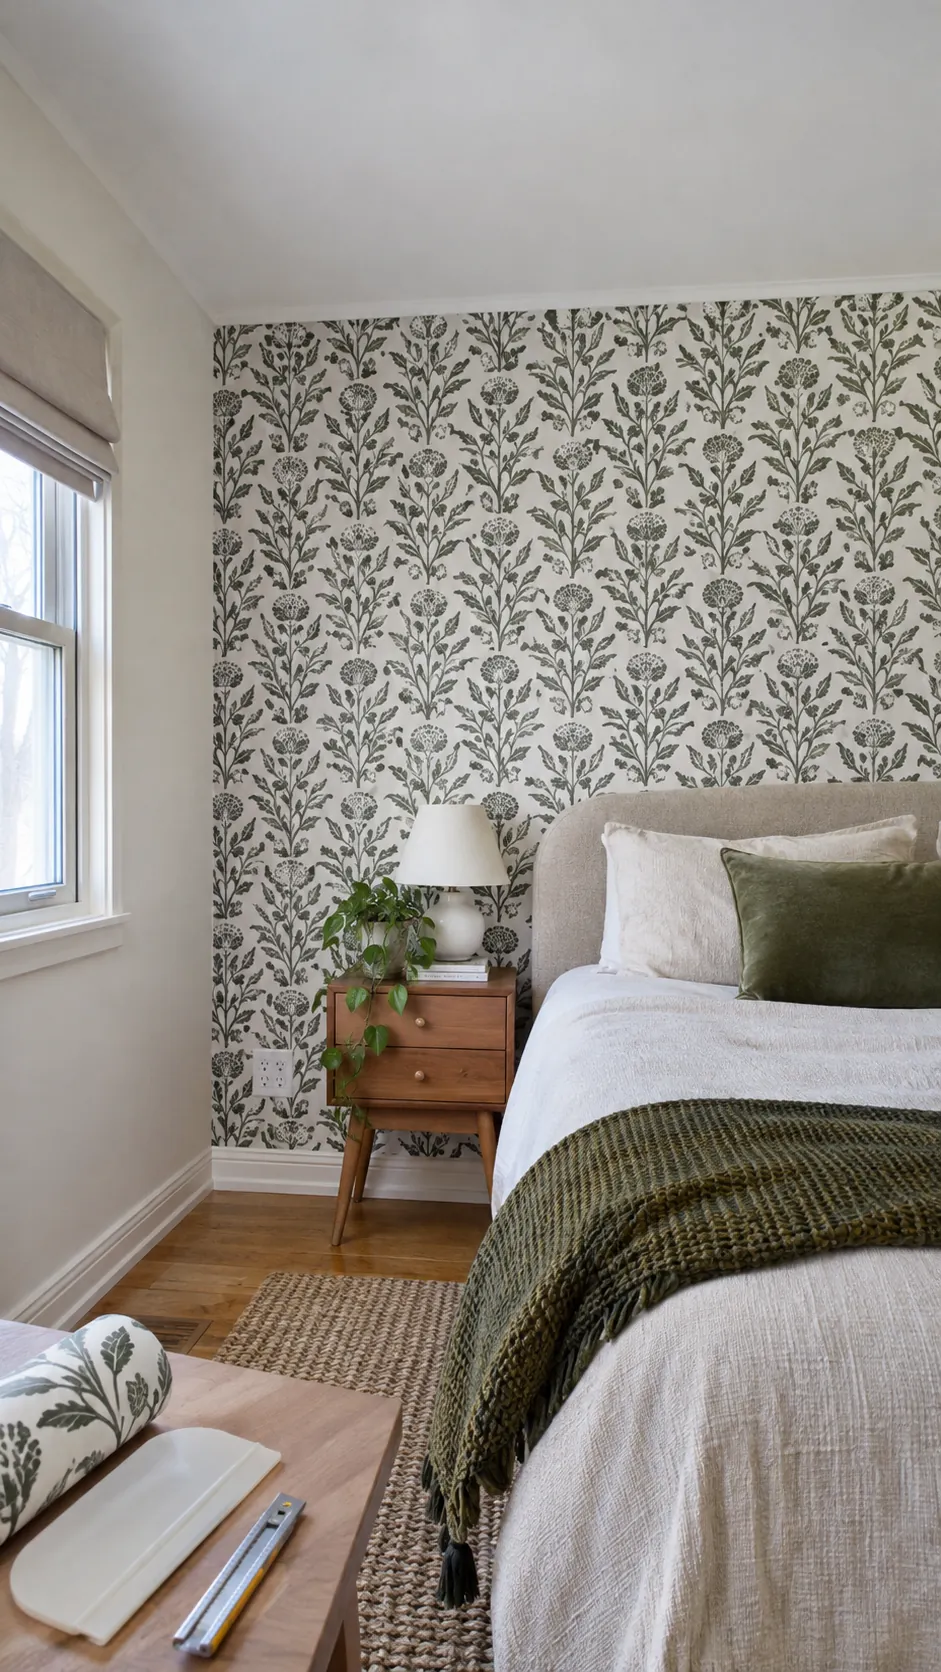
Removable Wallpaper Feature
Order a sample and test removal in a hidden area because adhesives behave differently on fresh, matte, or damaged paint. Let newly painted walls cure for the period required by the wallpaper maker. A single feature wall limits cost and reduces the number of seams a beginner must align.
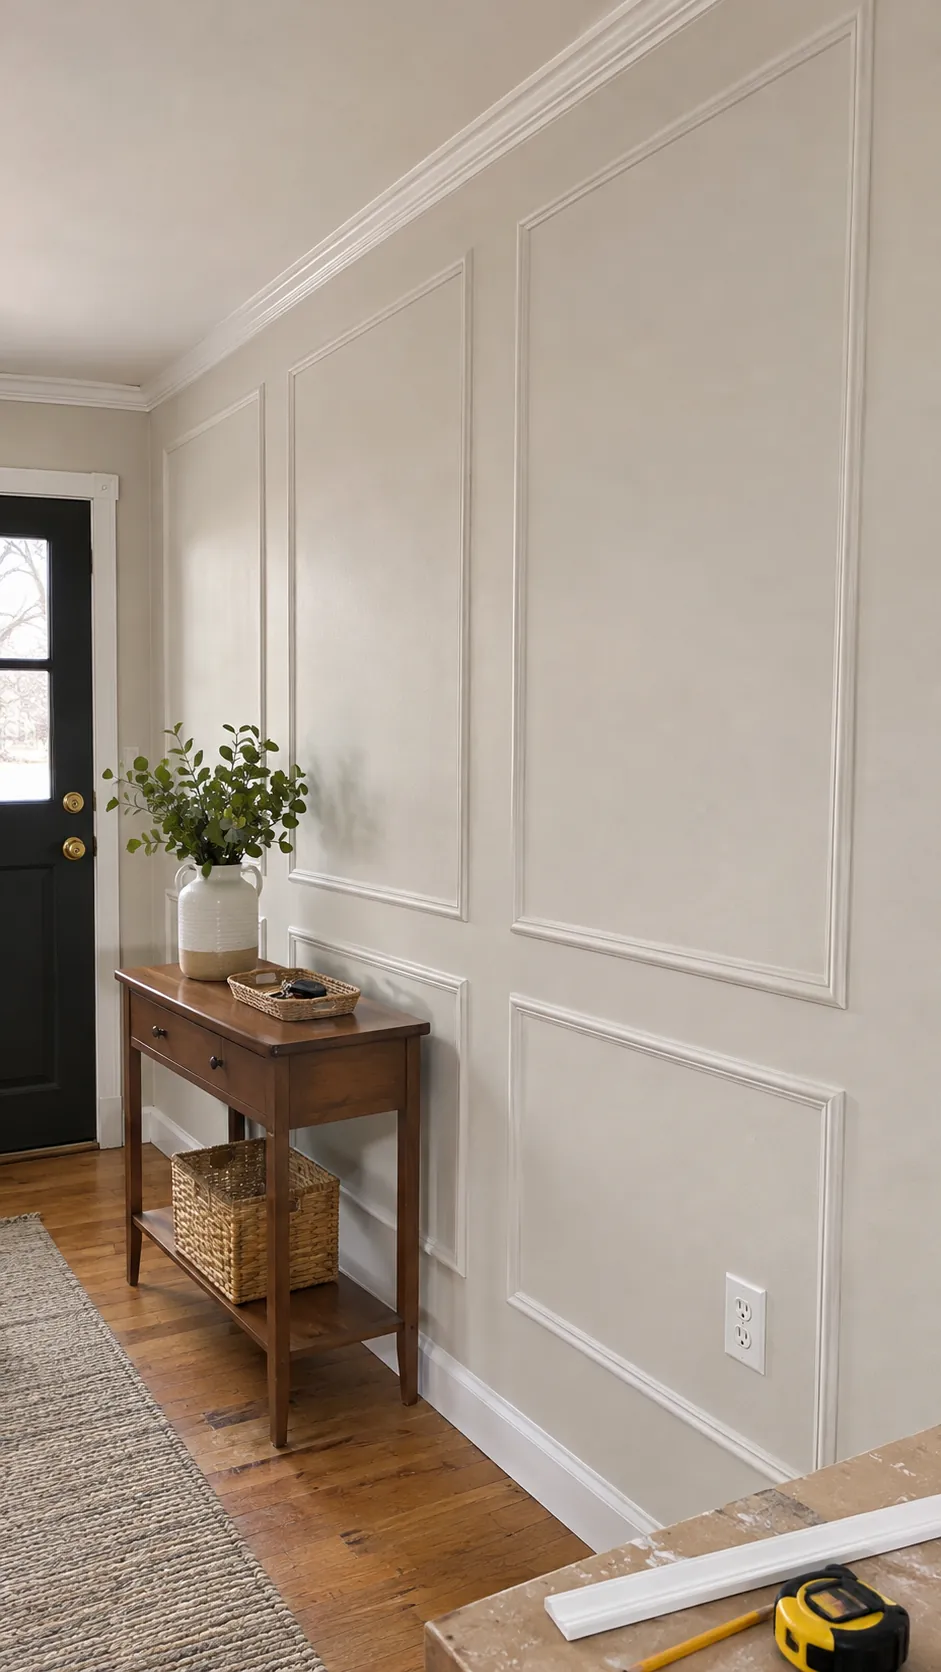
Traditional Picture Frame Molding
Plan panel spacing around outlets, corners, and furniture before cutting material. Find studs or use fasteners suited to the wall and keep every frame square. Molding adds architectural depth while leaving the existing wall in place.
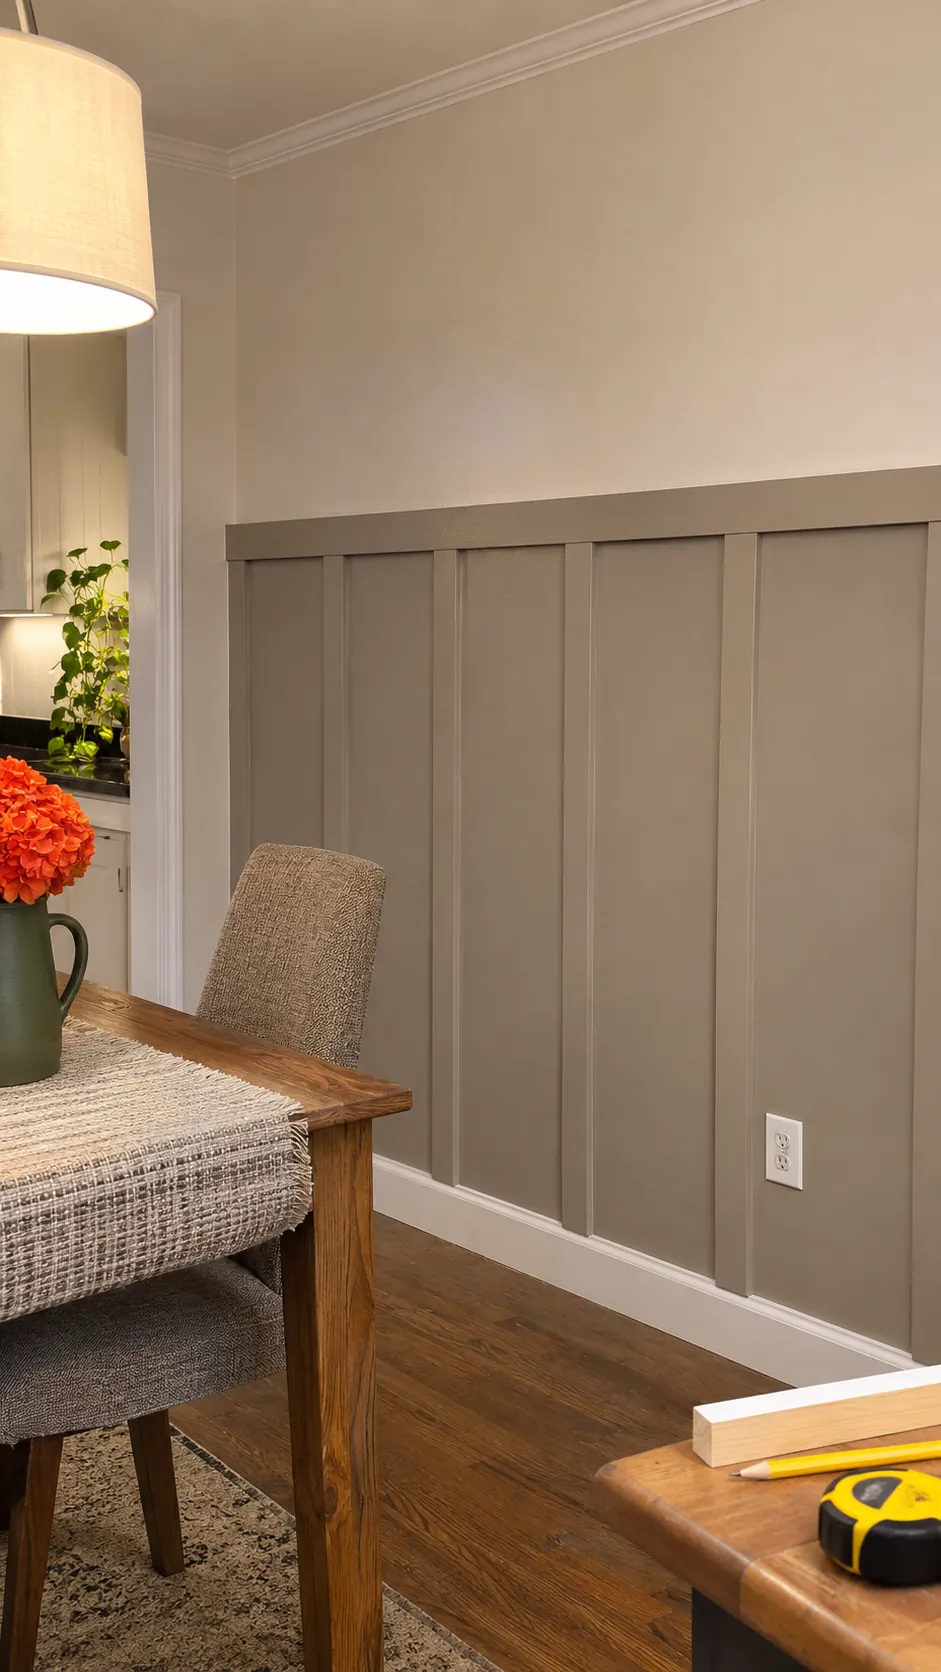
Simple Board and Batten
Use the existing wall as the panel field only when it is flat enough to look intentional. Measure actual wall width and adjust spacing so end battens are balanced. A capped lower treatment protects a busy entry and gives hooks or a bench visual structure.
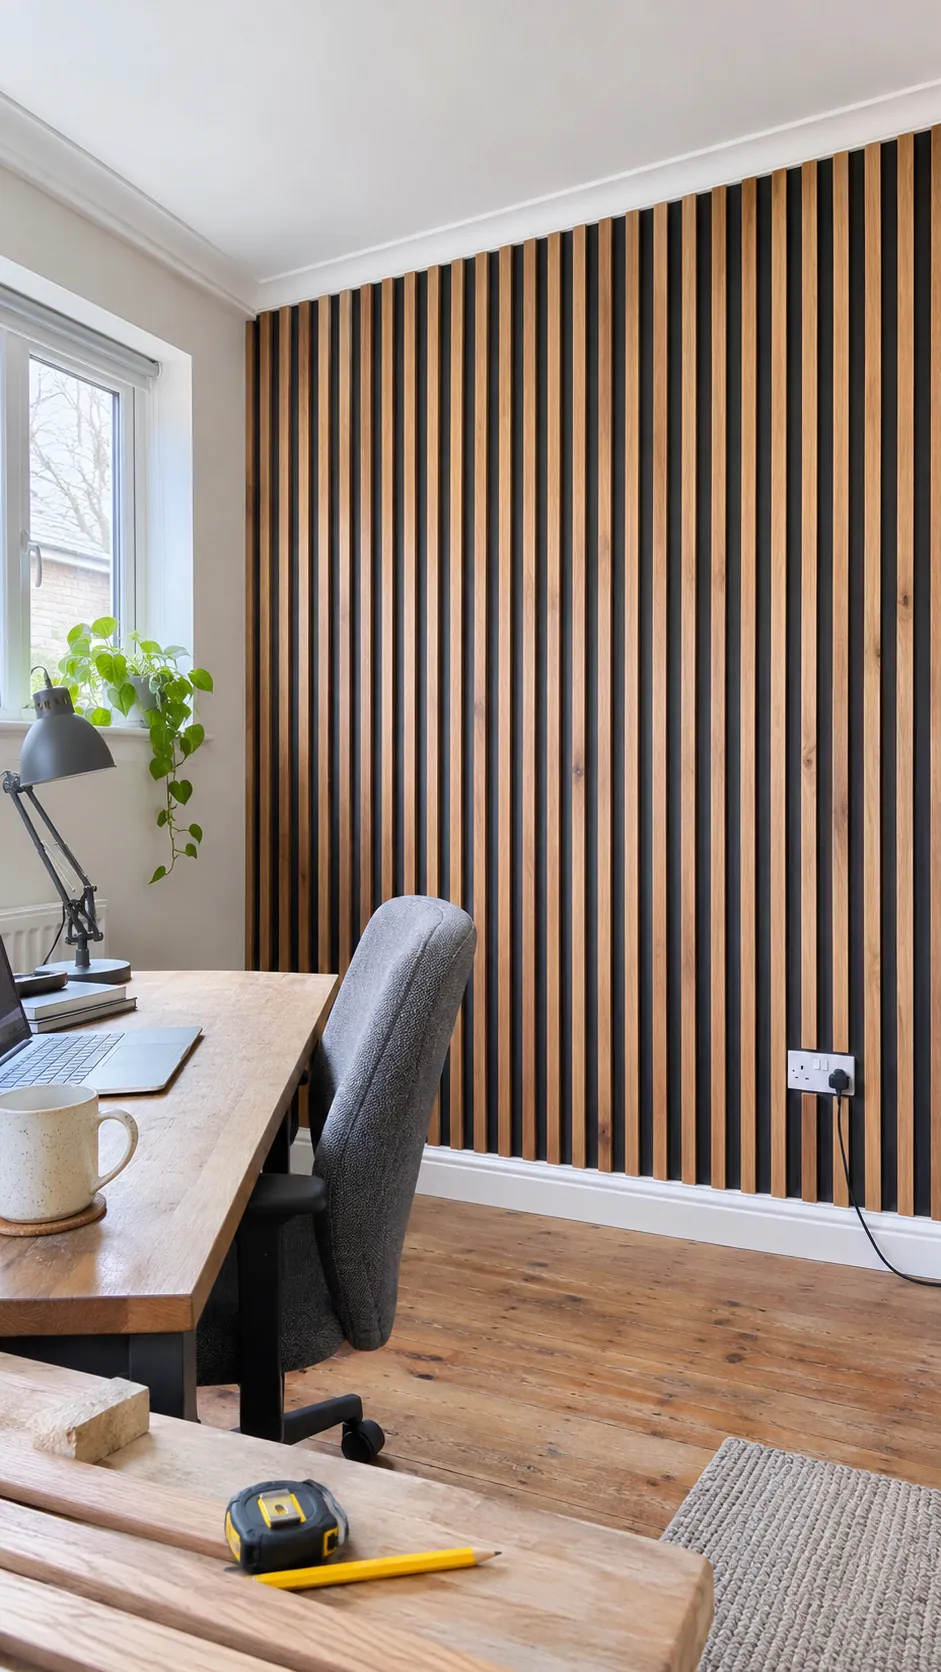
Thin Wood Slat Accent
Acclimate real wood, map every electrical point, and use a spacer block for consistent gaps. Keep slats away from heat sources and follow local rules near wiring. A limited slat panel adds warmth and acoustic softness without covering the whole room.
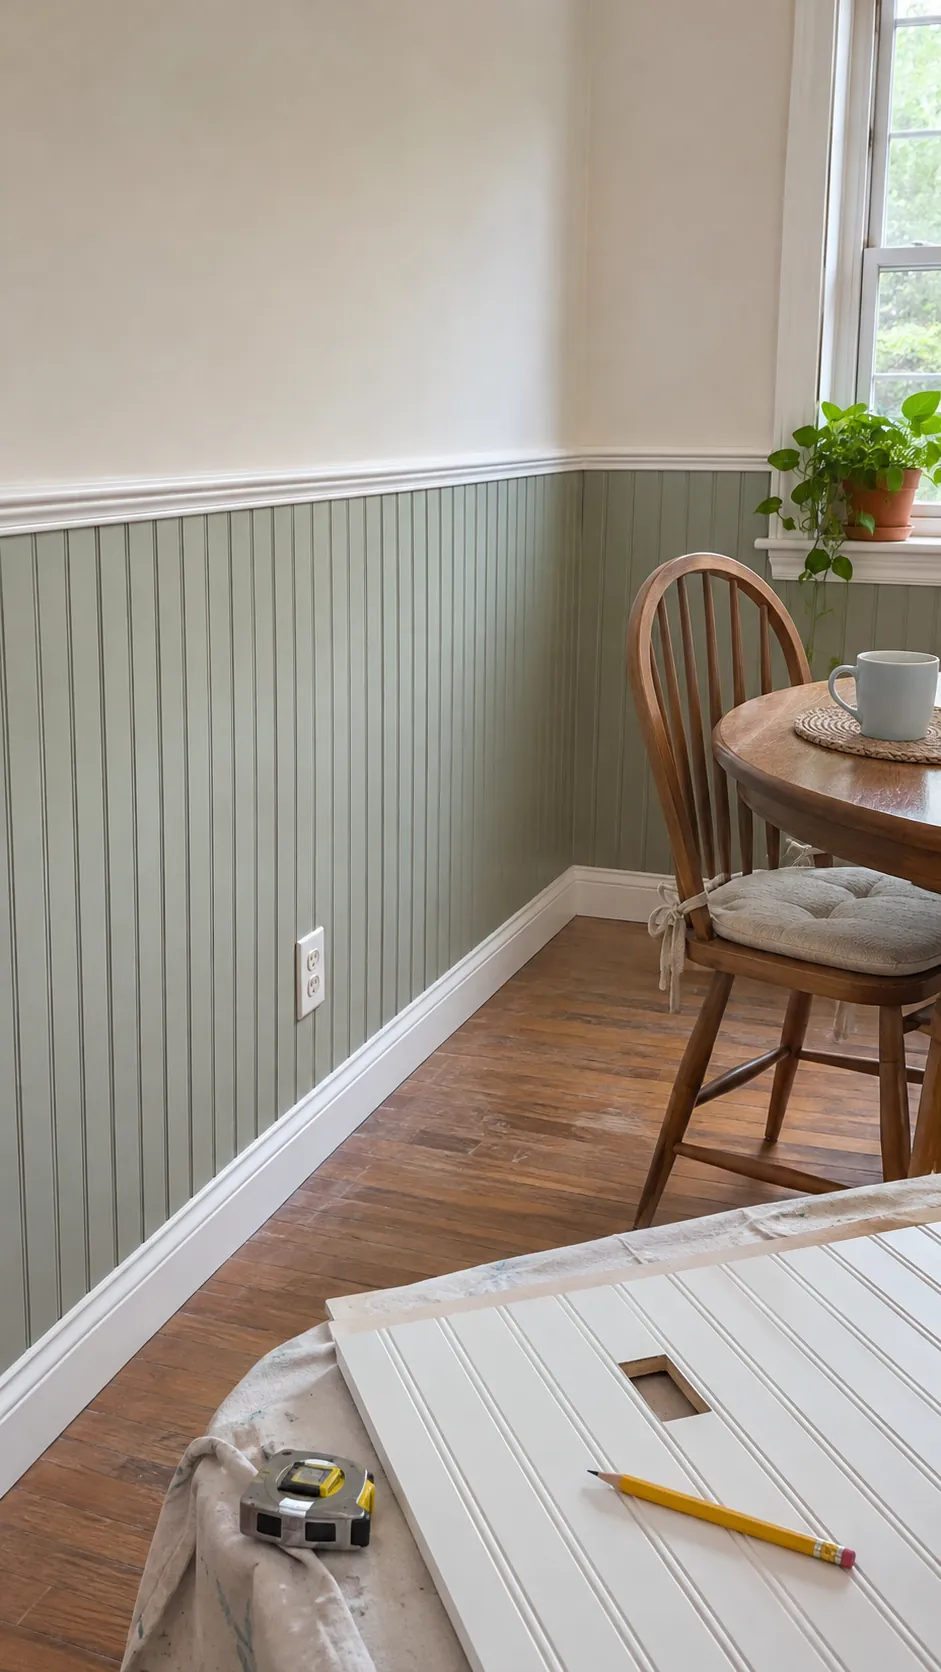
Beadboard Panel Upgrade
Dry fit panel seams and cut openings before adhesive is applied. Protect vulnerable fiber panels from wet zones unless the product is rated for that use. Vertical grooves introduce durable cottage texture over a sound existing surface.
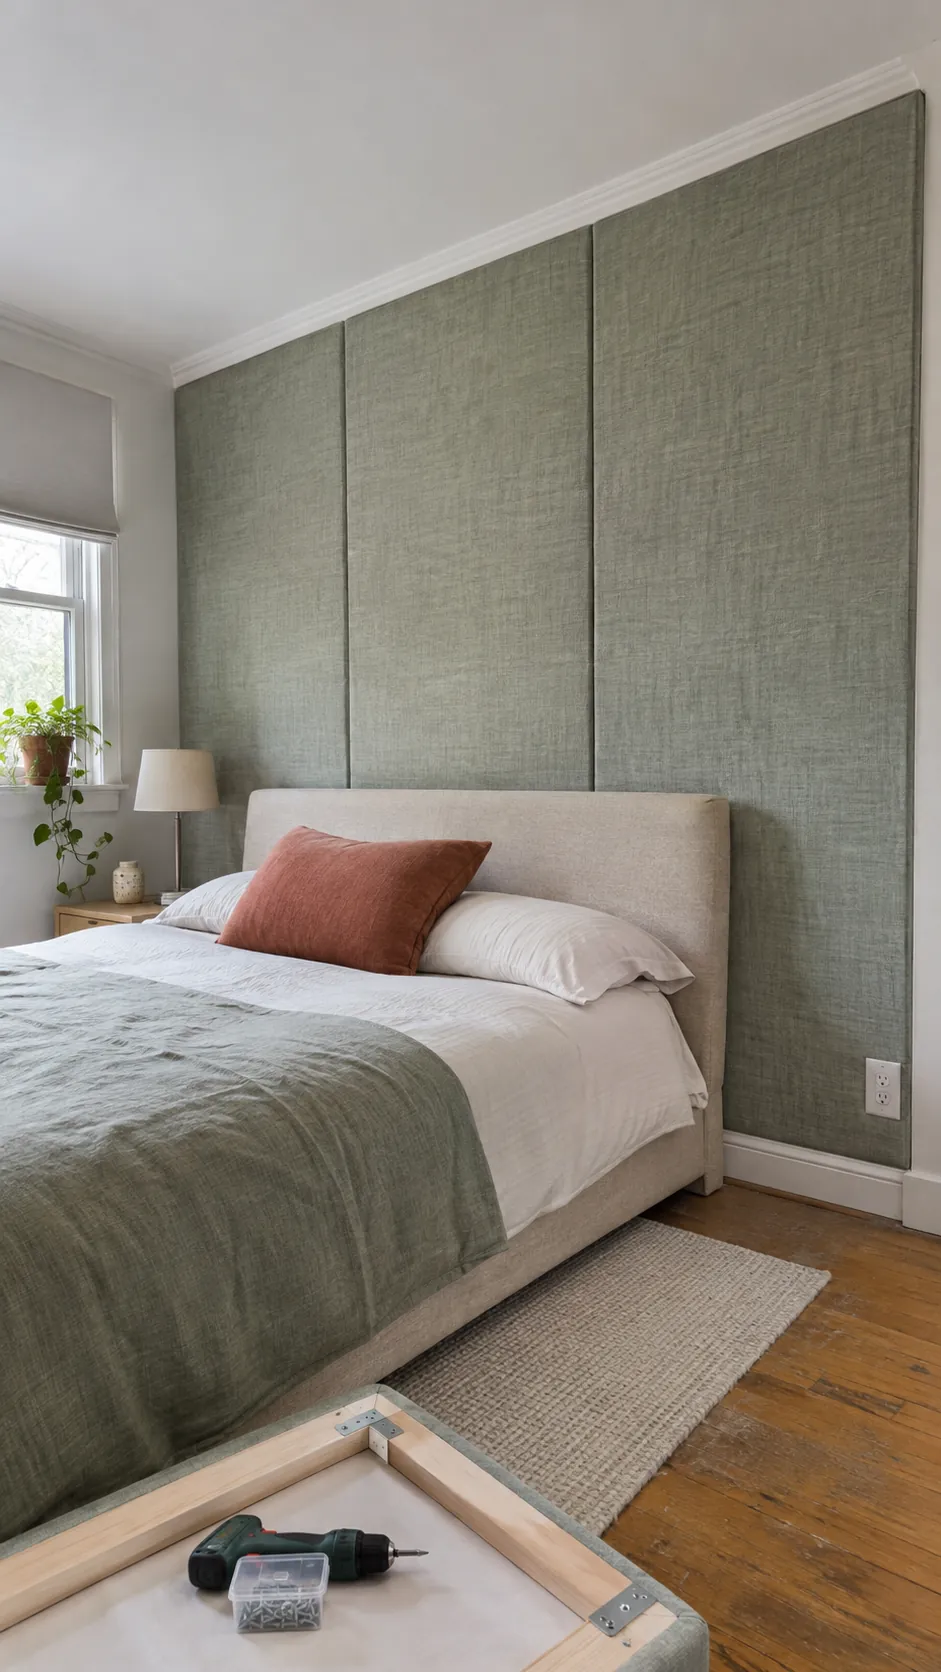
Fabric Panel Feature
Mount fabric over removable frames rather than gluing it directly to the wall. Choose cleanable material and leave clearance from outlets and lamps. Soft panels add color and sound absorption while remaining reversible.
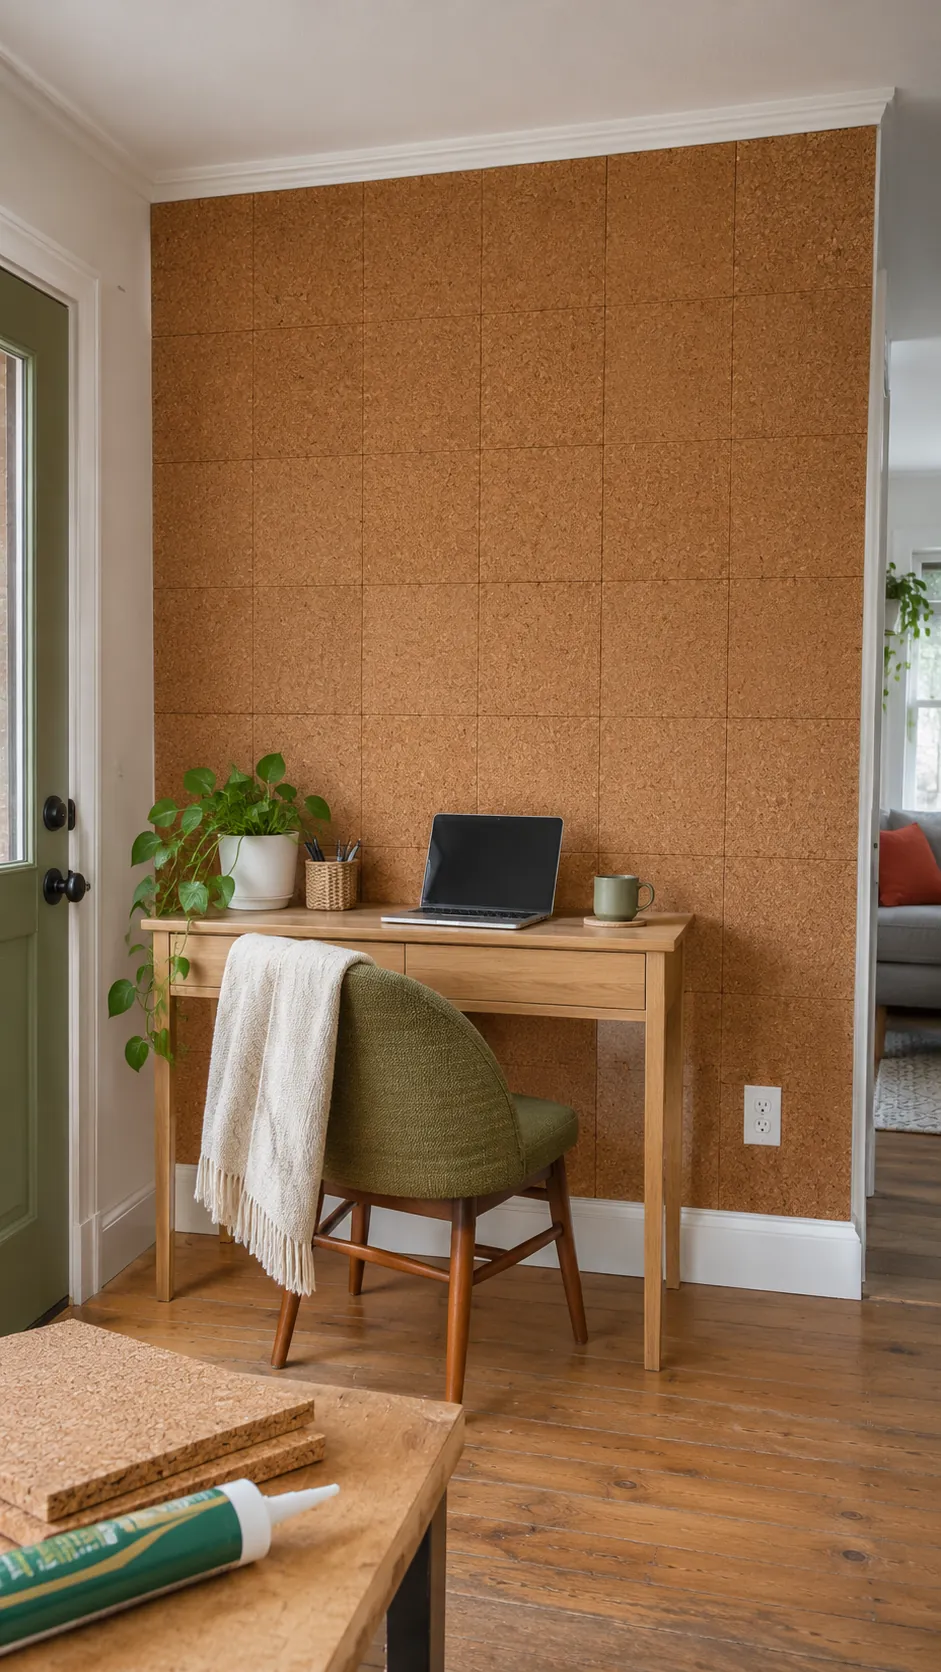
Cork Tile Work Zone
Condition tiles in the room and lay out the grid from the visual center. Use the adhesive or removable mounting method approved by the manufacturer. Cork turns a wall section into a useful pin surface with warm natural texture.
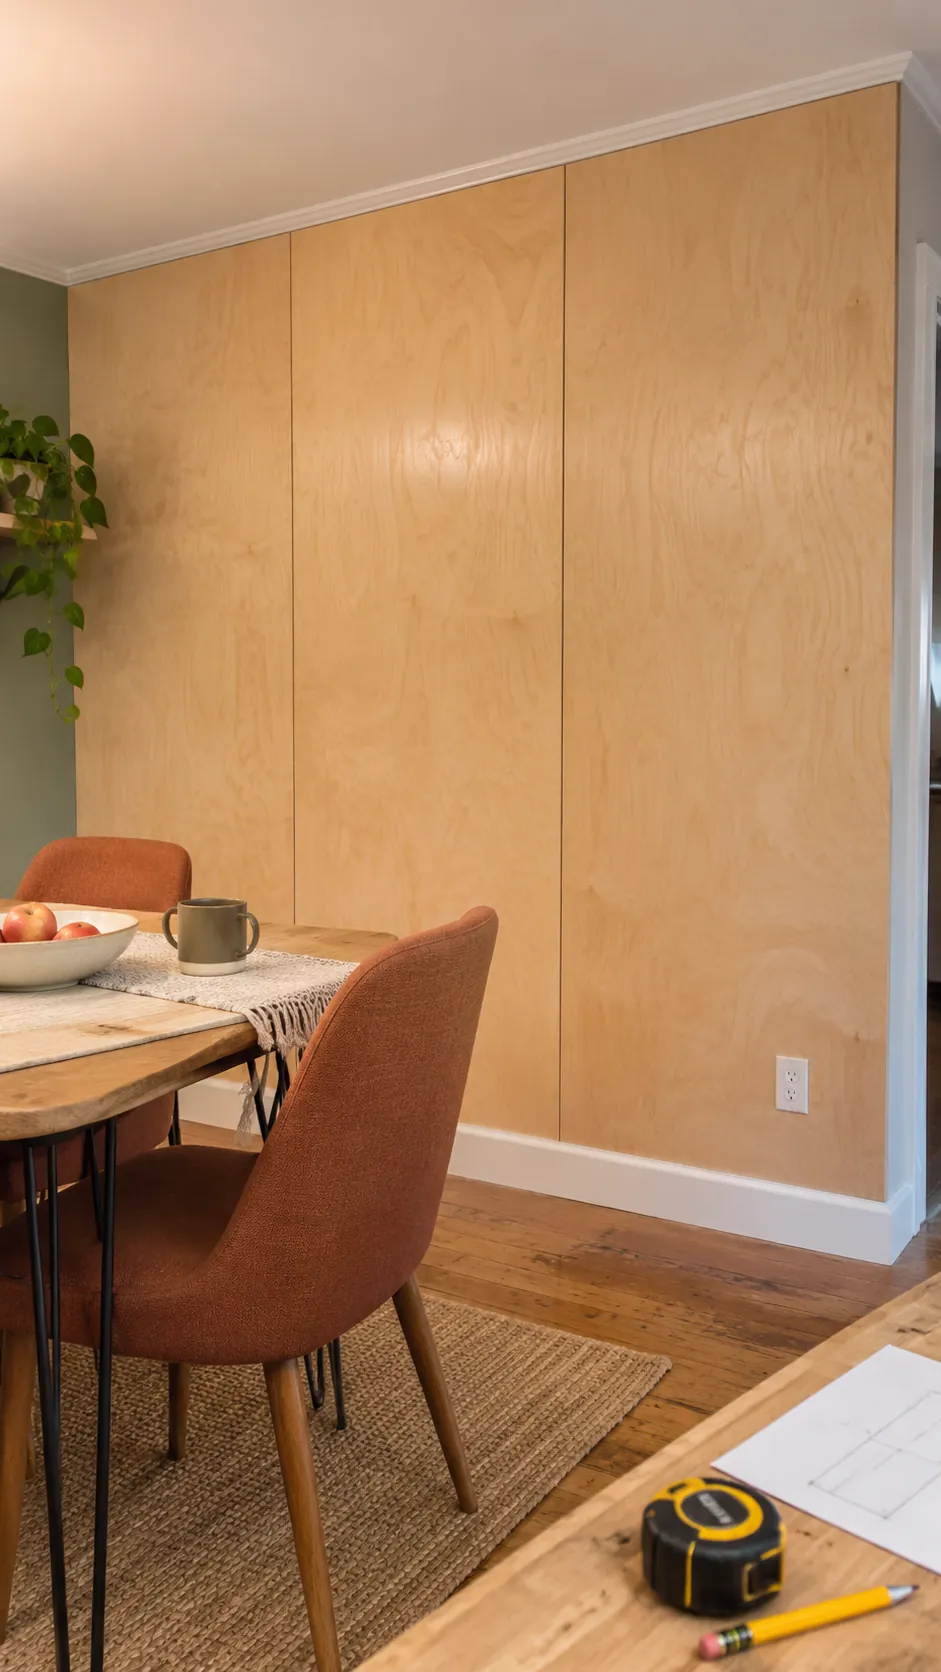
Plywood Feature Panels
Sand edges, seal every face, and locate secure fixing points before lifting panels. Leave planned gaps so seasonal movement looks deliberate. Large panels give a clean workshop inspired finish and can conceal widespread cosmetic flaws.
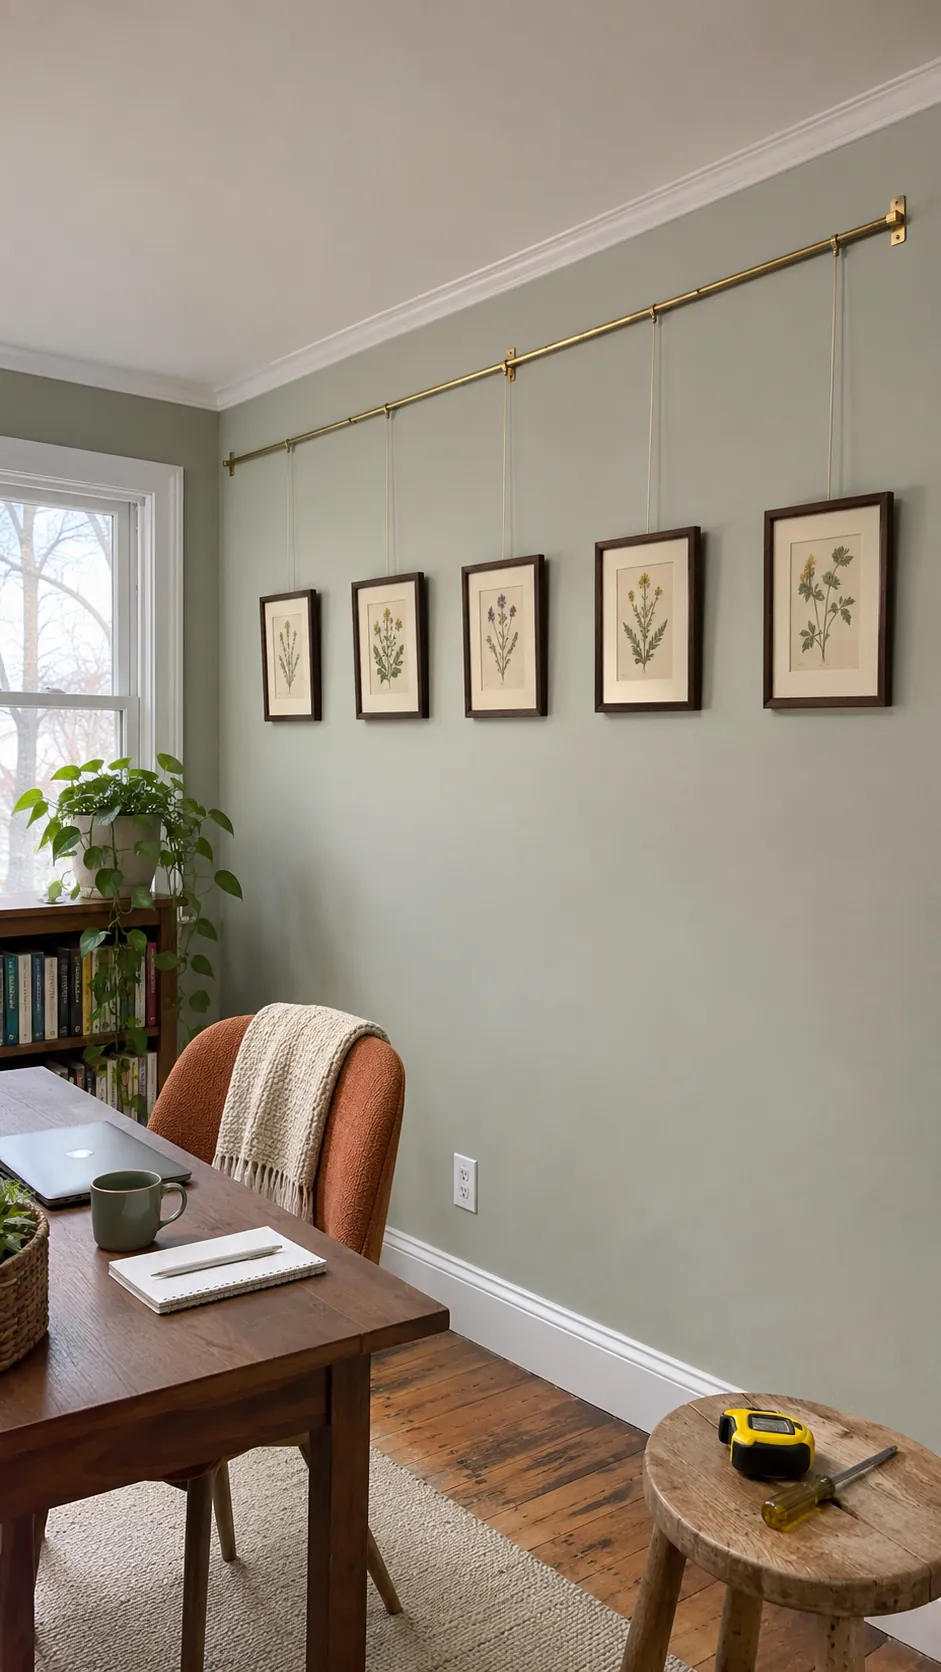
Gallery Rail Display
Anchor the rail for the expected load and keep hanging cords consistent. Arrange frames on the floor first to control spacing and visual weight. A rail permits future art changes with fewer new holes in the finished wall.
Skim Coat and Fresh Paint
Remove loose material and solve moisture problems before coating. Apply thin passes, sand with raking light, prime the entire repaired field, and then paint. This is the quietest makeover when the goal is a smooth wall rather than added decoration.