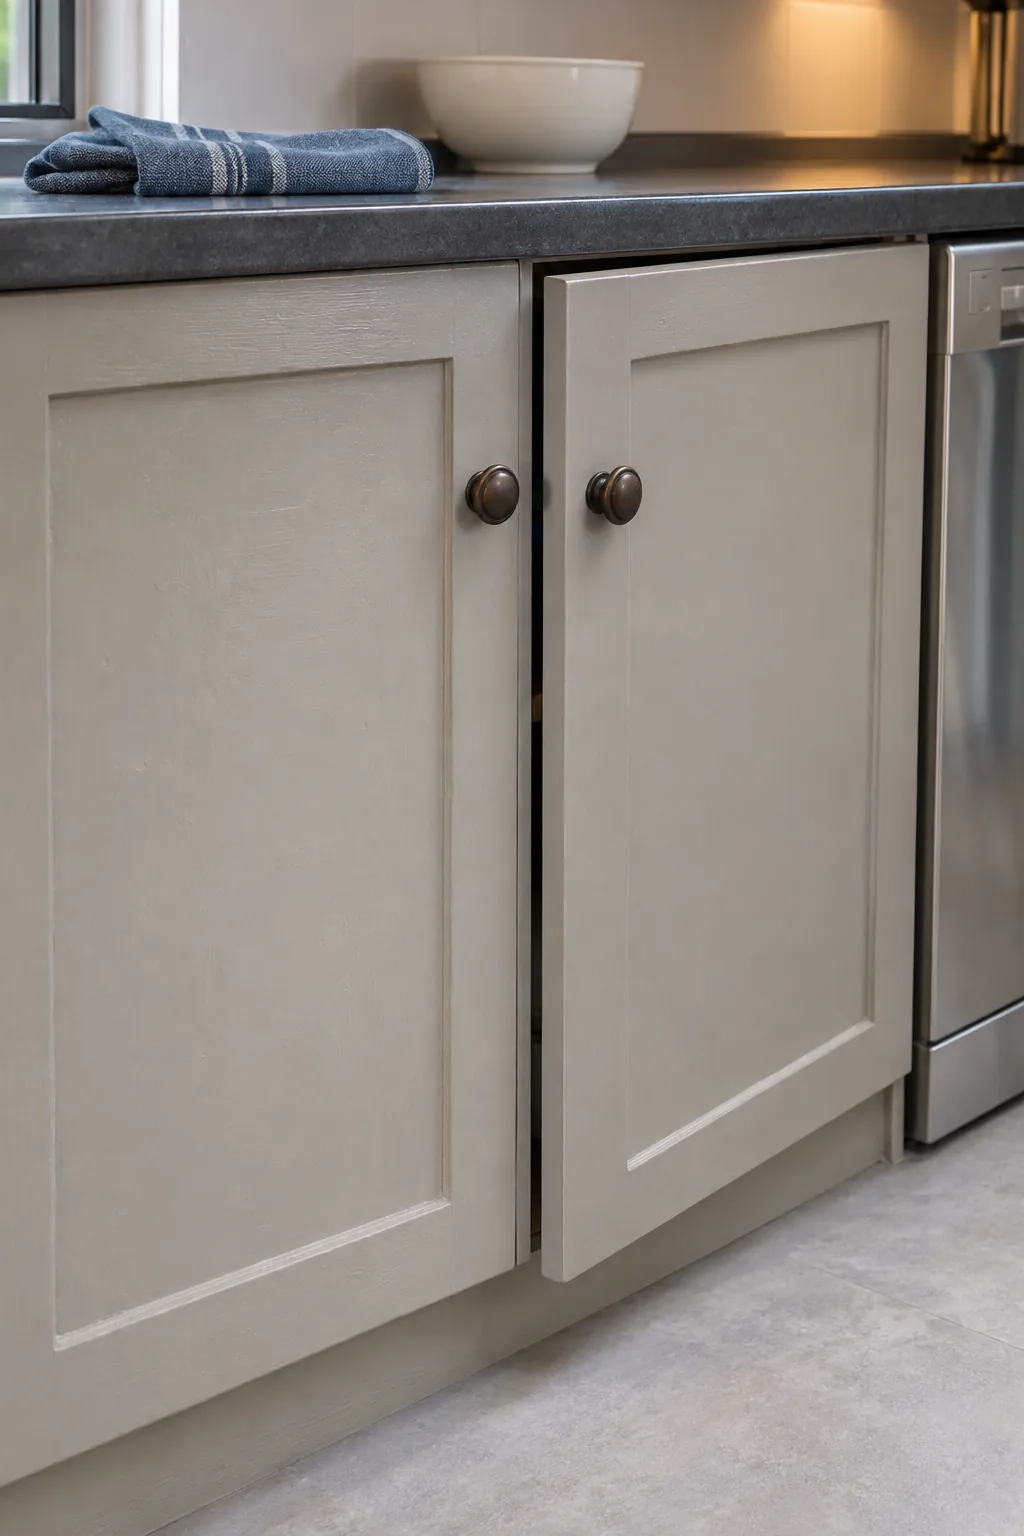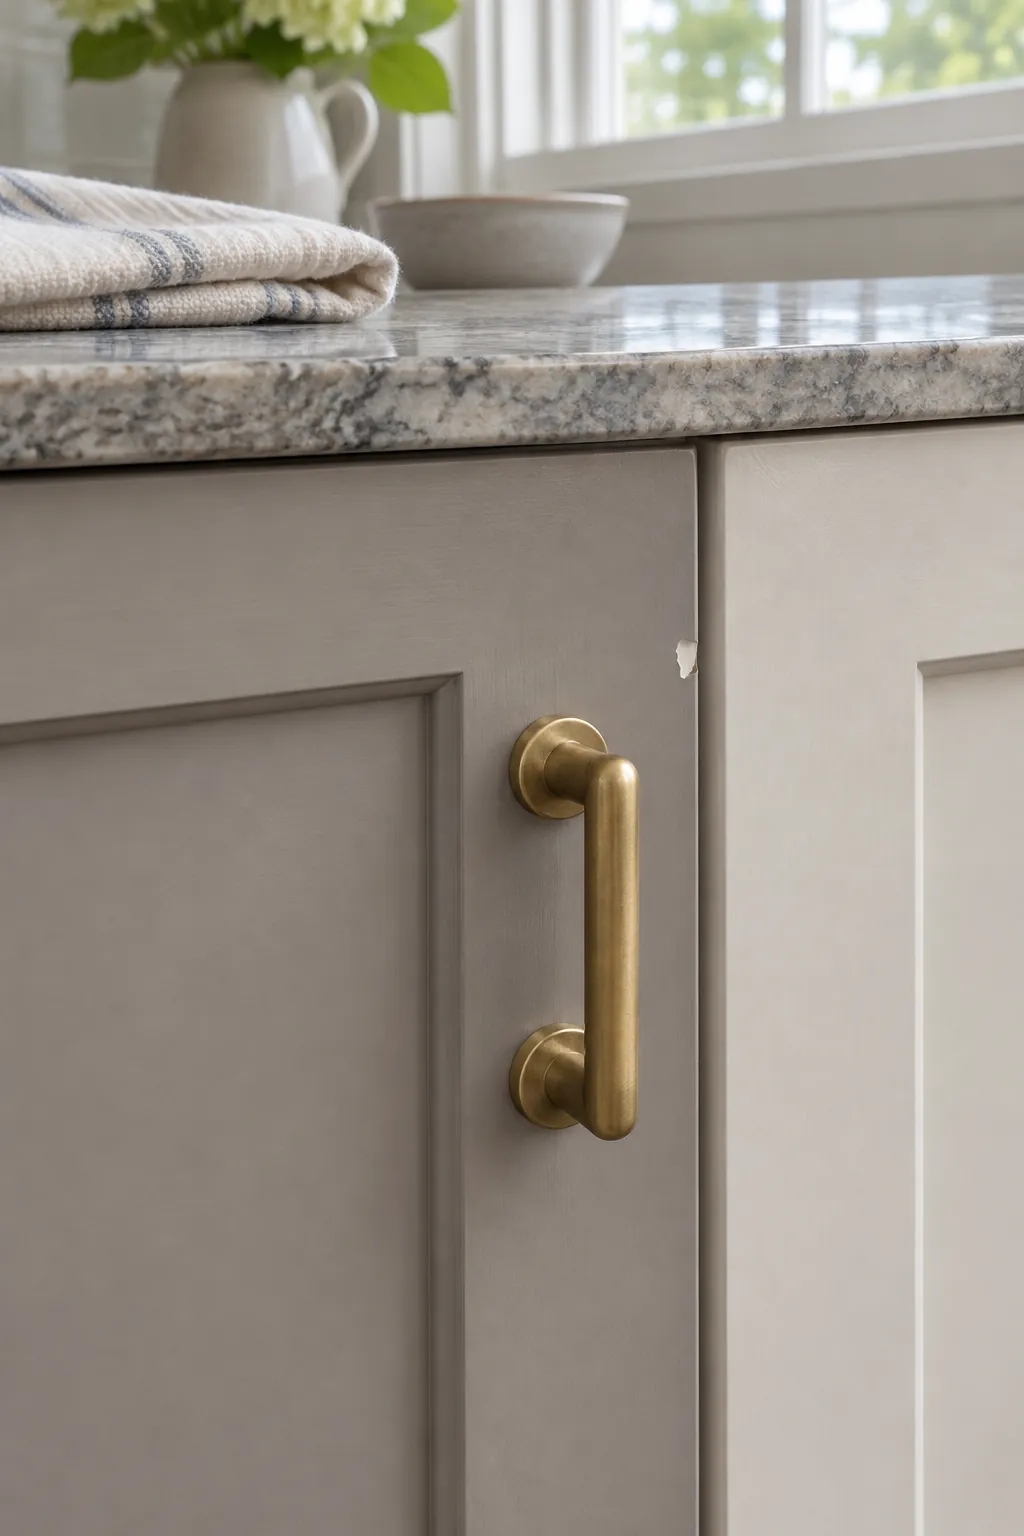
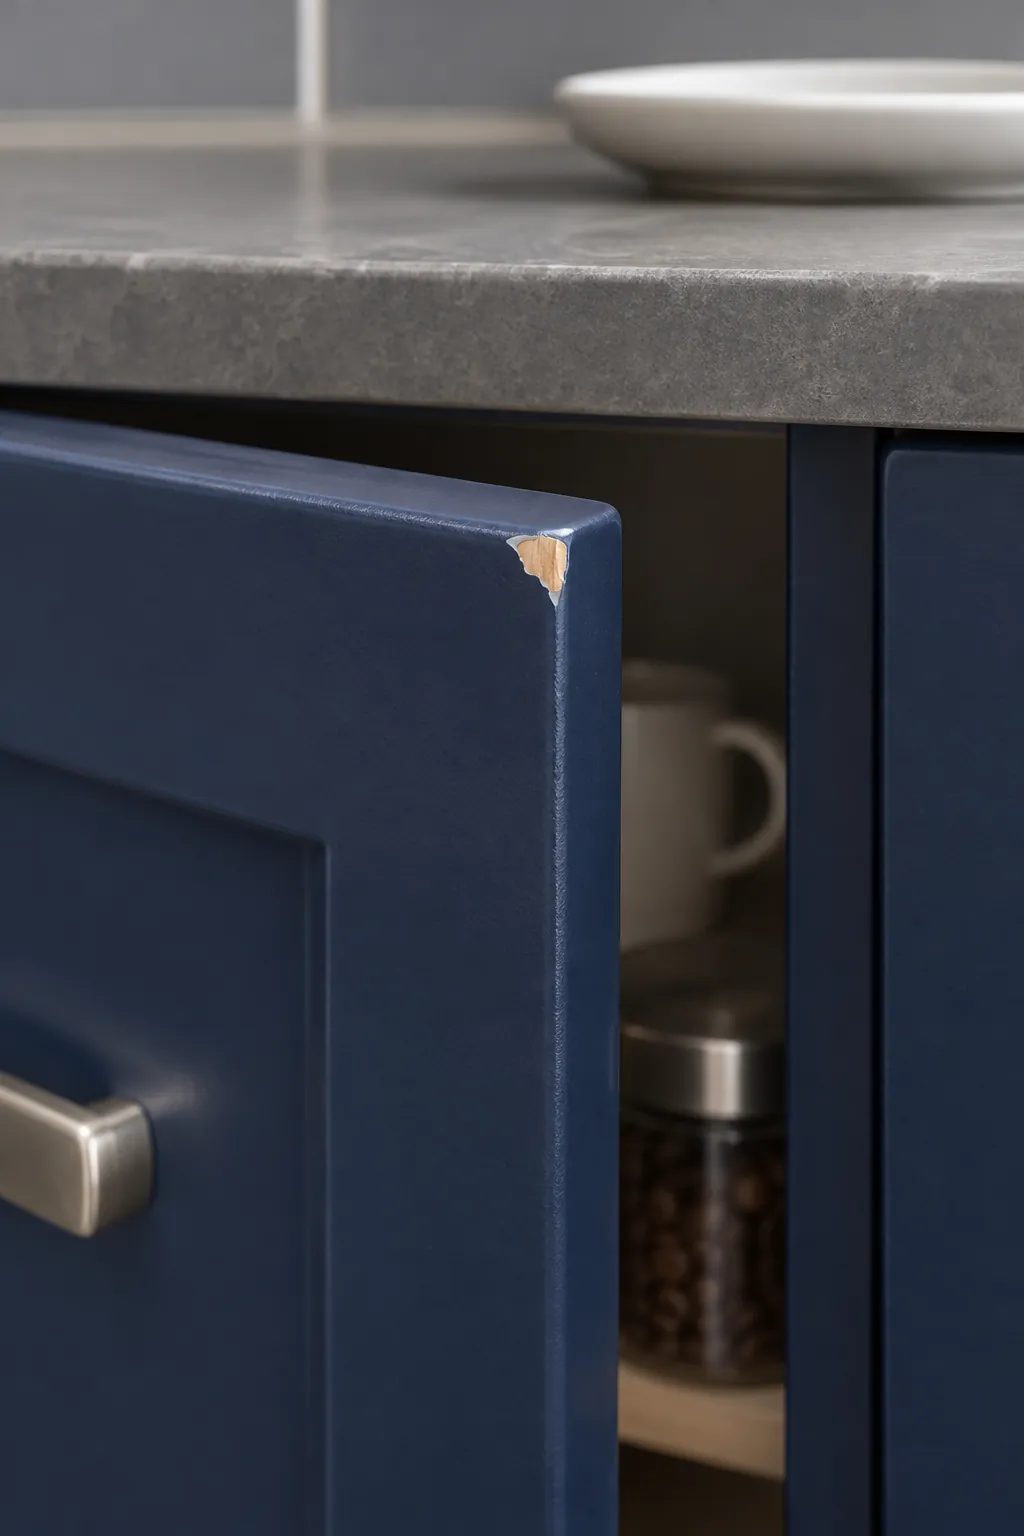
A chip next to a cabinet pull catches the light every time you open the door. A dab of the right color can hide it, but a lump of paint or the wrong sheen can make it more obvious. First check whether the paint around the chip still grips the door.
Tell an isolated chip from a failing finish
A clean chip at a handle or corner can usually be touched up if the surrounding coating is firm. If paint lifts in sheets, blisters near the sink, or peels when you wipe it gently, look for moisture or a failing layer underneath. Fix that cause and refinish the affected panel if the loose area keeps growing. If you suspect older paint contains lead, have it tested and follow lead safe guidance before scraping or sanding.
Match the color and the sheen in your kitchen
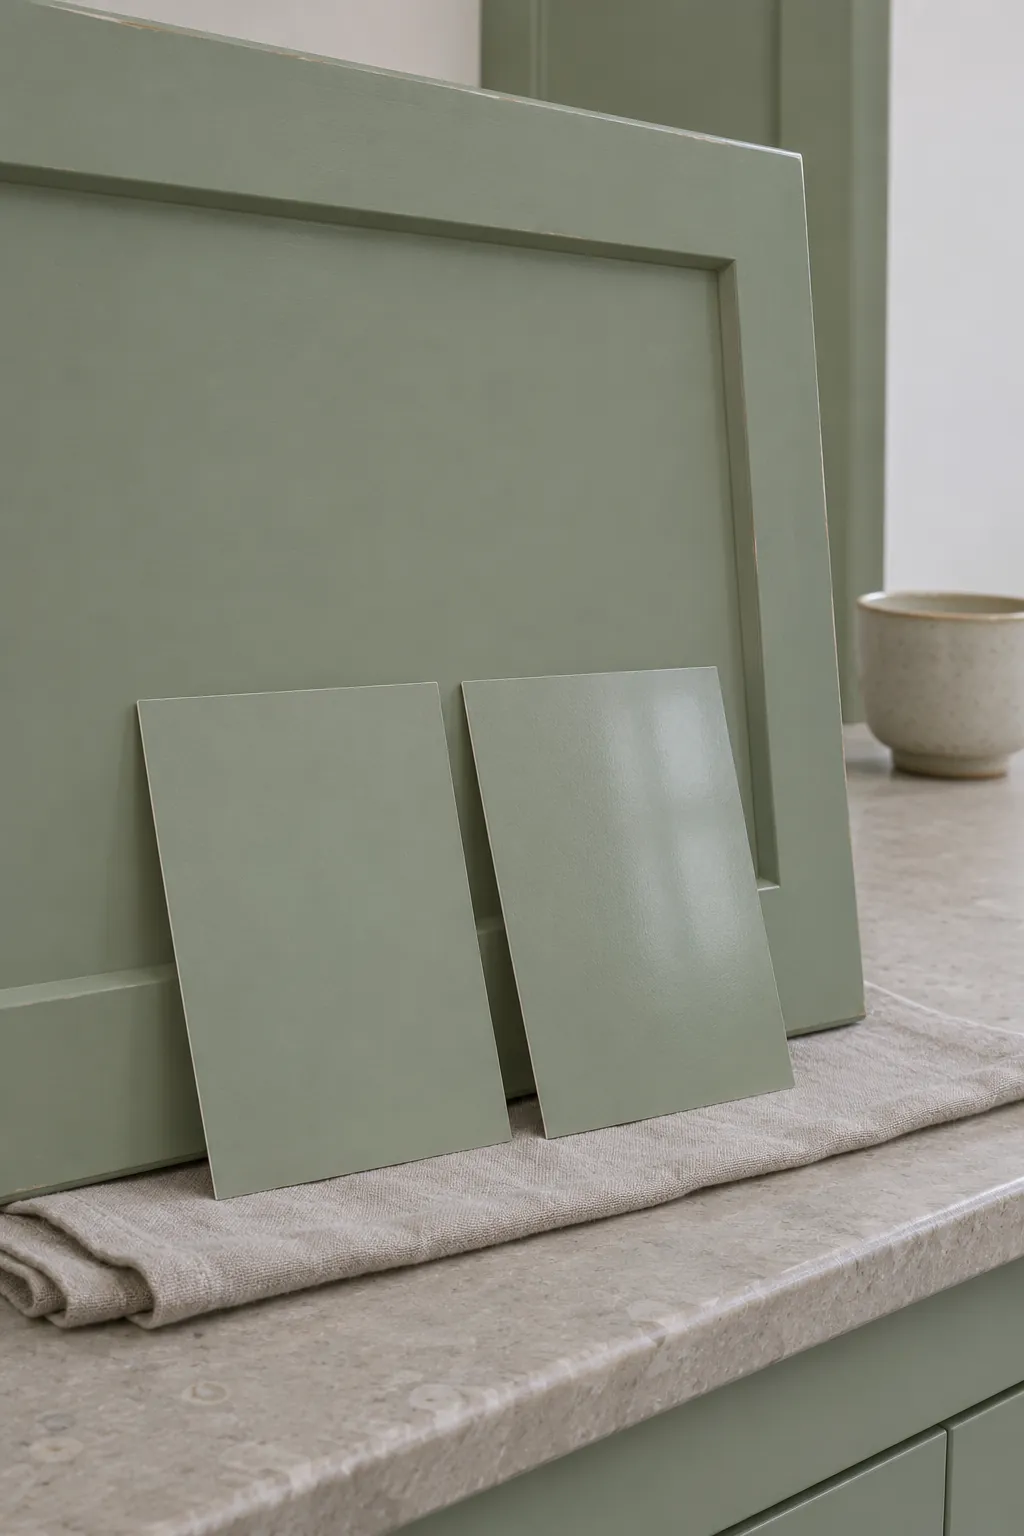
Start with the original finish, or ask the cabinet maker for a matching touch up kit for a factory coating. If you have neither, bring a removable drawer front or door to a paint supplier for a match. Ask them to match the sheen as well as the color and choose a coating meant for cabinet use.
Test a little of the match on a separate card or in a hidden spot, then let it dry. Look from straight on and from the side in daylight and under your kitchen lights. A color that disappears straight on can still leave a shiny patch at an angle.
Clean the area before smoothing the edge
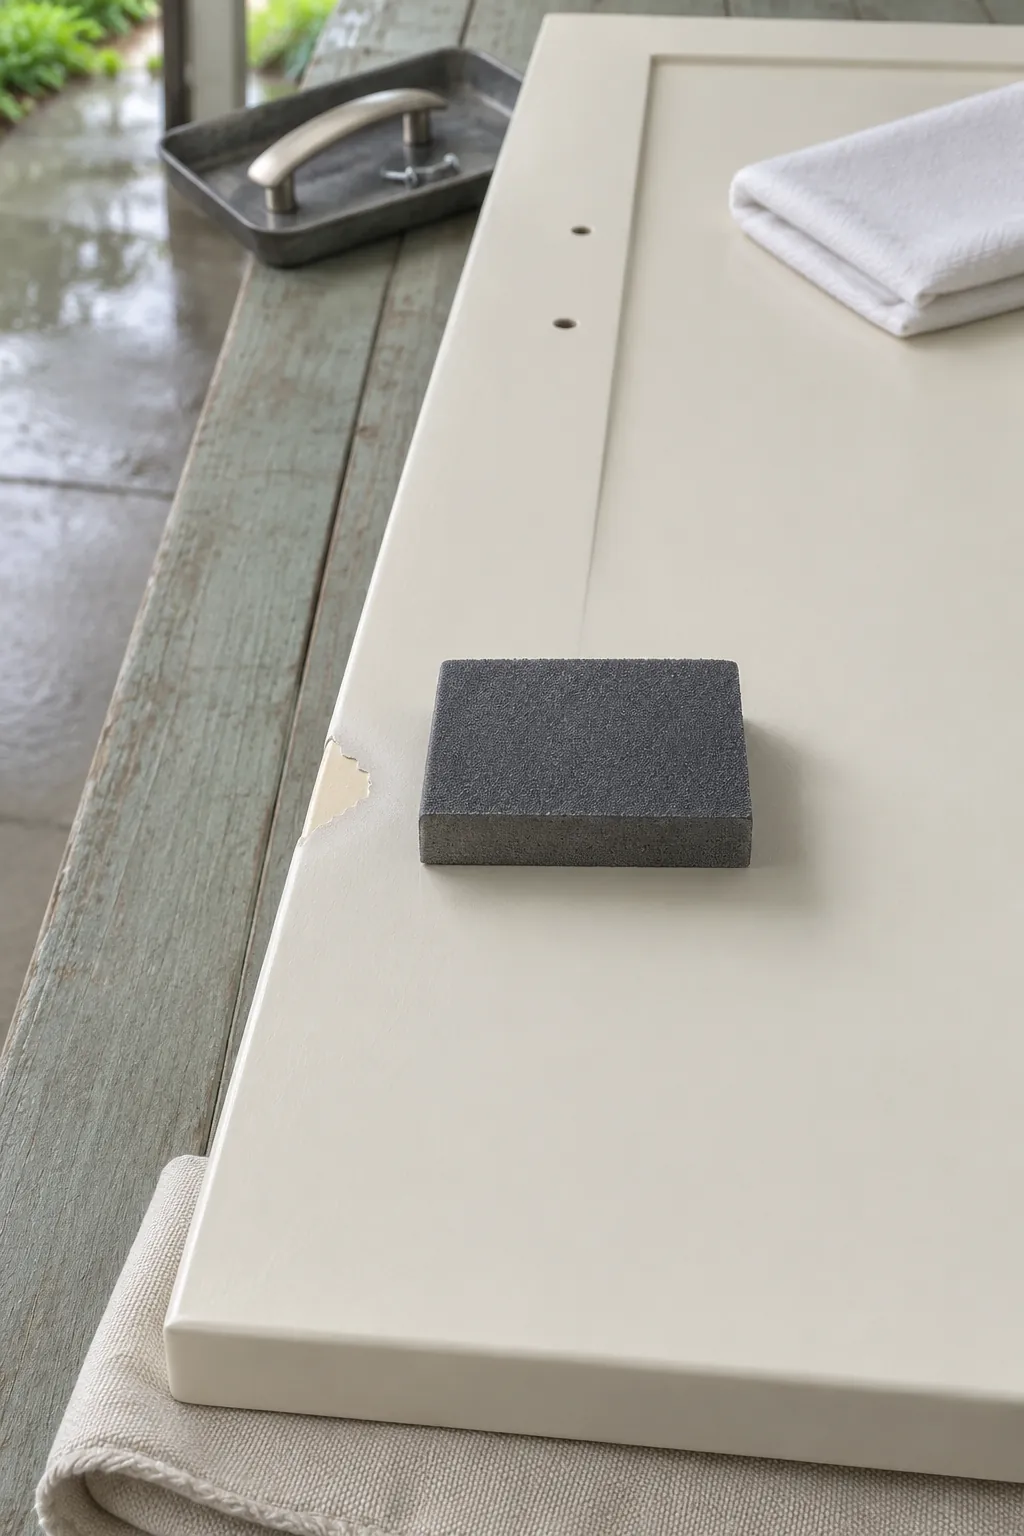
Remove the pull if it blocks access. Wipe grease away with a cleaner approved for the finish, then remove cleaner residue as directed and dry the area. Lift only loose paint with a small scraper. If the coating is safe to sand, use fine abrasive on a small backing block to taper the raised edge. Keep the block flat where you can and stop when the edge no longer catches a fingertip. Remove dust before applying any coating.
Fill a dent and prime exposed material
If the chip left a dent below the surface, use a compatible filler and let it harden before smoothing it level. A chip with no dent often needs only the appropriate primer and paint. Spot prime bare wood, MDF, or repair filler if the finish system calls for it. Keep the primer close to the exposed spot so you avoid building a ridge on sound paint.
Apply thin coats and match the surrounding texture
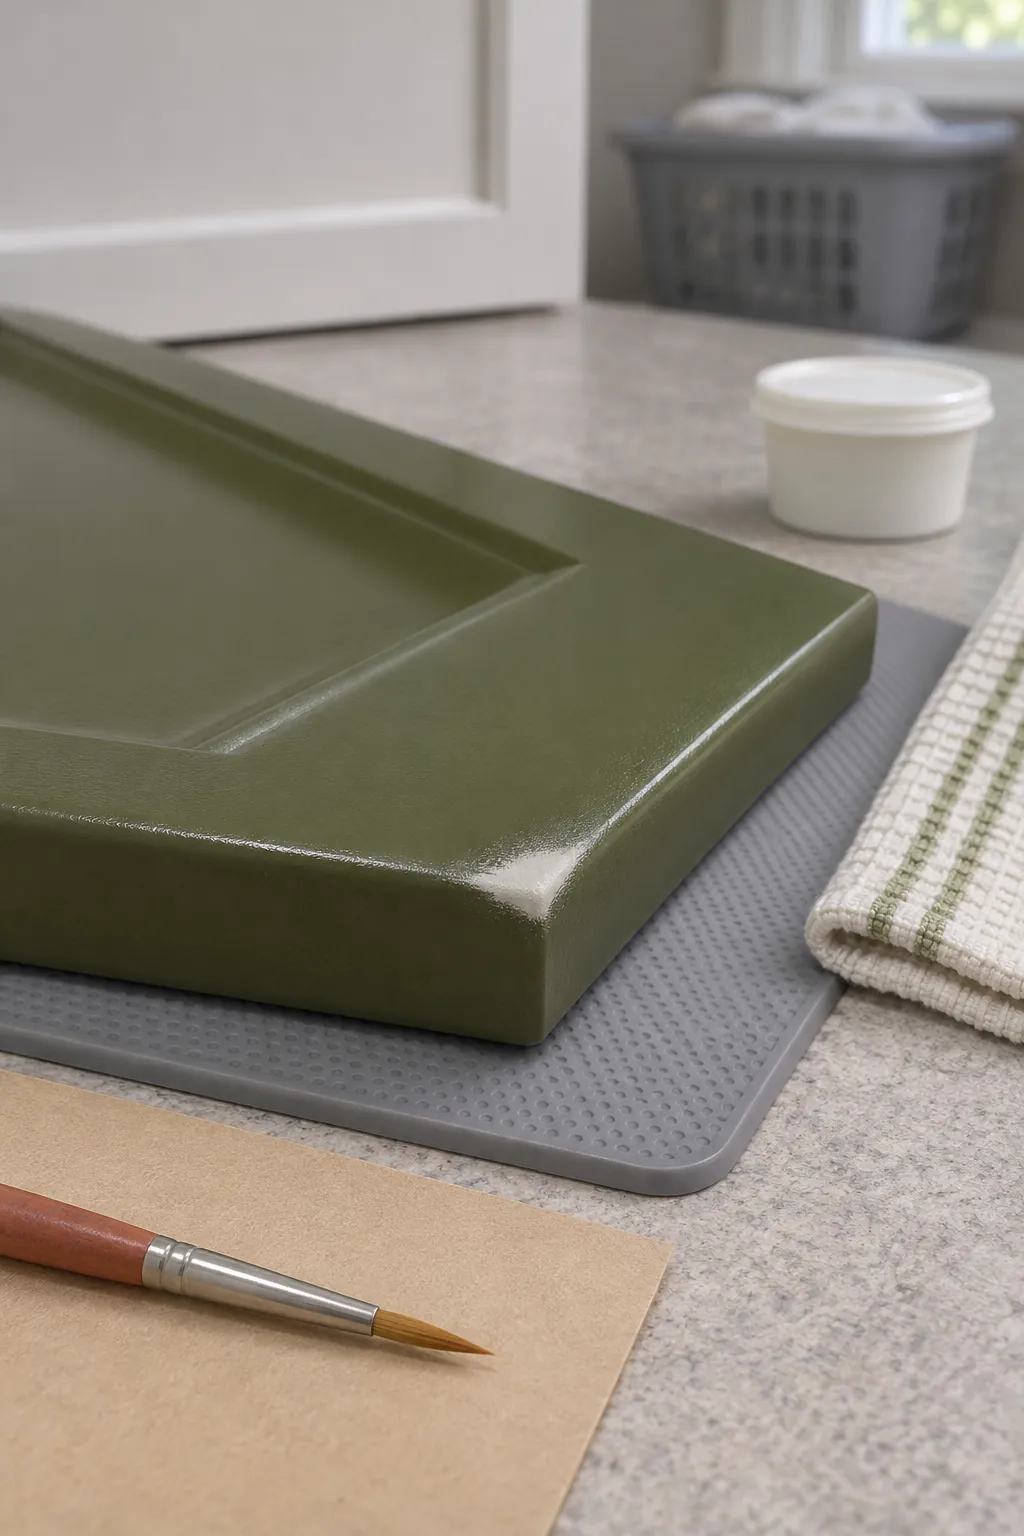
Use a small artist’s brush for a chip near a pull or on an edge. Load just the tip, cover the exposed area, and ease the paint out toward the existing coating. Let each coat dry for the specified time before deciding whether to add another.
For a larger flat patch, match the texture of the original finish. A small roller can help where the existing surface has a fine roller texture. If the touch up still shows in side light, coat the whole door face to its natural edges. That moves the slight difference in color or sheen away from the middle of a panel.
Let the coating cure and stop the chip from returning
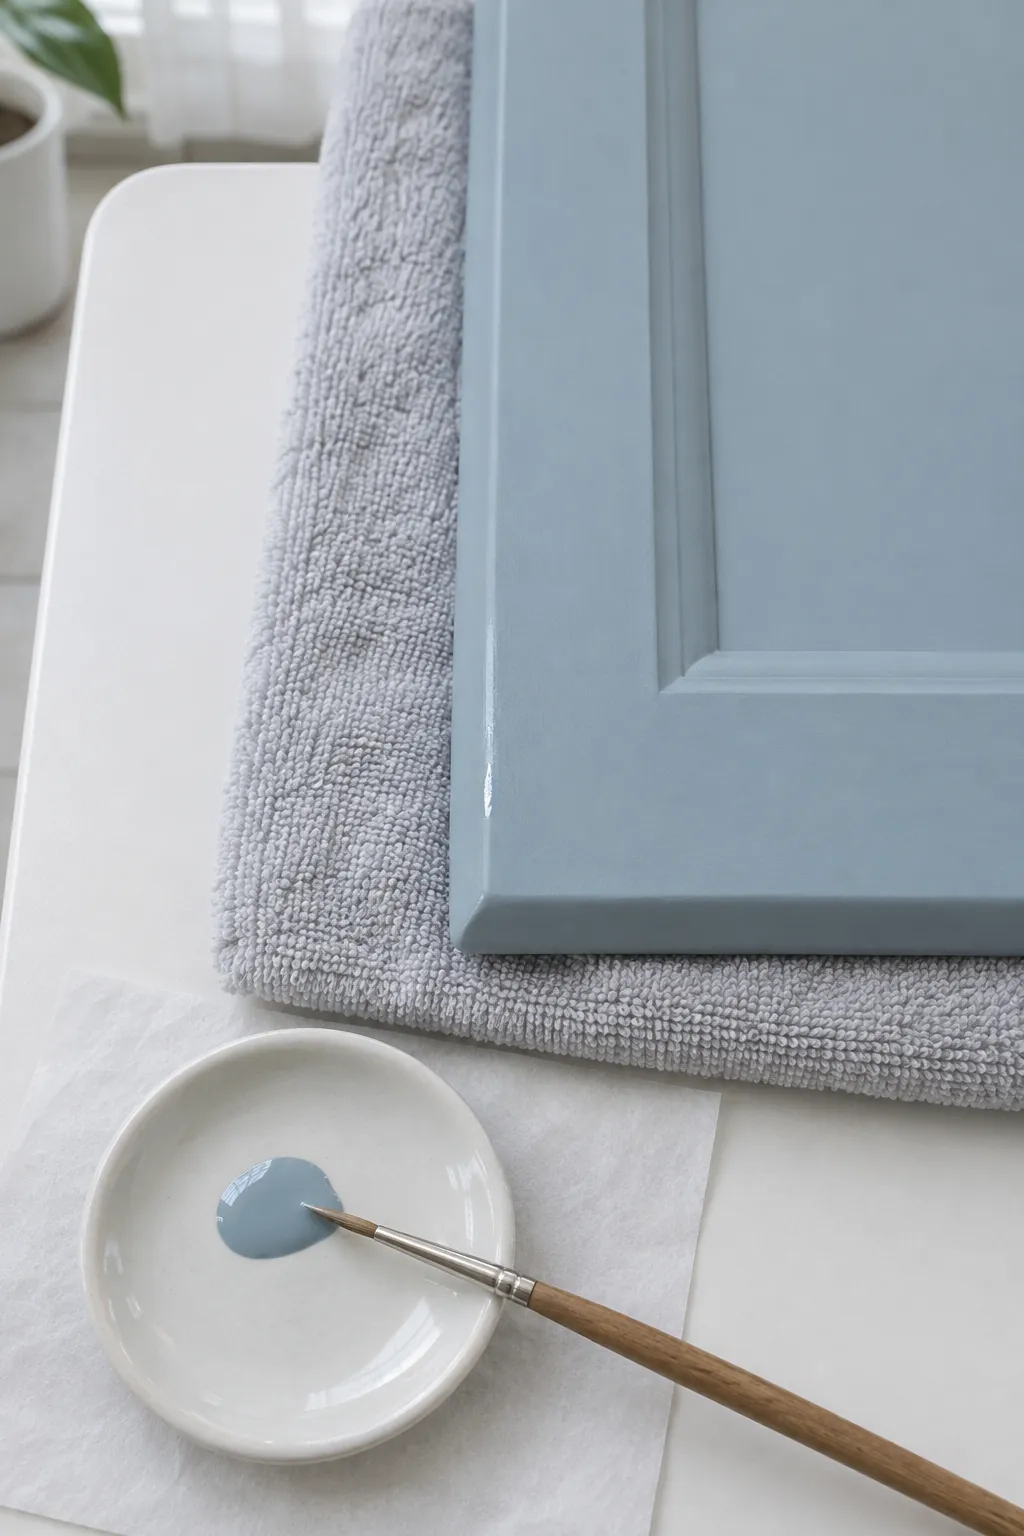
Dry paint can still mark when you tighten a pull or shut a door against a bumper. Check the label for when you can handle it and when it reaches full cure. Keep cleaners and hard contact away until the coating can take them. If the spot sits where two doors rub or a handle hits the wall, correct the clearance before putting the cabinet back into daily use.