
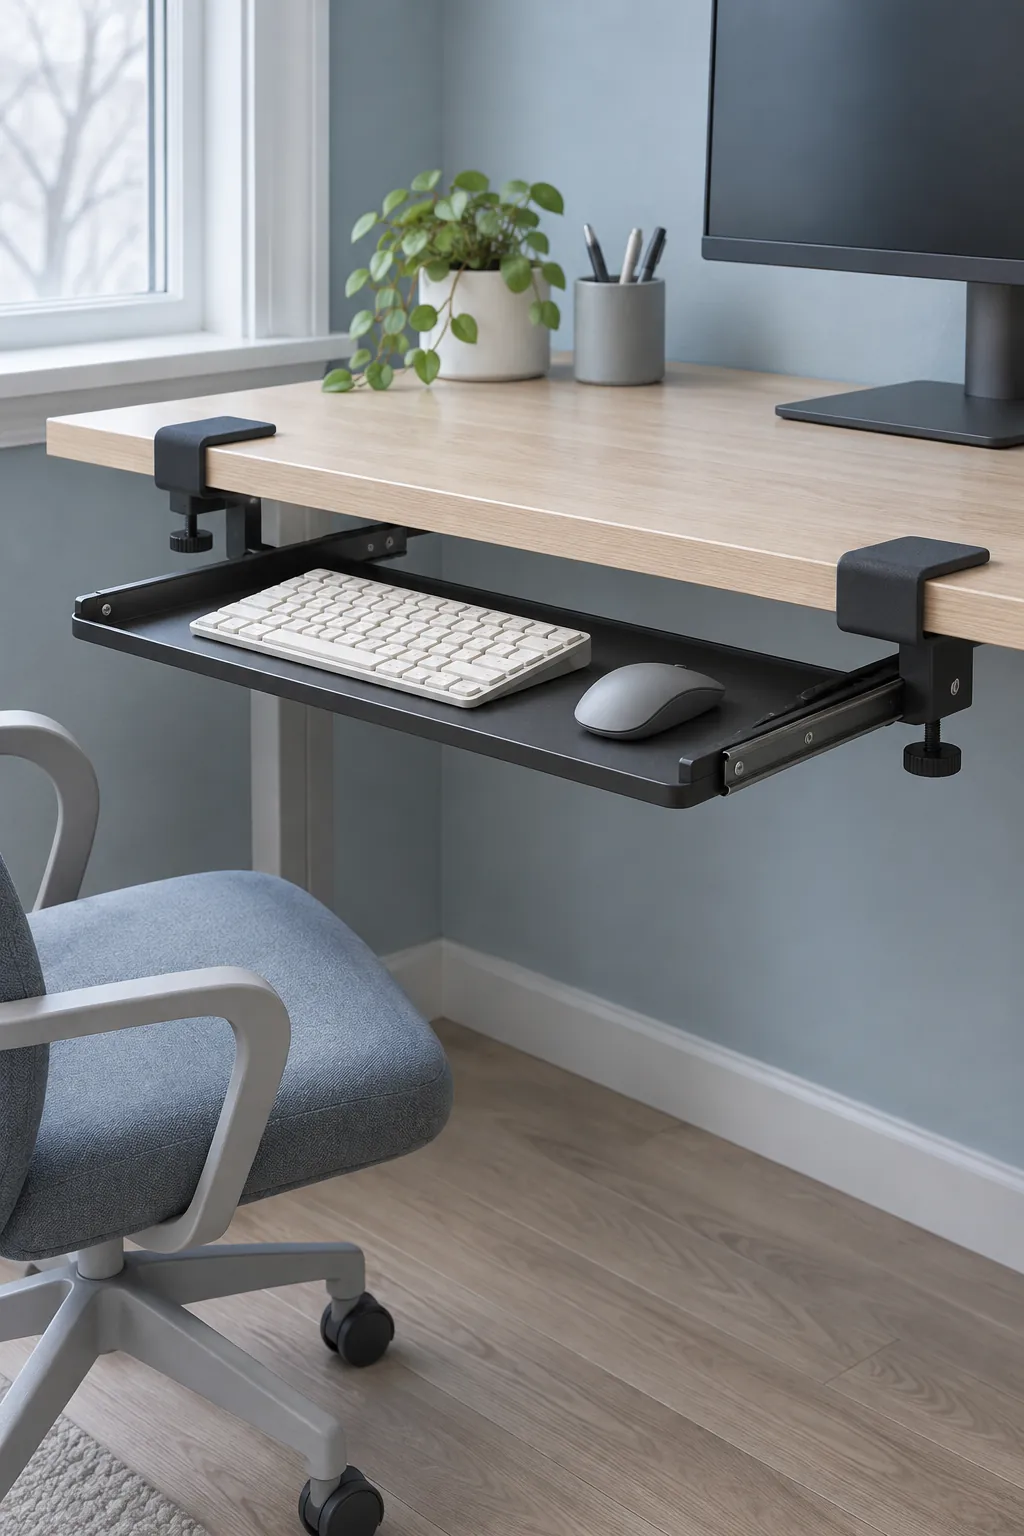
Lowering a keyboard can let your shoulders relax. It can also put a metal rail where your knees need to go. Before buying a tray, measure the height you want for typing and the space your legs need. Then check whether the clamps and shelf can fit between those two heights.
Start with the height of the keys
Sit with your feet supported and your shoulders relaxed. Bend your elbows comfortably at your sides, then measure from the floor to where your hands naturally settle for typing. This is a starting height for the tops of the keys. Use the height of your own keyboard to work back to the tray surface.
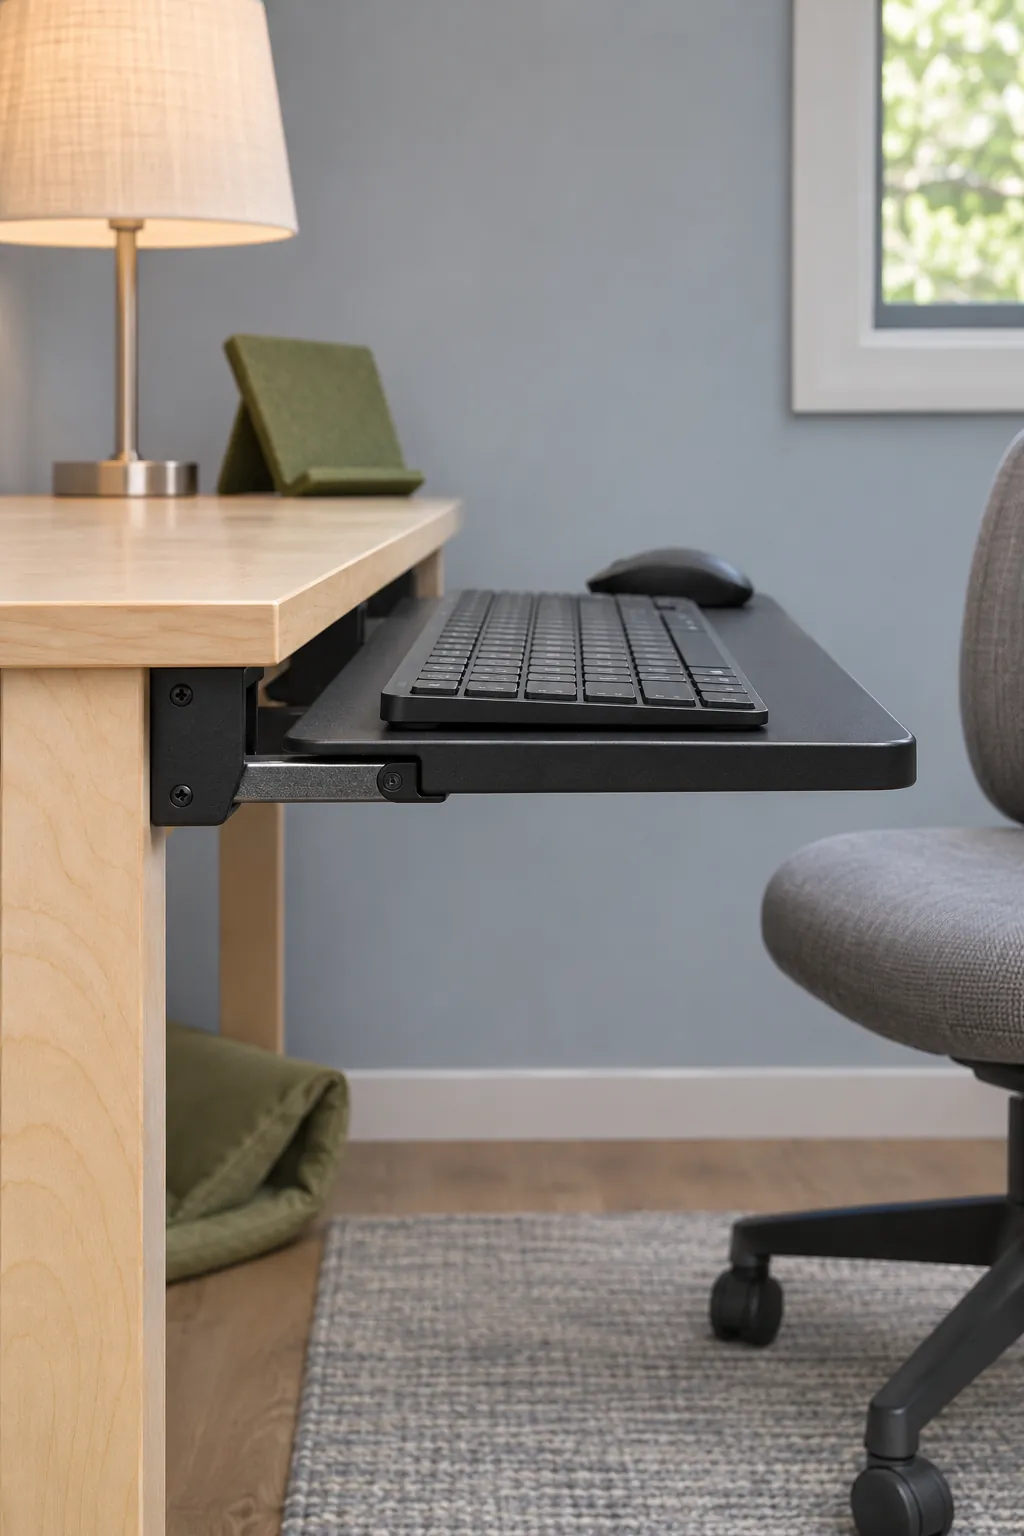
For example, if your hands settle at 27 inches and the tops of the keys sit 1 inch above their supporting surface, try a tray surface around 26 inches. Compare that height with the drop listed for the tray and check where the manufacturer measures it. A desk that raises and lowers may need a check at both your seated and standing heights.
Measure knee clearance to the lowest hardware
With the chair adjusted for work, check the height of your thighs and knees under the desk. Measure where they sit when you roll in or change position. Use the tray drawing to find the lowest rail, knob or front lip, which may sit well below the tray surface. Compare that height with the space your legs need and allow room to move.
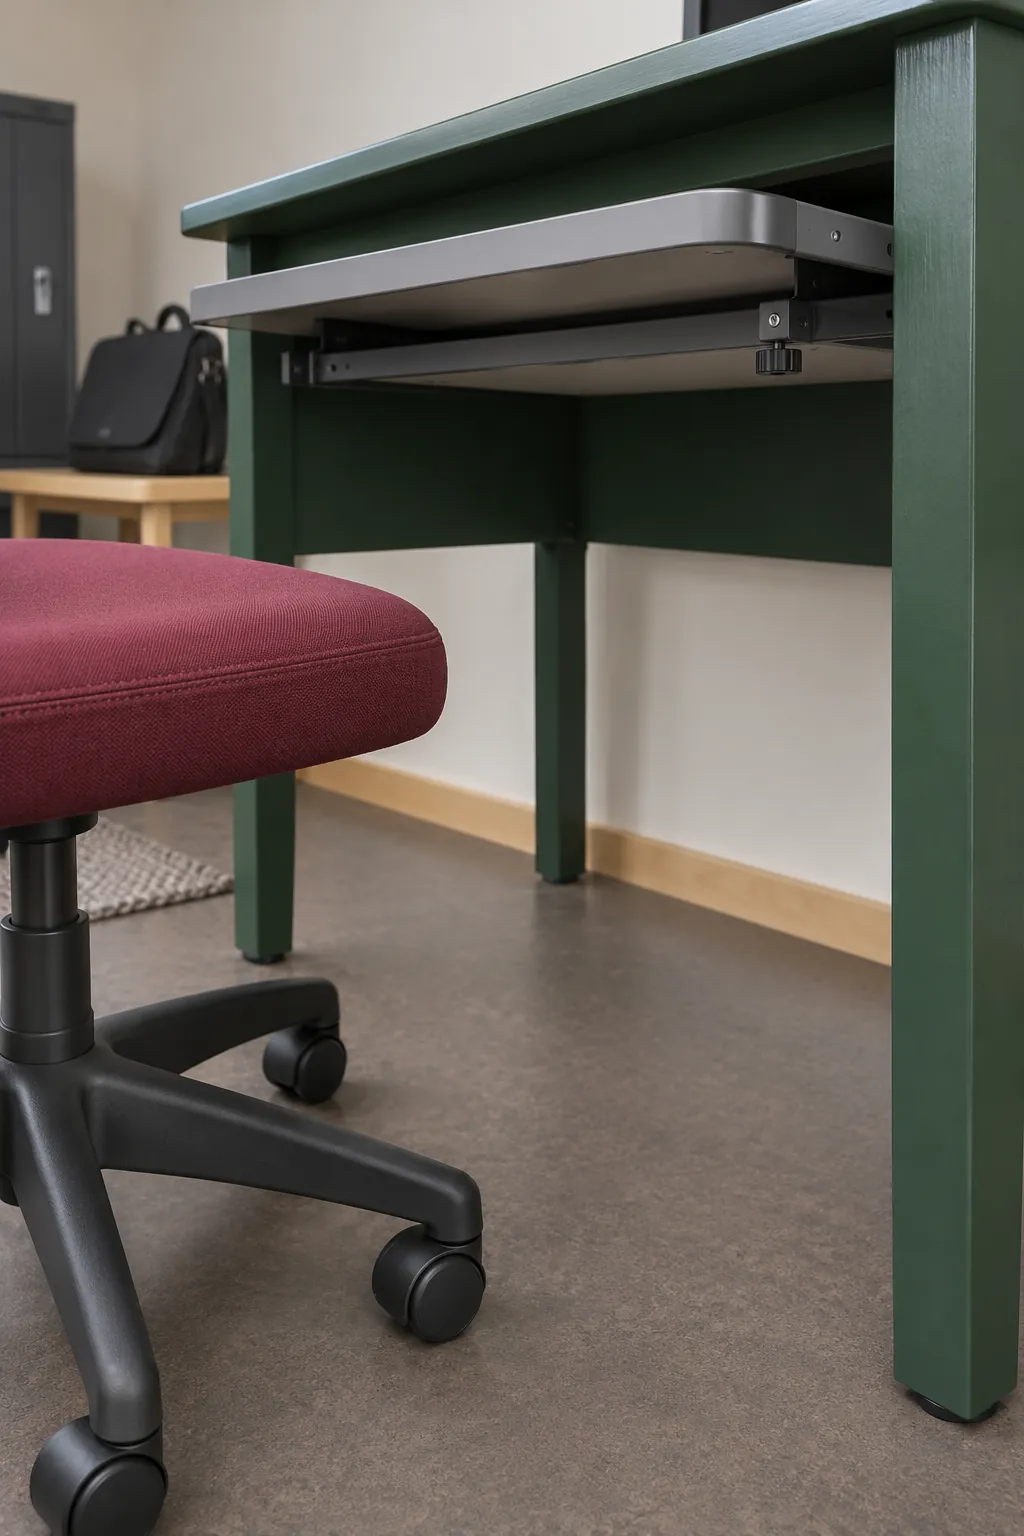
Hold a piece of cardboard at the proposed bottom height with a stable support or a helper. Try the usual movements from sitting down to reaching the keyboard. In one discussion about keyboard trays, a reader worried that the tray would take away knee room at the desk height that felt best for their arms. Test both together before ordering.
Check clamp thickness and the space behind the edge
Measure the desktop thickness at both clamp locations. Confirm the tray accepts that thickness and the desk maker allows clamping there. Then measure how far the lower jaw must slide underneath. A thick edge, curved trim or apron can prevent the upper and lower pads from sitting flat even when the clamp opens wide enough.
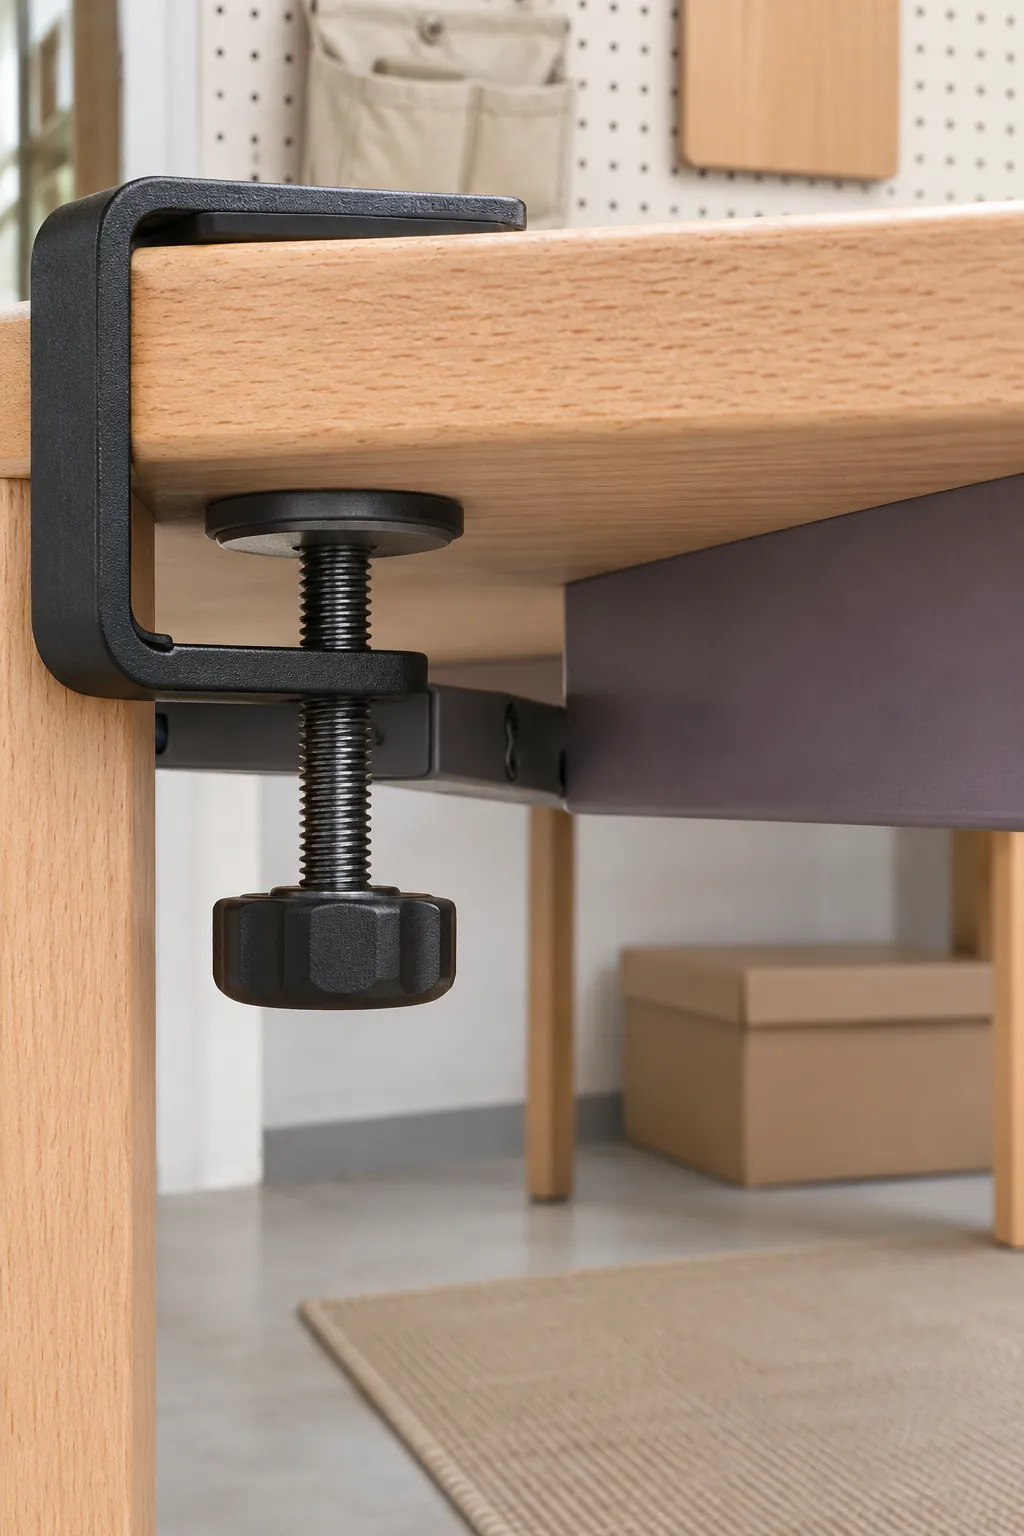
Check the clamp spacing against the legs and corners. If an apron sits back from the front edge, measure the open run before it. Compare that space with the full pad and clamp drawing, including the room you need to reach the knob.
Allow room for the rails to travel
Measure from the front edge back to the first obstacle under the desk, such as a support beam, drawer or cable basket. A tray that clamps on securely can still stop before it closes. Check the rail length and rear clearance in the instructions, then compare them with your actual desk.
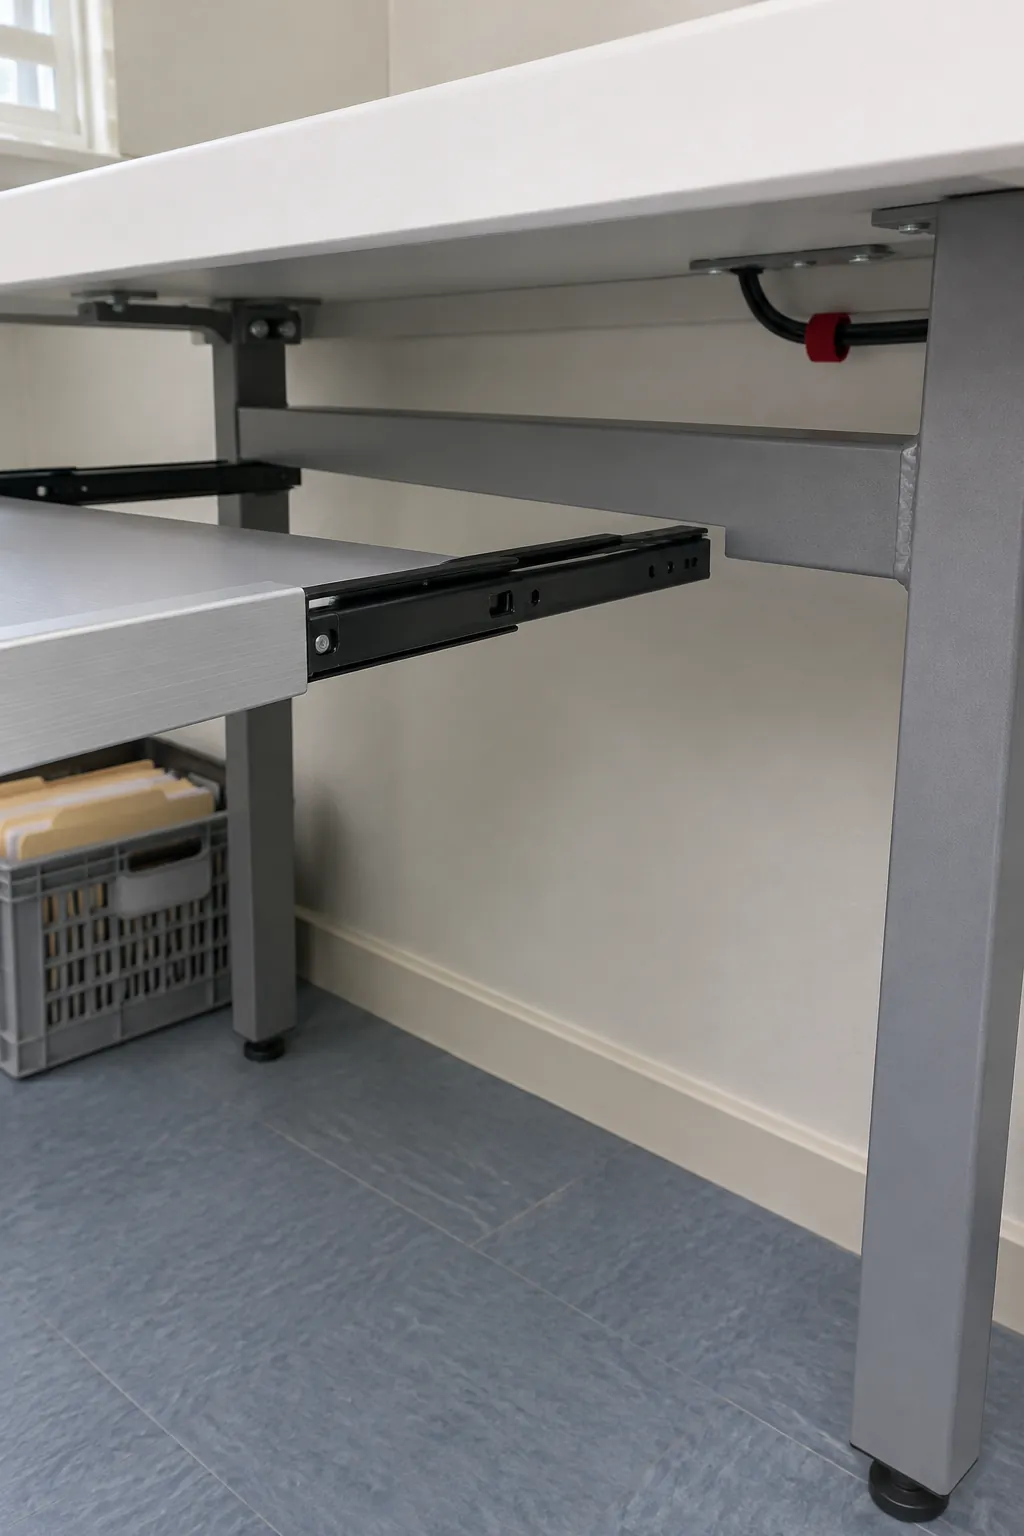
Measure how far the shelf projects into the room when extended. Make sure you can get into the chair and leave it without bumping into the shelf. For a moving desk, test for collision with nearby furniture and cables at each height you use.
Check that the keyboard and mouse fit together
Use the flat usable tray width and depth. The outer width can include clamps, a lip or raised edges that take away working space. Add your keyboard case width and the distance you need to move the mouse normally.
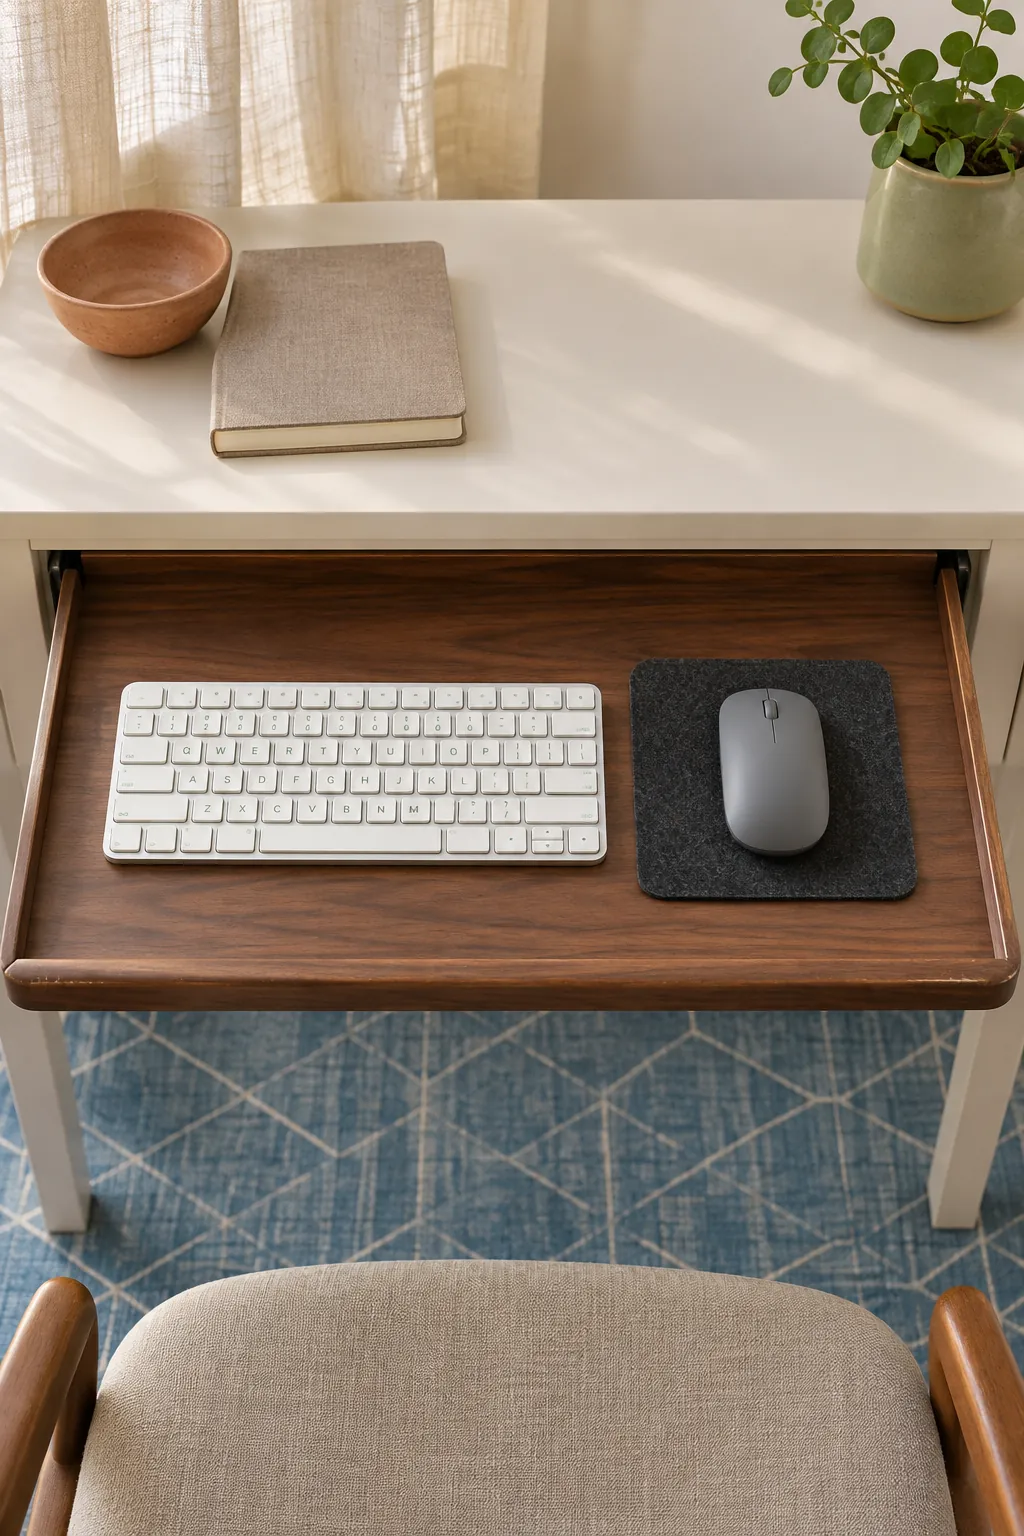
If the keyboard fits but the mouse has to stay on the desk, try switching between the two at those heights before buying. A shorter keyboard can leave more space for both on the tray. Include the keyboard plug, cable curve and any wrist rest when you check depth.
Test the fit before committing to the tray
Use the model drawing and your floor measurements to check typing height, knee room, jaw contact and rail travel together. A shallower tray or a model with a different drop may fit when a longer slider hits the desk frame. If there is no approved spot with enough flat contact, keep both inputs on the desk and see if a lower keyboard or an adjustment to the desk height solves the reach problem.
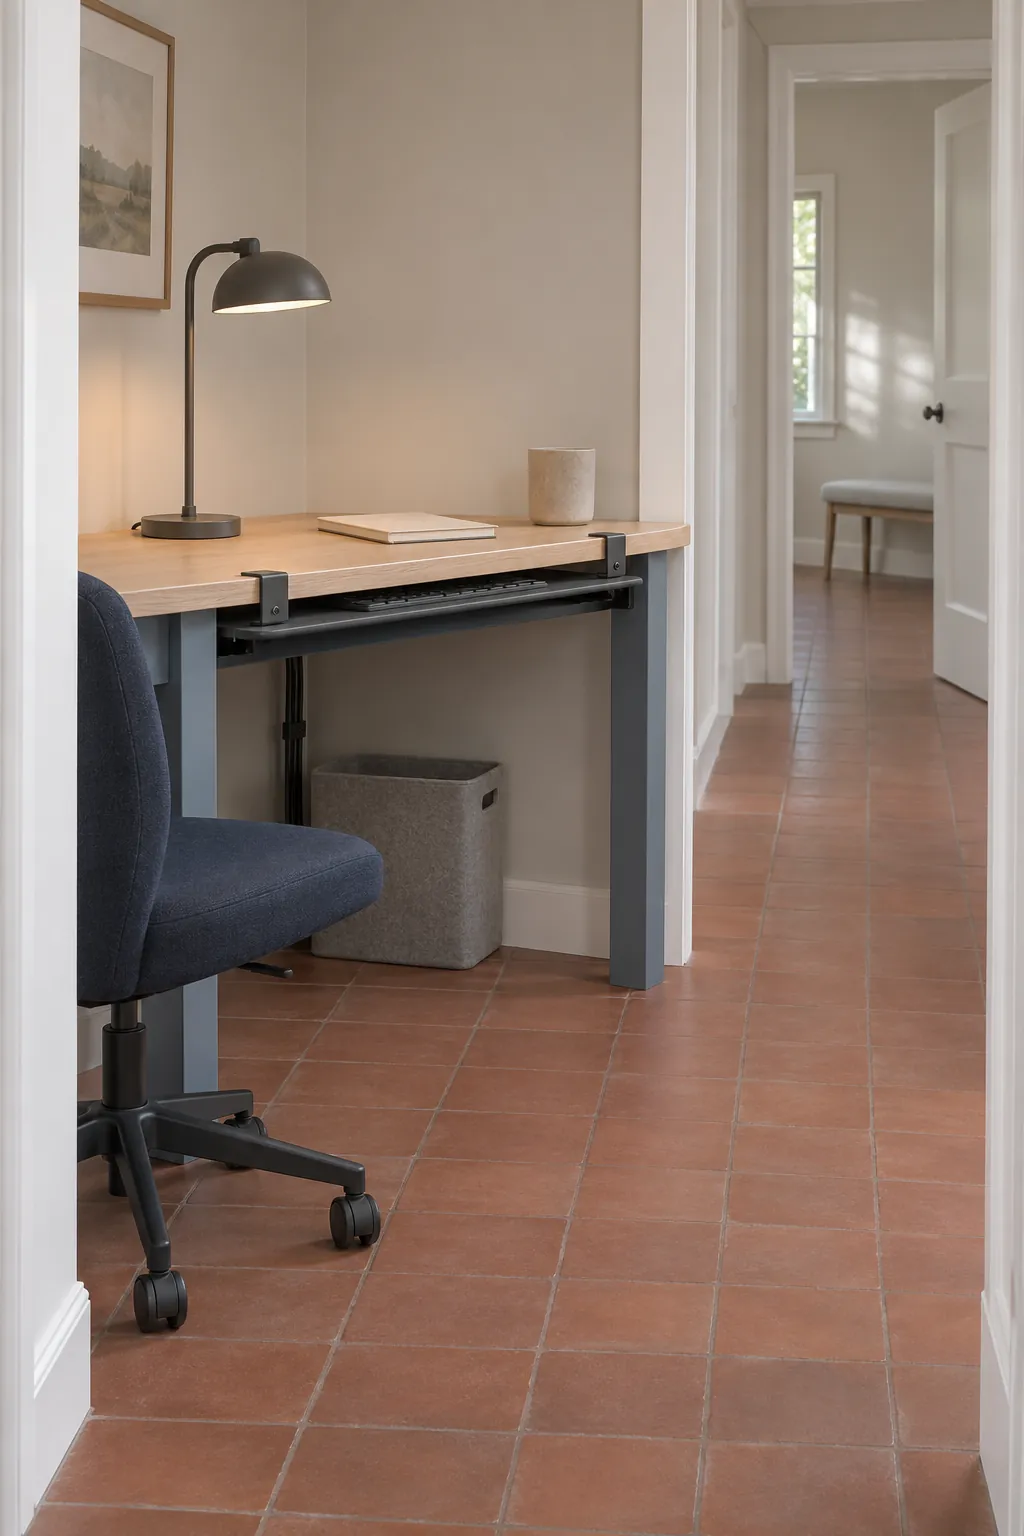
After installation, check that the pads sit flat, the shelf moves freely and the hardware stays tight under ordinary typing. Make one last pass from sitting down to sliding the shelf away. That is the fit you will notice every day.