
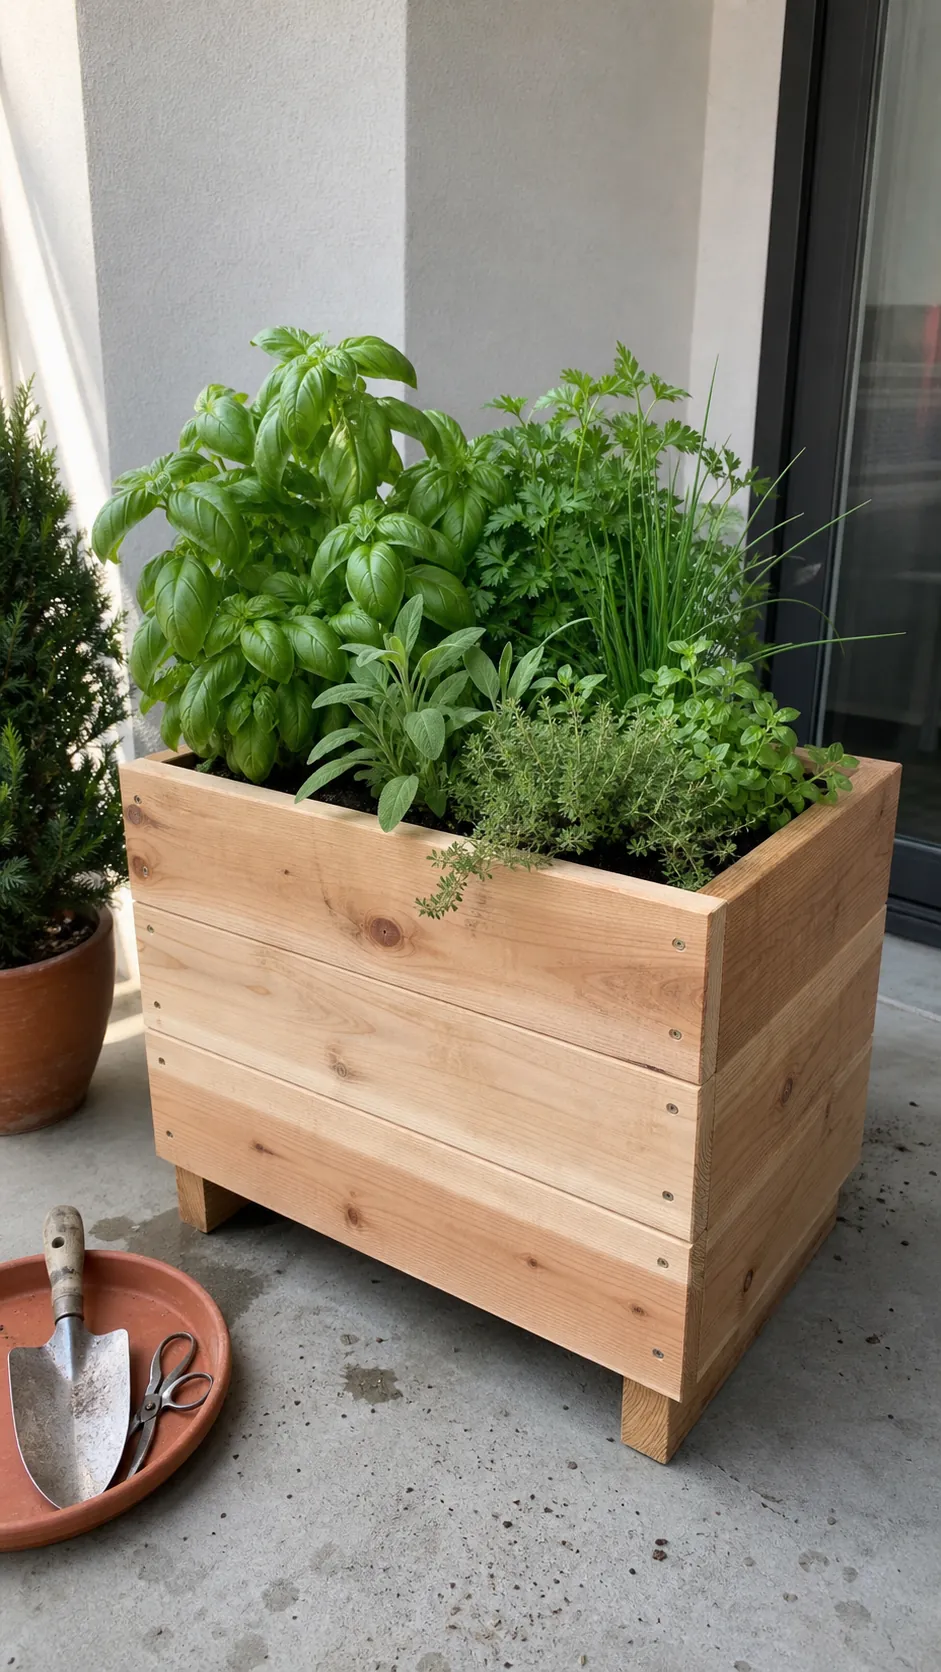
A DIY herb planter succeeds or fails long before the first basil leaf is harvested. The decisive choices are unglamorous: a container that drains, enough root room, herbs with compatible water needs, and a location that receives useful light. Get those right and a salvaged crate, bucket, trough, or simple timber box can become a productive kitchen garden rather than a damp decorative project.
This guide builds one practical planter from the bottom up. It also addresses the questions beginners repeatedly run into: whether gravel improves drainage, which herbs can share soil, how to protect a balcony or windowsill, and when an attractive upcycled container is unsafe or simply too small.
Choose a planter around roots, water, and location
Start with the place where the planter will live. Most culinary herbs grow best with roughly six hours of direct sun, while an indoor setup may need supplemental light when the window is dim. Watch the proposed spot for a day before building. A bright-looking room can still give plants only a short slice of usable sun, and an exposed patio can turn a small pot into a dry brick by midafternoon.
For a mixed planter, aim for a container at least 8 to 10 inches deep; give deeper-rooted parsley, dill, or mature rosemary more room. A wider container also changes less abruptly between wet and dry than a cluster of tiny pots. On a balcony, balance that stability against saturated weight. A manageable planter you can rotate, clean beneath, and move during severe weather is more useful than an oversized box.
Use materials that can handle wet soil safely
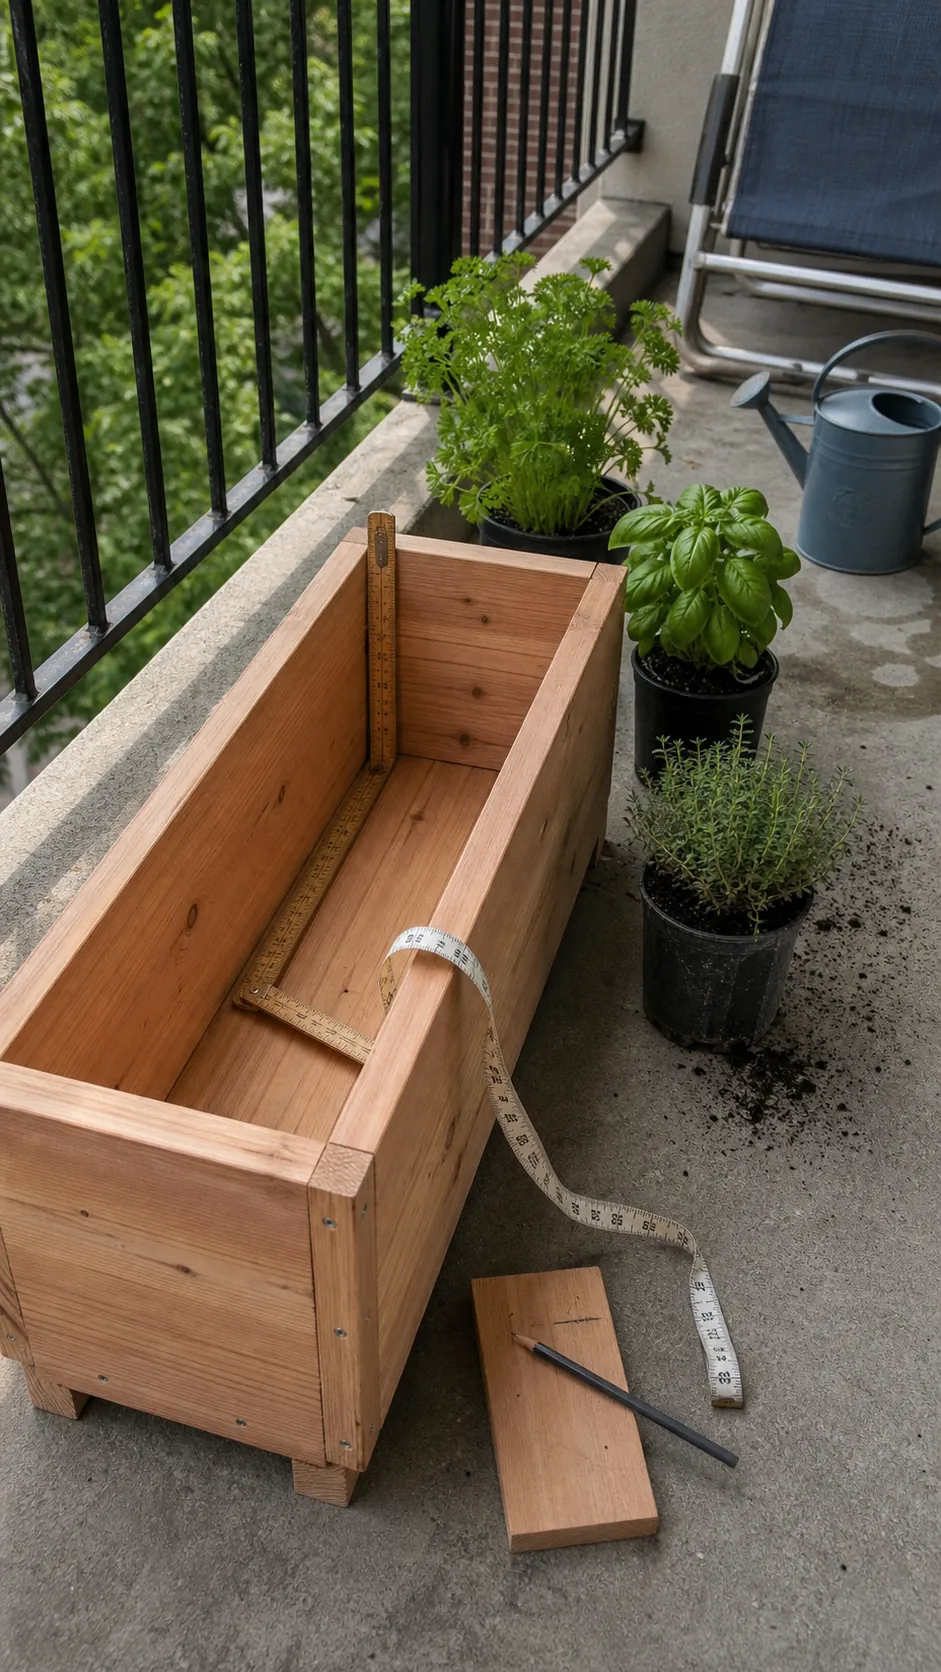
Cedar, redwood, and other naturally durable woods are sensible choices for an outdoor herb garden design. Untreated construction lumber is affordable but will weather faster. Avoid wood with an unknown treatment history, painted salvage that may contain old coatings, and containers that previously held chemicals. For edible plants, “free” material is not a bargain if you cannot identify what touched it.
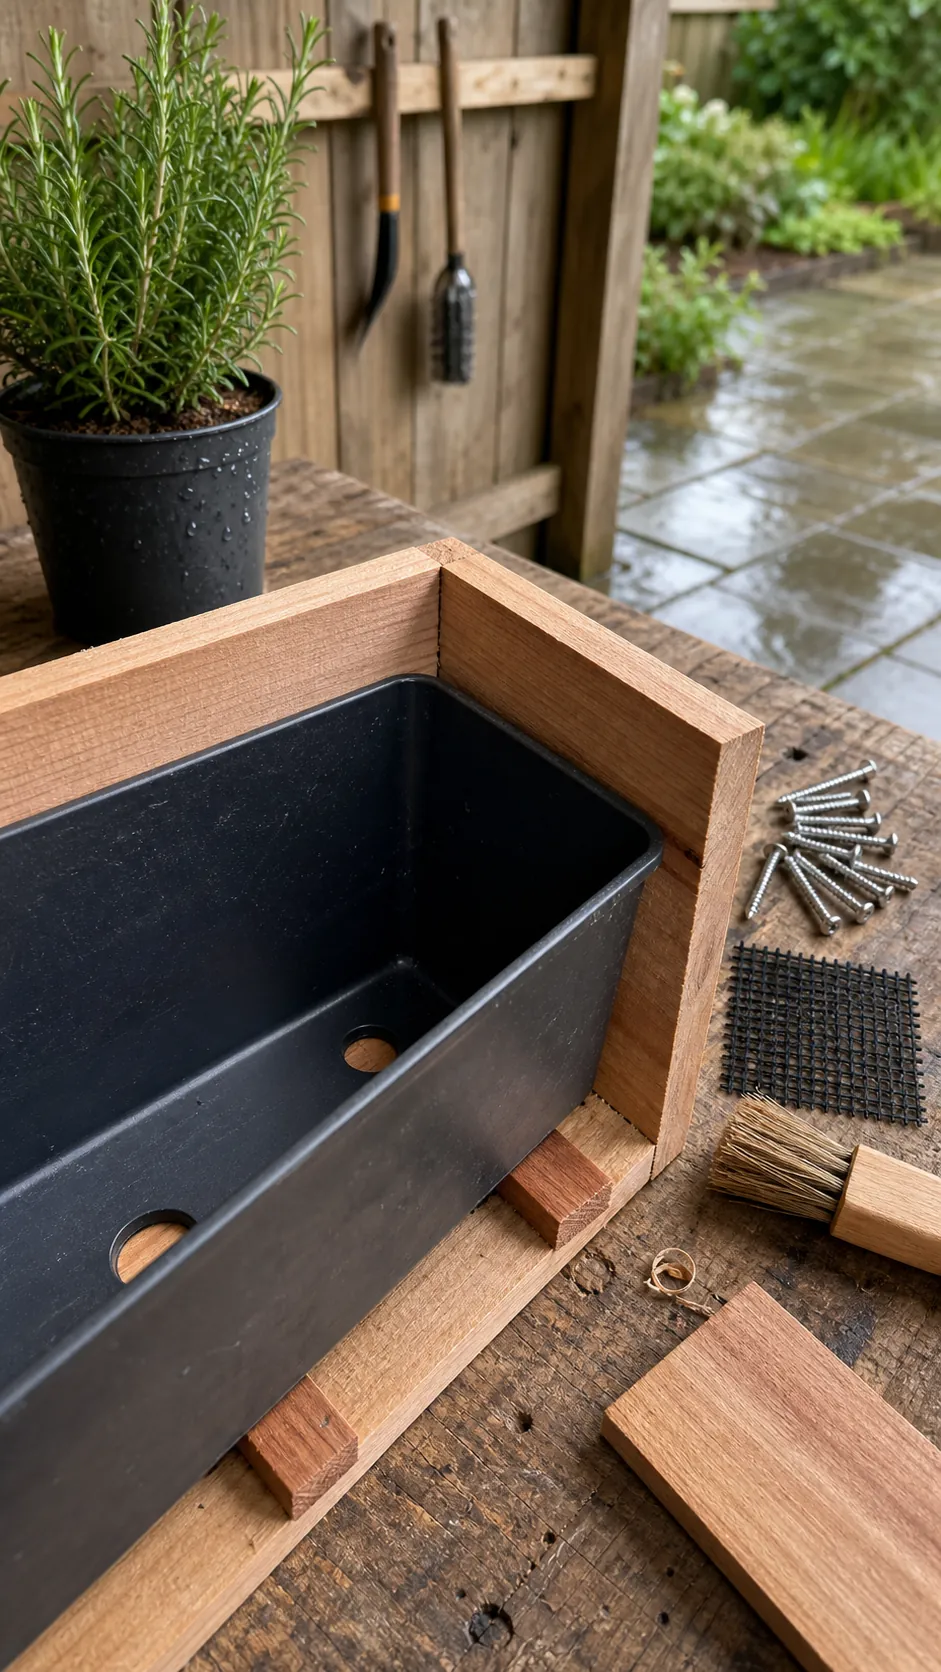
A food-safe plastic nursery pot, bucket, or liner can keep damp mix away from a decorative outer shell. Leave a gap or feet beneath the inner container so drainage holes cannot seal against the base. Galvanized tubs and ceramic vessels can work when they drain freely, but remember that dark metal heats quickly in strong sun and unsealed terra-cotta loses moisture faster than plastic.
If you are adapting a pallet herb garden, verify the pallet’s markings and condition before dismantling it. Skip stained, oily, moldy, or mystery pallets. Sand rough edges, remove protruding fasteners, and use exterior-grade hardware. A liner may slow wood decay, but it must not create a watertight basin around the roots.
Build drainage into the container, not beneath the soil
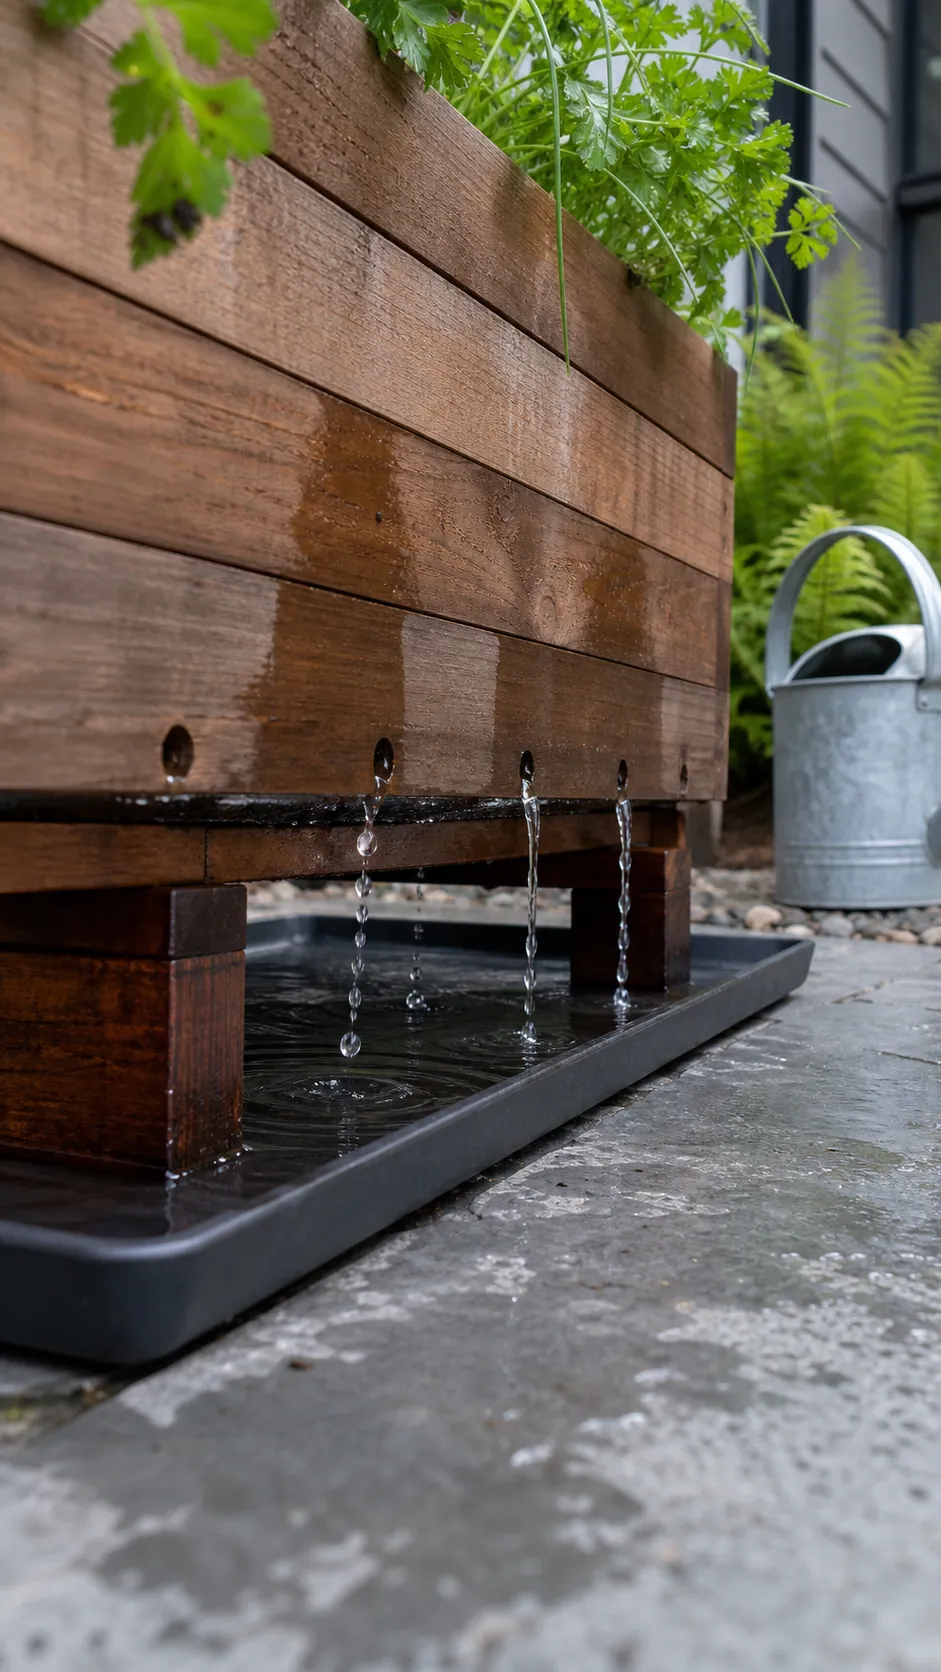
Every DIY herb planter needs an unobstructed route for excess water. Drill several holes across the lowest surface rather than relying on one hole in the center. A long trough should have openings along its full length, especially if the base may flex. Set the container on narrow feet, pot risers, or a slatted stand so water can actually escape.
Do not add a deep gravel layer as a substitute for drainage holes. It reduces the volume available for roots and does not fix a sealed container. Cover large holes with a small piece of rigid mesh or a pottery shard so mix stays in while water passes; do not plug them with fabric packed tightly against the base.
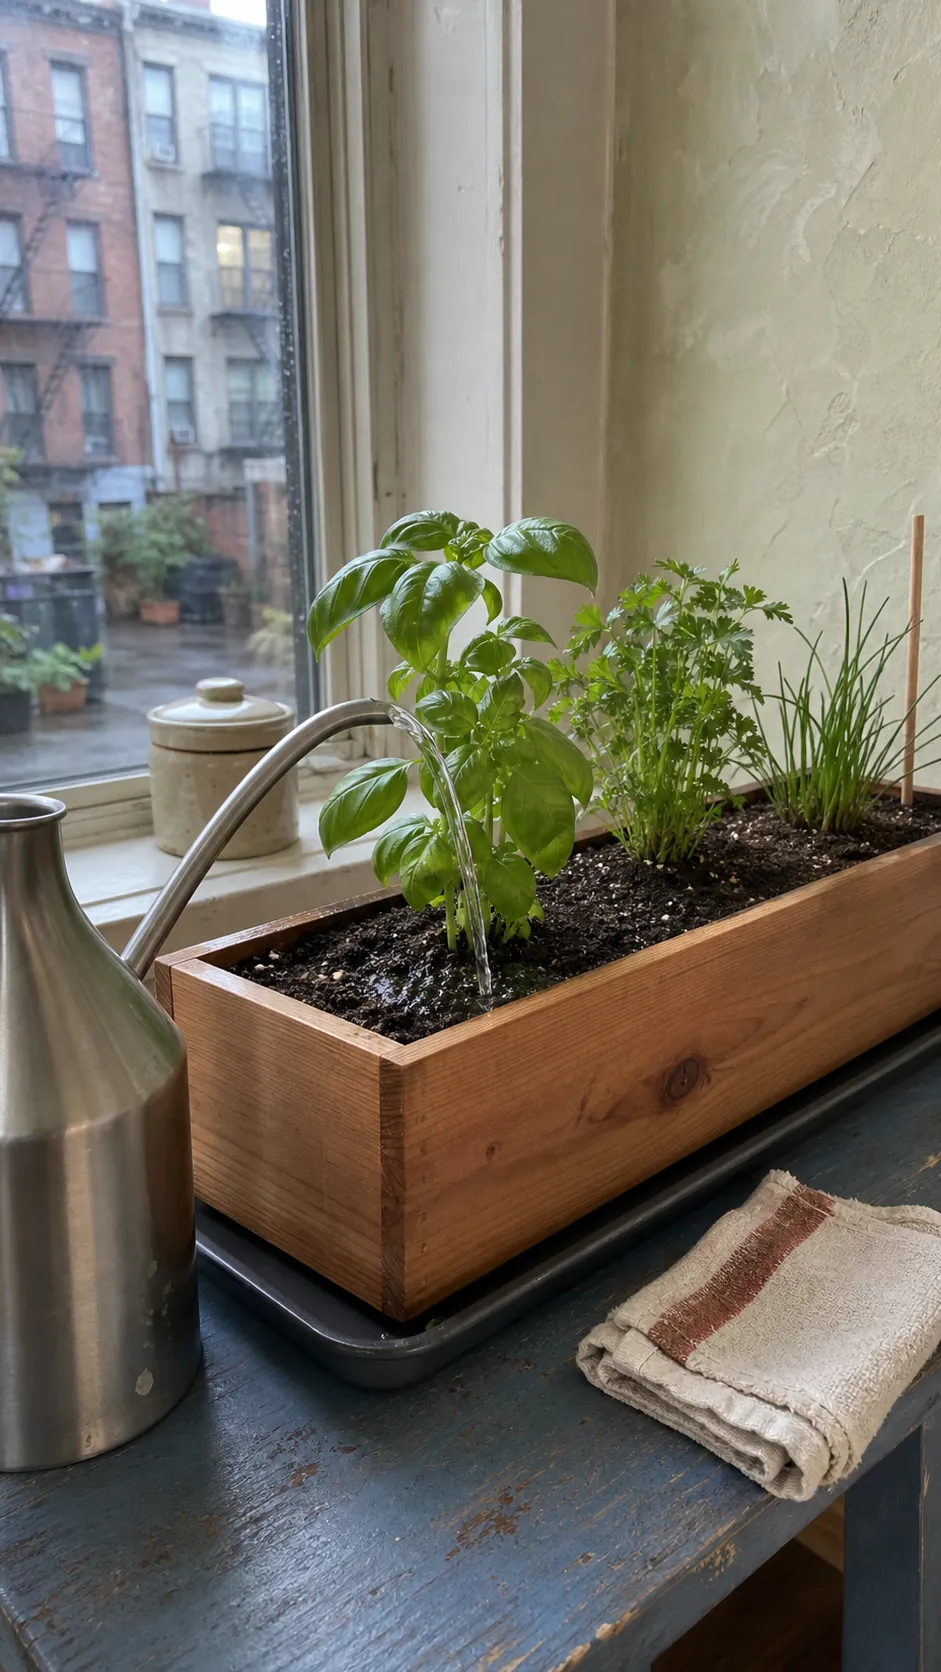
Indoors, drainage still matters. Place the planted pot on a waterproof saucer, or use a draining nursery pot inside a decorative cachepot and empty collected water promptly. This “pot inside a pot” approach is one of the easiest herb planter ideas indoor gardeners can maintain without damaging a counter or floor.
Assemble a simple cedar box that lasts
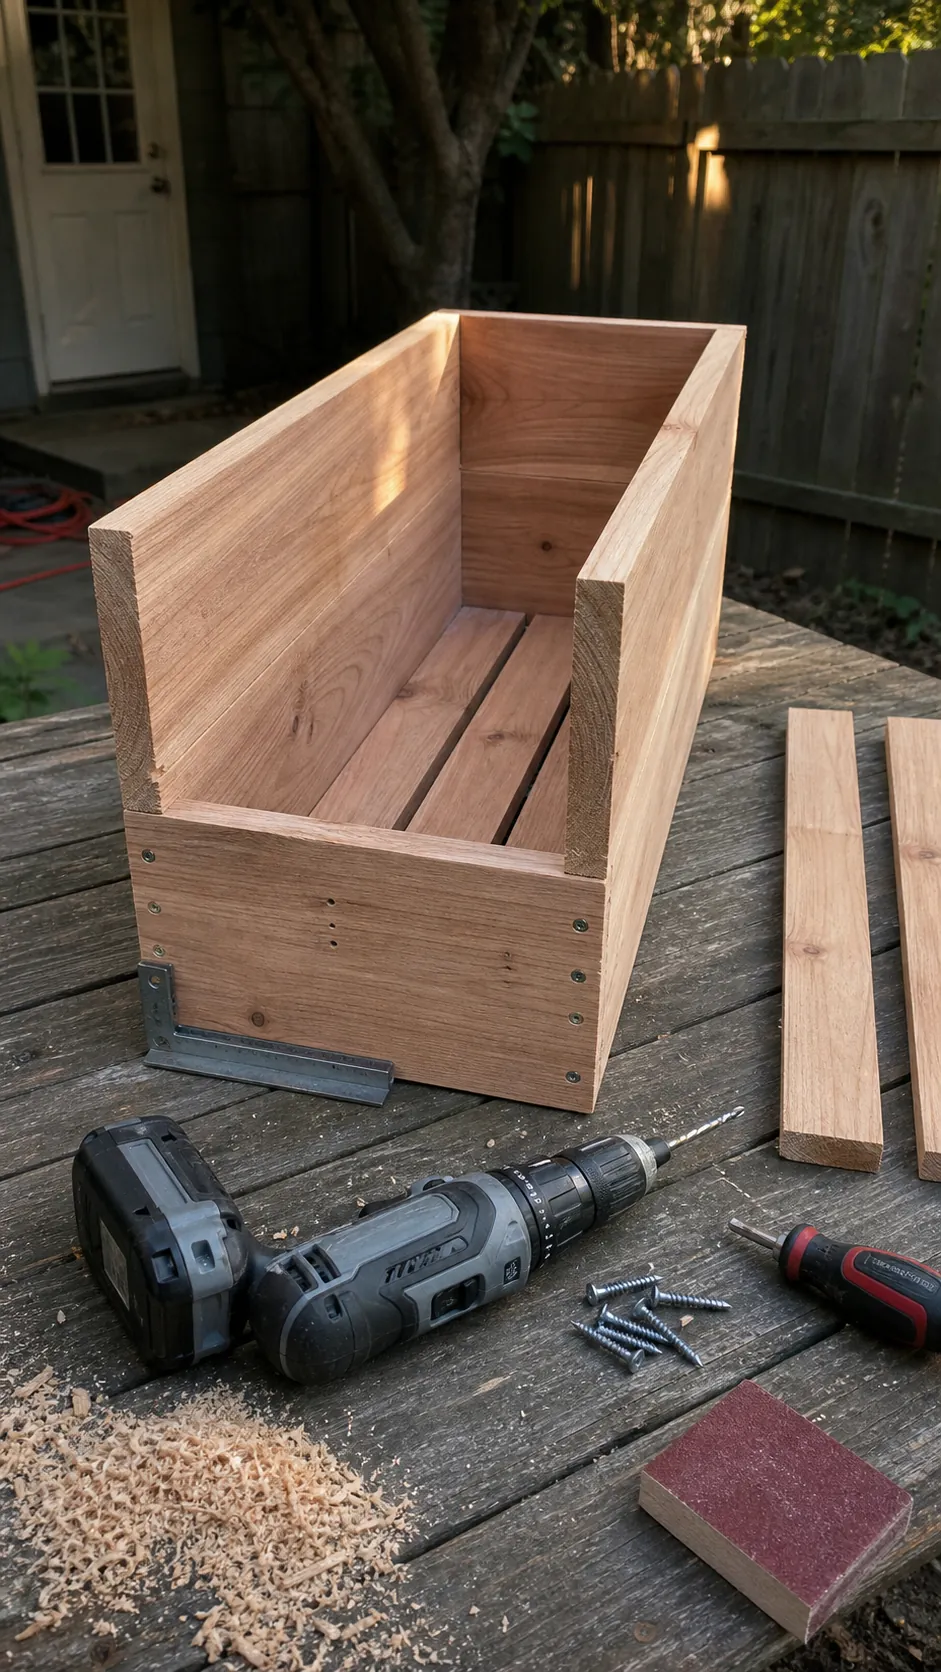
For a straightforward 24-inch-long planter, cut two long side boards, two end boards, and enough base slats to span the bottom with narrow drainage gaps. Pre-drill near board ends to reduce splitting. Fasten the sides around the end pieces with corrosion-resistant exterior screws, then attach the base slats. Add two runners beneath the box; they support the floor and lift it off the surface.
- Check the empty box for wobble and sharp edges.
- Drill extra drainage holes if the base slats fit tightly.
- Staple a permeable food-safe liner to the upper inside walls, leaving the base openings exposed.
- Position the planter and saucer before adding wet mix.
You do not need furniture-grade joinery. Square corners, adequate drainage, and replaceable parts matter more than invisible fasteners. If a full box build is not realistic, use the same principles on a sturdy crate or two buckets secured in a timber frame. The plants respond to root conditions, not carpentry prestige.
Fill it with potting mix instead of garden soil
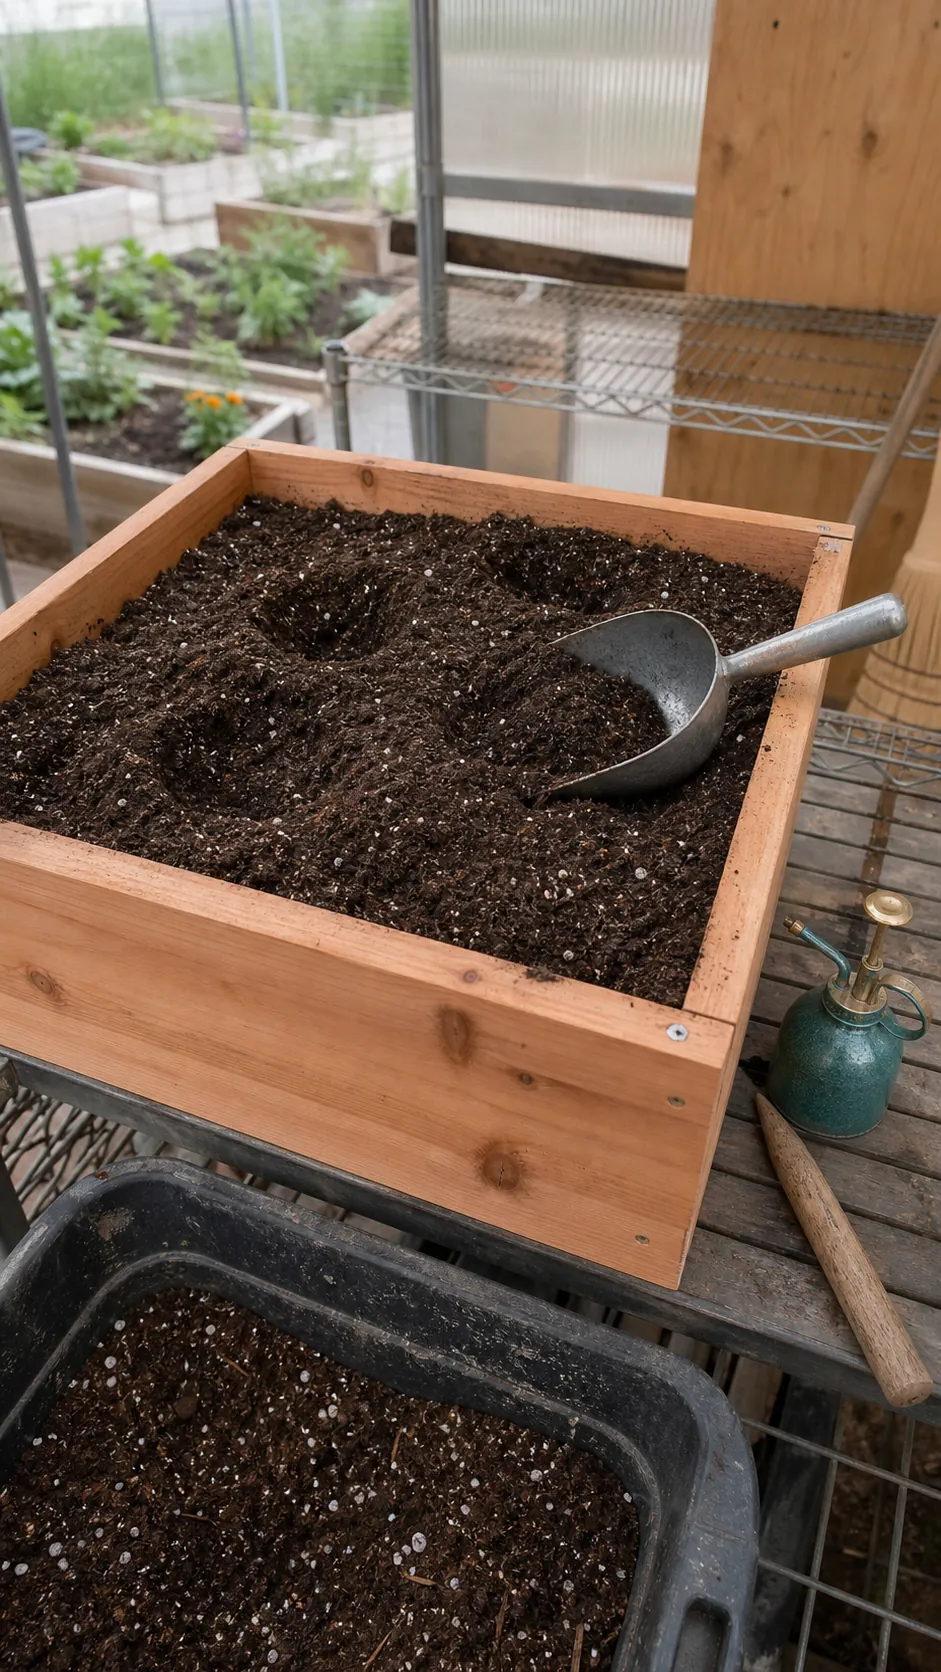
Use fresh container potting mix. It is lighter than garden soil and is formulated to hold both air and moisture after repeated watering. Soil dug from a bed often compacts in a pot, drains unpredictably, and may introduce weeds or pests. Fill gradually, firming lightly with your hands rather than compressing each layer.
Stop about an inch below the rim so water does not carry mix over the edge. Moisten dry potting mix before planting; evenly damp mix settles more reliably around roots. If the planter will sit outdoors through heavy rain, recheck that water appears beneath every drainage zone before adding herbs.
Container nutrients wash out over time, but more fertilizer is not automatically better. Herbs grown too lushly can have weaker aroma and flavor. Start with the feeding approach stated on the potting-mix label, then use a dilute, balanced feed only when growth or the product schedule indicates it.
Group herbs by the way they drink
The most common mixed-planter mistake is choosing herbs by flavor and ignoring their care. Rosemary, thyme, oregano, and sage prefer excellent drainage and can dry slightly between waterings. Basil prefers more consistent moisture. Parsley and chives sit closer to the moderate middle. Group plants with similar needs, or keep demanding outliers in removable nursery pots.
Mint deserves its own container. Its spreading stems and roots can overwhelm neighbors, even when the arrangement initially looks balanced. Dill can become tall and shade compact herbs; place it where its mature height will not block the sun. When planning a small herb garden, arrange for the size plants will reach, not the tidy size sold at the nursery.
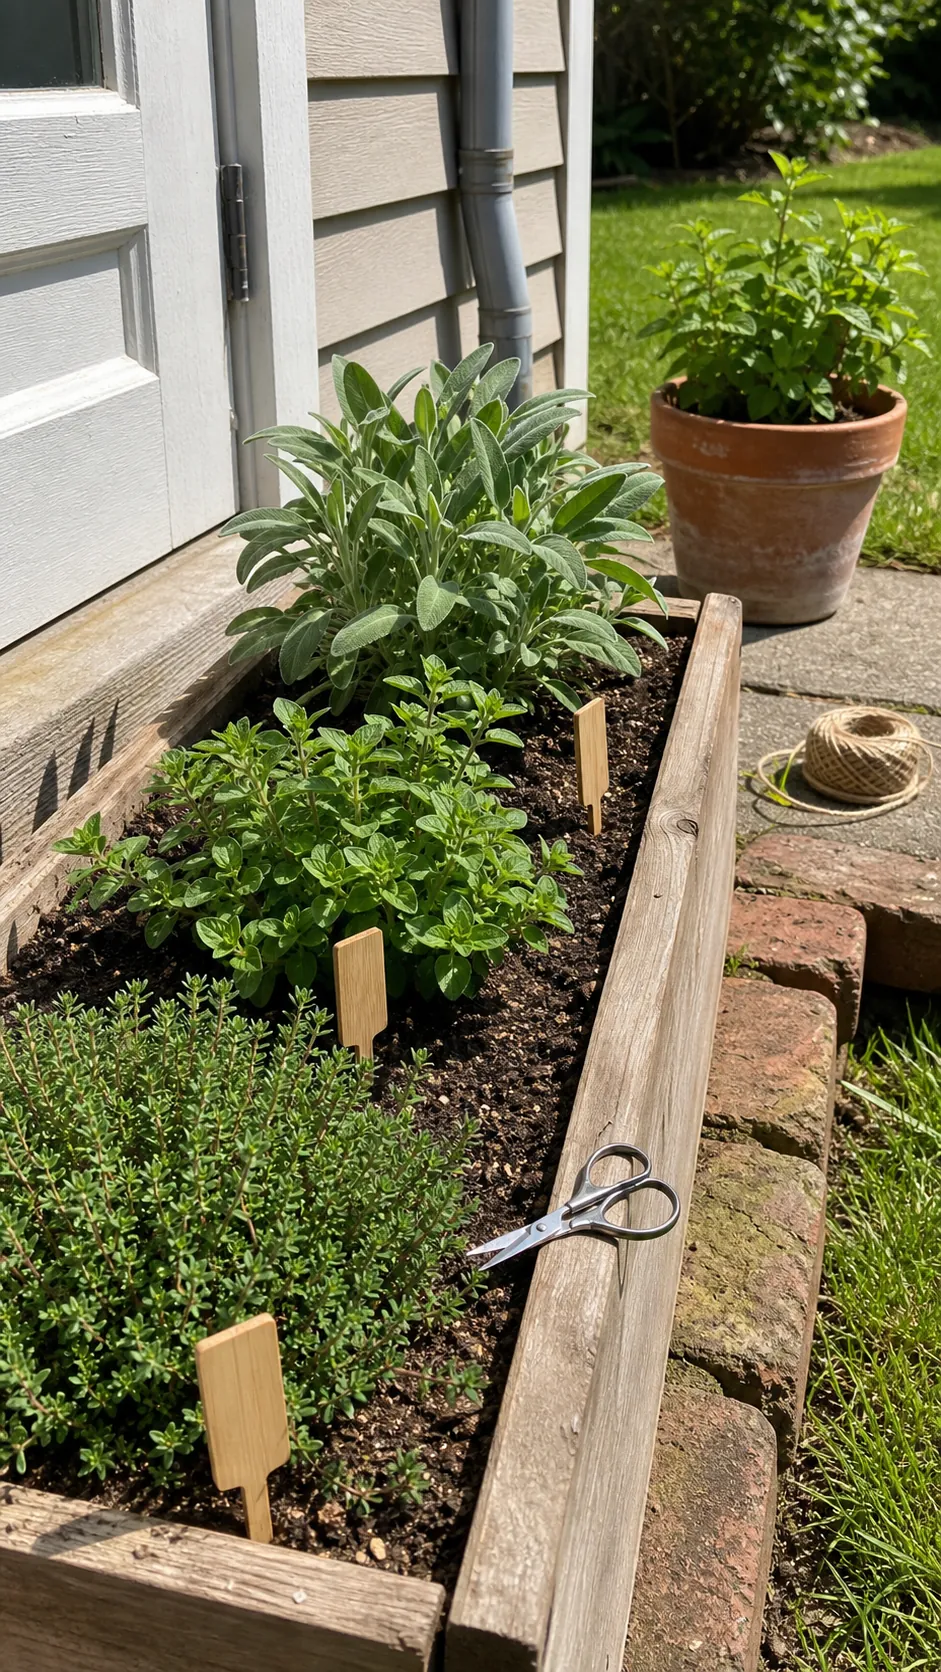
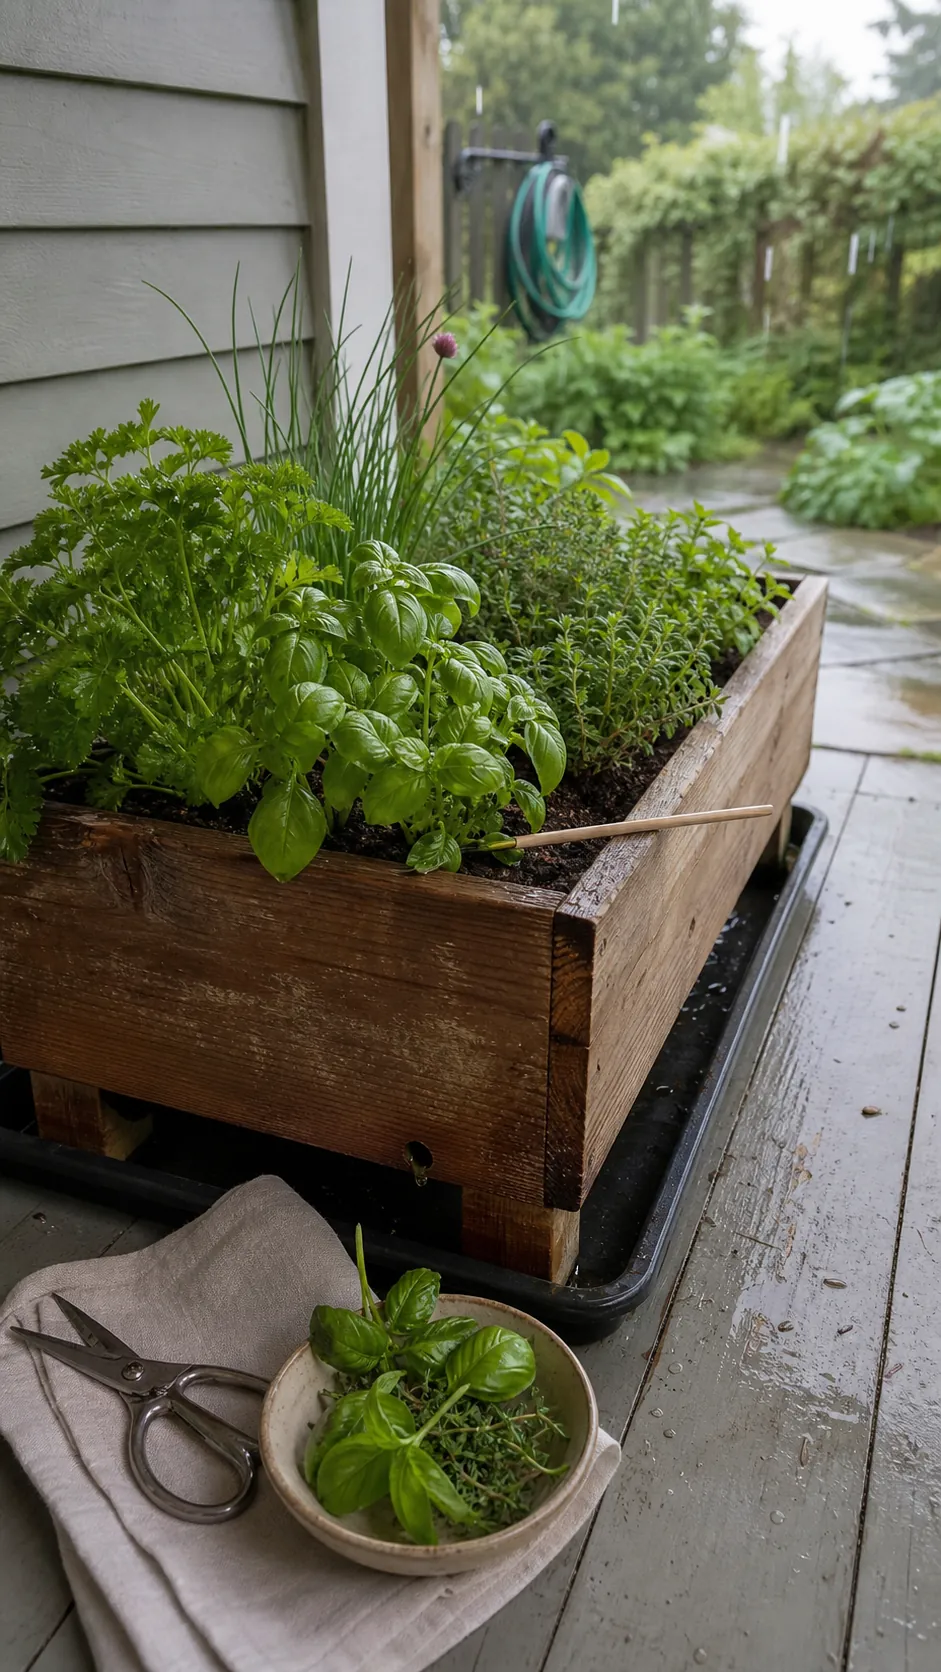
A beginner-friendly combination is thyme, oregano, and sage in a sunny outdoor box. For a kitchen herb garden idea with steadier moisture, try basil, parsley, and chives, while giving each plant enough spacing for airflow. Compatible plants make watering a single decision instead of a daily compromise.
Plant at the right depth and water the root zone
Set transplants at roughly the same depth they occupied in their nursery pots. Tease apart circling roots gently, place the plant, and draw mix around it without burying the crown. Water slowly until excess appears beneath the planter. That first thorough watering settles air pockets and confirms the drainage system works.
Afterward, use touch rather than a rigid calendar. Push a finger into the top half-inch to inch of mix and consider the herb group, weather, pot material, and container size. A small terra-cotta planter on a windy patio may need attention daily; a larger indoor box can remain damp much longer. Water the soil rather than repeatedly wetting foliage.
Newly transplanted herbs may need a few days of protection from intense afternoon sun. Move them gradually into their final exposure. Indoors, rotate the planter so growth does not lean permanently toward the window, and add a grow light if stems become long, pale, and weak.
Keep the planter productive through regular harvests
Harvest little and often once plants are established. Snip just above a leaf node on basil and many branching herbs to encourage fuller growth. Remove flowers from annual culinary herbs when your priority is leaf production, but avoid stripping more foliage than a small plant can replace. Clean scissors make precise cuts without crushing stems.
Inspect the drainage route whenever watering suddenly becomes slow. Clear fallen leaves from the soil surface, empty standing water from indoor saucers, and watch for roots blocking holes. Replace tired mix or move an herb to a larger pot when roots circle densely, growth stalls despite good light, or water runs around a solid root mass instead of soaking it.
A DIY herb garden outdoor setup will change with the season, while an indoor planter will change with window light and heating. Treat the planter as a working food garden: adjust its position, separate a struggling herb, and revise the watering rhythm as conditions change. The best build is not the one that remains visually untouched; it is the one that makes healthy roots, frequent harvests, and everyday cooking easy.