
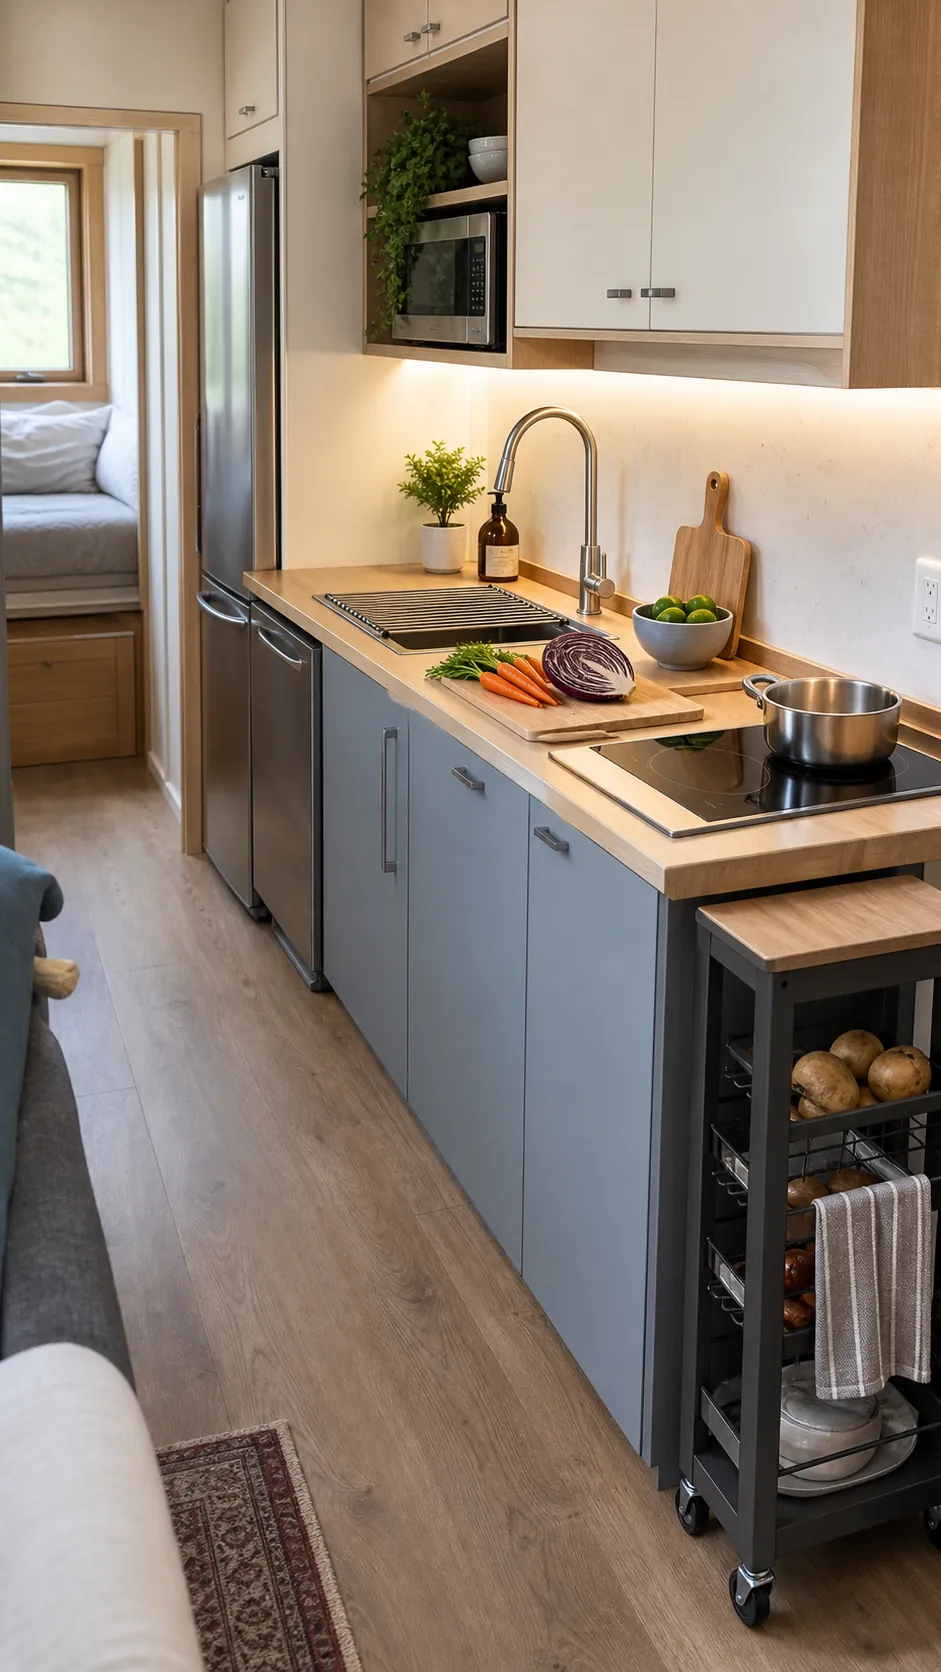
When a tiny home kitchen has no counter space, the first impulse is usually to add a cart, shelf, or fold-down table. That can help, but only after you solve the reason the existing counter keeps disappearing. Coffee makers become permanent residents, dishes spread into the prep zone, and the few clear inches beside the stove turn into storage.
The goal is not the largest possible worktop. It is a reliable sequence of landing, washing, chopping, cooking, and serving surfaces that appears when needed and clears when the task is done. Start by protecting one fixed prep area, then choose extensions that fit your actual aisle and cooking habits.
Protect one permanent prep zone
Clear the counter completely and mark the section where you can comfortably stand with a cutting board. Ideally, this spot sits between the sink and cooking surface, but a compact one-wall kitchen may require the best uninterrupted section available. Treat it as working space, not appliance parking.
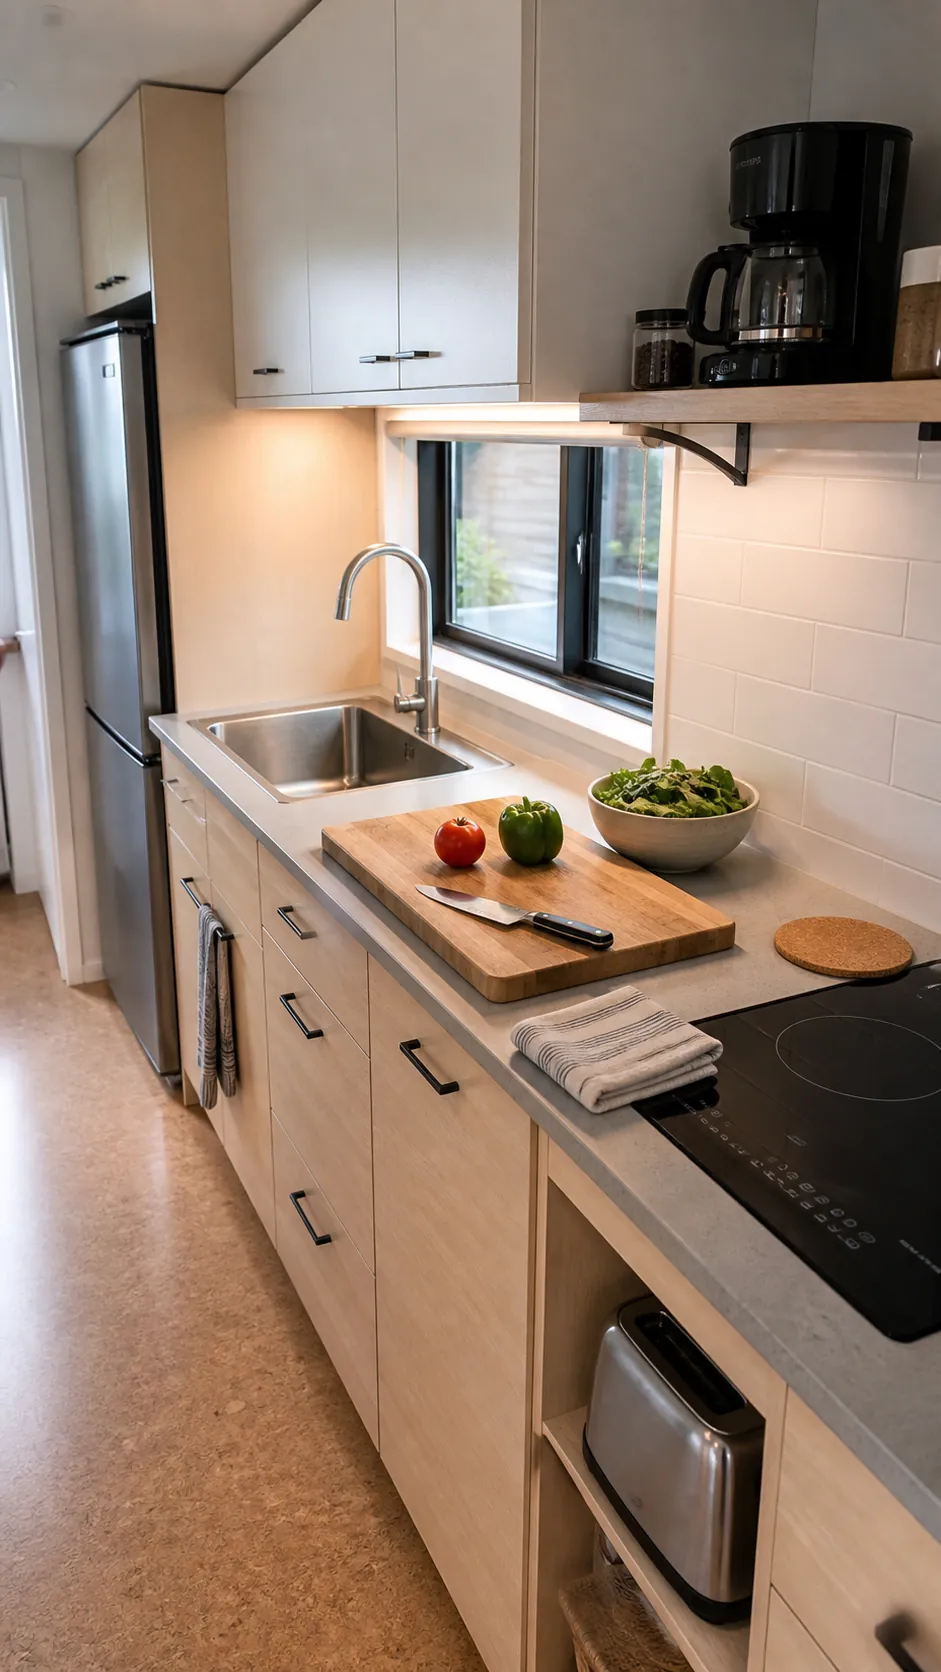
Move the toaster, blender, mixer, and coffee equipment according to frequency. Daily equipment can sit on a shelf or appliance tray close to an outlet. Weekly equipment belongs in a cabinet or rolling station. Rare equipment should leave the kitchen. A clear 24-inch run used every day is worth more than a longer counter covered by machines.
Keep the landing spaces beside hot and cold appliances usable too. You need a safe place to set down a pan, groceries from the refrigerator, or a wet bowl from the sink. Do not cover every inch with cutting boards if that removes the only heat-safe landing zone.
Turn the sink into temporary work surface
A ledge-fit cutting board can reclaim the sink for chopping or plating when you are not washing. A roll-up drying rack can bridge part of the basin for rinsed produce or dishes. Both solutions add surface without changing the kitchen footprint, and both store vertically when dry.
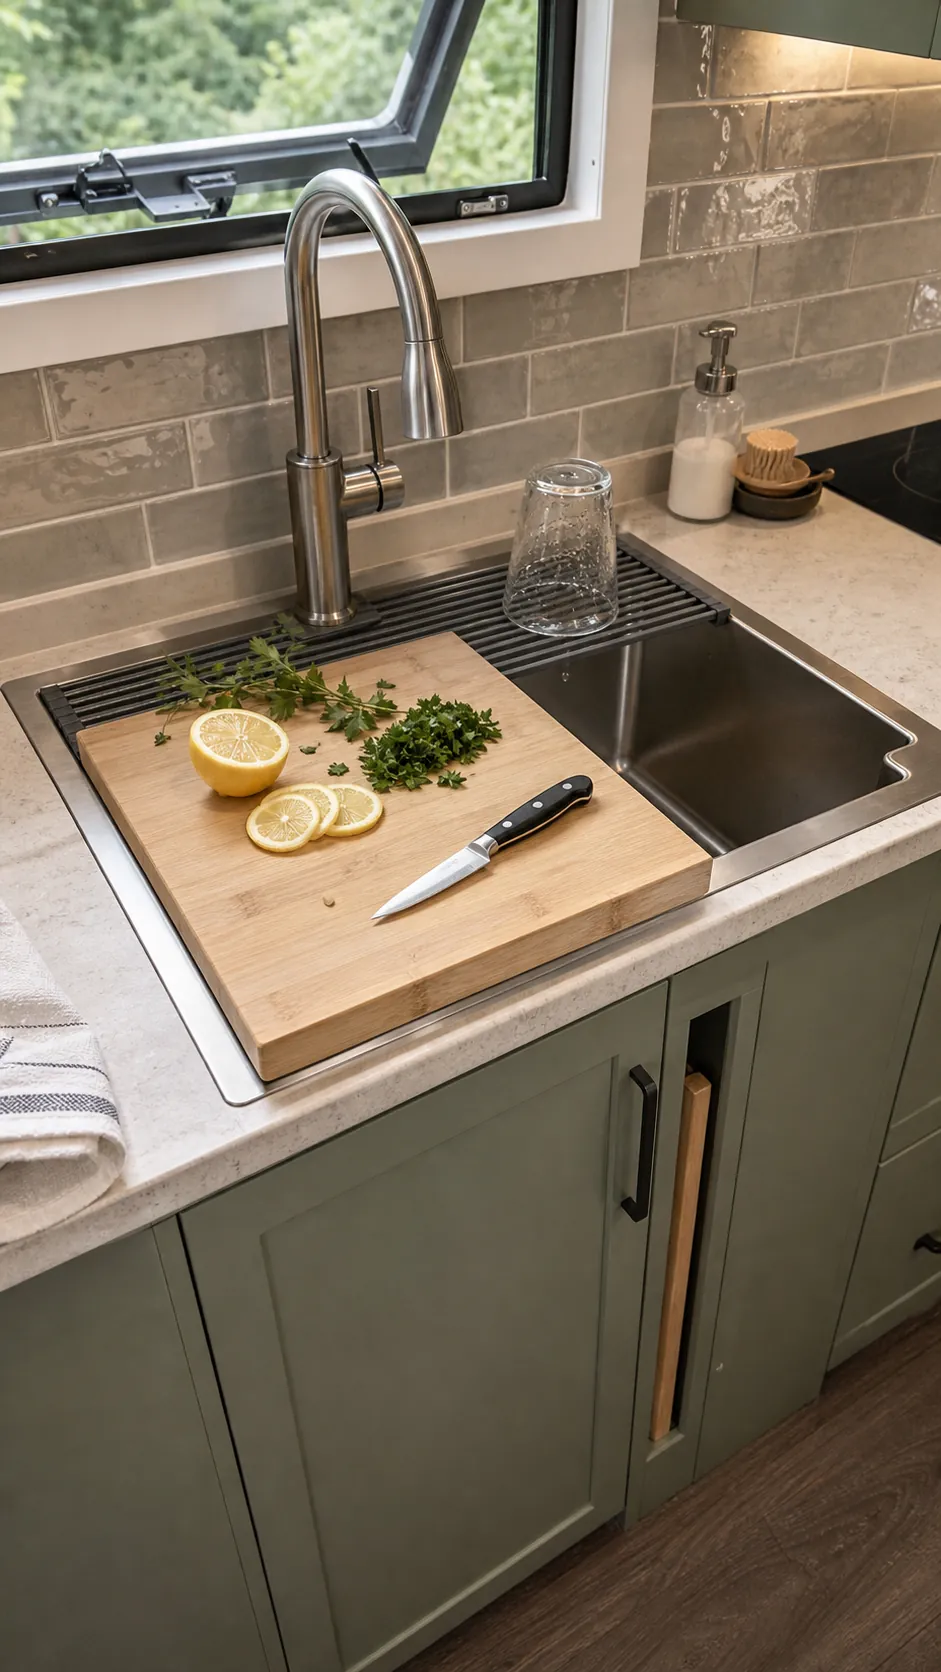
Measure the basin and support ledges carefully. The board must sit flat, resist sliding, and leave the faucet usable when that matters. Do not balance an ordinary board across a rounded rim. Choose a purpose-built insert or a custom board designed for the sink, and follow the maker’s load and care guidance.
This is temporary prep space, not a permanent lid. Remove and dry wooden boards after use, keep the drain accessible, and avoid covering a basin full of dishes. If the sink is always occupied, the better fix is a dishwashing routine or drying zone that returns the basin to service quickly.
Add a fold-down counter only where it can open
A wall-mounted fold-down counter can create a useful meal prep space and disappear afterward. It works best on a blank wall beside the kitchen or at the end of a cabinet run. Before mounting one, tape its open outline on the floor and wall. Then walk past it, open nearby doors, and carry a hot pan through the route.
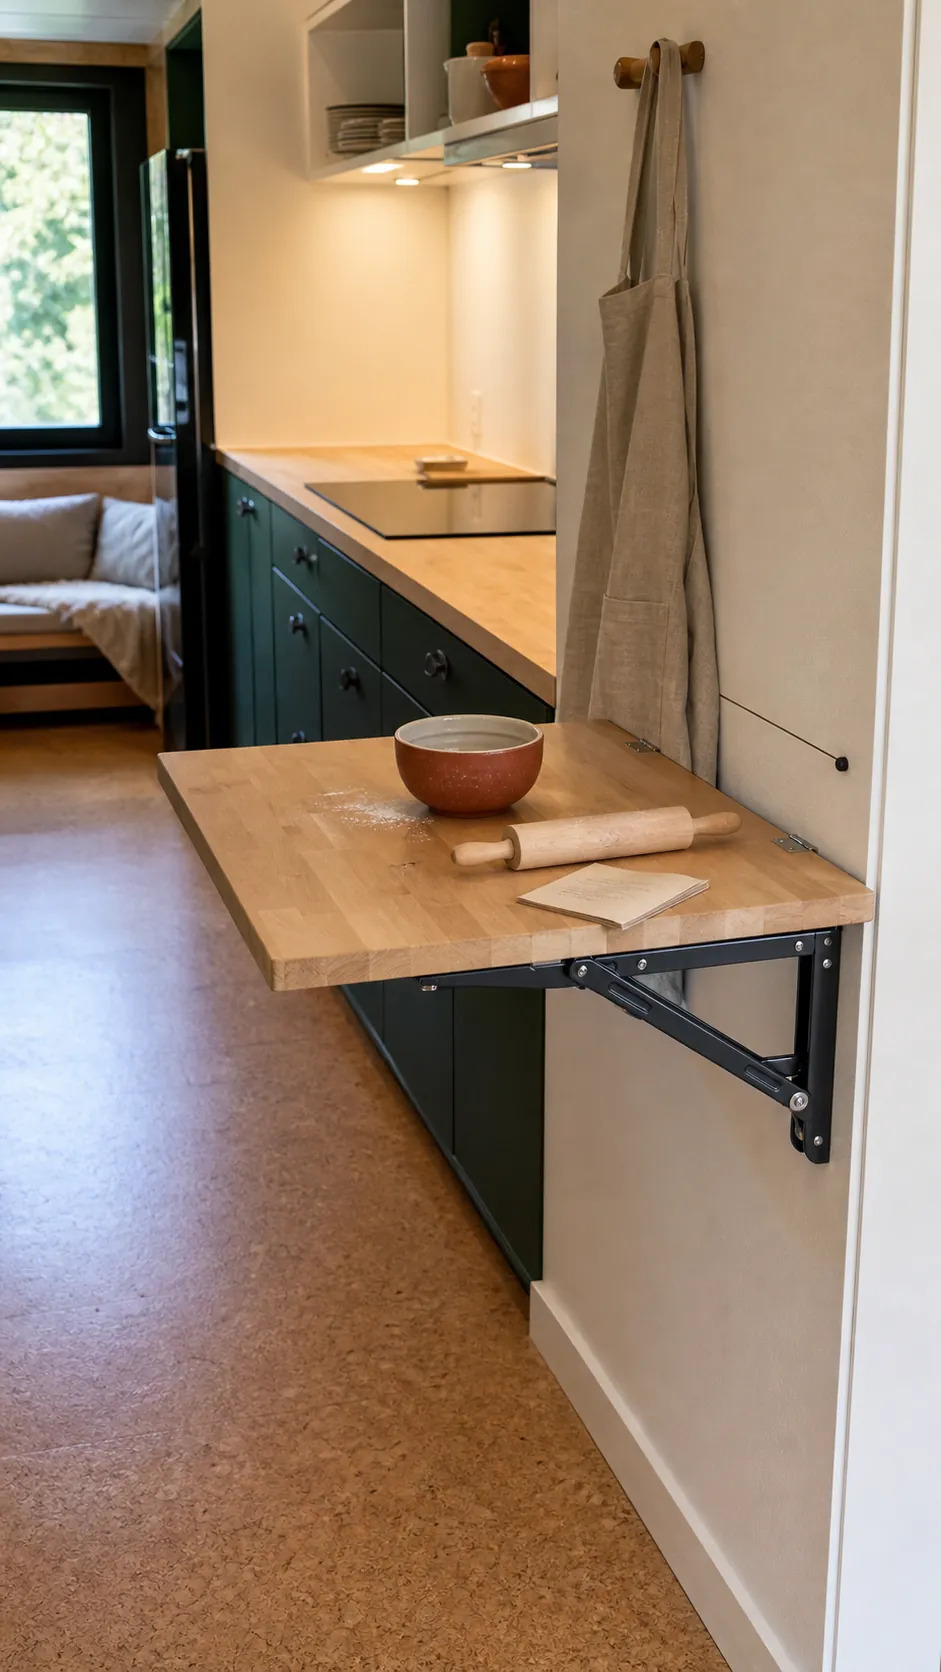
The open surface needs proper structural support, a positive locking mechanism, and secure fastening into appropriate framing or blocking. A fold-down leaf that flexes or releases unexpectedly is not suitable for chopping, leaning, or hot cookware. Match the hardware and substrate to the intended load, and use professional help when the wall construction is uncertain.
Remember that a folding surface cannot open if stools, pet bowls, or storage bins always occupy its footprint. Plan a permanent parking place for anything that must move. Otherwise, the “space-saving” counter will be too inconvenient to use.
Build a pull-out board into the cabinet run
A pull-out work surface uses cabinet depth instead of wall or floor area. It can function as a chopping station, a place to set a mixing bowl, or a light-duty serving ledge. Because it returns into the cabinet, it suits narrow tiny house kitchens where a cart would block movement.
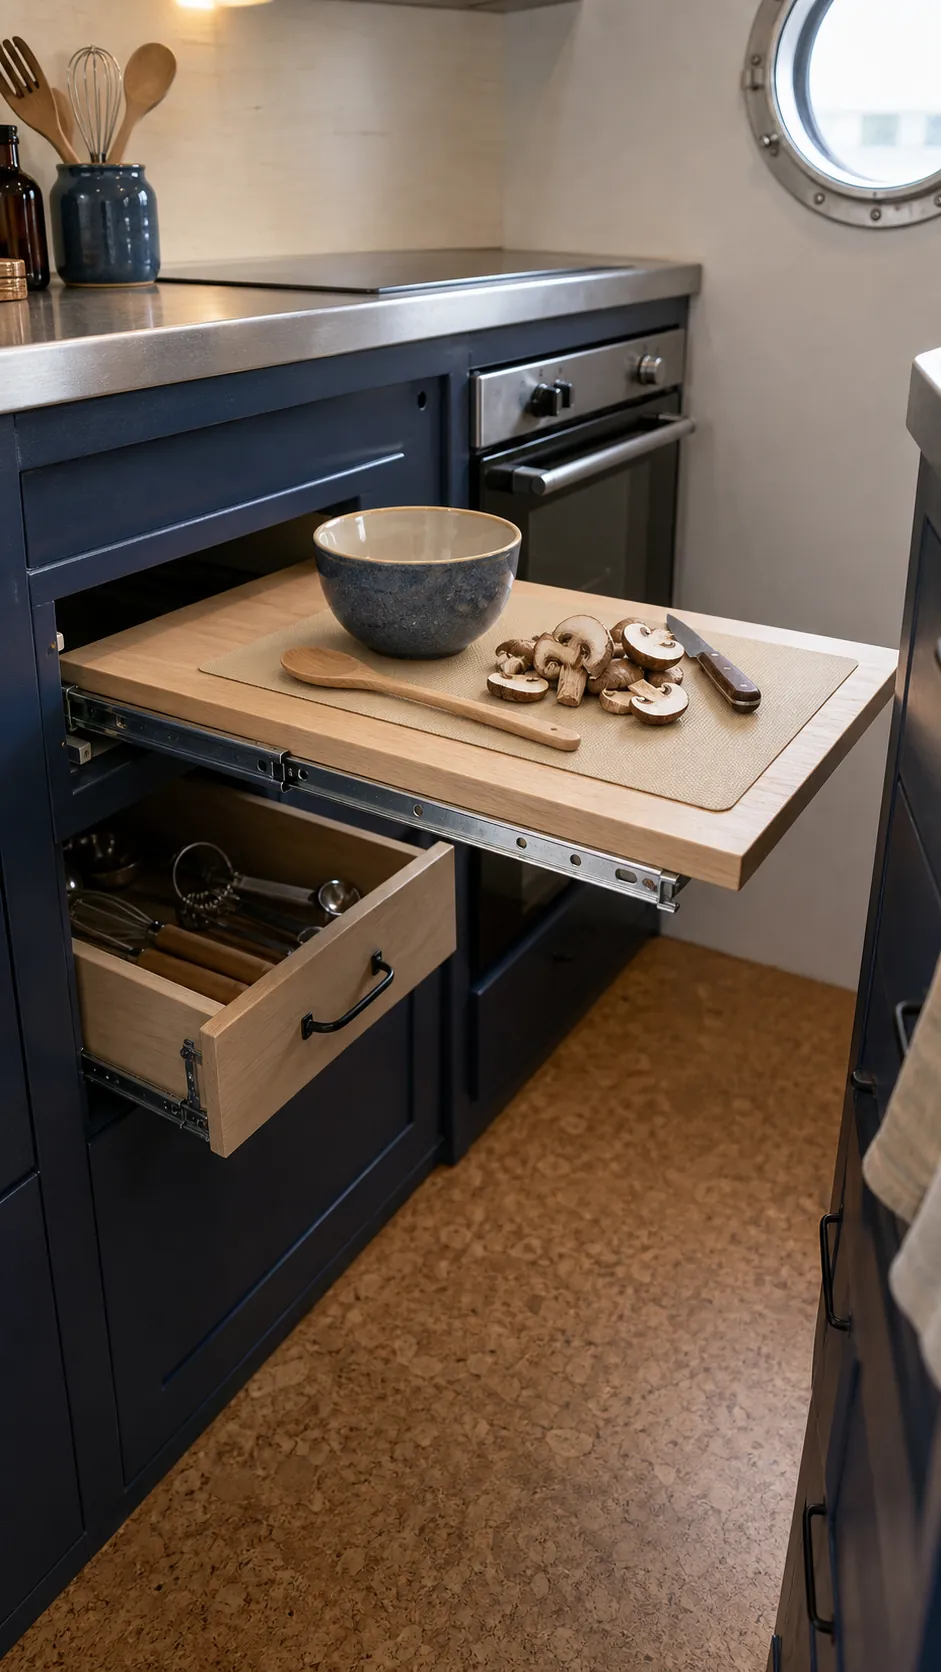
The useful version has full support, stops, and enough knee or standing clearance. It should not pull directly across an oven door, refrigerator door, or the only exit route. Check its weight limit and keep hot pans off surfaces not rated for heat. A removable cutting mat can protect the board and simplify cleaning.
Retrofitting may sacrifice drawer space, so compare the tradeoff honestly. If the drawer currently holds tools used in every meal, relocating them might create more friction than the new surface removes. A pull-out is strongest when it replaces poorly used cabinet volume.
Choose a rolling cart that has a docking place
A rolling cart can be a prep counter, serving station, pantry, or room divider. The critical feature is not the wheels; it is a defined docking location that does not block drawers, doors, traffic, or seating when the cart is not in use.
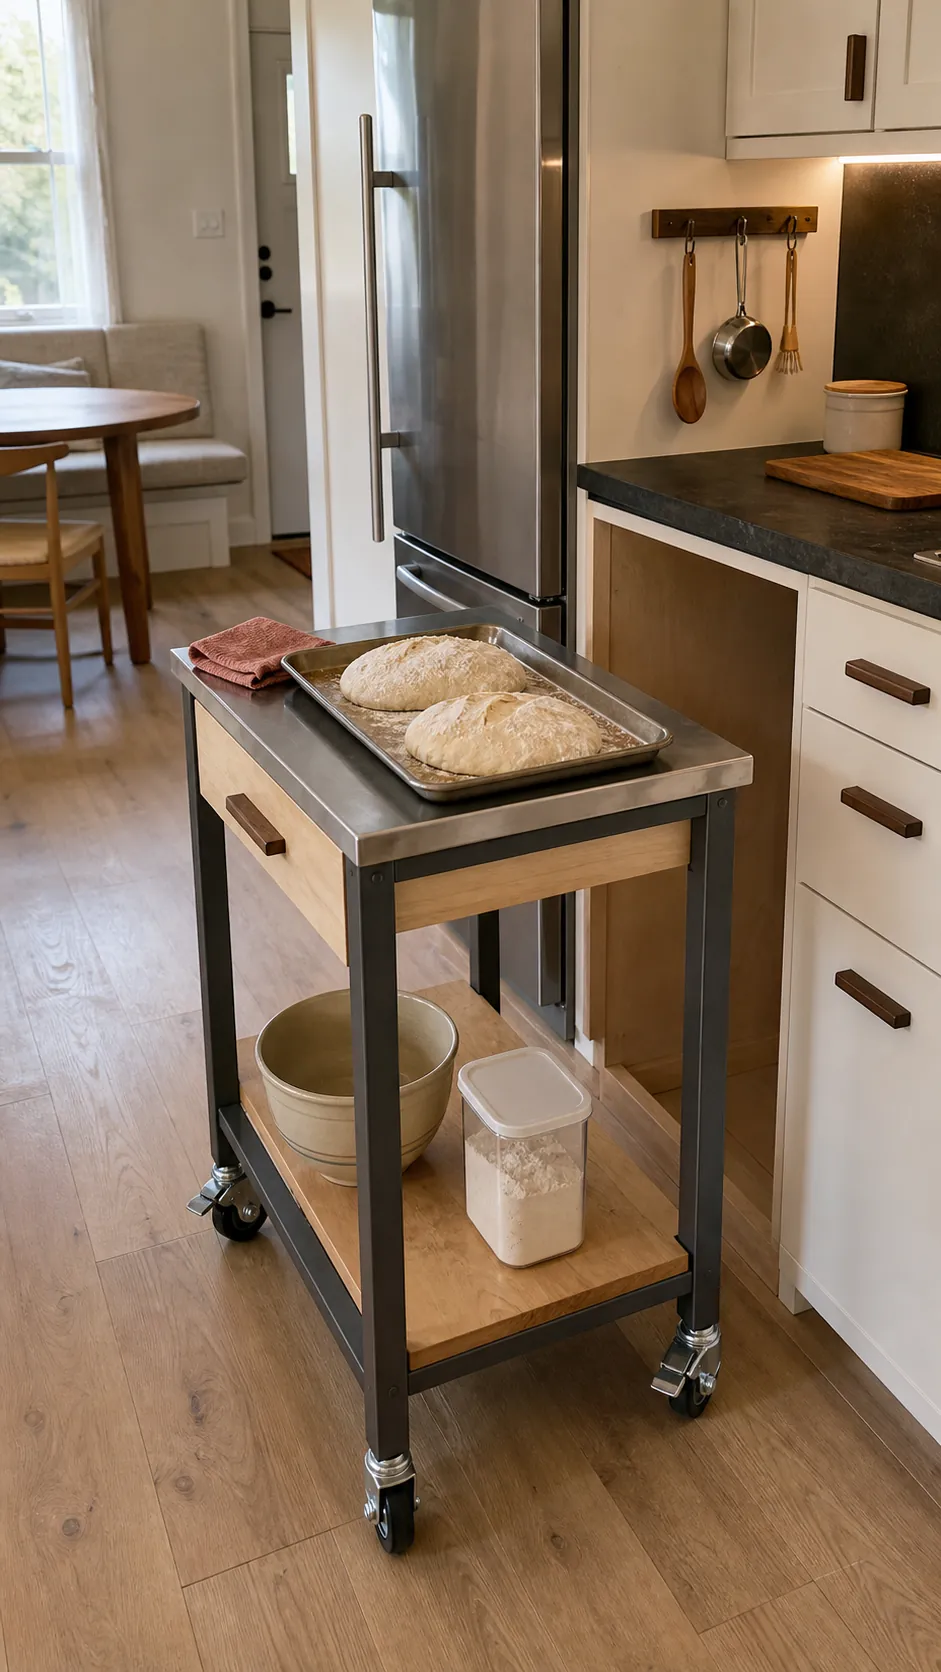
Match its height to the task. Counter-height is comfortable for standing prep; lower carts are better for serving or appliance storage. Locking casters, a stable frame, and a heat-appropriate top matter more than decorative baskets. Keep heavy items low, and avoid a flip-up leaf if opening it consumes the entire aisle.
Use the shelves for items that support the cart’s role. A baking cart might hold bowls, flour, and a mixer. A coffee cart can remove the machine, grinder, and mugs from the main counter. Do not turn it into a miscellaneous overflow pile that has to be cleared before every meal.
Move storage up so work can happen below
Counter space is often recovered rather than built. A magnetic strip can lift suitable utensils from a jar. A rail can hold frequently used tools. A shallow shelf can park oils away from heat, and an under-cabinet rack can move paper towels off the worktop. Every vertical solution should preserve headroom and remain easy to clean.
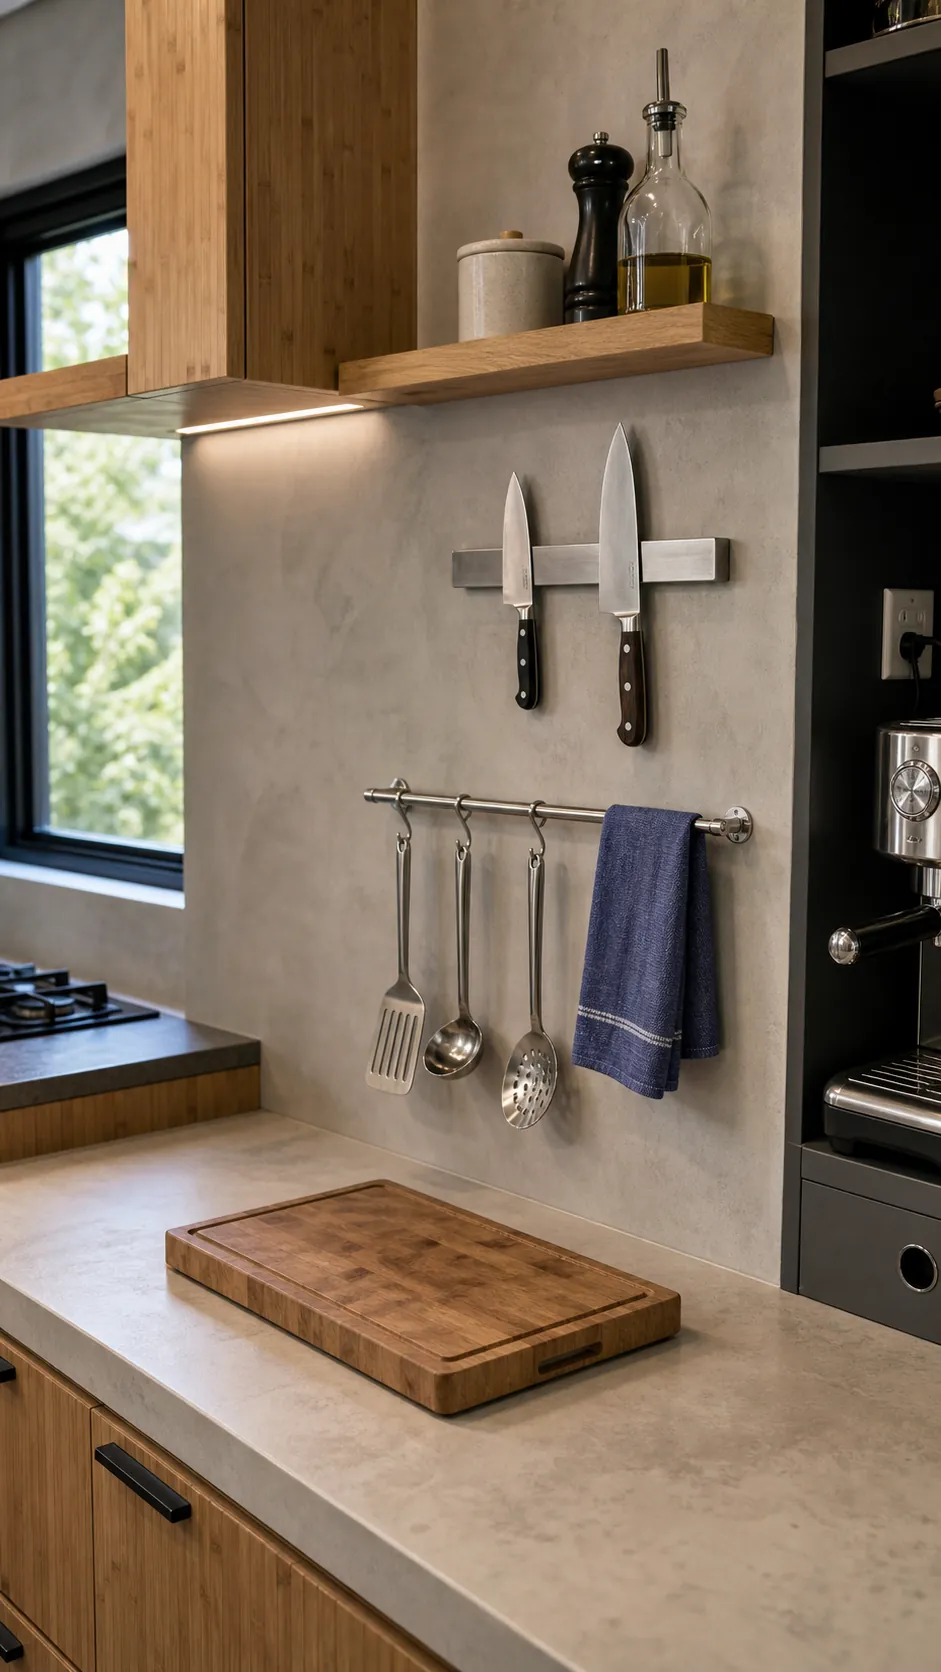
Keep wall storage shallow near the prep zone. Deep shelves above a cutting board create a head-bumping hazard and collect grease. Put everyday items within a comfortable reach, and store heavier or rarely used equipment lower. Avoid hanging tools where they can swing over a cooktop or contaminate food.
Give each appliance a decision: permanent counter resident, easy-access stored tool, or item to remove. This is where many compact kitchens gain their biggest improvement. A fold-down counter adds nothing if the original surface remains a parking lot.
Test the counter space with a real meal
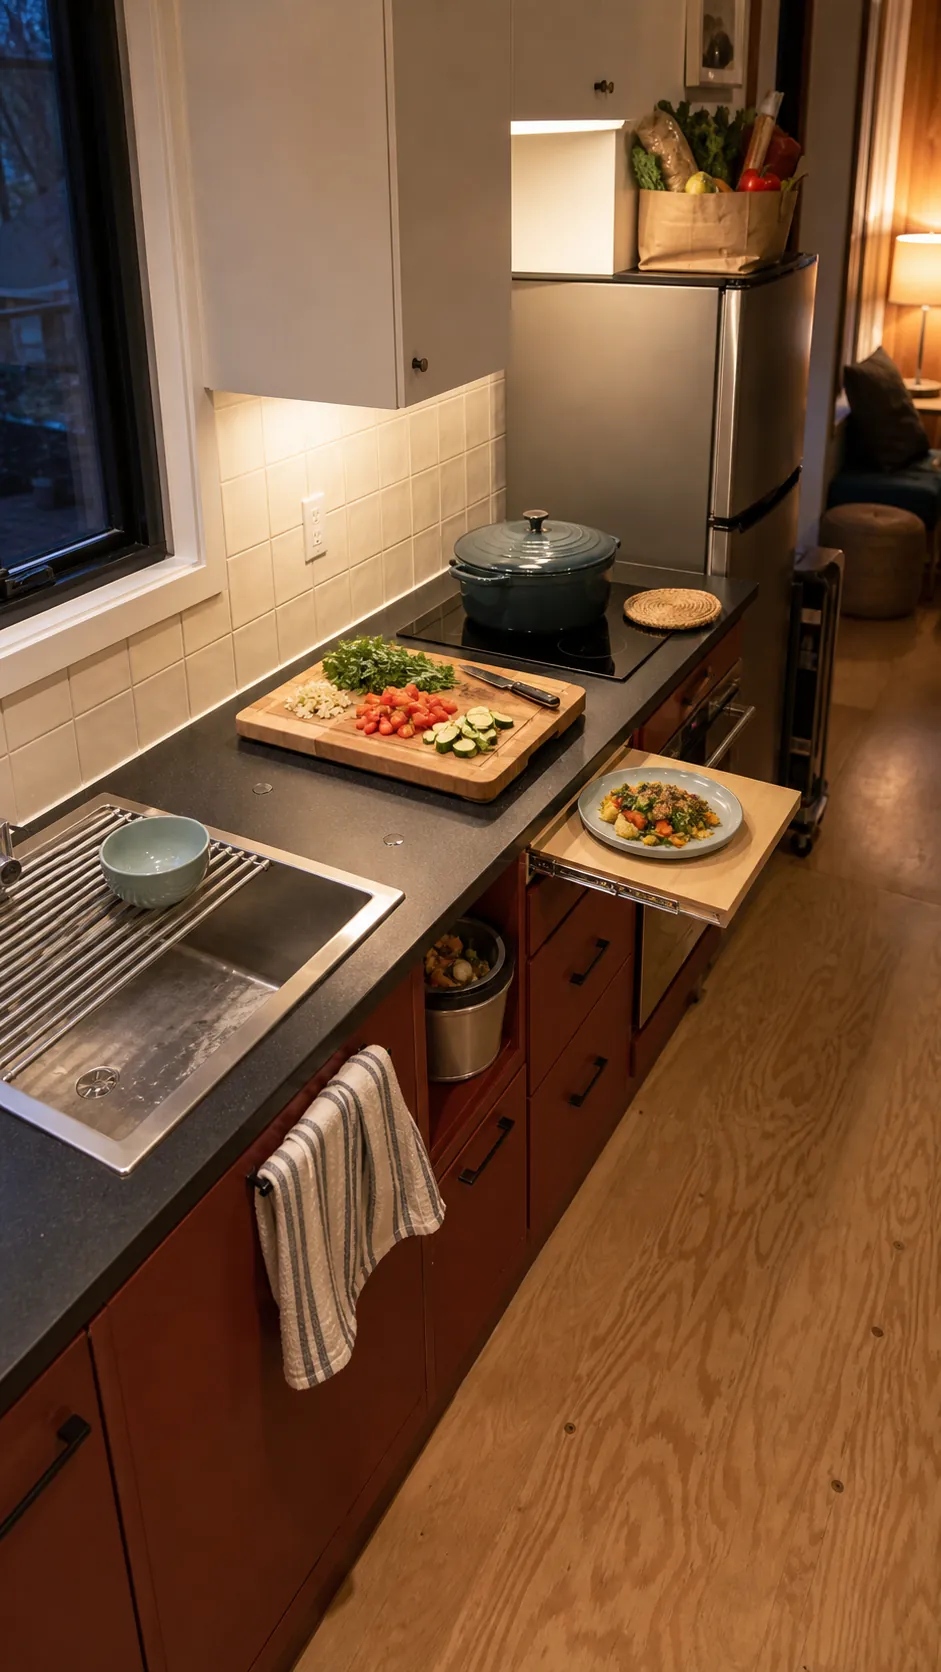
Cook one ordinary meal and notice where each item lands. You need space for ingredients arriving from the refrigerator, a stable prep board, a safe hot-pan landing area, and a place for finished food. If two steps demand the same surface at the same time, decide whether to sequence the work differently or add a temporary extension at that exact point.
Then reset the kitchen. The sink cover should dry and store easily, the cart should roll home, and the fold-down leaf should close without moving half the room. If resetting is tedious, the solution will not survive daily life.
The best tiny home kitchen counter is not the cleverest surface. It is the one that is clear when you start cooking, stable while you work, safe around heat and traffic, and simple to put away. Protect that workflow, and a compact kitchen can feel far more generous than its measurements suggest.