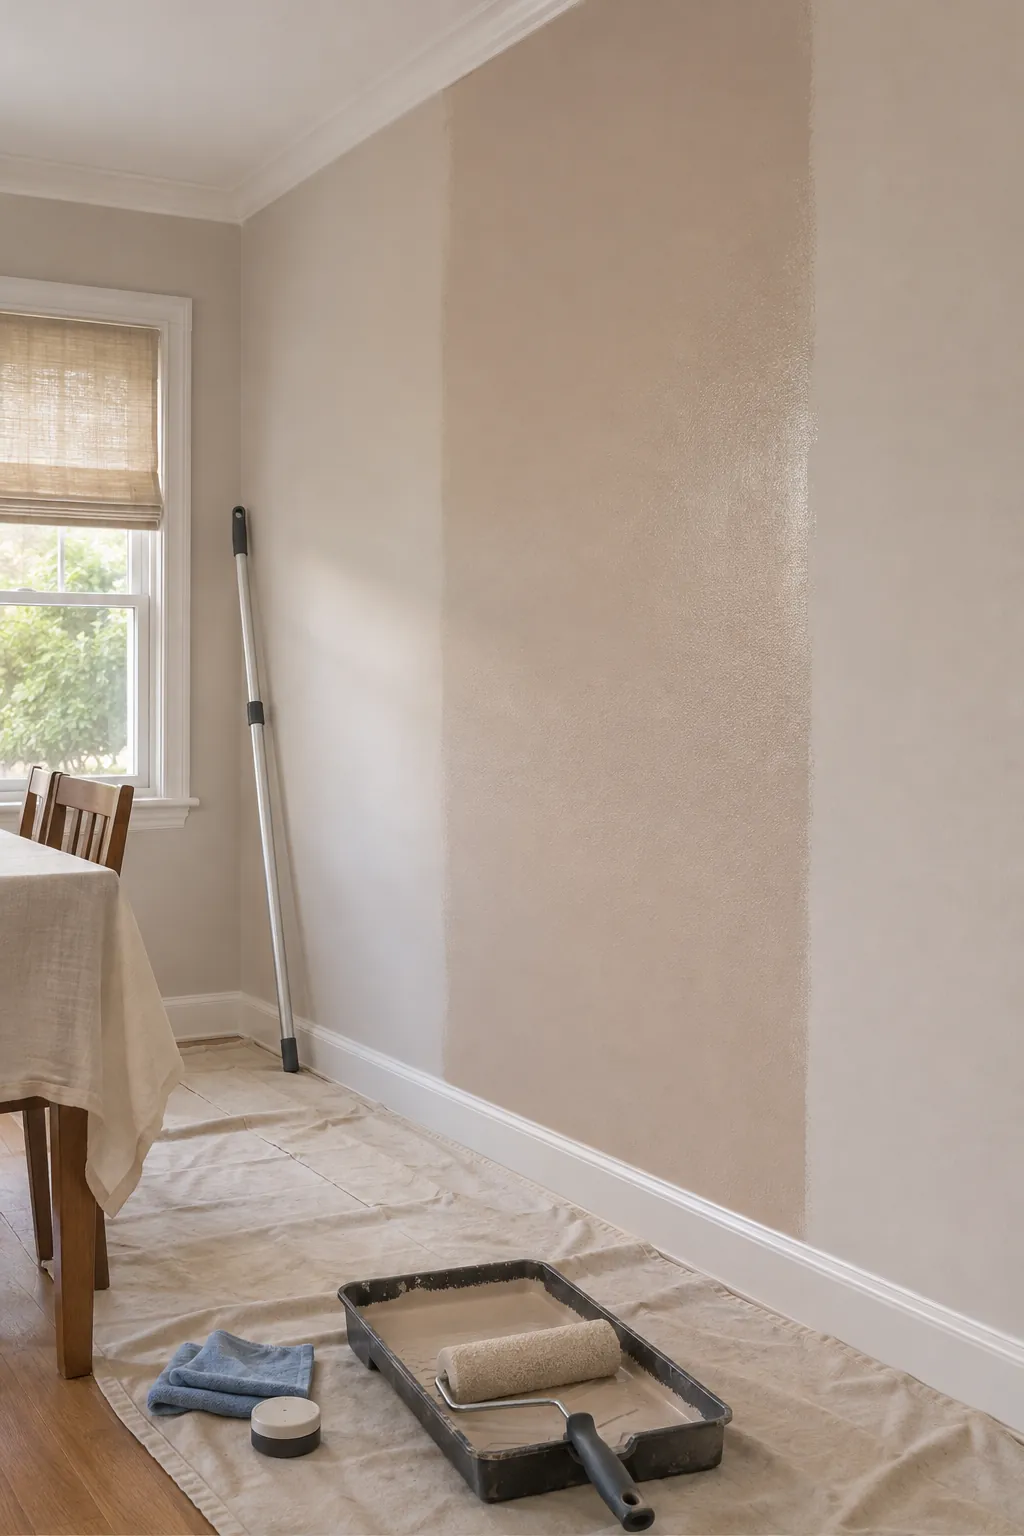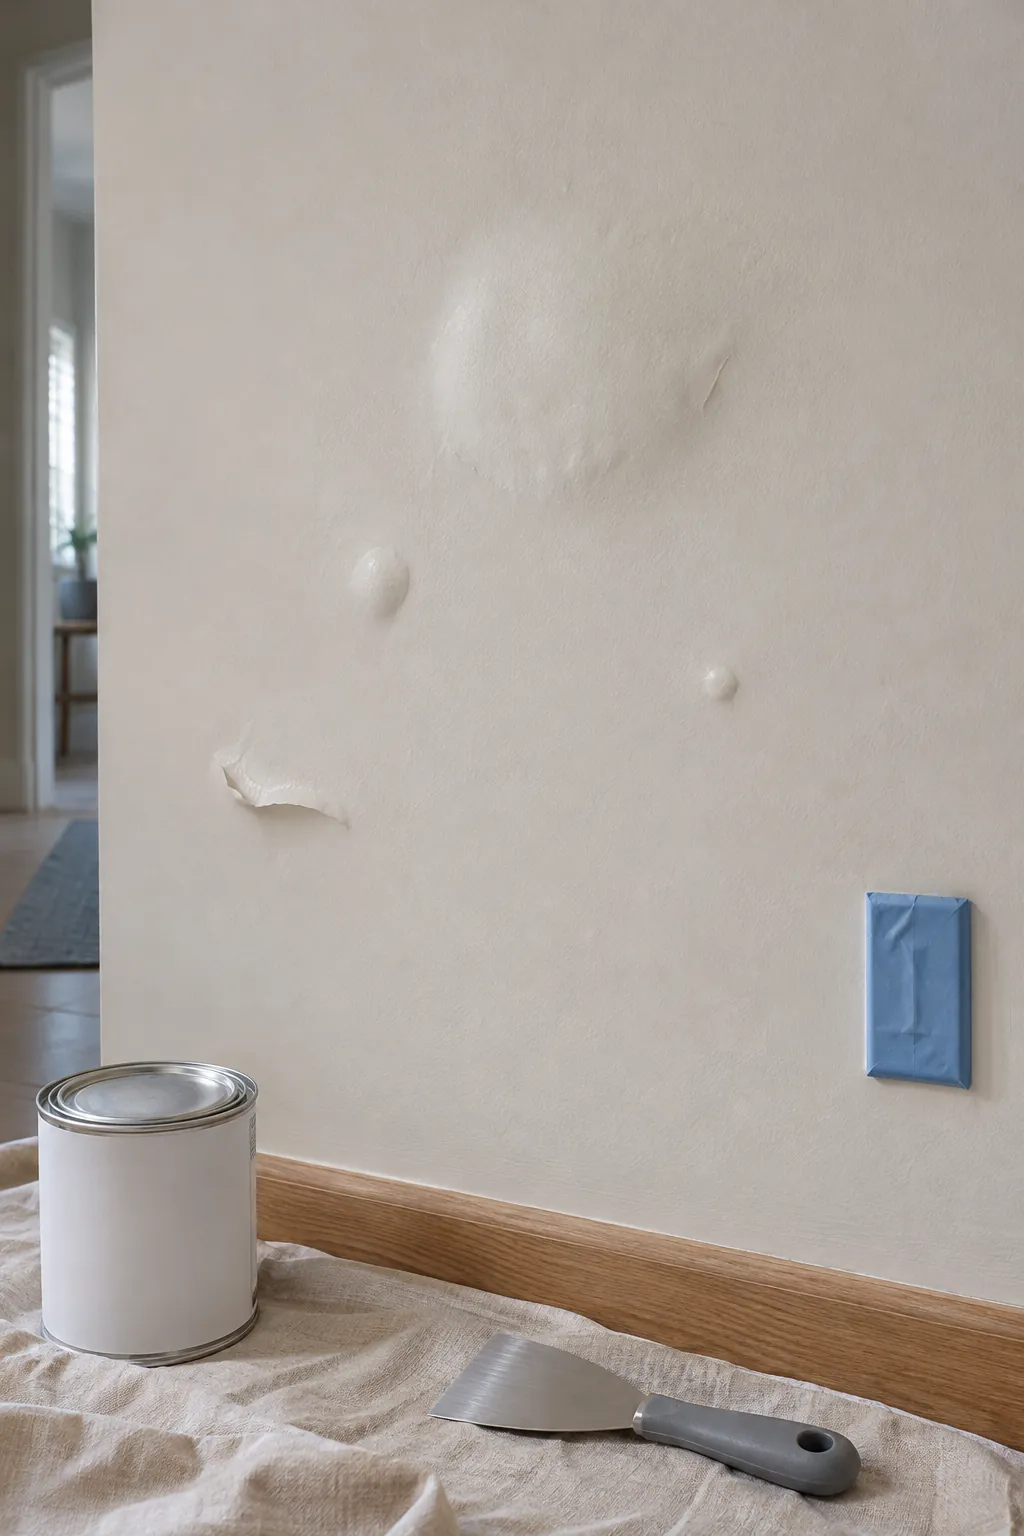
A smooth new coat can look perfect when you leave the room, then develop raised pockets a few hours later. The tempting response is to press them flat or cover them with more paint. Both choices can hide the evidence that tells you whether the problem is trapped air, weak adhesion, or moisture.
The reliable repair starts with one small test area. You need to learn what sits under the bubble before you decide how much paint to remove. This approach protects sound areas and prevents a small paint defect repair from turning into another failed wall repainting job.
Let the Wall Dry Before You Touch It
Stop painting as soon as bubbles appear. Fresh latex paint can form temporary air pockets while water leaves the film, especially after vigorous rolling or when a second coat goes on too soon. Some small bubbles settle as the coat levels and cures, while poking them creates permanent craters.
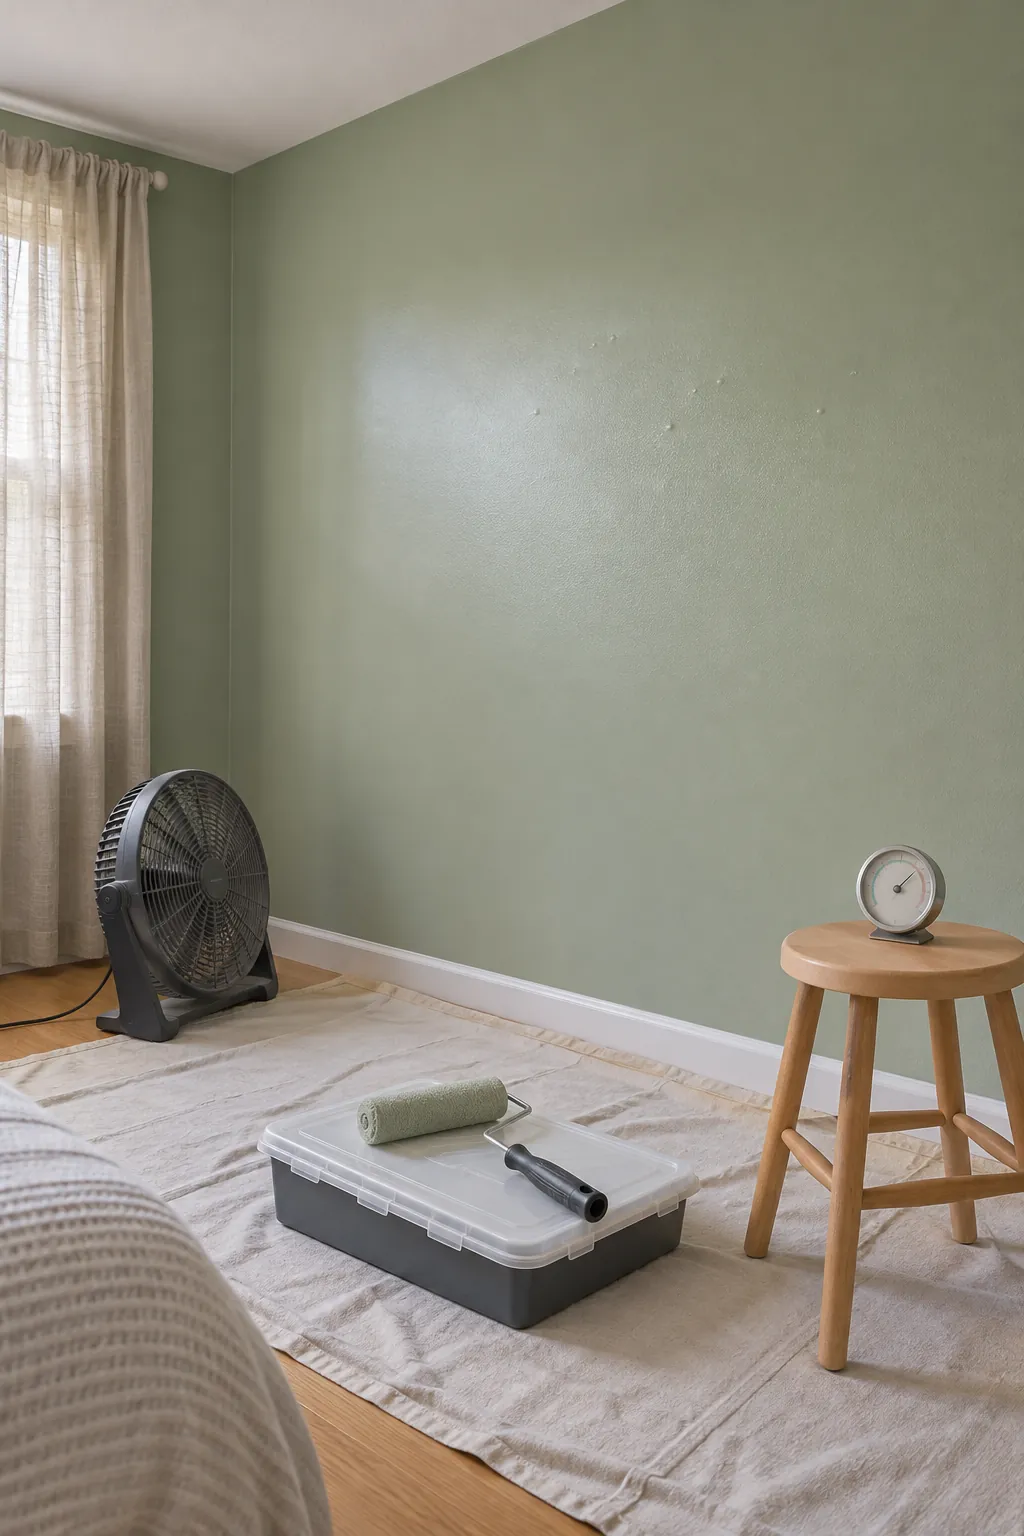
Give the wall at least the full recoat and cure time printed on the paint label, with steady ventilation and moderate room temperature. High humidity slows wall drying, so a coat that feels dry at the surface may still be soft beneath. If the raised areas remain after the paint is firm, mark their boundaries lightly with removable tape on the floor or trim so you can compare them later.
Open One Bubble to Find the Failed Layer
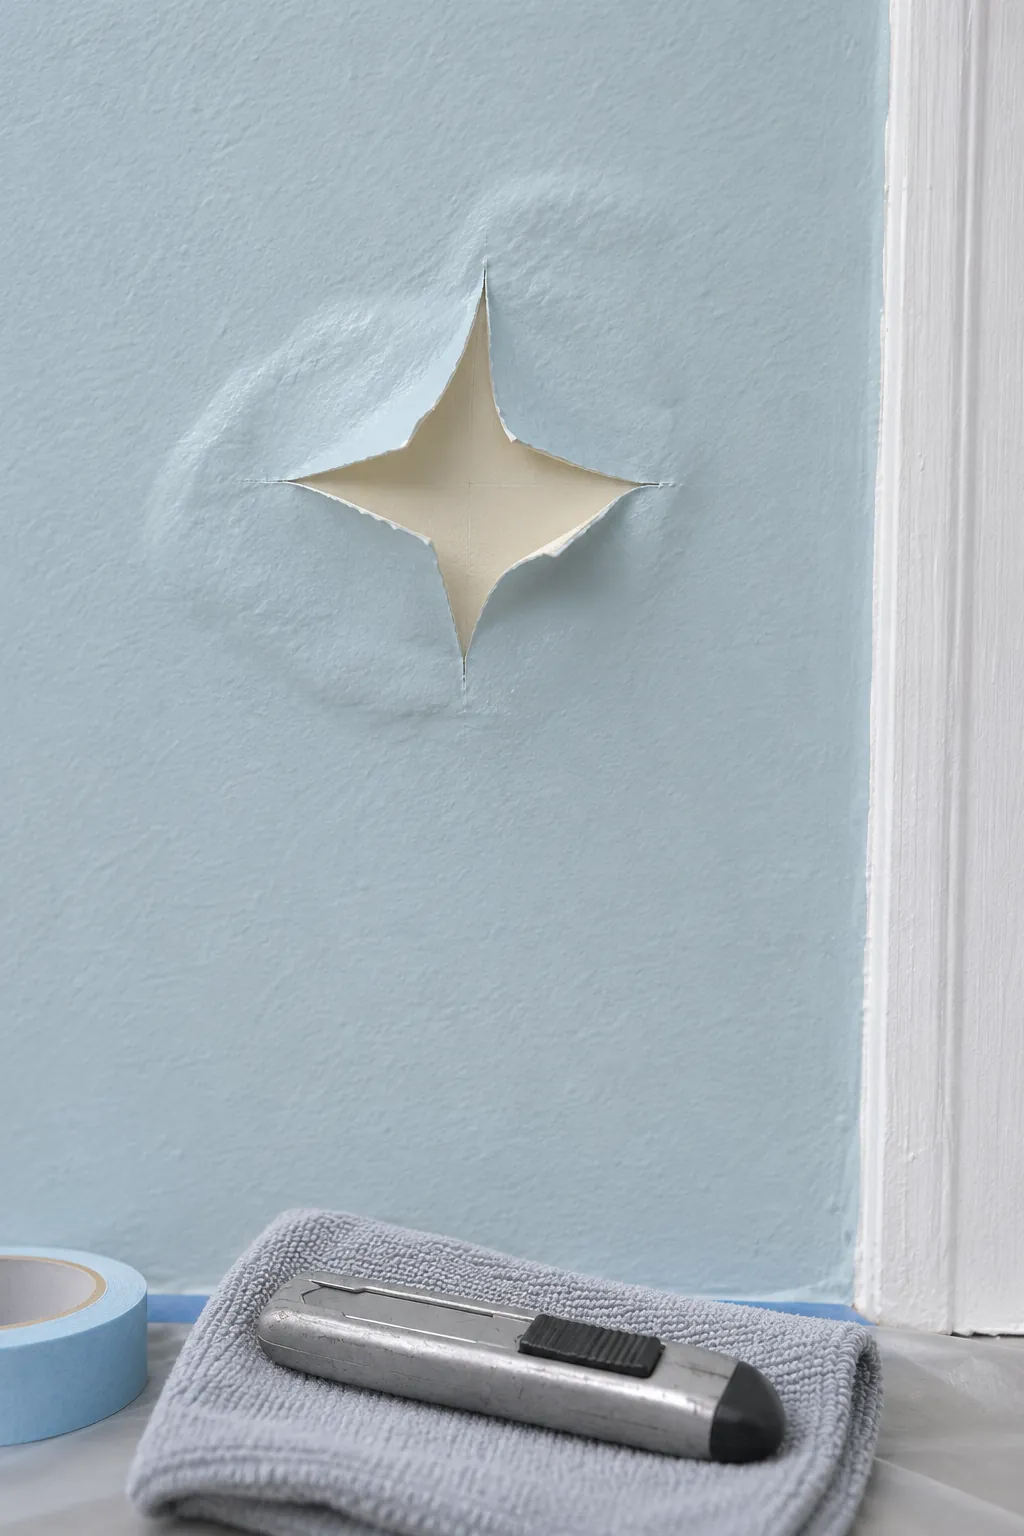
Choose one dry bubble in an inconspicuous place. Cut a small cross through only the loose paint with a sharp utility knife, then lift an edge gently. Wear eye protection and avoid disturbing old coatings if the home may contain lead paint.
The exposed surface identifies the failure. If the newest color lifts but the older coating stays firm, the fresh coat did not bond. If several layers lift together, the weakness is deeper in the old paint system. Damp plaster, stained drywall paper, powdery compound, or a dark masonry surface points to moisture or an unstable substrate rather than a simple roller problem.
Rule Out Moisture Before Repairing Paint
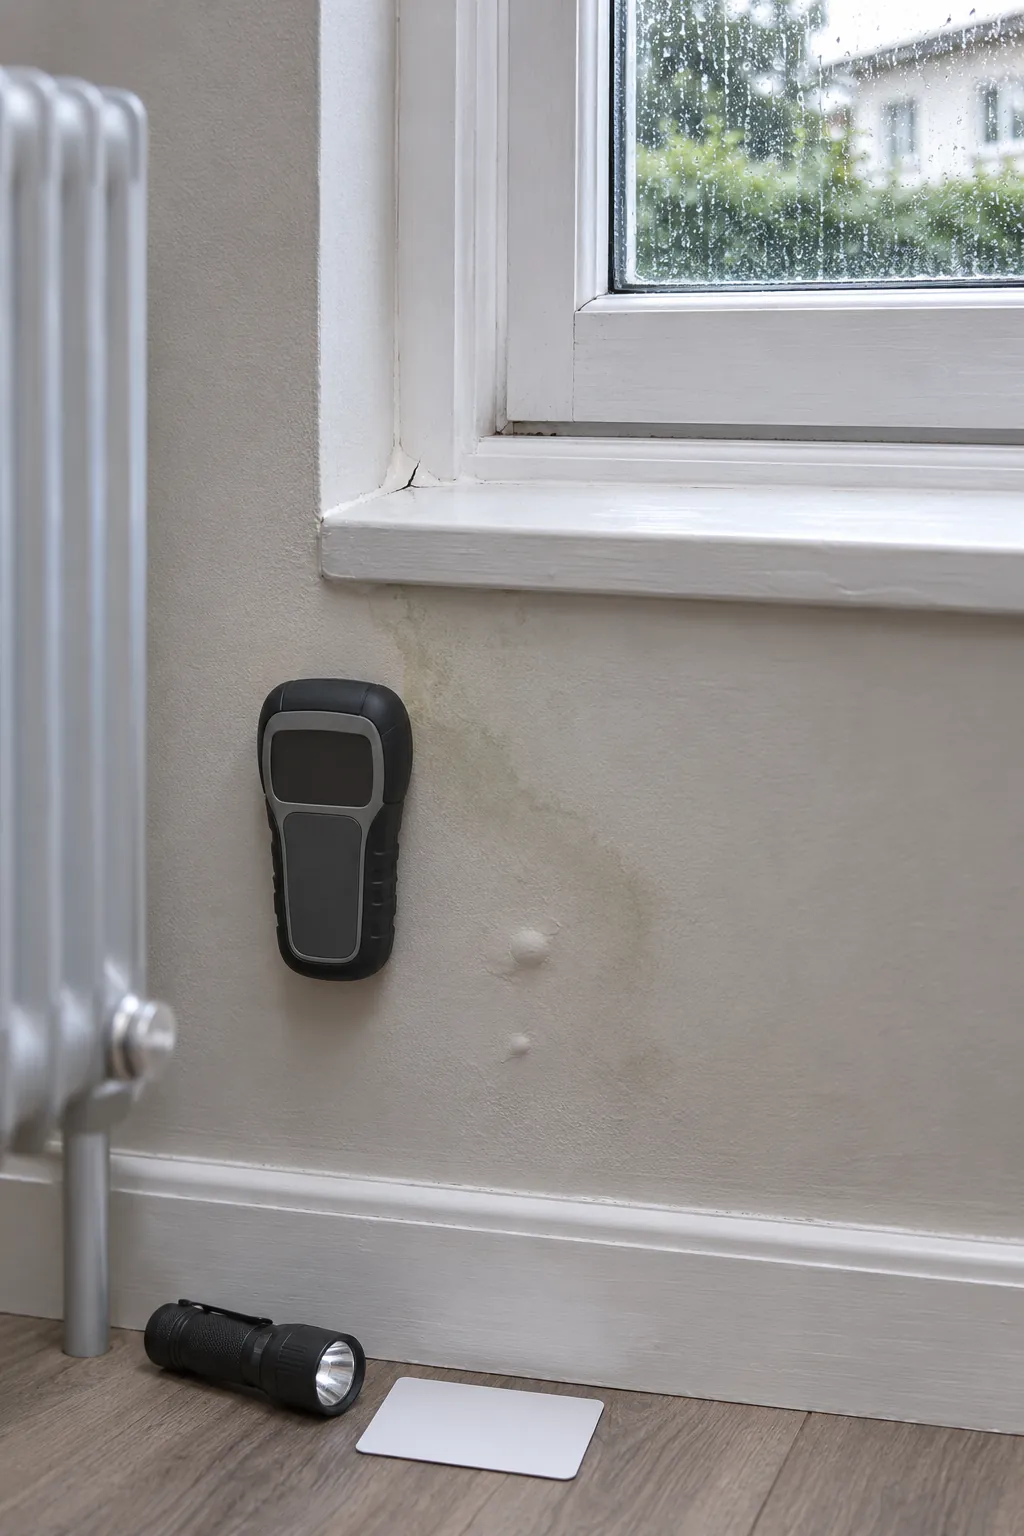
Bubbles near windows, plumbing, exterior walls, ceilings, or masonry deserve a moisture check. Look for recurring stains, cool damp patches, musty odor, softened drywall, failing sealant, or a pattern that grows after rain or bathing. A moisture meter can help compare the damaged area with a known dry interior wall, but it does not replace finding the source.
Repair leaks, condensation, or water entry before cosmetic work. Damp wall paint will often blister again even when sanding and interior primer appear to fix it for a day. Let the assembly dry to a stable condition, and ask a qualified professional to assess widespread damage, active leaks, mold, or uncertain masonry moisture.
Remove Every Loose Edge
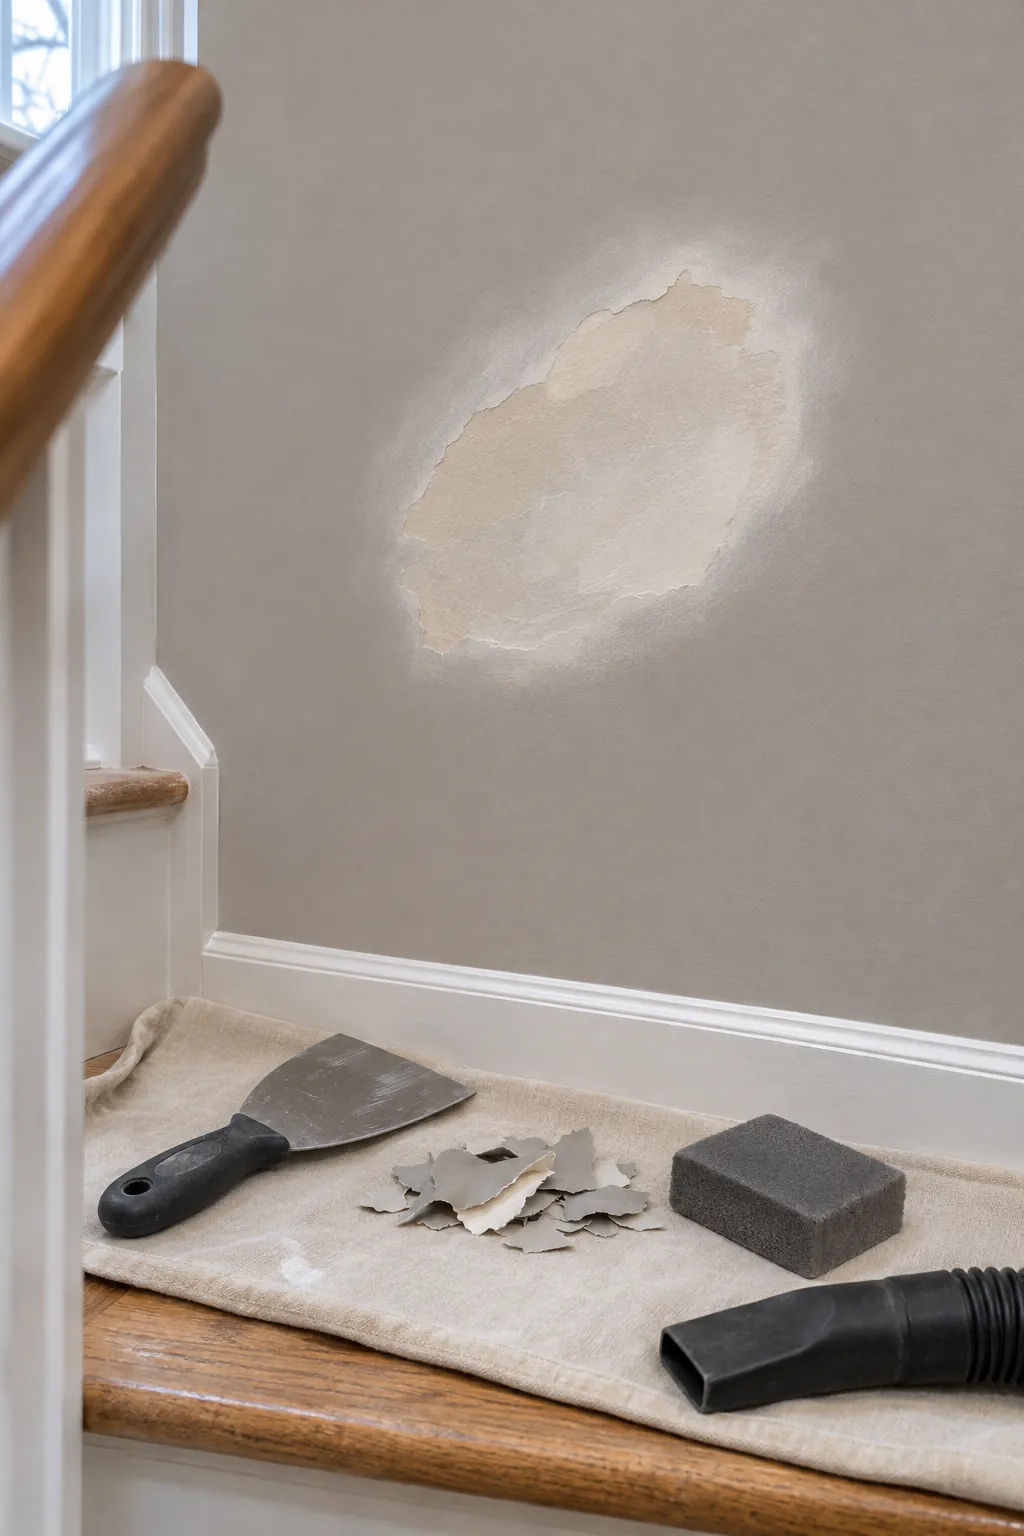
Once the wall is dry and the cause is controlled, scrape back to paint that resists gentle lifting. Do not stop at the visible dome if the surrounding film peels with light pressure. Feather the firm edges with fine abrasive paper so the repair will not leave a hard ridge under the finish coat.
Vacuum the dust, then clean the exposed area with the method recommended for the coating and substrate. Grease, soap residue, wallpaper paste, chalk, and sanding dust all weaken paint adhesion. Allow the cleaned surface to dry fully before filling shallow damage with a compatible patching compound.
Prime the Exposed Surface for Adhesion
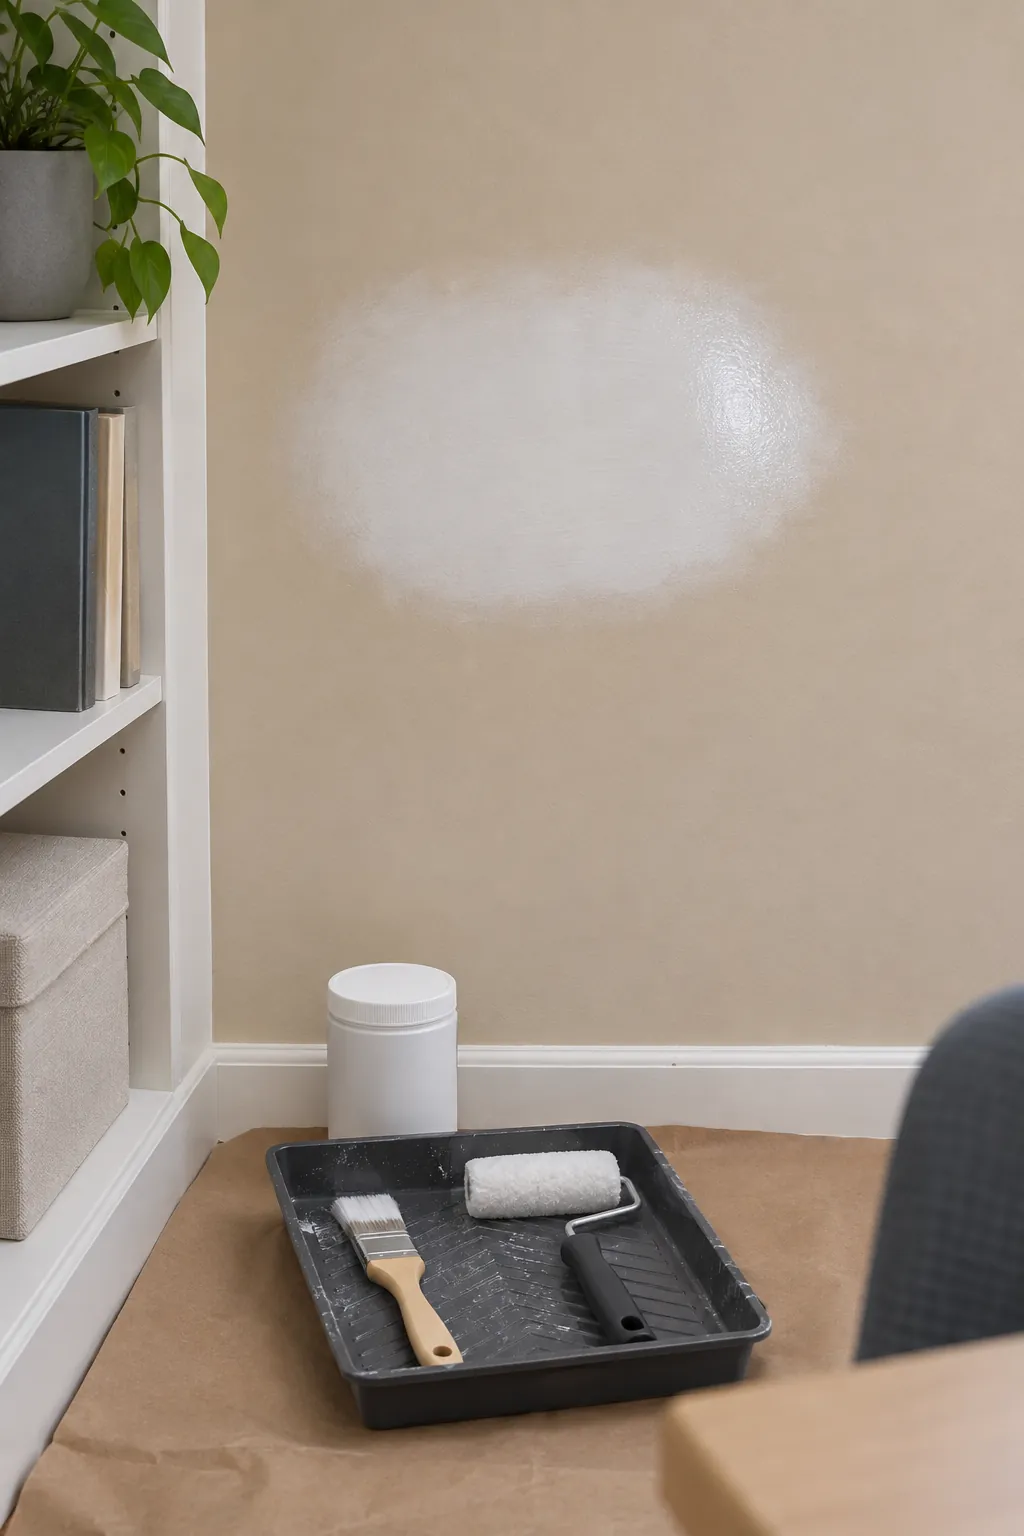
Primer should solve a known surface problem, not serve as insurance over loose paint. Use a compatible bonding primer on sound glossy coatings after proper cleaning and abrasion. Seal bare drywall paper, porous patching compound, persistent stains, or chalky masonry with a primer approved for that exact condition.
Apply a thin, even coat and respect its drying instructions. Thick primer can trap solvent or water and create another weak layer. If the primer pulls away, wrinkles, or reveals dampness, stop and correct the substrate instead of building more coats over it.
Repaint With Thin Coats and Patient Timing
Blend the repaired area with a light finish coat, then repaint the full wall when spot coverage would leave a visible difference in sheen. Load the roller evenly and avoid repeated passes once the paint begins to set. Excess pressure, foamy paint, and constant rerolling can introduce tiny bubbles that dry as pinholes or craters.
Keep the room within the temperature and humidity range on the label, and allow the stated recoat time even when the surface feels dry. Check the repair in side light after it cures. A firm, flat finish means the preparation worked; renewed swelling means moisture or an older weak coating still needs attention before another coat goes on.