
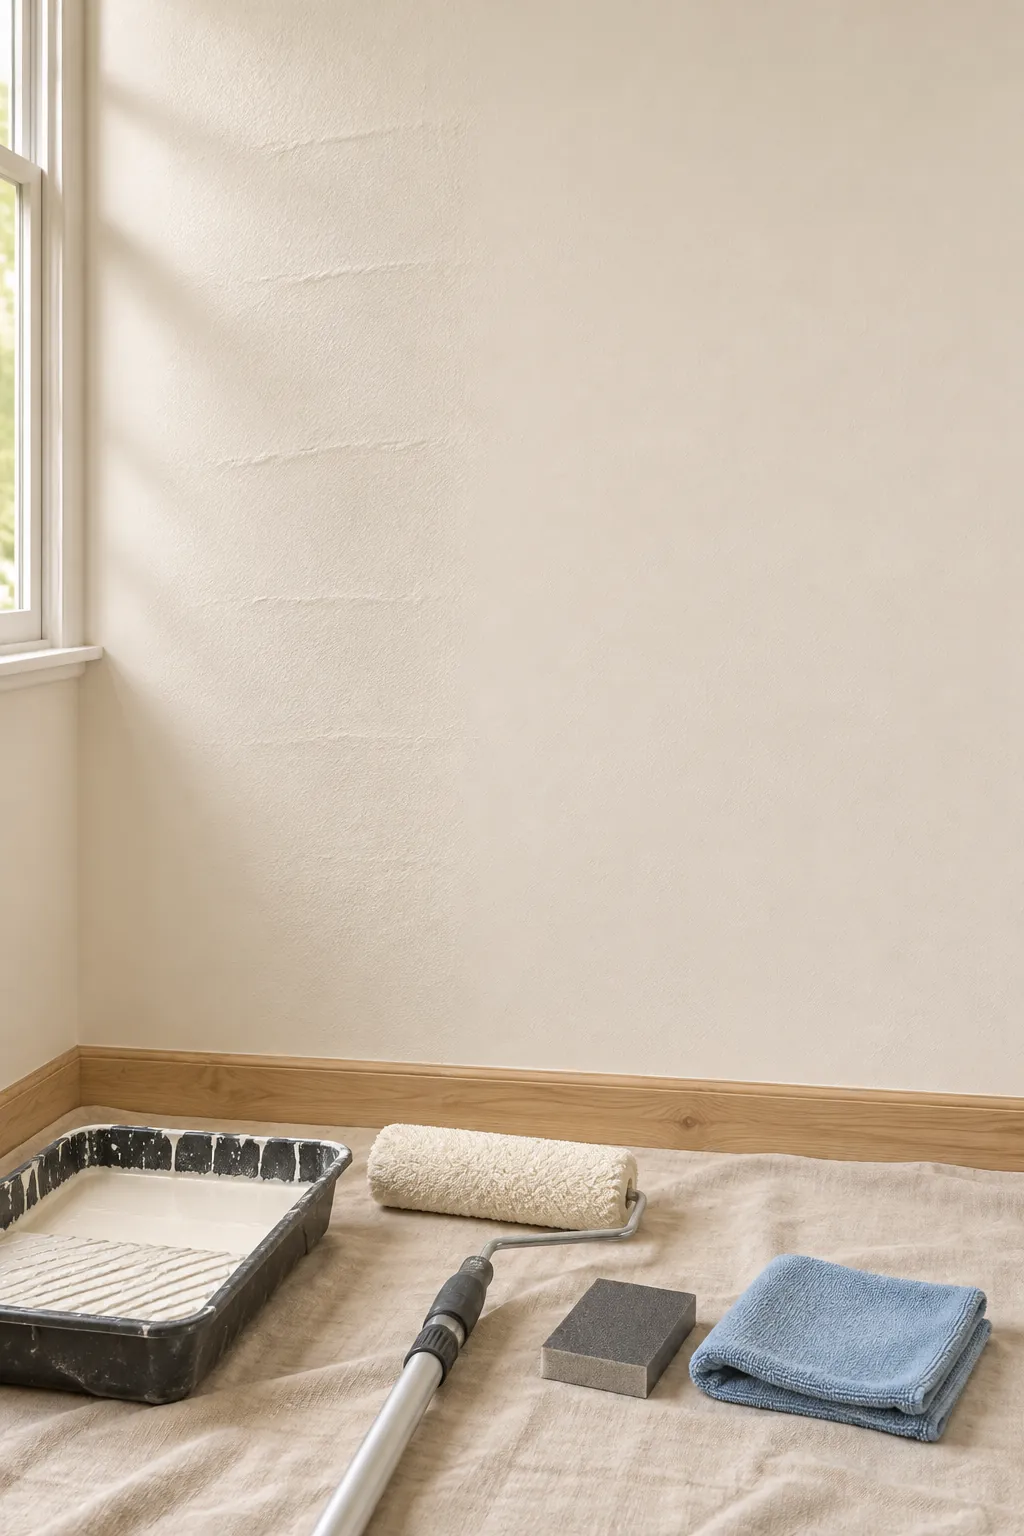
Roller marks often look worse while paint is curing, but true ridges and lap bands remain after the finish has dried. The repair depends on whether you can feel a raised edge or only see a change in color and sheen.
Wait for the full drying time on the label before you decide. Then inspect the wall in daylight from several angles. You may need a fine sanding sponge, clean cloth, matching paint, the correct roller cover, a tray, and an extension pole.
Inspect the wall after the sheen settles
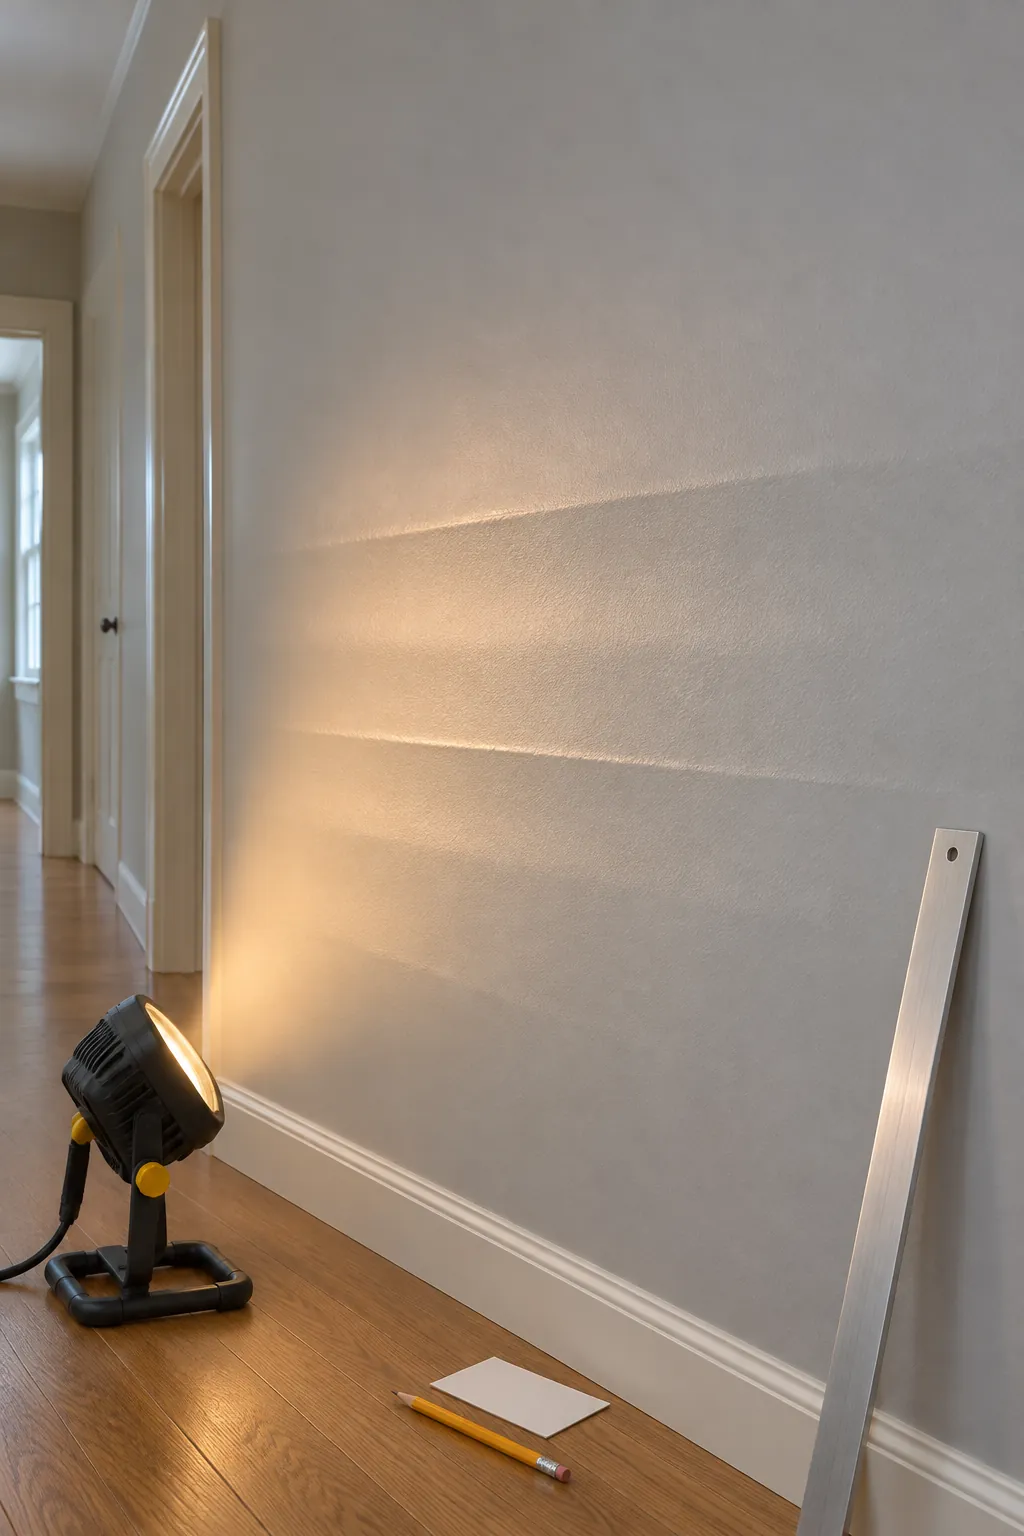
Direct light can hide surface problems, so let daylight or a lamp travel across the wall. Look for narrow raised edges, heavier strips of texture, dull bands, and lighter areas caused by thin coverage. Run clean fingertips gently across a suspect line.
A ridge that you can feel needs leveling before repainting. A flat band is usually a coverage or sheen problem and may only need another full coat. Do not keep touching paint that is still soft, because the finish can tear or polish unevenly.
Level physical ridges with light sanding
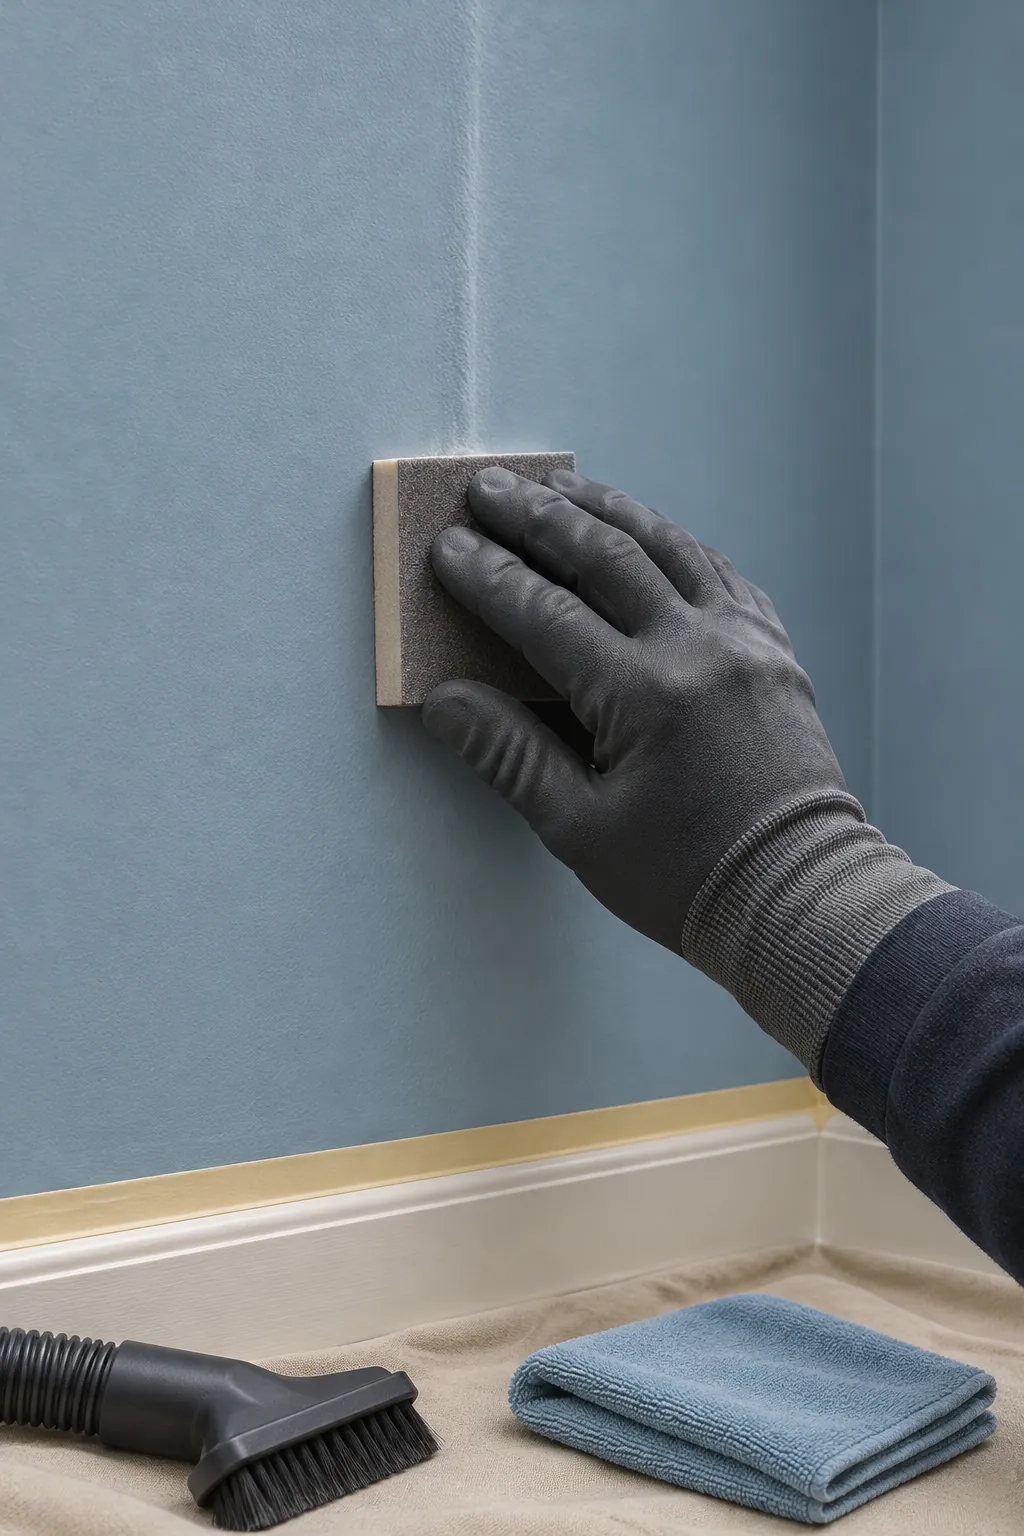
Use a fine sanding sponge with light pressure only on the raised edge. Keep it flat and stop as soon as the ridge blends into the surrounding texture. Aggressive sanding can create a smooth hollow that remains visible after another coat.
Vacuum and wipe away all residue without polishing the wall. If sanding exposes patching compound or bare substrate, apply a suitable primer and let it dry. A clean, uniform base gives the new coat a fair chance to level.
Match the roller cover to the surface
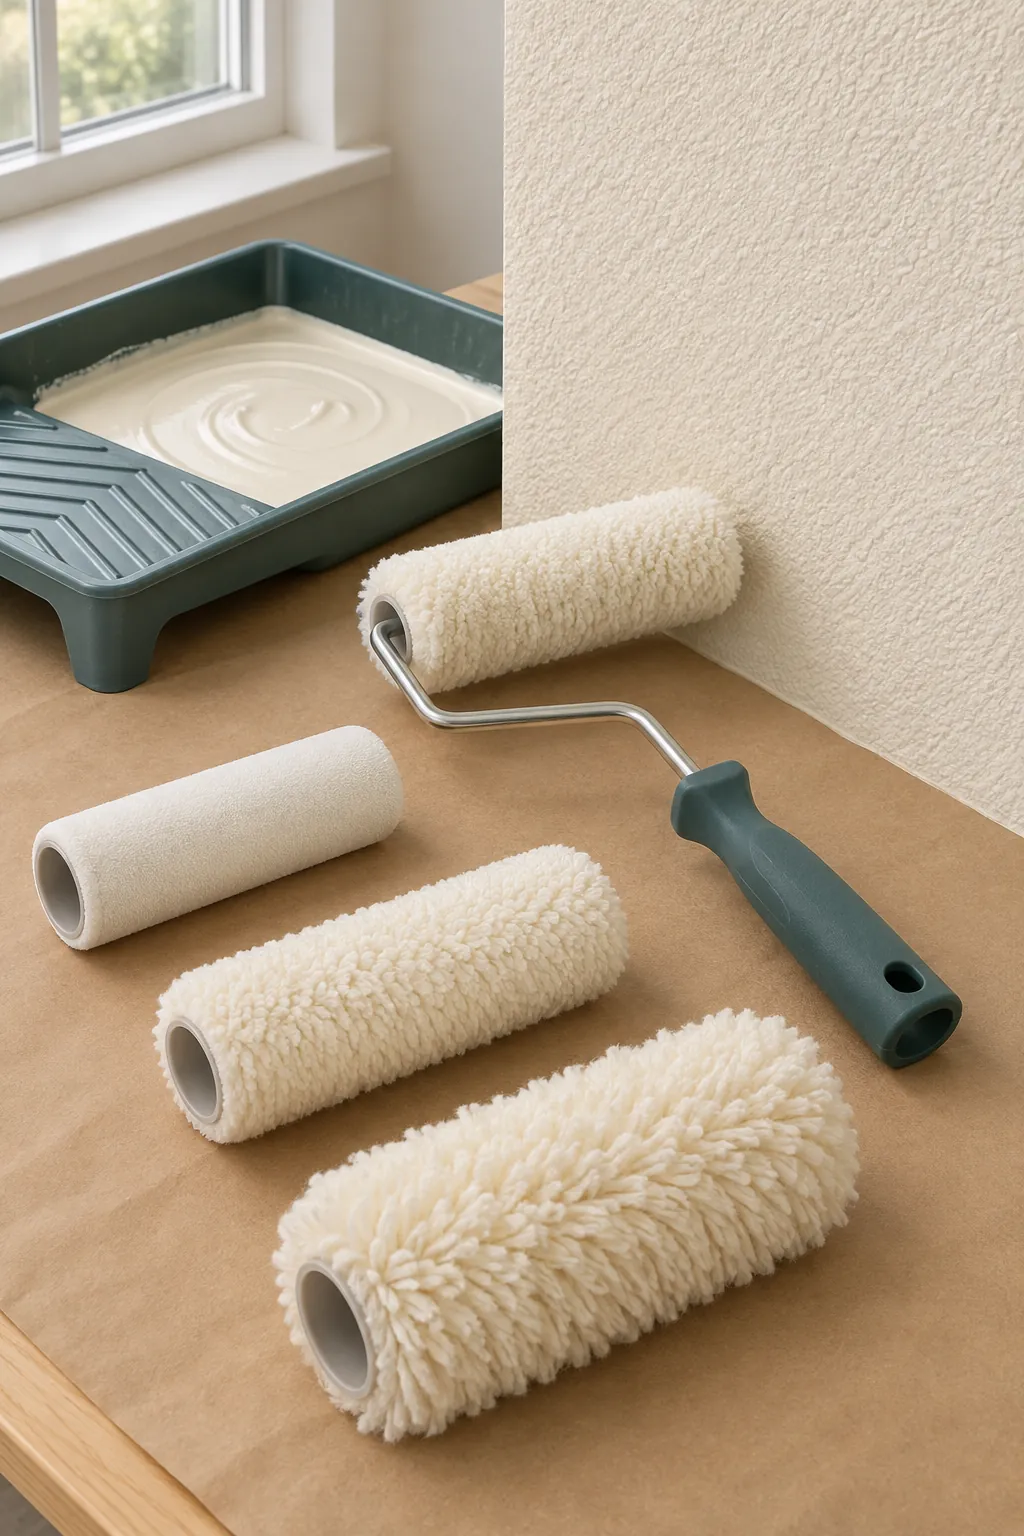
A cover with too little nap may starve a textured wall, while a very deep nap can leave heavy stipple on a smooth surface. Follow the paint maker guidance and choose a cover suited to the wall texture. Replace a matted or shedding cover instead of trying to revive it.
Use the same paint and sheen across the complete wall whenever possible. Mixing containers, old leftovers, or different product lines can create bands even when the color name matches. Stir the paint thoroughly before pouring it into the tray.
Load the roller evenly before every section
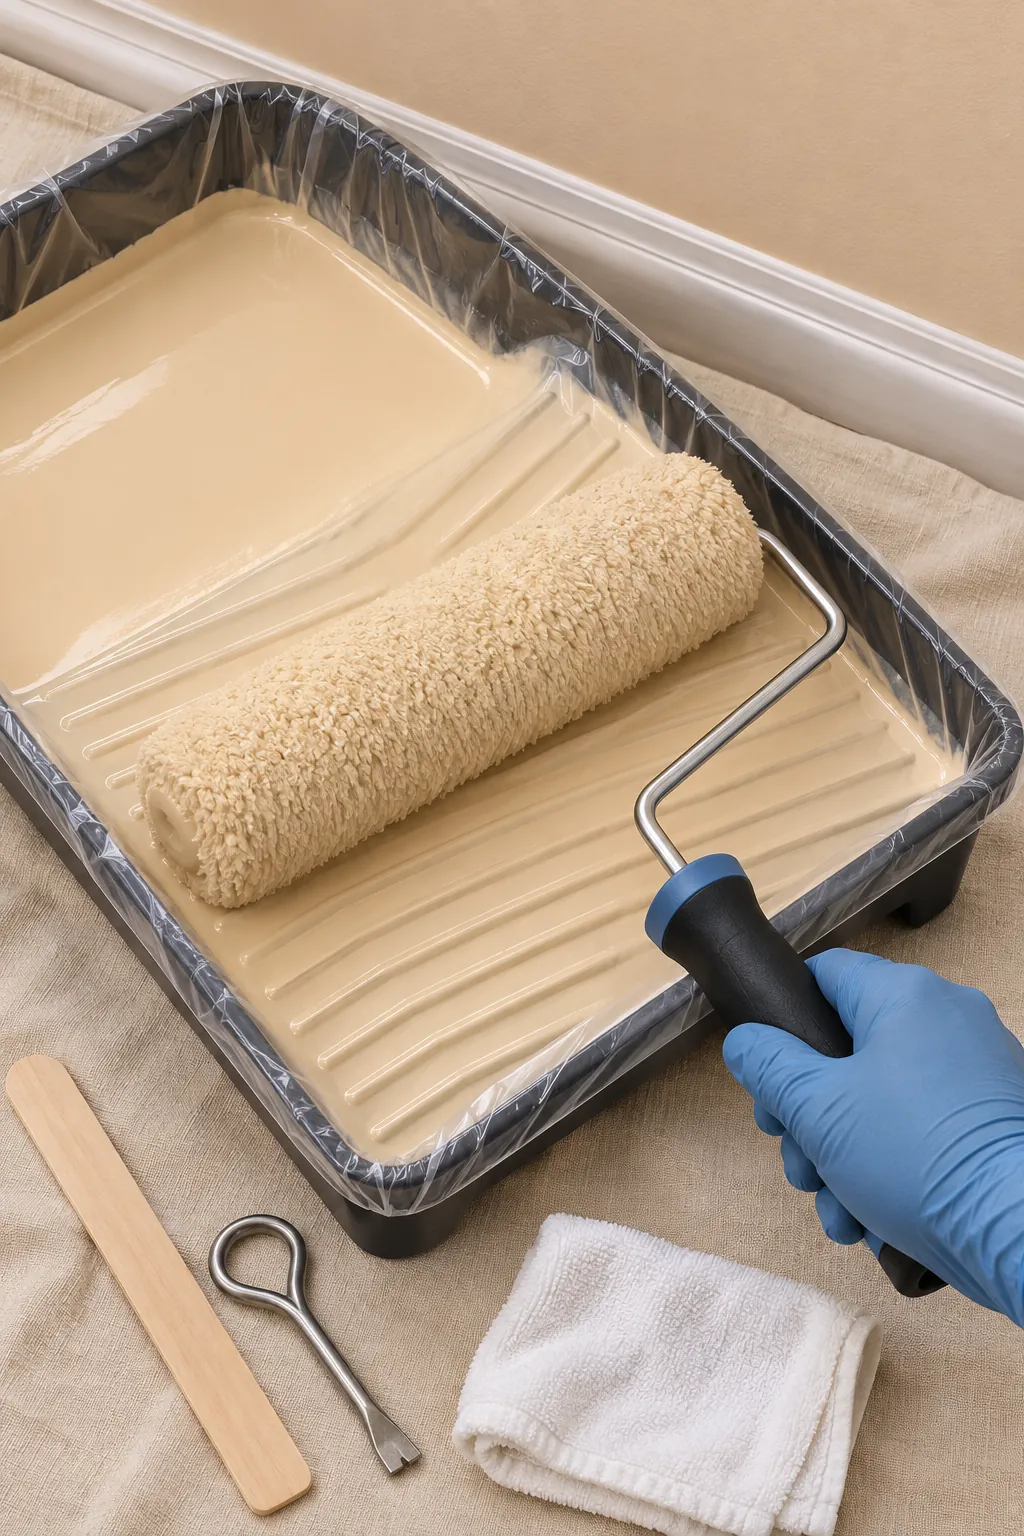
Wet a clean roller cover with paint, then roll it across the tray ramp until every side is evenly loaded. The cover should release paint freely without dripping. If you press hard to get coverage, the roller needs more paint.
Dry rolling leaves heavy lines at the ends of the cover and thin paint in the middle. Refill before the sound changes or the roller begins pulling paint back from the wall. A consistent load makes the texture and sheen more uniform.
Repaint the complete wall with a wet edge
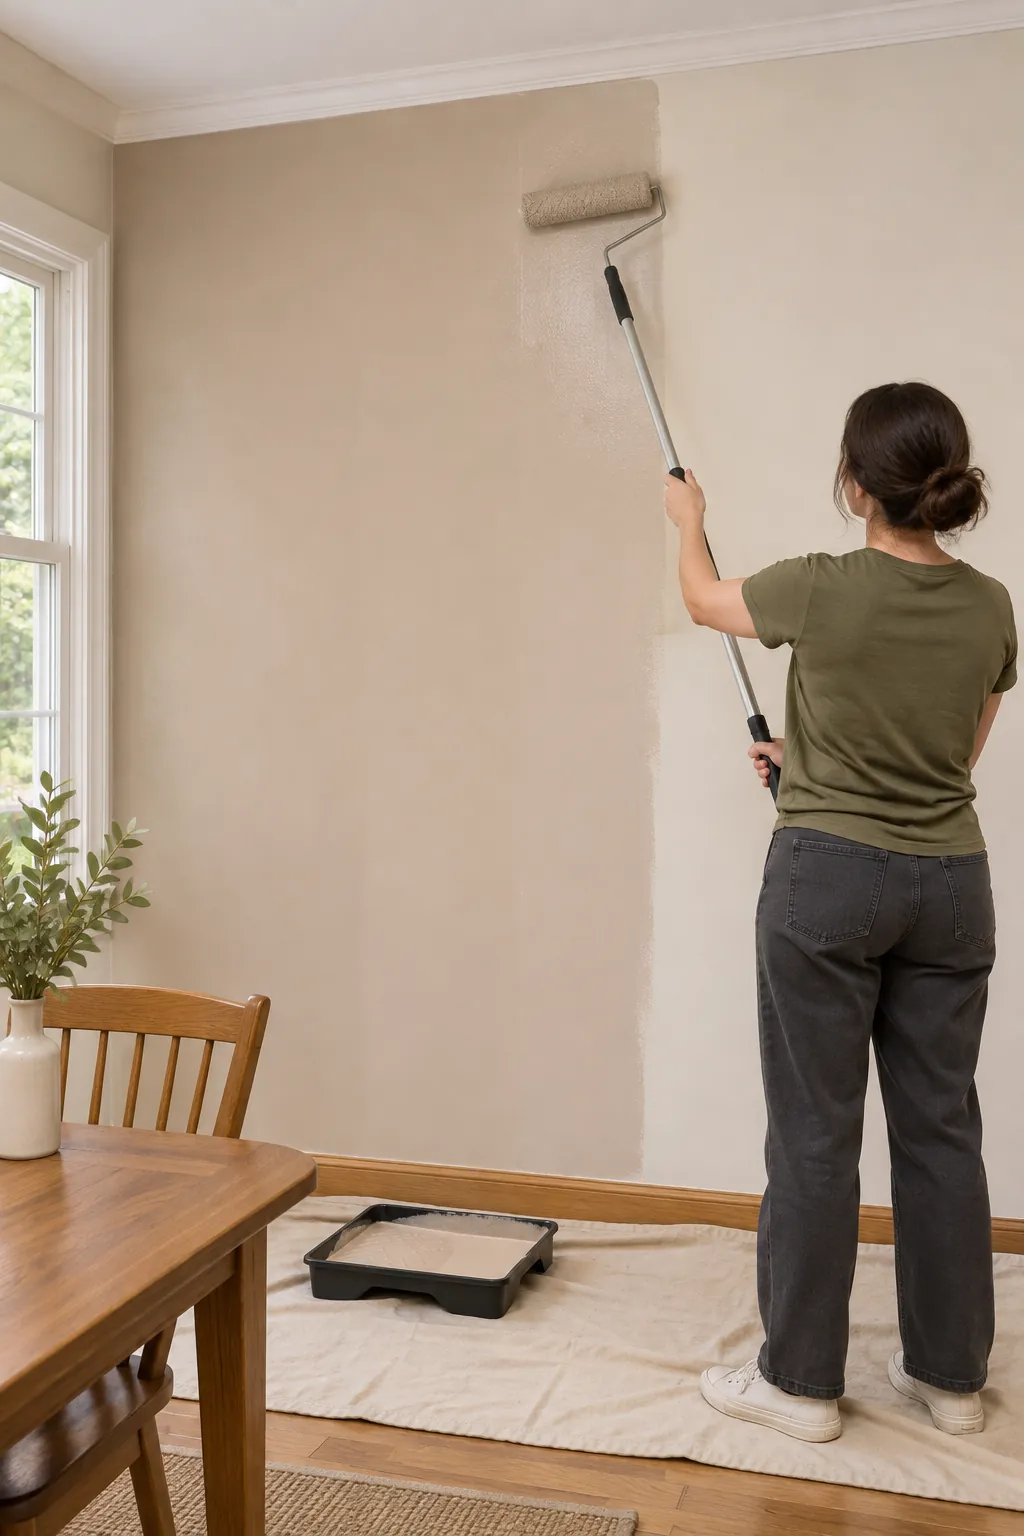
Work from one corner toward the other in sections you can finish before the edge starts to set. Place the paint on the wall, spread it without excessive pressure, then finish each section with light passes in one direction. Overlap the still wet neighboring section slightly.
Do not return to an area that has begun to tack. Extra rolling at that stage changes the texture and can create a fresh lap mark. Keep the room within the product temperature guidance and avoid strong fans that dry one section too quickly.
Let the corrective coat dry before judging it
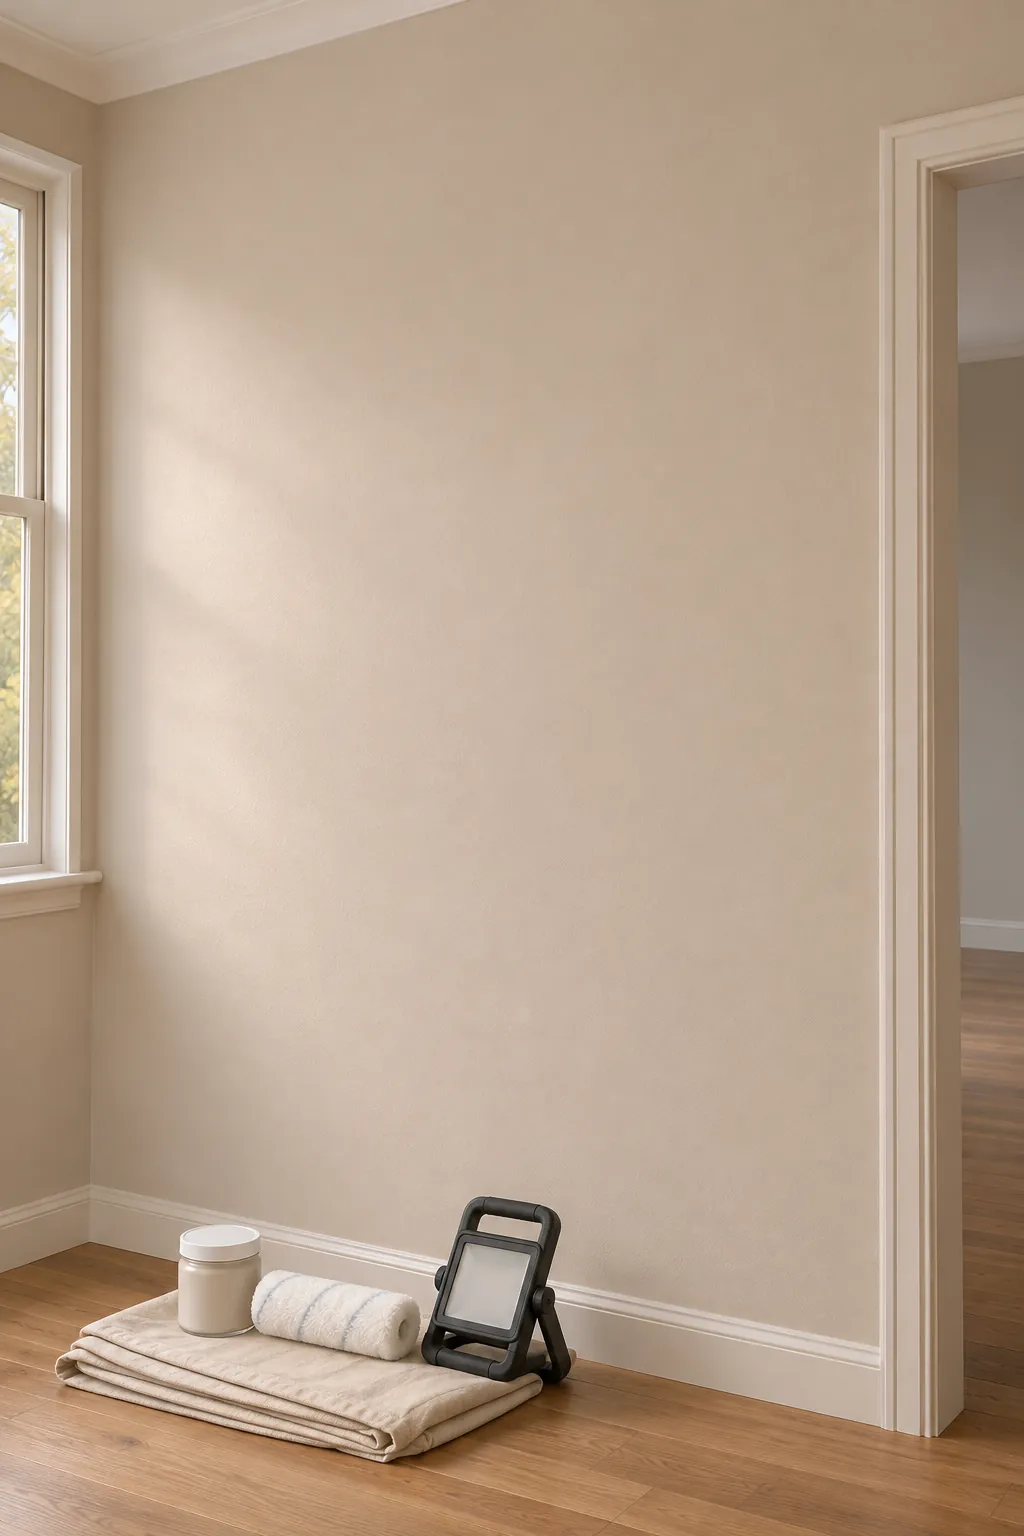
Leave the wall alone for the stated drying time and longer when the room is cool or humid. Uneven wet sheen can mimic roller marks, especially with deeper colors and higher sheens. Inspect only when the complete wall is dry.
View the finish from the same angles that first exposed the problem. If a flat color band remains, one more full coat may be required for coverage. If a ridge remains, allow the paint to harden, sand that defect lightly, clean it, and repeat the controlled coat.