
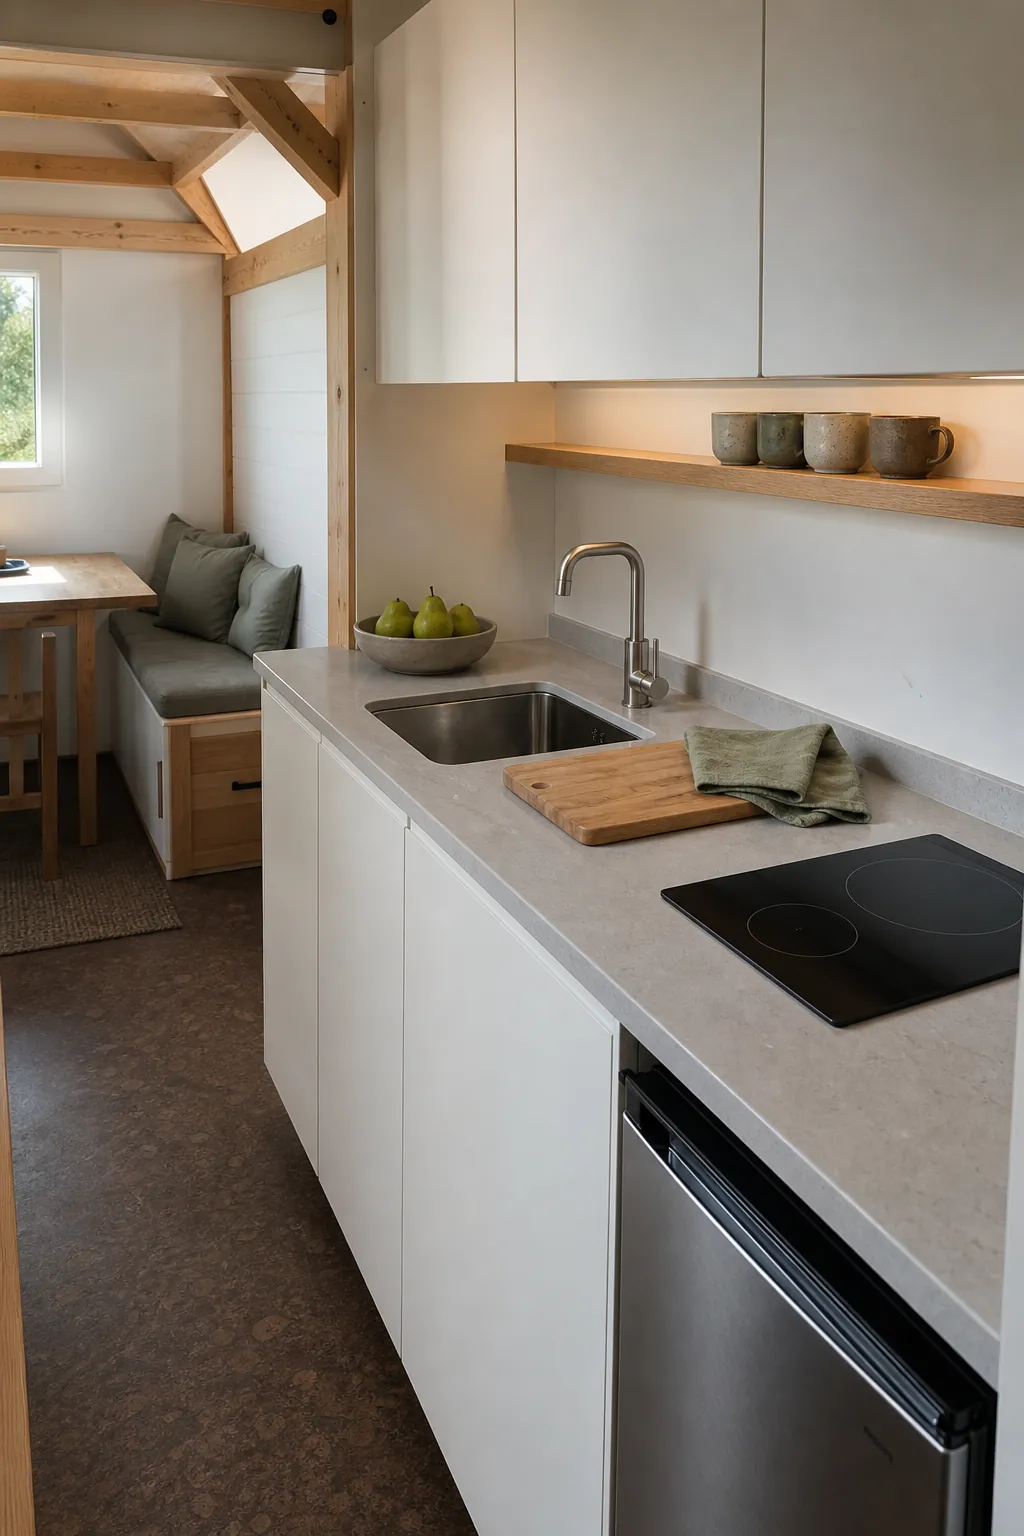
A tiny home kitchen can be perfectly clean and still feel busy. The problem is often not the amount of stuff you own; it is the number of things your eyes must process at once: labels, handles, appliances, utensils, drying dishes, open packages, and several competing finishes packed into a few feet.
The most effective fix is not to empty the room or buy a matching set of organizers. It is to protect working space, give everyday items an easy home, and quiet the surfaces that occupy the most visual area. That approach creates a less busy kitchen without making daily cooking inconvenient.
Start With One Truly Clear Work Zone
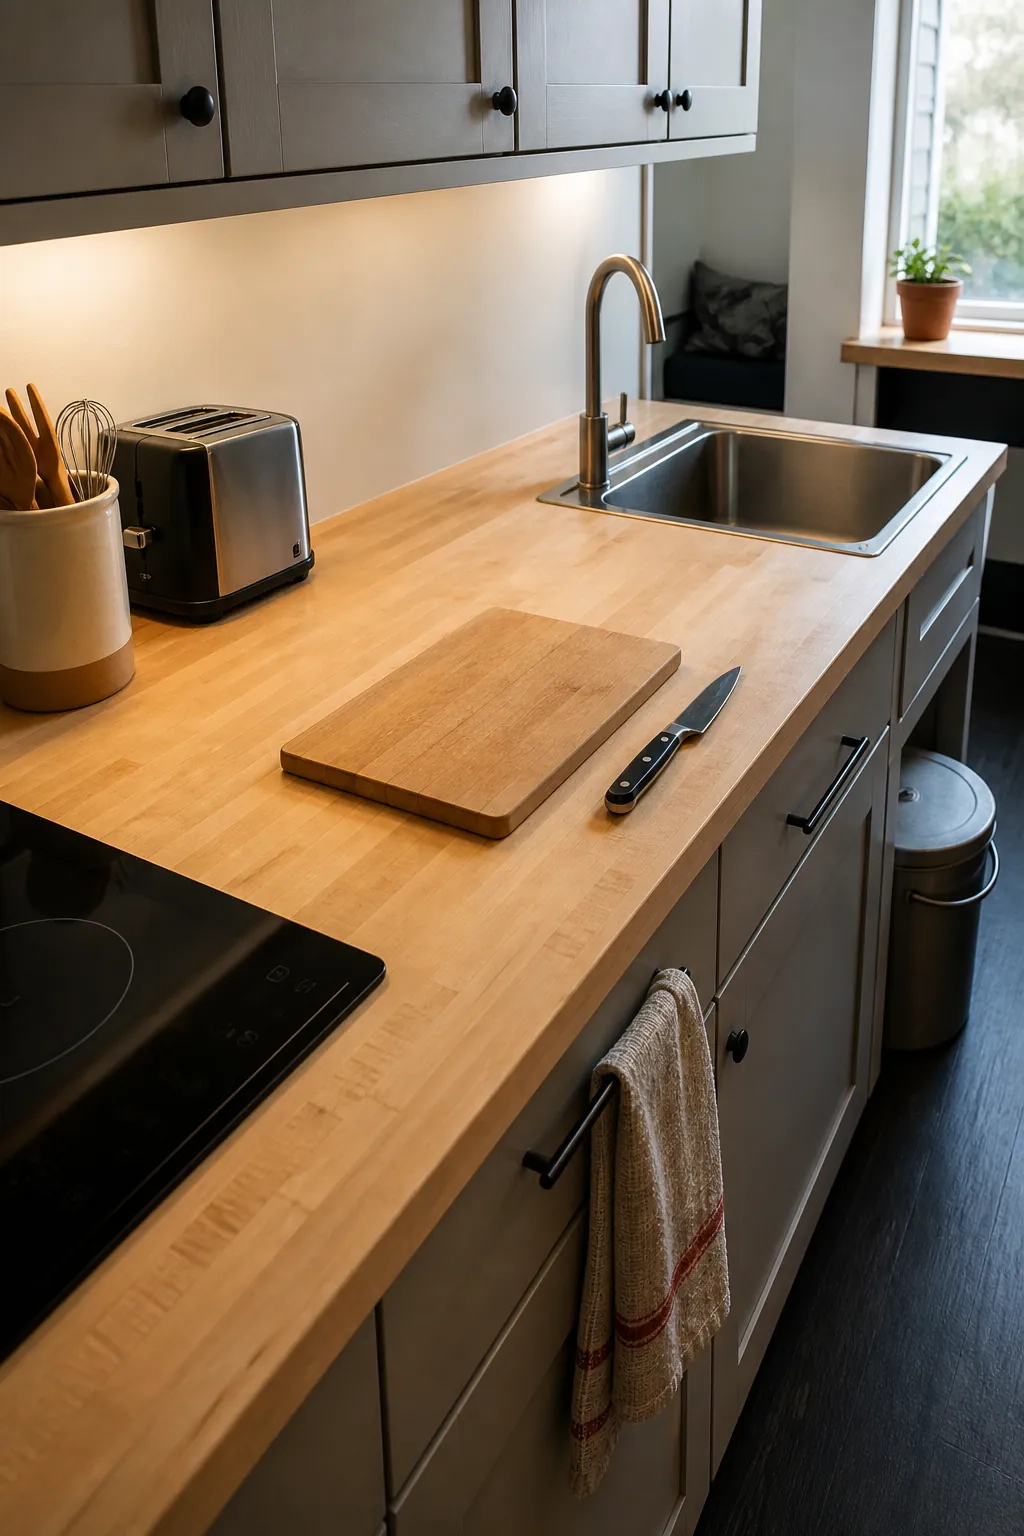
Trying to keep every counter completely empty tends to fail in a kitchen that is used every day. A more realistic goal is one uninterrupted landing and prep zone. Choose the stretch of counter where you chop, assemble meals, unpack groceries, or set down a hot pan. Treat that space as non-storage.
Move objects out of that zone even if they are attractive. A fruit bowl, knife block, utensil crock, toaster, and oil tray may each look reasonable on its own, but together they break the counter into small fragments. One clear rectangle reads as calm and makes a compact kitchen function larger than it is.
- Keep the area between the sink and cooktop clear if that is your main prep route.
- Leave enough depth for a cutting board without moving another object first.
- Use the edge or a secondary corner for the few items that must stay visible.
Give Counter Creep a Specific Home
Random tools, grocery items, mail, and half-finished tasks return to the counter when putting them away requires too many decisions. Clearing the surface is only temporary unless every repeat offender has a destination.
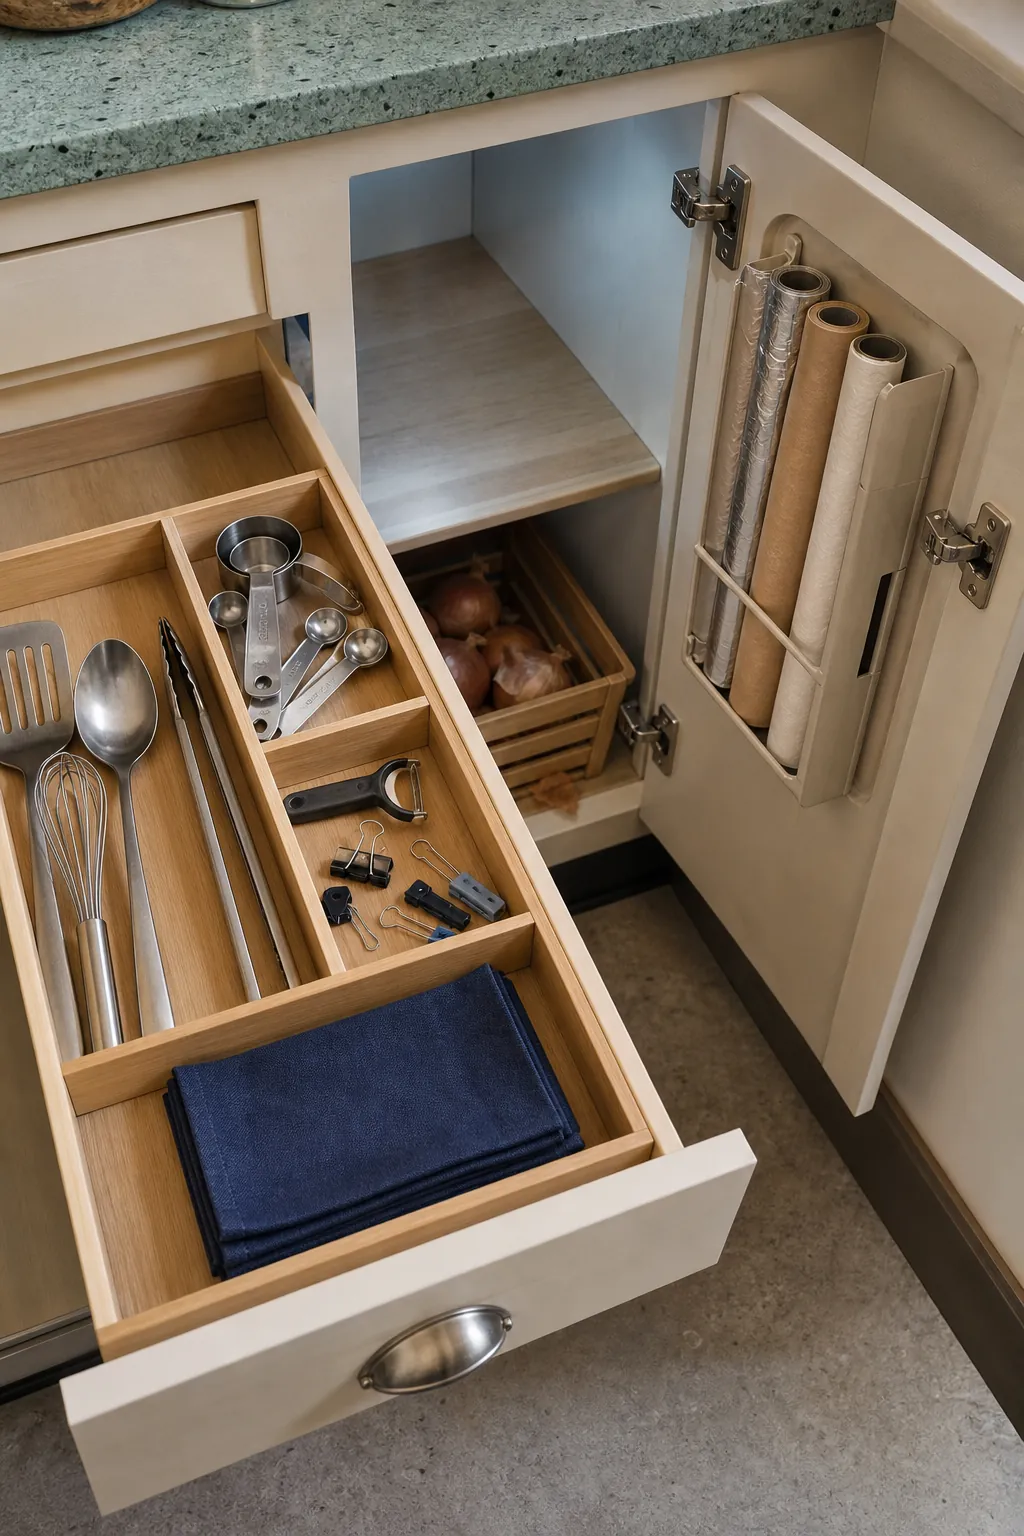
For one week, notice what reappears. Do not buy storage yet. Make a short list, then assign the smallest useful home: a shallow drawer section for clips and measuring spoons, an inside-door rack for wraps, a ventilated bin for onions, or a small inbox outside the kitchen for papers. The home should be close to where the item is used and easy to reach with one hand.
If a category will not fit, reduce it before finding a larger container. Duplicate spatulas, promotional cups, food containers without lids, and rarely used gadgets consume the closed storage that could hold visible counter appliances. Decluttering behind the doors is what makes a clutter-free kitchen possible in front of them.
Create an Appliance Parking Rule
Small appliances are often the hardest decision because hiding everything can make cooking irritating. Base the decision on frequency and effort rather than appearance.
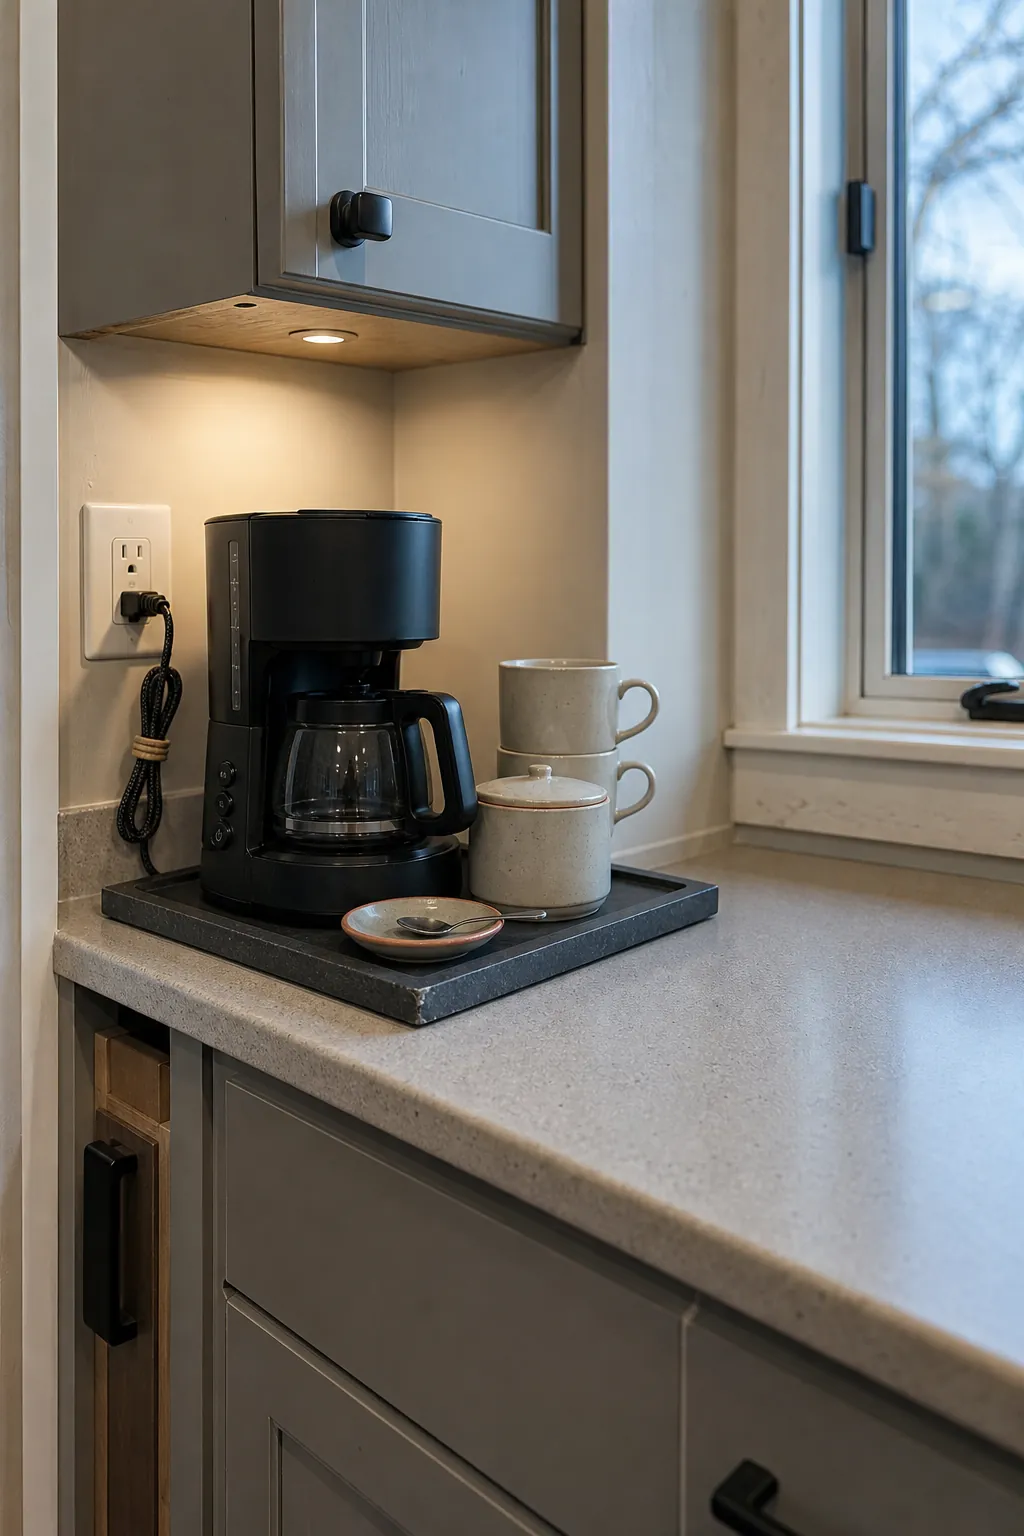
- Daily: keep it out, but give it a defined station with no unrelated items around it.
- Weekly: store it in an easy pull-out shelf, deep drawer, or front section of a lower cabinet.
- Occasionally: move it to higher or less convenient storage.
- Rarely: borrow, replace with a multipurpose tool, or let it go.
A coffee maker used every morning earns counter space. A food processor used twice a year probably does not. Keep cords short and contained, and avoid surrounding the appliance with pods, jars, mugs, and packets. A single working station looks intentional; a trail of accessories looks like unfinished cleanup.
Use Open Storage Selectively
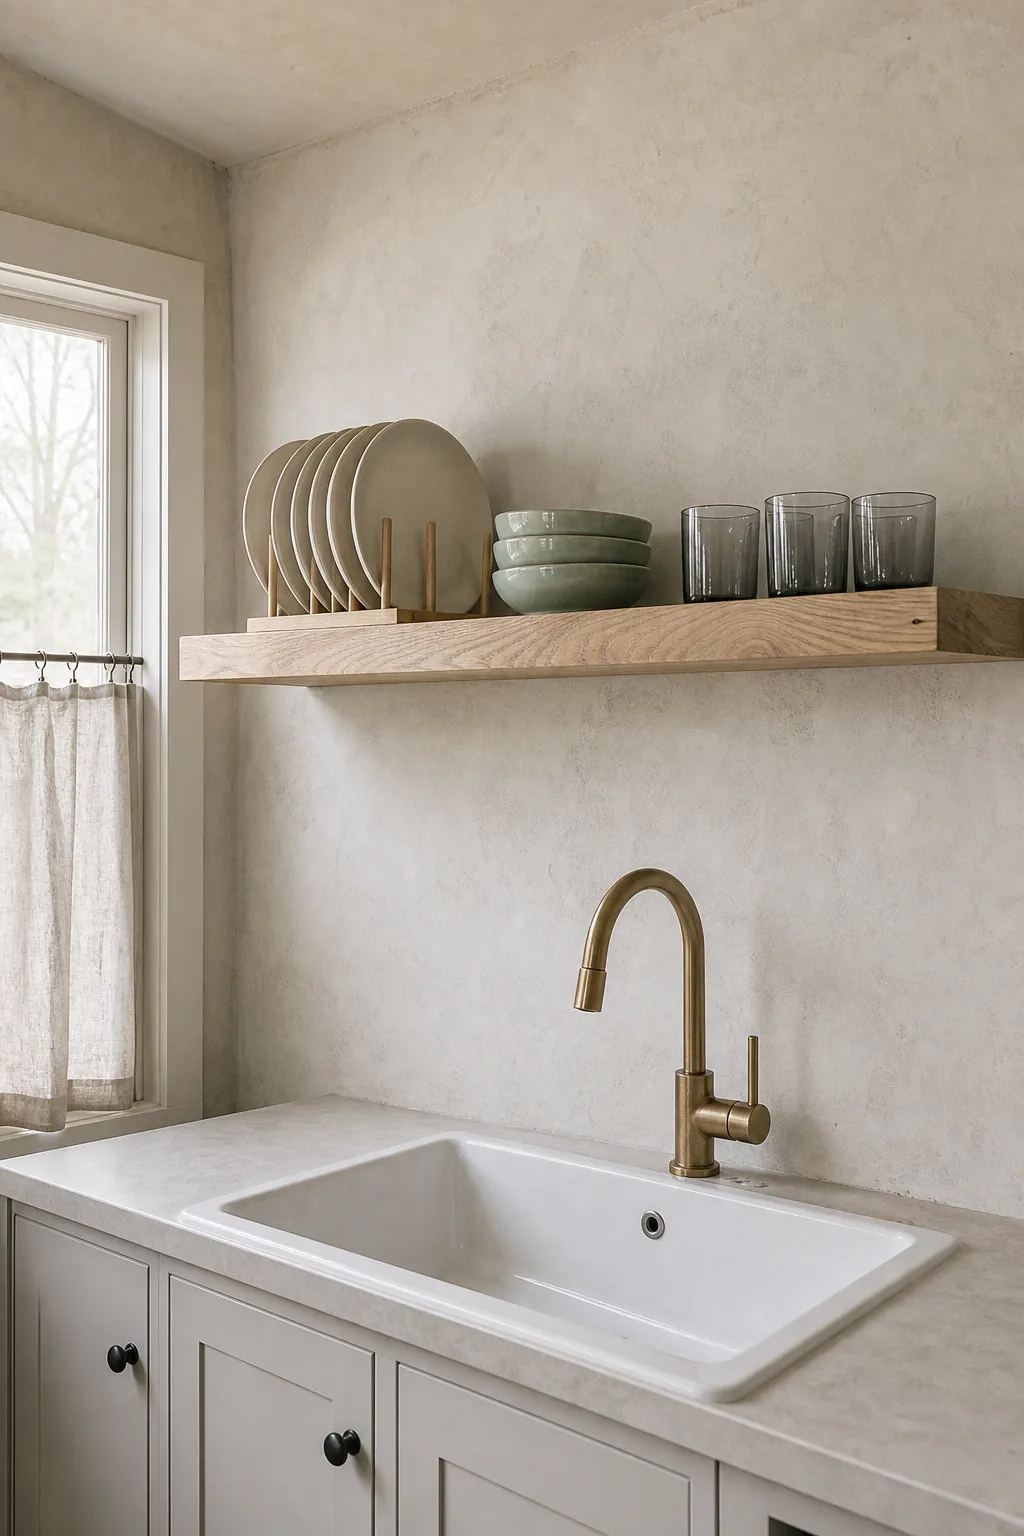
Open shelving can lighten a tiny house kitchen, but it also exposes every silhouette, color, gap, and label. It works best as a small convenience zone rather than the main storage system.
Reserve an open shelf for a limited group of items with similar visual weight, such as eight everyday plates and bowls, or a row of clear drinking glasses. Leave breathing room at the ends. Put mismatched food packages, small gadgets, backup supplies, and rarely used pieces behind solid doors.
Before replacing upper cabinets, test the idea by temporarily removing a door or clearing one shelf. Live with the dust, the required styling discipline, and the reduced capacity. Open storage is only calming when the items are edited enough to create negative space.
Reduce Packaging Noise Without Decanting Everything
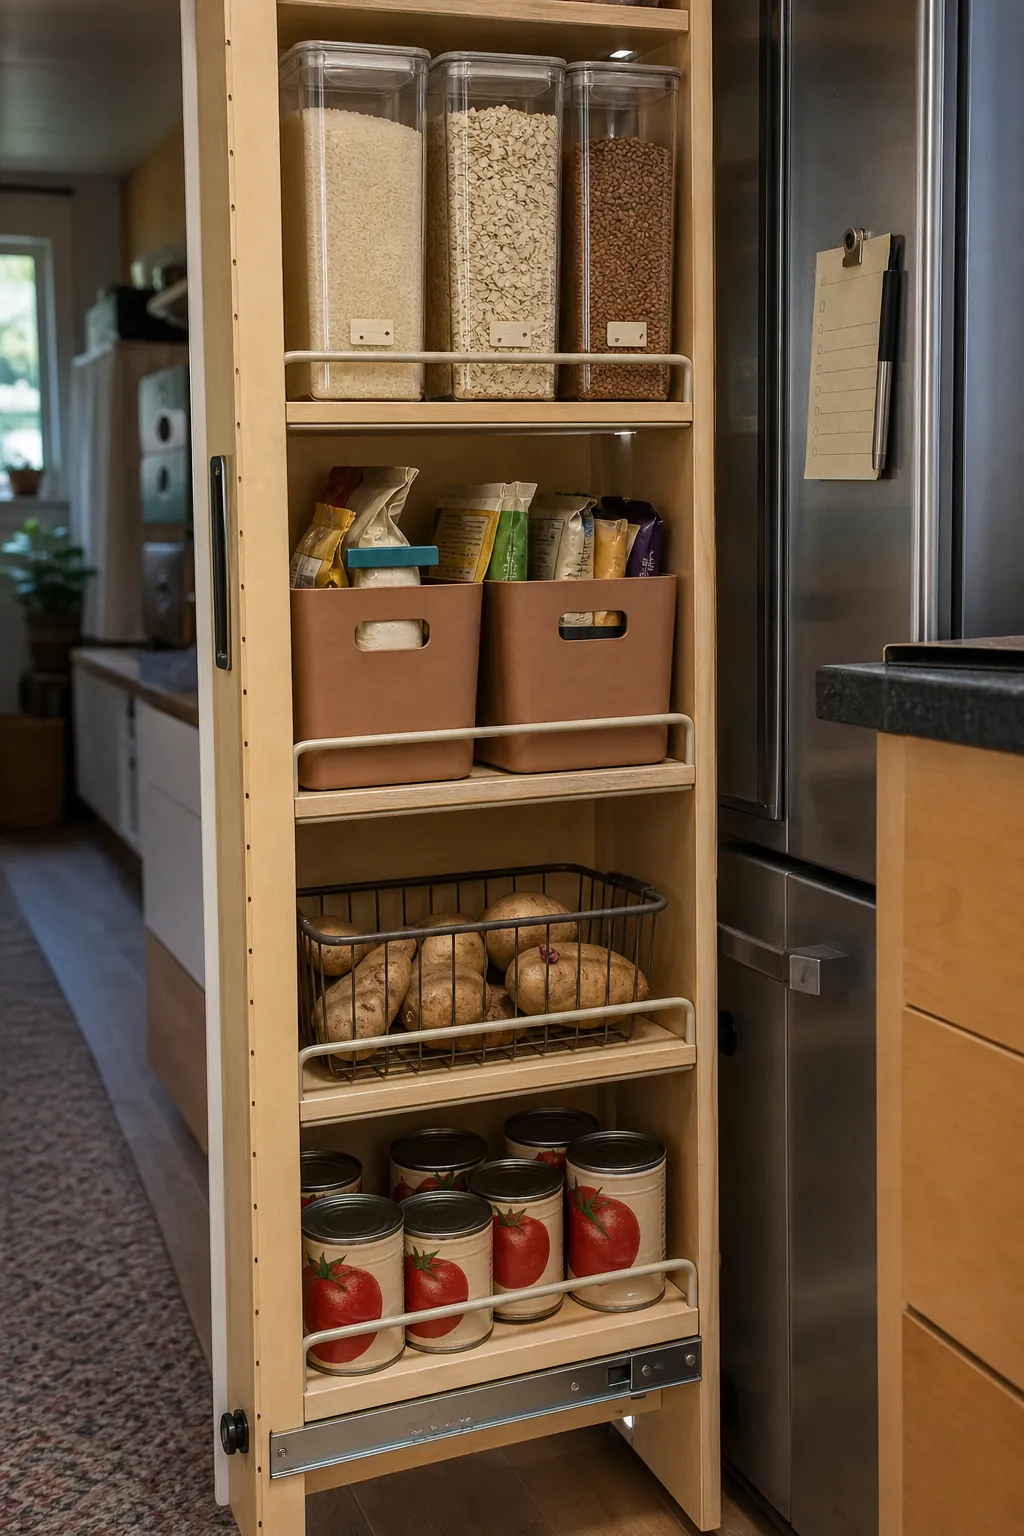
Bright boxes and bags create visual noise quickly, but transferring every ingredient into a special container can become another maintenance job. Decant only the staples you buy repeatedly, can identify safely, and use fast enough to keep inventory simple.
For everything else, group the original packages inside opaque or softly colored bins. One bin edge is calmer than seven competing labels, and you retain cooking instructions and expiration information. Place the most frequently used ingredients between waist and eye level so the system remains practical.
Choose containers that fit the cabinet dimensions rather than containers that merely match one another. Square or rectangular forms usually waste less space than round jars. Add small, readable labels and purchase only enough to fill the actual shelf—not an imagined future pantry.
Quiet the Largest Surfaces First
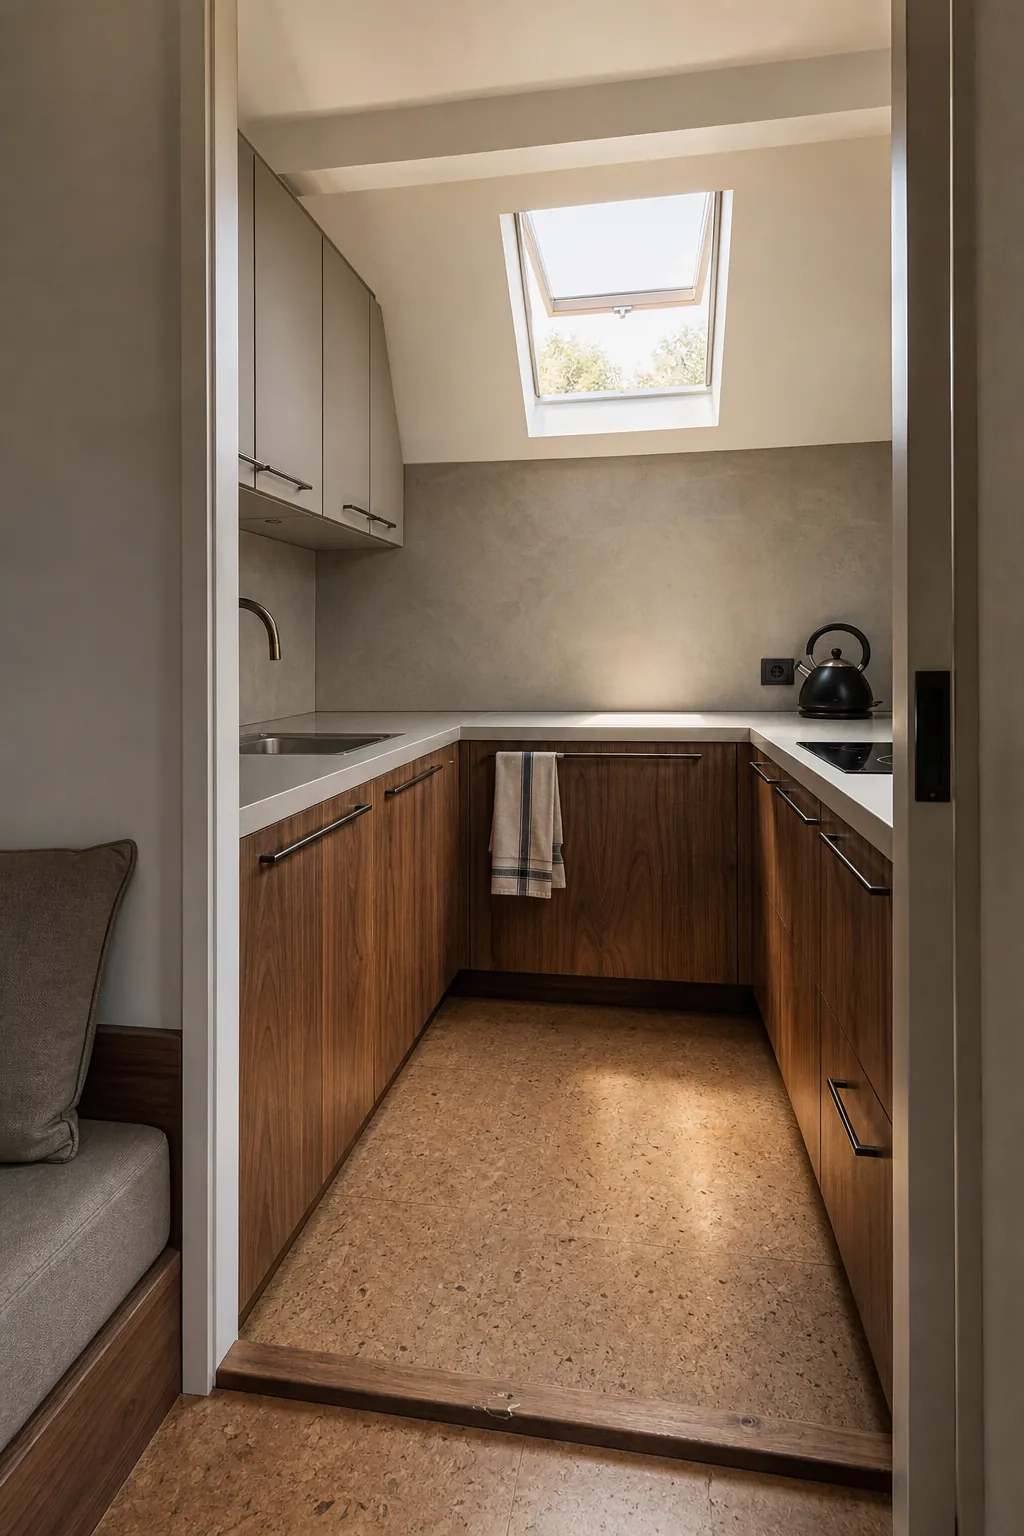
In a tiny home design, cabinet fronts, backsplash, countertop, floor, and walls fill most of the view. When each surface has a strong pattern or contrasting color, even a well-organized room can feel crowded.
You do not need an all-white kitchen. Instead, let one or two elements lead and allow the rest to support them. If the backsplash is patterned, use quieter cabinet fronts and fewer objects on the counter. If the cabinets have rich wood grain, repeat a restrained color in the hardware or textiles rather than adding several unrelated finishes.
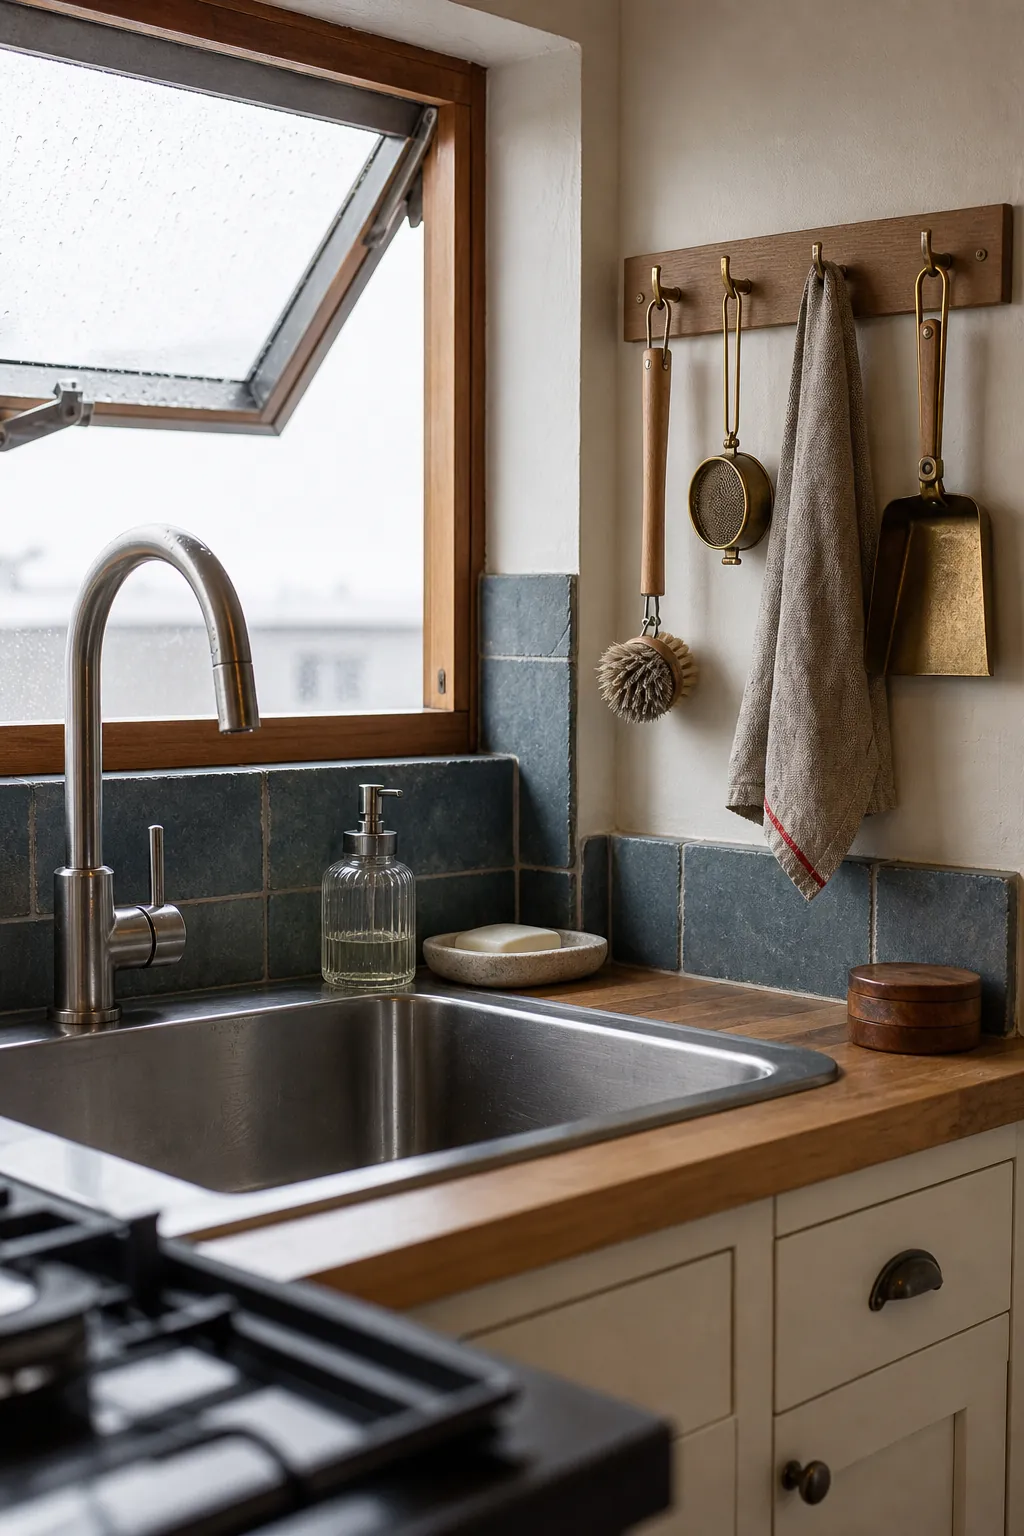
Continuous lines matter too. Align cabinet pulls where possible, keep the backsplash visually uninterrupted, and avoid scattering tiny hooks across every open wall. A washable runner, one towel color, and consistent warm or cool lighting can unify the room without a renovation. Fewer visual breaks make the walls feel longer.
Build a Five-Minute Closing Routine
A less busy kitchen is not a fixed reveal; it is a room that resets easily after real life. Design a short closing routine that removes the most visible evidence of the day.
- Return ingredients and tools to their assigned homes.
- Load or wash the remaining dishes.
- Fold or hang the drying mat once items are dry.
- Wipe the clear prep zone and sink edge.
- Empty the small catch-all basket before it becomes permanent storage.
If the routine repeatedly takes longer than five minutes, that is useful information. The storage may be too full, a daily item may be parked too far away, or the dish-drying setup may be consuming the only work surface. Adjust the system instead of blaming yourself for not maintaining a staged kitchen.
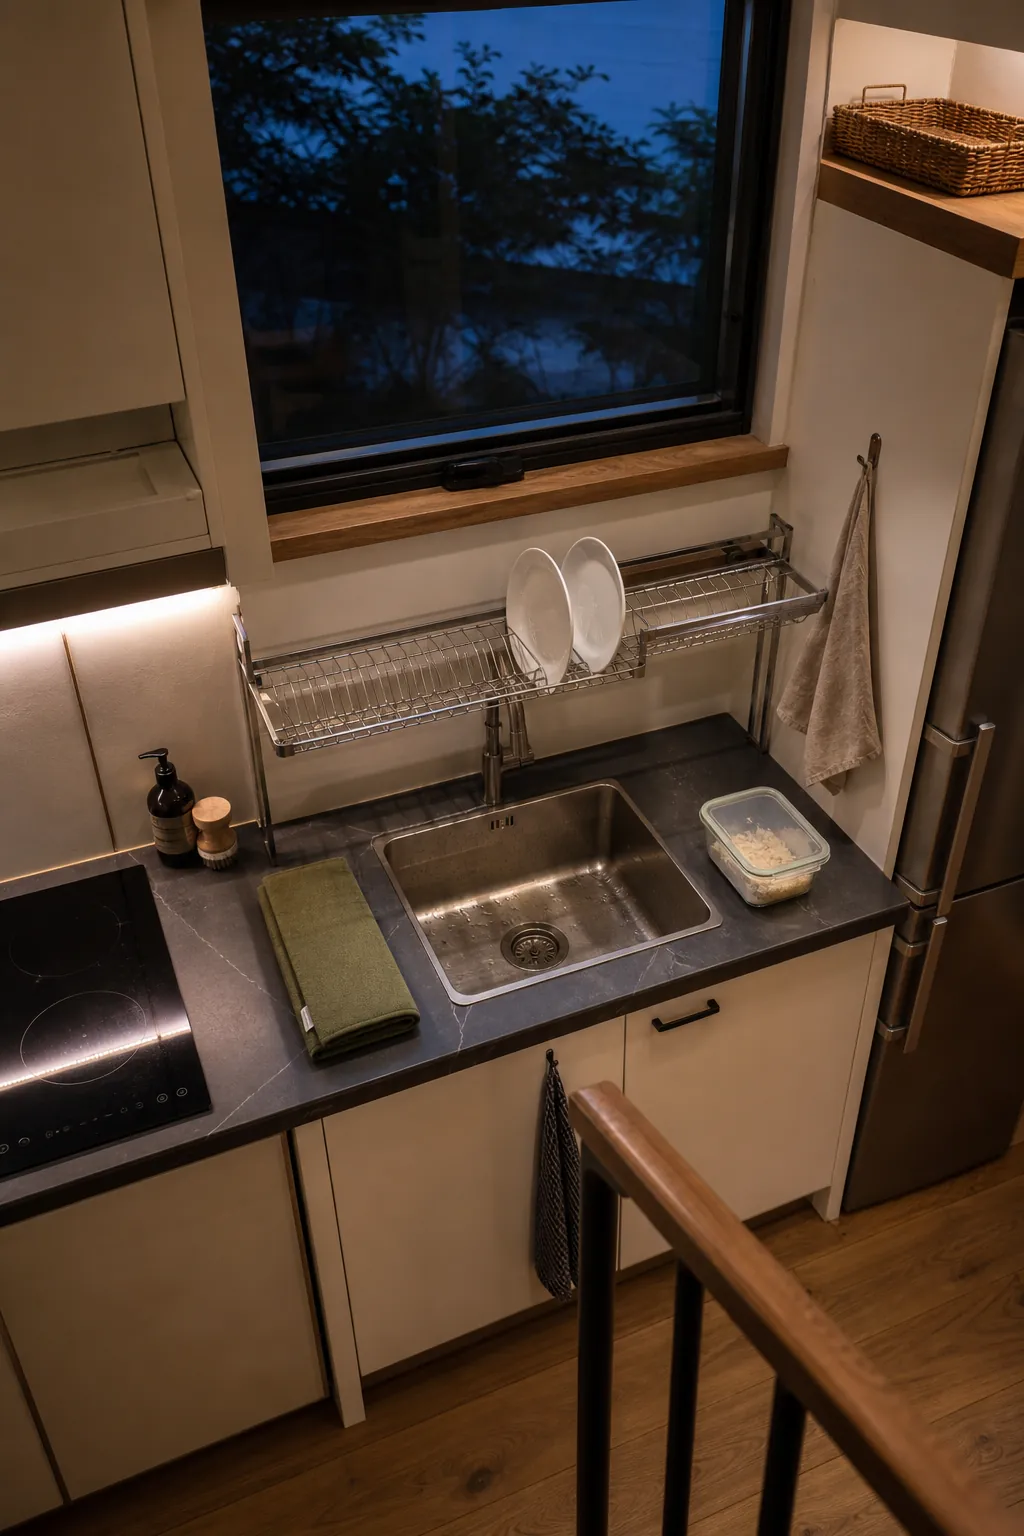
The goal is not a tiny home kitchen with no evidence of cooking. It is a kitchen where the useful things do not compete for attention. Protect one clear work zone, keep only true daily appliances visible, use open storage with restraint, and make the reset easy enough to repeat. Calm comes from fewer visible decisions and better daily flow—not from hiding your life.