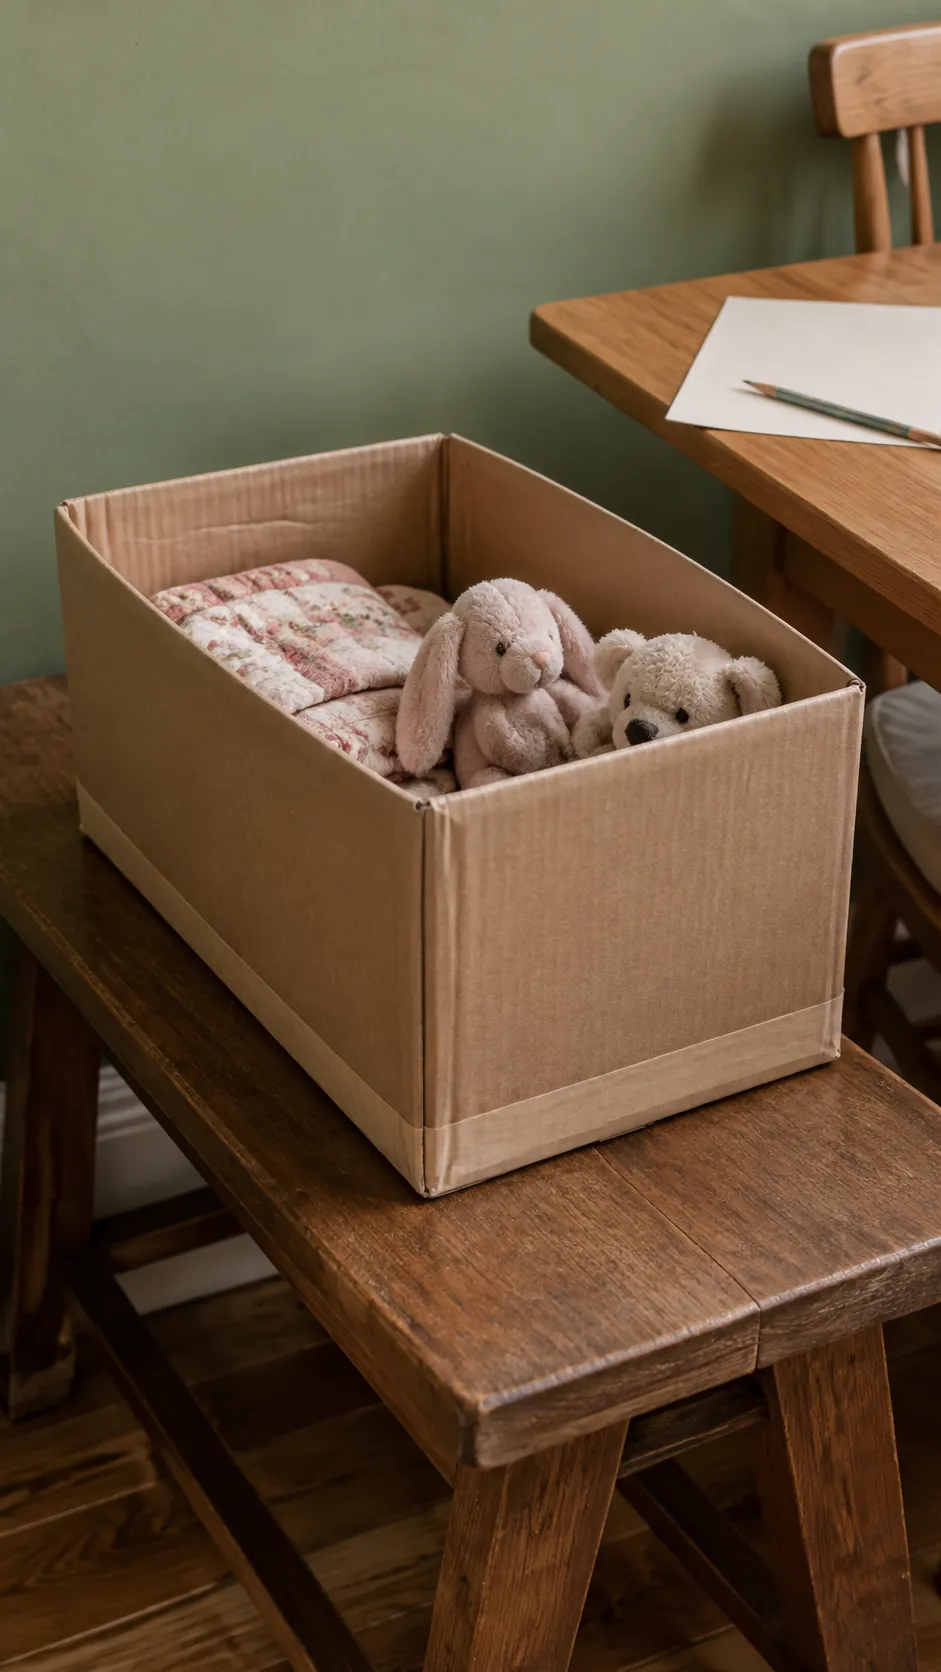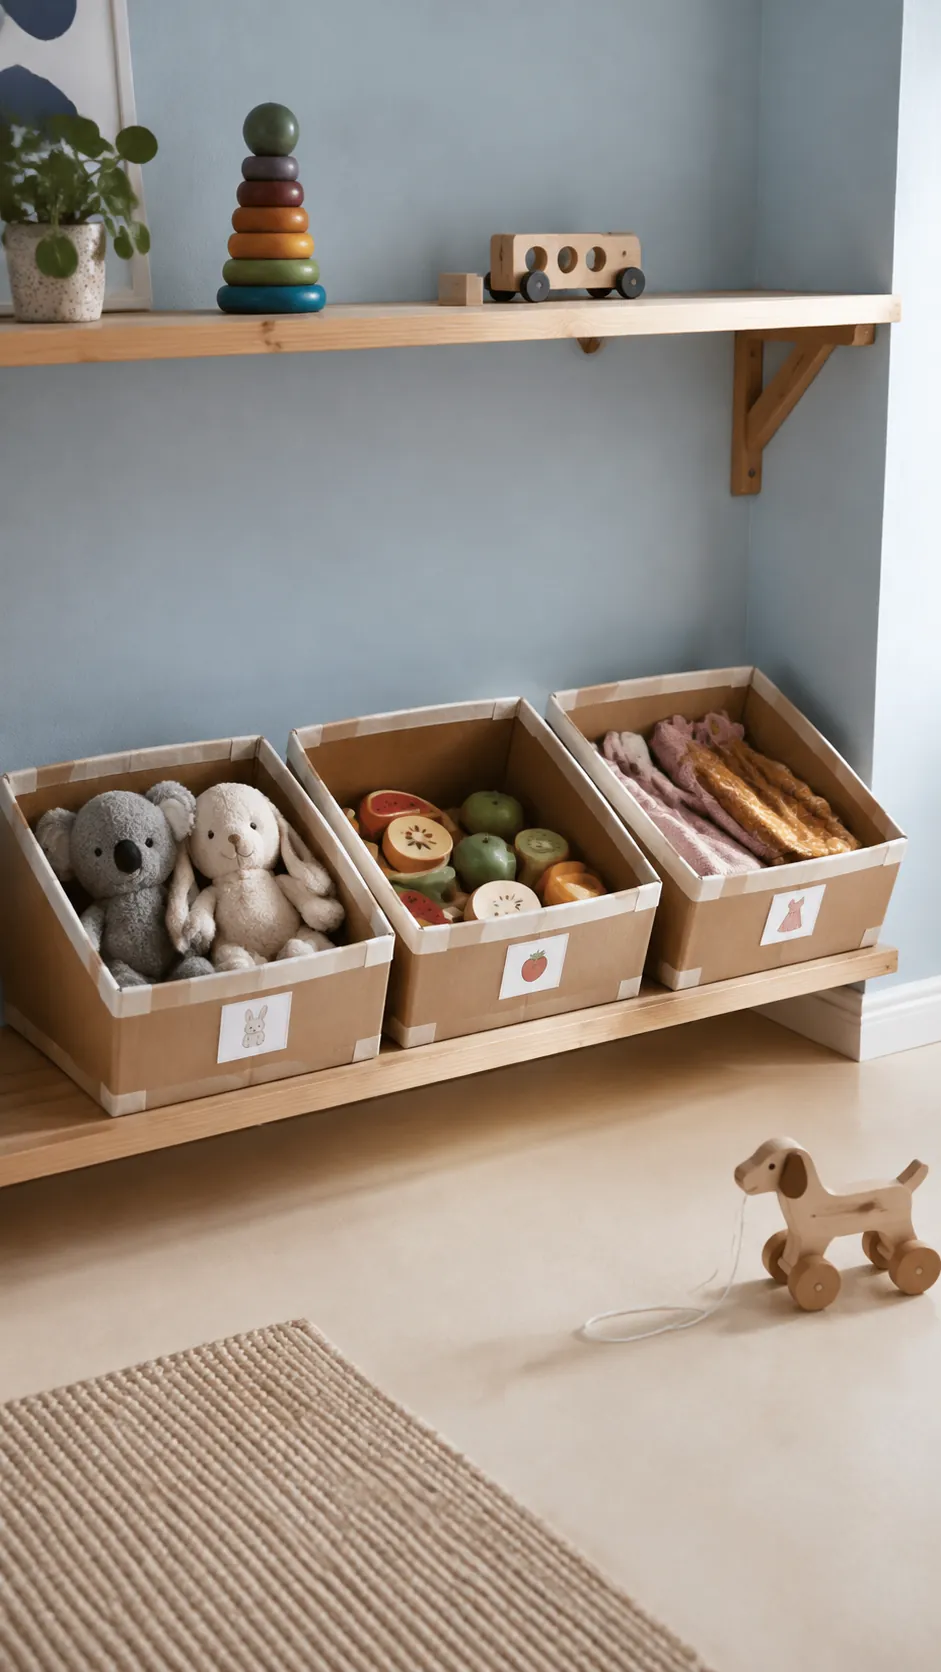
The delivery box is free, but the useful part is choosing what it can hold and where it will live. A small open container for light, dry toys can make cleanup easier without buying another storage system. Build one, test it in daily use, and save the elaborate decoration until you know the idea works.
Choose cardboard for the right kind of storage
A clean delivery box can become a useful toy container, but cardboard is best for light, dry contents. Think soft toys, fabric costumes, lightweight play food, or a small selection of craft supplies used with supervision. Keep heavy collections, wet bath toys, and items that need frequent washing in suitable durable containers. Cardboard is a trial storage solution, not a substitute for sturdy furniture.
Choose boxes that are dry, odor free, and free of mold, pests, food residue, or unknown chemical contamination. Reject crushed bases and badly torn corners before spending time decorating. Remove staples, loose tape, plastic straps, shipping labels, and other pieces a child might pull free. Avoid cardboard organizers for a child who chews containers or is likely to tear off and mouth fragments.
Sort the toys before choosing the box size. One broad category should fit with room to reach inside and return an item without forcing it. Start with a box you already have instead of saving every package for an imagined project. Recycled toy storage is useful when it reduces the number of objects you manage.
Build one reinforced open bin first
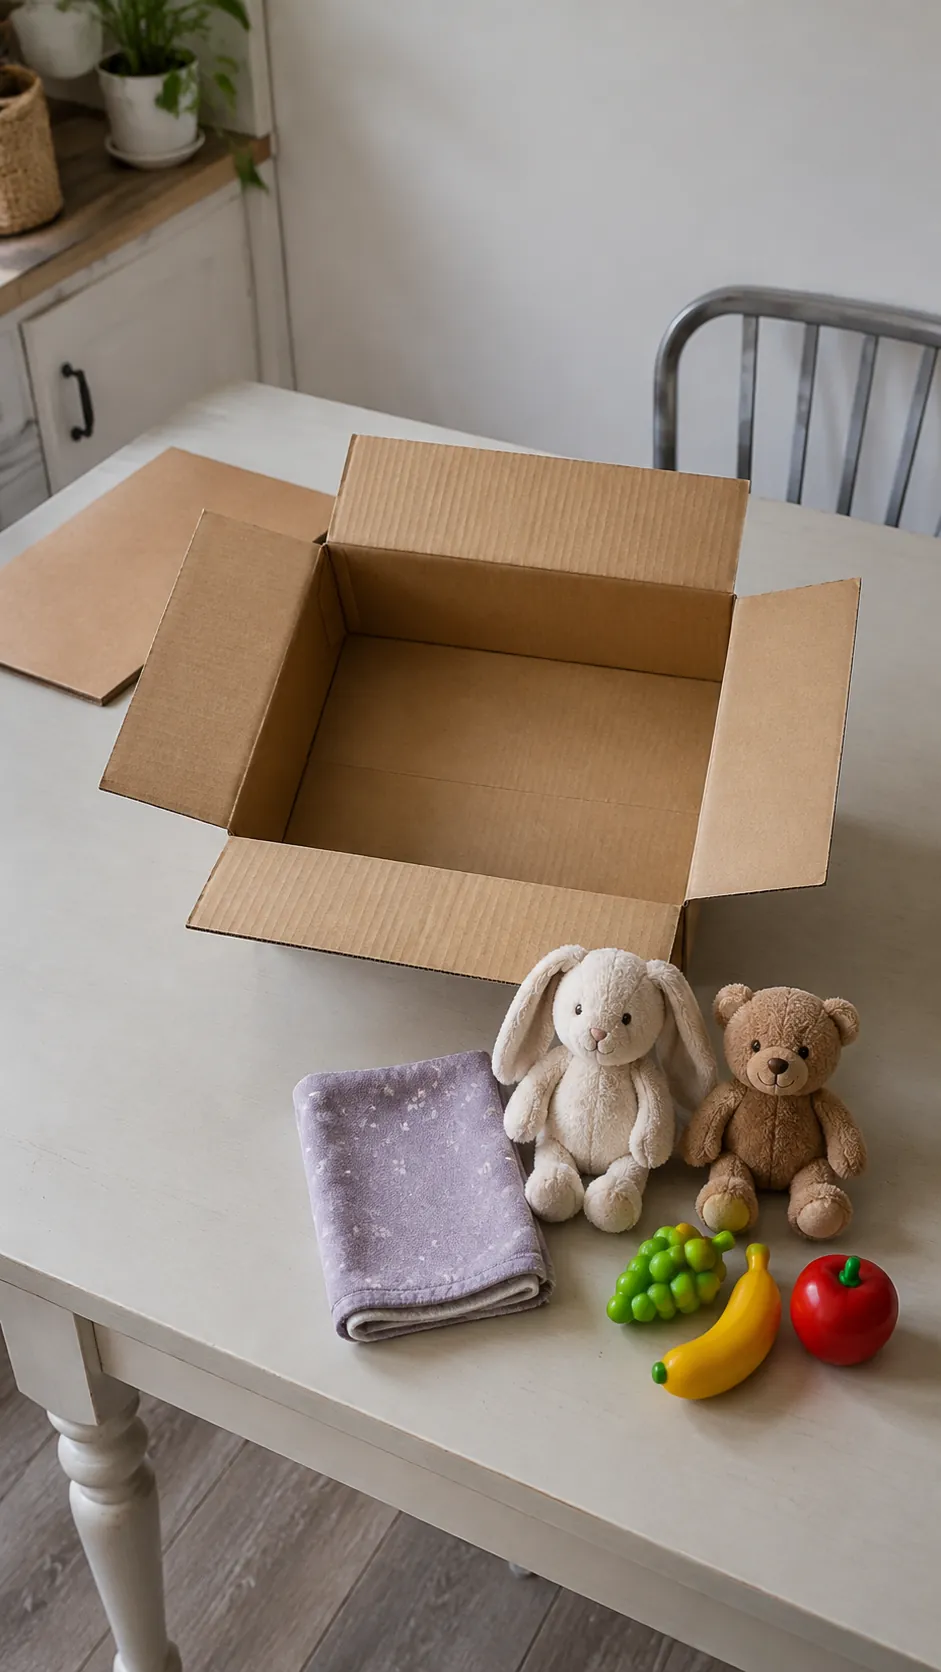
For a basic DIY cardboard toy organizer, gather a sound corrugated box, an extra flat piece of cardboard, paper tape suitable for the surface, a ruler, a pencil, and an appropriate craft adhesive used according to its label. An adult should do any cutting with a suitable tool on a cutting mat, away from children. Keep blades, scissors, adhesive, and scraps secured when the project pauses.
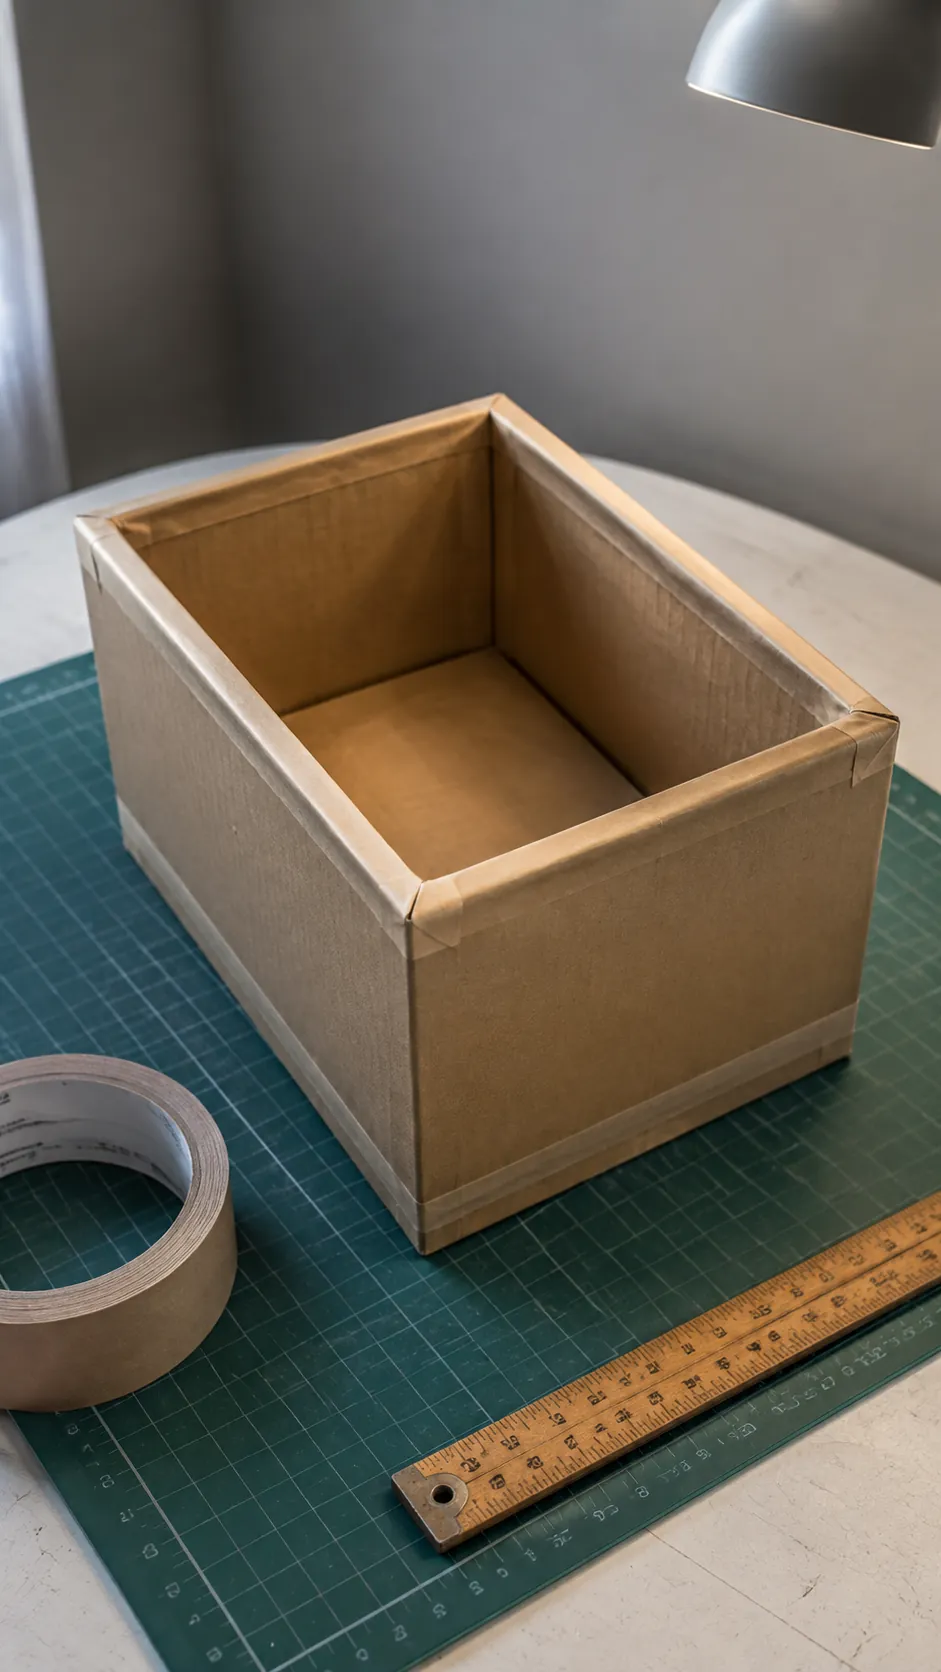
Fold the bottom flaps into their intended position and reinforce the outside seam. Cut a second piece of cardboard to sit flat across the entire inside base, then secure it so it cannot slide or lift easily. If the sides are too tall for the intended toys, mark an even lower rim and have an adult trim it. Cover the cut rim with firmly adhered paper tape, pressing it down completely and checking for loose ends.
Leave the top open for quick returns. Keep the bin small and light, and lift it with support under the base rather than adding cord handles or relying on hand holes that may tear. Allow any adhesive to cure fully according to the product directions before adding toys. Gently test the bin with its intended contents, then reduce the load if the walls bow or the base sags.
Add dividers only when they solve a search problem
A deep mixed box can hide the very toy your child wants. For a few small sets used by an older child, place shallow repurposed cartons inside a larger tray so each group stays visible. Choose inner cartons of similar height and keep their top edges below the outer rim. Trim and finish every edge carefully, just as you did for the main bin.
For a fitted divider, measure the inside base after adding its reinforcing layer. An adult can cut two cardboard strips to that length and width, with slots cut halfway through their heights so the pieces slide together. Test the fit without forcing the outer walls outward, then secure the divider if appropriate for the intended use. Keep the compartments generous enough to get fingers around the contents.
Use only as many compartments as the activity needs. Separating vehicles from pretend food can be useful; assigning a separate cell to every toy usually creates extra cleanup work. Small parts remain a choking risk regardless of how neatly they are stored. Keep them inaccessible to younger children and use containers suited to their age and supervision needs.
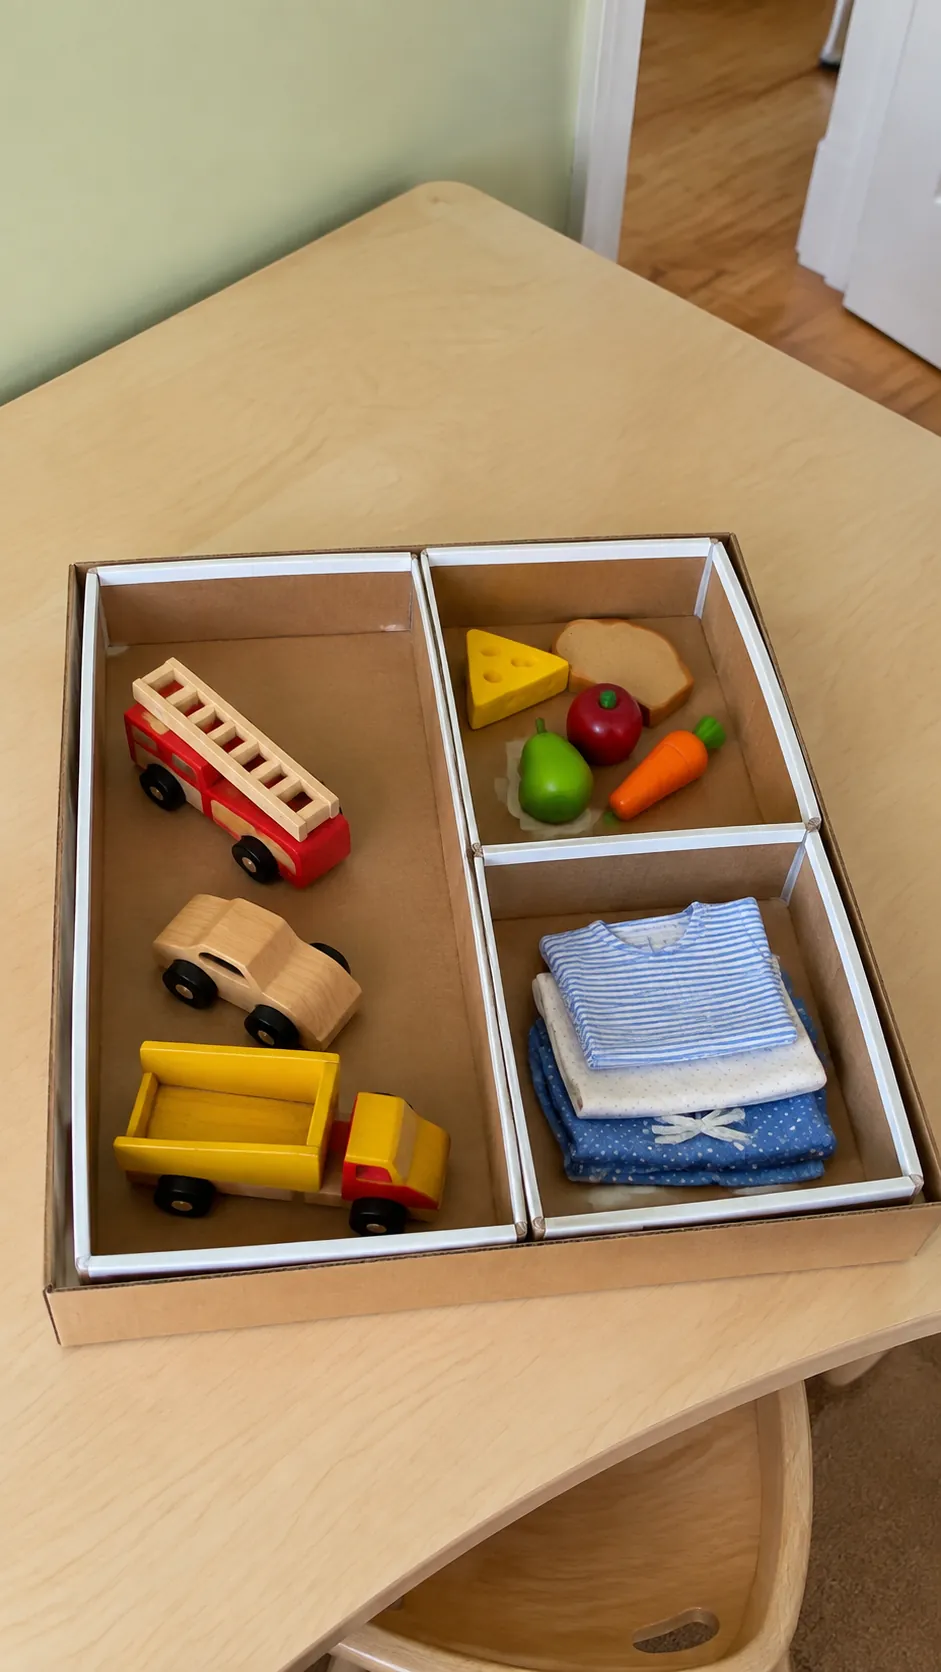
Make labels clearer than the decoration
Labeled toy bins need to answer one question quickly: what belongs here? Write a short category such as Cars, Animals, or Dress Up on the side that faces the room. For a beginning reader, add a simple drawing of the actual type of toy. Let the child choose the picture so the label is recognizable to the person returning the objects.
If you cover cardboard storage boxes with paper, use a thin smooth layer that leaves corners and seams easy to inspect. Follow the adhesive instructions and let it dry completely. Avoid beads, buttons, ribbon loops, staples, and other loose decorative parts in child accessible storage. A plain box with a clear picture is often easier to use than one with busy patterns across every surface.
Keep the label large enough to recognize without covering the whole front in text. Test it during real cleanup before making several matching boxes. If a toy could fit three different categories, simplify the labels or choose a single agreed home. Decoration should not become the longest or most expensive part of budget playroom organization.
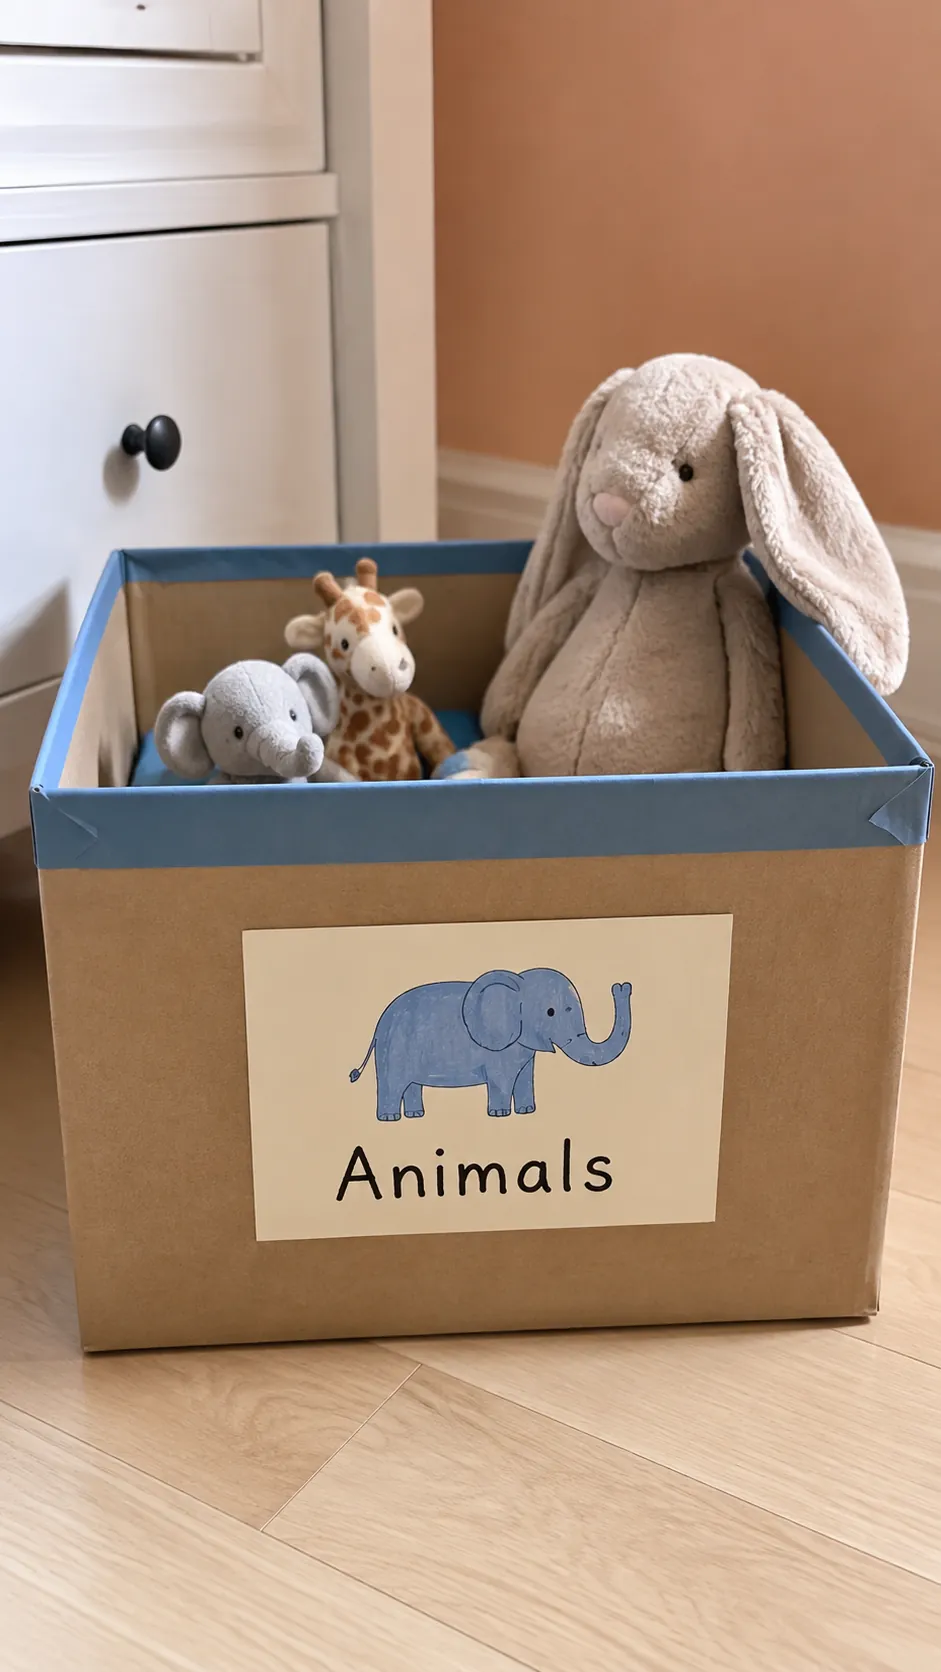
Put the boxes on a real shelf or a clear floor zone
Arrange the finished bins in one low layer where their contents are used. An existing sturdy shelf can support lightweight cardboard bins while leaving each one easy to remove. Check the shelf instructions, load limits, and required wall anchoring. Keep the heaviest suitable contents low and leave enough clearance around each box to grip it without crushing the sides.
Photos of homemade toy shelves can make stacked cartons look like furniture, but ordinary shipping boxes are not a dependable climbing or load bearing structure. Do not build a tall tower or encourage a child to stand on boxes to reach something. Use cardboard as the container inside suitable storage, not as structural shelving. Keep exits, heaters, vents, and electrical equipment clear.
For kids craft storage DIY, a shallow cardboard tray can group dry paper and chunky crayons during a supervised activity. Store messy paint, liquids, and sharp tools separately in appropriate containers. Move the tray to a dry storage spot after use. Cardboard that sits on a damp floor or beside spills will deteriorate even if its outside looks decorated.
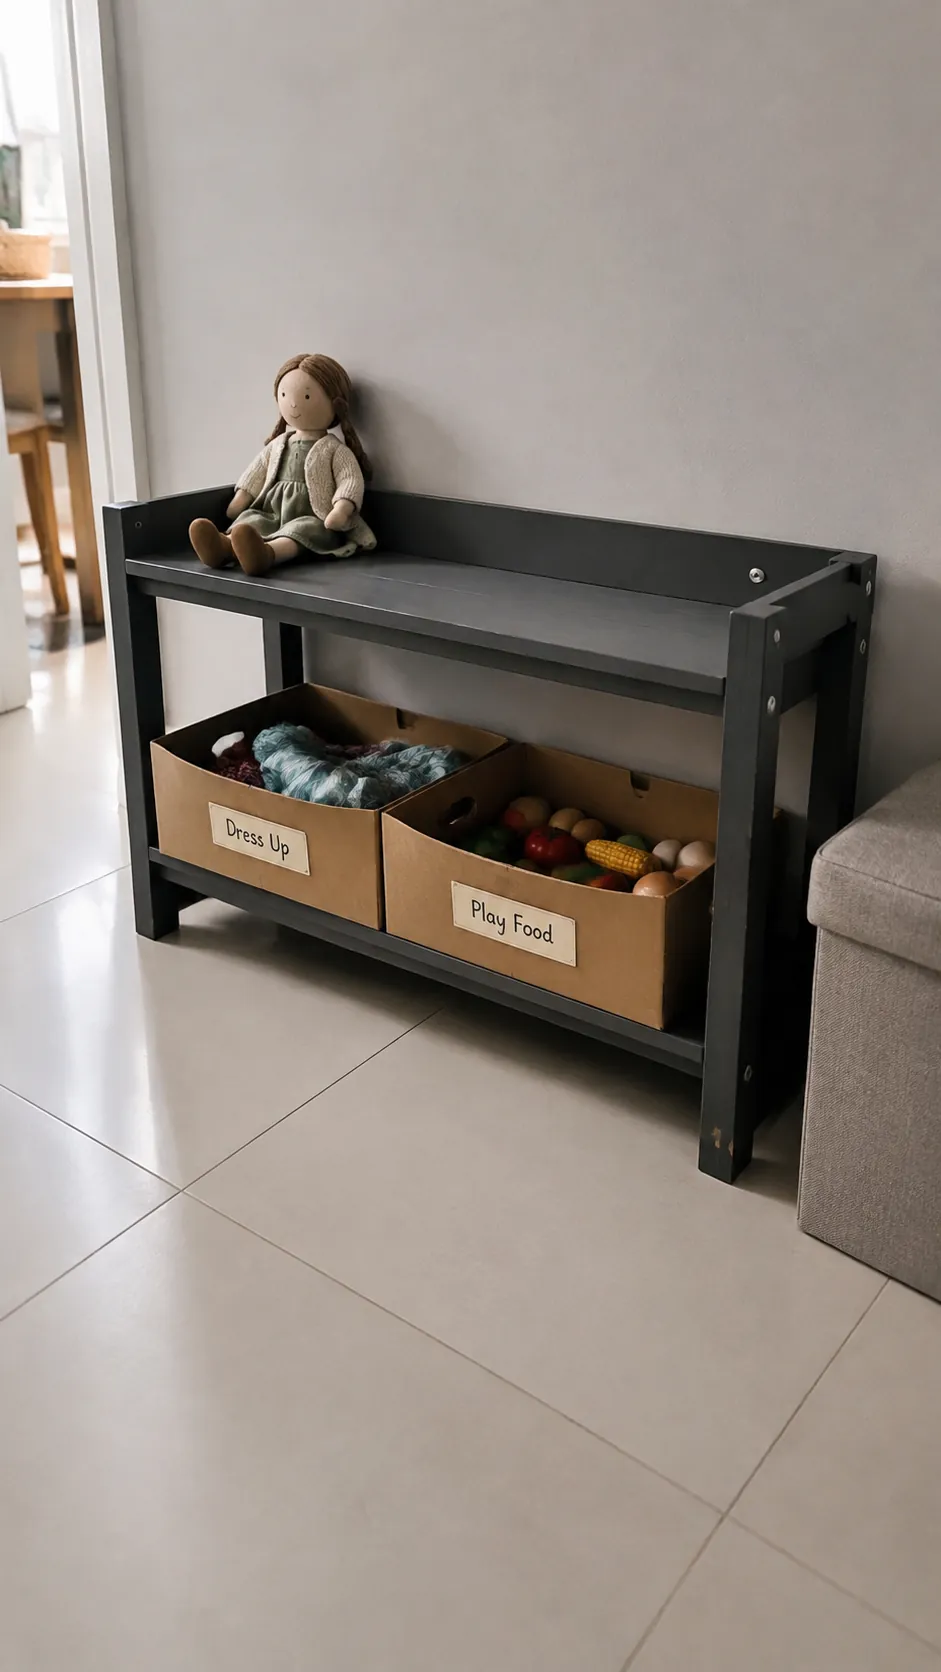
Check wear during cleanup and replace what fails
Easy toy cleanup starts with a small selection and an obvious return spot. Put one finished bin into use for several ordinary days and watch whether the child can find and return its contents with suitable help. If every search empties the whole box, choose a shallower container or reduce the selection. If returning toys requires compressing them, the box is too full.
Inspect the base, corners, rim, tape, and glued joints regularly. Retire a box when it becomes damp, develops an odor, sags, tears, sheds pieces, or grows loose edges. Do not hide damage beneath another decorative layer. Separate any recyclable clean cardboard from tape or coatings as local recycling guidance requires, and dispose of contaminated material appropriately.
Cardboard lets you test a storage idea before paying for a permanent version. Keep the successful size, category, and location in mind if you later switch to a washable bin. There is no need to turn every delivery into another organizer. Start with one sound box and one light toy category, then let daily use decide whether the idea earns its place.