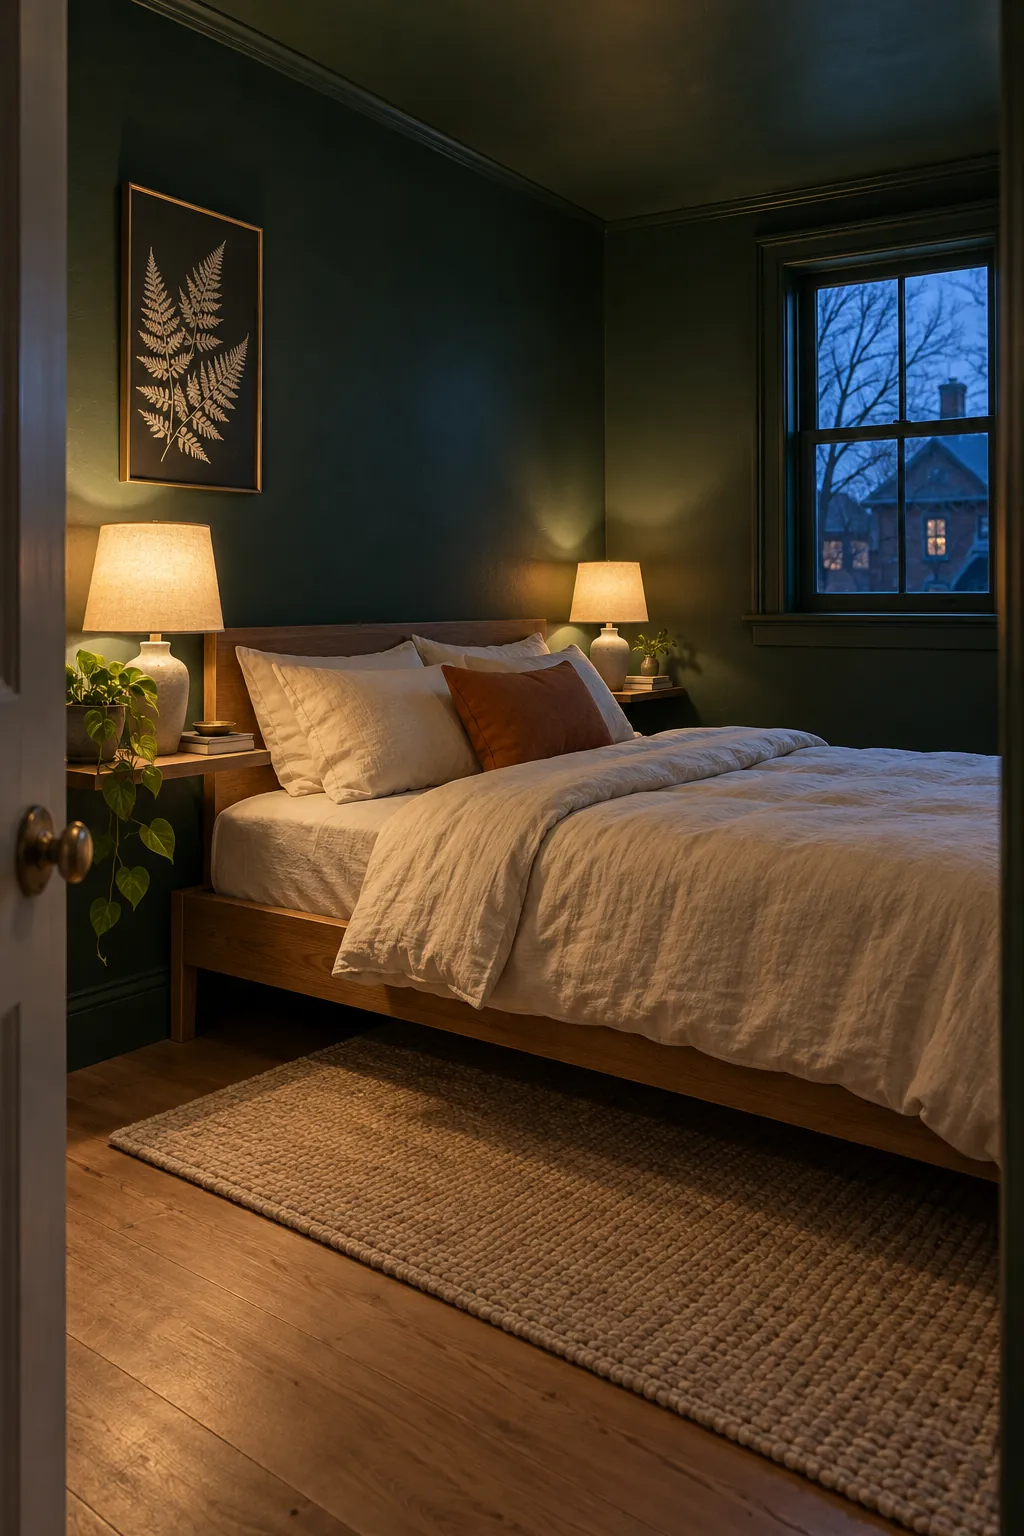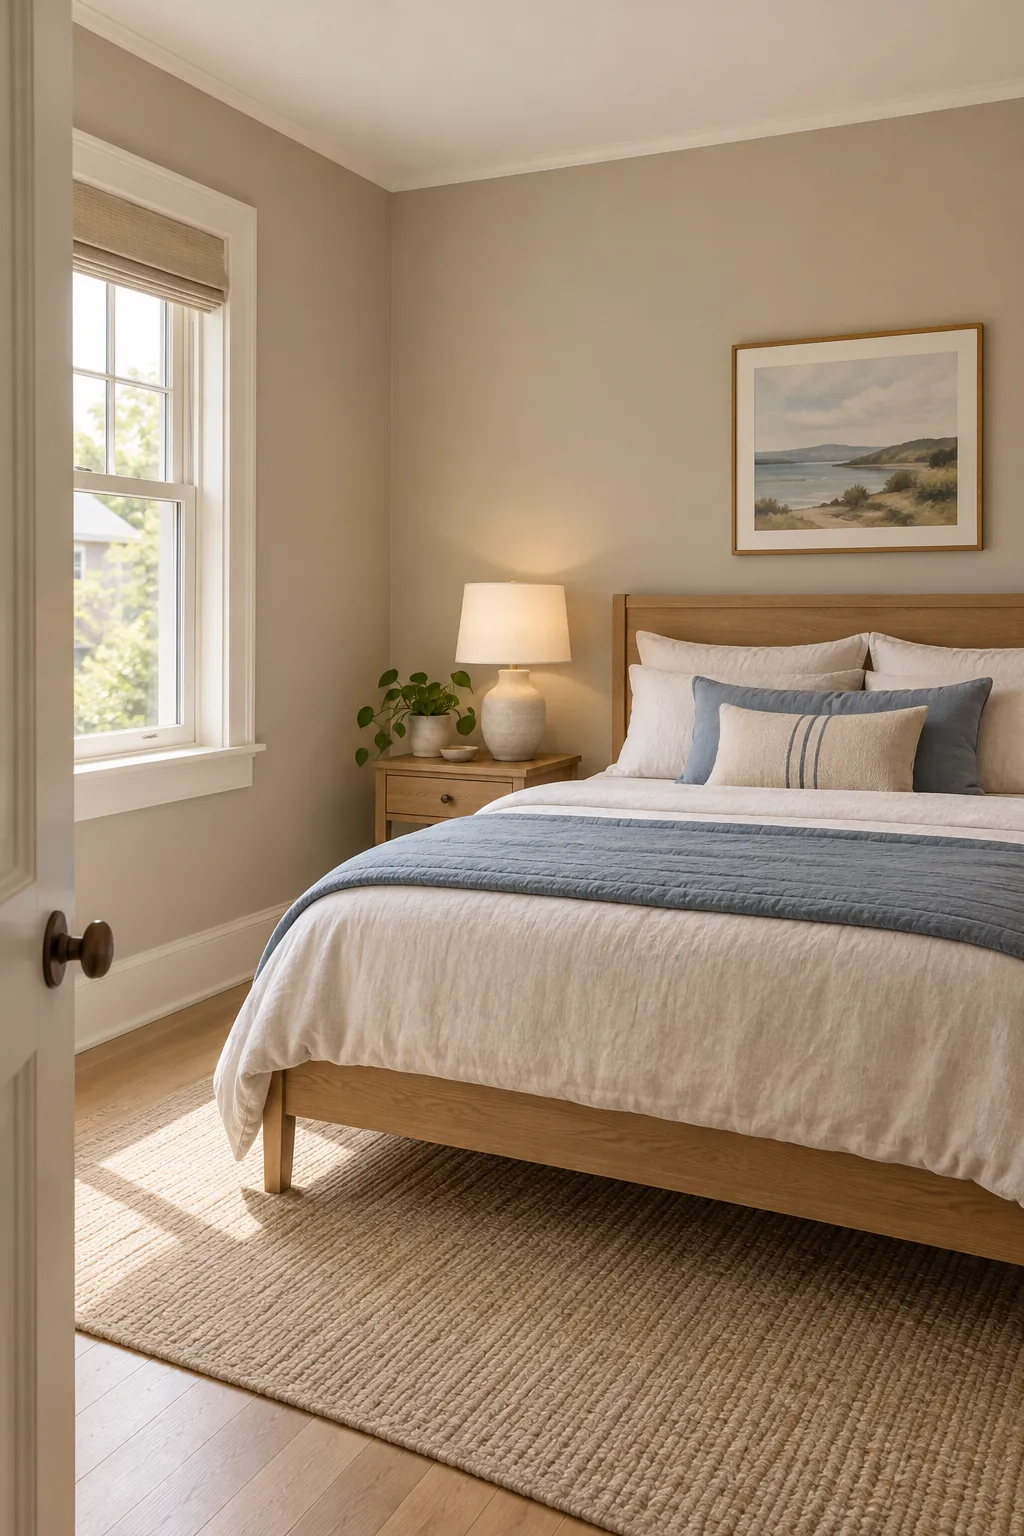
Paint can change a small room dramatically, but the color chip is only one part of the result. Light, surface preparation, sheen, ceiling treatment, and trim contrast determine whether the finish looks calm or busy. A careful plan also prevents the cramped feeling that comes from moving wet tools around furniture with no safe route.
The best starting point is not a rule that every small room must be white. It is a clear decision about how the room should feel, followed by real samples observed in the actual space. Once you know how the paint behaves from morning through evening, the practical work becomes much easier.
Test color on more than one wall
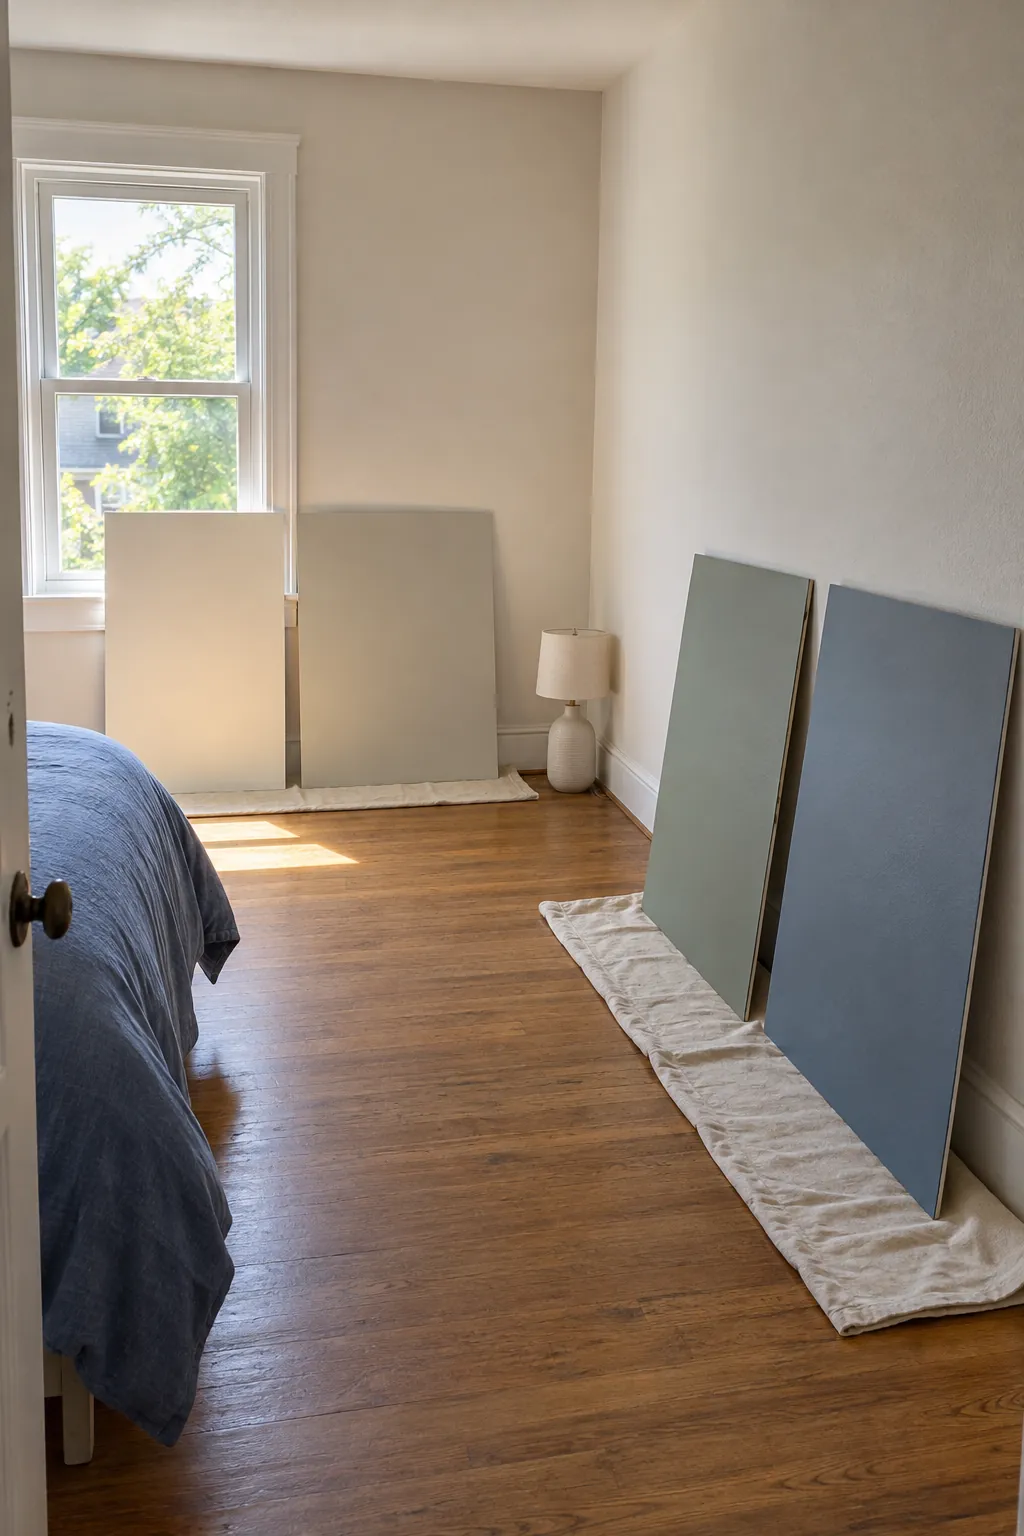
Paint a generous sample on movable sample board or on two walls with different exposure. A warm neutral room can turn pink beside warm flooring, while a cool pale color can look gray in a shaded corner. Observe each sample in daylight, with your lamps on, and beside the largest fixed finishes such as flooring, tile, and wood trim.
Light reflective paint does not mean choosing the palest color available. It means selecting a color and finish that returns useful light without creating glare or revealing every wall flaw. Keep the sample in place for at least a full day, then check it from the doorway and your main seat.
Prepare the room before opening paint
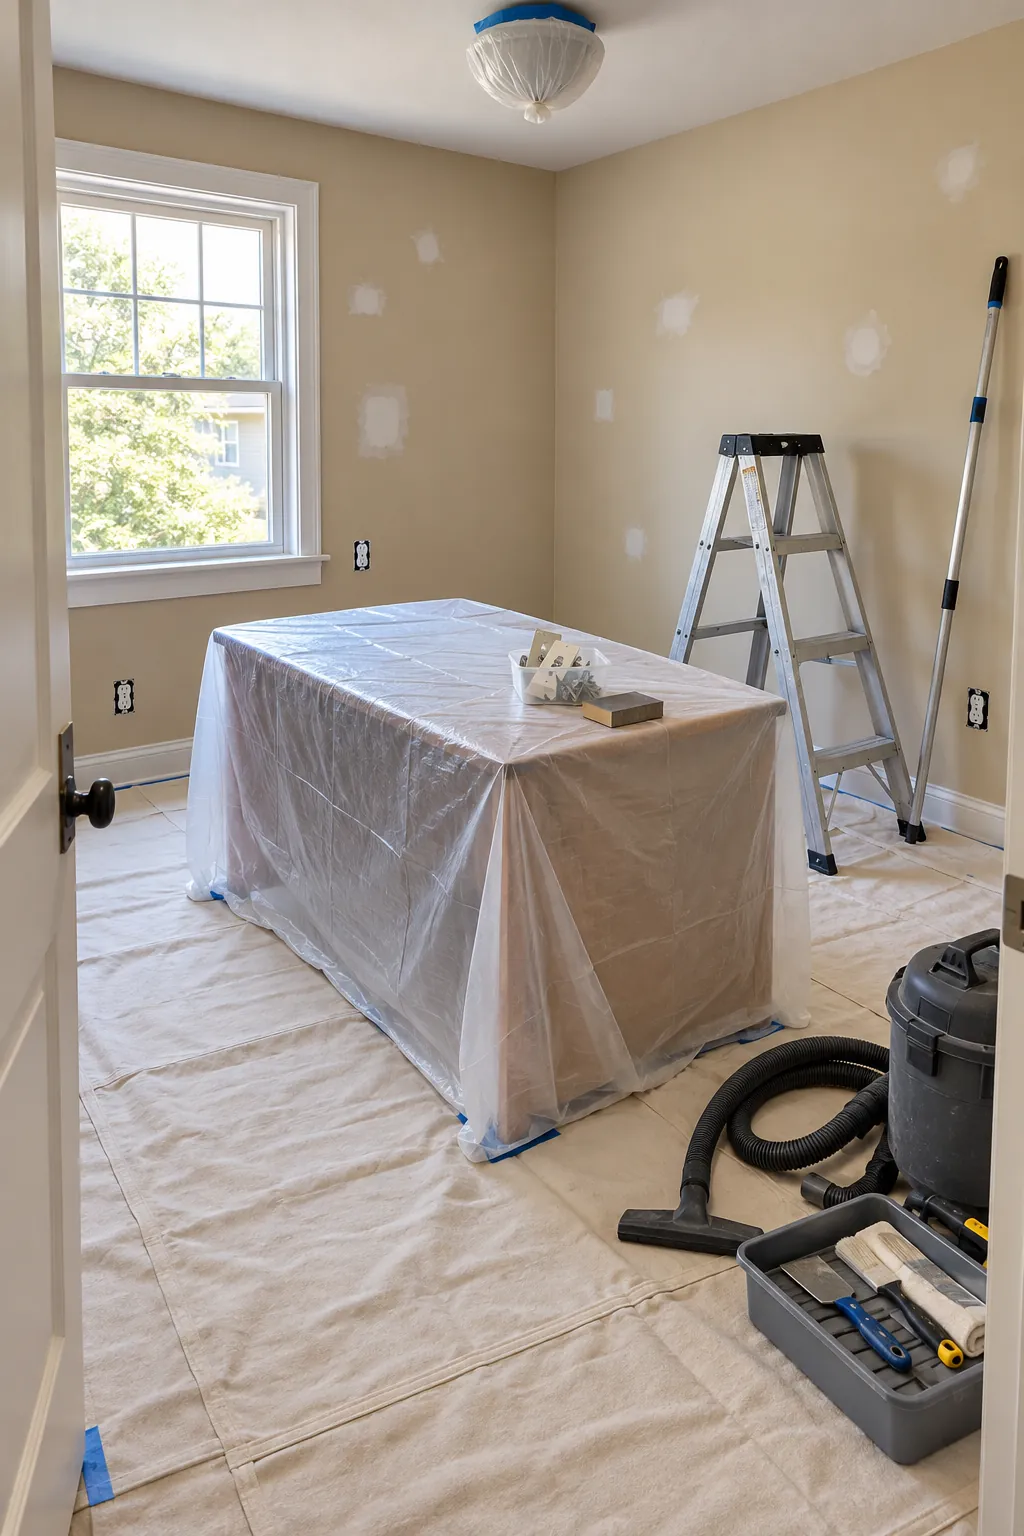
Move small furniture out and collect larger pieces in the center only if a safe working route remains. Cover floors with secure canvas cloths, remove outlet covers, label hardware, and protect fixtures. Clean walls before repair because paint cannot bond well to dust, cooking residue, or hand marks.
Fill holes, allow repairs to dry, sand them smooth, then remove the dust. Use primer on bare repair areas, stains, glossy surfaces, and strong color changes as the product directions require. Good preparation is especially visible in a small room because you view the walls from a short distance.
Decide what the ceiling should do
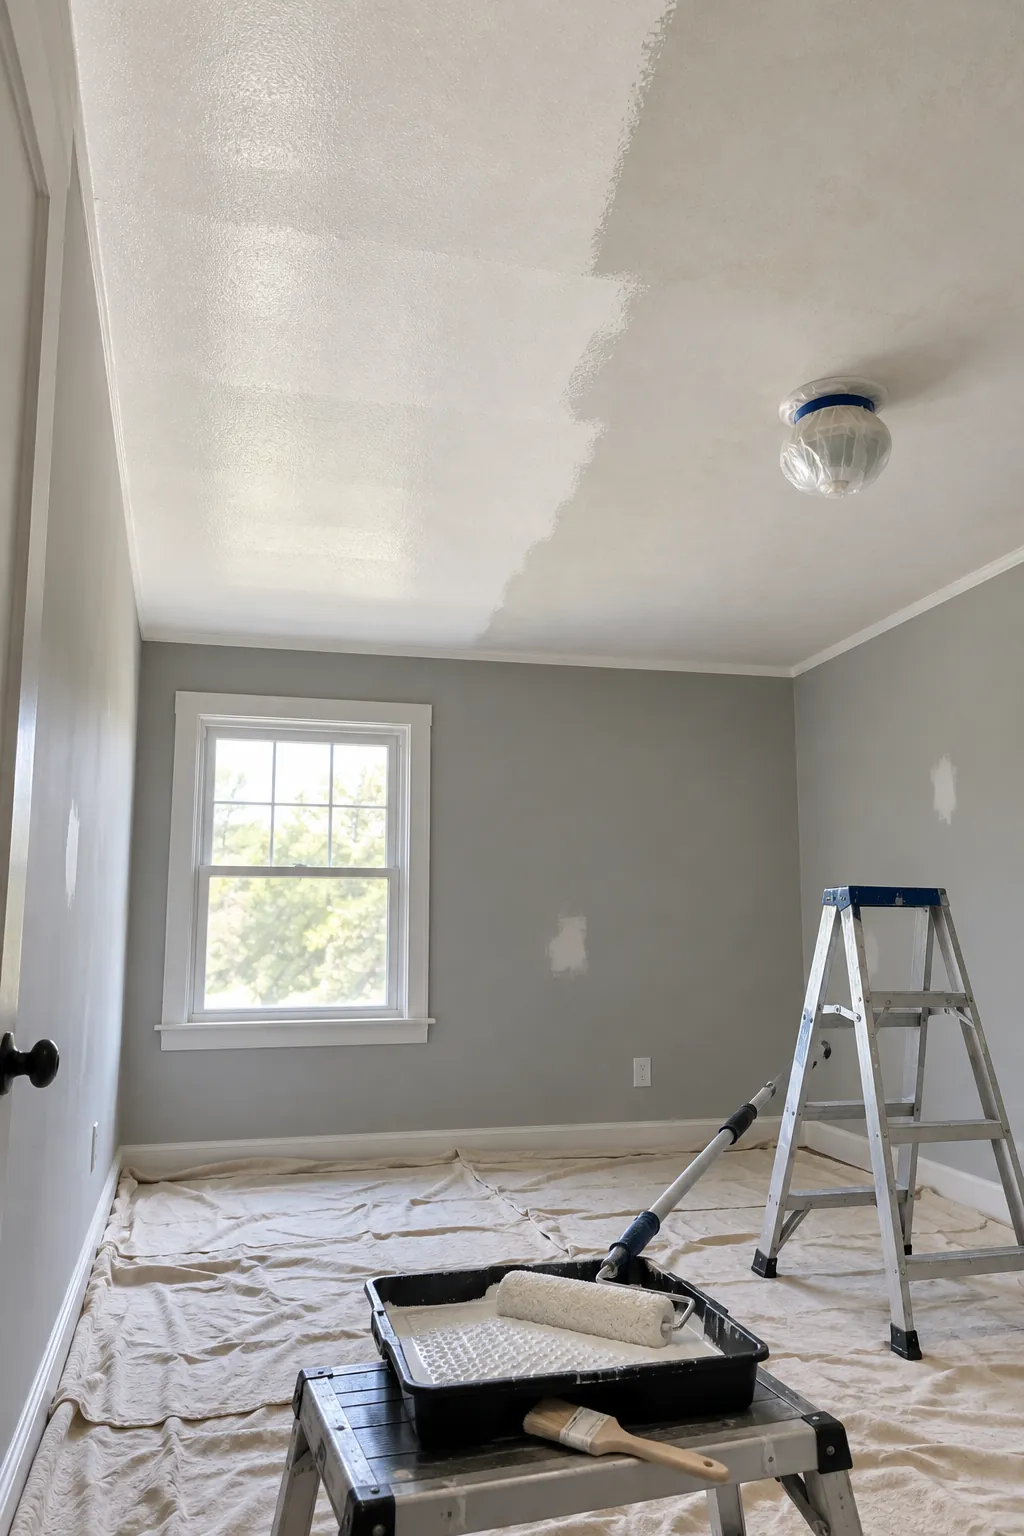
A light ceiling can reflect more light and preserve a familiar sense of height. Painting the ceiling the same color as the walls can soften the boundary and create an enveloping color drenched effect. A lighter version of the wall color offers a middle path. The correct choice depends on ceiling height, natural light, room use, and the mood you want.
Paint the ceiling before the walls. Use a stable extension pole, work in manageable areas, and maintain a wet edge to reduce lap marks. Dark paint in small spaces can be beautiful, but dark ceilings and strong colors show missed spots and uneven application more readily, so plan enough product and time for consistent coats.
Cut and roll one wall at a time
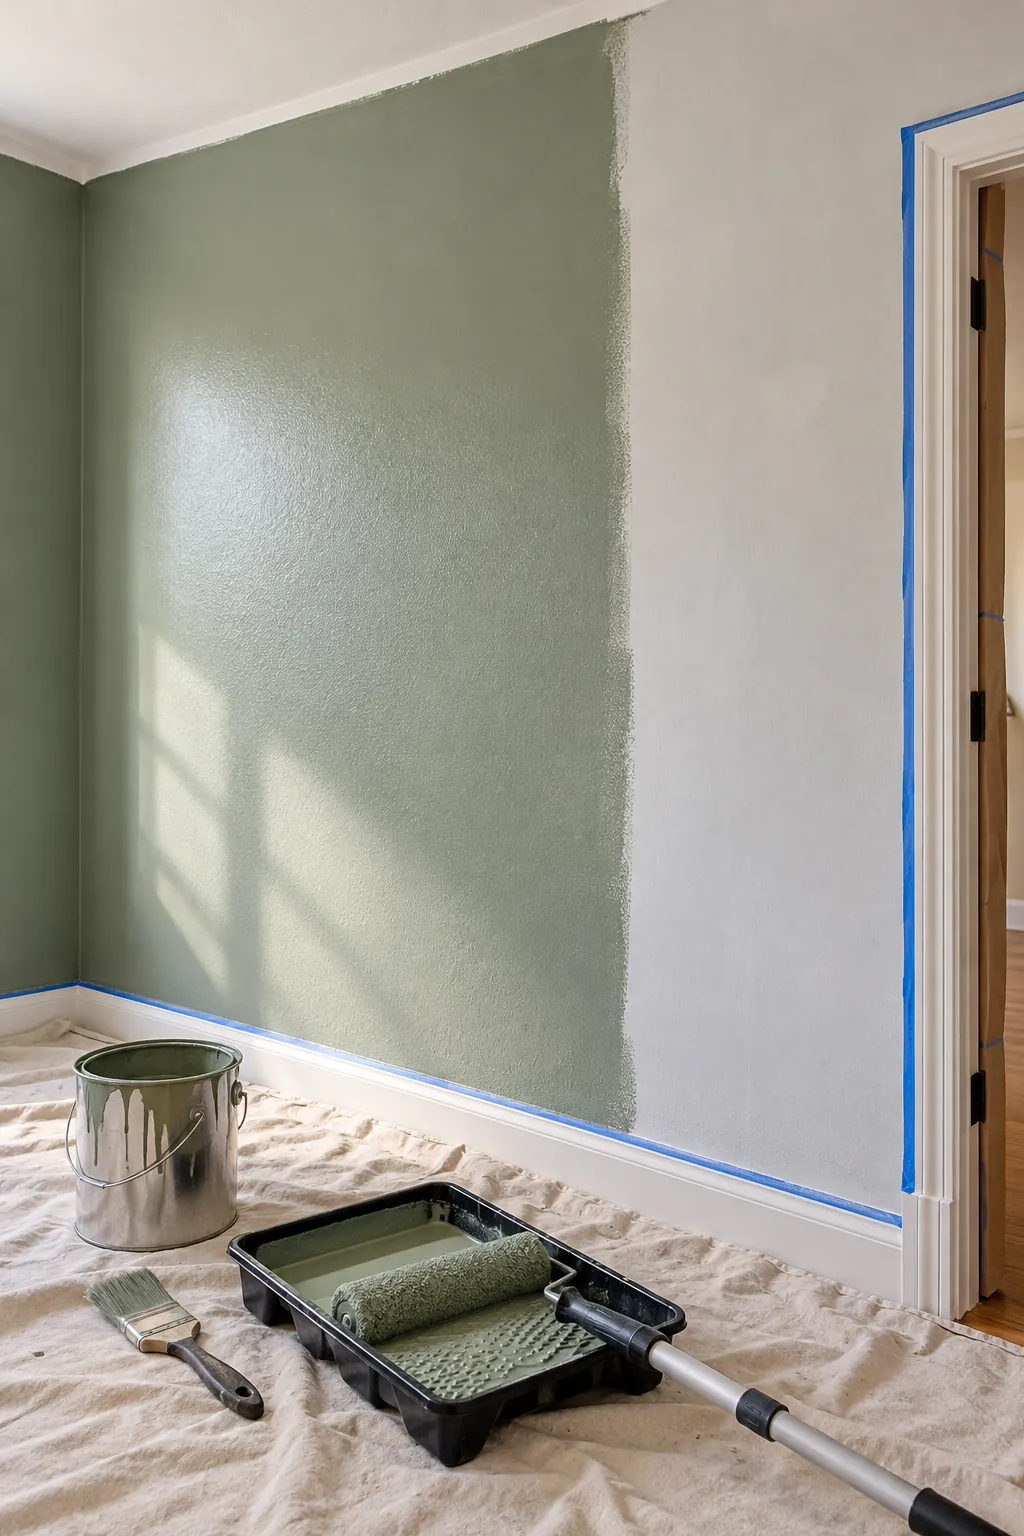
Stir the paint thoroughly and keep enough working room for the tray, ladder, and extension pole. Cut a manageable section along the ceiling, corners, and openings, then roll that wall while the cut area is still workable. Roll from dry paint into the wet area and finish with light strokes in one direction.
Do not press a dry roller against the wall to force out the last paint. Reload it, spread the paint evenly, and follow the stated drying time before the next coat. Strong daylight from the side can help you spot thin coverage, drips, and heavy roller edges before they harden.
Coordinate trim instead of defaulting to bright white
Small room trim color controls how often your eye stops. Bright white trim against dark walls creates a crisp graphic outline. Related trim and wall colors make boundaries quieter. Either choice can work, but the contrast should be deliberate and should suit doors, windows, flooring, and adjacent rooms.
Use the finish recommended for trim and allow wall paint to cure before applying tape where needed. Clean, lightly sand, prime, and paint trim according to its existing coating and material. Keep window operation, door clearance, and hardware free of paint buildup.
Use dark color or an accent wall with purpose
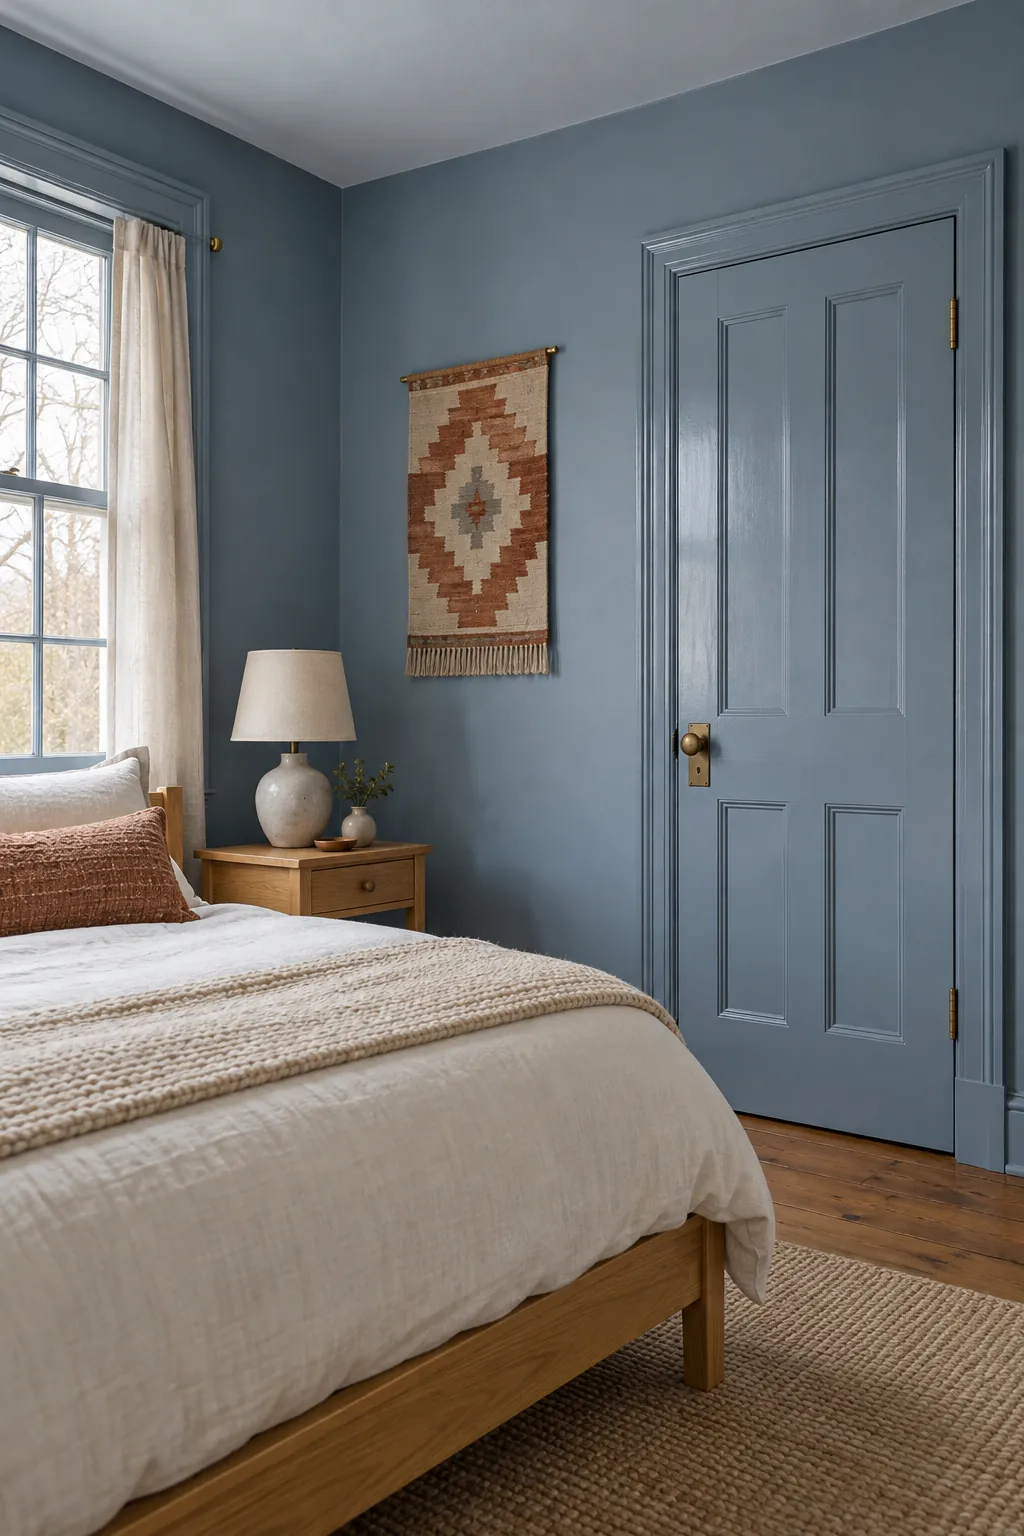
Dark paint does not automatically make a small room unsuccessful. It can create depth, calm, or a cozy sleeping space when the lighting and furnishings support it. Color drenching a small room can also reduce fragmented edges. The tradeoff is that preparation and even coverage become more important, while the room may need several useful lamps after sunset.
An accent wall should strengthen a real focal point such as the bed, a reading area, or the far end of a narrow room. Do not choose it only because one wall is empty. Sample the full palette first, check how the chosen wall changes through the day, and keep enough paint for future touchups. The strongest result is the one that still feels intentional when furniture returns and ordinary life resumes.