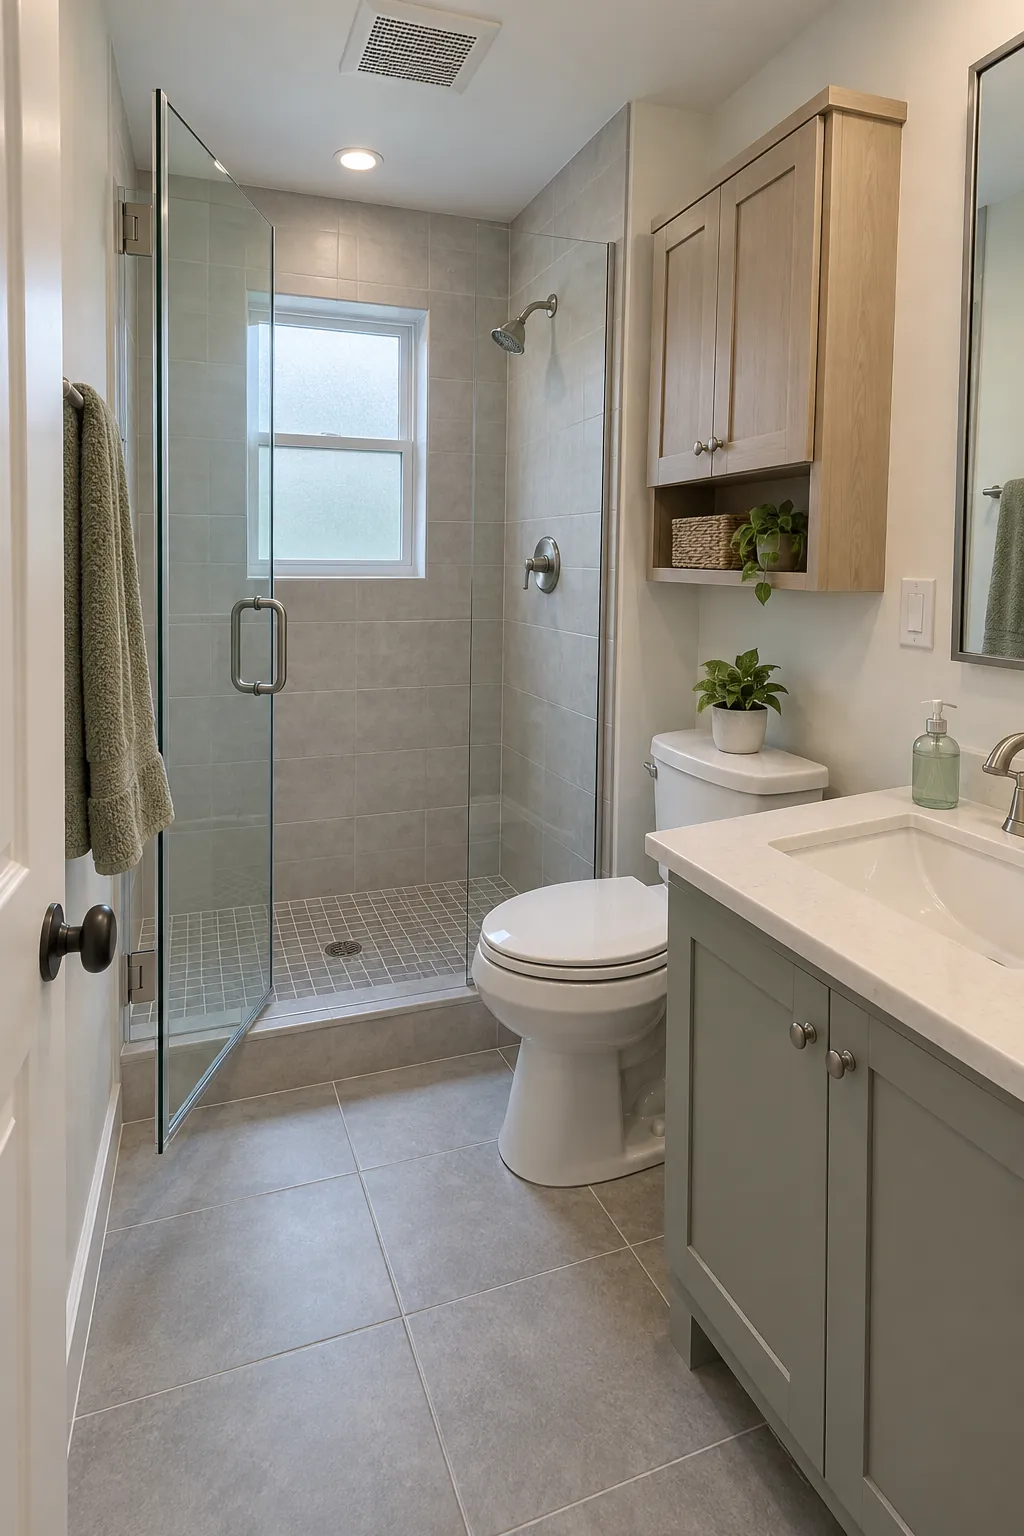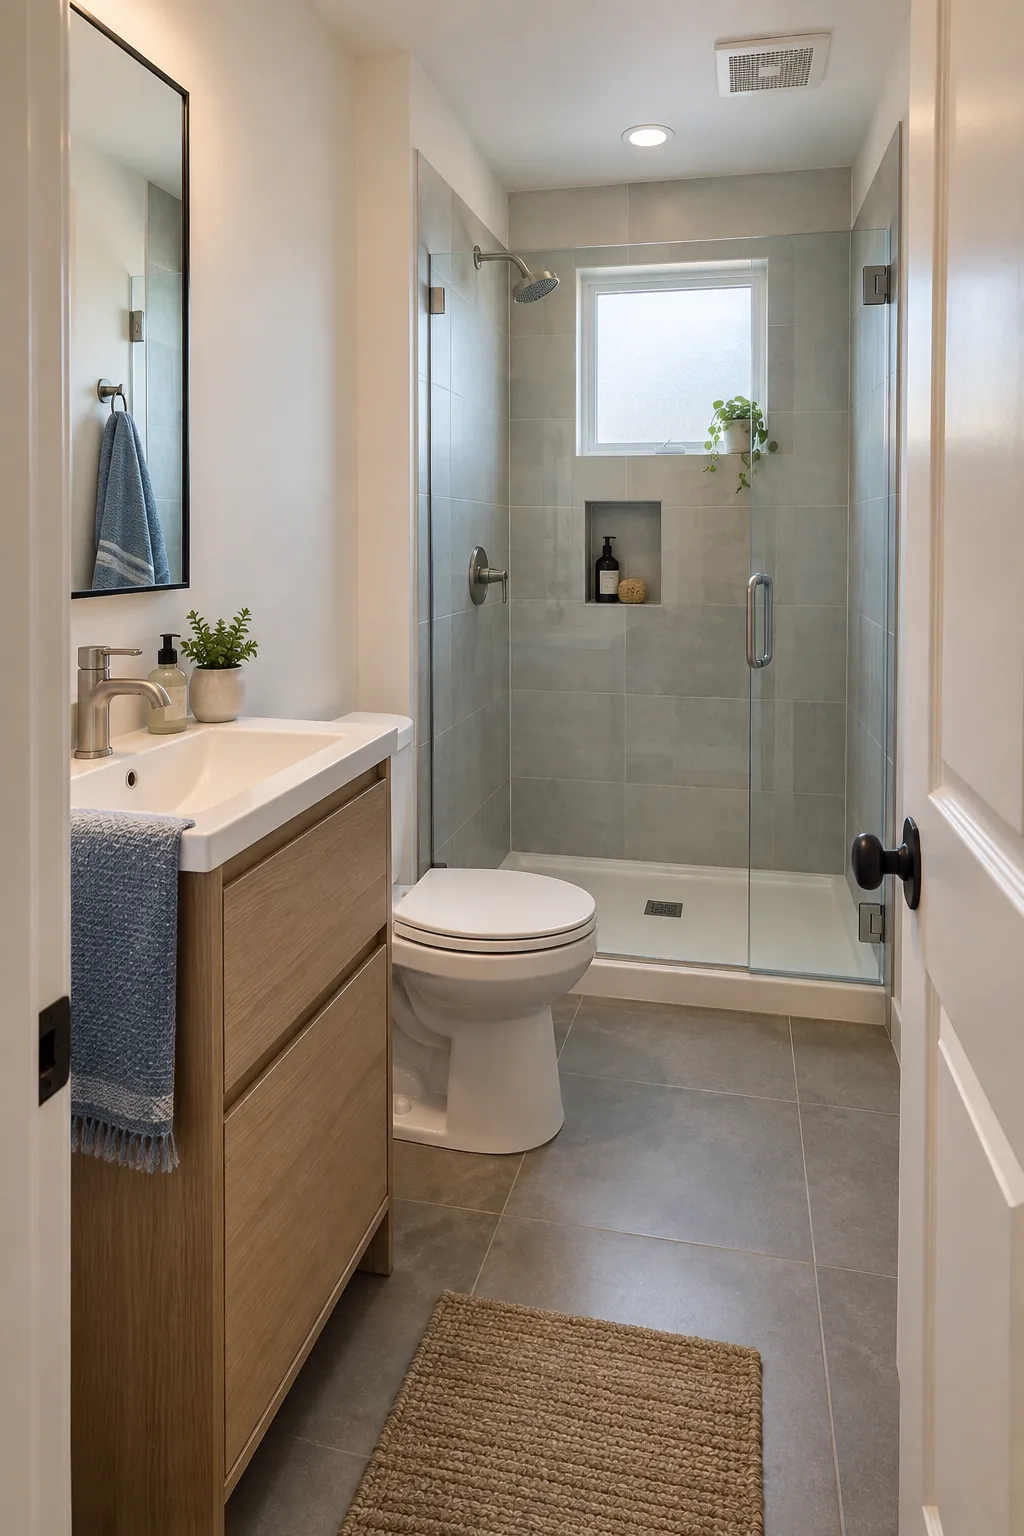
A compact bath can be expensive to change because the wet area, plumbing, electrical work, and finish details all meet in a very small footprint. Before choosing tile, decide what is actually failing and what simply looks dated. A sound tub, serviceable toilet, or workable drain location may be worth keeping. The best plan improves the room people use every day while giving the hidden water control work the attention it needs.
Set the scope and a realistic budget
List the problems in order: leaks, poor ventilation, awkward clearance, inadequate storage, worn surfaces, then cosmetic preferences. A budget bathroom renovation might keep the layout and refresh the vanity, lighting, and finishes. Moving a drain or changing a tub to a shower expands the work because plumbing, waterproofing, and inspections may change. Ask contractors to price the same written scope so quotes can be compared fairly.
Include demolition, disposal, permits where required, labor, materials, and a reserve for concealed damage. The reserve matters in older rooms, where a soft subfloor or damaged wall may only become visible after removal. Decide which finishes can change if the estimate rises; do not treat waterproofing or safe electrical work as the flexible part of the budget. Confirm who buys each fixture and who is responsible if an item arrives damaged or does not fit.
Measure the finished room before ordering
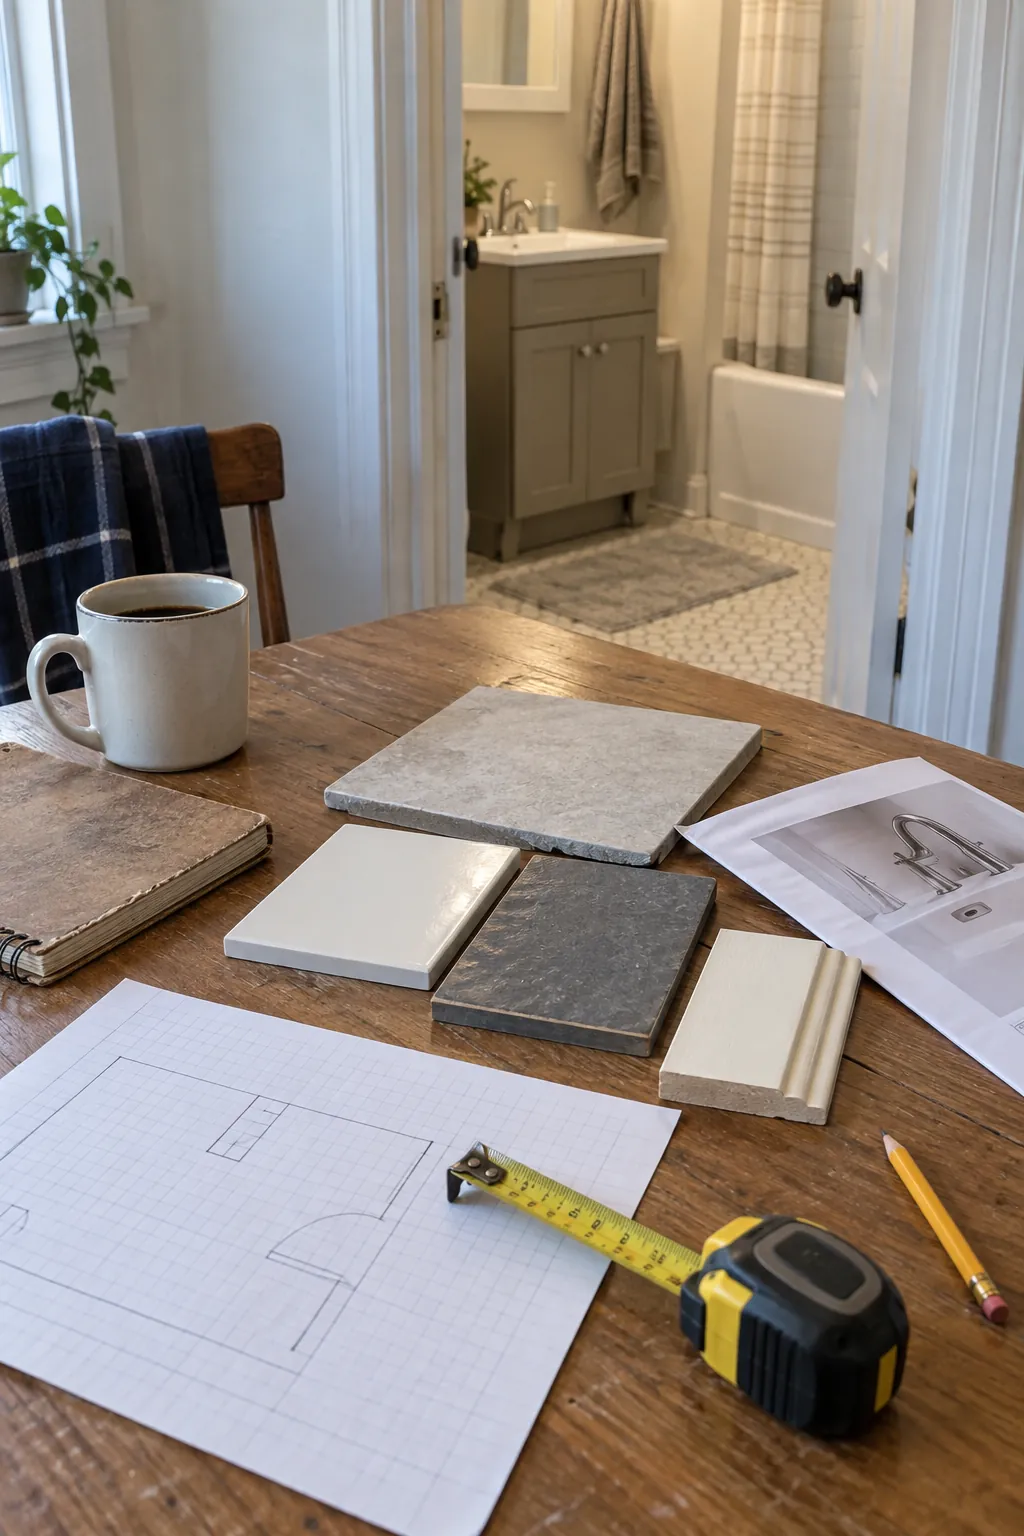
Draw the room with the door swing, window, toilet drain, supply lines, outlets, and shower or tub. Then add the actual dimensions of proposed fixtures, including their doors and drawers when open. A compact vanity upgrade can make movement easier, but a shallow cabinet is useful only if the basin and storage still serve the household. Check the space in front of every fixture against local rules and the product instructions.
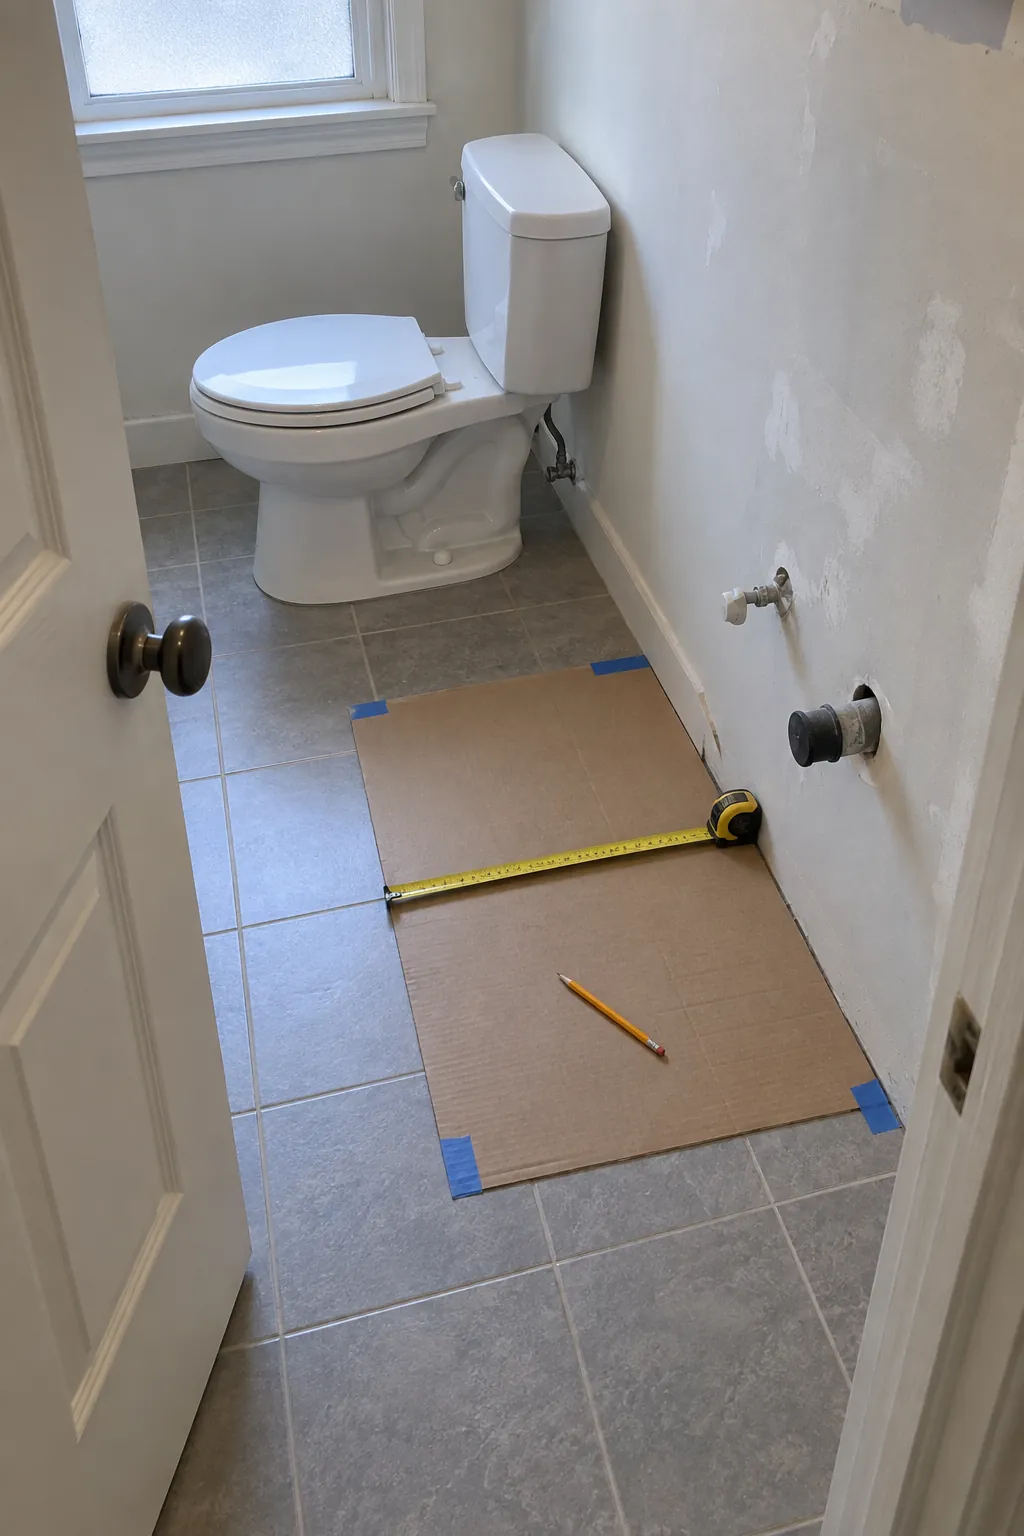
Tile, backer, and wall finishes change the final dimensions of a shower opening. Measure the finished opening before ordering glass, and check whether the door can open without hitting a toilet or vanity. Keep plumbing in place when possible; moving it should solve a clear problem worth the added cost. Tape the fixture outlines on the floor to test how the plan feels while standing and turning.
Protect the structure and plan the wet area
Once old finishes are removed, inspect the subfloor, wall framing, plumbing, and signs of moisture before closing anything up. A stain may have a simple explanation, but soft wood or persistent dampness needs a proper repair. Coordinate the plumber, electrician, and tile installer around the same drawings so the drain, shower valve, niches, lighting, and ventilation land where intended. Follow local permit requirements and use qualified trades for regulated work.
Tile and grout are finish surfaces, not the complete waterproofing system. The shower needs a compatible assembly at its floor, walls, corners, penetrations, curb, and drain, installed according to the selected system and local requirements. Confirm who will document the waterproofing and test it before tile covers the work. A beautiful bathroom before and after photo cannot reveal a weak joint behind the wall.
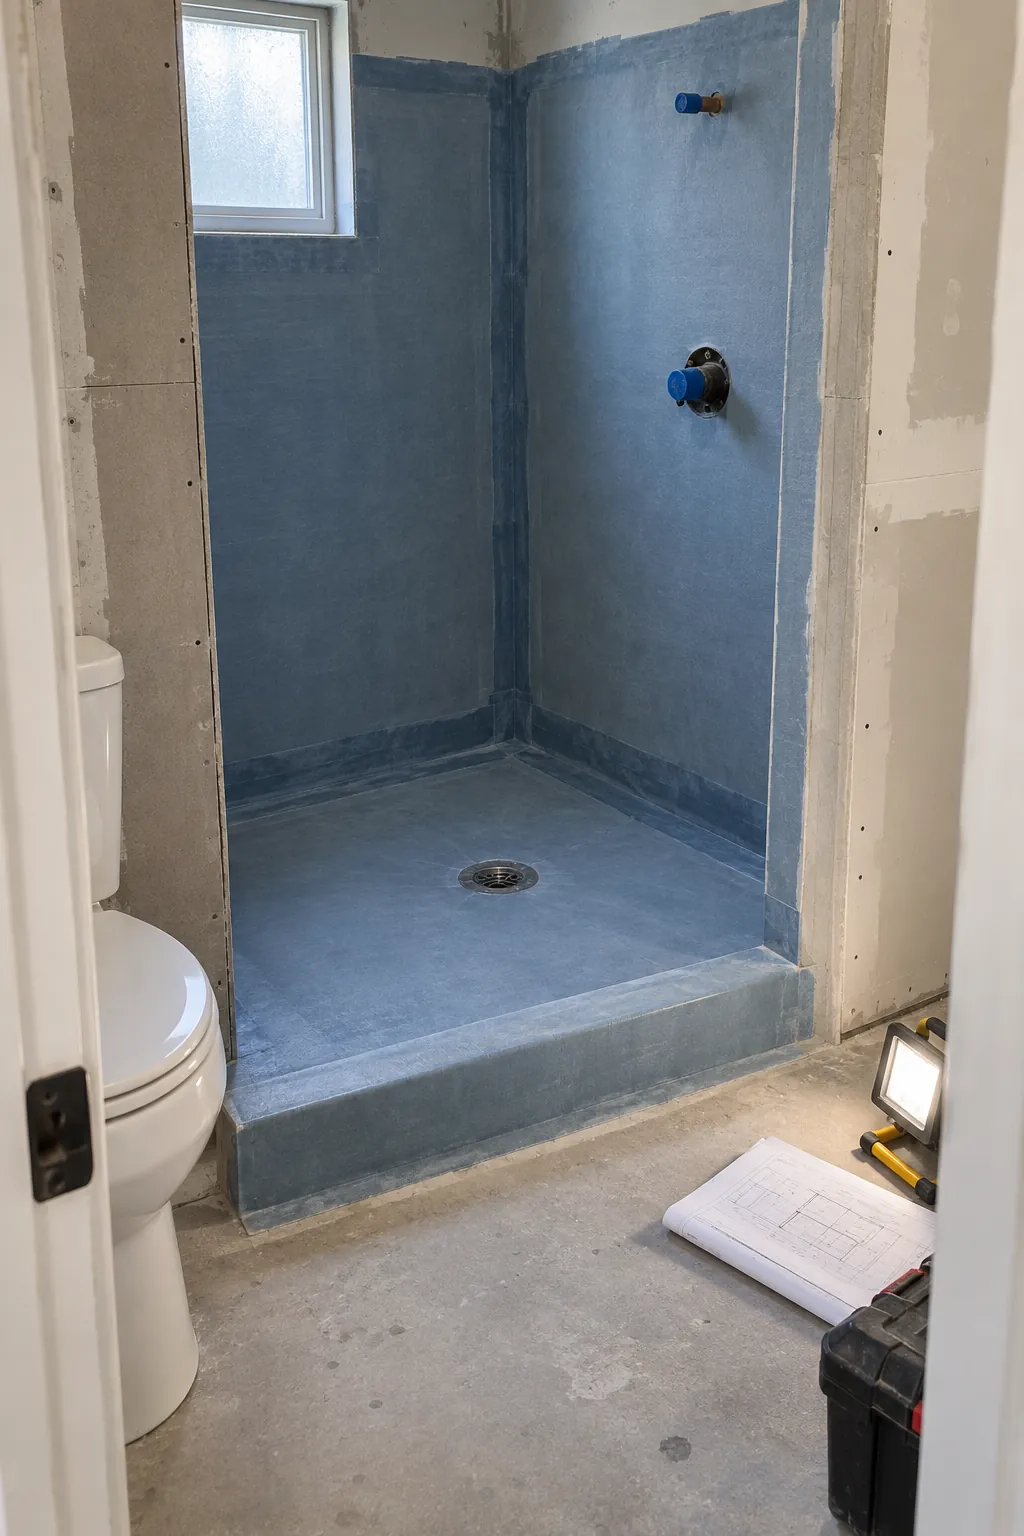
Choose the shower for the people using it
A walk in shower conversion may improve access and reveal more floor, but a household that bathes young children may value the tub. Compare the actual entry width, step height, splash control, and cleaning needs before deciding. A clear screen can open the view, while a curtain is easier and cheaper to replace. Neither choice compensates for a poorly planned drain or an enclosure door that collides with another fixture.
Use a shower niche or well placed caddy for bottles instead of letting storage steal foot room. Check that controls can be reached without standing under cold water. If the shower footprint changes, ask how the floor slope and waterproofing details will be handled. Keep ventilation in the plan so the new surfaces can dry after use.
Finish with durable fixtures and surfaces
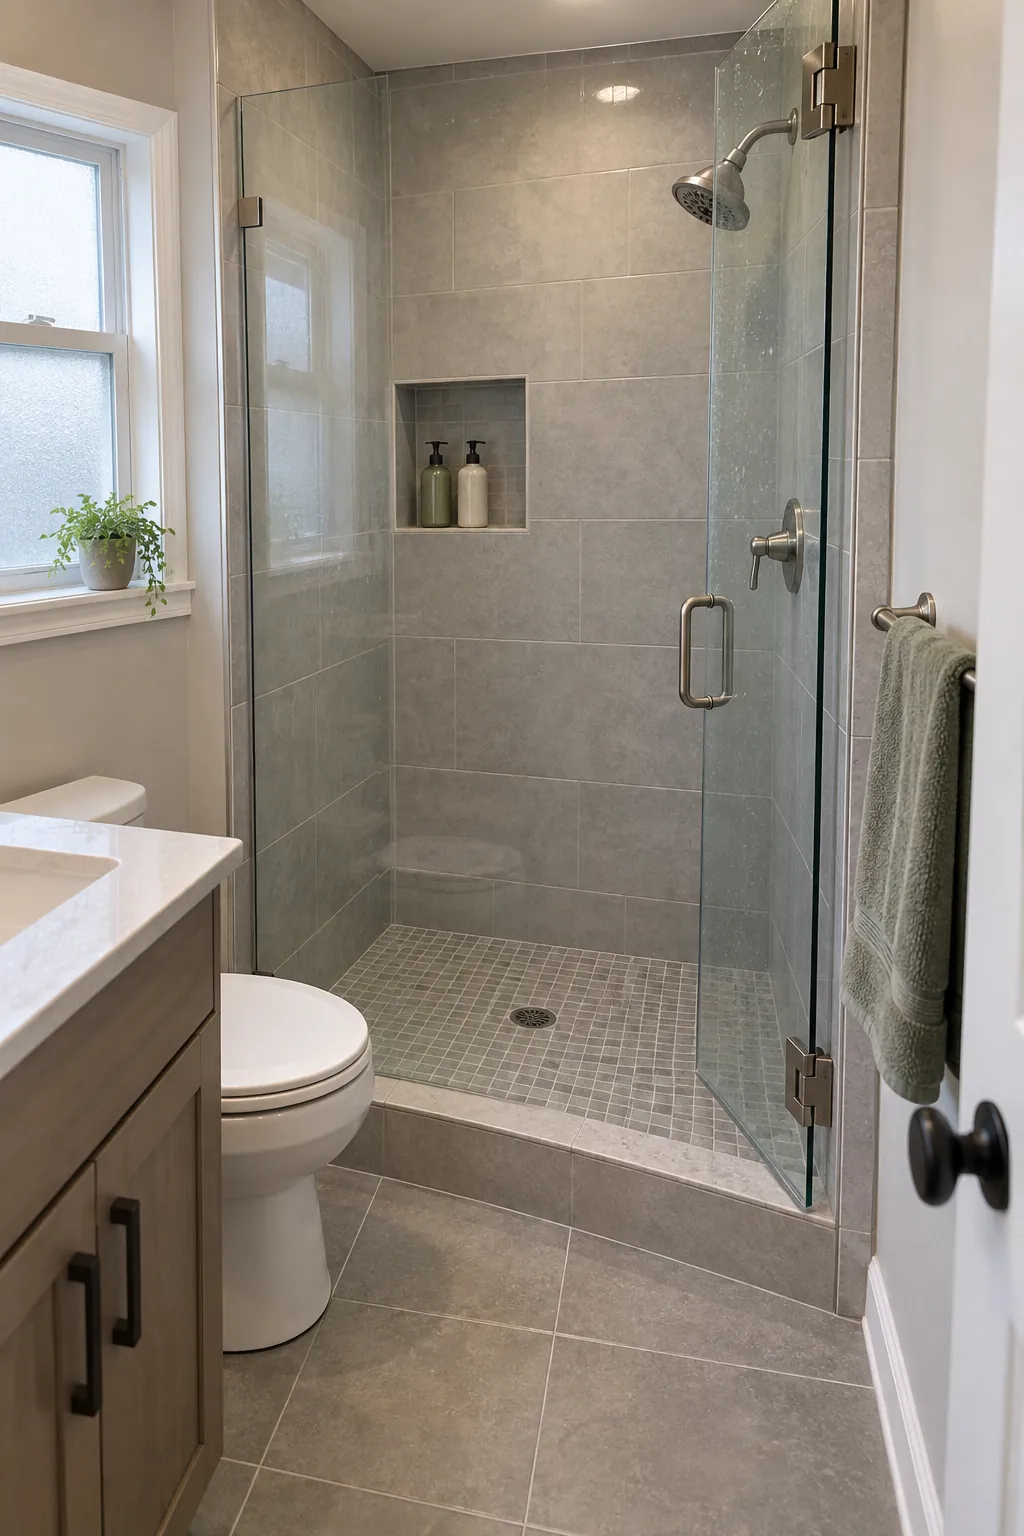
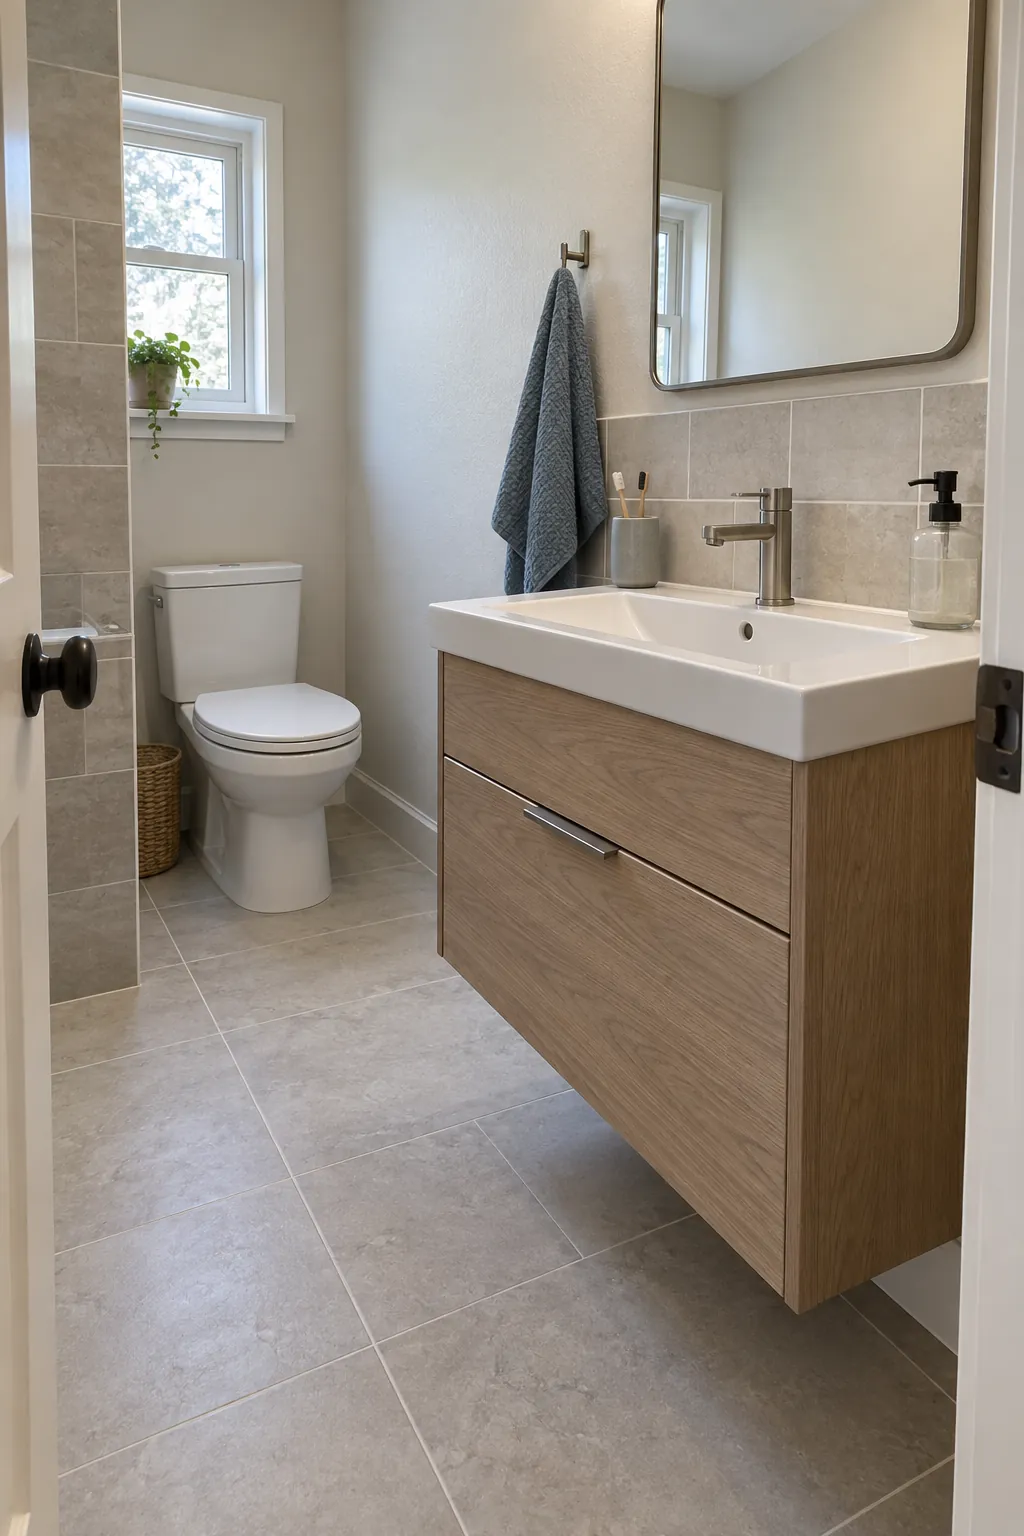
Space saving bathroom fixtures should make movement and cleaning easier, not simply look smaller in photographs. Compare a shallow vanity with a pedestal sink: the latter may show more floor but gives up concealed storage. Choose a toilet that fits the available clearance and keeps its service parts accessible. Place towel hooks where wet hands or someone leaving the shower can reach them.
For small bathroom tile ideas, judge slip resistance, cleaning, and the room’s light before pattern alone. Large tiles can calm a wall, but a shower floor often needs smaller pieces to follow its slope. Bring samples home and view them beside the vanity and lighting at different times of day. A coordinated palette can make the tiny bathroom makeover feel settled without requiring every surface to be identical.
Check the room before calling it finished
Walk through the completed small bathroom remodel as if it were an ordinary morning. Open each drawer and door, flush the toilet, run the sink and shower, check the fan, and look for water escaping the wet area. Confirm that the shower drains correctly and that caulk and grout joints are finished as specified. Ask for manuals, warranties, permit records, and any waterproofing documentation that applies to the job.
Note anything that needs adjustment while the contractor is still involved, such as a sticking door, missing seal, or hard to reach towel hook. Finally, place daily items where they will actually be used. The renovation has succeeded when the room is dry, safe, maintainable, and comfortable in routine use, not only when it photographs well.