A torn wall surface can look small until moisture from joint compound makes the brown paper swell, wrinkle, or shed fibers through the finish. The repair succeeds when you stop the loose paper, seal the exposed face, and build a thin smooth surface before paint touches it.
Check the damage before you start
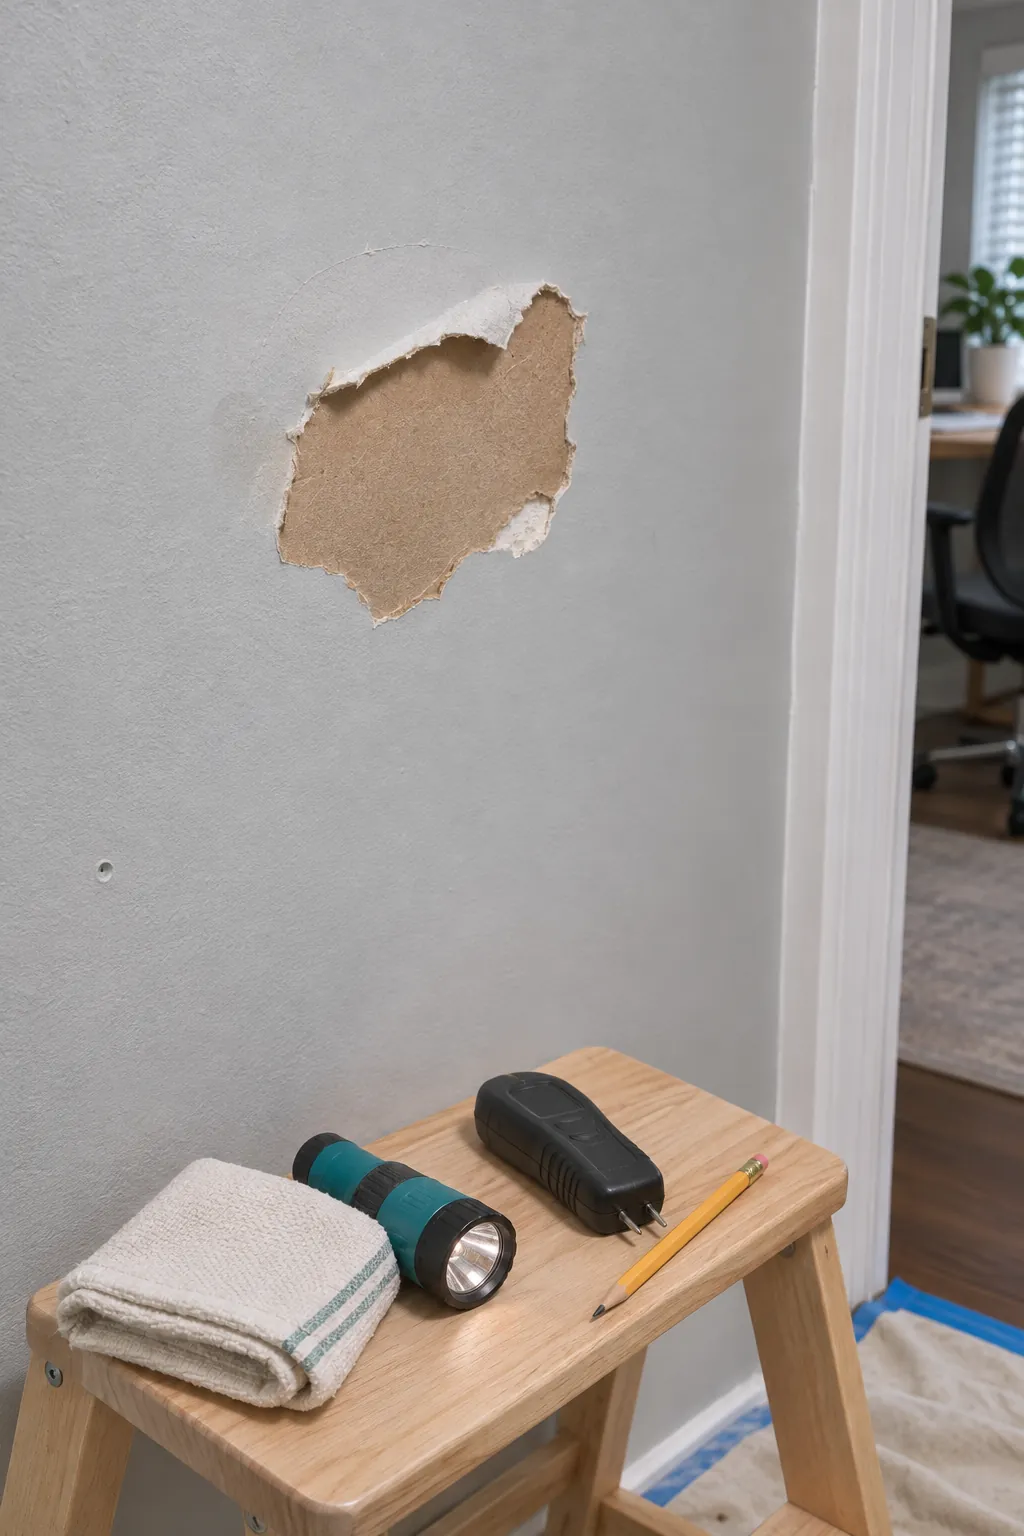
Press gently around the damaged area and look for soft gypsum, dampness, mold, or movement. A firm dry panel with only a peeled face is suitable for this repair. Replace the affected board or call a qualified professional if the gypsum crumbles deeply, moisture is still present, or the damage crosses a large unsupported area.
Remove every loose paper edge
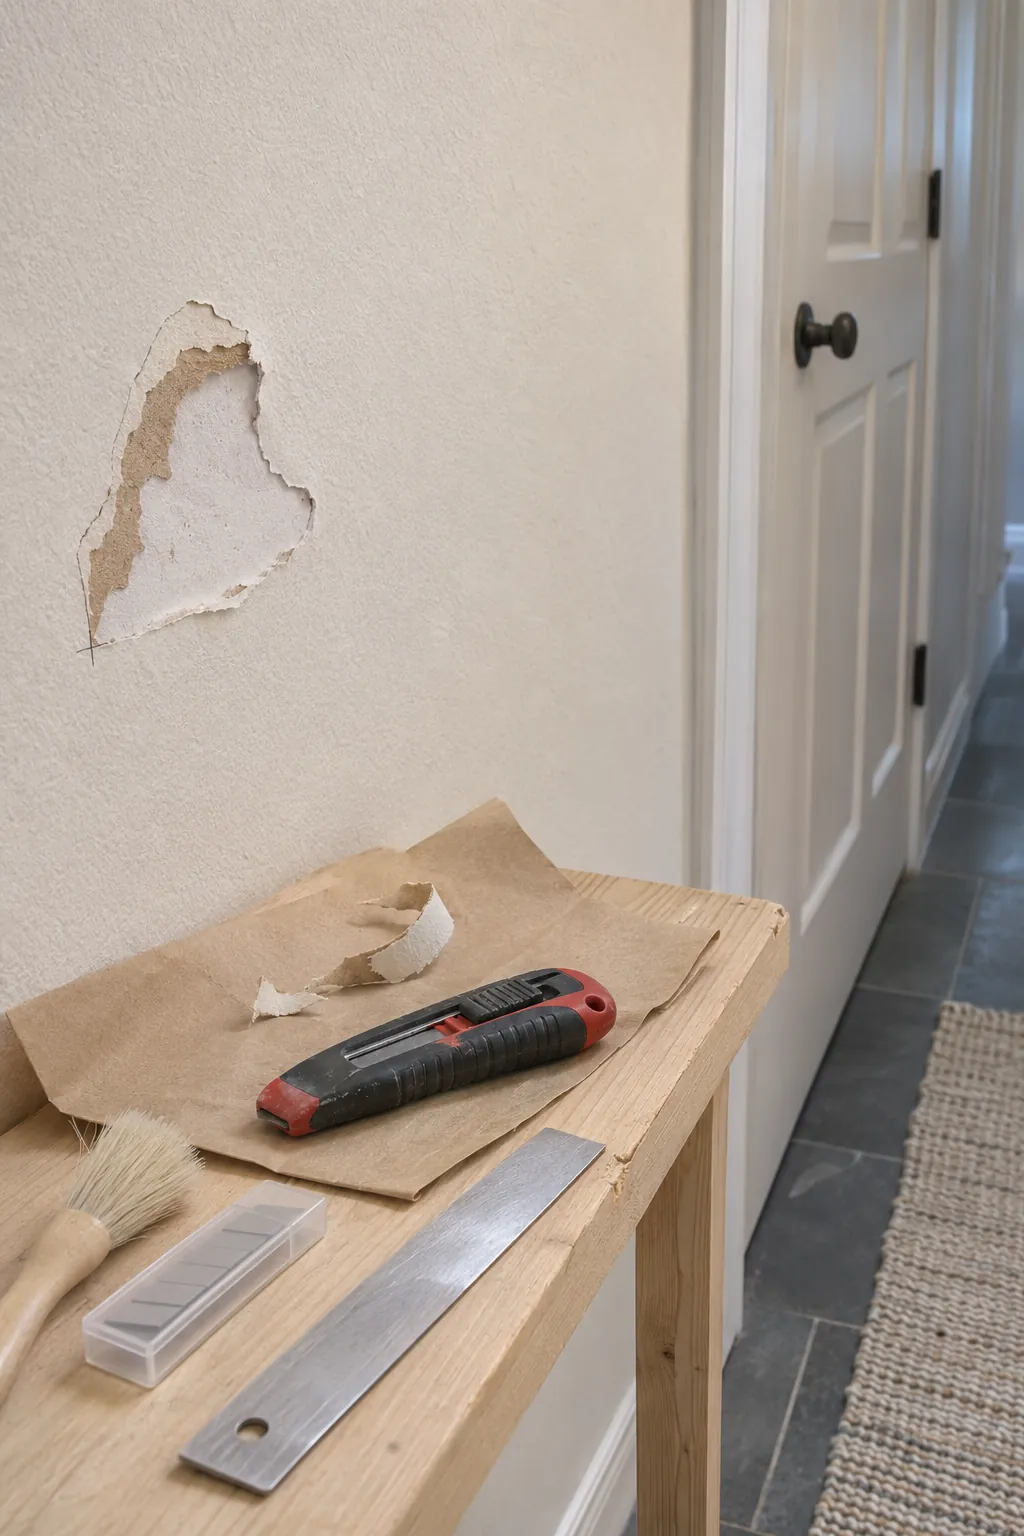
Use a sharp utility knife to score a shallow line around material that has lifted from the gypsum core. Peel only the paper that releases with light pressure, then trim fuzzy strands with the blade held nearly flat. Do not dig into the white gypsum because a deep groove creates more filling work and weakens the face.
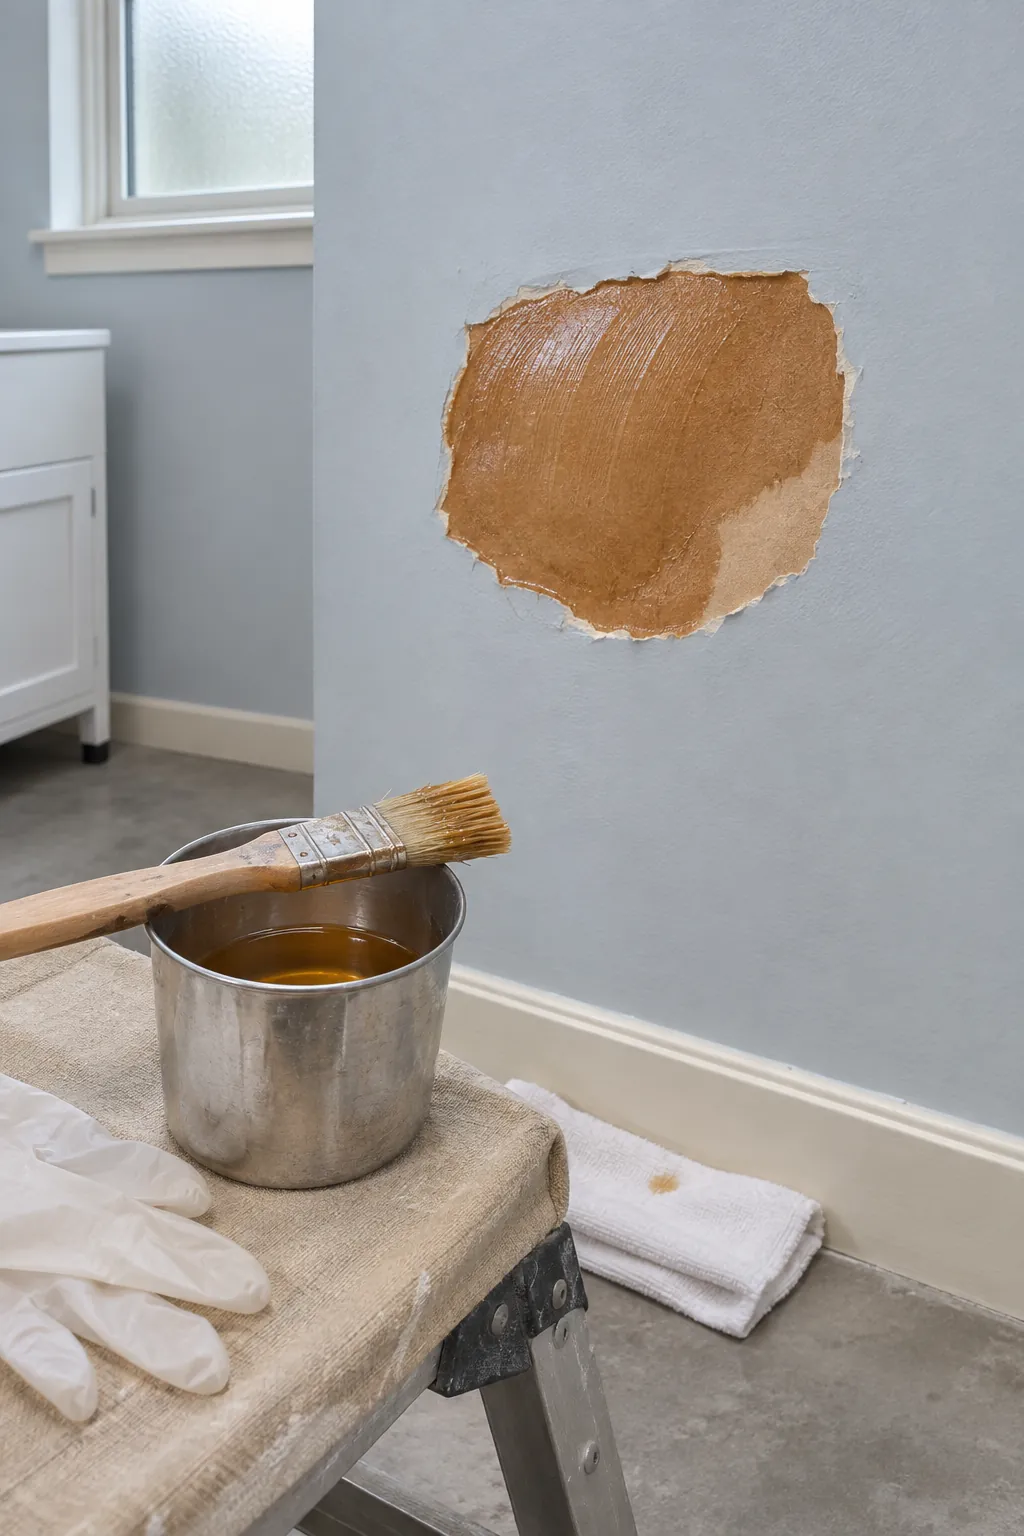
Seal the exposed brown paper
Brush away dust, then coat the exposed paper and a small margin around it with a sealer made for damaged drywall facing. A shellac based primer or another product labeled to lock porous paper prevents the next wet coat from raising fibers. Let the sealer dry for the full time on its label and apply another coat if the surface still feels hairy or absorbs unevenly.
Fill the shallow depression in thin coats
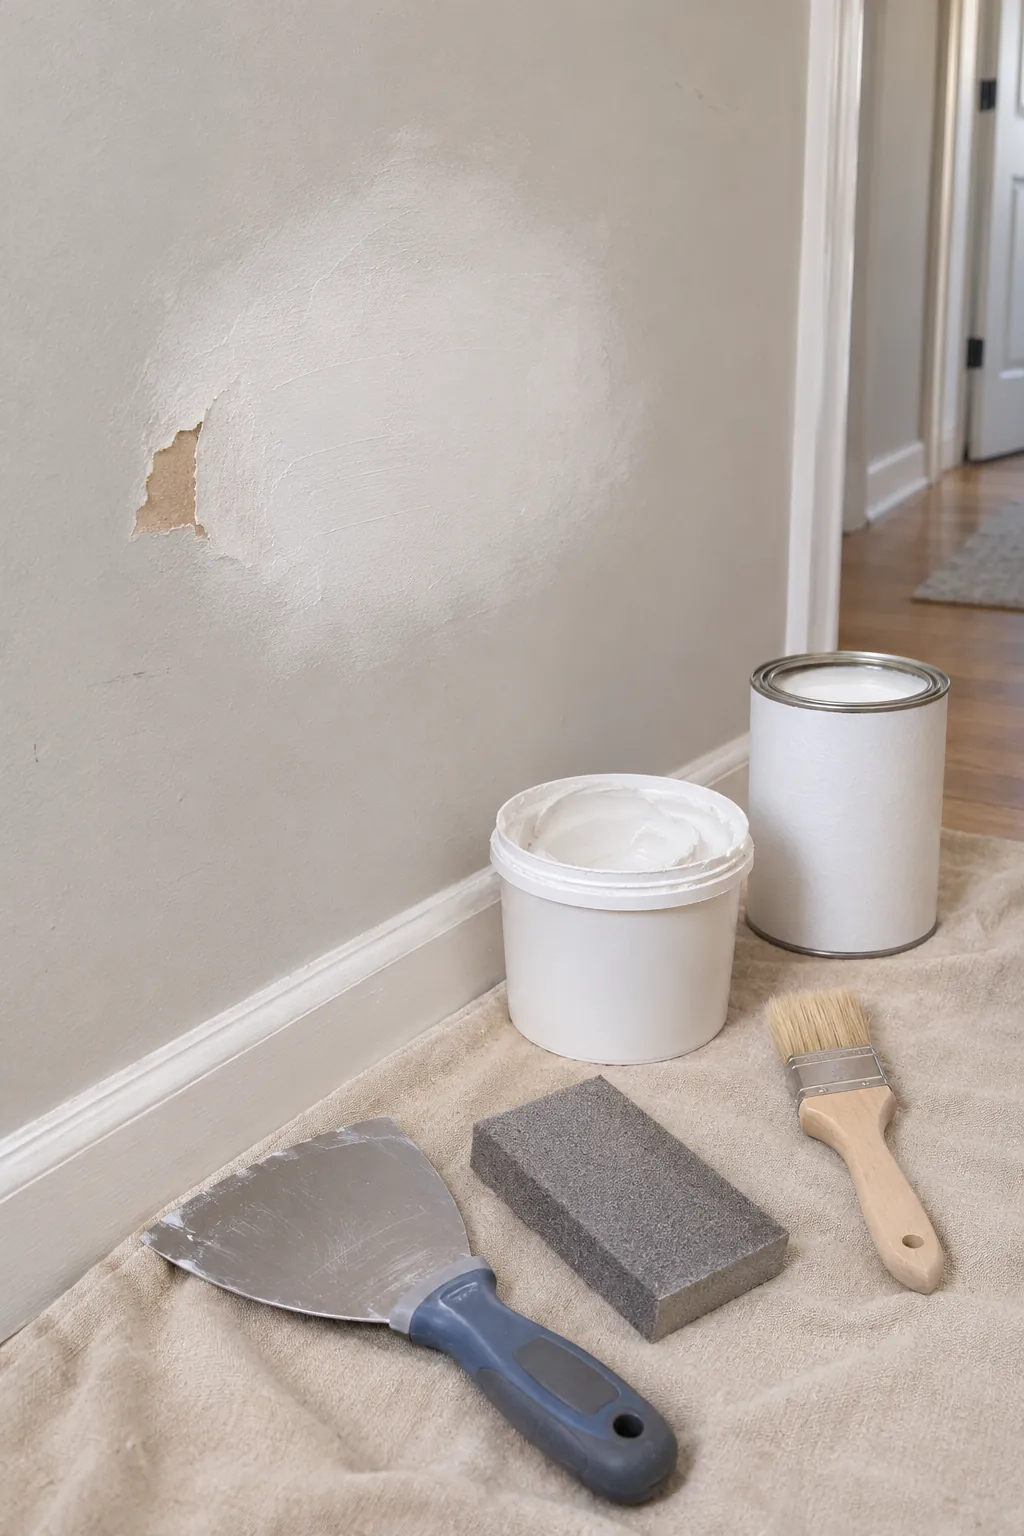
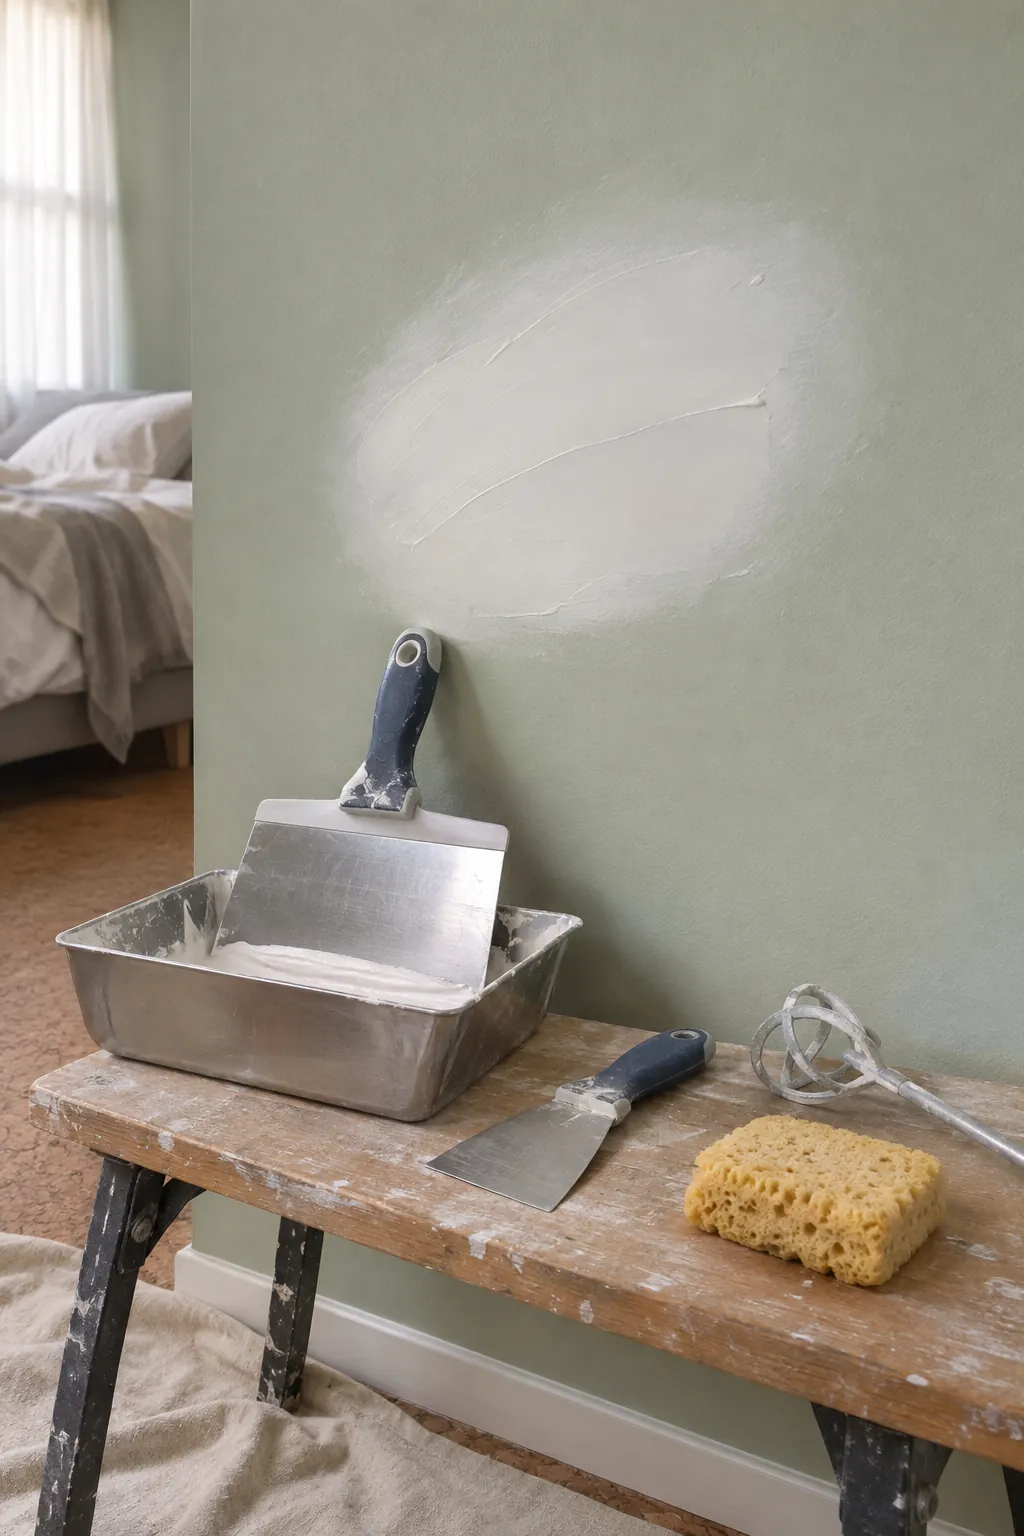
Spread joint compound across the sealed area with a clean putty knife and keep the first coat just thick enough to cover the torn boundary. Feather the outer edge several inches beyond the damage so the repair changes height gradually. Let it dry completely, scrape off ridges, and add a wider second coat only where the wall still shows a hollow.
Sand without reopening the paper
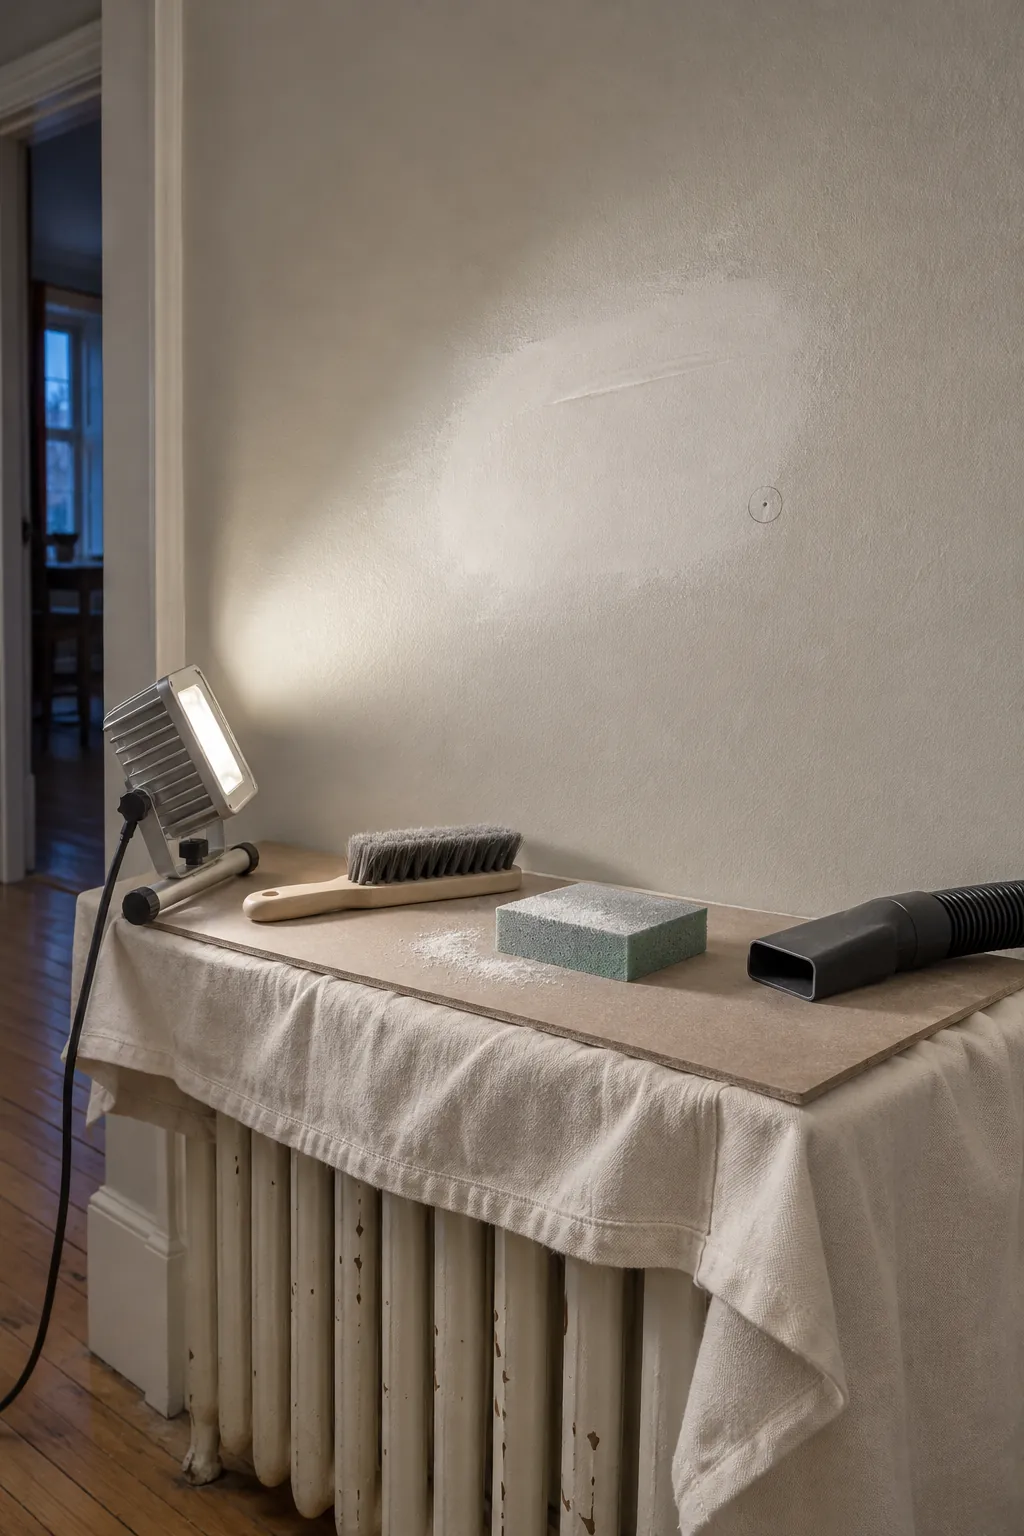
Use a fine sanding sponge with light pressure and keep it flat against the wall. Stop as soon as the compound blends into the surrounding surface because aggressive sanding can expose the sealed paper again. Shine a work light across the wall from the side to reveal ridges, pinholes, and edges that need a small touch of compound rather than more sanding.
Prime the whole repair before painting
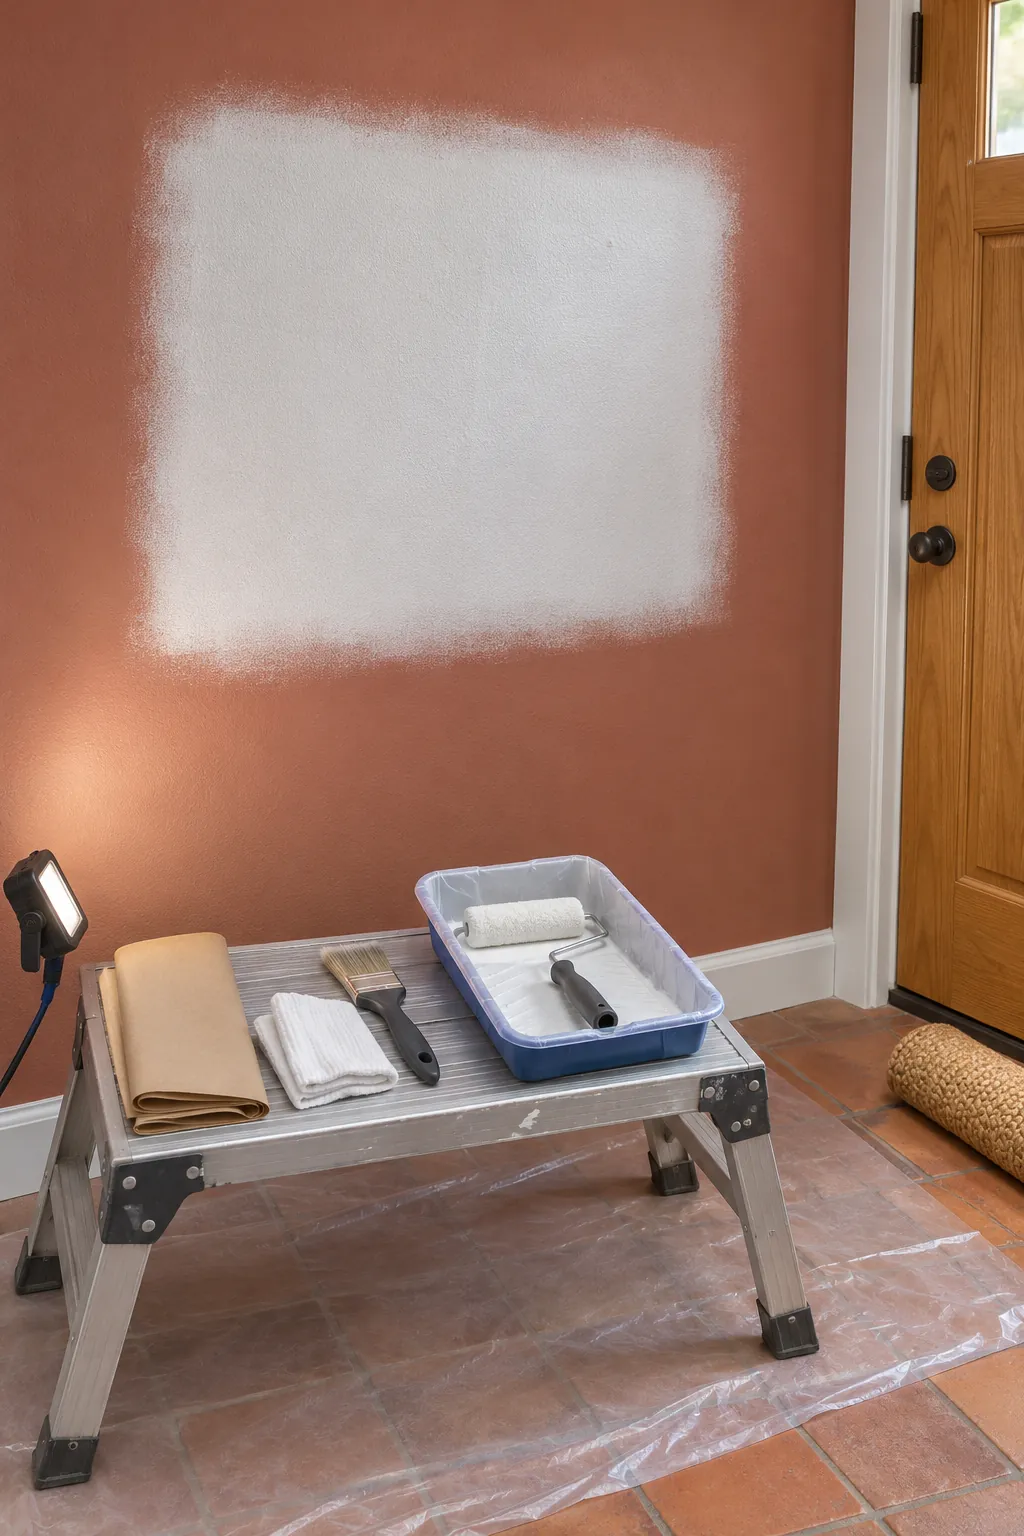
Remove sanding dust and apply drywall primer over the compound plus the surrounding feathered edge. Primer equalizes porosity so the patch does not flash as a dull or shiny spot beneath the finish paint. After it dries, inspect the wall in side light, correct any remaining pinhole, prime that correction, and then repaint enough of the wall to blend the sheen consistently.