
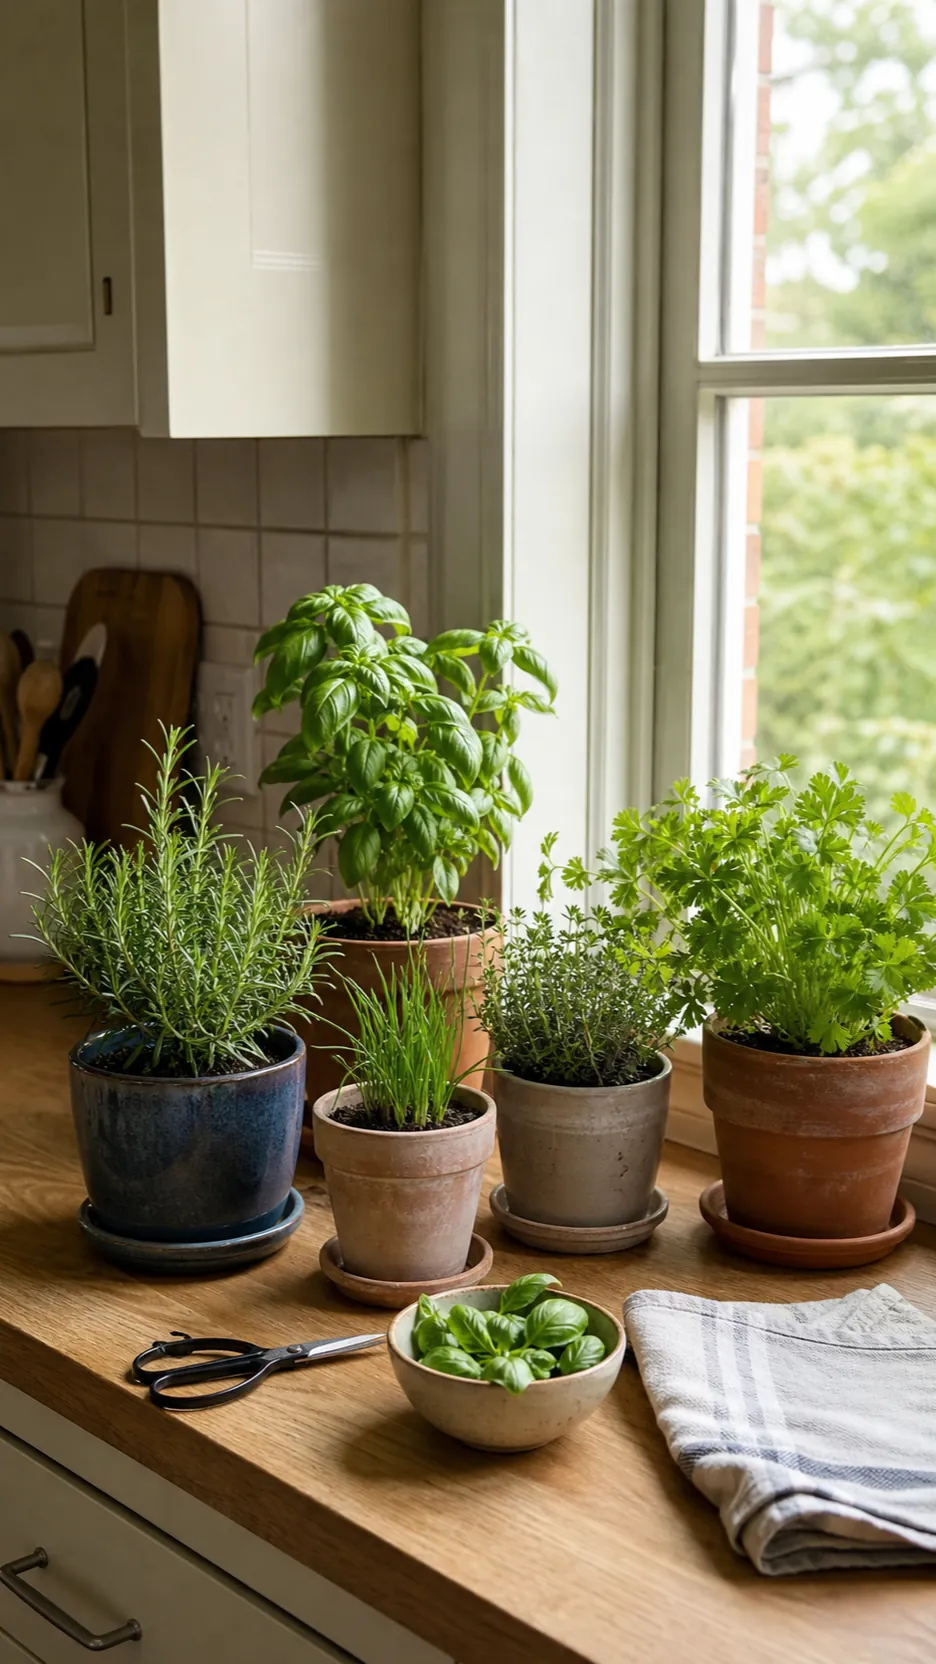
A kitchen herb garden works best when it behaves like part of the kitchen, not like a decorative project you have to remember to maintain. The winning setup puts the herbs you actually cook with near good light, gives every pot a way to drain, and makes watering easy without soaking the counter. Start with the conditions you have, then choose the herbs and containers.
That order matters. New growers often buy a matching set of basil, rosemary, mint, and parsley, then discover that the sunny window is colder than expected, the cachepots hold water, or one thirsty plant wilts while its drought-tolerant neighbor stays wet. These kitchen herb garden ideas are designed around those real constraints, including apartment-sized spaces and ordinary cooking routines.
Audit the light before buying a planter
Watch the intended spot for one full clear day. Note when direct sun reaches it, when nearby buildings or trees create shade, and whether the glass feels cold after sunset. Most culinary herbs grow compactly with strong light; weak light produces stretched stems, pale leaves, and disappointing flavor. A south- or west-facing exposure is often the easiest starting point, while an east window can suit herbs that tolerate gentler morning sun.
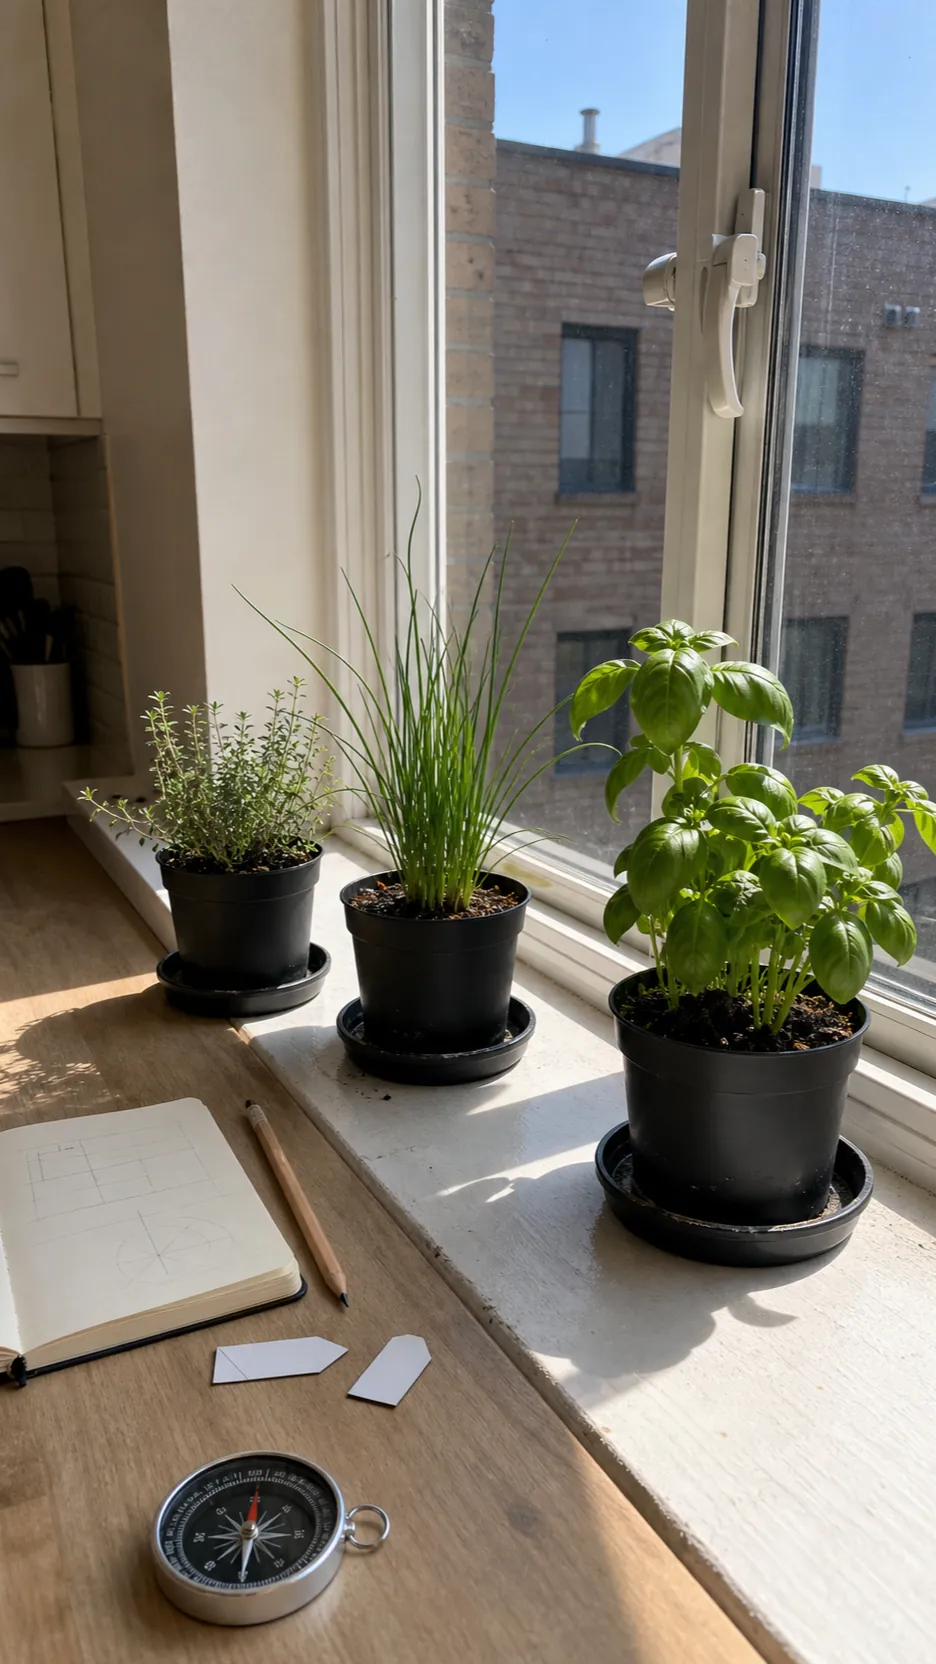
If the brightest usable location receives only a short window of direct sun, treat a small grow light as basic equipment rather than a rescue purchase. Place it close enough to be useful, put it on a timer, and rotate pots periodically so plants do not lean. A beautiful shelf in a dim corner is not an indoor herb garden; it is a holding area for declining plants.
Build drainage into every container
Use a nursery pot or planter with real drainage holes, a free-draining potting mix, and a saucer that can be emptied. A layer of pebbles inside a sealed jar does not create drainage; excess water still remains in the root zone. Decorative vessels can work as outer cachepots, but lift the planted pot out to water and let it finish dripping before returning it.
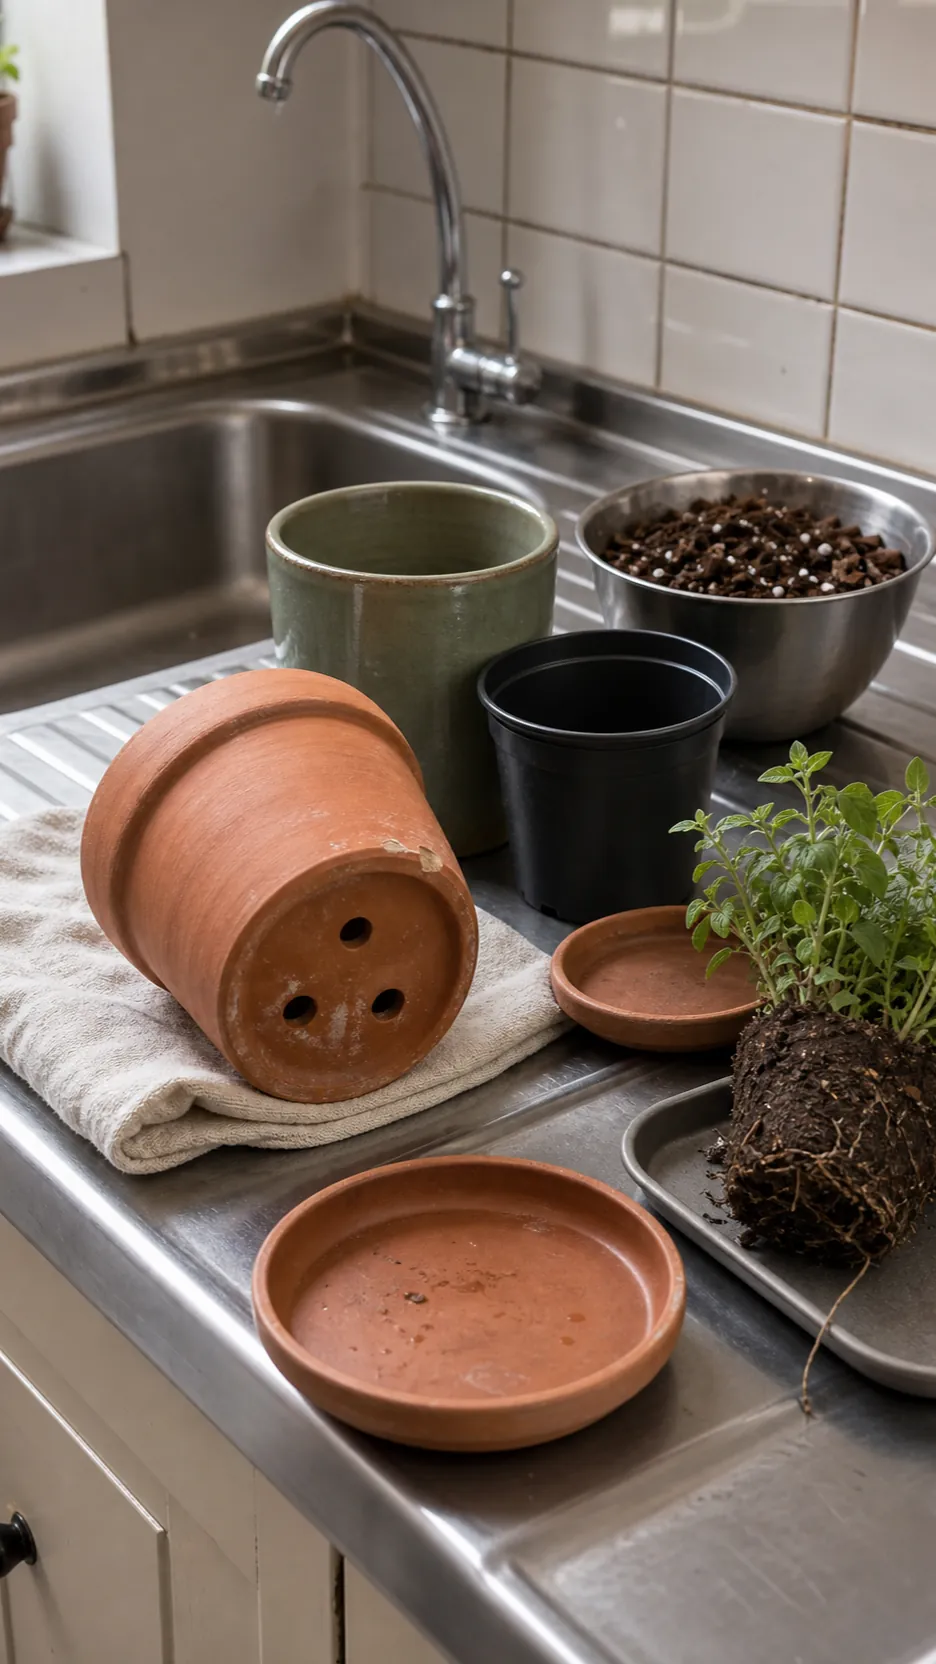
Choose pots large enough that roots are not packed into a tiny supermarket sleeve, but avoid jumping immediately to oversized containers that stay wet for days. For a first DIY herb planter, individual five- to seven-inch pots are easier to monitor than one deep trough. Put a washable tray under the group so routine care does not damage wood or stone counters.
Group herbs by how they drink
Matching pots do not require shared soil. Keep moisture-loving basil and parsley separate from rosemary, thyme, oregano, and sage, which generally prefer more air around their roots and a drier interval between waterings. Mint also deserves its own pot because its vigorous growth can crowd neighboring herbs. Separate containers let you water the plant that is dry instead of flooding the entire arrangement.
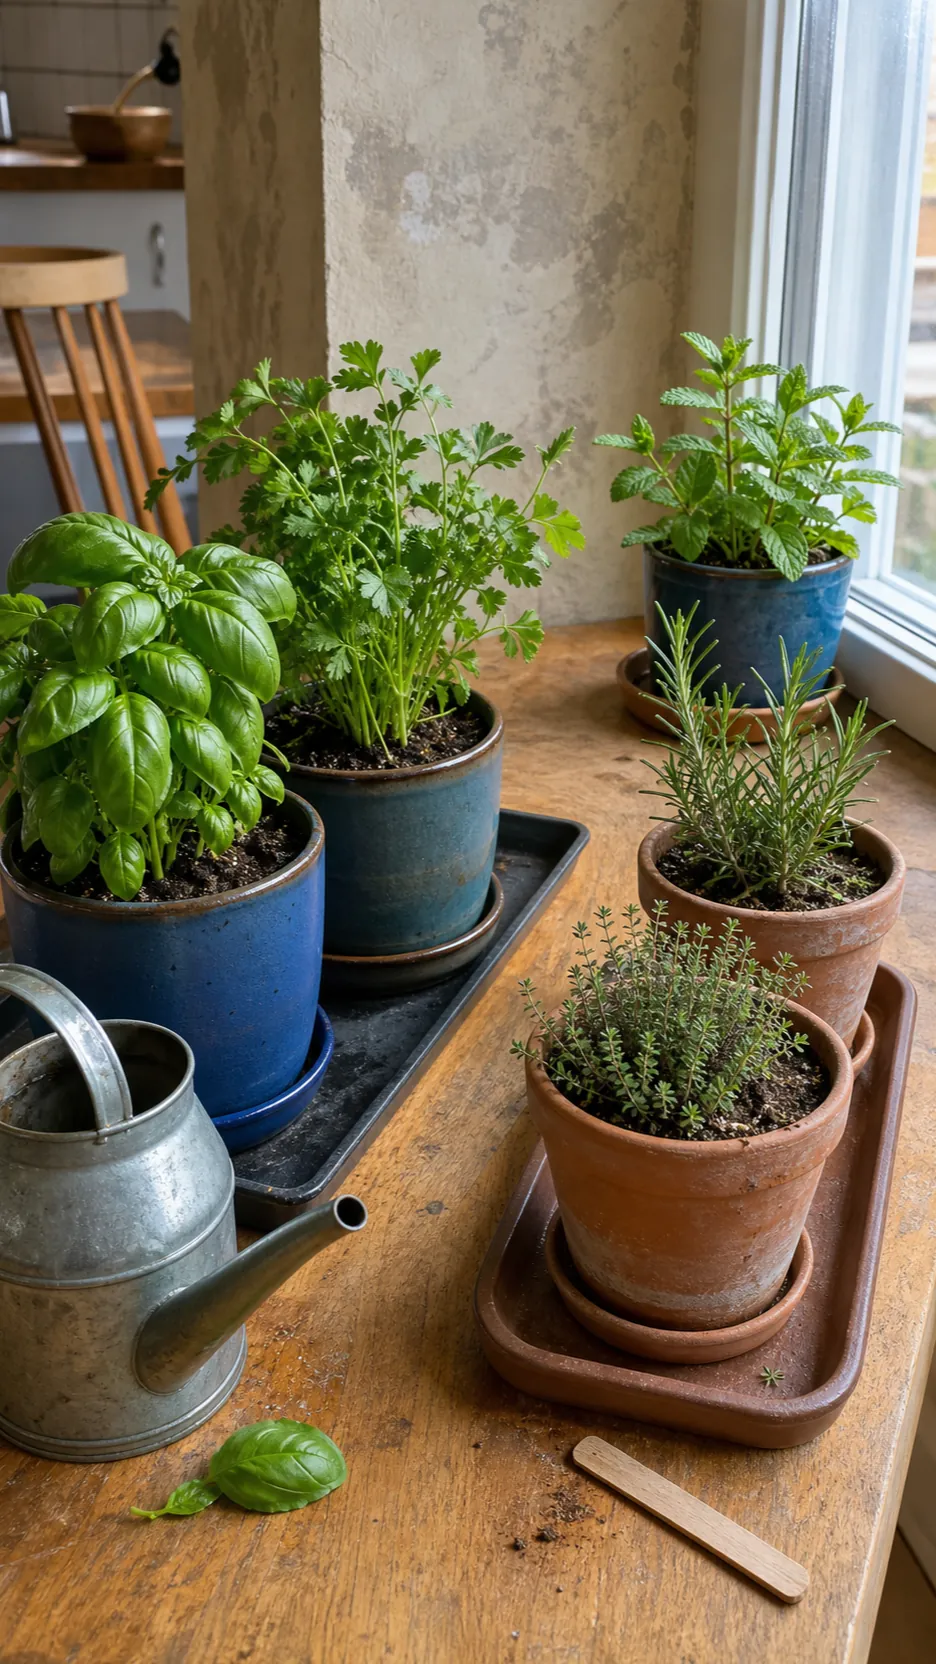
Check the mix with a finger instead of watering on a fixed calendar. When the surface is dry but the mix just below still has a trace of moisture, decide based on the herb and pot weight. Water thoroughly enough that a little drains out, then empty the saucer. Constantly damp soil is a common route to root problems, especially in winter when growth slows.
Use vertical space without blocking the window
A shallow wall rail, narrow tiered stand, or tension-pole shelf can turn an unused strip beside the window into a productive apartment herb garden. Keep taller pots behind shorter ones only if the arrangement does not shade them. Leave enough room to lift each pot out, inspect leaves, and clean underneath. A planter that cannot be moved will eventually become a dusty, difficult watering problem.
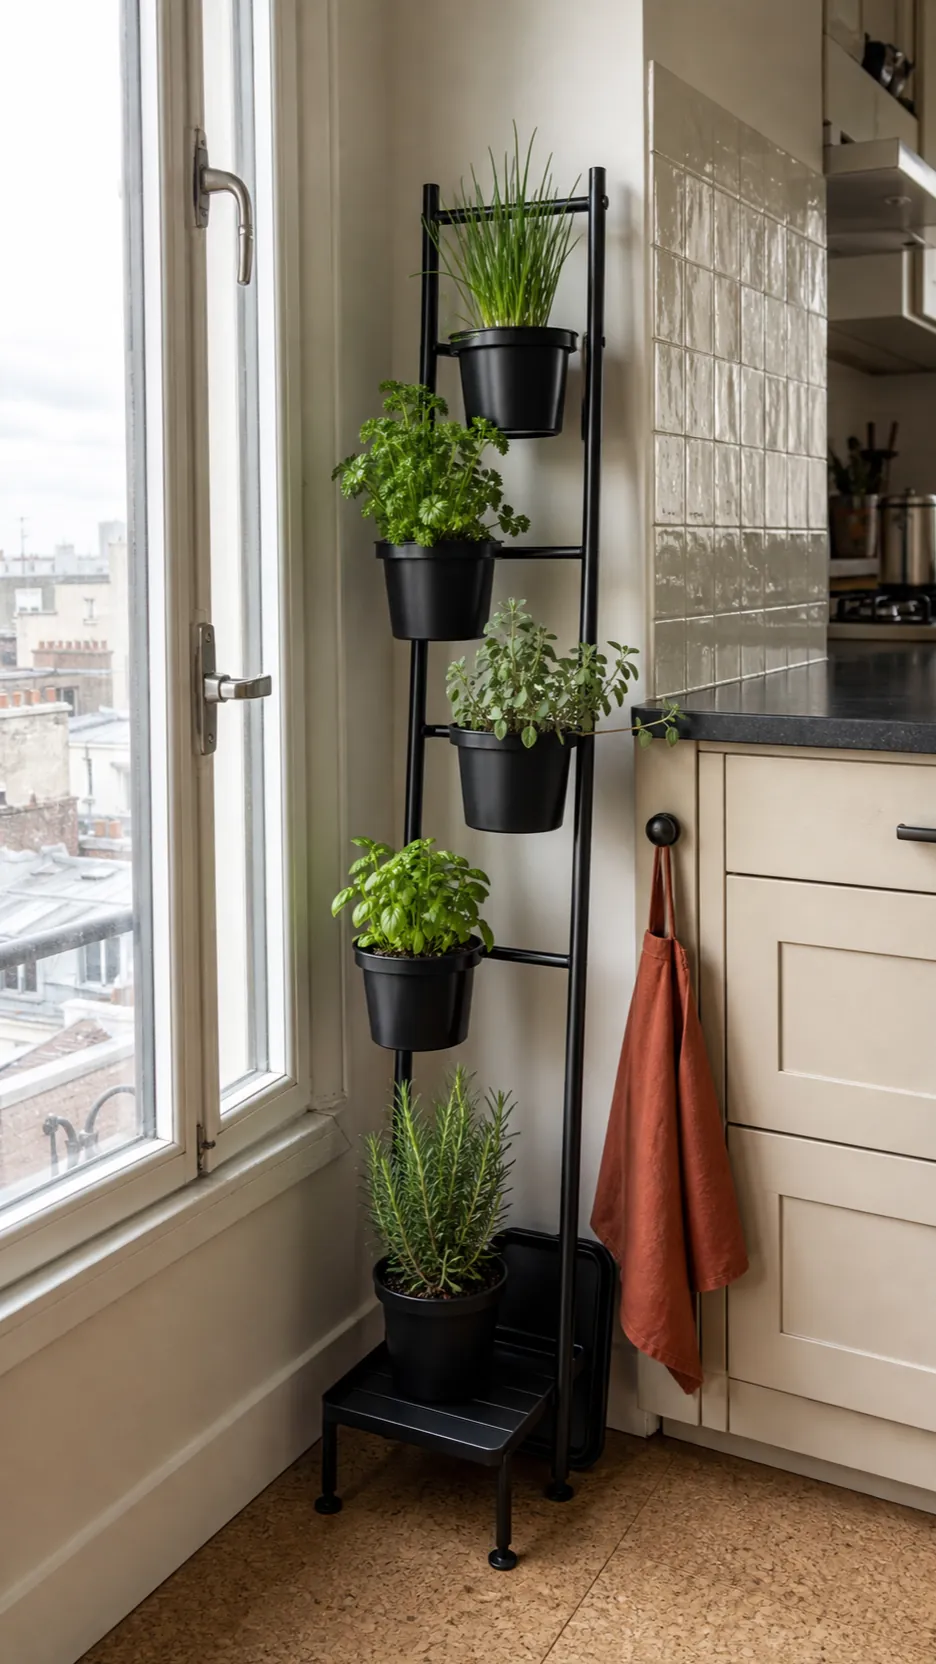
For renters, use a freestanding rack or a secure no-drill system rated for the wet weight of pots and soil. Keep foliage away from a hot stove, splashing grease, and heating vents. Near the sink is convenient, but only if the window provides enough light and leaves are not constantly hit by soapy water.
Make a low-light kitchen look intentional
A slim LED grow bar mounted under a shelf can look cleaner than a clip-on lamp and spread light across several pots. Choose a timer so the plants receive a consistent day and still get darkness at night. Hide the cord along a cabinet edge, keep the driver away from water, and leave airspace around foliage. This is especially useful for a window herb garden during short winter days.
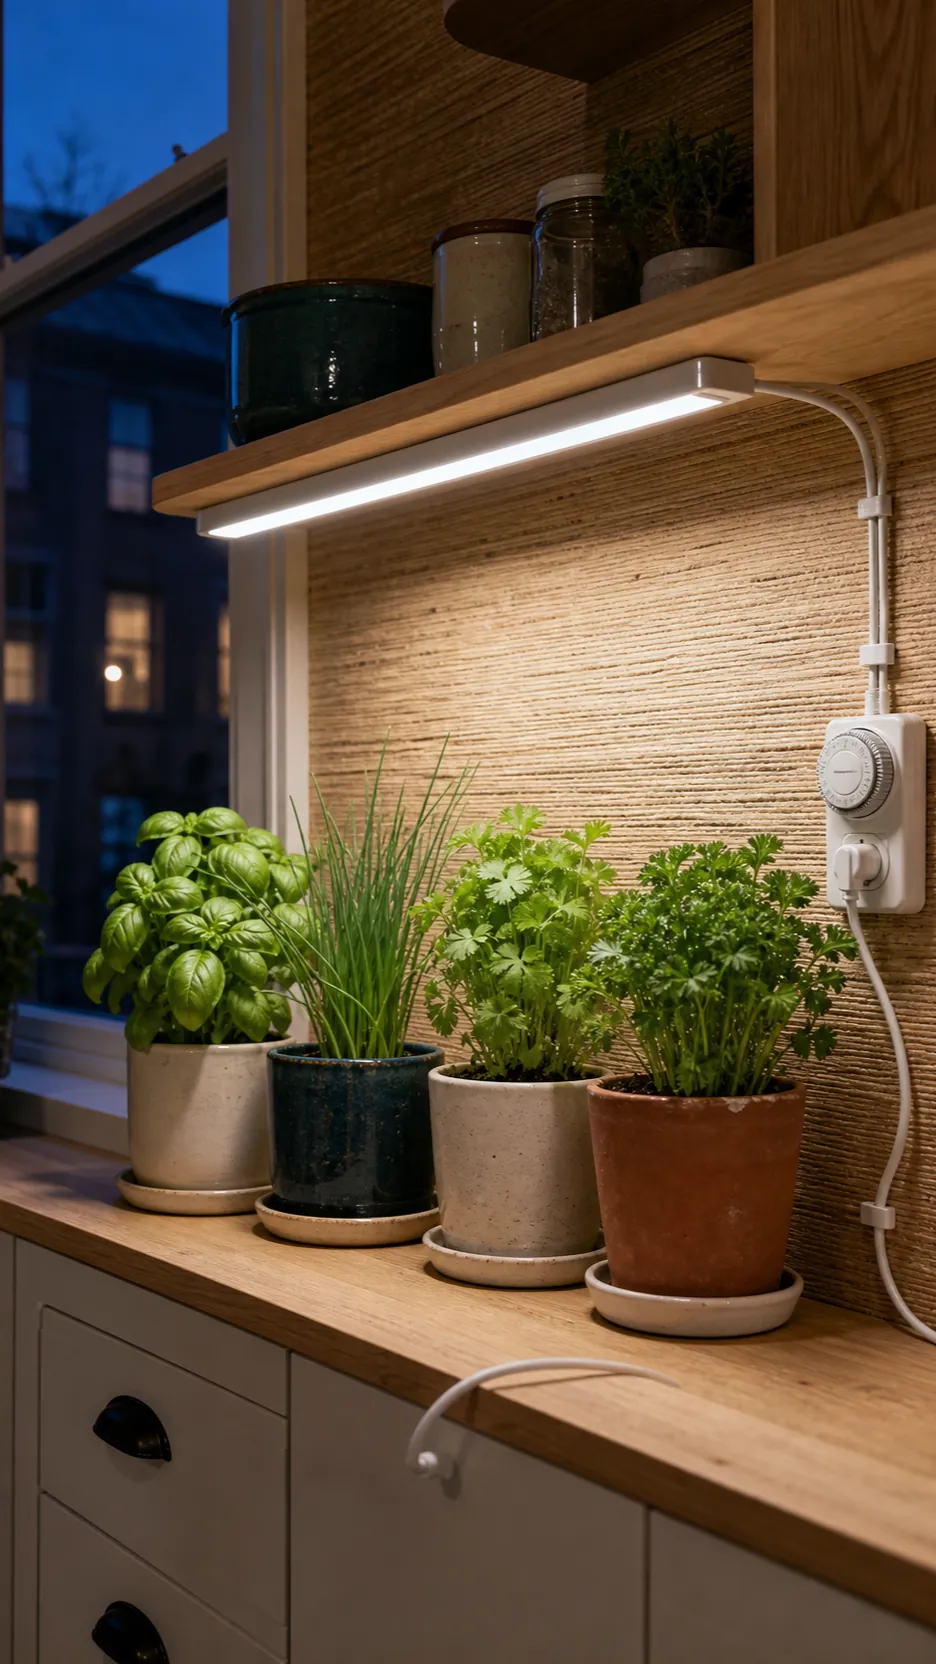
Do not compensate for dim conditions with extra fertilizer or water. Weak light limits how much energy the plant can use, so wet soil lingers and soft growth becomes more likely. Fix the light first. Then make small care adjustments based on new growth rather than trying several remedies at once.
Design the garden around harvesting
Place the herbs you use most at hand level and keep clean scissors nearby. Regular, correct harvesting encourages basil and many mint-family herbs to branch instead of becoming tall and sparse. Snip just above a leaf pair on basil, take parsley stalks from the outside near the base, and avoid stripping more foliage than a slow-growing winter plant can replace.
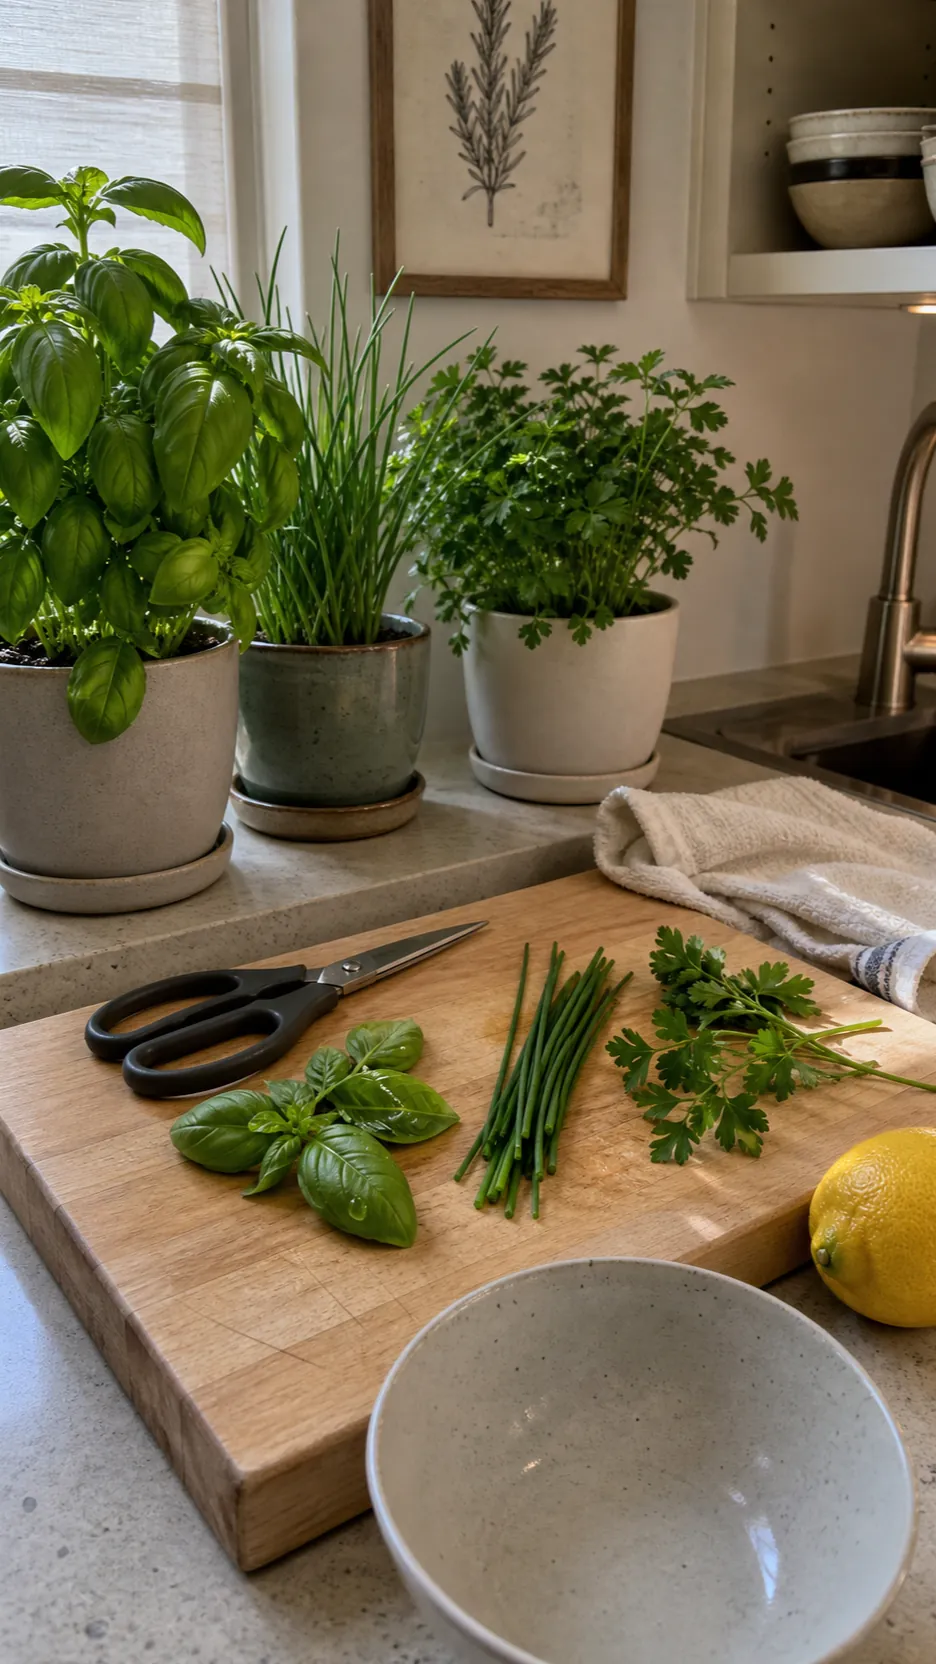
Label pots if young plants look alike, and keep a small bowl nearby for trimmings. The most useful herb garden aesthetic is one that supports dinner: clean saucers, healthy leaves, open access, and no complicated watering ritual. If space is tight, three thriving pots of basil, chives, and parsley will serve you better than ten struggling varieties.
Start with three plants and earn the expansion
Choose three herbs you already buy, give each its own draining pot, and live with the setup for a month. That short trial reveals the true light pattern, how fast pots dry, whether the location interrupts food prep, and which herb you actually harvest.
Once those plants produce steady new growth, add one new variable: another herb, a vertical rack, or a grow light. The best kitchen herb garden is not the fullest one on day one; it is the one still supplying dinner months later.