
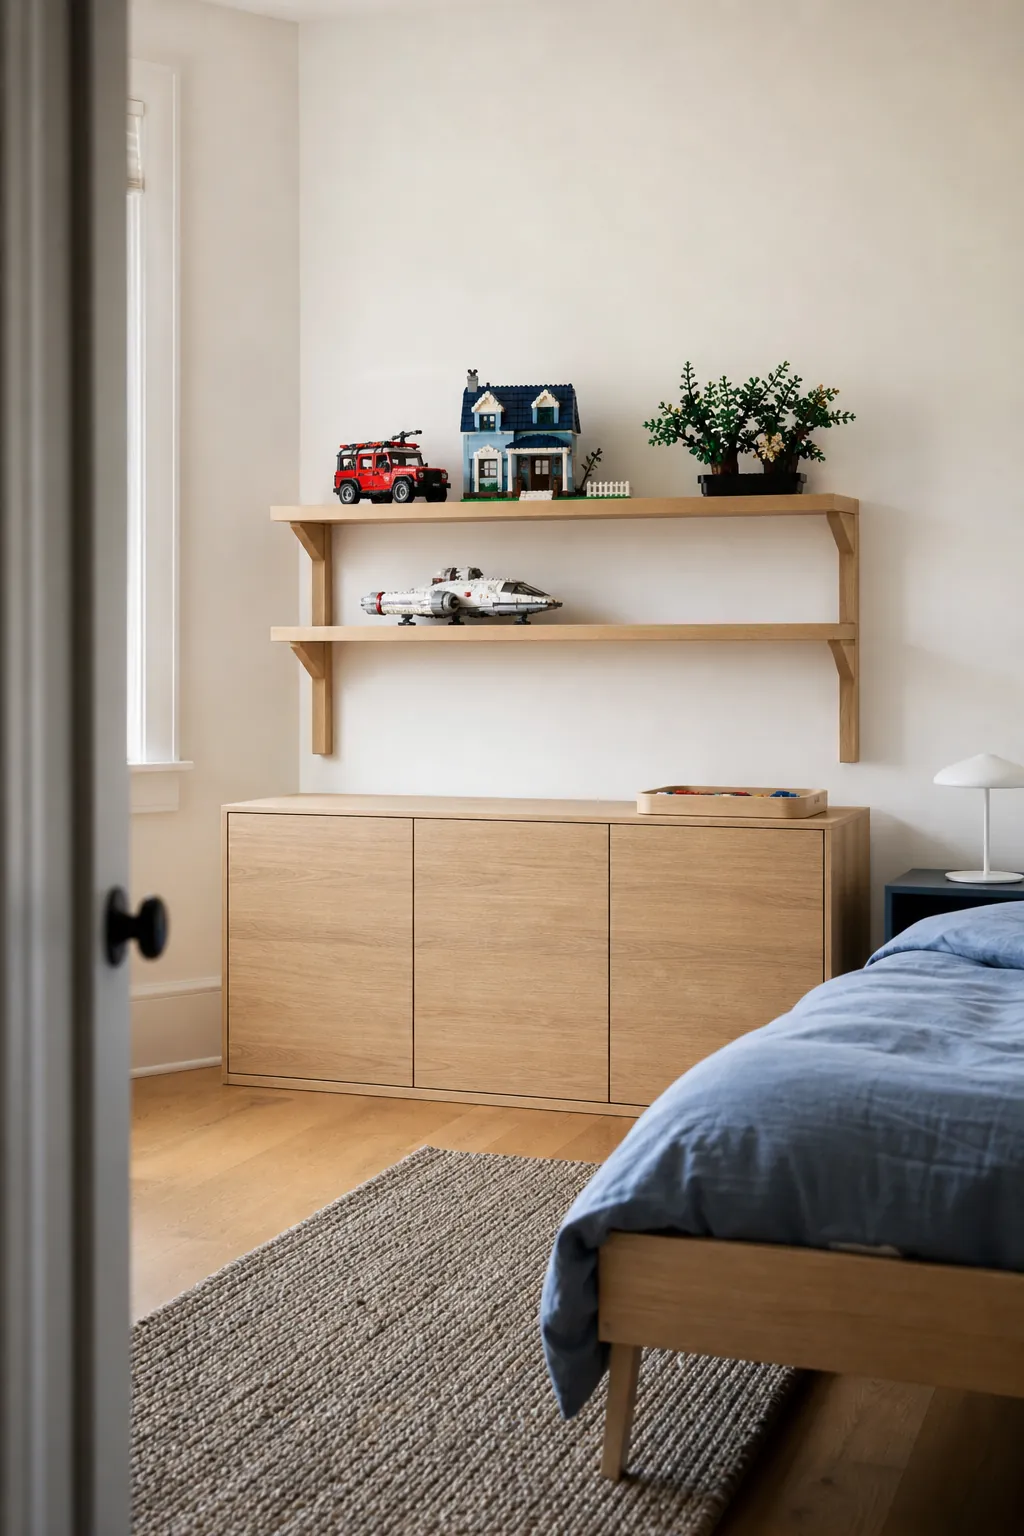
A Lego collection usually starts as a few builds on a dresser. Then the dresser disappears, the windowsill fills up, and every flat surface begins to feel temporary. The answer is not necessarily more shelving. It is a clearer rule for what earns display space, where building happens, and where the rest waits.
The most successful Lego display ideas treat the collection like part of the room instead of a separate hobby shop squeezed into it. That means measuring the largest builds, protecting daily walkways, leaving visual breathing room, and accepting that a rotating edit often looks better than showing everything at once.
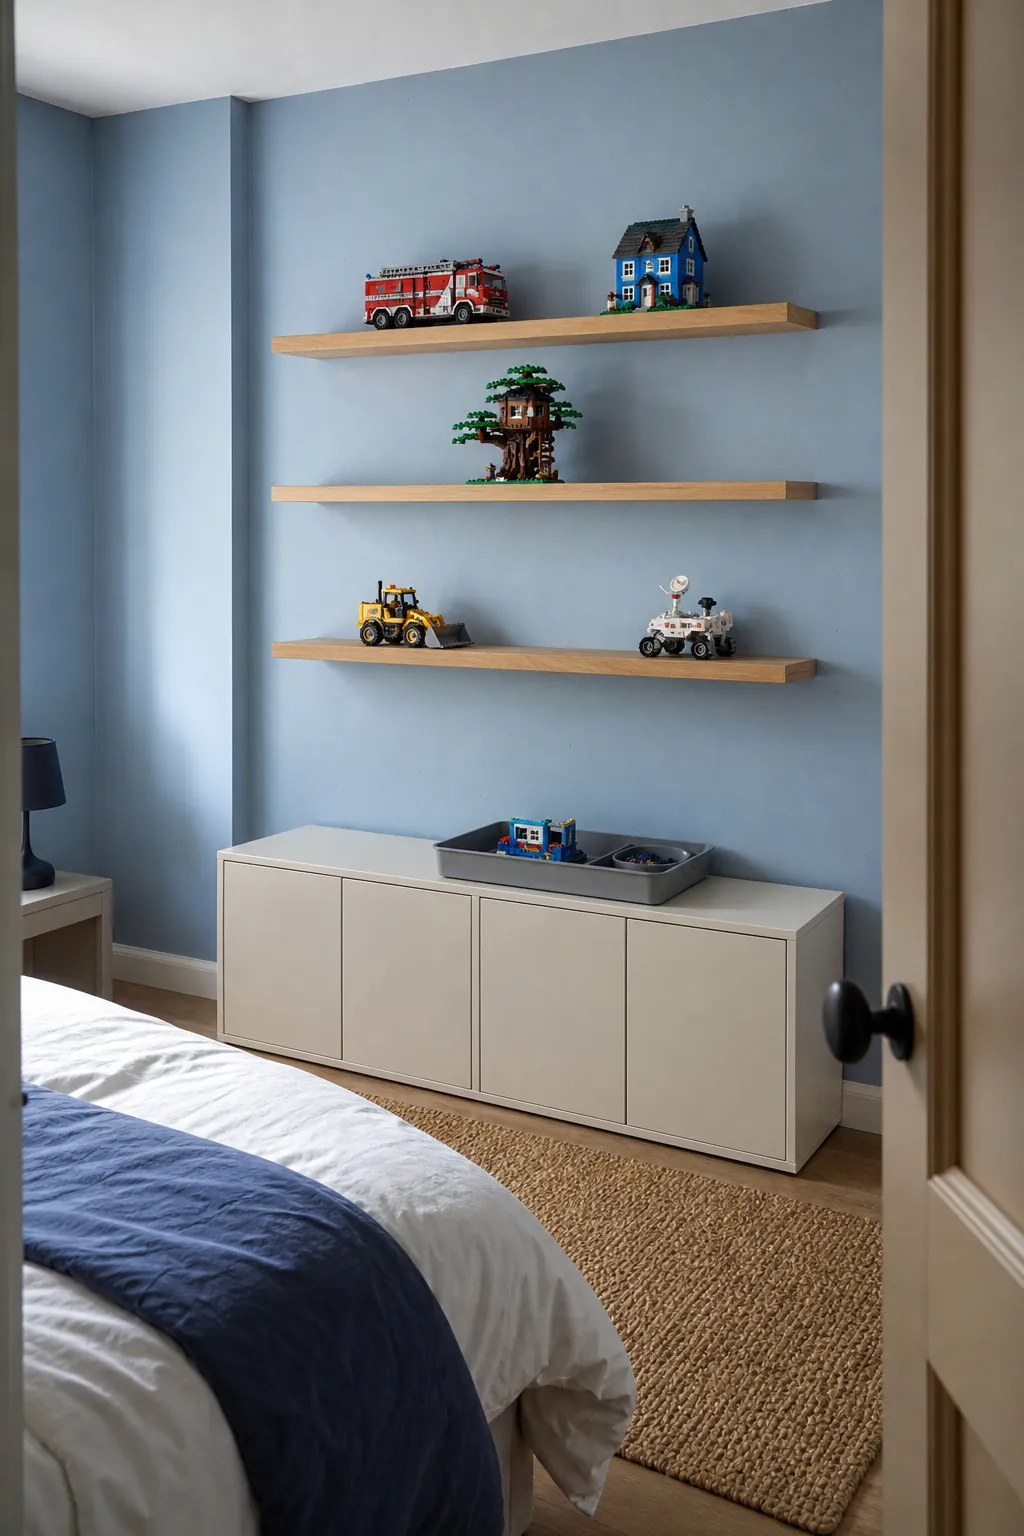
Give the collection one visual boundary
Choose one wall, one bookcase, or one cabinet as the official Lego display zone. A clear edge is surprisingly powerful: it tells the eye that the collection is intentional, while the rest of the bedroom, playroom, or living room stays calm. Scattering builds across six unrelated surfaces makes even a small collection feel larger and messier.
Before buying anything, use painter’s tape to mark the proposed footprint. Check the view from the doorway and the path used to open drawers or make the bed. If the display interrupts a daily movement, it is too large for that spot, even if the furniture technically fits.
Match shelf depth to the builds you actually own
Pretty picture ledges work for minifigures, small vehicles, and compact scenes, but deeper modular buildings and wide ships need real support. Measure the deepest model and add a little clearance at the front and back. This prevents overhang, makes dusting possible, and avoids the expensive mistake of buying display shelves that are too shallow.
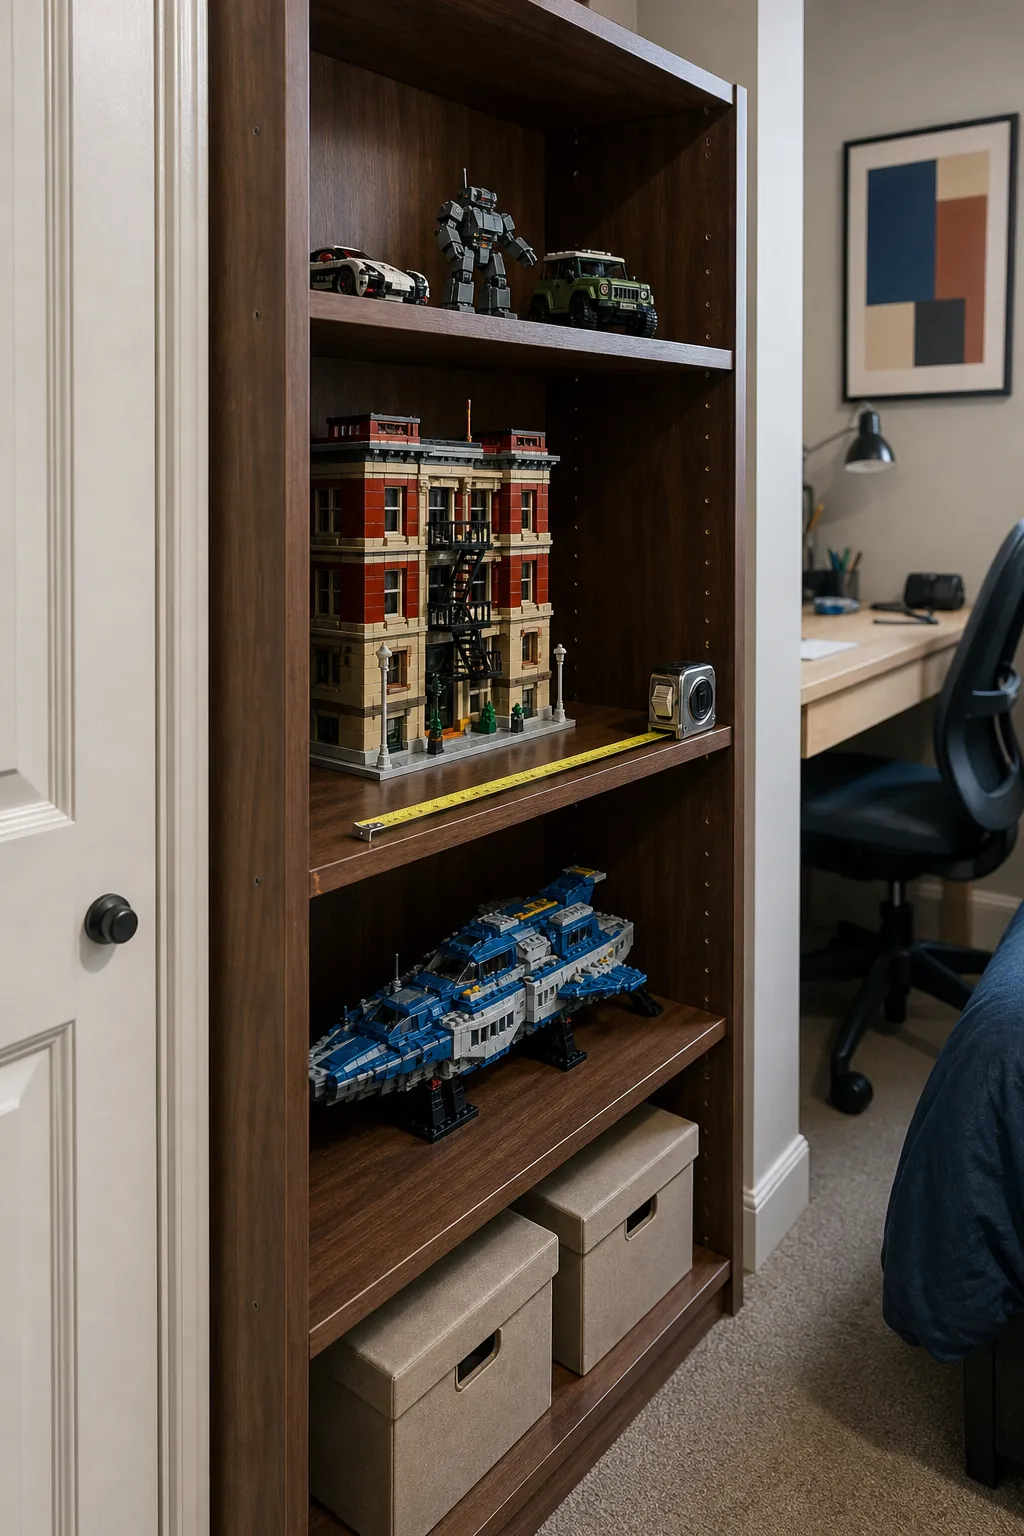
Adjustable shelves are useful because Lego sets do not share one height. Move shelves to suit the collection instead of accepting evenly spaced compartments that waste air above small builds. Keep the heaviest and widest models lower, and reserve narrow upper levels for lighter pieces.
Use vertical space without filling every inch
Wall shelves can protect floor space, but a wall covered from skirting board to ceiling still feels visually busy. Start with a compact group of two or three shelves and align it with furniture below. The furniture anchors the arrangement, while repeated gaps between builds give it rhythm.
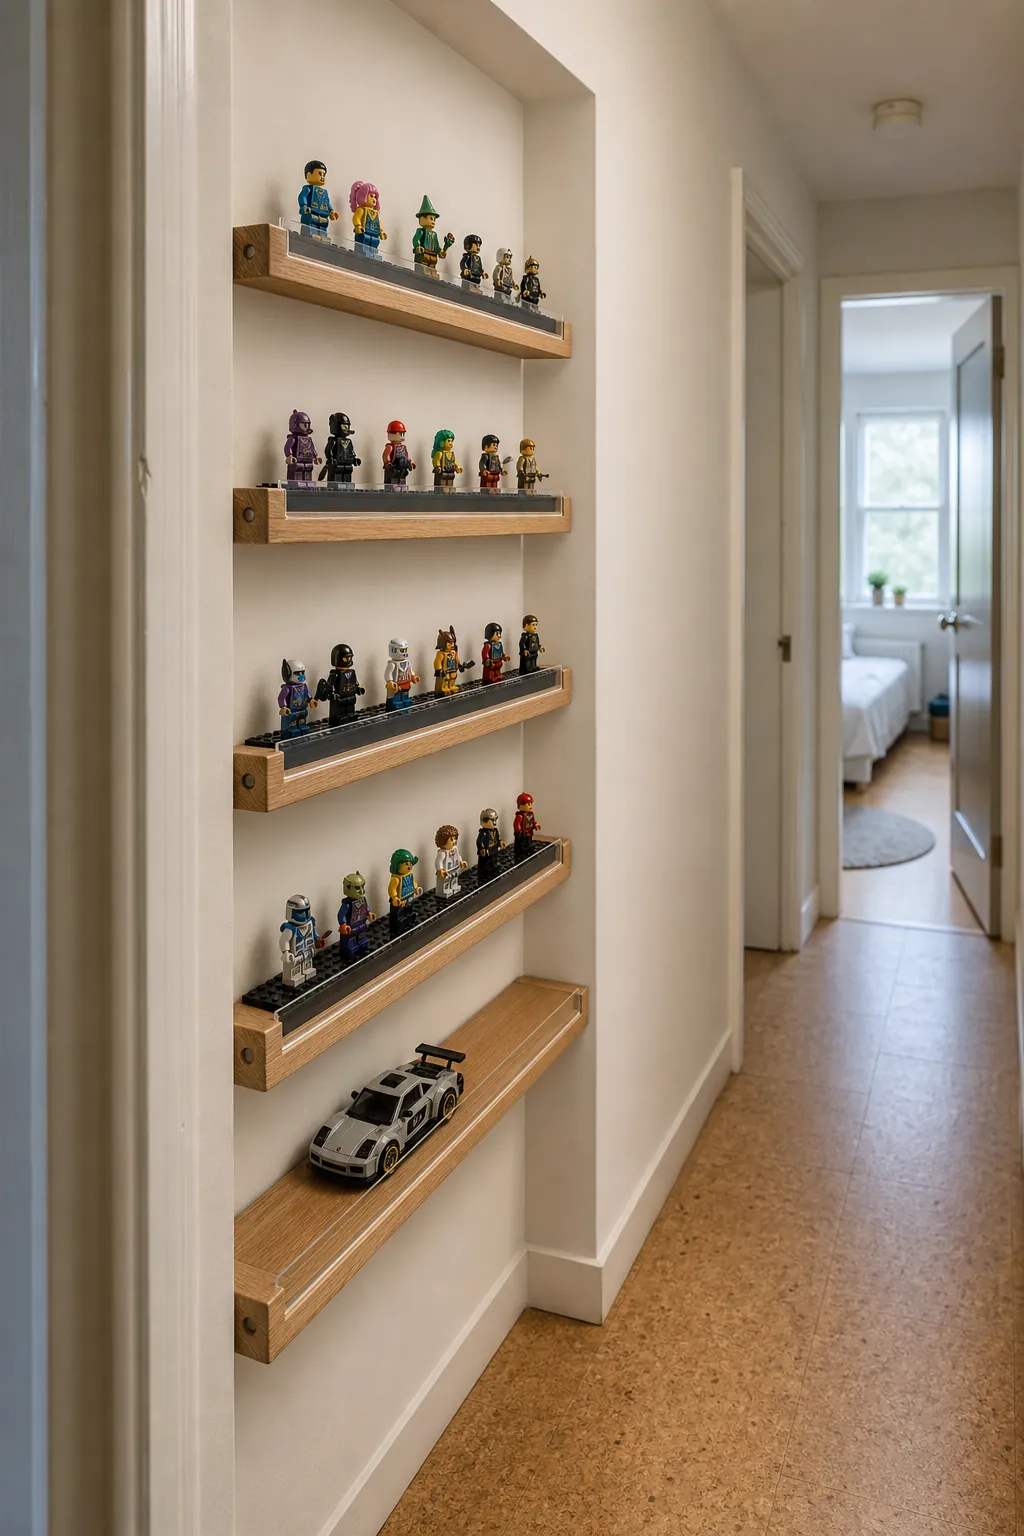
Shallow wall space is best used for shallow objects. Minifigures, small cars, and narrow architectural models can occupy a slim rail or enclosed case without projecting far into the room. Large builds belong on deeper furniture, where their base is fully supported and accidental bumps are less likely.
Combine display above with Lego storage below
A display stays calm when loose bricks, instructions, and half-built projects have somewhere else to go. Closed drawers, labeled bins, and baskets below the display create a useful split: completed favorites remain visible, while active pieces are easy to reach without becoming part of the composition.
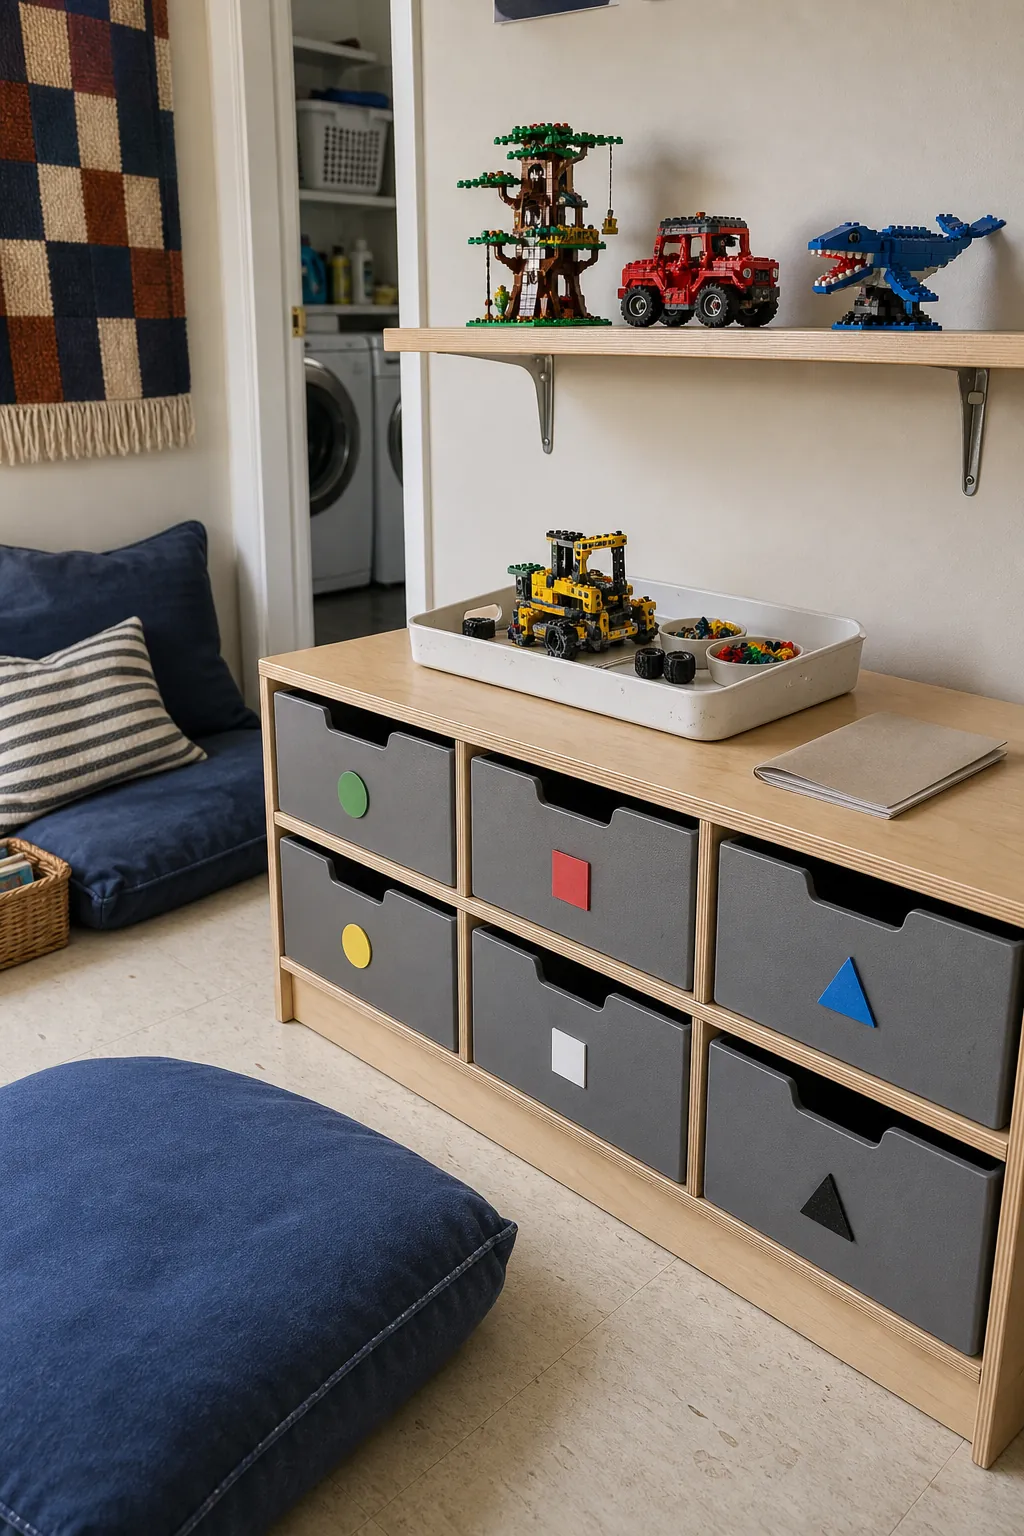
For kids room organization, sort at the level a child can realistically maintain. Broad labels such as wheels, people, plates, and mixed bricks often survive daily play better than dozens of tiny categories. Put current projects in one open tray so the child can pause without spreading pieces across the floor.
Choose glass only where dust is the real problem
Enclosed cabinets reduce dust and make a mixed-use living room feel more finished, but they cost more and can dominate a small space. Use glass for delicate, intricate, or rarely handled sets. Open shelves are often better for a child’s favorite builds because access is simple and the display can change without opening heavy doors.
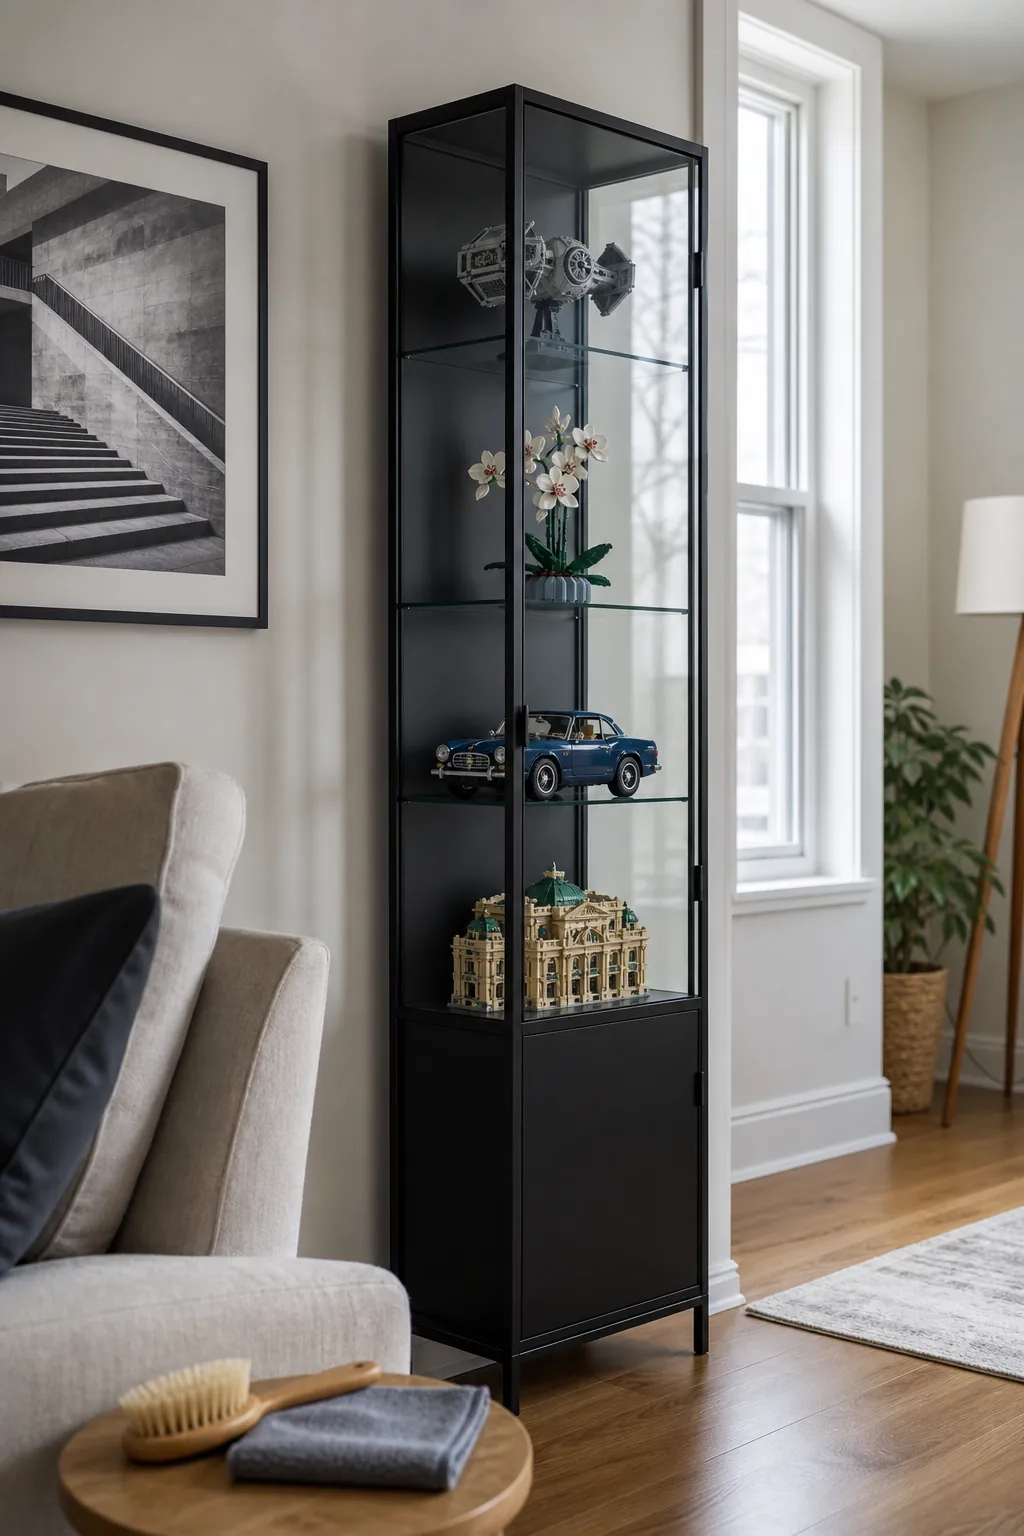
Whichever option you choose, avoid placing Lego in direct sun or beside a strong air vent. Leave enough clearance to lift out a model without catching the one above it. A soft makeup brush can reach studs and small crevices, while a microfiber cloth handles the shelf itself.
Rotate the collection before adding more furniture
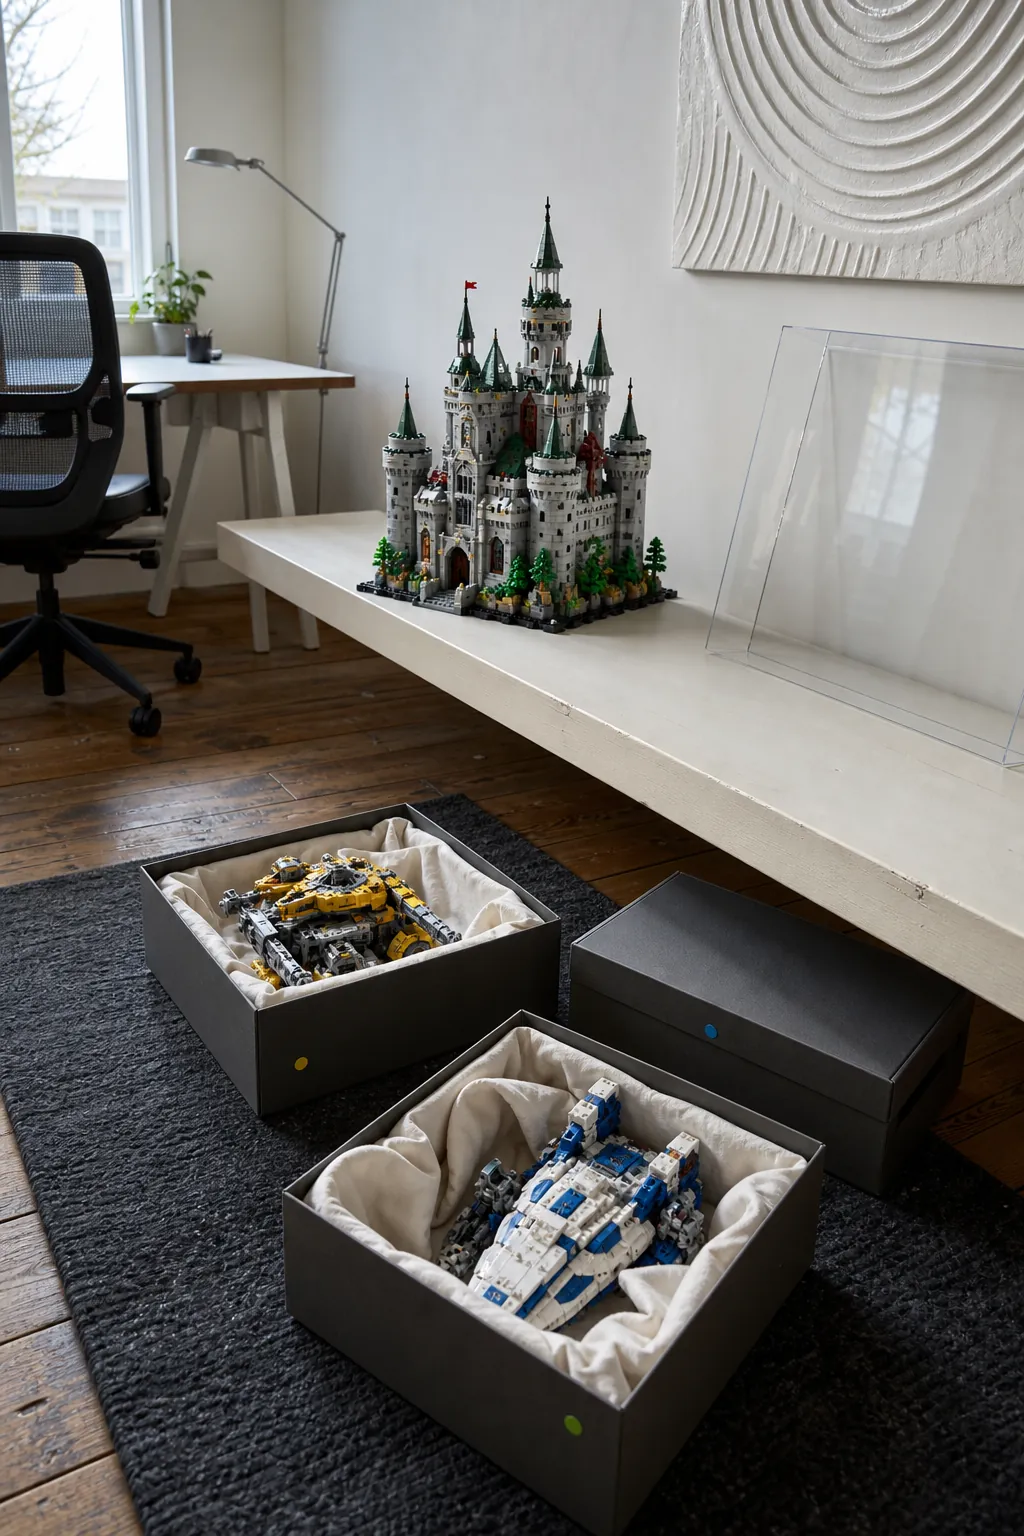
The hardest idea is also the one that saves the most room: not every finished set needs to stay out. Pick a display capacity, then rotate builds seasonally or whenever a new favorite is completed. Store retired models assembled in covered containers when space allows, or carefully break them down into labeled bags with their instructions.
Rotation turns limited space into an advantage. Each change makes familiar builds feel new, gives children a reason to curate their favorites, and stops display furniture from multiplying. A collection looks cared for when every visible model has room to be seen—not when every model is visible at the same time.