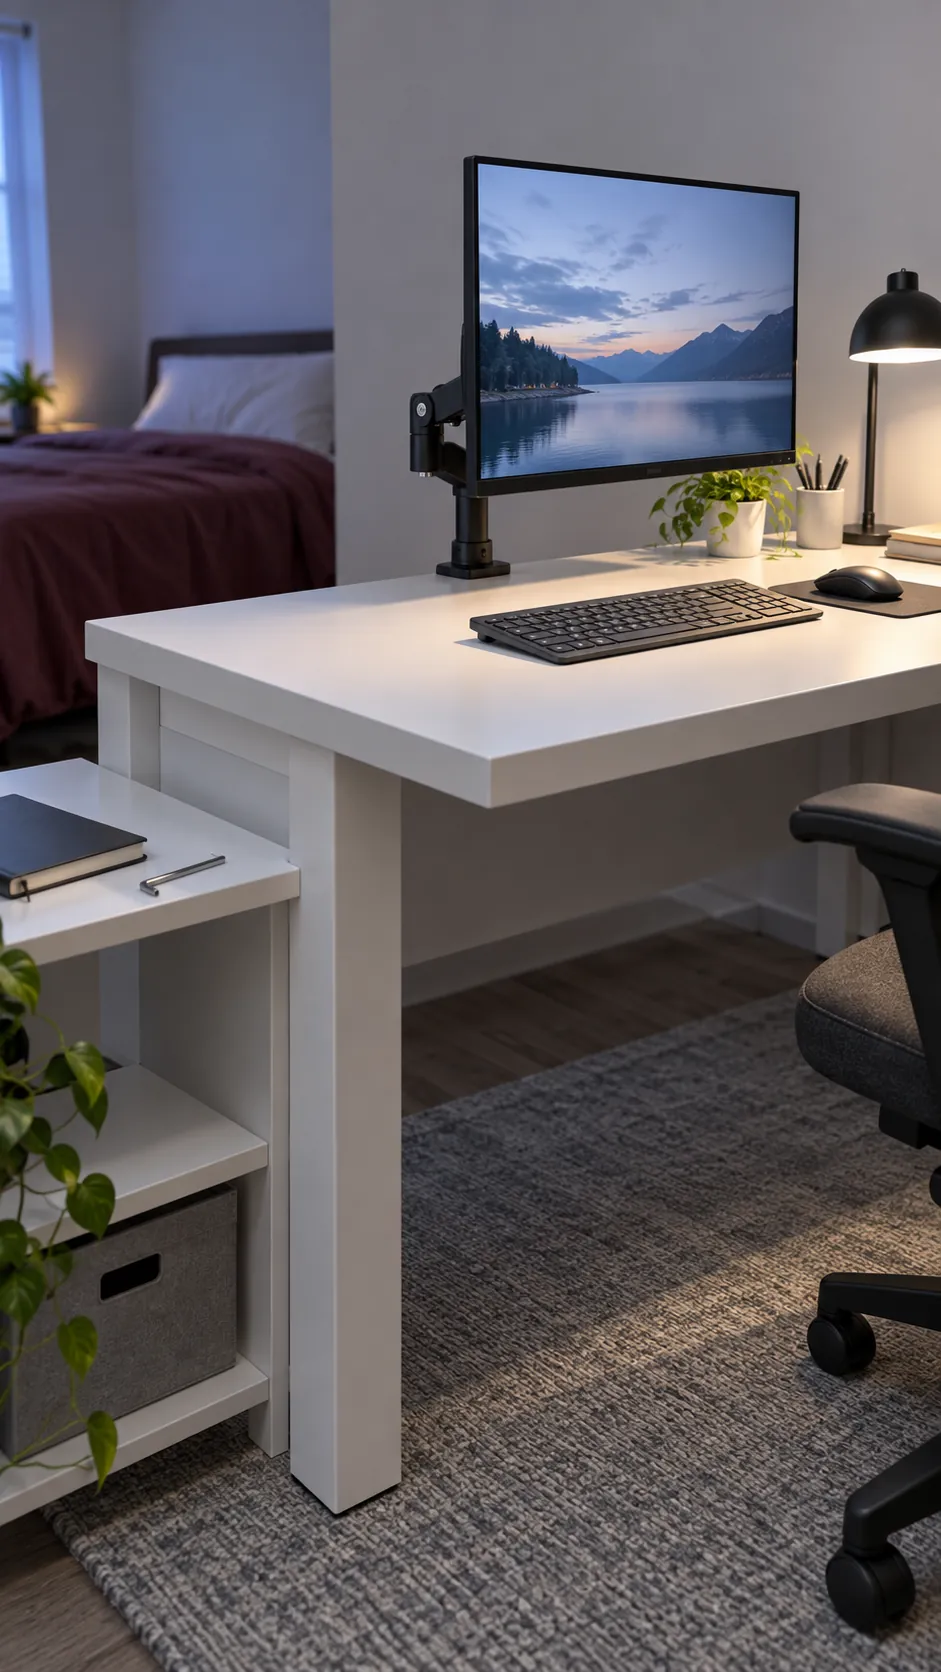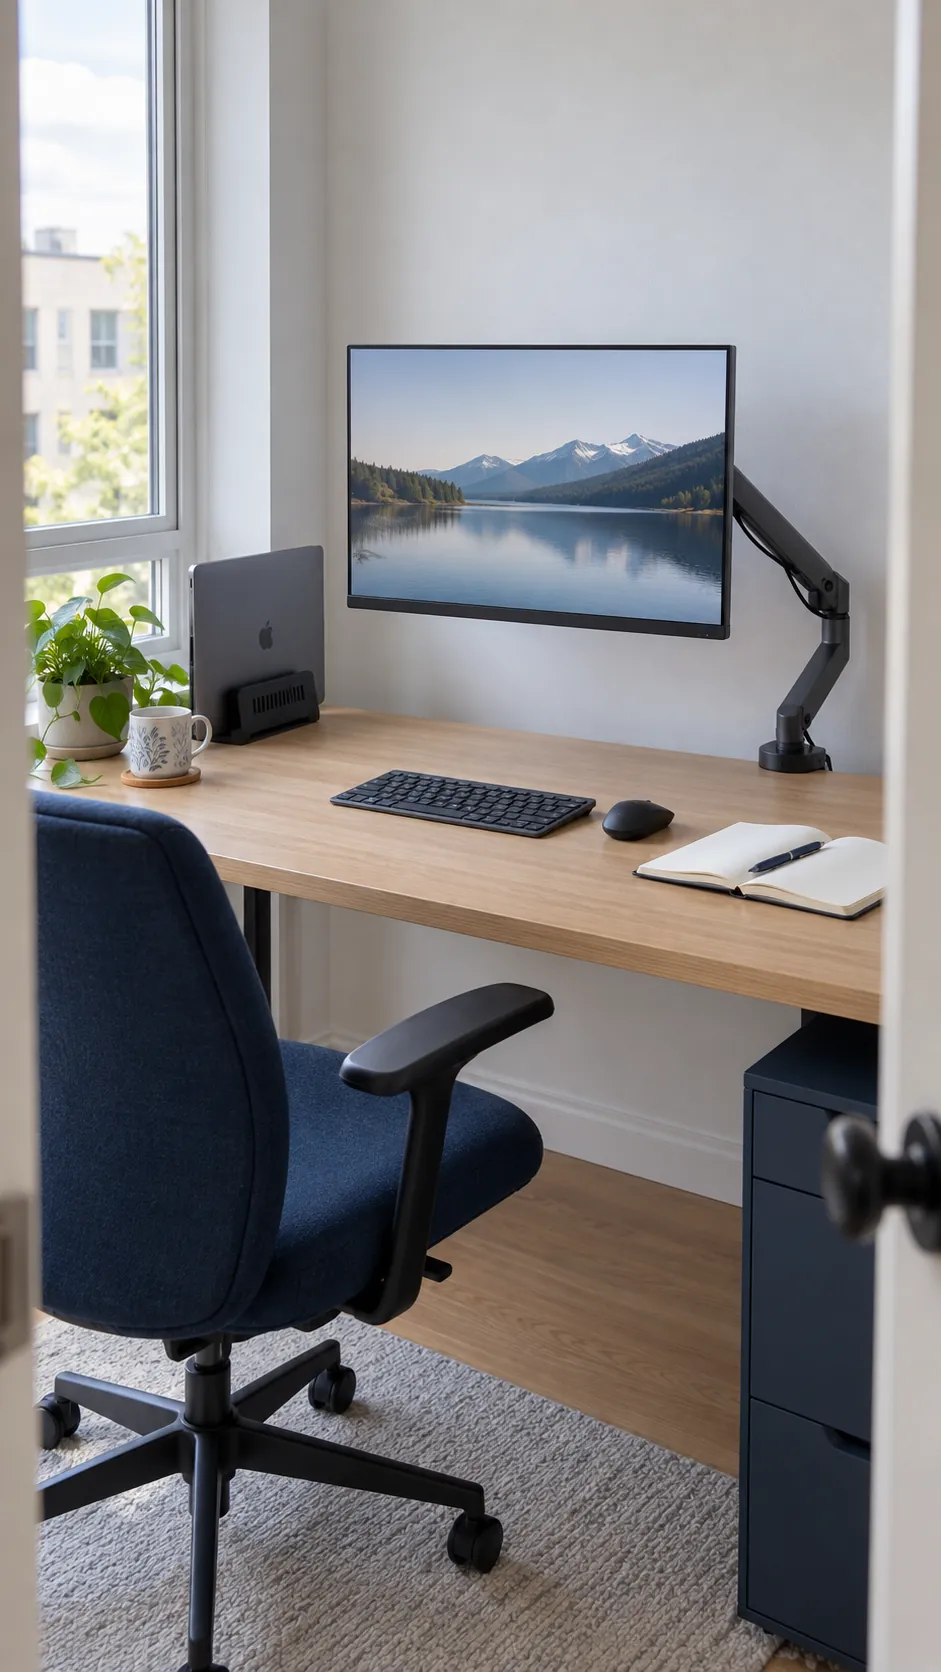
Removing the monitor stand should give you more usable desk space. It can also introduce a screen that sits too close, drifts downward or shakes whenever you type. The best place to start is the desk edge and your normal sitting position, before choosing a mount for its appearance.
Check the desk before choosing the arm
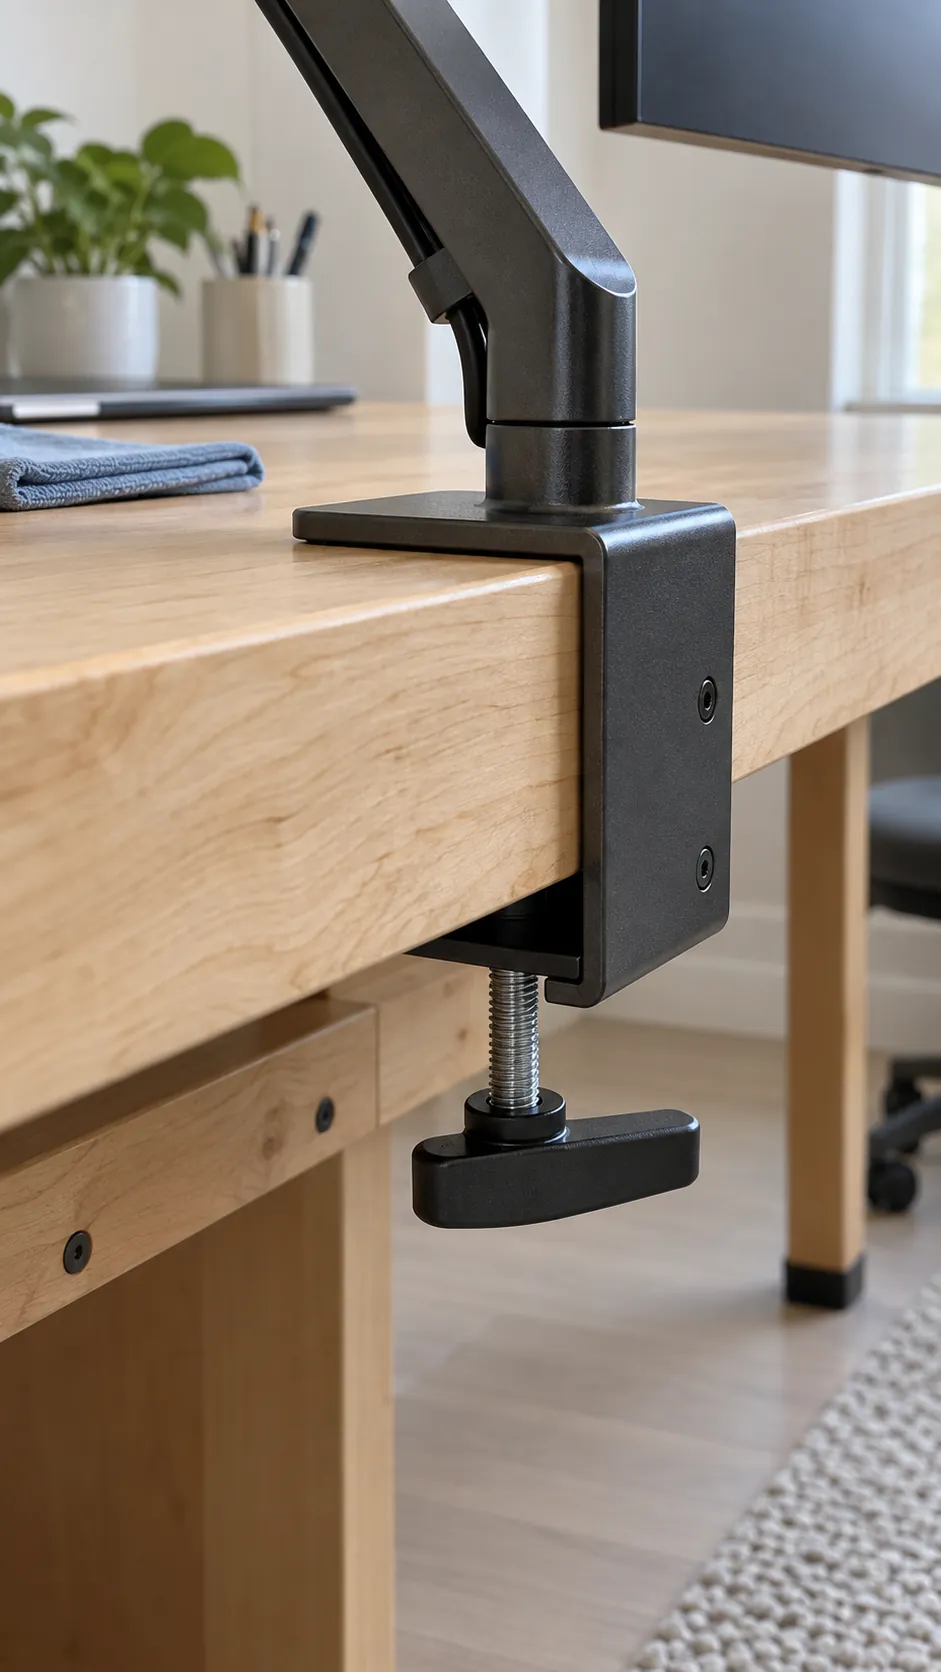
A floating screen is only as secure as the surface holding its clamp. Check the desk manufacturer’s guidance on monitor mounts, then inspect the top material, thickness and underside clearance. A hollow core top, glass surface or shallow decorative edge may need a different mounting solution rather than a tighter clamp.
Measure the usable flat area above and below the rear edge, including any metal frame or cable tray that could obstruct the clamp pad. A reinforcement plate can spread pressure when both manufacturers permit it, but it cannot make an unsuitable desktop safe. Choose a grommet mount only when the desktop and hole location are approved for that load.
Before buying, compare the monitor’s weight without its original stand with the arm’s minimum and maximum supported load. Match the VESA hole pattern and check for recessed mounting points that require approved spacers. Screen size alone does not establish compatibility, especially with a deep curved monitor whose weight sits farther forward.
Give the arm room to fold
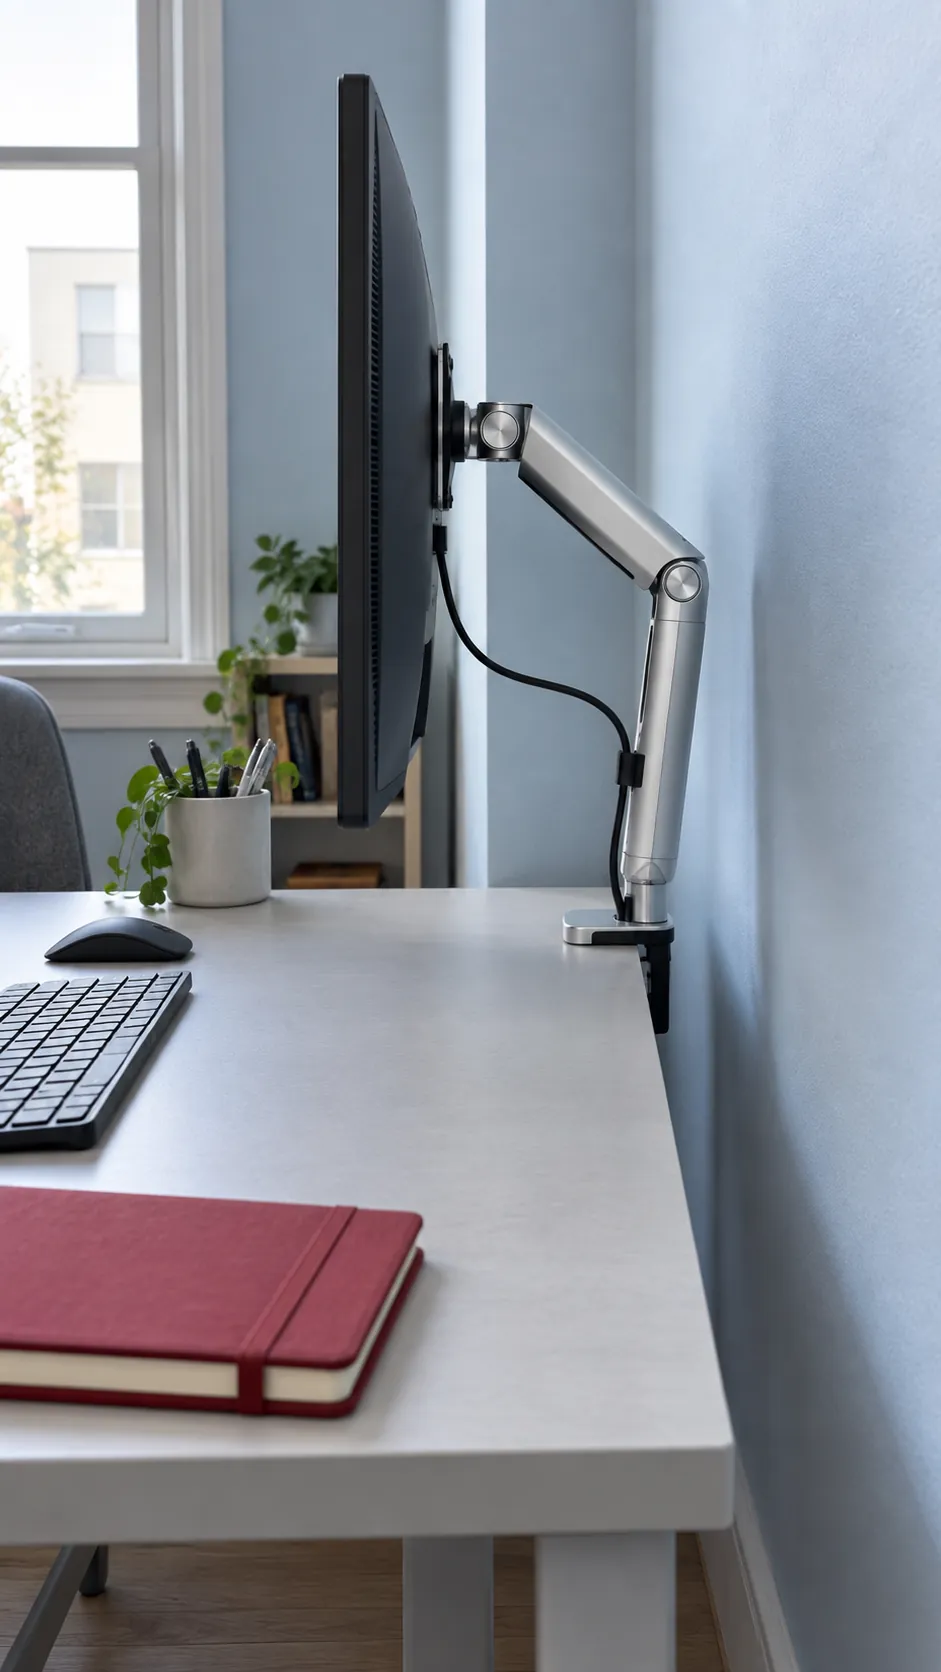
An arm can reclaim the space occupied by a stand while still needing room behind the screen. Look at the manufacturer’s movement diagram and measure how far the elbow projects when the monitor is pushed back. A desk pressed against the wall can turn a long reach arm into a screen that sits too close to your face.
For a shallow desk, consider an arm that folds sideways within the desktop footprint or a compatible pole mount with limited rear projection. Mark the likely clamp position with removable tape and compare the folded arm dimensions against the wall, window trim and nearby shelf. Leave room to move the monitor without letting its corners hit those surfaces.
Center the screen you actually use
Set your chair and keyboard position before adjusting the screen. Start with the main display directly in front of you, at a comfortable reading distance, with its upper edge around eye level or a little below. Increase text size if you keep leaning forward instead of moving the monitor so close that the whole screen becomes difficult to scan.
A single monitor setup gives you the most freedom to keep a notebook beside the keyboard. With a laptop and monitor desk setup, raise the laptop only if you also use an external keyboard and mouse. Put the laptop on the side you glance toward less often, and keep ventilation openings clear.
People using progressive lenses may prefer a lower display position to avoid lifting their chin. Treat the initial height as a starting point, then watch your posture during real work. Comfortable viewing should not require holding your shoulders up or twisting your torso.
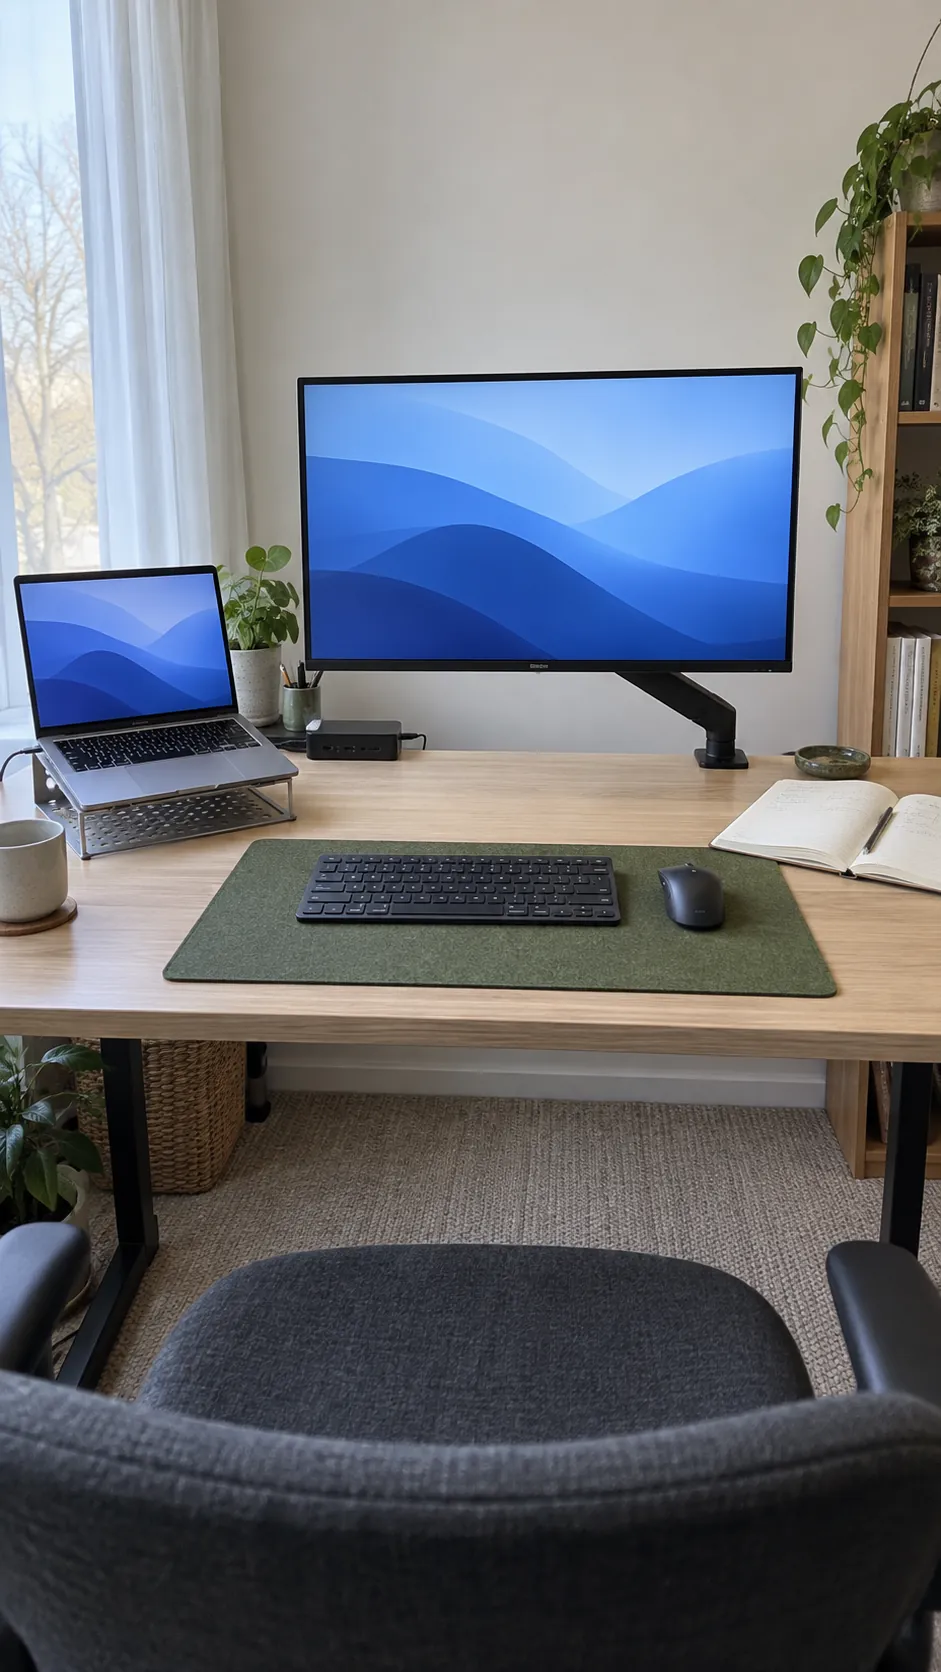
Arrange multiple monitors around the task
For a dual monitor setup used mostly on one display, keep that screen centered and angle the secondary one inward. If both receive similar attention, place their meeting edges near the center of your seated position. Keep the displays at a similar viewing distance so switching between them does not require leaning.
Two independent arms often provide more freedom to place mismatched screens, while one dual arm base concentrates the load at a single mounting point. Check the per arm rating as well as the desk’s total supported load. A portrait secondary screen can free horizontal space for documents, but its lower edge still needs to clear the desktop.
A stacked monitor setup saves width but puts the upper screen outside the easiest viewing zone. Reserve that upper display for information you check occasionally rather than continuous reading. For a triple monitor setup, compare the full span and arm reach with your room and desk dimensions before adding another screen.
Curved screens also need particular care at their joining edges. Leave a small clearance so the casings do not press against each other during adjustment. Matching the curve visually matters less than placing your main work where you can read it comfortably.
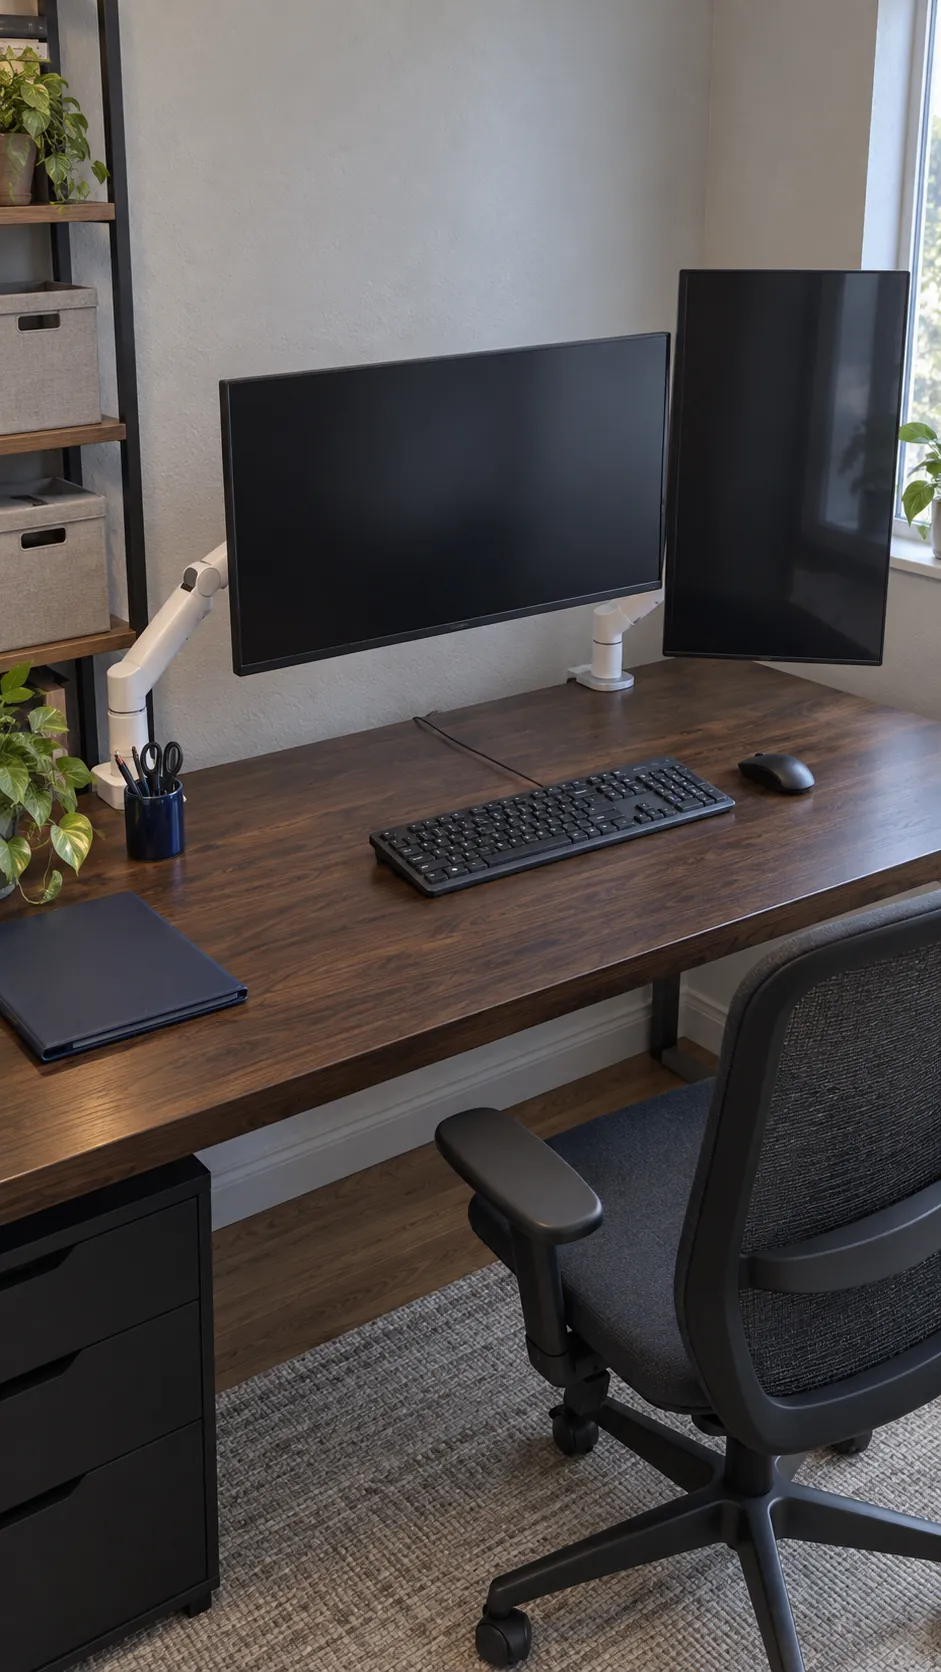
Route cables through the full movement
Position the monitor first, then route its power and display cables along the arm’s intended channels. Leave gentle slack at each moving joint so the connectors do not carry tension when you rotate or extend the screen. Reusable ties make it easier to adjust that slack after a few days of use.
On a standing desk, check the cable path at both the lowest and highest working positions before tidying the final bundle. Mount an approved power strip where its own cord can reach safely and ventilation remains unobstructed. Keep loose loops away from the lifting mechanism and allow the laptop dock to disconnect without pulling the monitor cables.
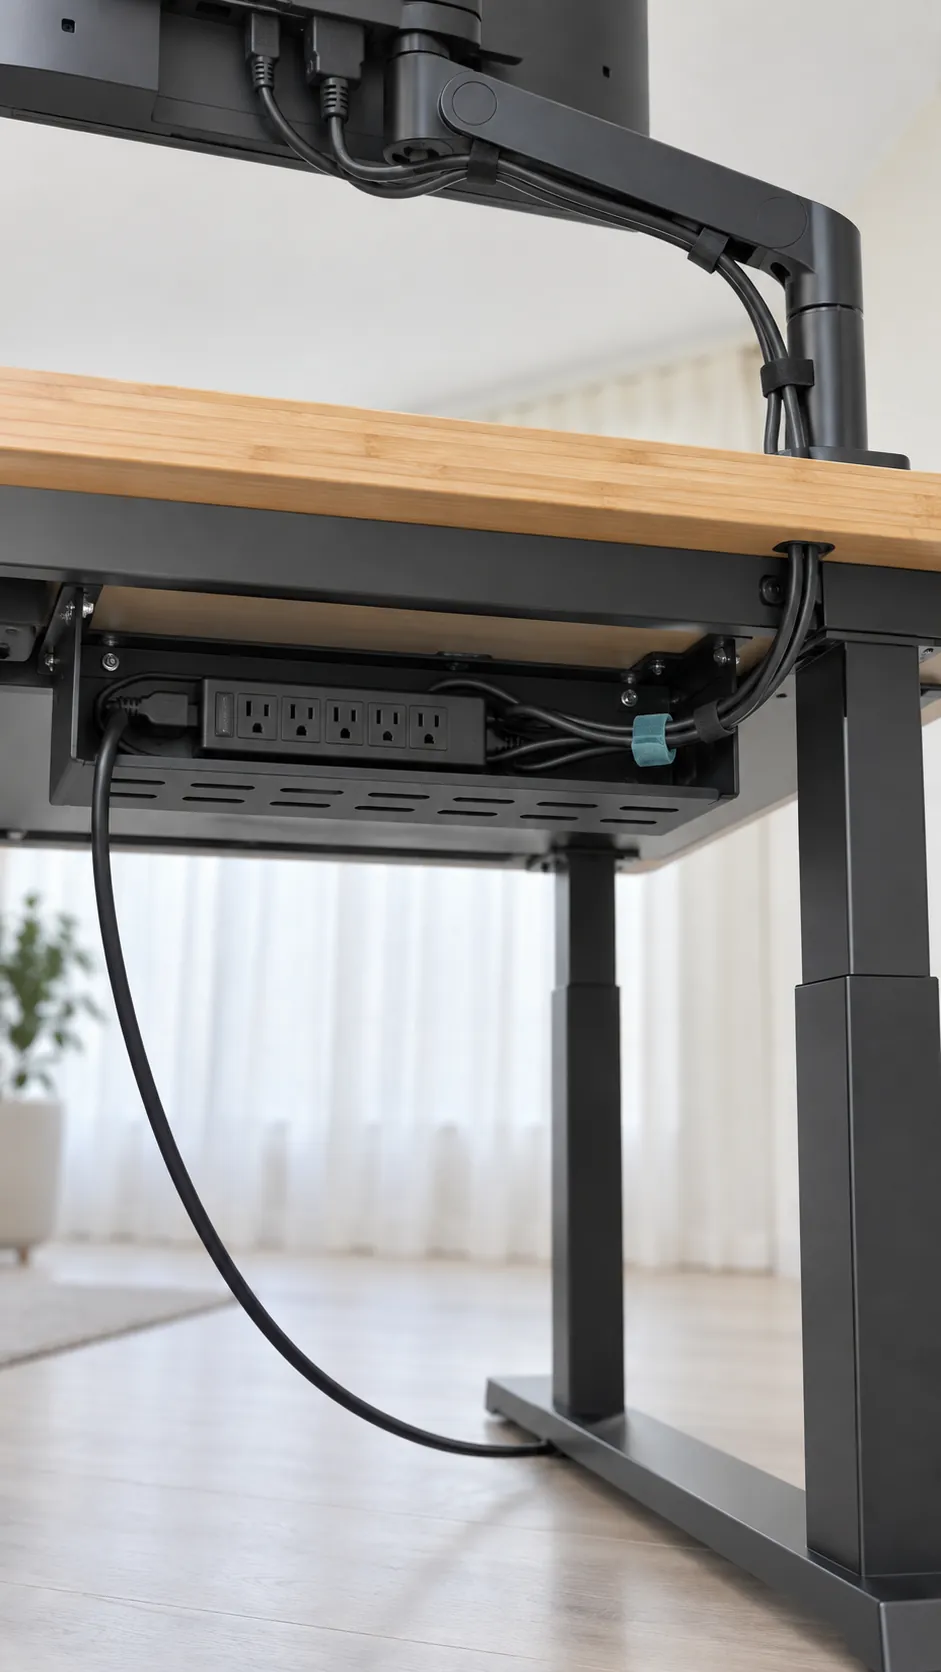
Diagnose movement before tightening everything
A monitor that slowly sinks needs a different check from one that shakes when you type. For sinking, support the display and follow the arm maker’s tension adjustment directions, including any load limits and adjustment stops. If only the screen tilts downward, check the tilt joint instructions rather than increasing the lift mechanism tension.
For wobble, first identify whether the desktop, the arm base or an extended joint is moving. Check desk fasteners and leveling feet according to the desk manual, then shorten unnecessary arm extension. Do not use excessive clamp force or improvise wedges against the monitor to hide the underlying movement.
Test the finished arrangement with ordinary typing, a video call and the desk at your usual heights. Check that the clamp remains seated, cables stay slack and the monitor does not strike the wall. Revisit the setup if you change the display or move the mounting point, because the original balance and clearances may no longer apply.