
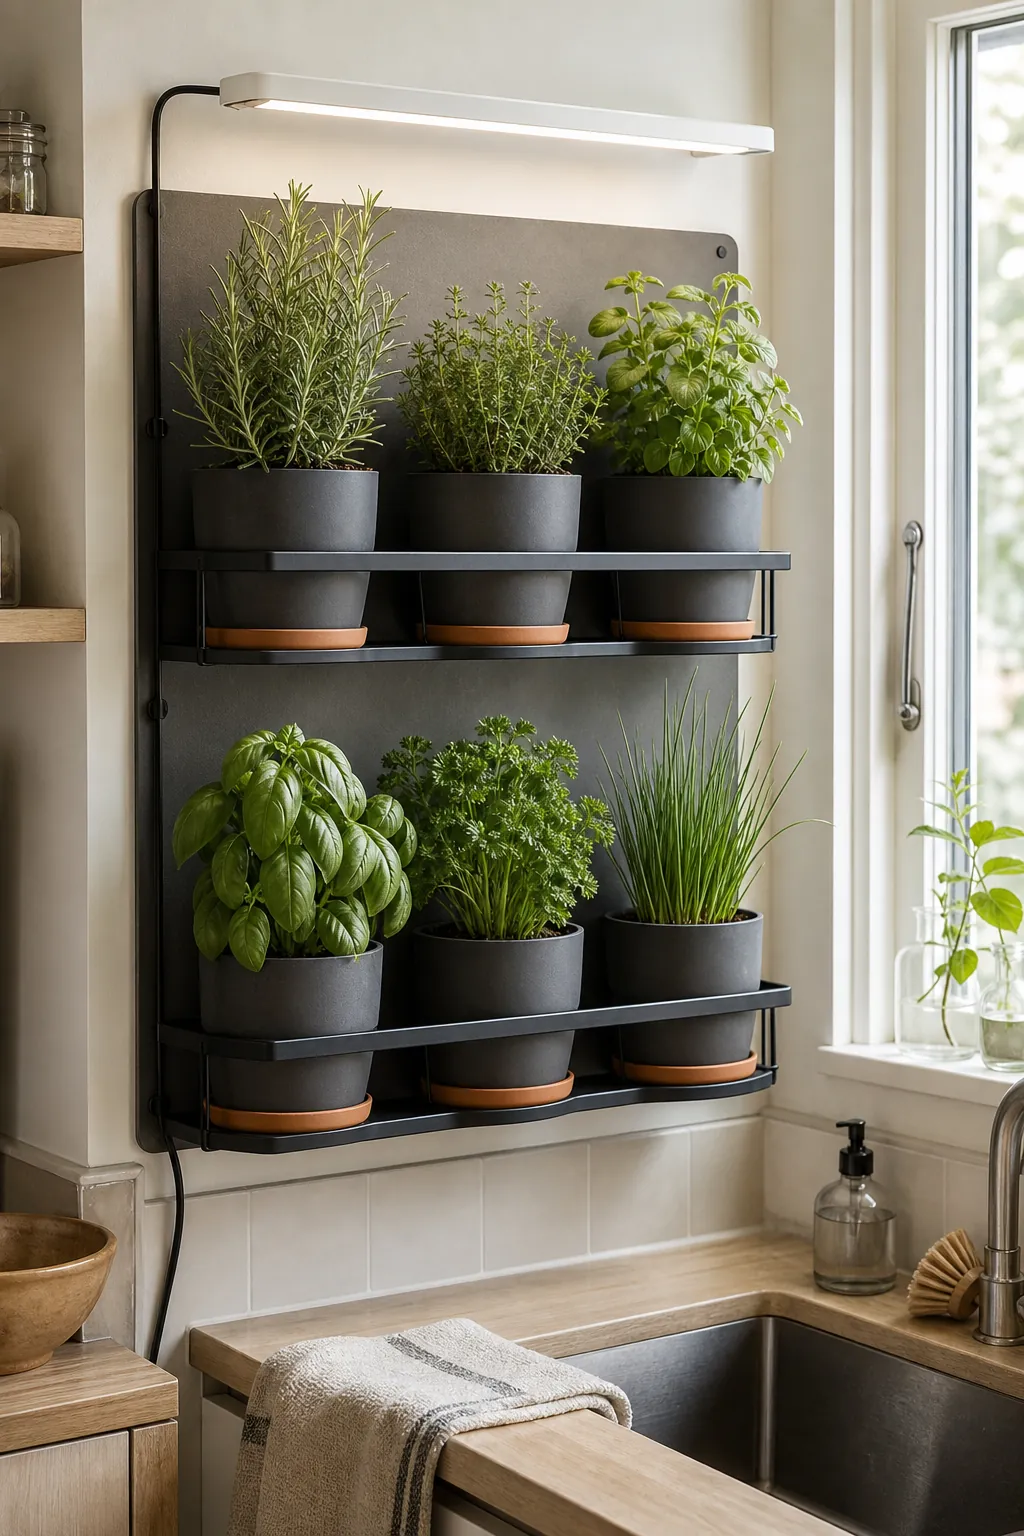
A wall herb garden indoor setup should behave like a collection of movable containers, not a sealed living-wall installation. The compact footprint is appealing, but herbs still need individual watering, drainage, airflow, root room, and strong light. When those needs are hidden behind a pretty grid, problems spread before you can see them.
The most reliable design is modular: one plant per pot, pots that lift out, a rail that carries the full wet load, and a light that reaches every tier. This guide helps you plan that system for an apartment, kitchen, or small home without creating a damp wall or a high-maintenance science project.
Pick a modular rail, not a permanent plant pocket wall
Fabric pockets and interconnected troughs photograph well, but they make it difficult to isolate a sick plant or tailor watering. Iowa State Extension recommends growing indoor herb species in separate containers because their preferred conditions differ. A rail with lift-out pots gives you the same vertical effect while letting rosemary dry more than basil and keeping fast-spreading mint on its own.
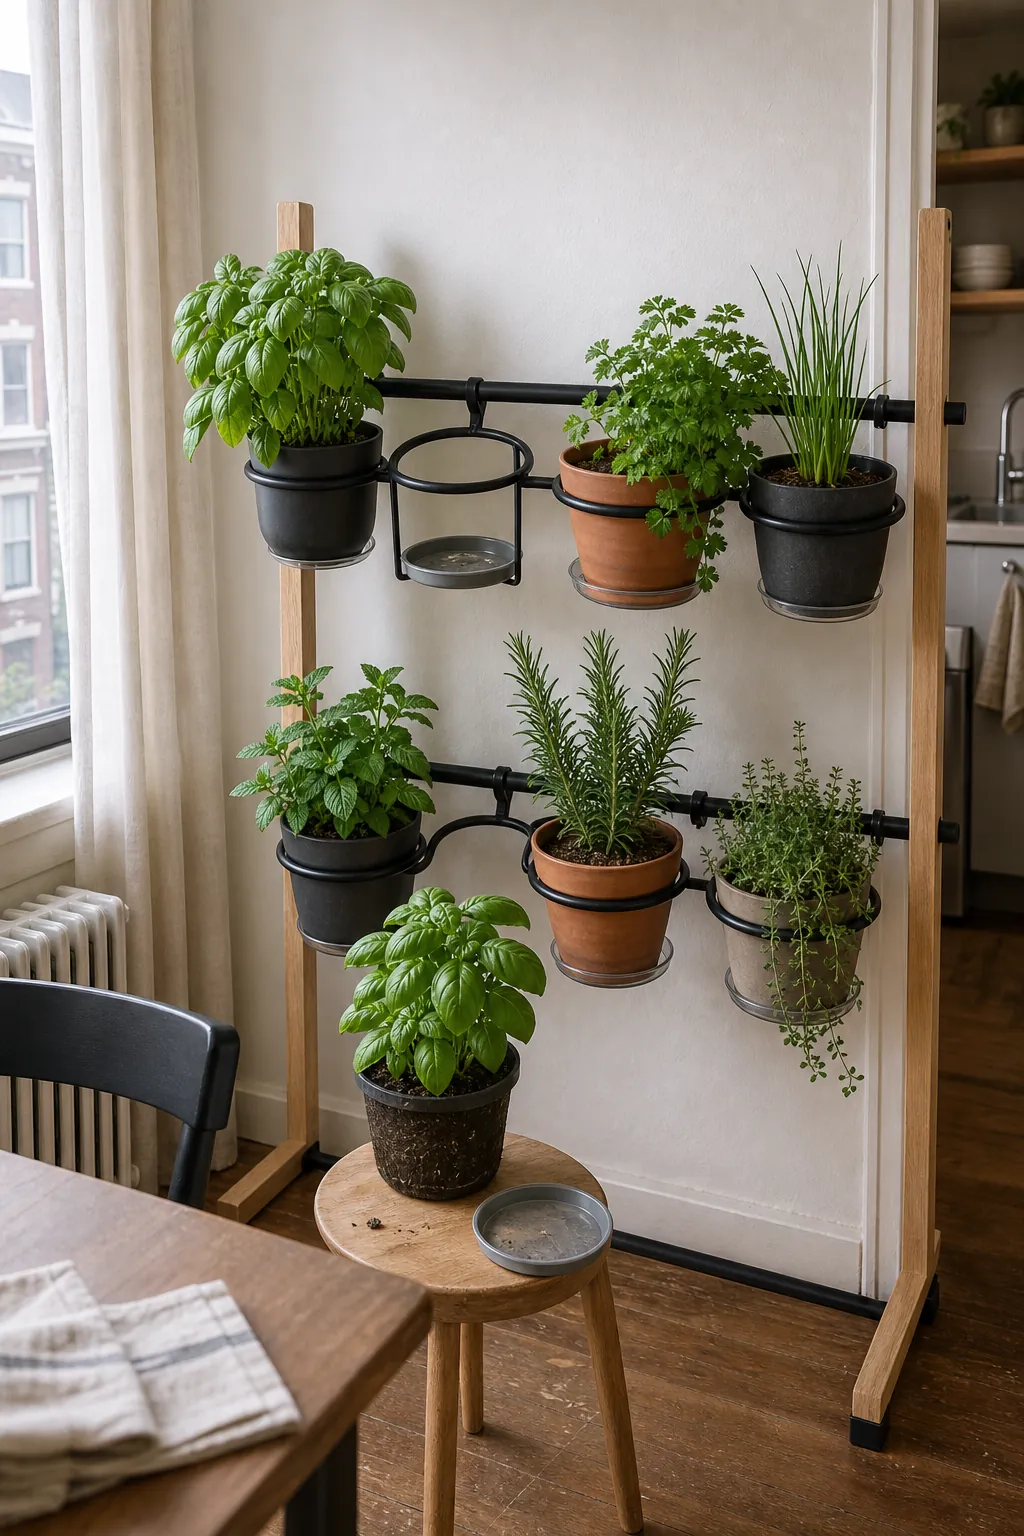
Choose two shallow rows rather than a floor-to-ceiling grid. Every container should be reachable without a ladder, visible from above, and removable without disturbing its neighbors. Leave at least a few inches behind and between mature foliage. A smaller system is also easier to move away from a cold exterior wall in winter.
Calculate wet weight before choosing anchors
An empty plastic pot can feel insignificant. Add damp mix, a mature plant, ceramic cover pot, tray, rail, light, and backing panel, and the load changes quickly. Weigh one fully watered planted pot, multiply by the number of positions, then add the hardware and a reasonable safety margin. Fasten into studs or sound masonry with hardware suited to that substrate; decorative wall hooks and adhesive strips are not structural supports.
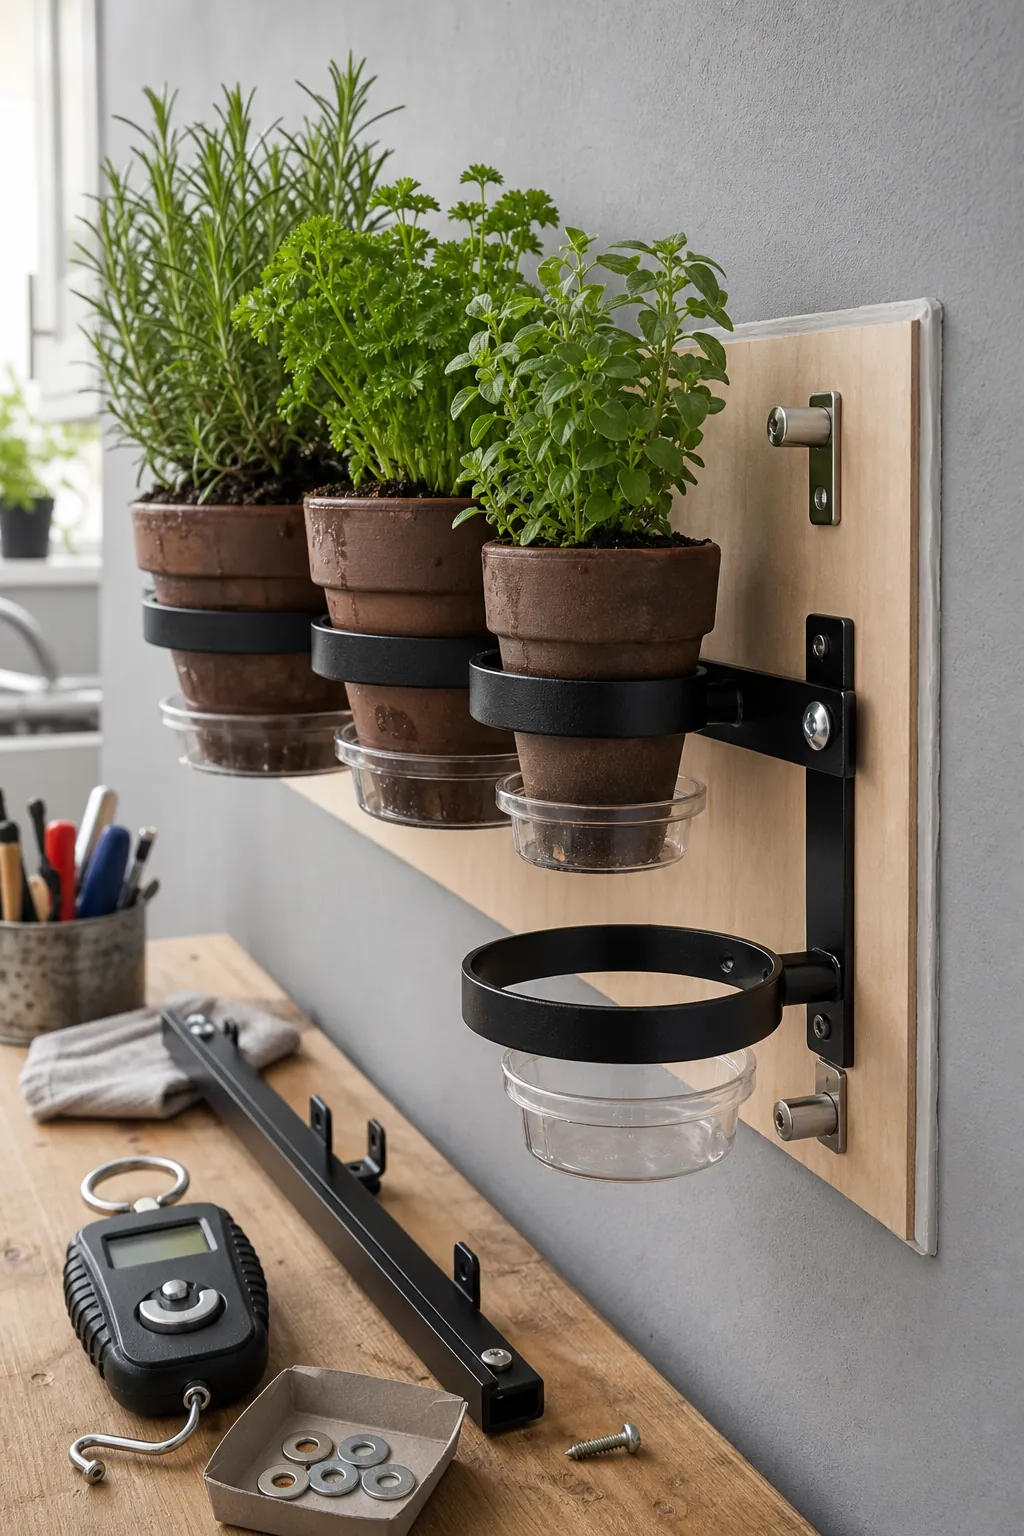
Add a sealed, washable panel behind the rail and spacers that create an air gap. The panel should extend beyond the splash zone. Keep the system away from outlets, cooking heat, and cabinet doors. Renters can use a stable freestanding frame or tension system, but it still needs a base wide enough to resist tipping.
Size each pot for roots and drying speed
Tiny decorative cups dry quickly at the leaf edge yet can remain wet around cramped roots. Oversized pots do the opposite: unused mix stays wet too long. Match the container to the plant’s current root ball and mature habit. Deep-rooted dill needs more depth, vigorous mint needs its own pot, and woody rosemary benefits from a stable container that will not tip as it grows.
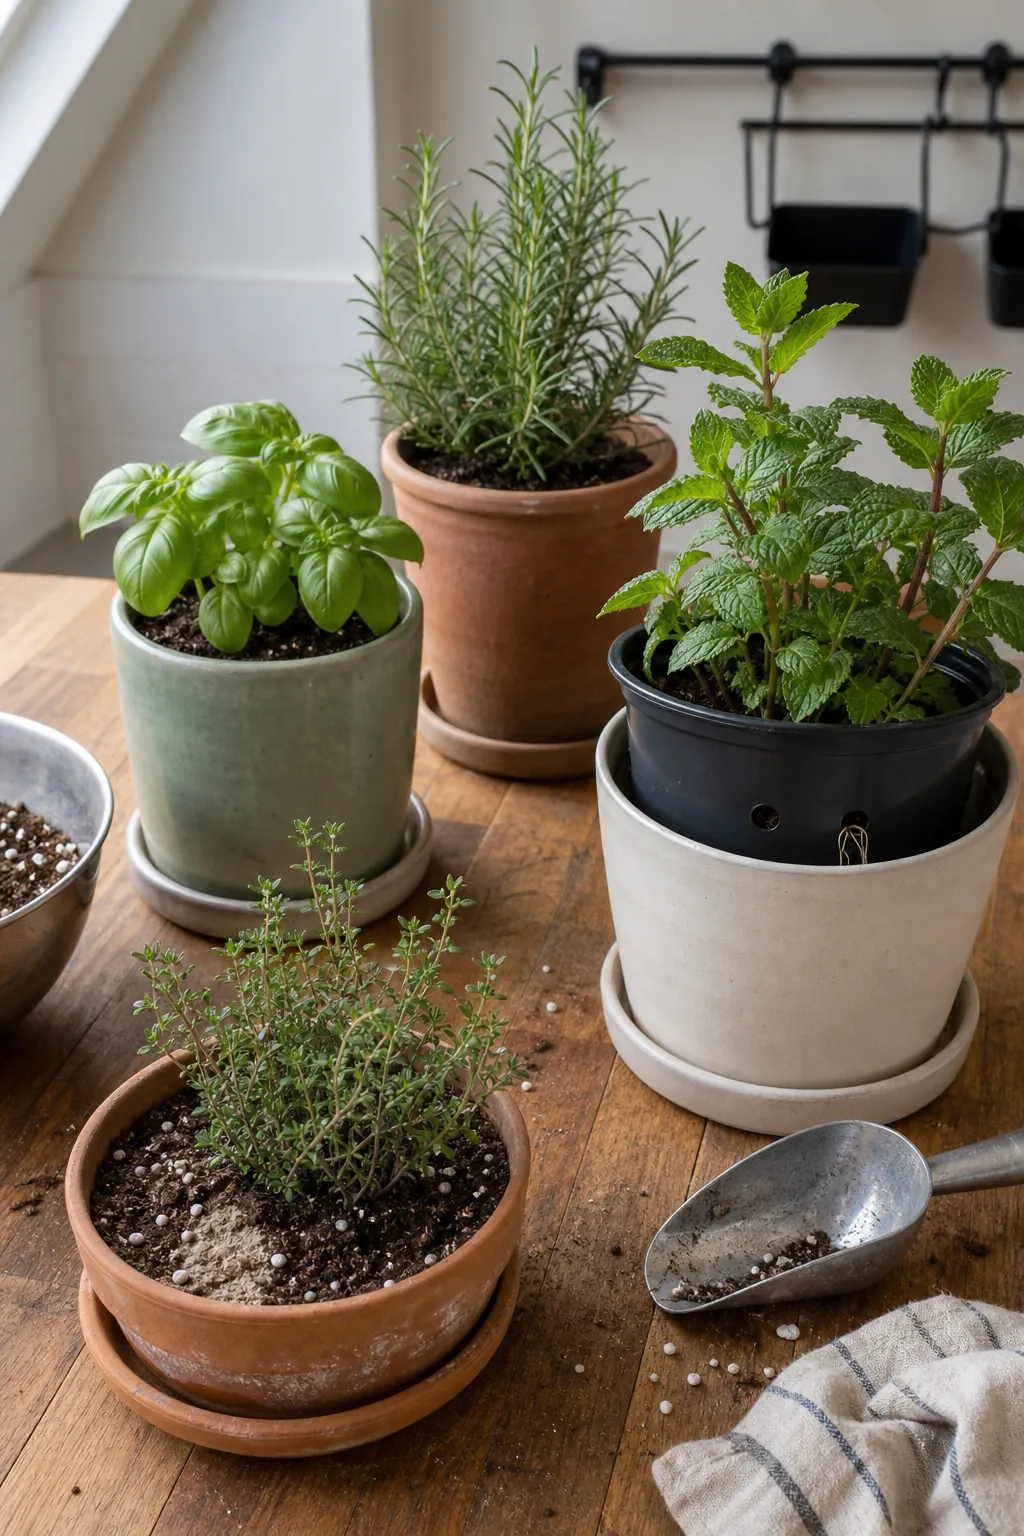
Every inner pot needs drainage holes and a lightweight soilless mix. If you want decorative cover pots, double-pot: grow the herb in a draining nursery pot and lift it out for watering. Never rely on pebbles at the bottom of a sealed container as a substitute for drainage.
Map the light at leaf level across every tier
Indoor light is usually the limiting factor. Measure the distance from leaves to the window or grow light, not from the wall to the window. A bright room can still deliver weak light to lower pockets. Pale leaves, long stems, and growth leaning in one direction are warnings. Rotate removable pots, but fix the underlying shortage with a correctly positioned full-spectrum light.
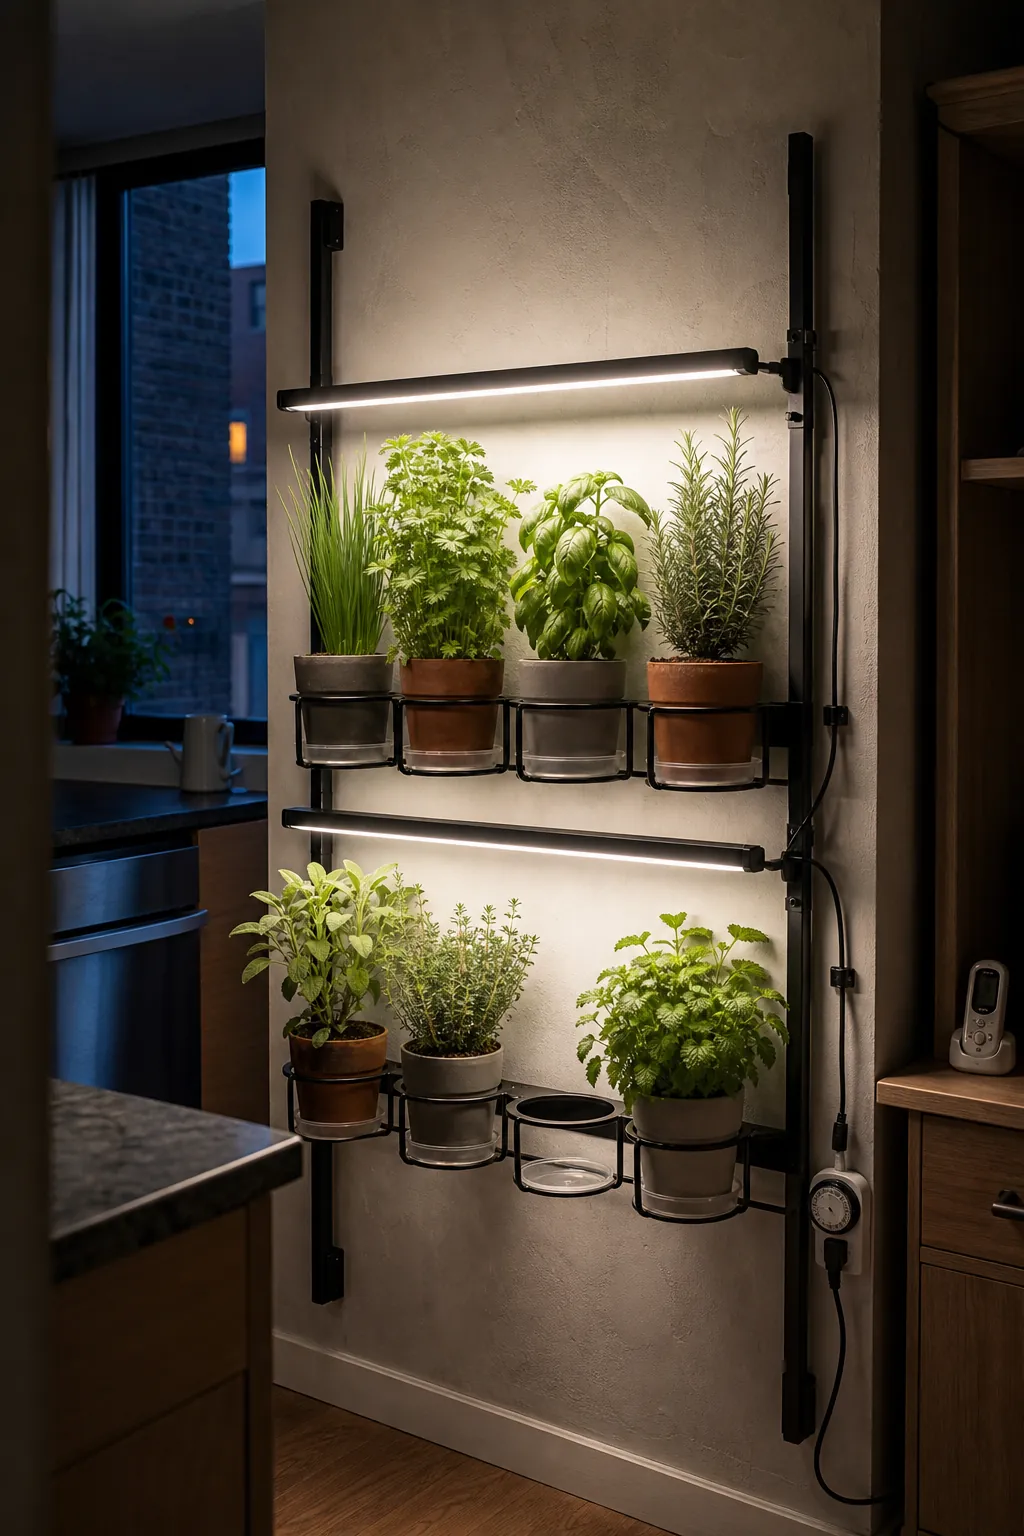
Use separate slim bars when one fixture cannot cover both rows. Keep them far enough from leaves to avoid heat or bleaching but close enough to deliver useful intensity, following the manufacturer’s guidance. A timer prevents irregular days. Check wall temperature behind the fixture after it has run for several hours, especially near an exterior wall or in a tight recess.
Quarantine new herbs before they join the wall
Aphids, spider mites, thrips, whiteflies, and fungus gnats can move quickly through closely spaced plants. Keep grocery-store herbs and outdoor transplants separate for at least a week while checking leaf undersides, stem joints, soil surface, and new growth. Remove decorative sleeves, confirm the pot drains, and repot only when necessary.
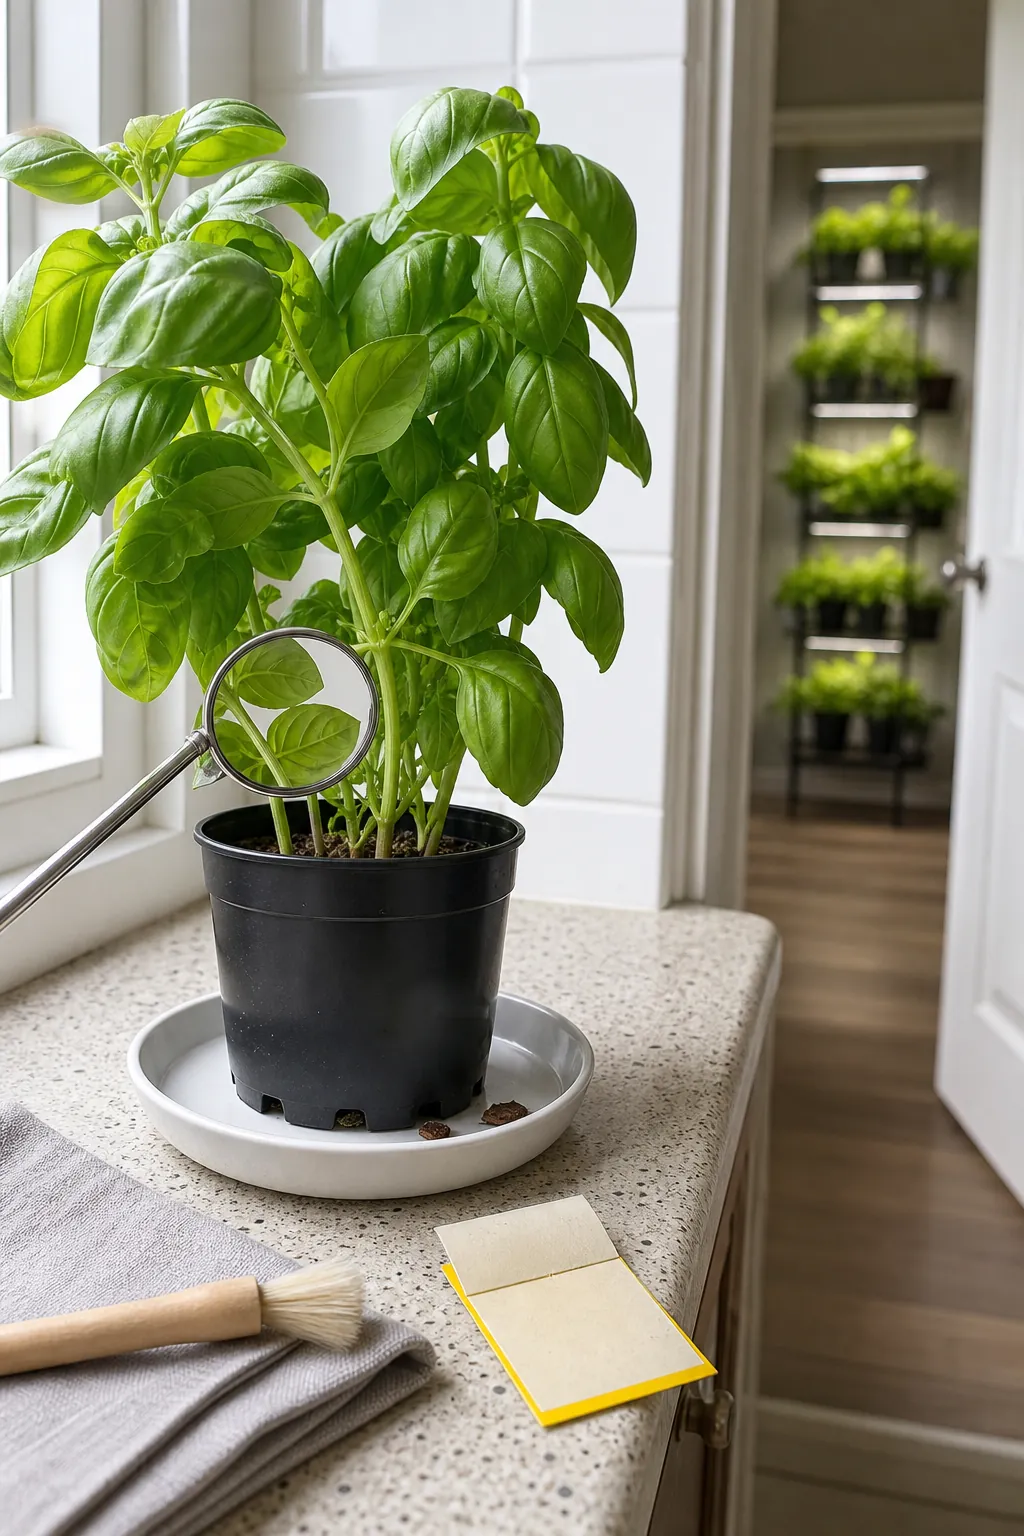
On the main wall, remove dead leaves and keep gentle indirect airflow around foliage. Avoid constant misting in a crowded, dim corner; moisture without circulation increases fungal risk. If one plant shows a problem, lift it out immediately rather than treating the entire edible garden by habit.
Design the wall around harvest and cleaning
A productive herb wall is touched often. Put parsley, chives, basil, and cilantro where you can snip them while cooking. Keep the soil surface visible, trays removable, and backing panel wipeable. Pinch leafy annuals regularly to encourage branching; harvest perennial herbs more lightly so they retain enough growth to recover.
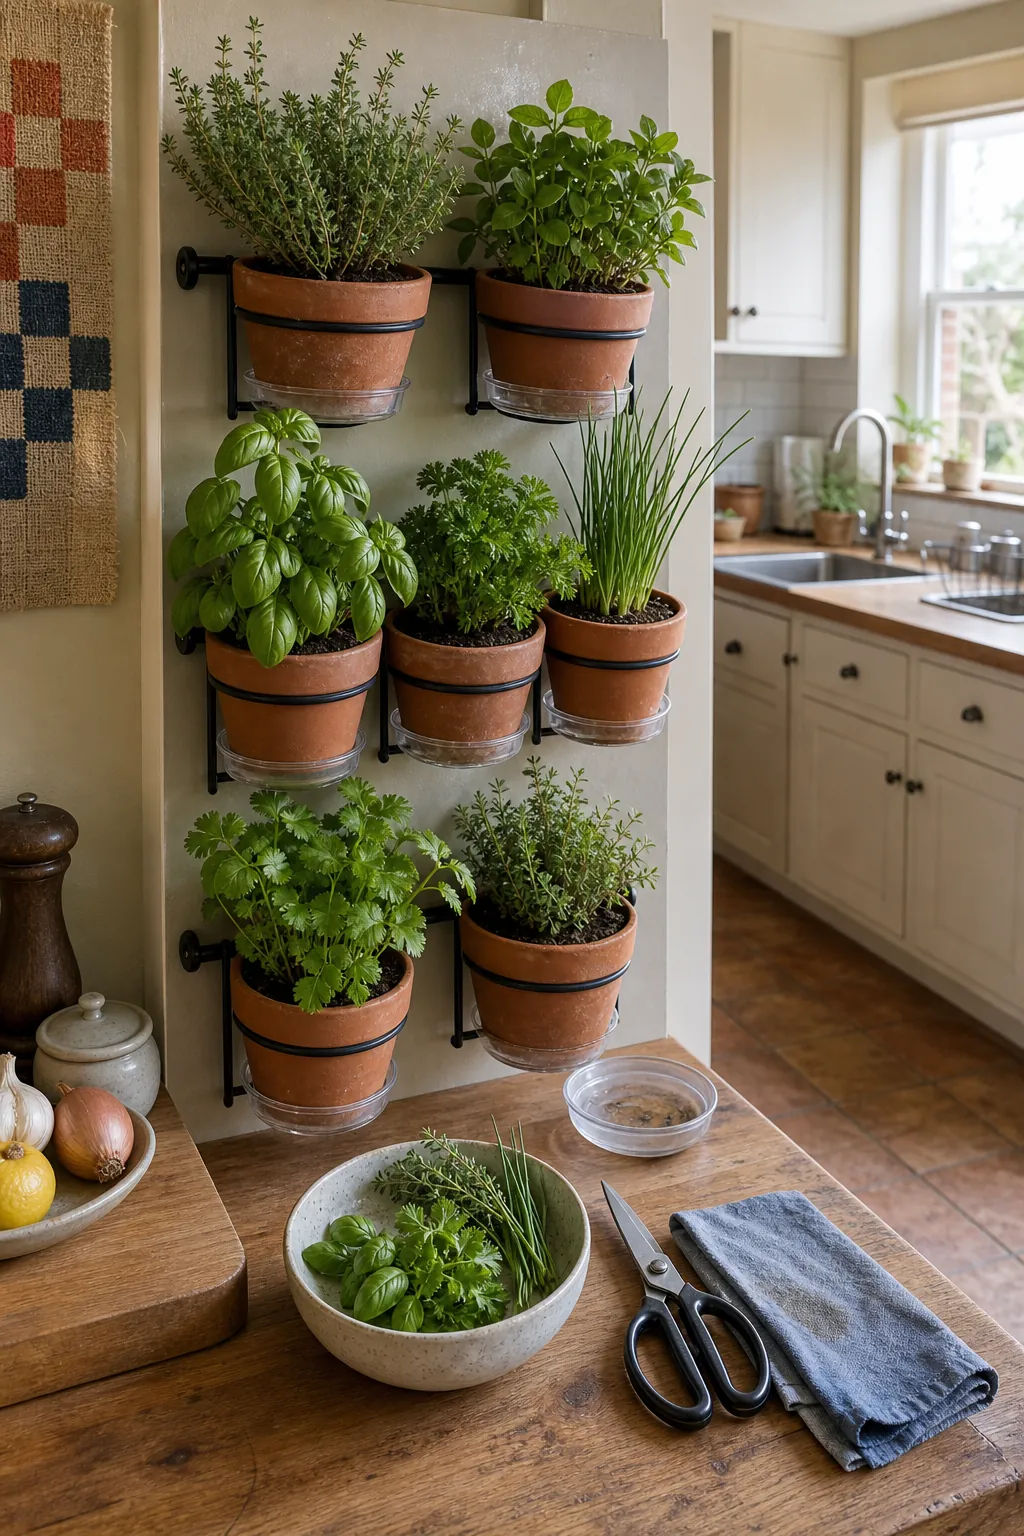
Once a week, lift each pot, check its weight and roots, wipe the tray, turn uneven growth, and inspect leaves. Fertilize lightly during active growth; overfeeding can reduce the concentrated aroma you are growing herbs for. Replace short-lived cilantro or tired basil without treating replacement as failure.
A reliable six-pot layout
- Upper bright, drier row: rosemary, thyme, and oregano in separate pots
- Lower easy-reach row: basil, parsley, and chives with individual trays
- Elsewhere: mint in its own isolated container
- Behind: sealed backing panel with a ventilated gap
- Above: neutral-white adjustable grow bars on a timer
- Beside: a clear route to the sink for full drainage
That layout may look less dramatic than a dense DIY plant wall indoor installation, but it is far easier to keep healthy. The winning design is the one that lets you notice a dry basil pot, one aphid, or a full drip tray before it becomes a wall-wide problem.