
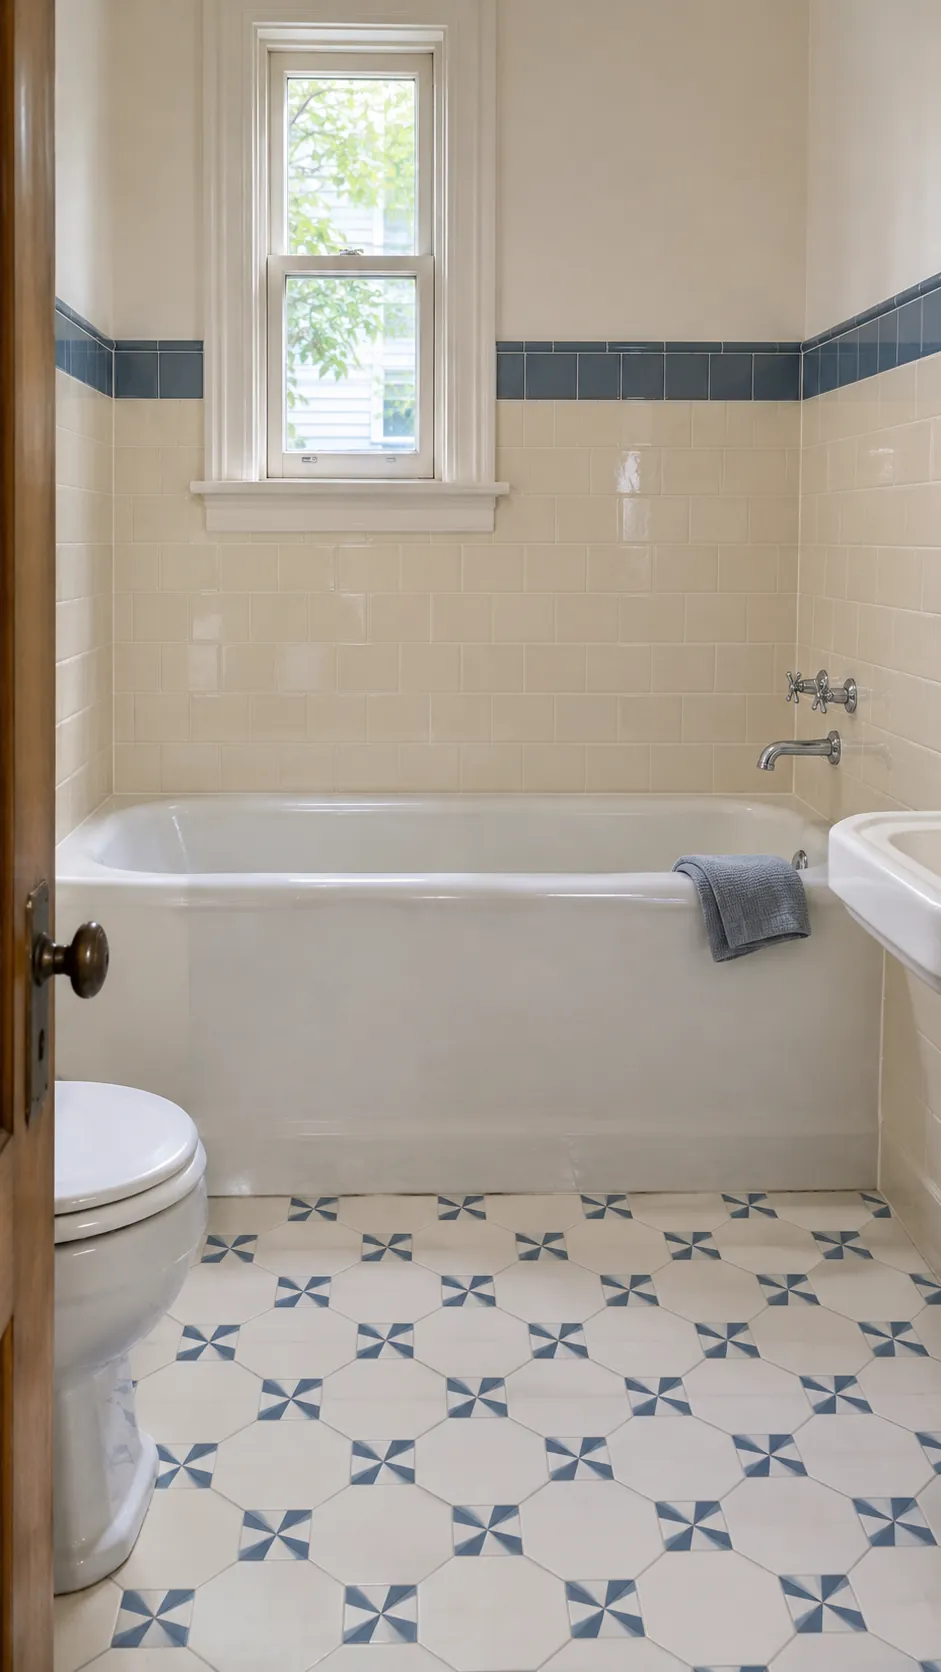
A tile that looks right in your hand can make an entire bathroom feel busy once you see it repeated around the room. Decide where you want the eye to land first, then test enough tile to see the pattern at that scale. If the old wall is staying, bring every floor sample back to that wall before you choose.
Turn the Checkerboard on a Diagonal
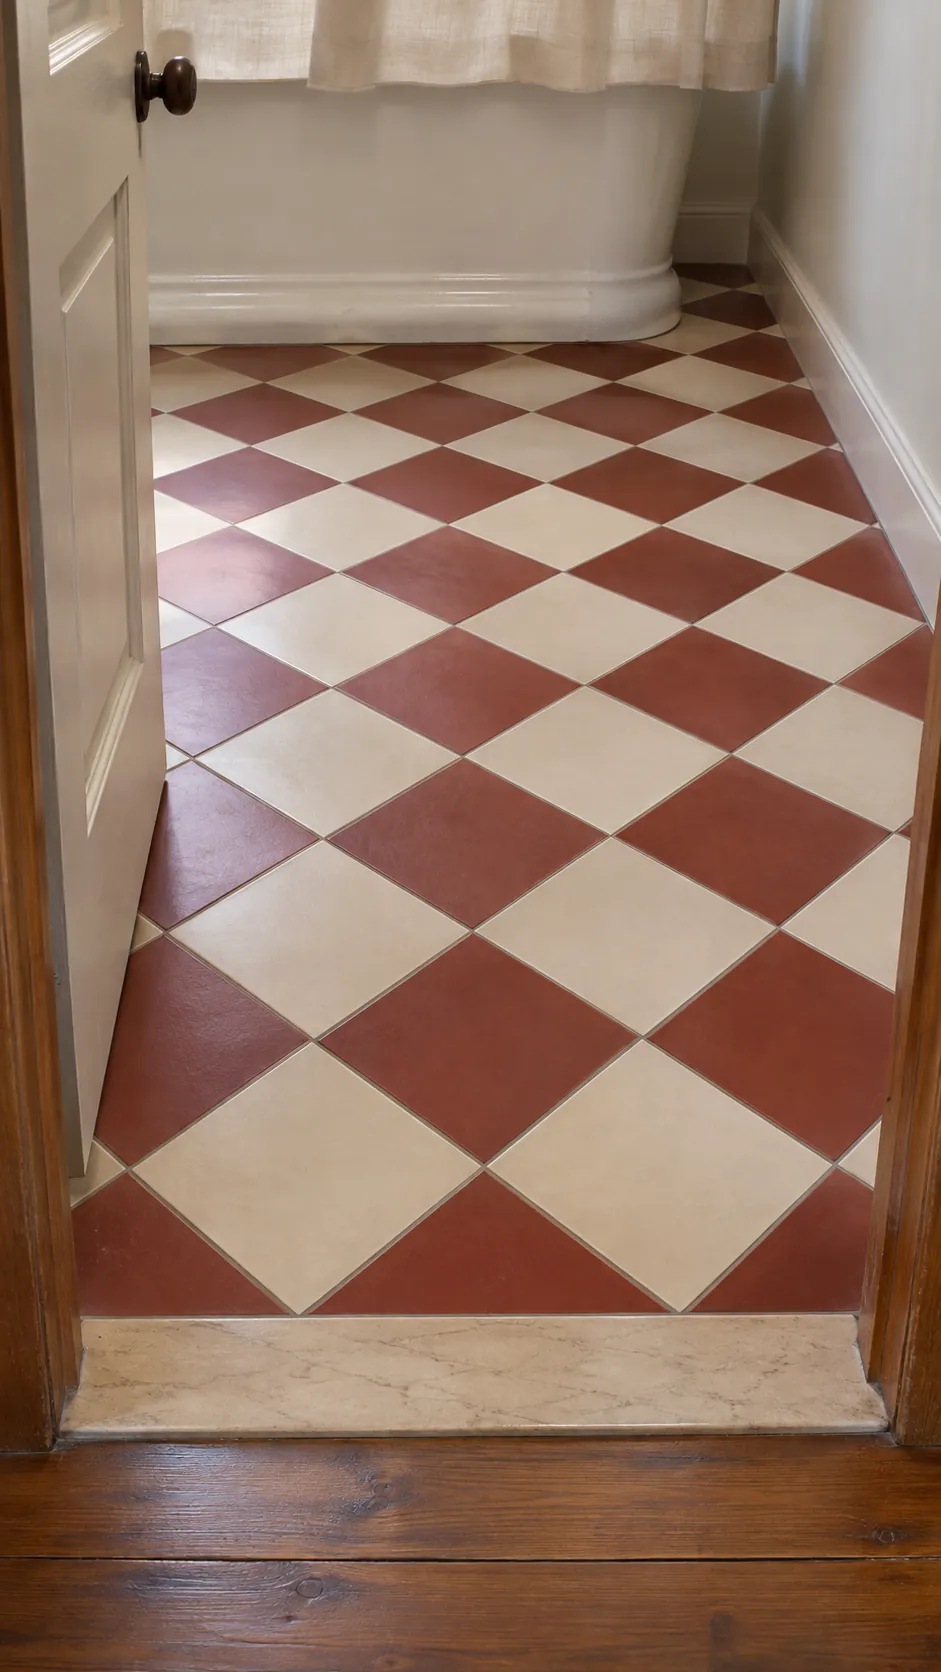
A diagonal checkerboard gives a narrow floor a different rhythm from the square tile on the wall. Lay out a full strip from the door to the tub before choosing a starting point. Shift the pattern if the first plan leaves thin triangles along the threshold. Brick red and cream give you a softer contrast than bright white and black.
Outline a Penny Tile Floor With One Dark Row
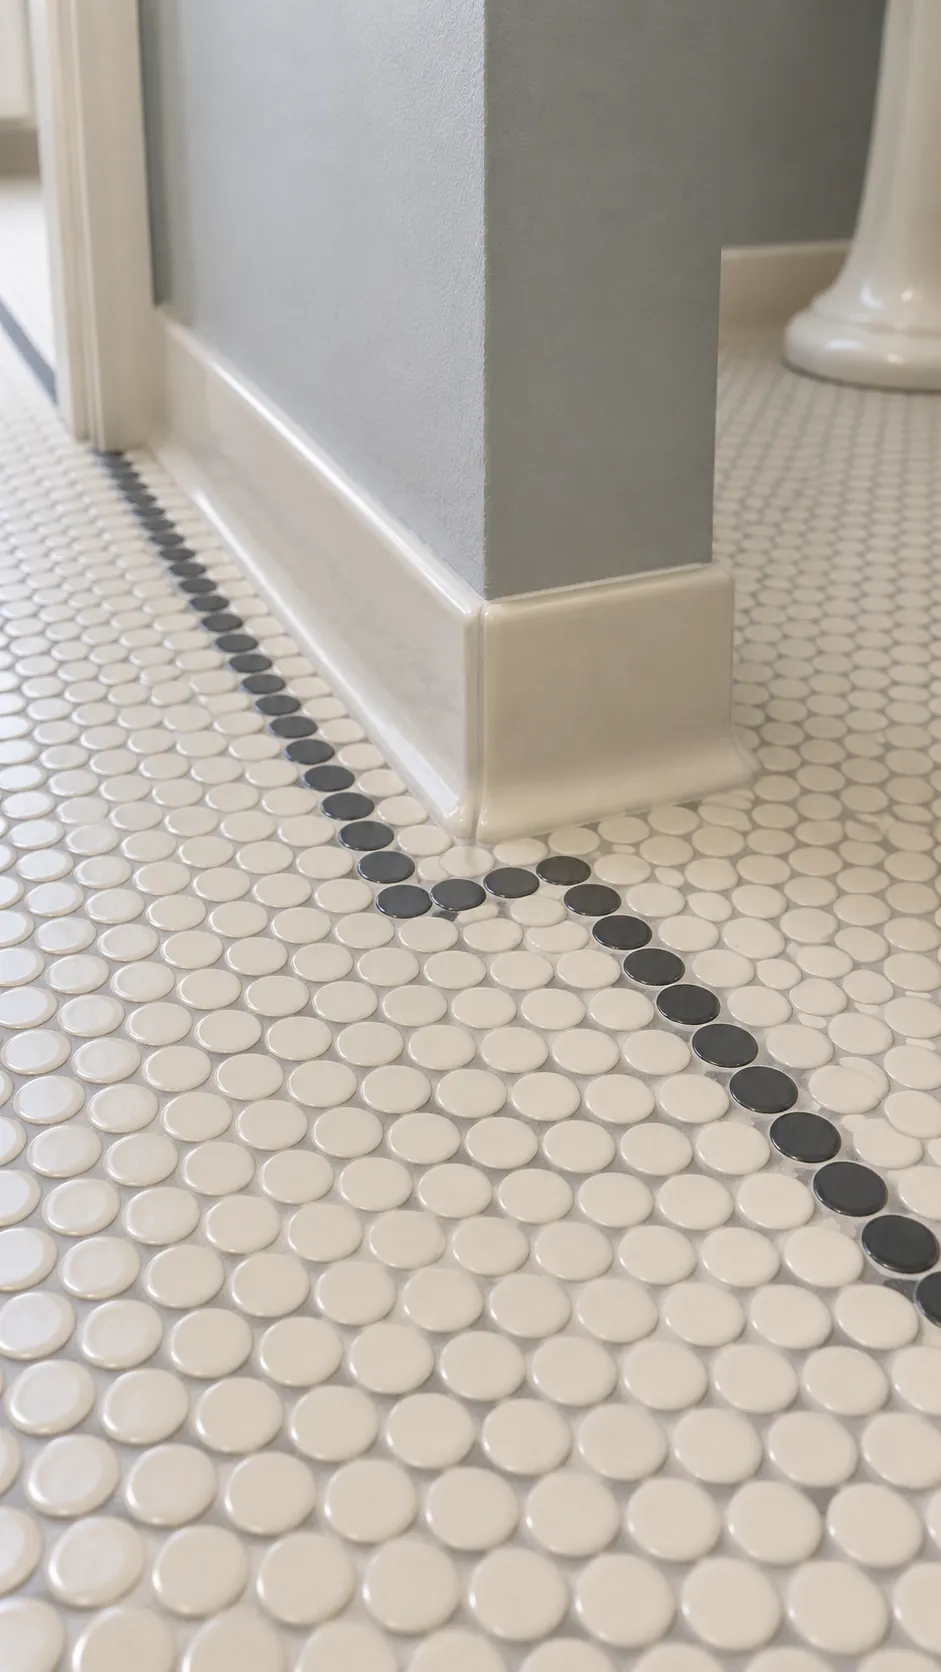
A single row of dark pennies can outline a field of ivory rounds without closing in a small bath. Sketch the border where it crosses a toilet or wall hung vanity before placing it. Keep the inner field simple if you want the curved edges of the individual tiles to show. Check floor suitability and ask to see a test sheet with grout before buying.
Let a Stripe Span the Tub Wall
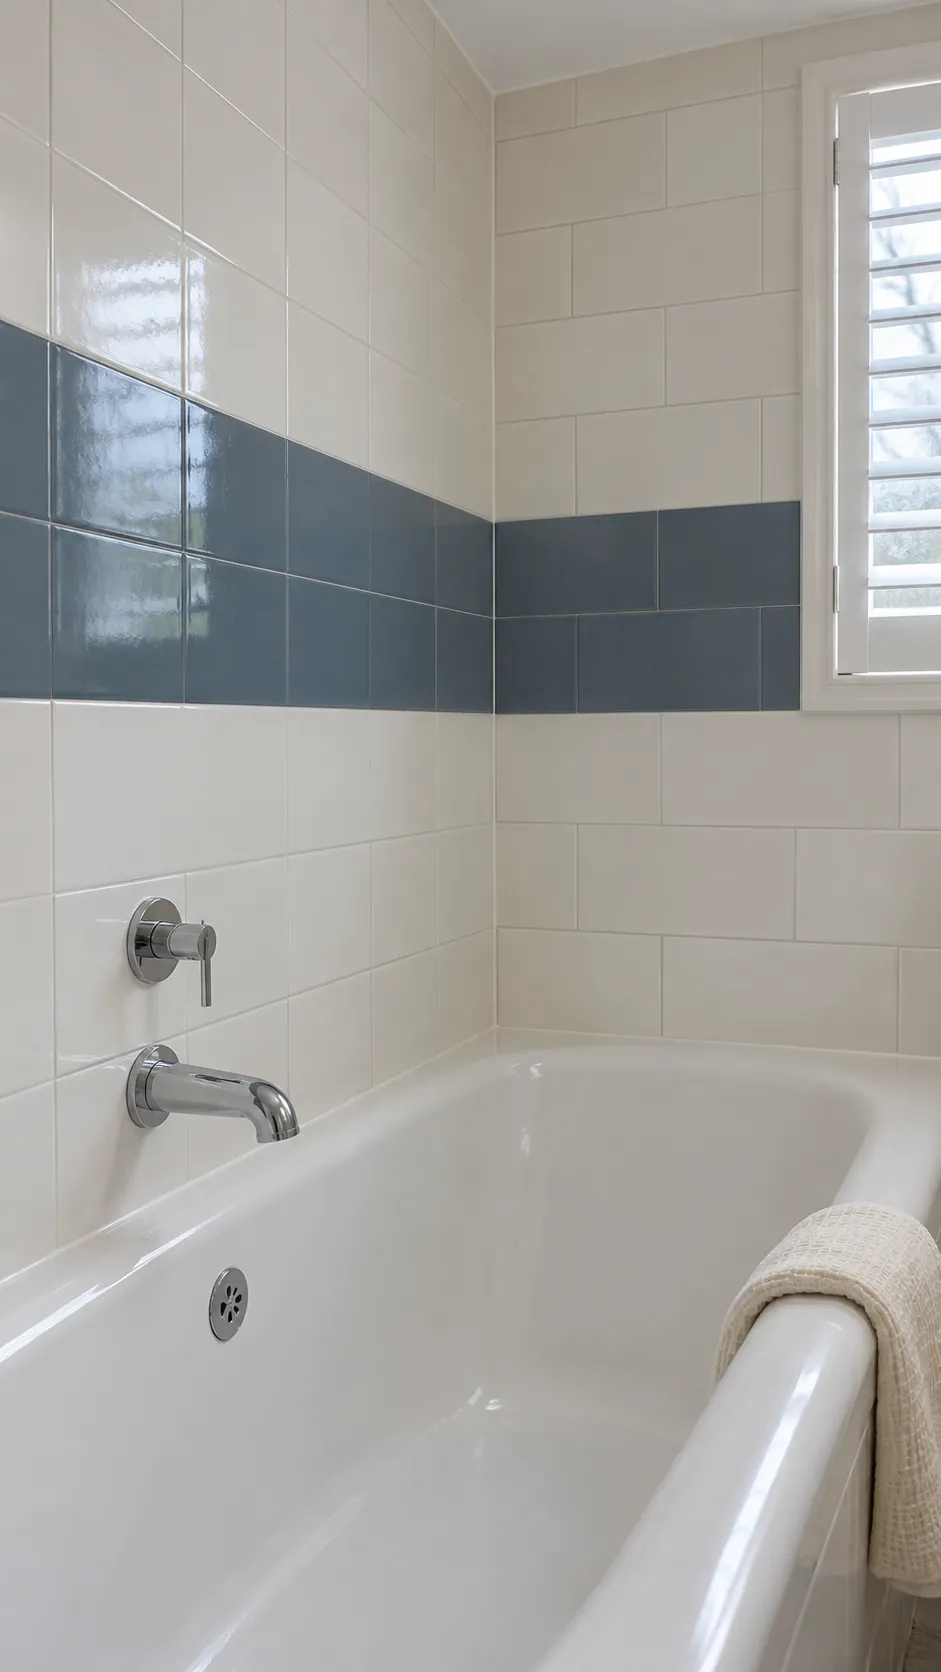
A broad blue stripe can carry the eye along a white tub without adding pattern to every wall. Put the stripe on a drawing of the surround and check whether it passes through the controls or shelf. Run it around the corner if you want one continuous line. Choose blue and ivory from compatible tile sizes so the joints meet without a visible step.
Use Clay Colored Grout as Part of the Pattern
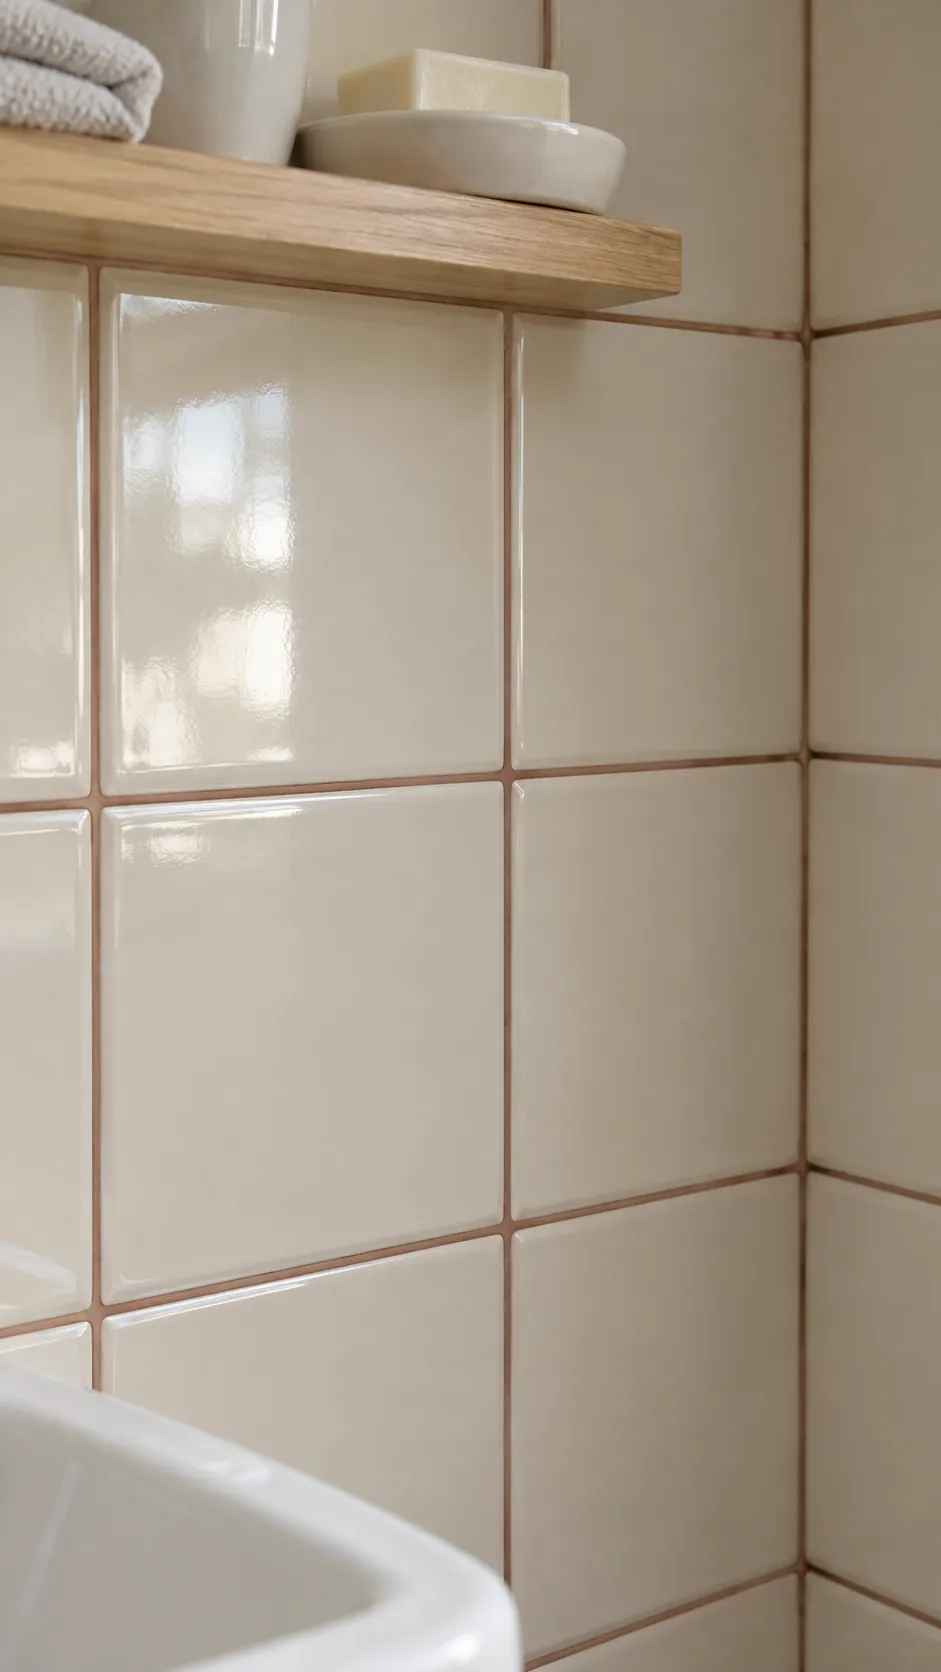
A tinted grout can give plain ivory squares a grid with warmth. Try a cured test board first, since wet grout and printed color chips can look different from the final joint. A muted clay color keeps the grid visible without making the contrast harsh. Use a joint width suited to the actual tile and follow the grout maker’s cleaning instructions.
Think about upkeep at the same time you choose color. Light marks and soap residue may be more visible on a dark joint, especially around a shower. Ask how the cured sample should be cleaned before you commit to the whole wall.
Put Small Blue Flowers in a White Hex Floor
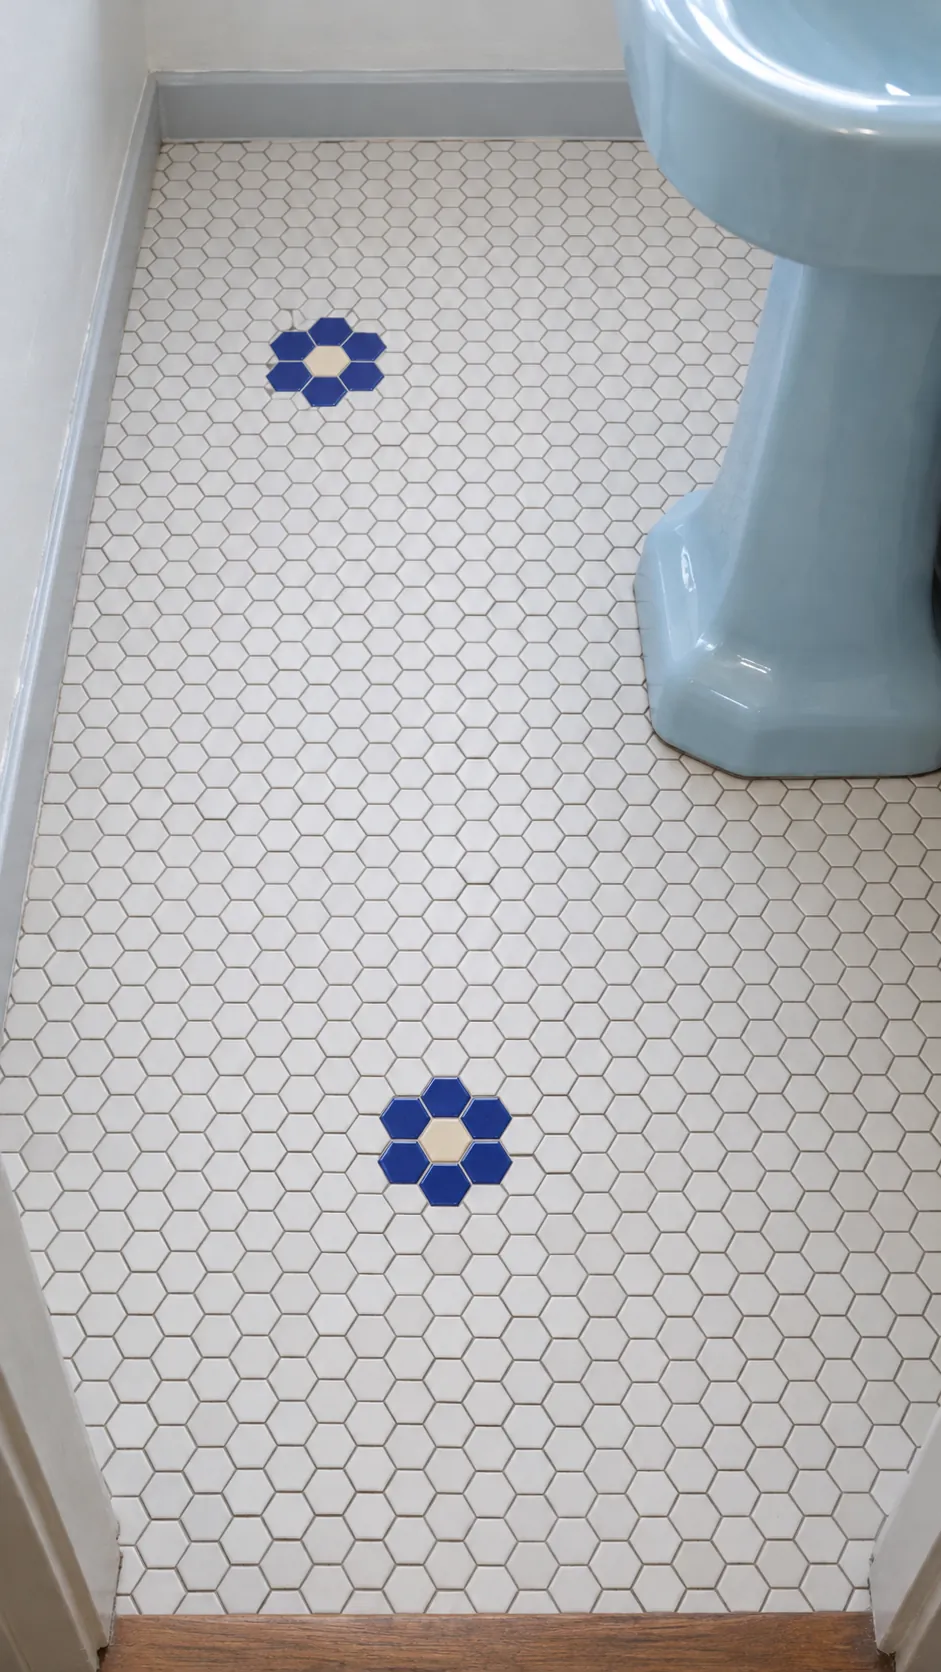
A blue flower made from small hex tiles ties a new floor to an old blue basin or bath. Scatter a few repeats rather than trying to fill every open patch. Check the pattern with the intended fixtures drawn in, especially if the largest flower would sit beneath a vanity. Keep a few matching tiles for small repairs.
Try Octagon and Dot in Soft Contrast
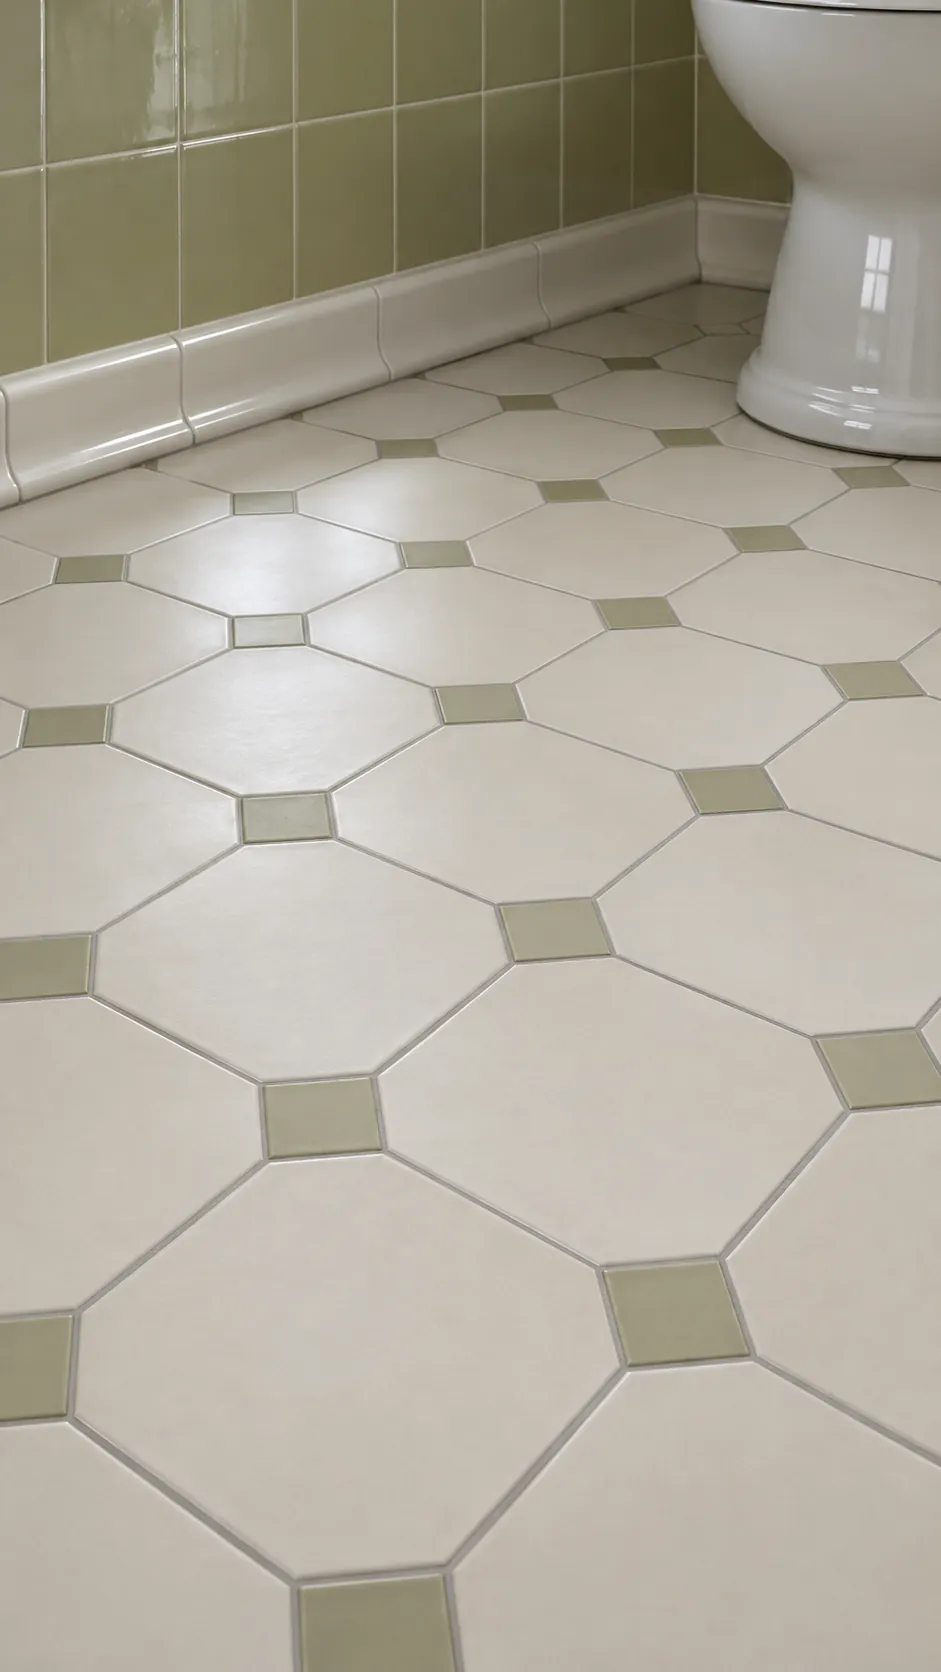
Octagon and dot makes a lighter floor if the small insert stays close in value to the main tile. Try pale olive dots with ivory octagons if the walls already carry green. Lay two sheets next to each other to check how the pattern joins over the seams. Put the sample beside the actual wall tile before deciding on the grout.
Stack Olive Tiles Behind the Basin
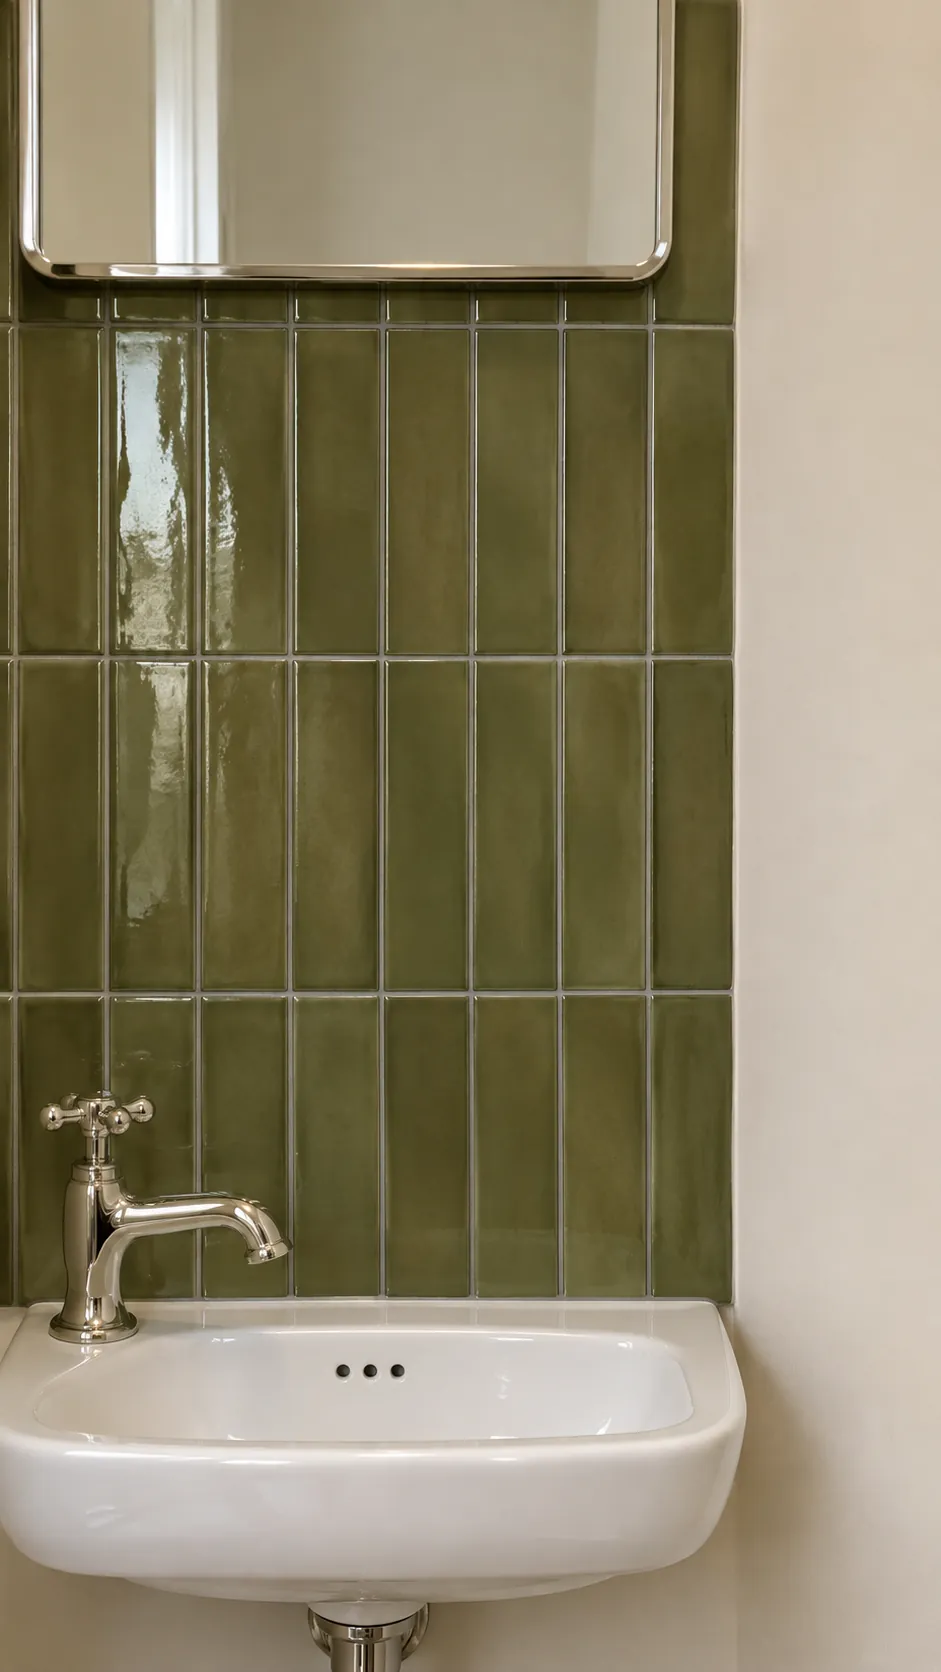
A stack of vertical olive rectangles gives a plain basin wall the feeling of a short architectural panel. Mark the mirror and soap tray heights first so the pattern sits where you can actually see it. Pick a glaze with some tone variation if you want the surface to feel like fired ceramic. A quieter grout puts the color ahead of the grid.
Finish a Half Wall With Rounded Bullnose
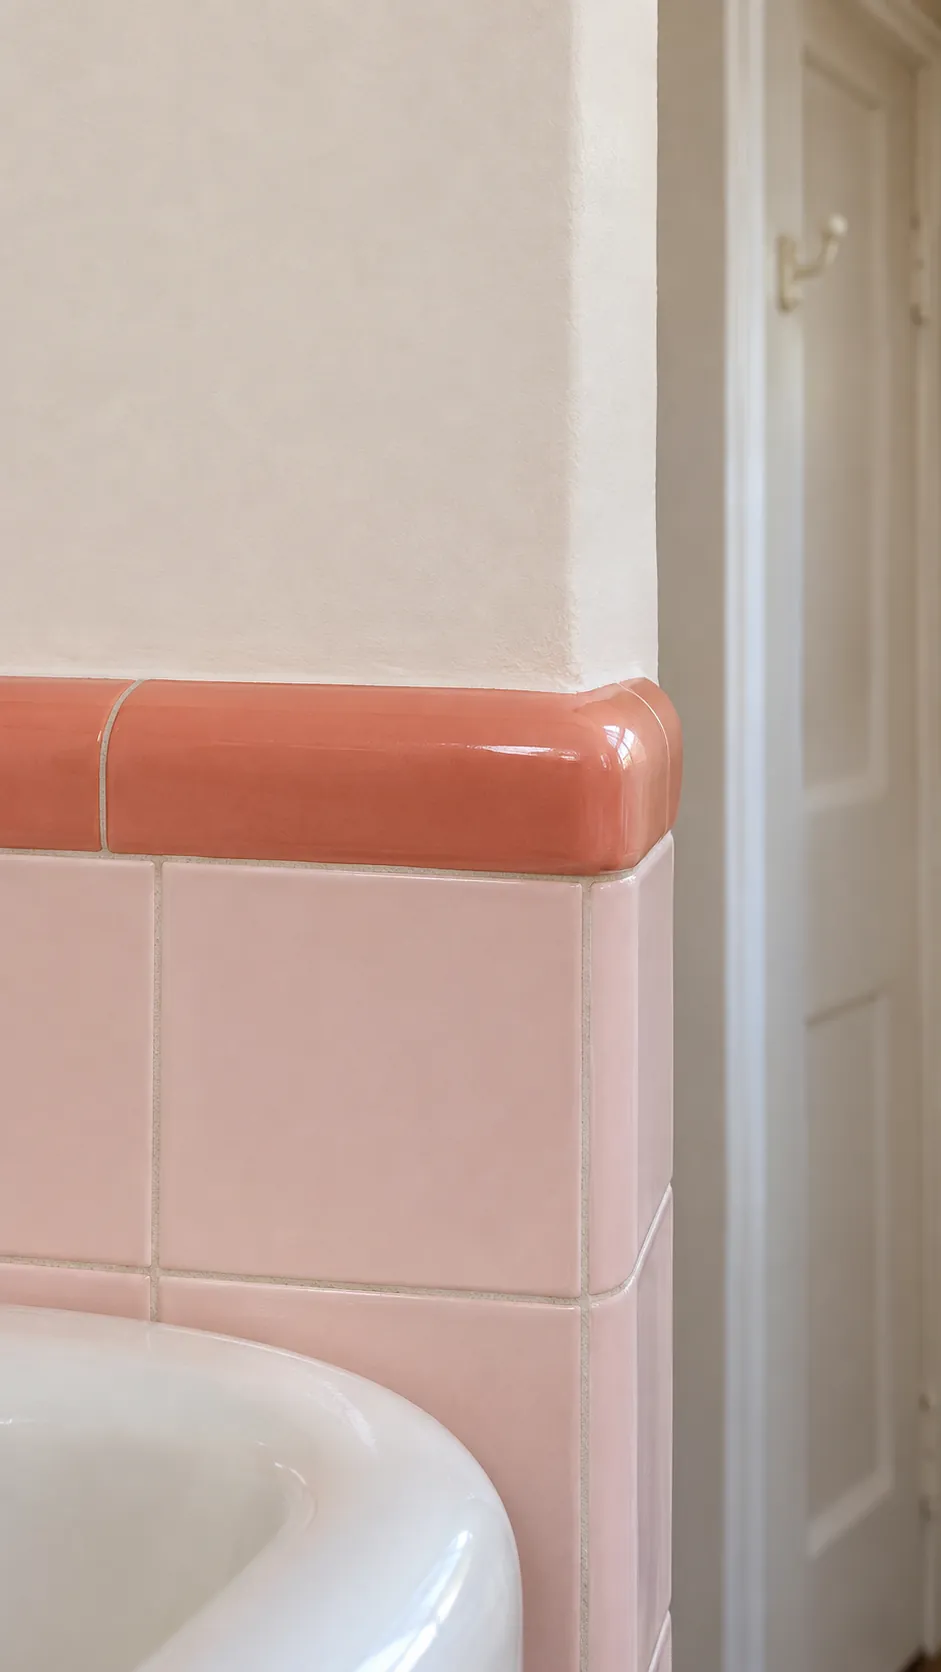
A glazed bullnose cap gives a half wall a finished top where the plaster begins. Ask for the corner and end pieces when you choose the field tile, since a flat trim piece alone may leave an exposed edge. You can use a stronger shade for the cap to give the room one visible outline. Check the tile and trim thickness together before ordering.
Try a Porcelain Pinwheel on the Floor
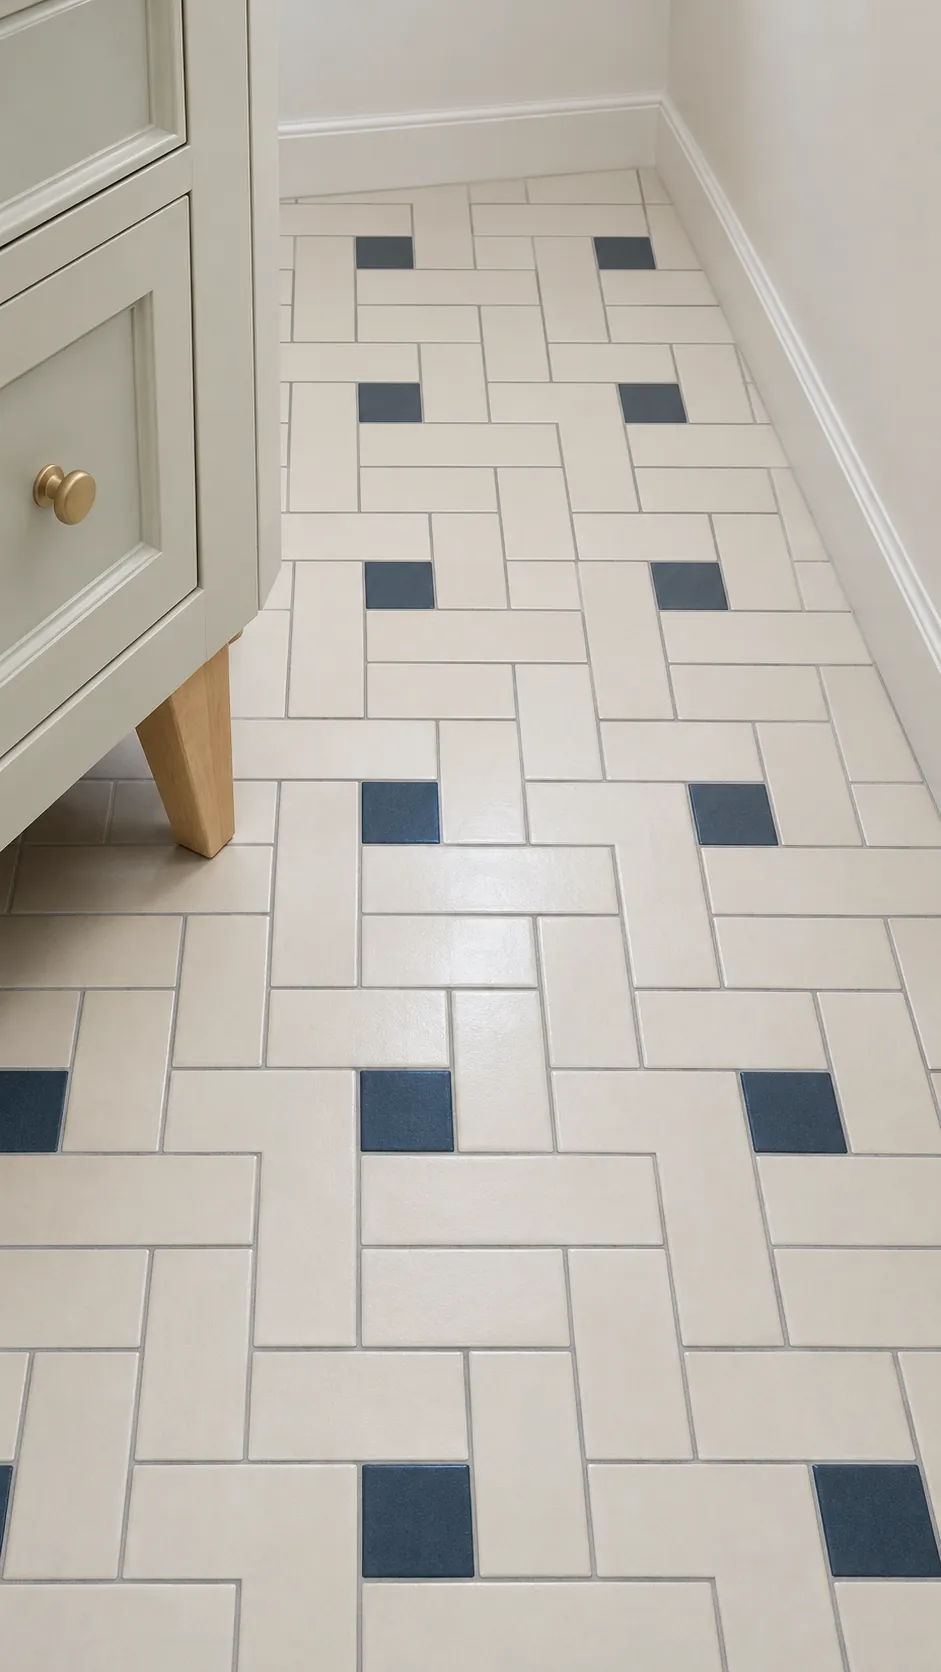
A pinwheel sets a small dark square at an offset among larger light pieces so your eye follows a turning pattern. Keep the dot color limited to one shade if another pattern is visible on the walls. Look down at a full sheet in the room and decide whether the shape still reads next to the fixtures. For a calmer floor, choose gray blue instead of deep navy.
Frame a Shower With a Narrow Dark Perimeter
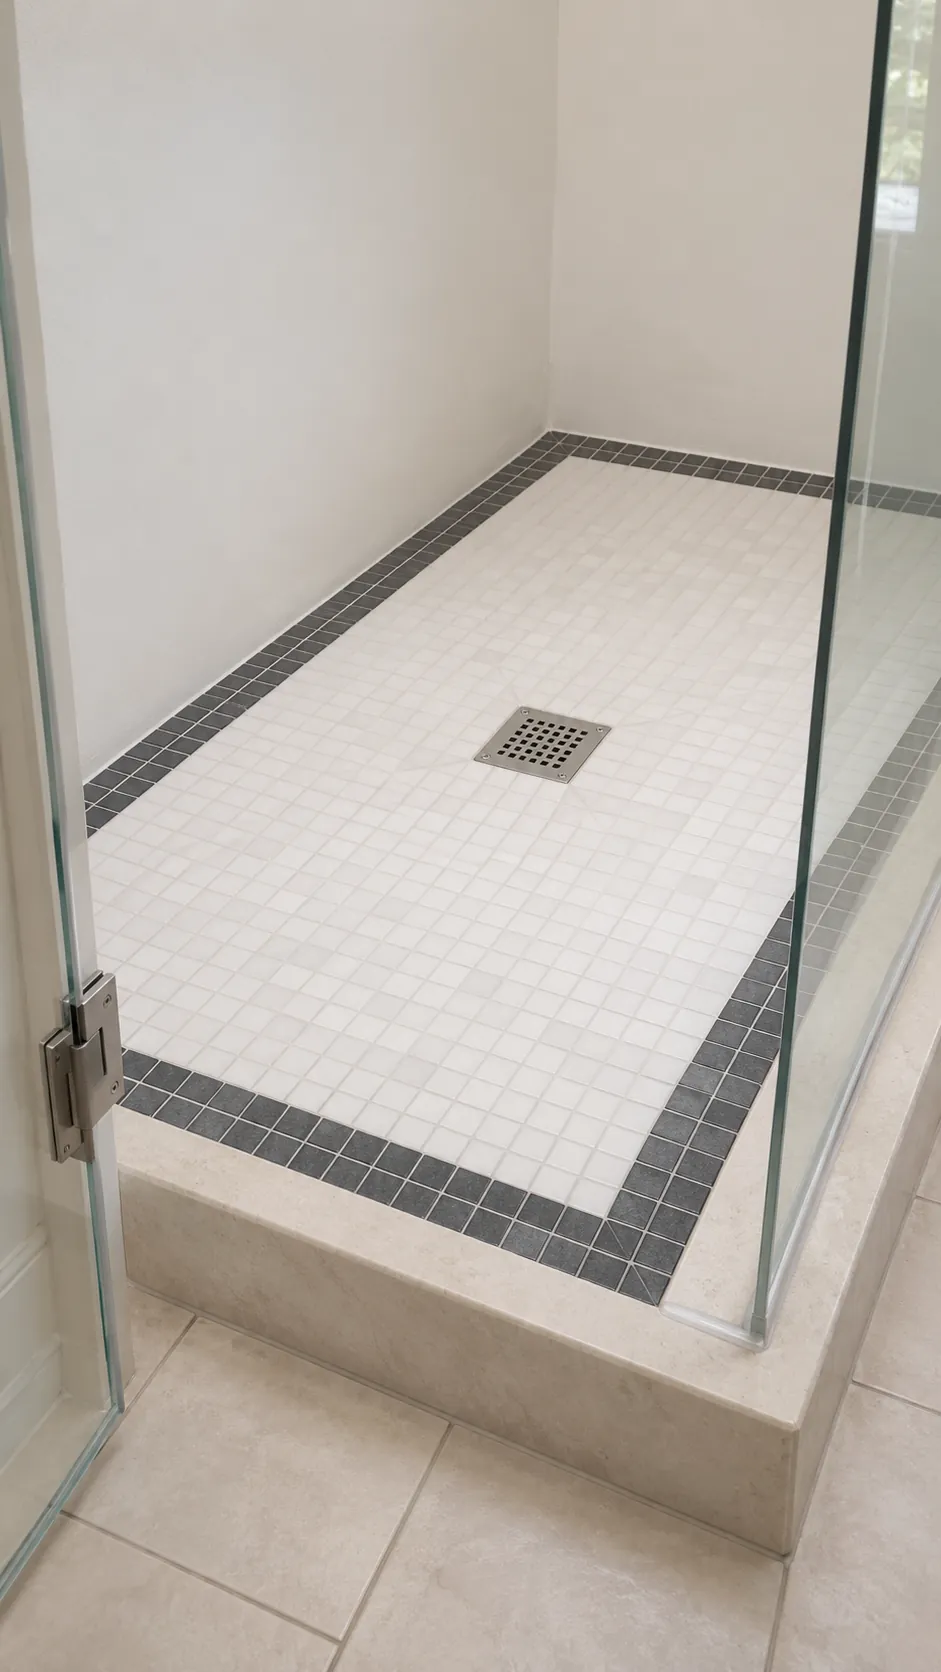
A single line of slate tile can mark the boundary of a white shower floor. Fit the border to the actual pan shape and decide how it aligns with the drain and glass before buying materials. Use mosaics or another suitable tile that can follow the slope to the drain. Have the installer show a dry layout at the threshold, where awkward cuts are easiest to see.
Lay Tile on a Diagonal in One Alcove
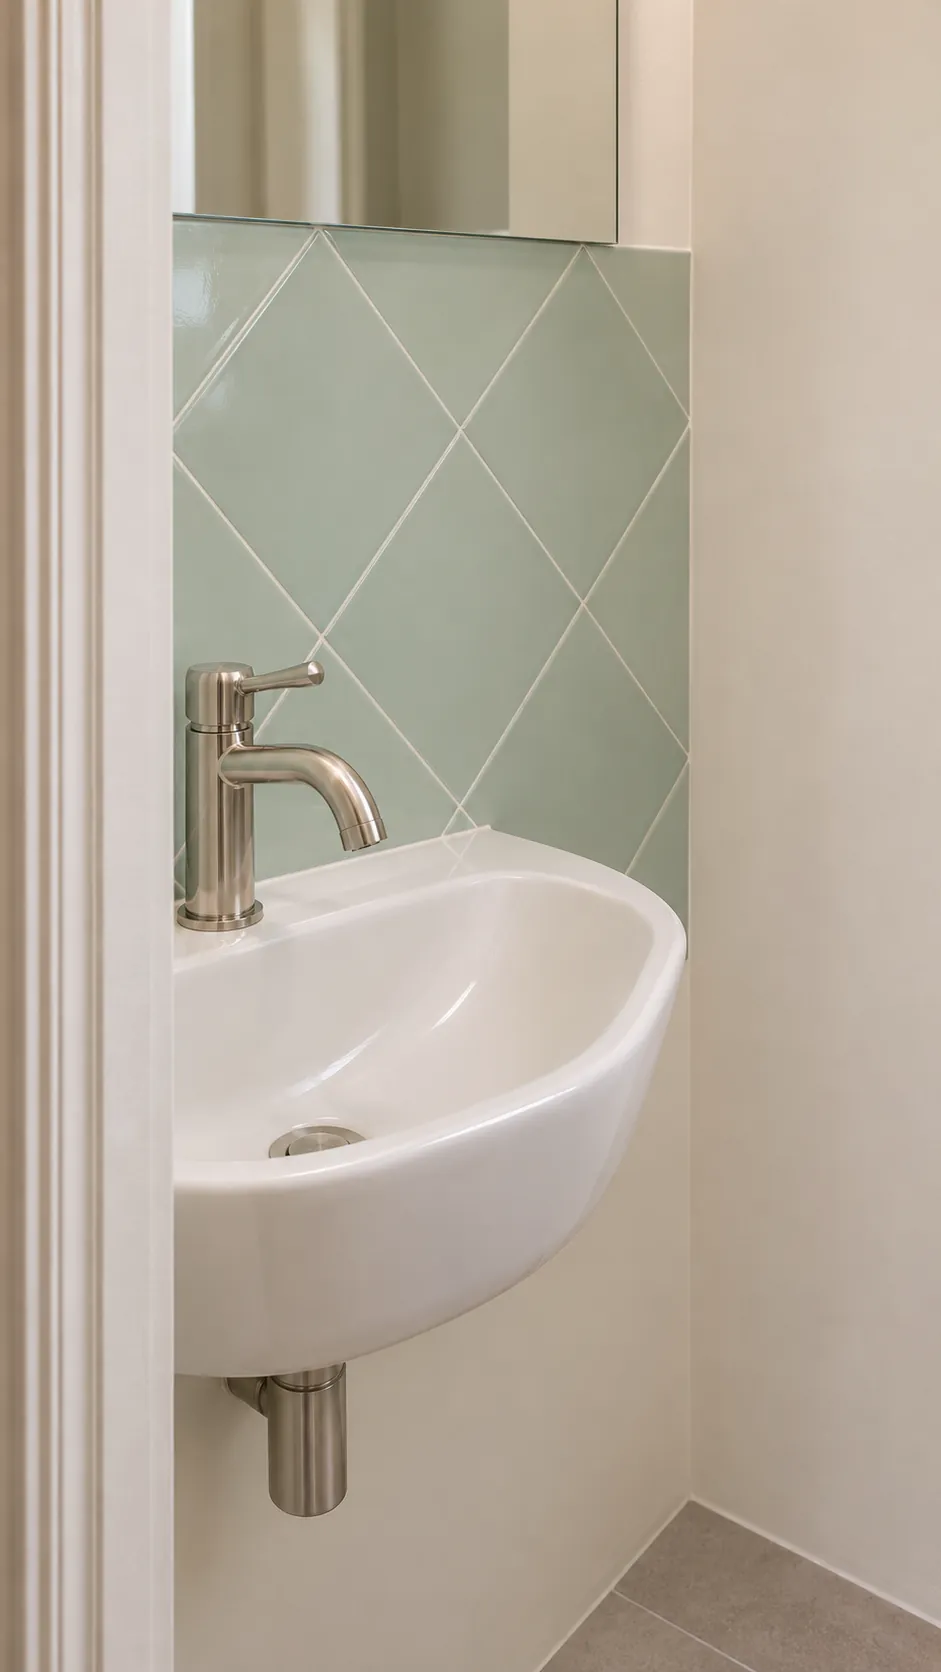
Square tiles turned on the diagonal make a small alcove feel like a distinct area. Start with the first line a visitor will see, often the one under the mirror. Check the cuts at both ends and place the smallest pieces where a fixture can obscure them. Let the neighboring walls take a plain finish so the alcove holds the pattern.
The cuts often matter more at eye level than near the floor. Put a whole diamond where the alcove opens if that is the line you notice first. Let the far corner absorb a smaller piece if the layout allows it.
Trace Cream Wall Tile With a Pencil Line
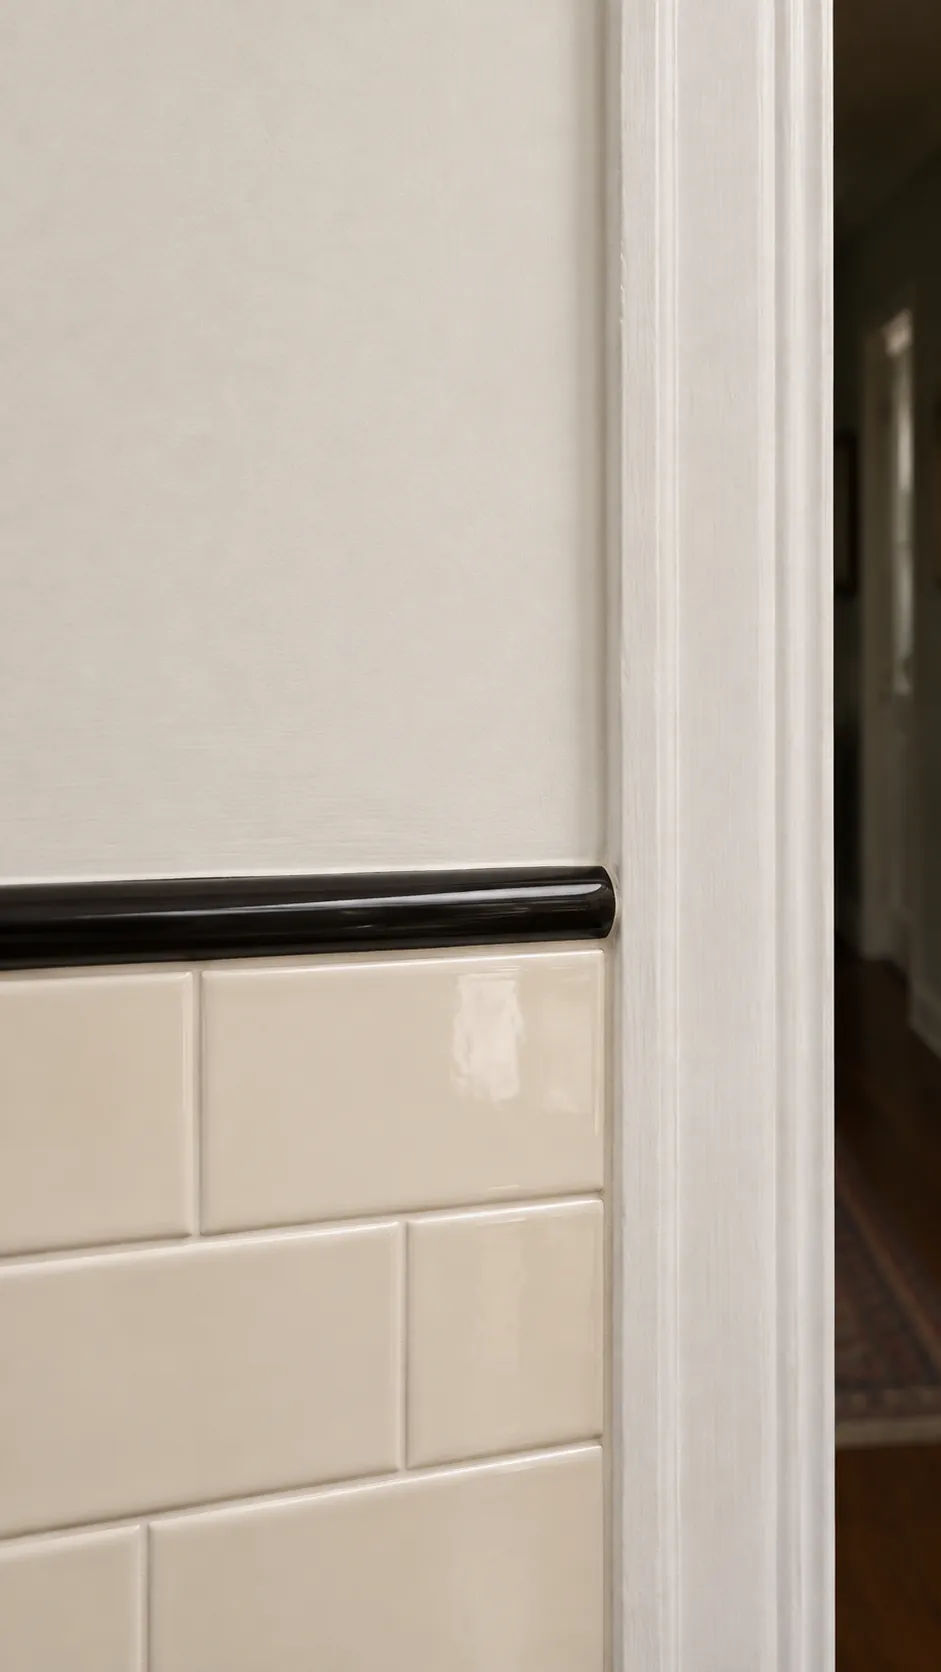
A black pencil liner can finish cream wall tile with a narrow outline that reads from the doorway. Check its depth against the tile so the profile stands out by the amount you intend. If black feels too sharp, try dark brown or a close gray from your existing hardware or floor. Plan how the line ends at the door or window casing before you install it.
Put a Small Herringbone in the Entry Zone
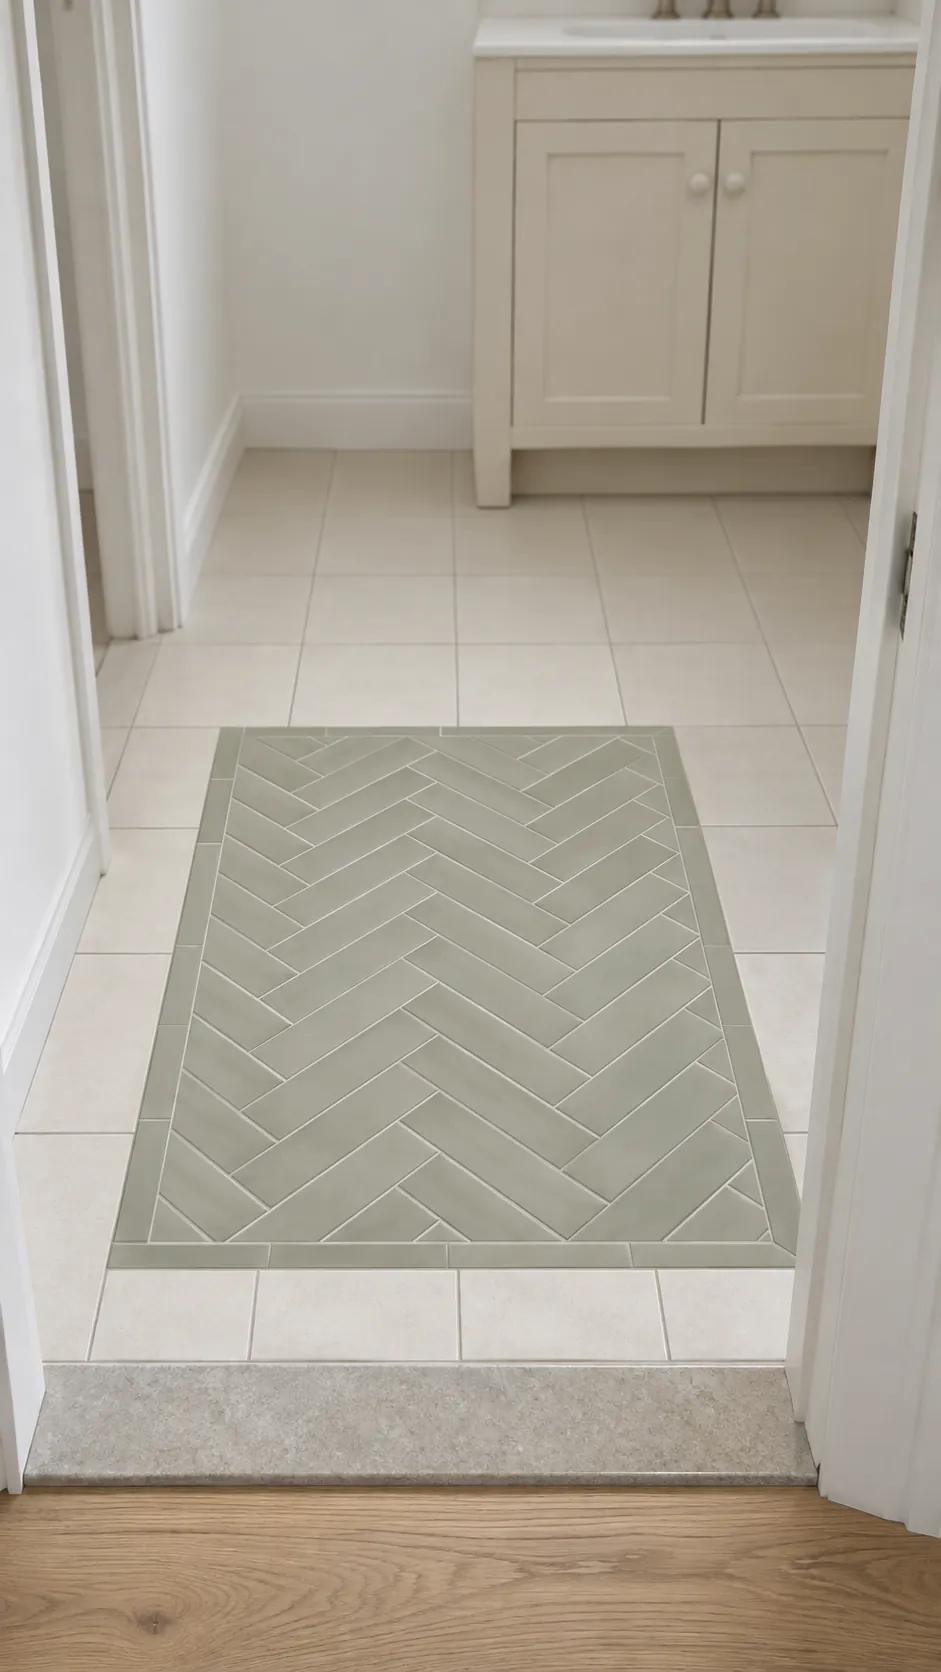
A small herringbone tile inset can give an entry a bit of pattern without taking over the entire floor. Draw the inset around the path someone actually takes from the door. Use a neighboring field tile that can meet it at the same level and think about how the edges will be cut. Walk over the dry layout in your mind before you choose the accent size.
Use Deep Green Tile in One Shower Bay
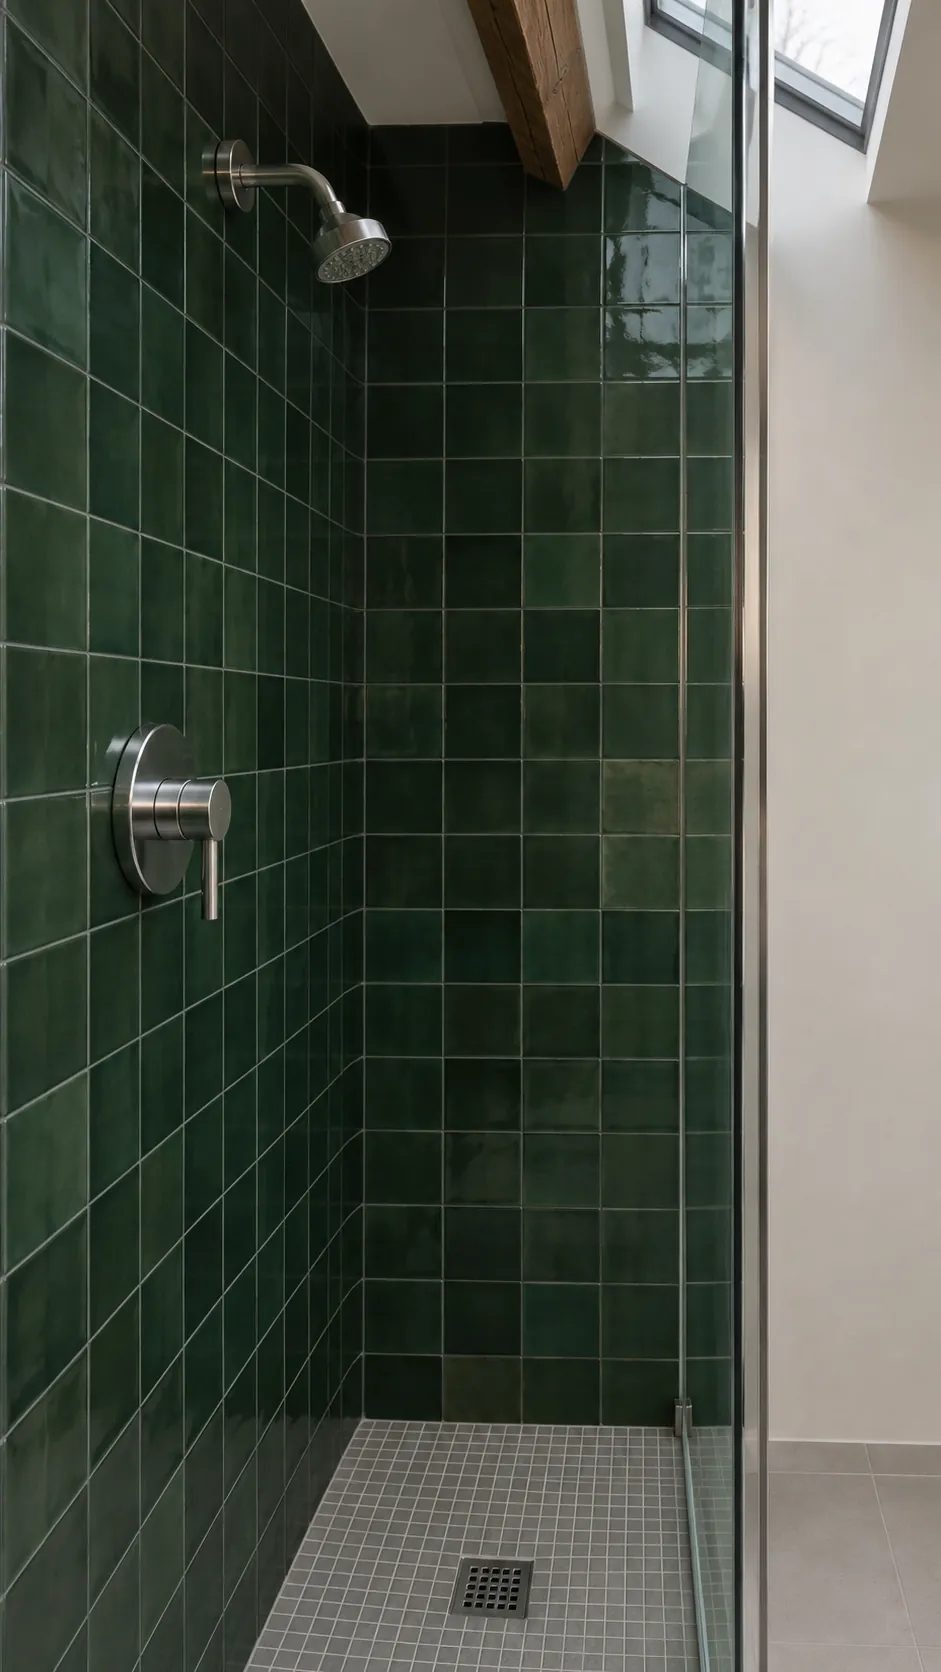
Deep green wall tile has more depth when you can see it in both light and shadow. Keep the green inside the shower bay and give nearby walls a quieter finish. Check a sample with your actual enclosure glass, since reflections can make deep glaze seem darker. Put enough light in the shower area to read the joints and controls.
Give a Tub Apron a Band of Button Rounds
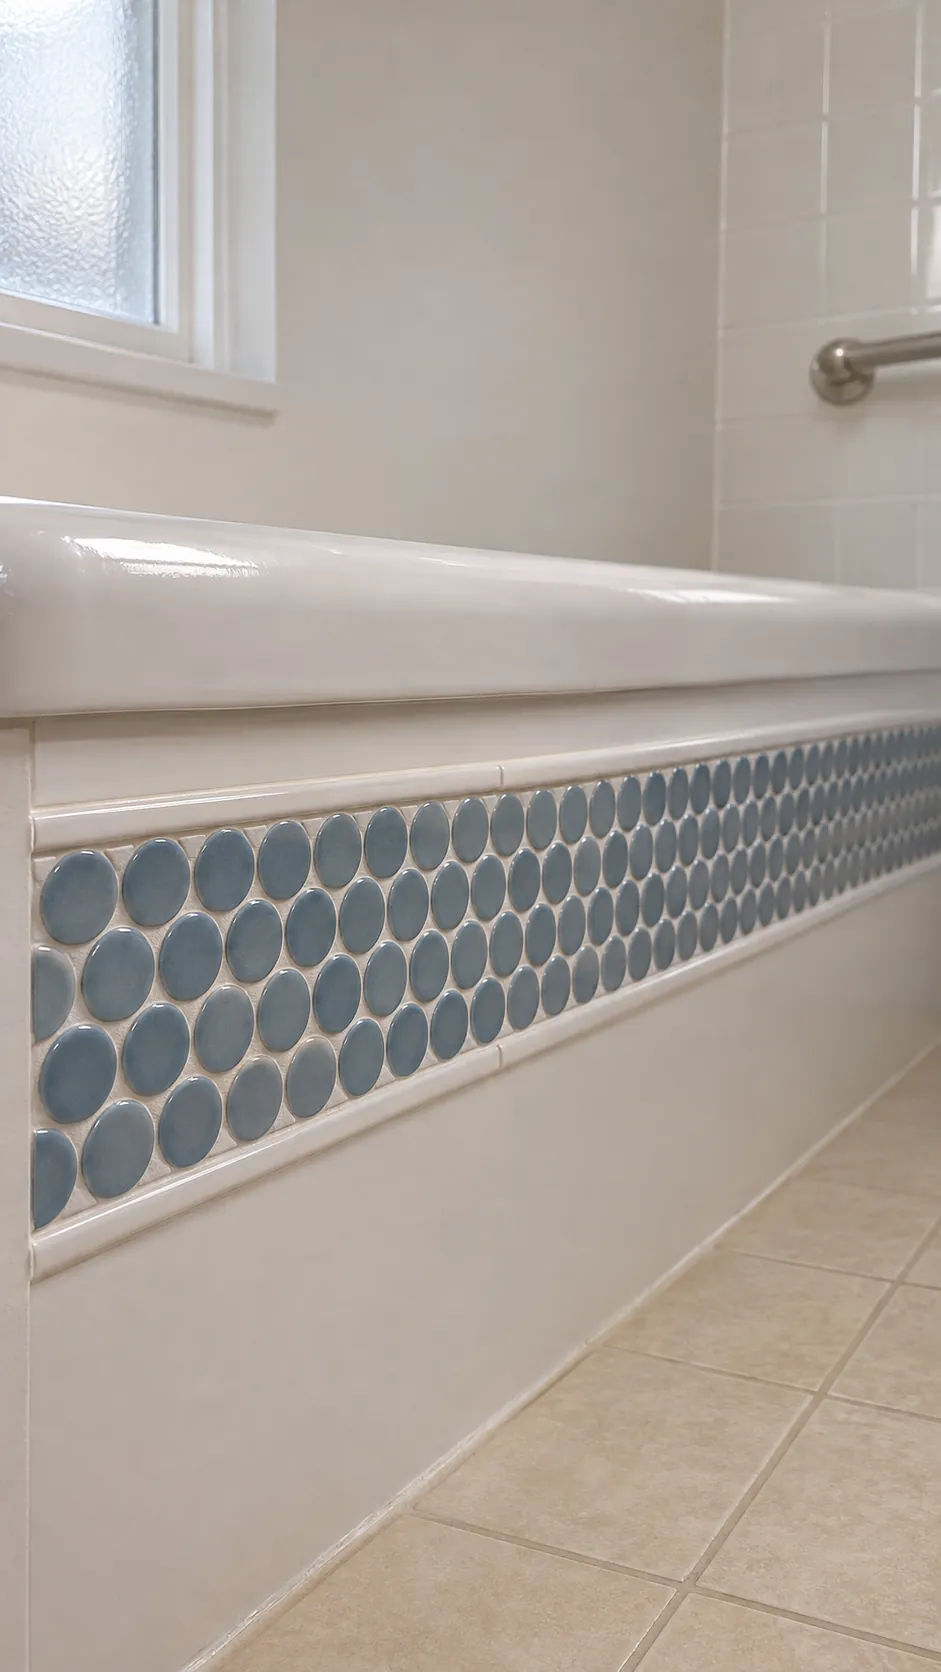
Small round tile can fit a built in tub apron where bigger rectangles would make the edges look busy. Confirm which face is designed to receive tile and how you will retain any access panel you need. A slim finished perimeter can give the mosaic a crisp edge. Repeat a subdued wall color in the rounds so the apron relates to the rest of the bathroom.
Keep a Grid of Original Square Tile
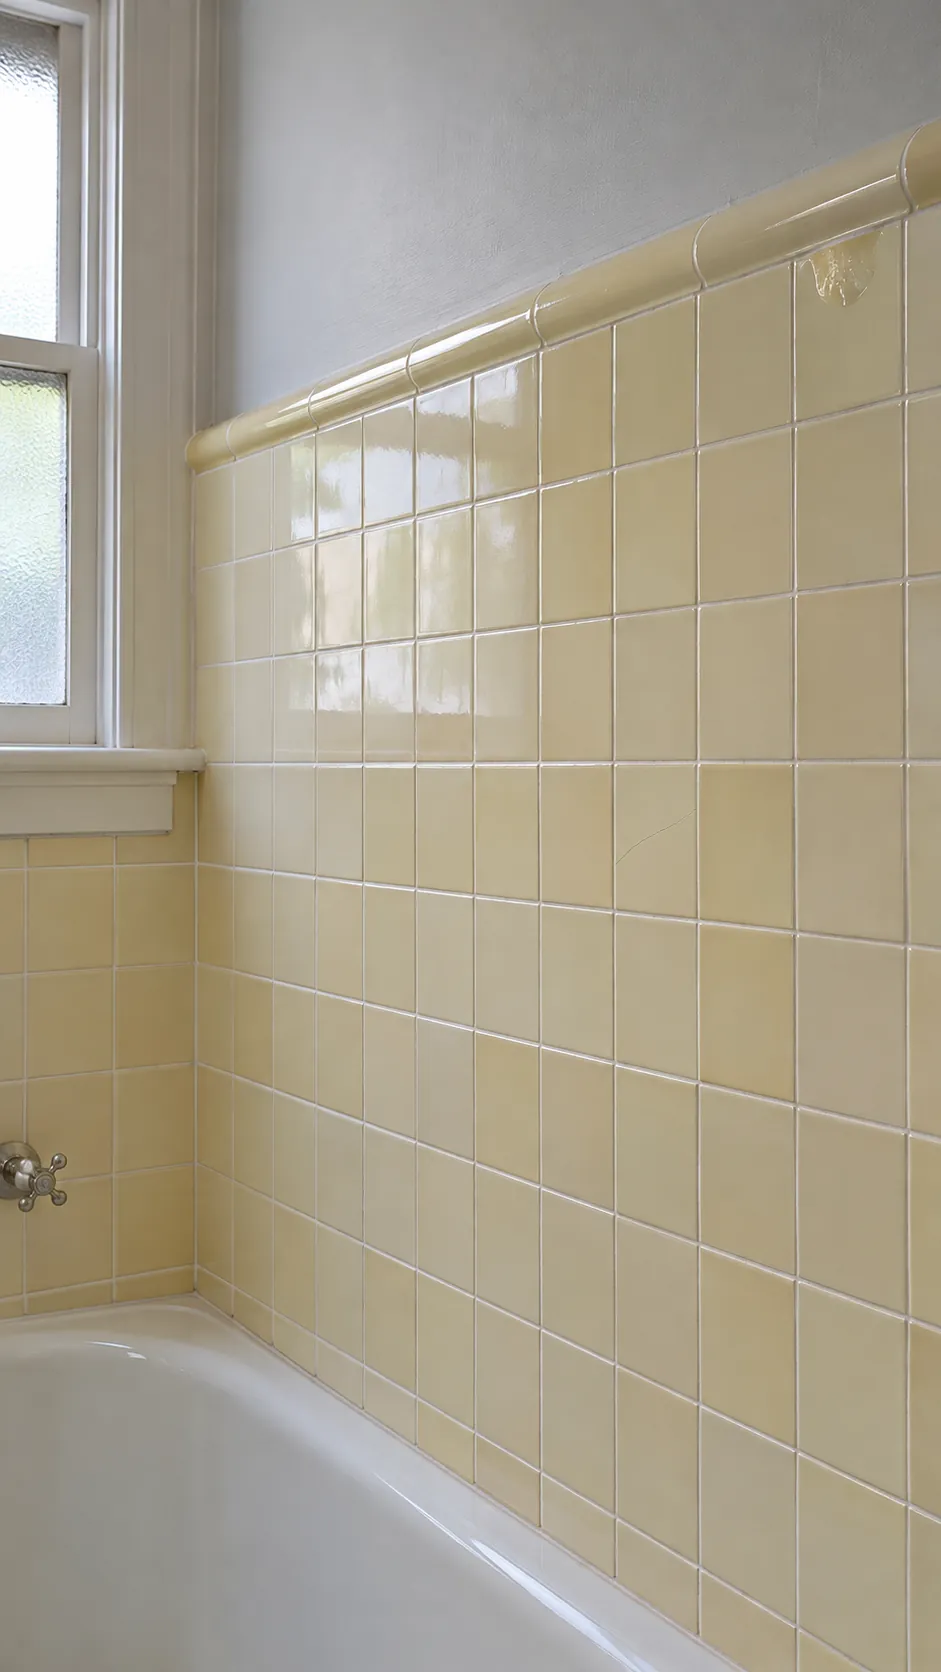
Before replacing original squares, look at how much of the field is still sound. A tile specialist can help identify movement behind the wall, missing trim, or grout that has failed around wet areas. Keep notes and photos if you decide to preserve the tiles around the rest of the room. A renewed joint can make a sound old field easier to read without changing the tile.
Use Yellow Tile to Edge a Recess
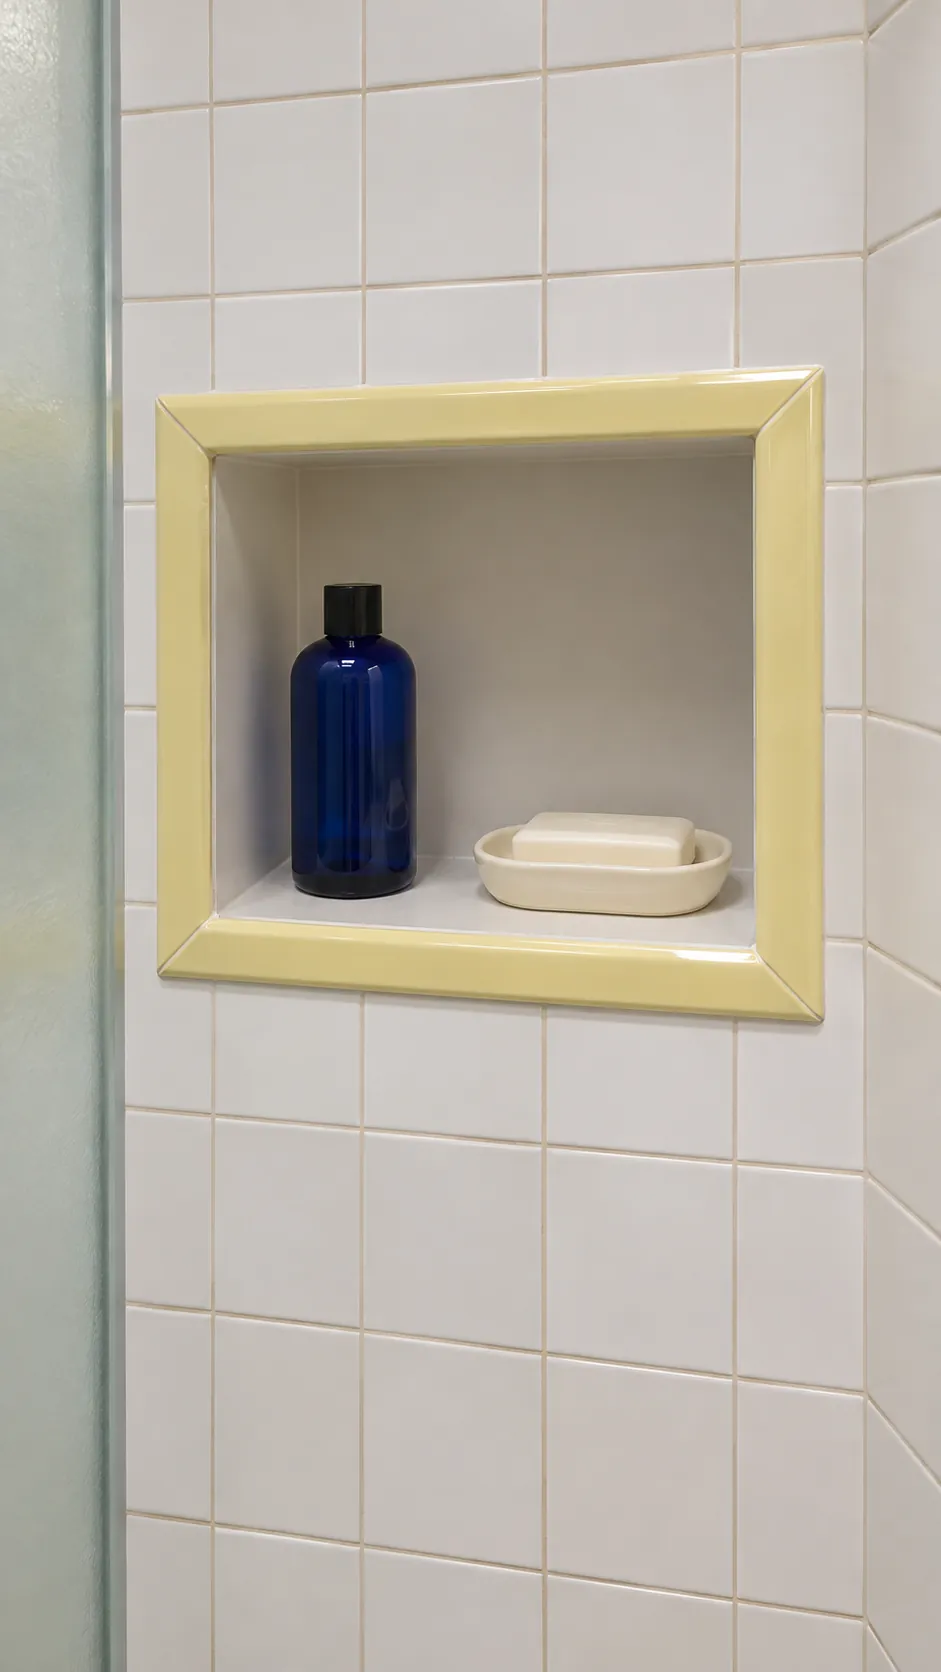
A narrow band of yellow trim can frame a white niche with very little new color. Compare tile depth and corner pieces so the border can follow all four edges without creating awkward protrusions. In a wet area the niche still needs proper waterproofing and a shelf that drains. Put the yellow on the frame if you want the main recess to stay bright and easy to see.
Scatter Ochre Squares at the Basin
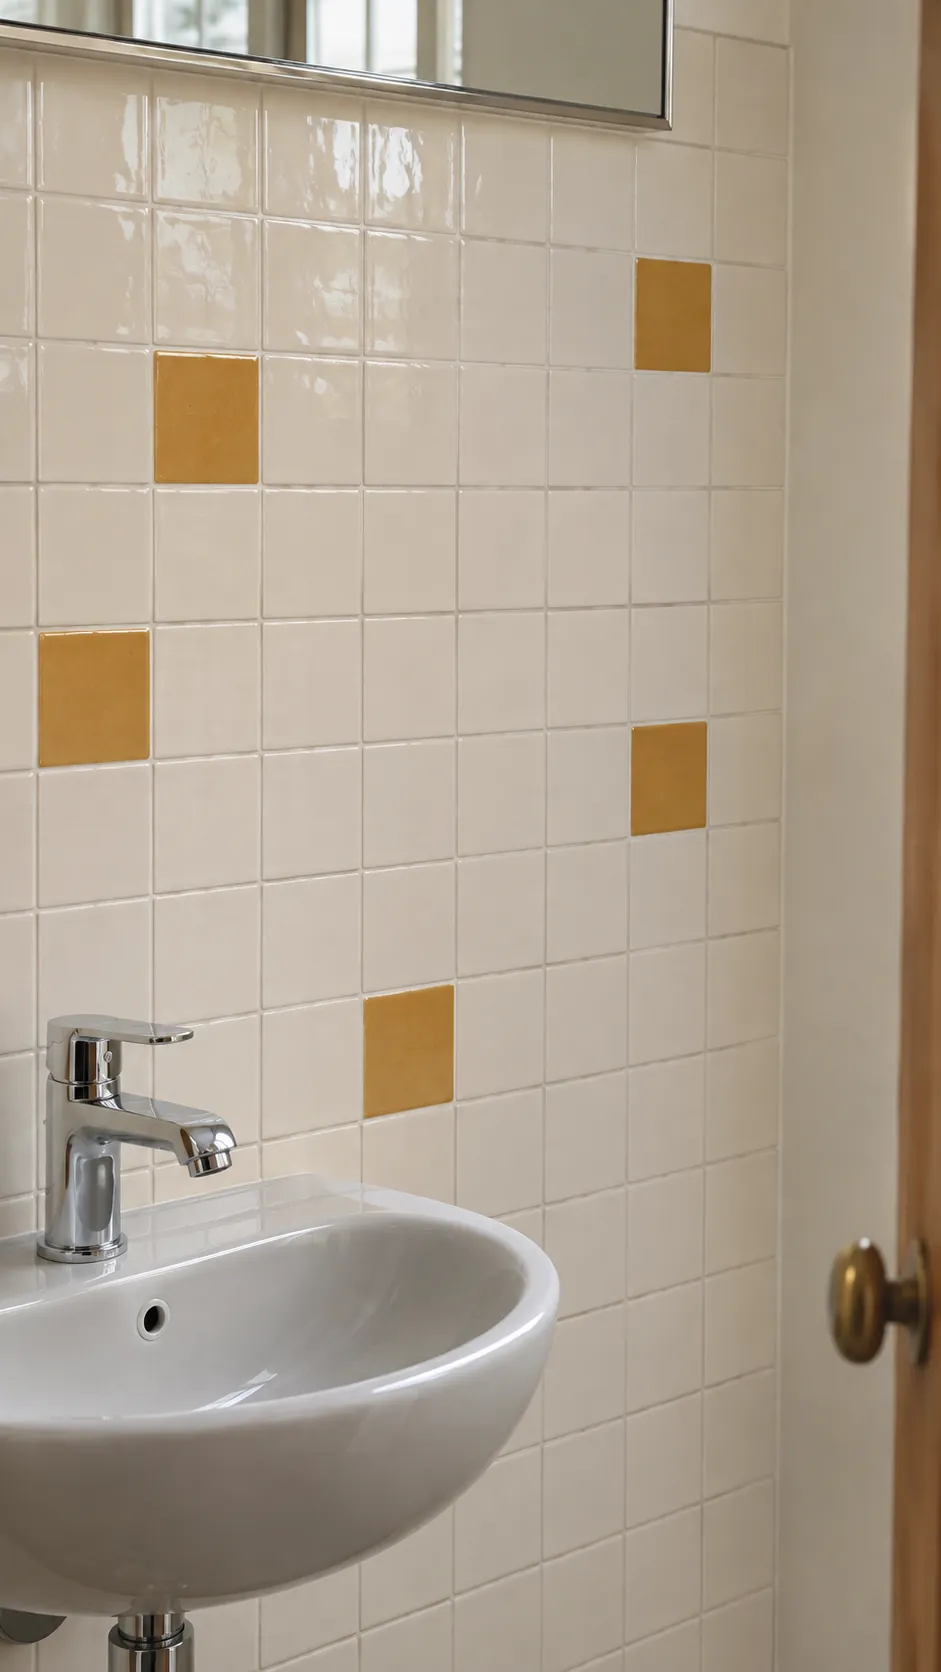
A handful of ochre squares makes a white backsplash feel less uniform. Put the strongest accent away from the faucet so you can see a few full squares from the hall. Try a layout on the floor first and step back to see whether the placements feel too evenly spaced or too clumped. Use the same grout in the accent and field areas if you want one continuous grid.
Use Two Close Gray Values for a Quiet Checker
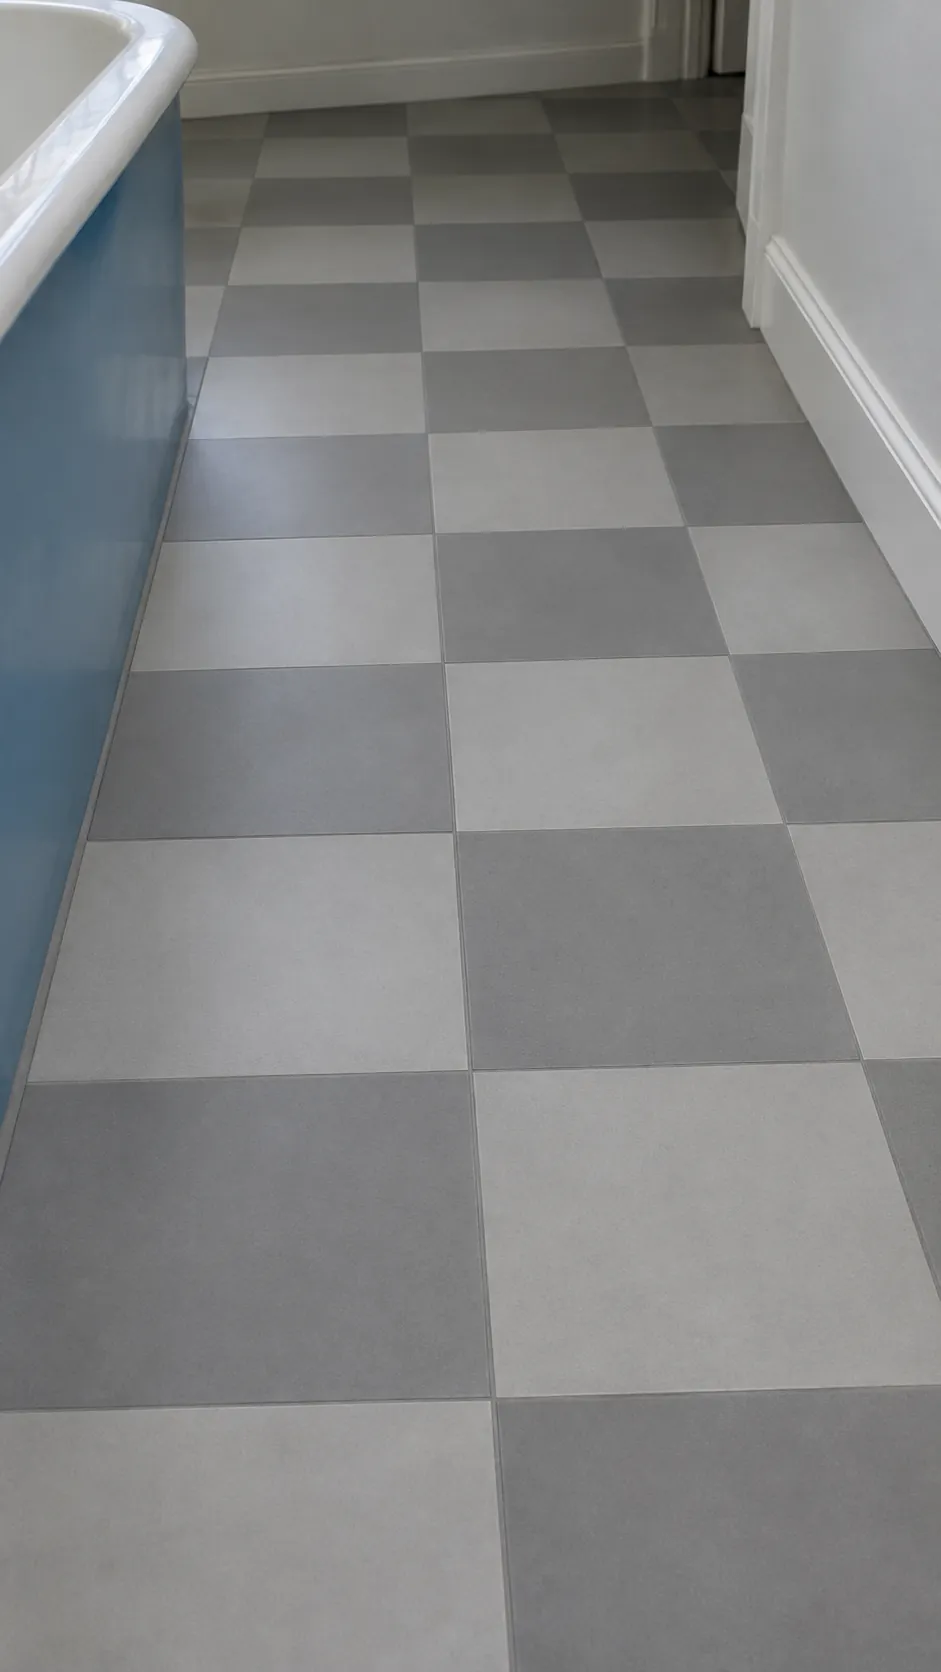
A floor can have a recognizable checkerboard without a strong black and white contrast. Choose a middle gray and a shade slightly deeper, then look at several repeats under the bathroom lights. Ask the supplier whether both finishes have the same floor rating and joint needs. If the room has a patterned curtain or bright fixtures, the softer contrast gives them some room.
Lay the Floor Sample Flat Next to the Old Wall
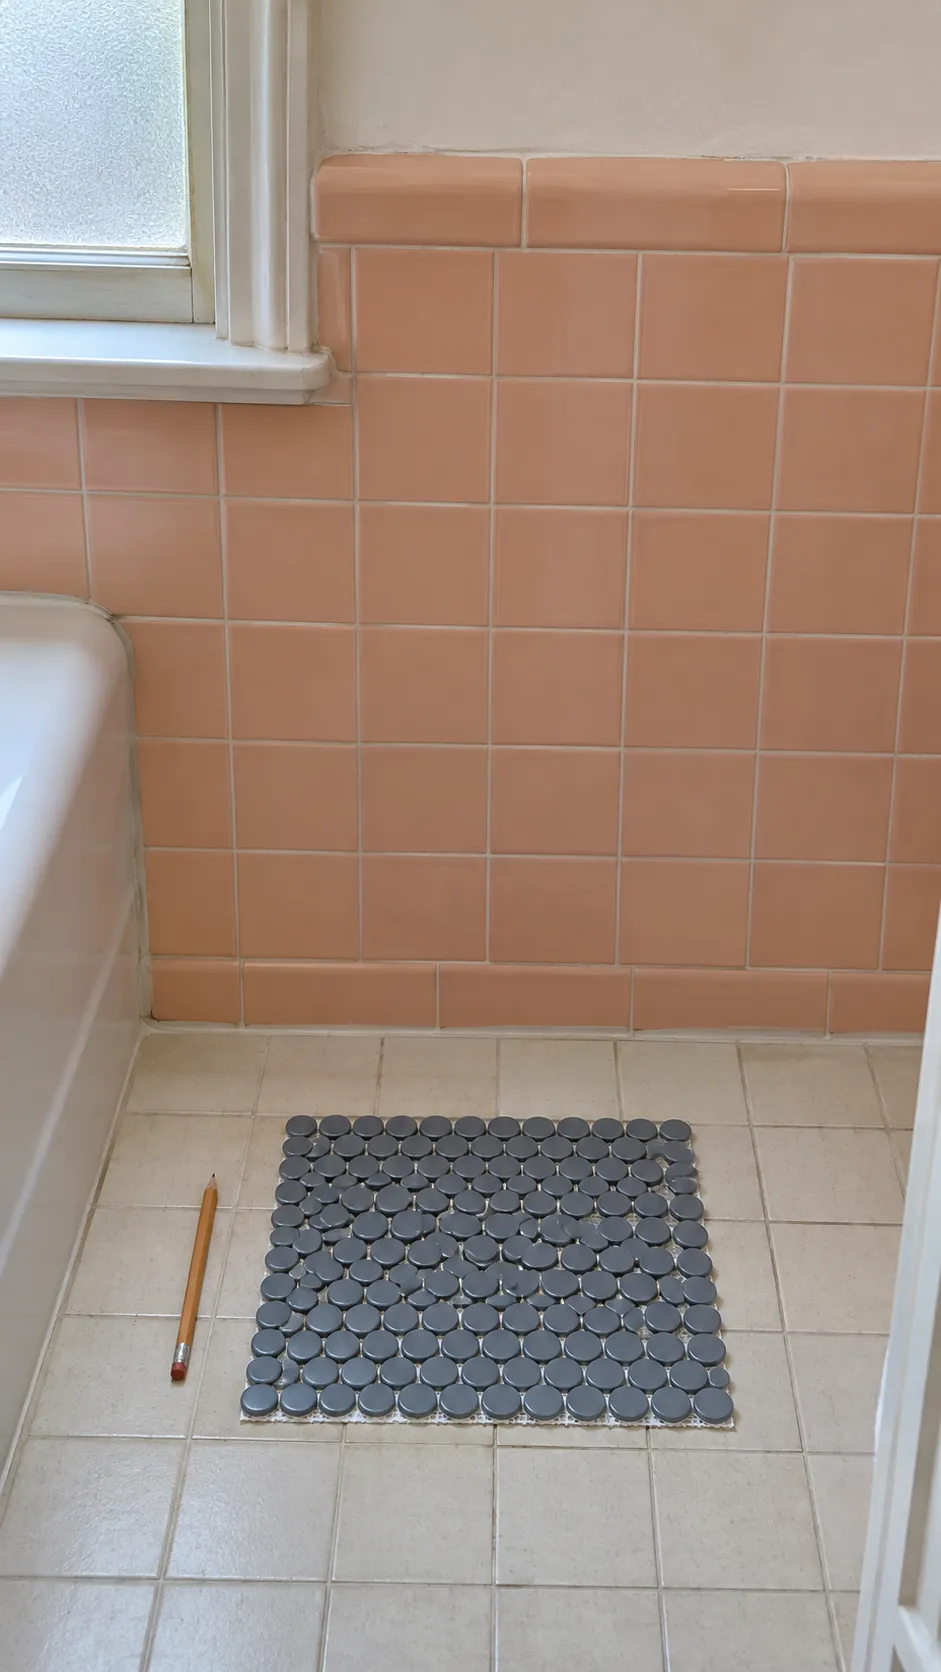
When the original peach wall stays and the floor has to go, compare the floor sample at floor level. A gray mosaic that looks neutral on a shelf can turn blue in a bathroom with cool daylight. Stand at the door and see how much color the floor carries next to the whole peach field. Check different times of day before approving the sample.
Give the Threshold Its Own Finished Edge
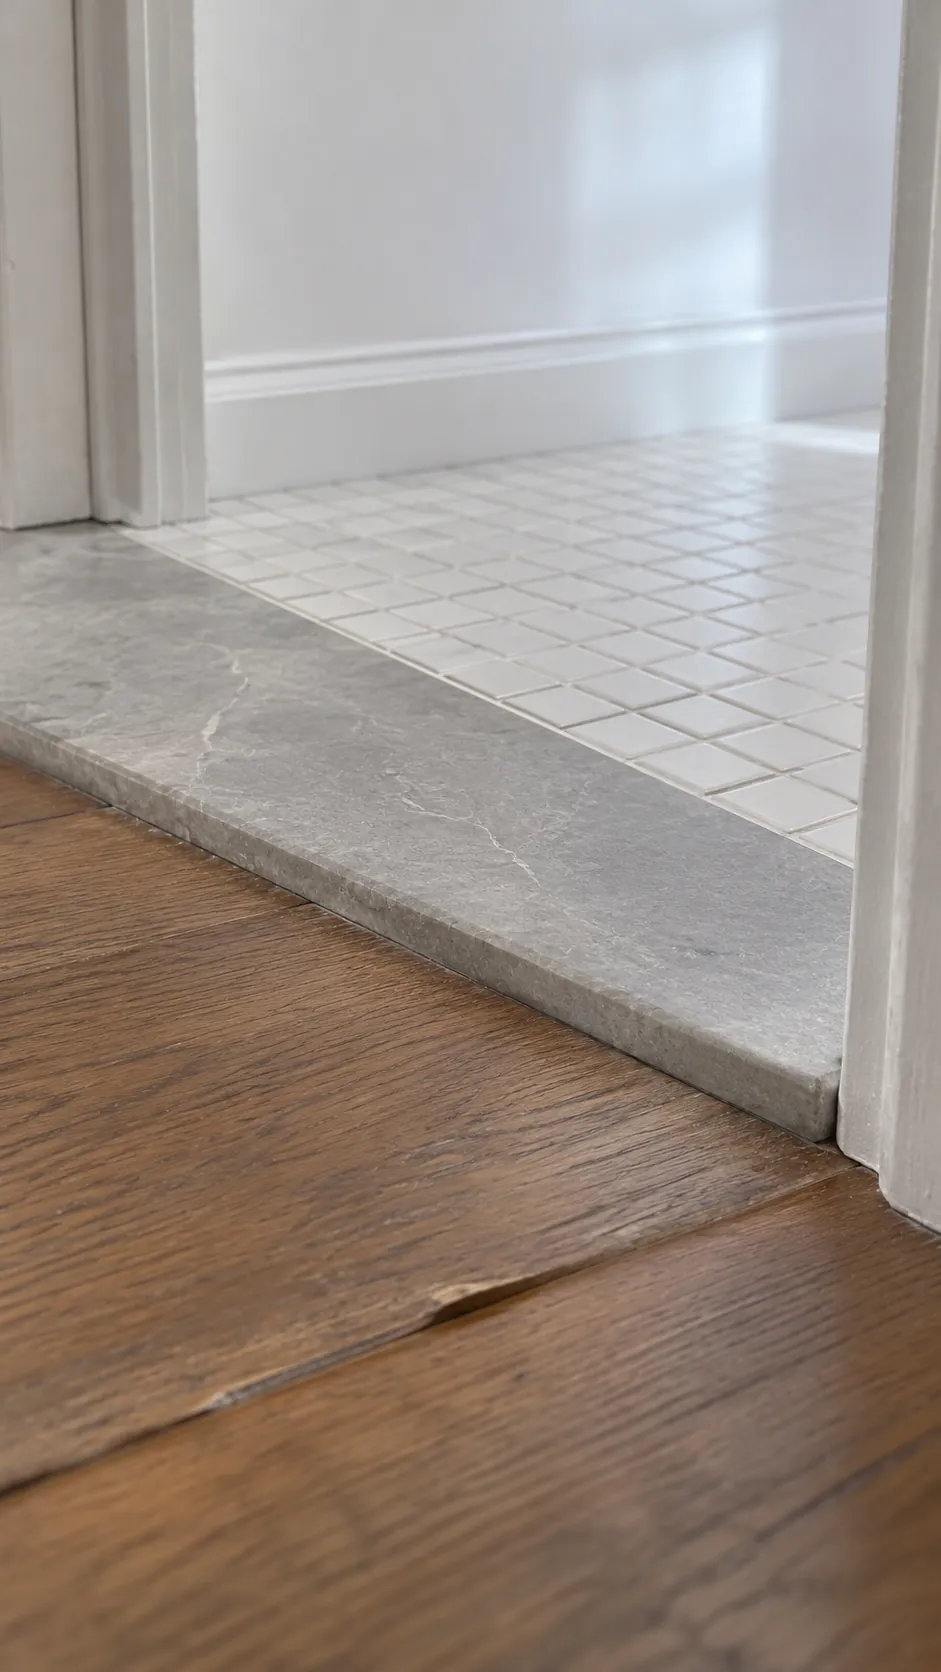
A simple threshold can bridge a height change and show where the tile pattern stops. Discuss the finished heights of both floors with the installer before choosing the profile. Lay out the last row of the mosaic so the edge looks clean when the door is open or shut. Leave adjacent wood space to move as the flooring system requires.
Compare Two Cured Grout Samples on Full Sheets
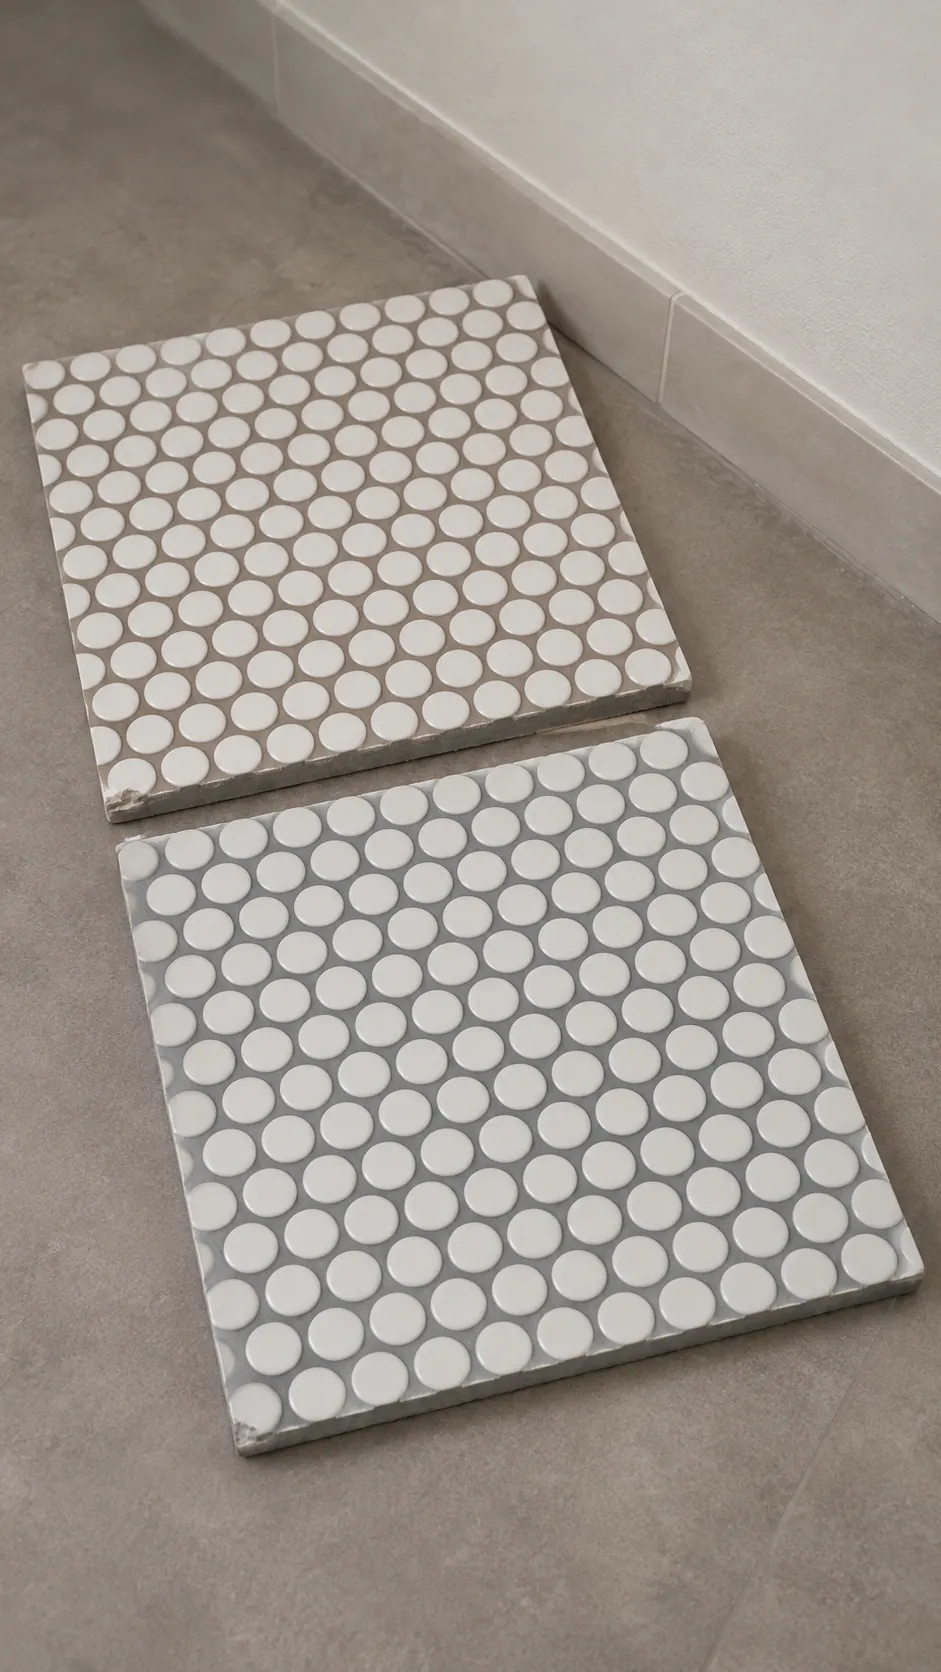
Use two small boards with the same tile and two grout colors, cured according to the maker’s directions. Set them side by side where the planned floor or wall will go. A quieter joint lets the tile colors lead, while a stronger line can bring out a pattern you want people to notice. Judge from normal viewing distance before choosing from a single tile in your hand.