
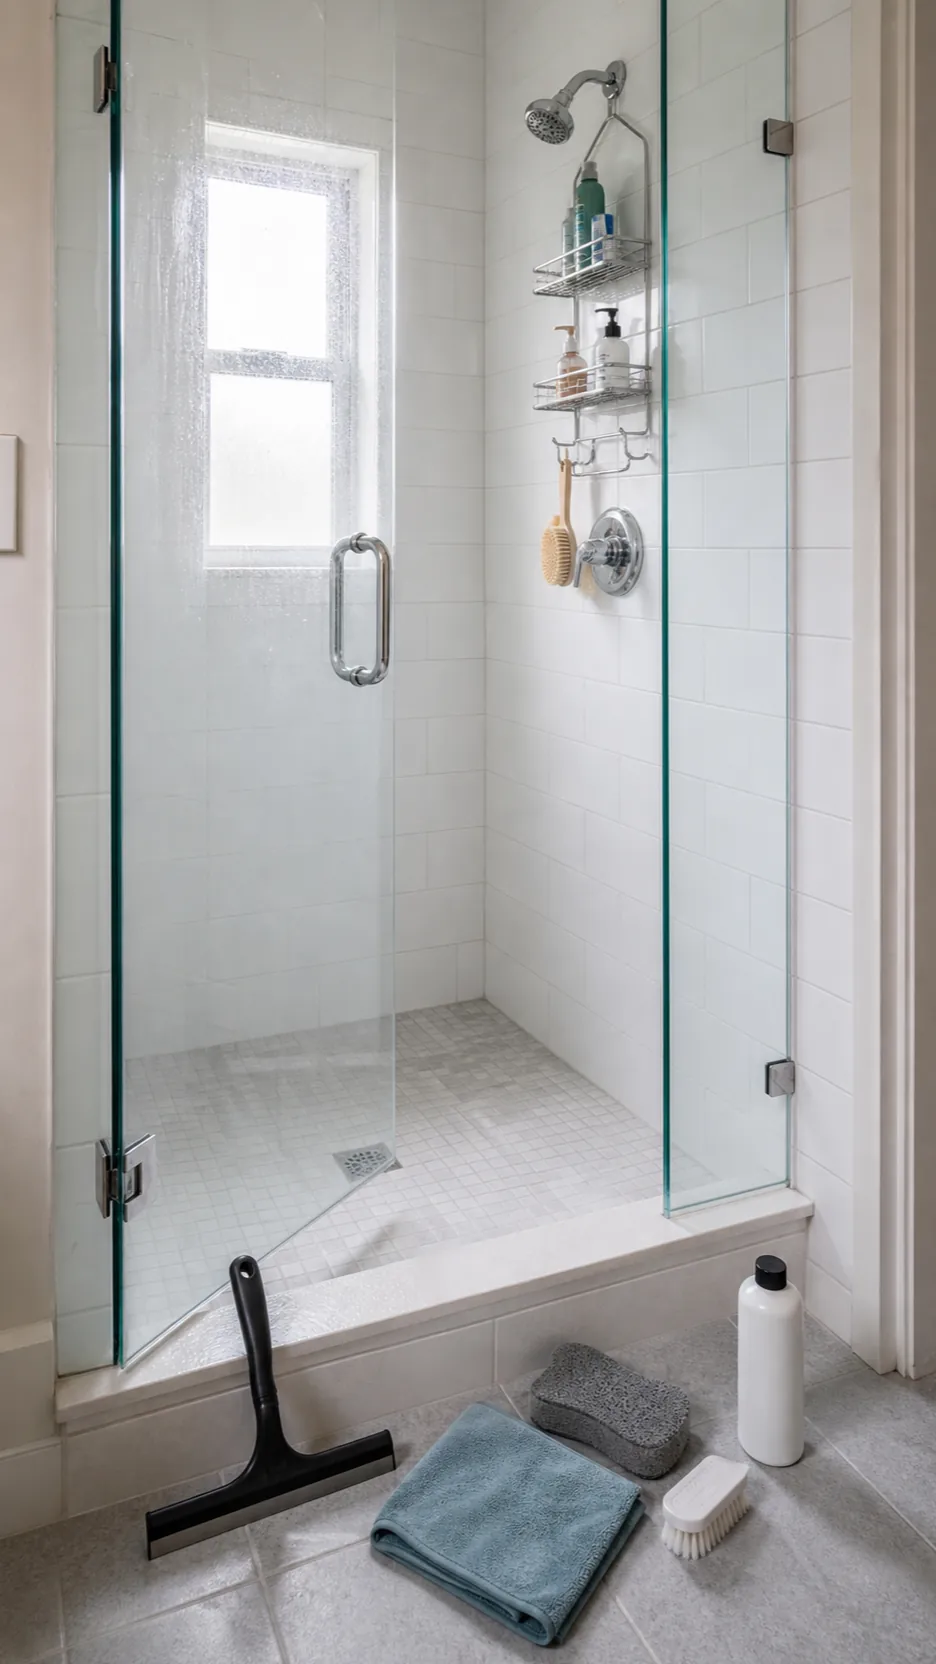
The hardest shower messes are usually two problems stuck together. Body oils and soap residue make a film; hard-water minerals build on top of it. Scrubbing harder with a random homemade shower cleaner can spread the grease, scratch the finish, or attack grout without touching the real deposit. The useful cleaning shower hacks begin with diagnosis, not force.
Use the surface manufacturer’s care guide as your boundary. Glass, acrylic, fiberglass, ceramic tile, natural stone, metal finishes, grout, and caulk do not tolerate the same products. Ventilate the room, wear suitable gloves, test an inconspicuous spot, and never mix cleaners.
Tell soap film from mineral scale before you clean
A greasy, streaky haze that smears under a damp cloth usually contains body oils and product residue. A chalky white crust around spray patterns, glass edges, or fixtures points toward minerals. Pink or orange film often develops where moisture and product residue linger. Darkened caulk or grout that returns quickly may indicate a moisture problem rather than removable surface dirt.
Start with the mildest approved method on a small area. If it changes, continue. If it does not, stop and reassess rather than stacking another chemical on top. Permanent etching, scratched glass, corroded metal, failed caulk, and damaged grout will not clean back to new.
Use dish soap and dwell time for oily shower buildup
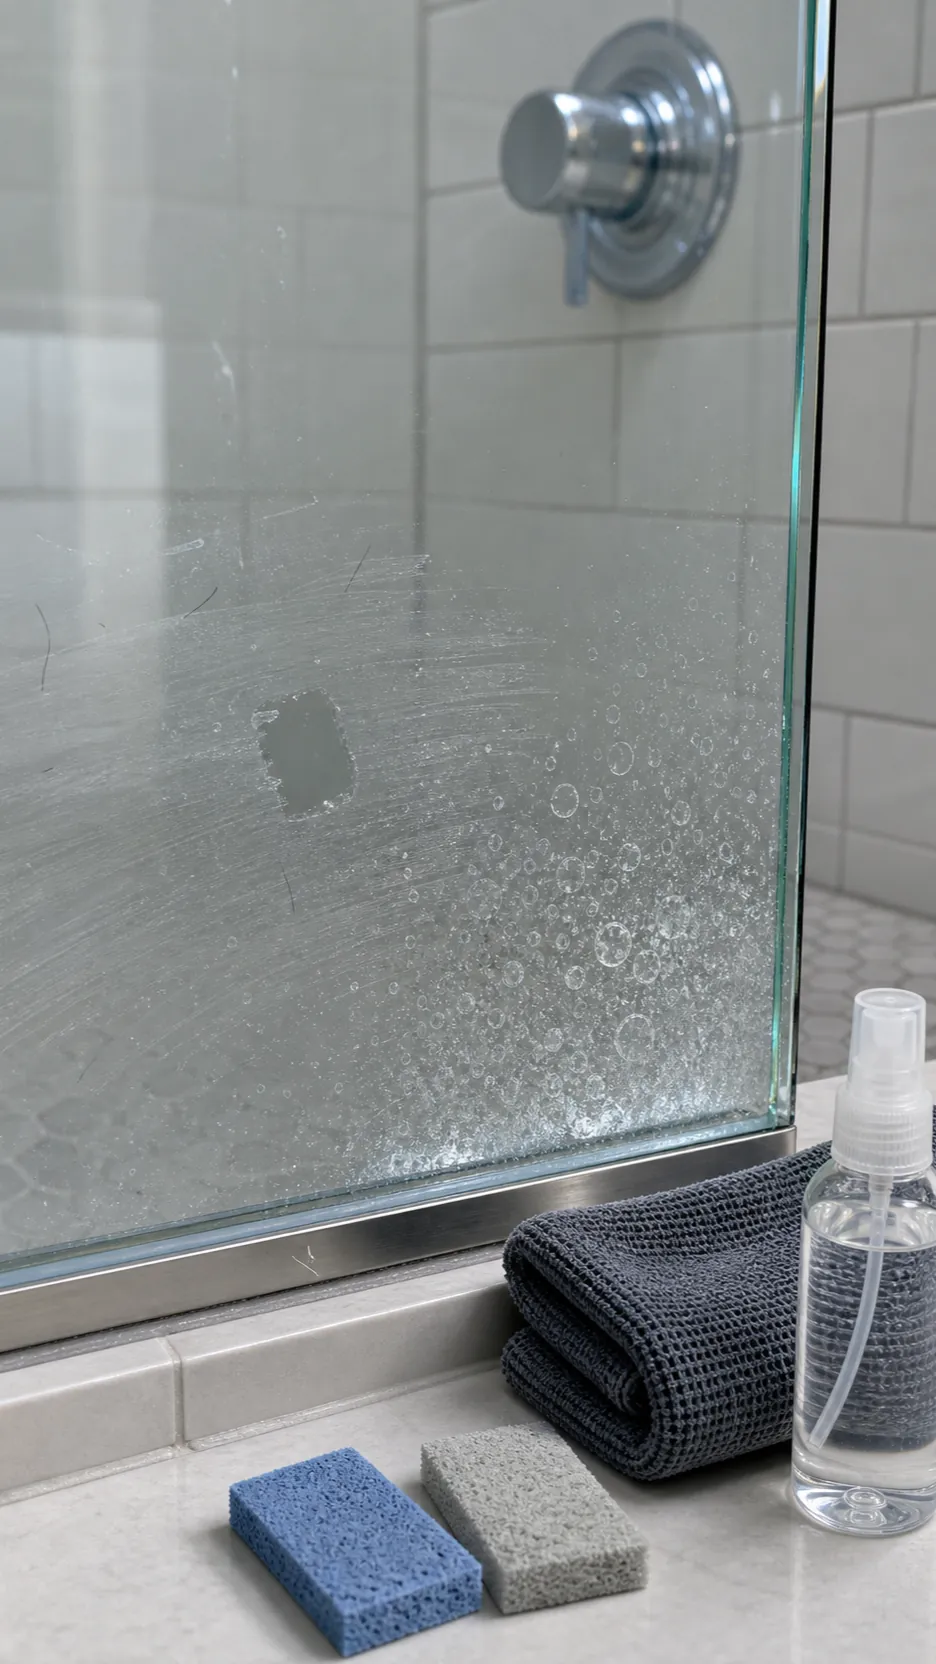
For an acid-safe, nonporous surface, begin with a few drops of mild dish soap in warm water. Apply with a non-scratch sponge, wait five to ten minutes, then agitate gently. Work in manageable sections so the solution does not dry. Rinse completely and inspect the surface while it is still wet and again after drying.
Dwell time is the labor-saving hack. It gives surfactants time to loosen the oily layer before your sponge supplies mechanical action. More soap is not better: excess detergent creates its own residue and turns the shower floor dangerously slippery. Keep cleaning tools separate from anything used on your body.
Descale glass only after the oily film is gone
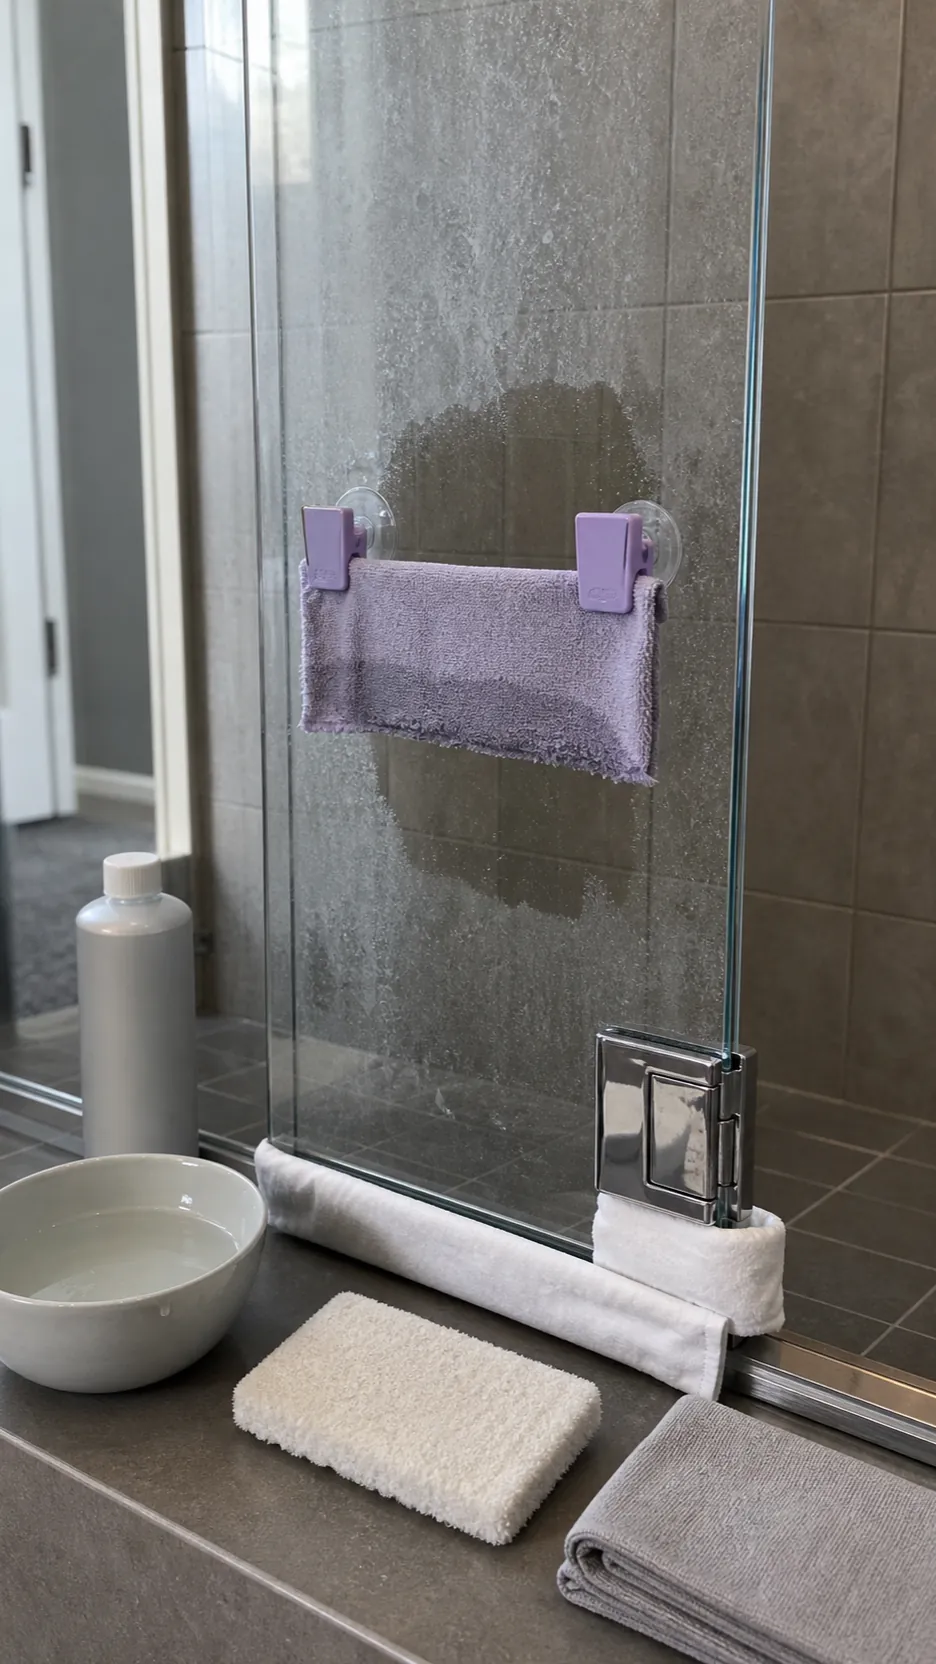
If clean, dry glass still has mineral haze, use a product labeled for shower glass and the specific nearby materials. Diluted white vinegar can help on acid-safe glass, but it can damage natural stone, vulnerable grout, plated finishes, and other acid-sensitive surfaces. Apply it to a cloth or controlled test area rather than flooding door hardware and seams.
Allow only the label-approved contact time, agitate with a non-scratch pad, rinse, then dry. Do not reach for sandpaper, harsh scouring pads, razors, or drill attachments unless the glass or enclosure manufacturer explicitly approves them. Reddit threads are full of people who tried increasingly abrasive methods on what was actually etched or permanently damaged glass.
Pull debris from tracks before adding water
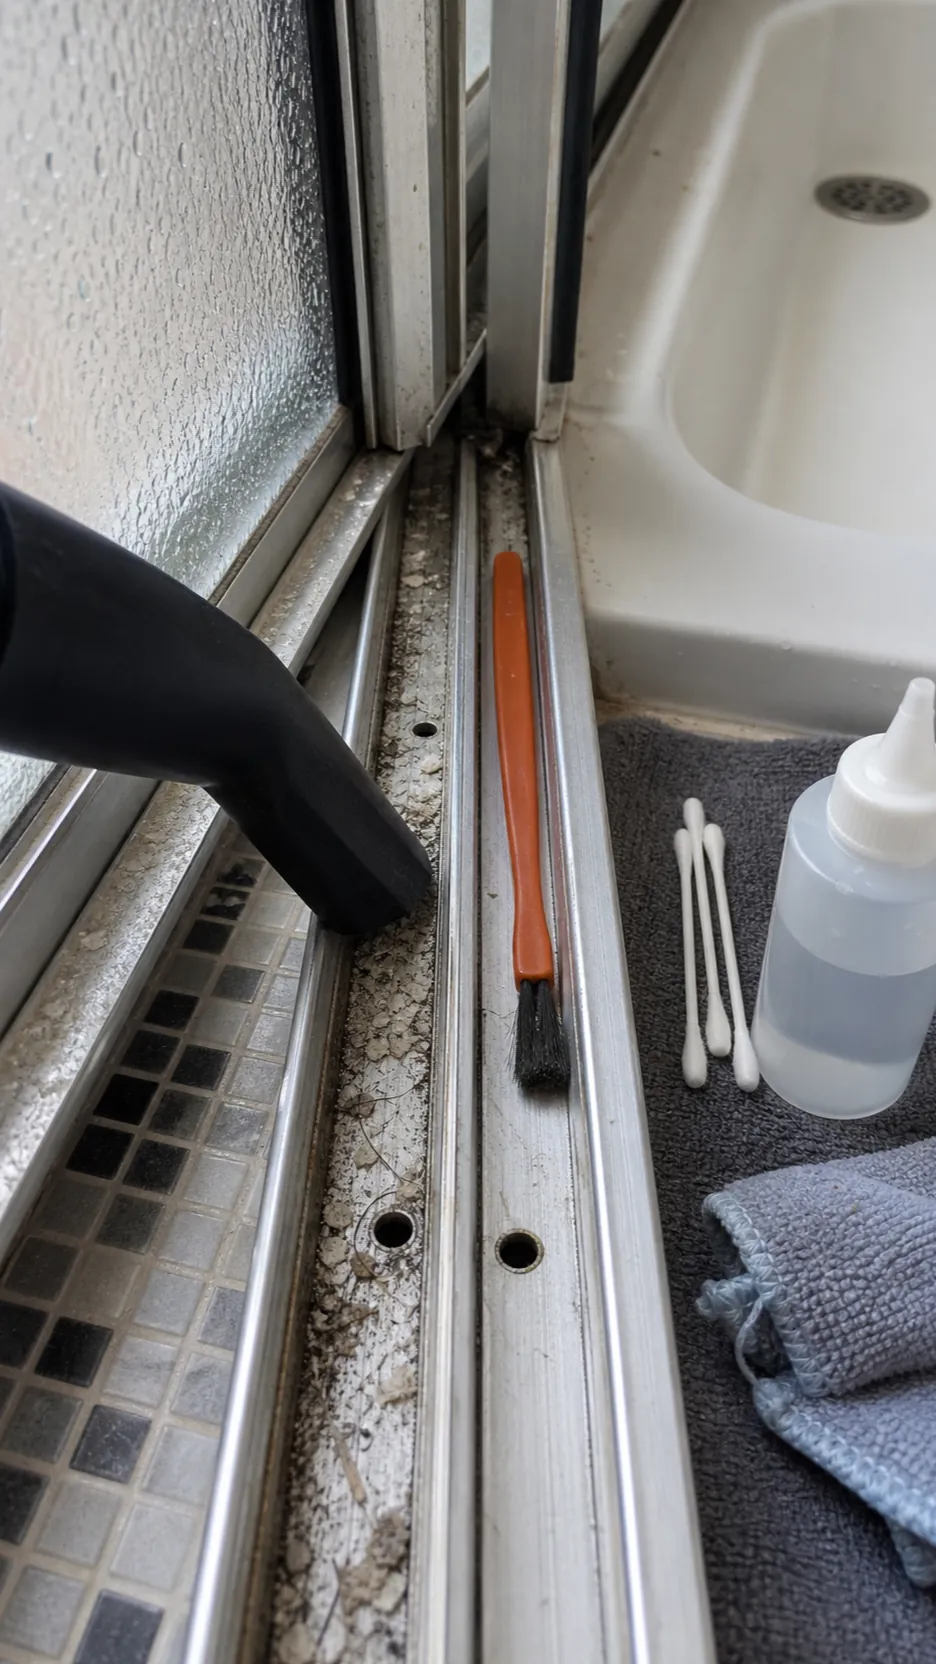
Sliding-door tracks collect hair, lint, soap, and minerals in a narrow channel. Vacuum the dry track first with a crevice tool. Loosen remaining debris with a dry detail brush, then wipe it out. Only after the loose material is gone should you use a small amount of surface-safe cleaner on a cloth or cotton swab.
Avoid pouring liquid into weep holes or enclosed hardware. Keep drainage openings clear, rinse with controlled moisture, and dry the channel. If the frame is corroded, the seal is failing, or the door no longer moves correctly, cleaning is not a repair.
Treat grout and caulk as different materials
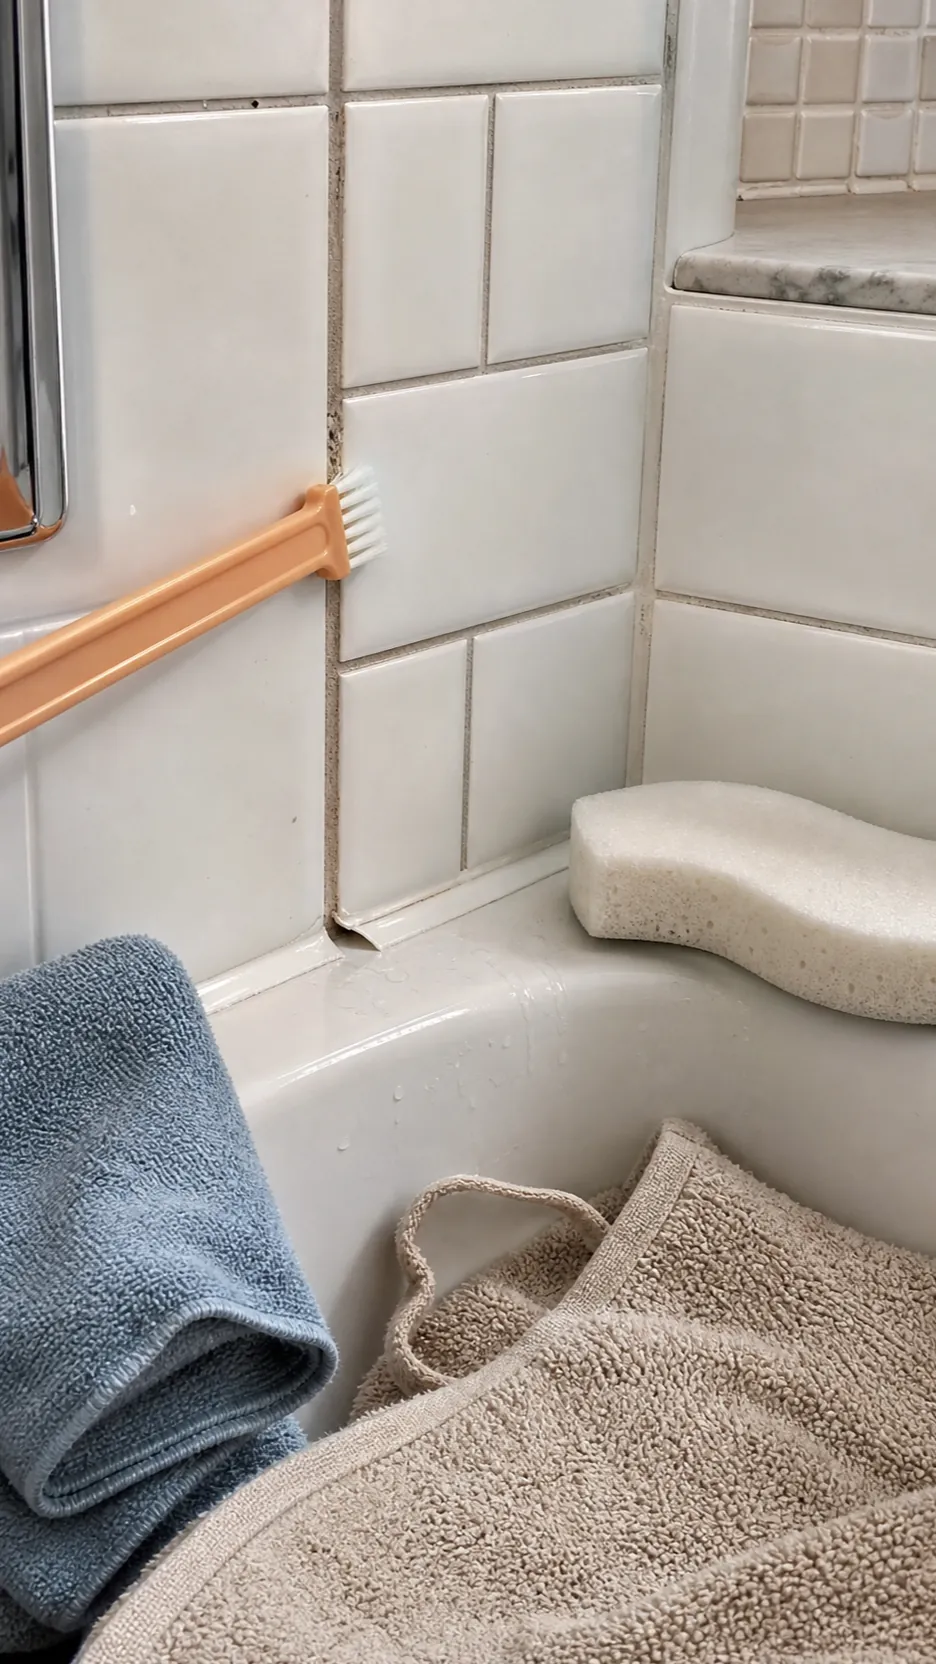
Grout is a hard joint between tiles; caulk is a flexible seal at changes of plane, such as wall-to-tub corners. Use a soft nylon brush and an approved cleaner on intact grout. Rinse well. Do not gouge the joint with a metal tool or stiff wire brush.
Clean caulk gently with the product recommended for the enclosure, then dry it. Staining inside cracked, detached, or deeply colonized caulk will not be solved by endless bleaching. Replace failed caulk and address the moisture source. Extensive or recurring growth, soft wall material, or a suspected leak deserves professional assessment.
Remove the showerhead only when its manual allows it
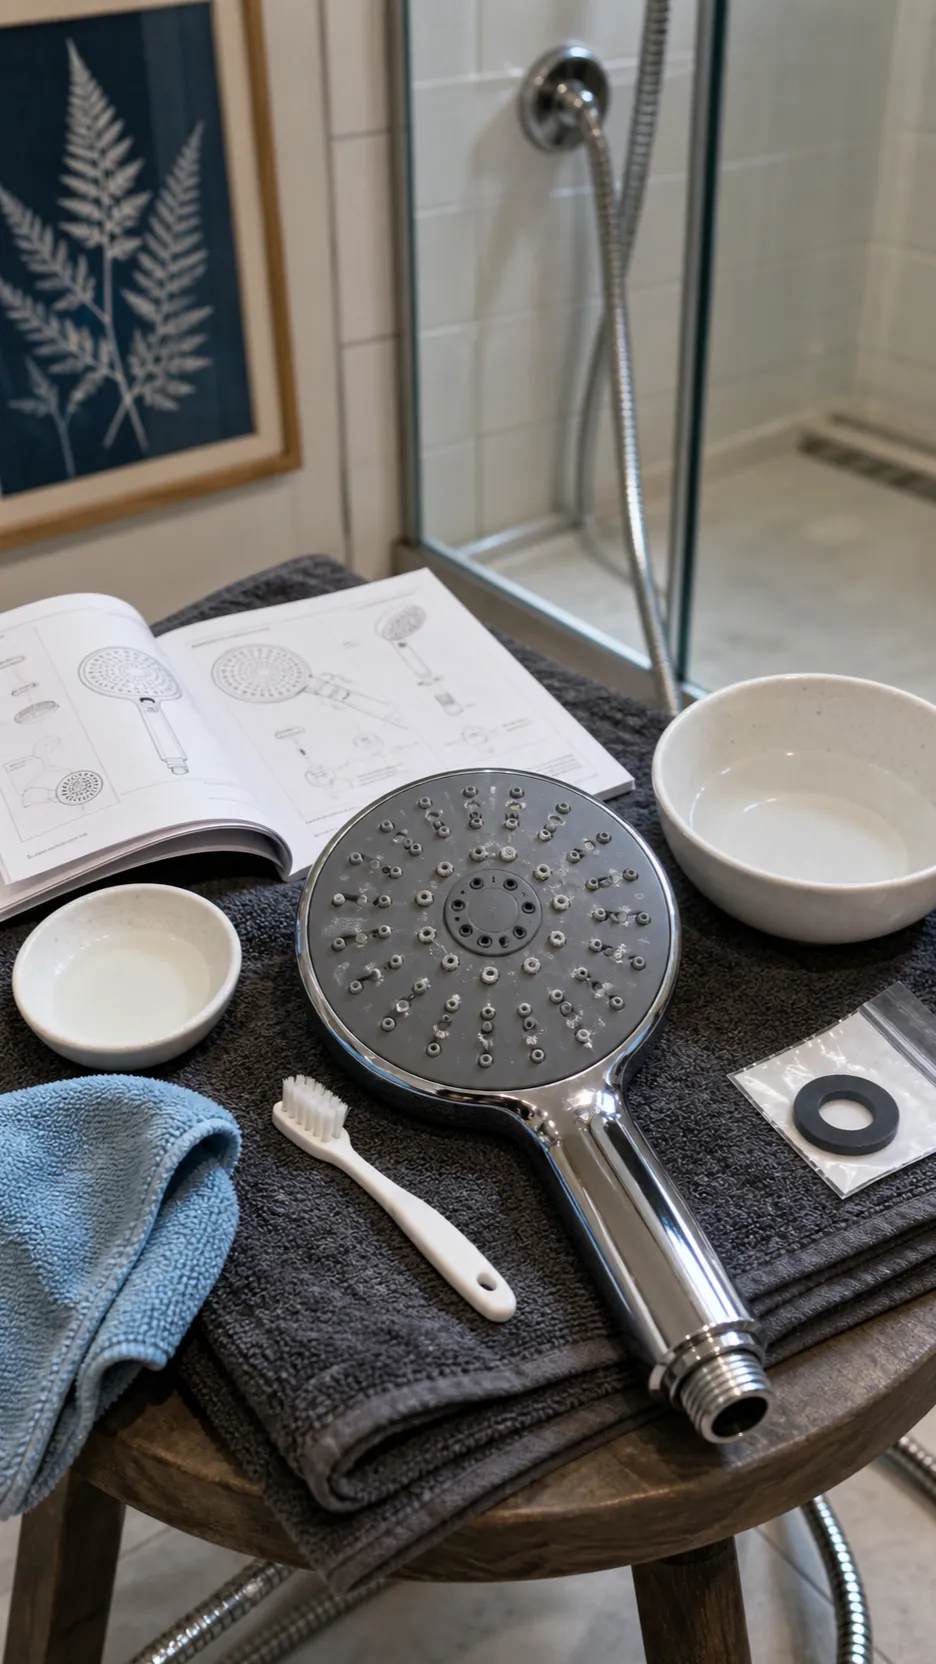
Mineral deposits can distort spray, but soaking an entire fixture may damage finishes, seals, or internal parts. Check the manufacturer’s instructions. If the faceplate is designed for cleaning, wipe the nozzles with a soft cloth, gently flex silicone jets if allowed, and use the specified descaling method for the stated time.
Protect nearby stone and metal, rinse the fixture thoroughly, and restore it without overtightening connections. A weak spray can also come from plumbing pressure, a clogged filter, or a failing fixture, so do not assume every performance issue is visible scale.
Clean under bottles and simplify the shower caddy
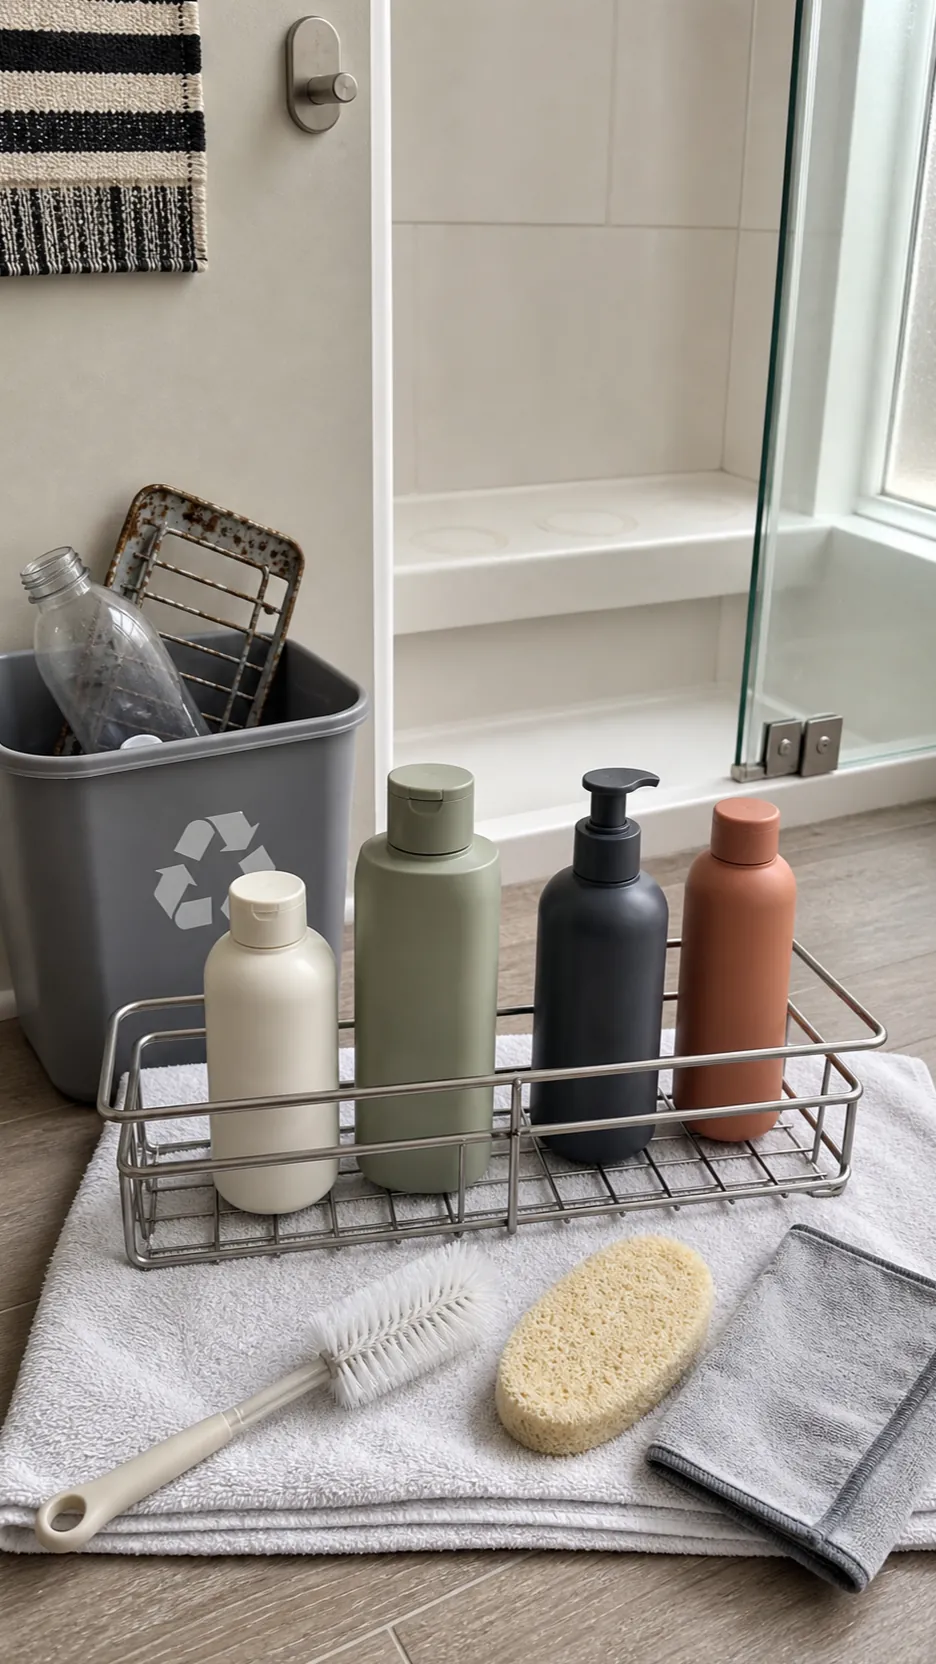
Orange film and stubborn rings often concentrate beneath bottles where water cannot evaporate. Remove everything, discard empties, wash the caddy according to its material, and clean each bottle base before it returns. Replace a corroding caddy rather than spreading rust or trapping more residue.
Keep only current products in the wet zone and space them so air can move around each base. A removable caddy with open drainage is easier to clean than a crowded solid shelf. This small reset brings a useful cleaning aesthetic: fewer items, but every item earns its place.
Make the squeegee the final thirty-second habit
Once the shower is clean, prevention beats another deep clean. After each use, run the fan, squeegee glass and large tile surfaces from top to bottom, wipe the ledge where bottles sit, clear hair from the drain cover, and spread towels to dry. Leave the enclosure open if its design and household safety allow.
Consistency matters more than perfection. If several people share the bathroom, keep the squeegee where everyone can reach it and make the route obvious: glass, wall, ledge, done. Removing droplets interrupts mineral buildup and helps surfaces dry faster. That is why the best cleaning shower hacks are not stronger mixtures; they are small actions that prevent residue from hardening in the first place.
For chemical safety, consult the CDC guidance on cleaning and disinfecting with bleach. Never mix bleach or disinfectants with other cleaners, and always follow product and surface labels.