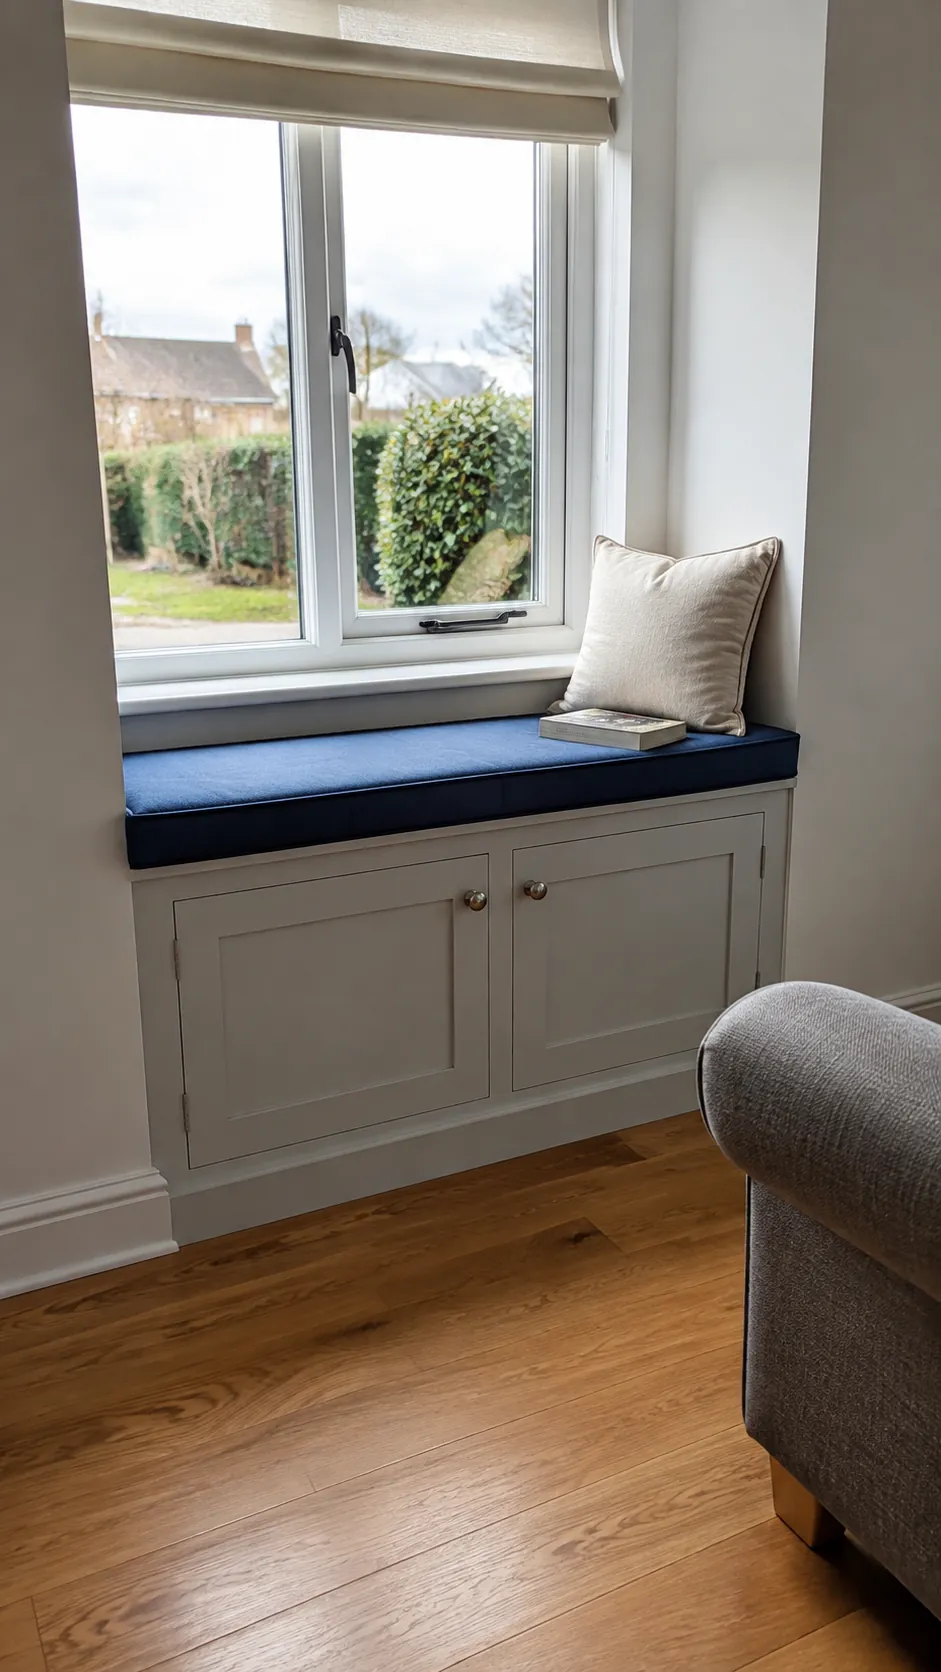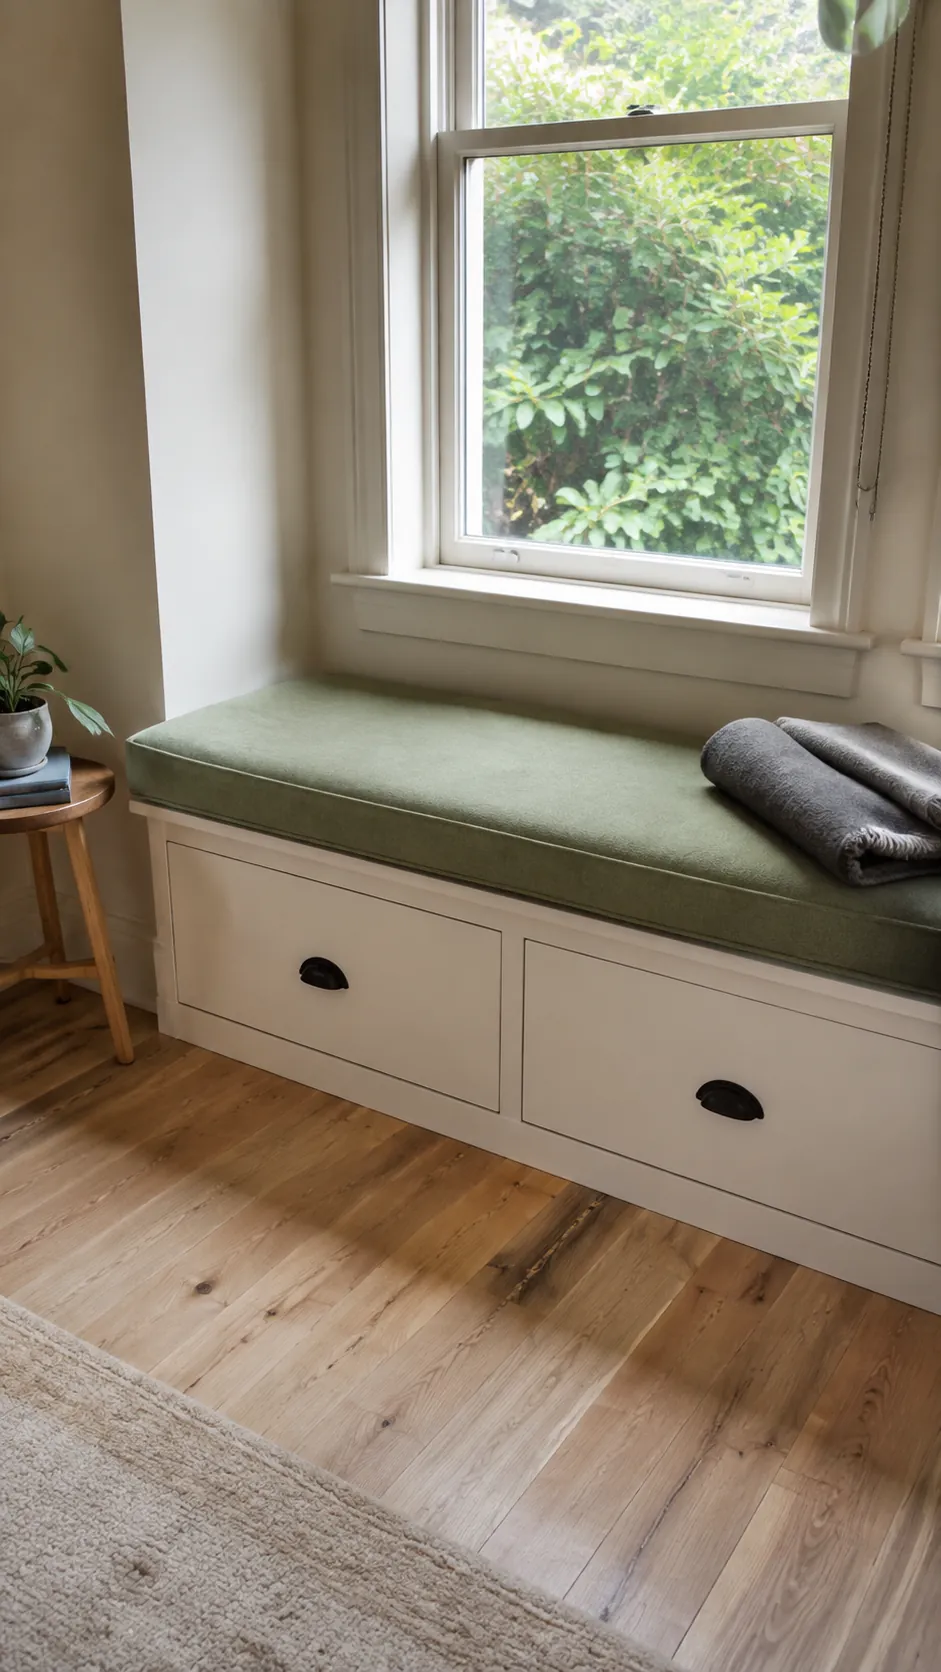
The cushion is the part you notice first, but it is often the last thing people price. By then, the base may be too tall, the lid may catch the sill, or the top may span farther than its support allows. Plan the seat as a piece of furniture that must carry people, fit the room, and open easily before buying the pretty fabric.
Measure the sitting position before cutting timber
Begin your DIY window seat with a room survey and a sitting test. Measure the opening at several heights, the sill projection, the skirting, and the route in front of the proposed seat. Old walls are rarely perfectly straight, so a single measurement across the window is not enough for a fitted box.
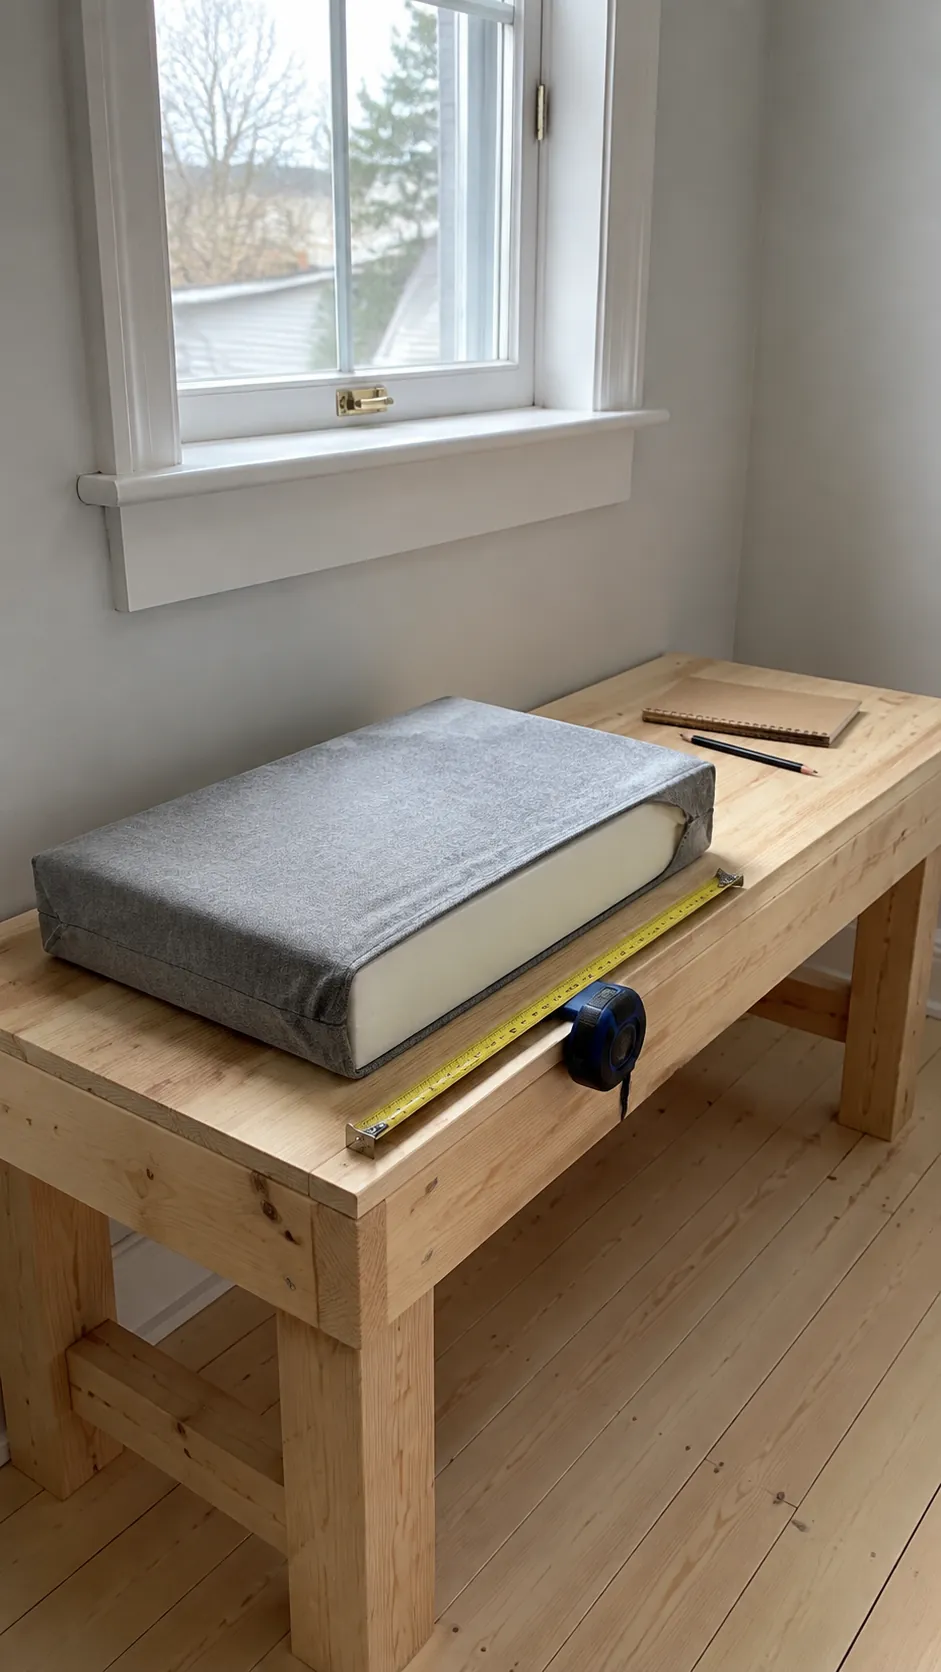
Choose a finished seat height using a comfortable chair as a reference, then subtract the cushion and top thickness when working out the base. Test cushion samples under your own weight because different foam compresses differently. For a deep reading perch, check that you can support your back without losing the usable sitting depth to oversized pillows.
Open the window, operate the blind, and check nearby sockets, heating, and vents before finalizing the footprint. Preserve required escape access and consider how the bench creates climbing access in a child’s room. A short mockup made from stable furniture or cardboard can reveal an awkward depth before any permanent work begins.
Choose a base designed for sitting loads
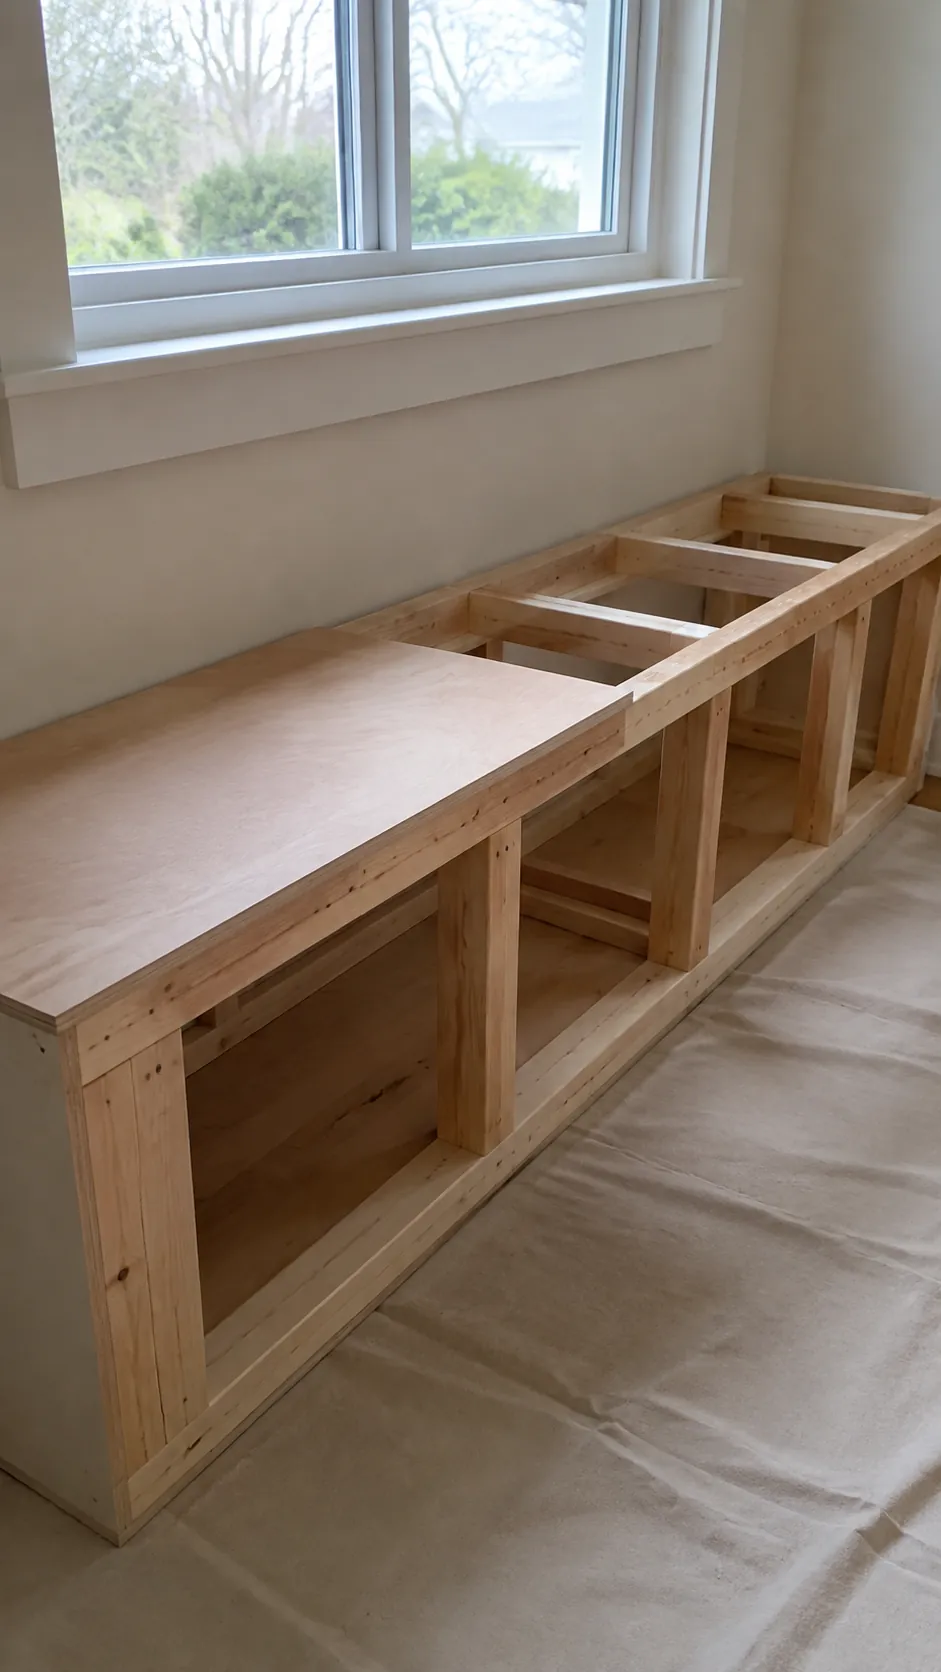
Window bench ideas often use cabinets for their tidy storage, but a cabinet is not automatically rated as seating. Check the manufacturer’s intended use and load information before using an existing unit, and do not assume that turning a shelving unit on its side makes it suitable. A purpose built bench plan is a better starting point when support requirements are unclear.
Fresh indexed Reddit snippets show people questioning both wide dormer spans and the weight capacity of repurposed storage furniture. Those questions identify the critical issue: the top, supports, joints, and fixings must work as a complete structure. They do not establish a safe span or timber size for a different project.
Use a proven plan matched to your materials and dimensions, or have a competent carpenter specify the structure. Long unsupported spans and unusual bay shapes need particular attention. Before drilling into a wall, identify services and the wall construction, then choose the fixing method specified for that substrate and design.
Pick the storage opening before building the box
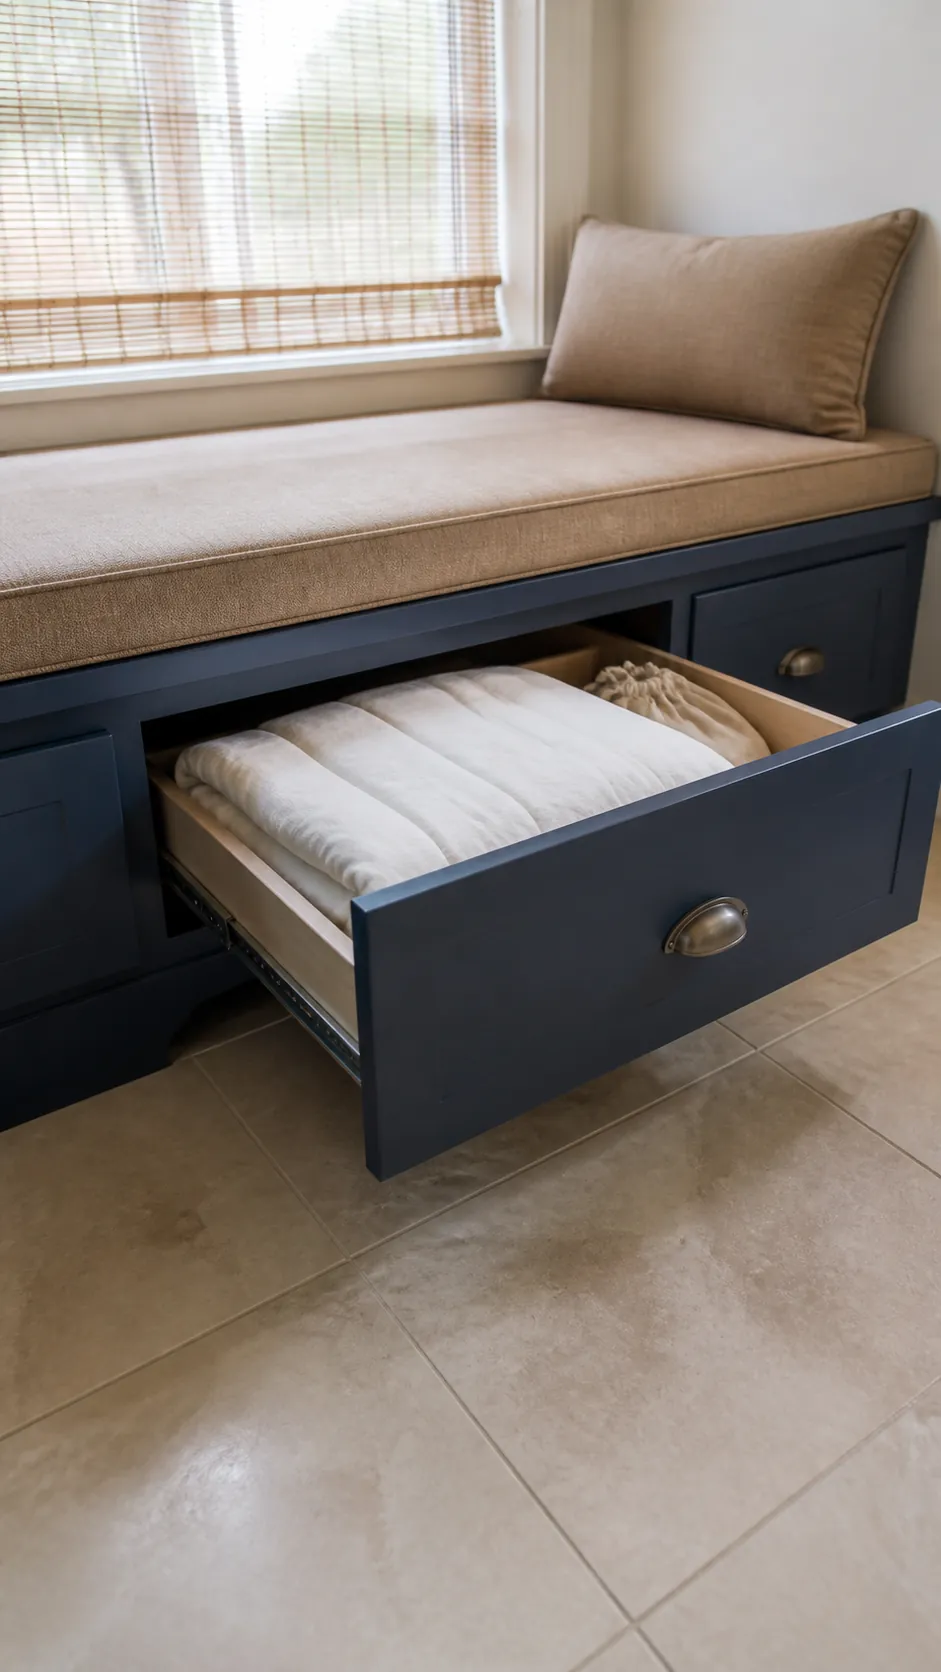
Drawers are convenient when the cushion should stay in place while you reach blankets or shoes. Open cubbies are simpler to access but show their contents, so baskets can keep small items contained. A lifting lid gives a broad opening, although anything on top has to move each time.
For a lid, choose hinges and support hardware rated for its actual weight and geometry, following the manufacturer’s installation instructions. A hinge alone is not a reliable lid support, and a heavy top needs protection against dropping or trapping fingers. Plan child access carefully, including appropriate ventilation and avoiding a storage cavity that could trap someone.
Lay out the movement before cutting panels. A drawer needs floor space in front of it, while a hinged lid needs clearance from the sill, trim, and wall behind. For small window seat ideas in a busy bedroom, the easiest opening to use every day may matter more than the largest storage volume.
Template the bay instead of guessing its angles
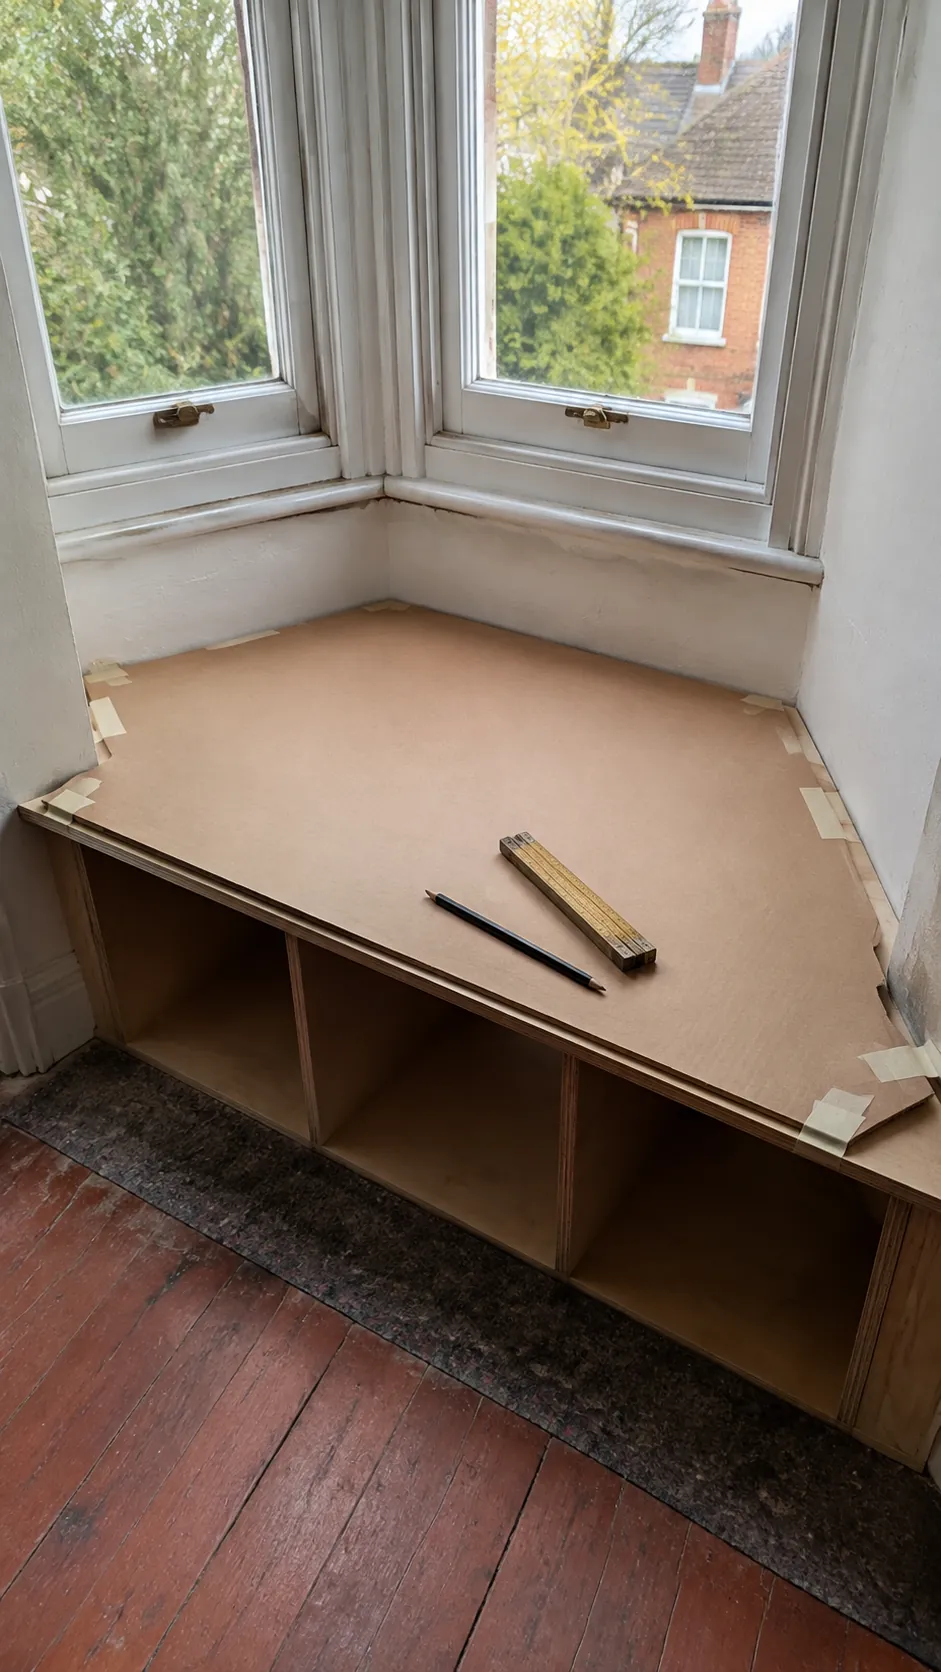
A DIY bay window bench requires a plan view of the recess, not just its front width. Cut a cardboard template that follows the actual walls and test it in place before transferring the shape to the chosen top material. Mark the front edge and orientation clearly so the template cannot be reversed by mistake.
Keep the structural design and the decorative fit as separate decisions. A neatly scribed edge can hide an uneven wall, but trim should not be asked to carry sitting loads. Dry fit the supported top and front panels before applying finish so access problems remain easy to correct.
If the bay is unusually deep or wide, do not extend a small bench plan by guesswork. Ask the plan designer or carpenter how the changed span affects the structure. The finished seat should preserve access to all window sections without relying on someone climbing over unstable furniture.
Price the cushion while the dimensions can still change
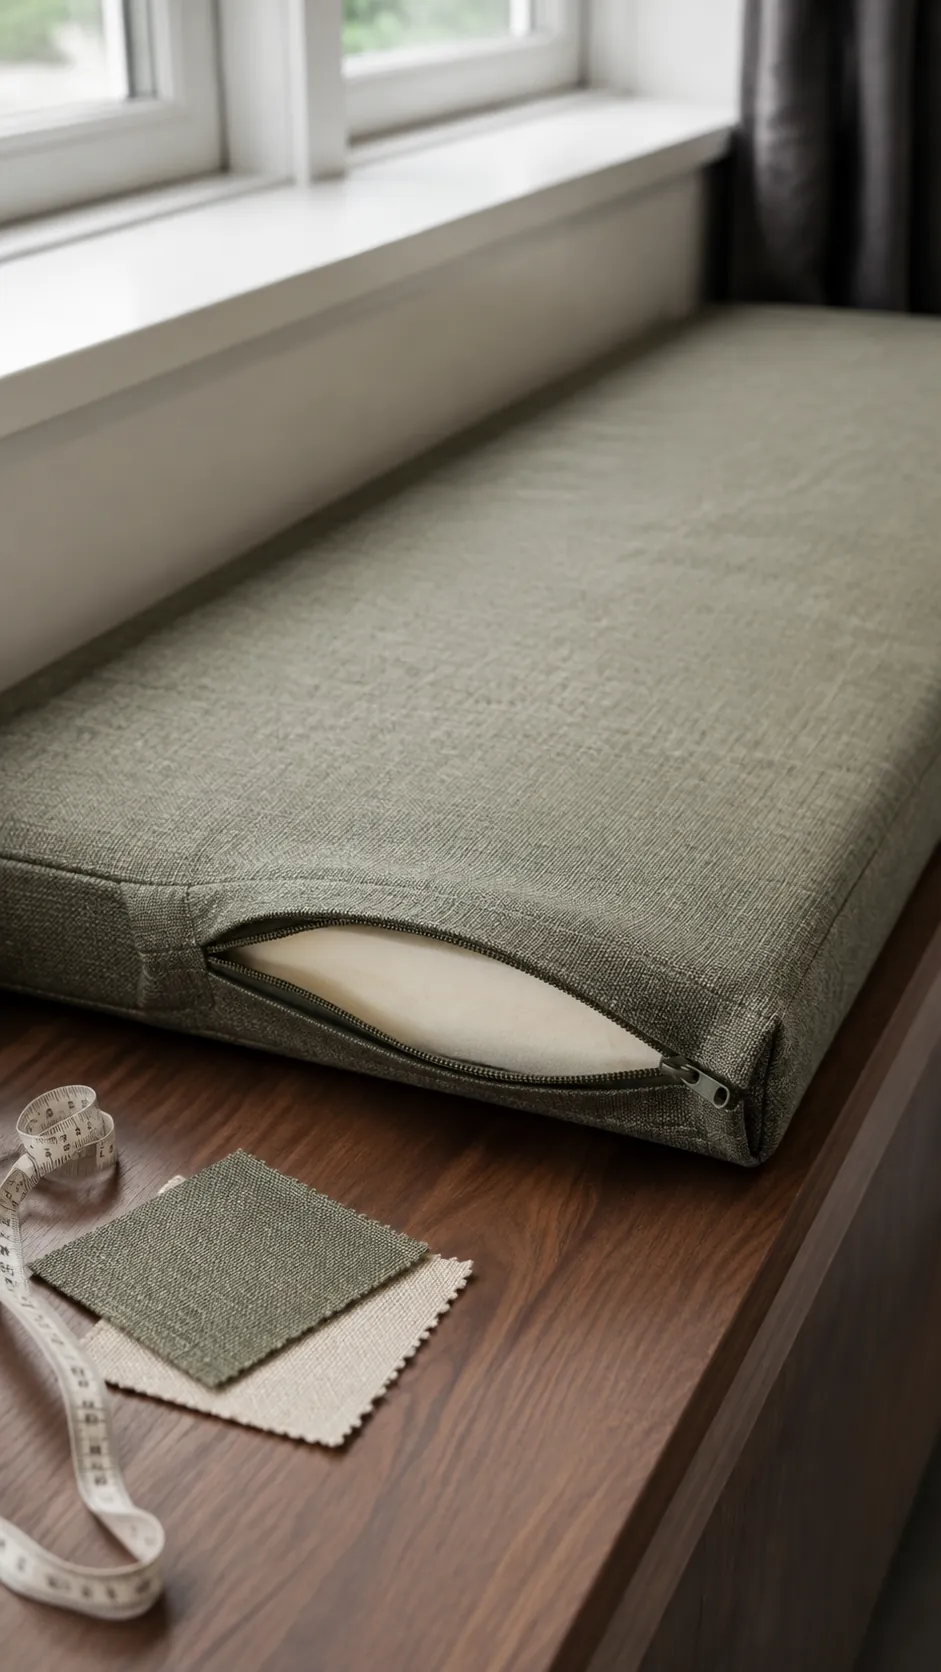
Custom upholstery can change the budget enough to influence the whole window seat design. Ask for foam, cover, zipper, and any shaped bay pieces to be priced before locking in the dimensions. A standard cushion size may simplify the project, provided the resulting bench still fits the room and sitting position.
Use upholstery materials suited to the intended seating use and local fire safety requirements. Compare actual foam samples for comfort instead of choosing only by thickness or an online photograph. A removable washable cover is especially useful for window seat ideas in a living room where pets, snacks, and sunlight are part of daily life.
Allow the cushion to fit without jamming against the window or preventing storage from opening. Keep fabric clear of wet glazing, and deal with persistent moisture before installing the bench. For laundry room ideas, think carefully about humidity and ventilation rather than assuming a bedroom cushion specification will work unchanged.
Finish the surfaces and check every moving part
Sand exposed edges smooth and use a finish appropriate for the chosen timber or sheet material, following preparation, ventilation, and curing instructions. Paint can improve appearance, but it cannot strengthen a poorly supported top or repair a weak joint. Complete the structural checks in the plan before covering fixings with decorative trim.
After installation, inspect the bench for rocking, loose joints, sharp hardware, and interference with nearby doors or window controls. Confirm that drawers and lids move as designed and that any specified anchoring is complete before the seat enters normal use. Recheck fittings after the first period of use and address movement rather than disguising it with caulk.
Keep the final styling simple enough that you can still sit down without clearing a display. A comfortable cushion, one useful pillow, and storage that opens easily will do more for the nook than a crowded collection of accessories. The best home decor idea here is a seat whose construction and daily use deserve as much care as its photograph.