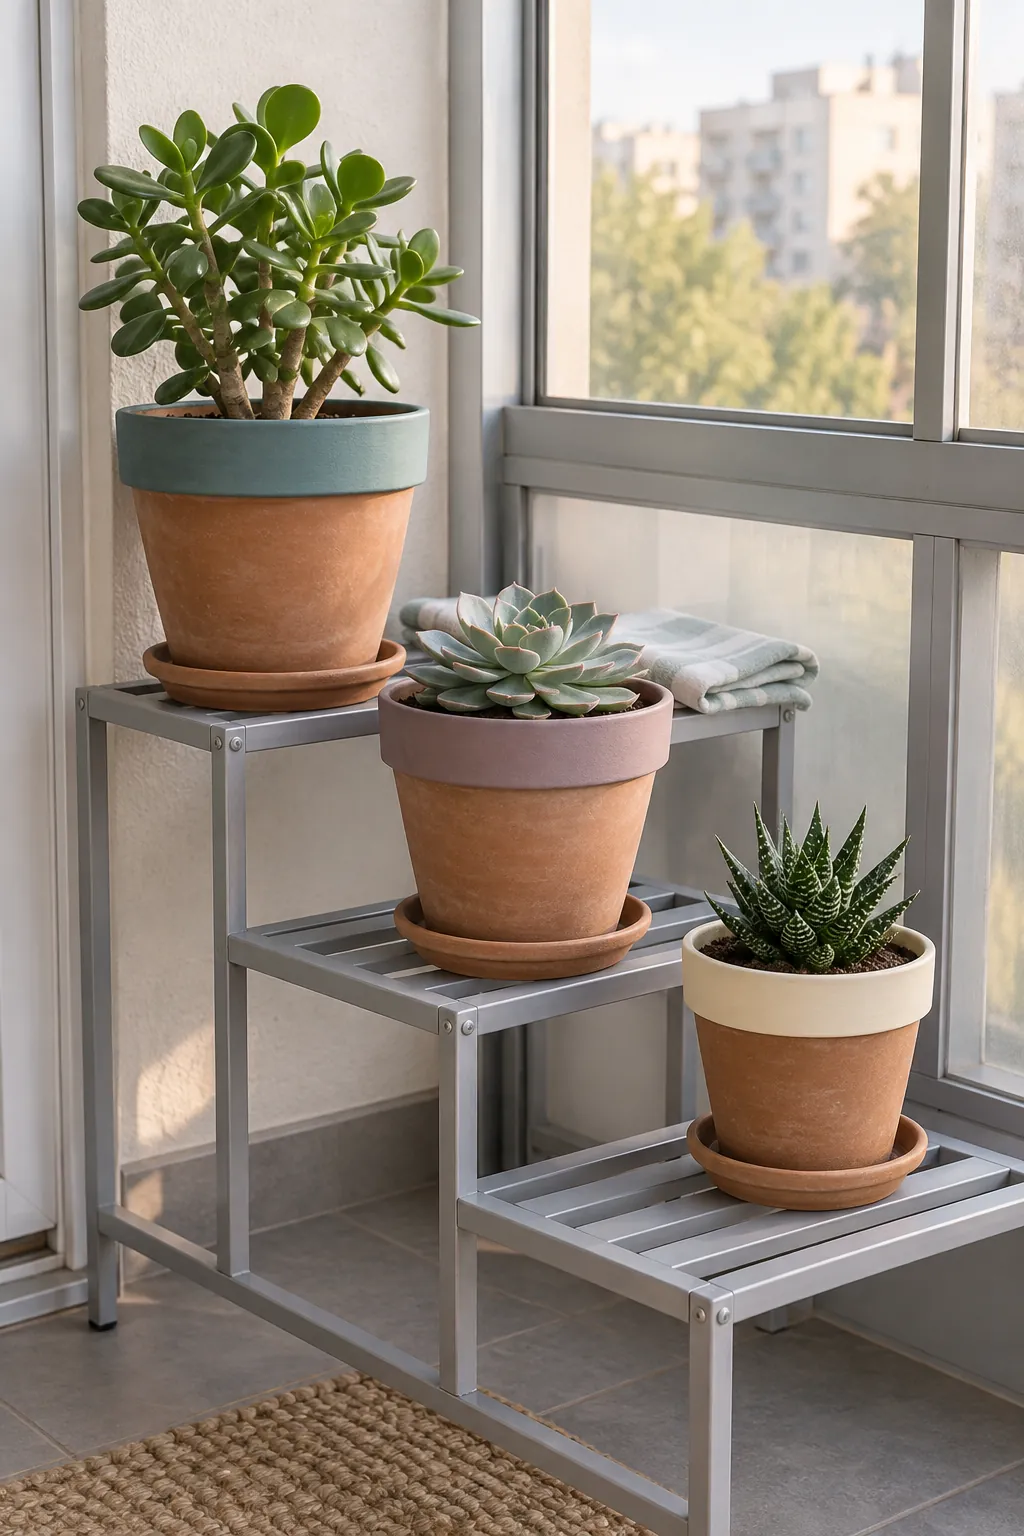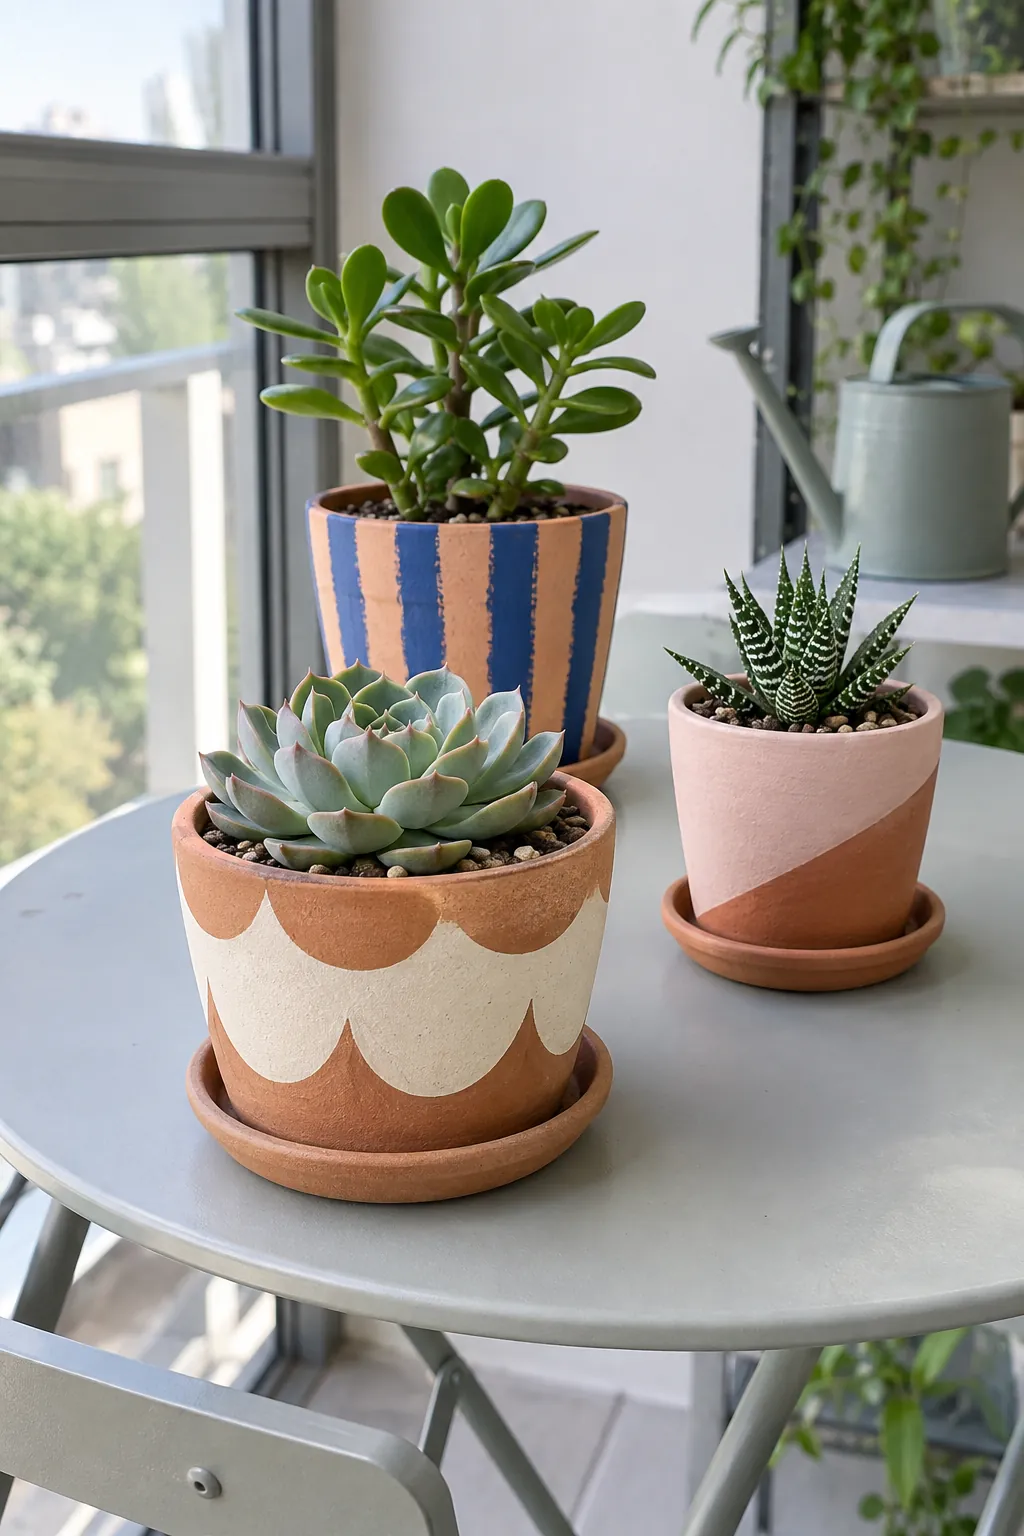
A plain clay pot is easy to brighten; keeping the finish tidy through watering takes more thought. Start with an empty, clean, fully dry container, keep its drainage hole open, and choose coatings whose instructions cover your surface and intended use. Painting or sealing porous clay can reduce its breathability, so check the growing mix before watering instead of following the same schedule as an unpainted pot.
For these DIY painted flower pots, choose a motif you can comfortably paint at the size you actually own. Thin coats and proper curing matter more than an elaborate pattern. If you prefer to separate the decoration from the growing container, use a removable inner pot and never let it sit in collected water.
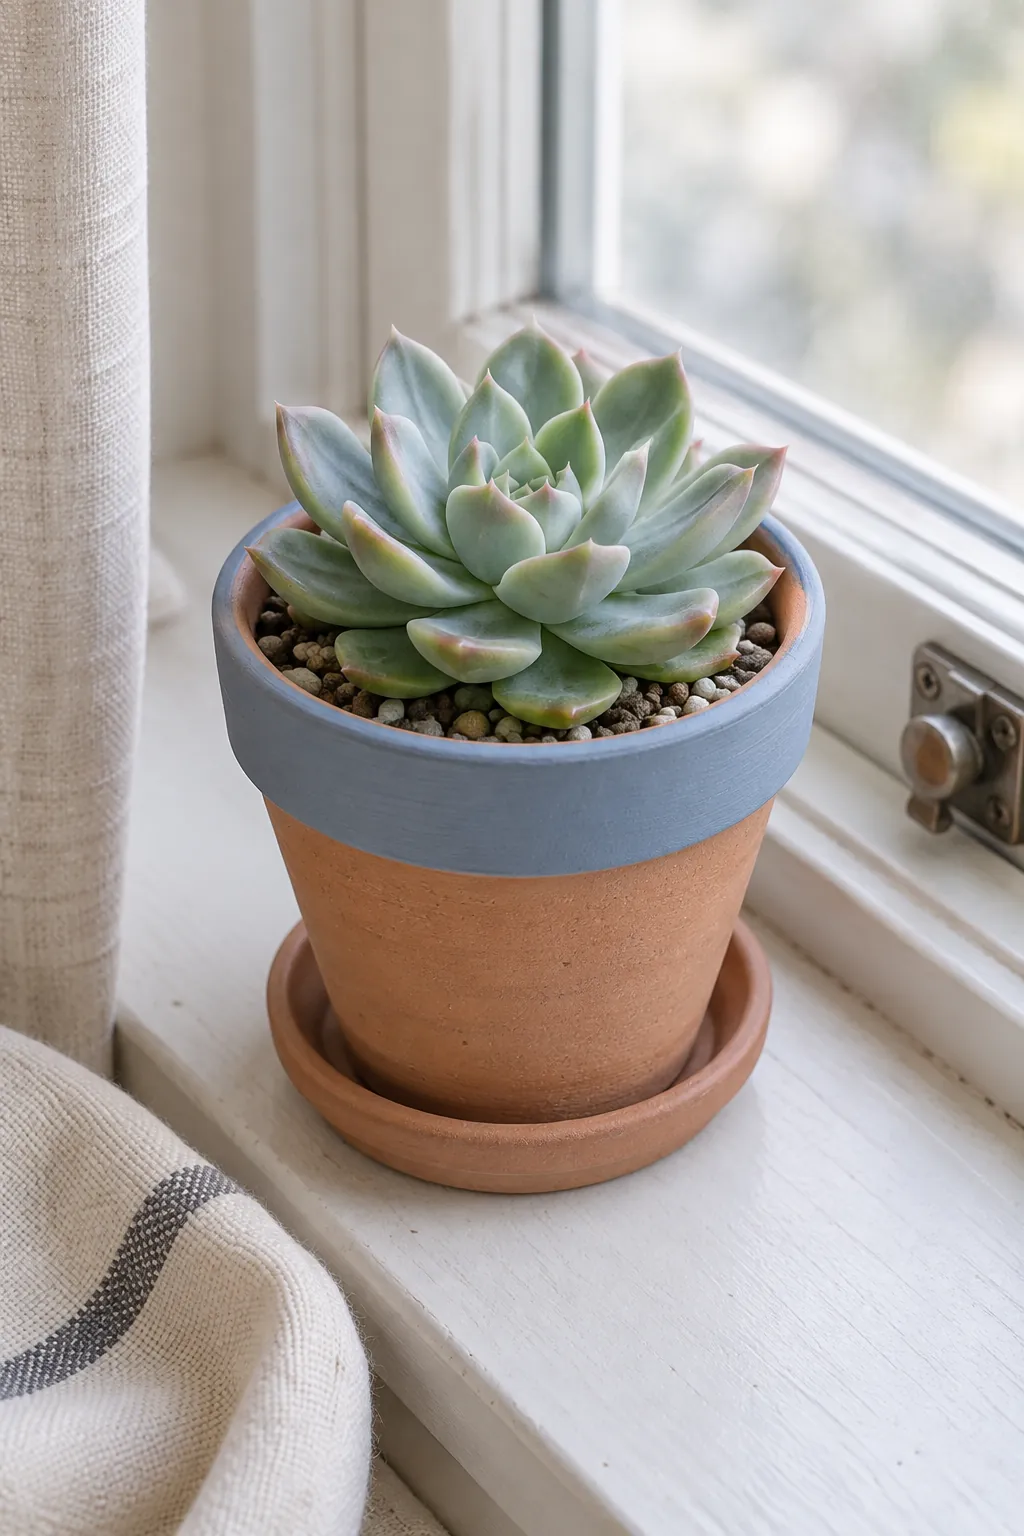
A simple painted rim
Keep the body of a terracotta pot bare and paint only the outside rim in dusty blue. This gives beginners a clear stopping point and preserves much of the clay surface, although even partial coatings can change how a container dries. Slip a scrap of paper inside the opening while brushing so paint stays away from the soil area. A compact echeveria makes the quiet color band easy to see.
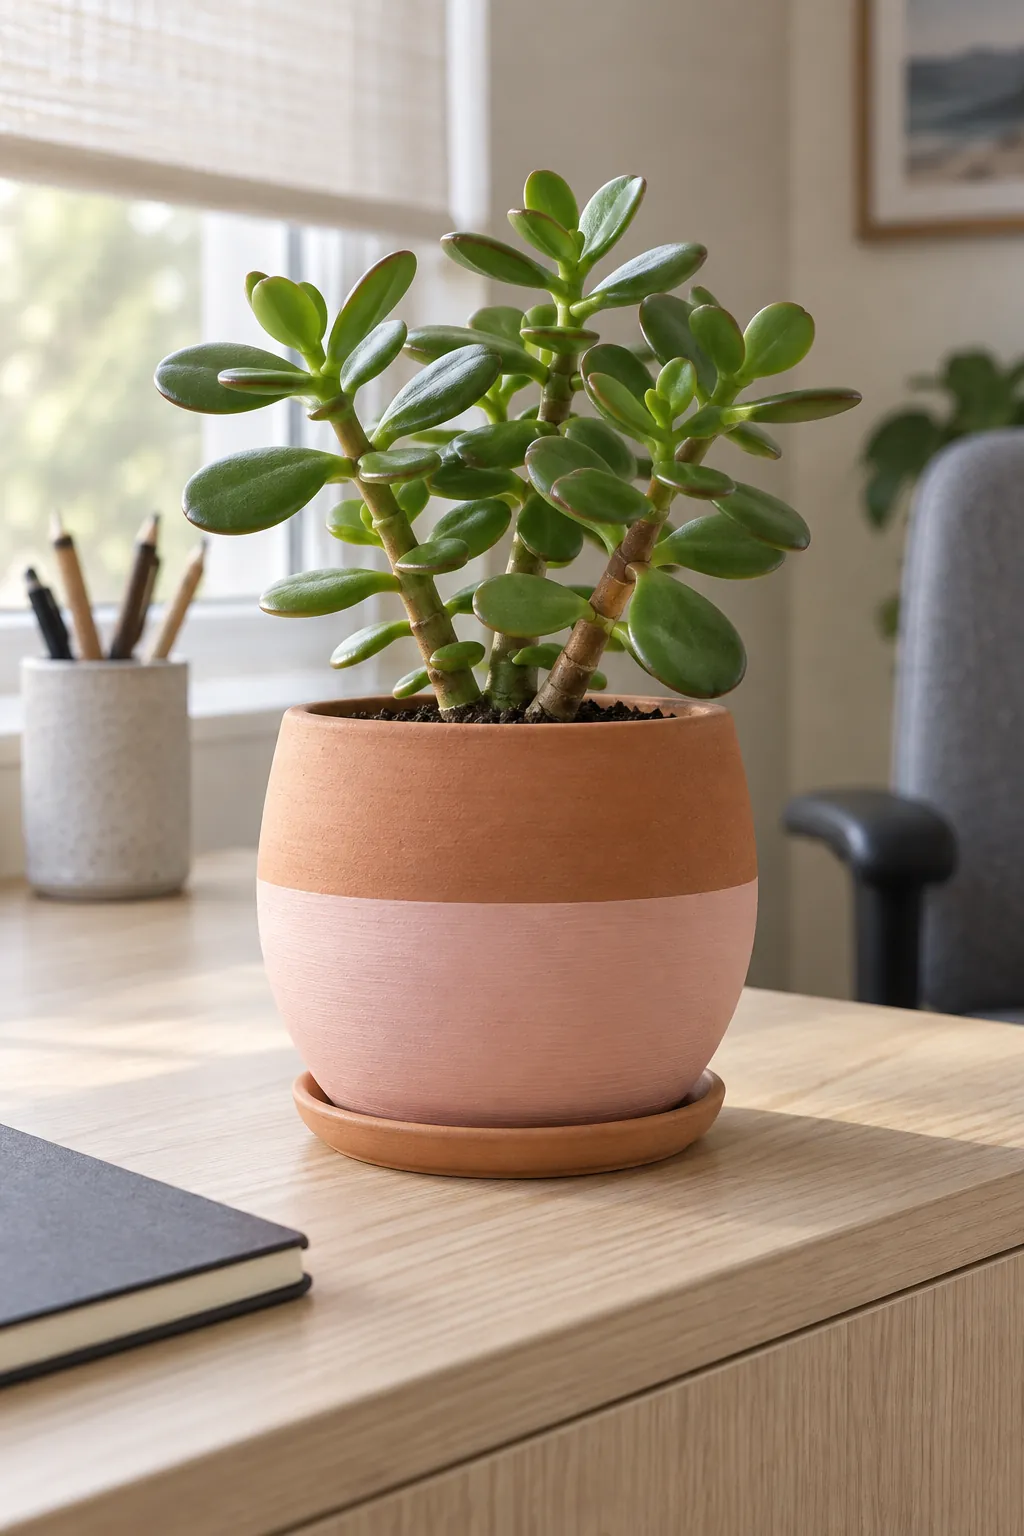
Soft blush color blocking
A blush lower half gives a plain pot a gentle contrast without demanding detailed brushwork. Mark the height in several places before joining the marks, since a tapered pot can make a straight band look uneven. Apply thin coats with a flat brush and let each coat dry according to its label. Pair the finished planter with pale green leaves rather than adding another painted motif. For a cleaner border, remove masking tape at the stage recommended for your chosen paint and tape.
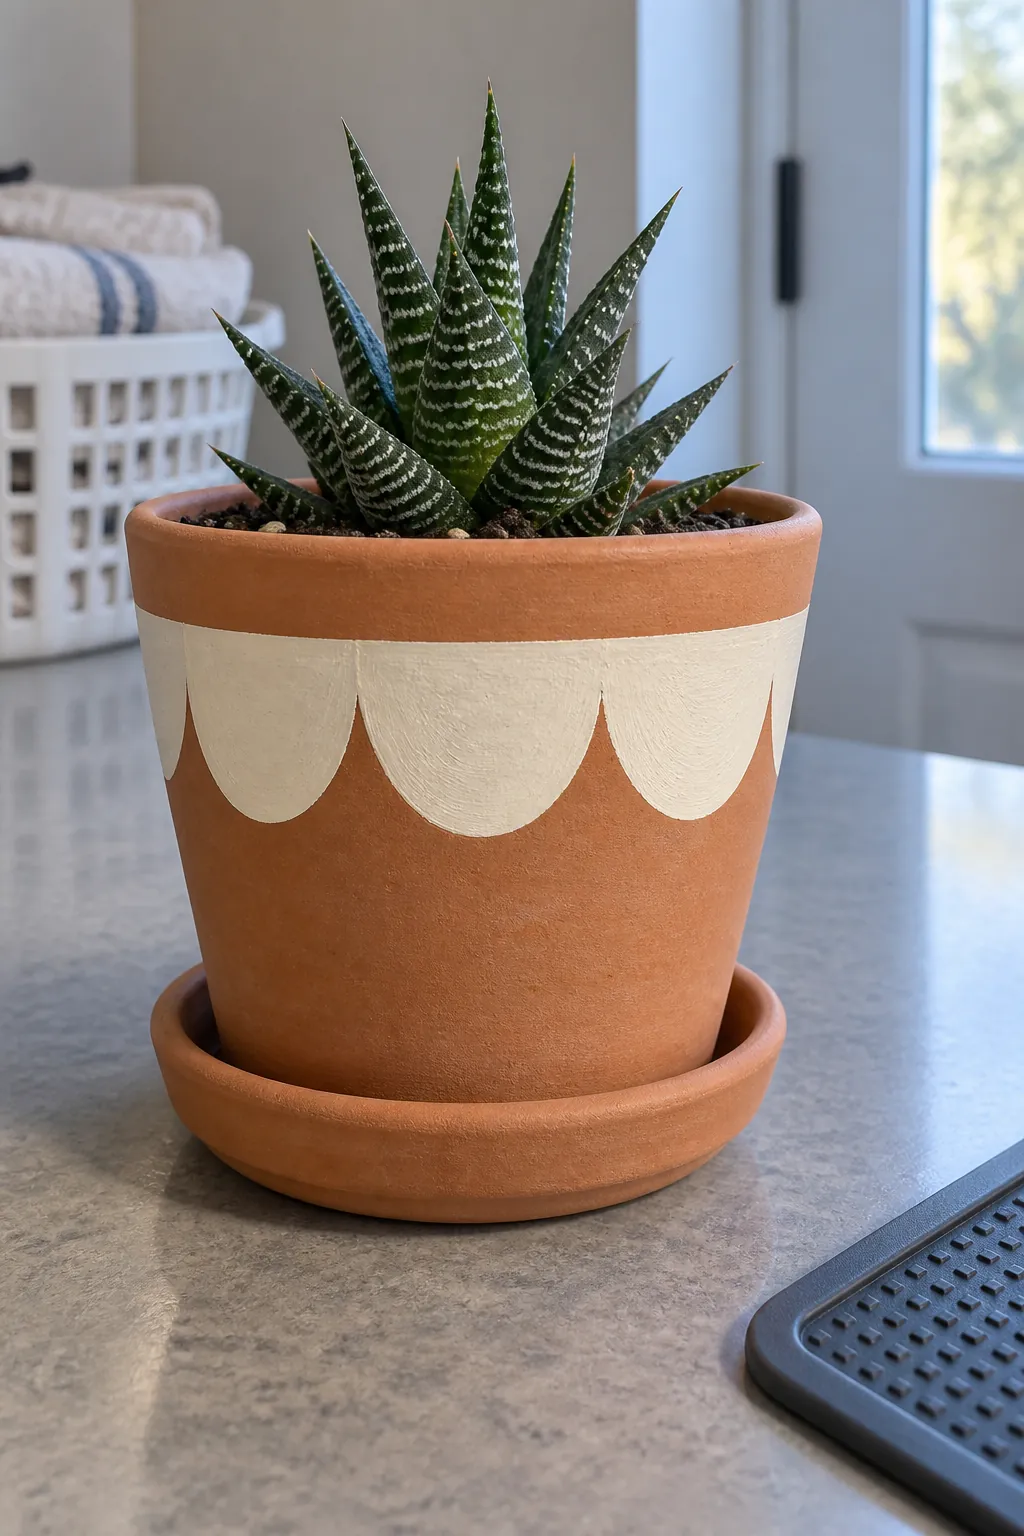
Large cream scallops
Scallops are forgiving because the repeated curves can look charming with small variations. Sketch a loose row of rounded arches around a clay pot, then fill the shapes with cream paint. Keep the scallops large enough that they remain legible across the room. This is a useful small pot painting idea when tiny details would disappear behind the leaves.
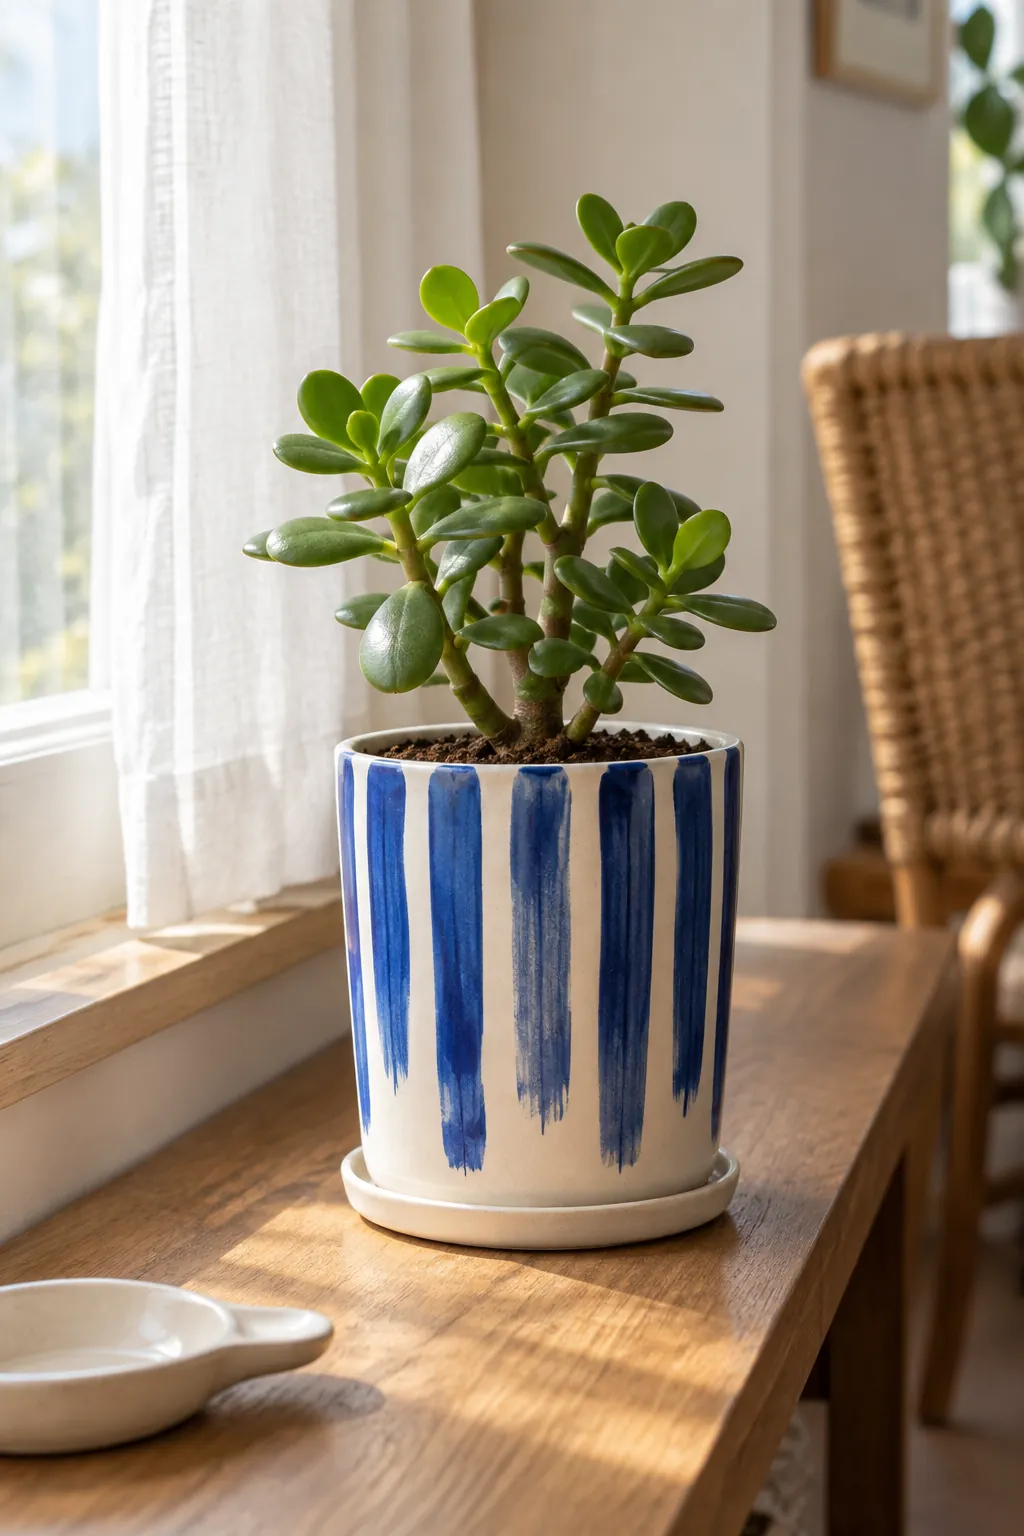
Cobalt brushstroke stripes
Loose vertical stripes let visible brush marks become part of the design. Start with a pale base and pull cobalt strokes from the rim toward the foot, leaving different widths of white between them. Stop short of the bottom so the striped area has a deliberate edge rather than a ragged ending. A narrow brush with little paint helps prevent heavy drips. Turn the pot after each stroke instead of bending your wrist around the curve. Use a jade cutting with a simple upright shape so the plant does not hide the pattern.
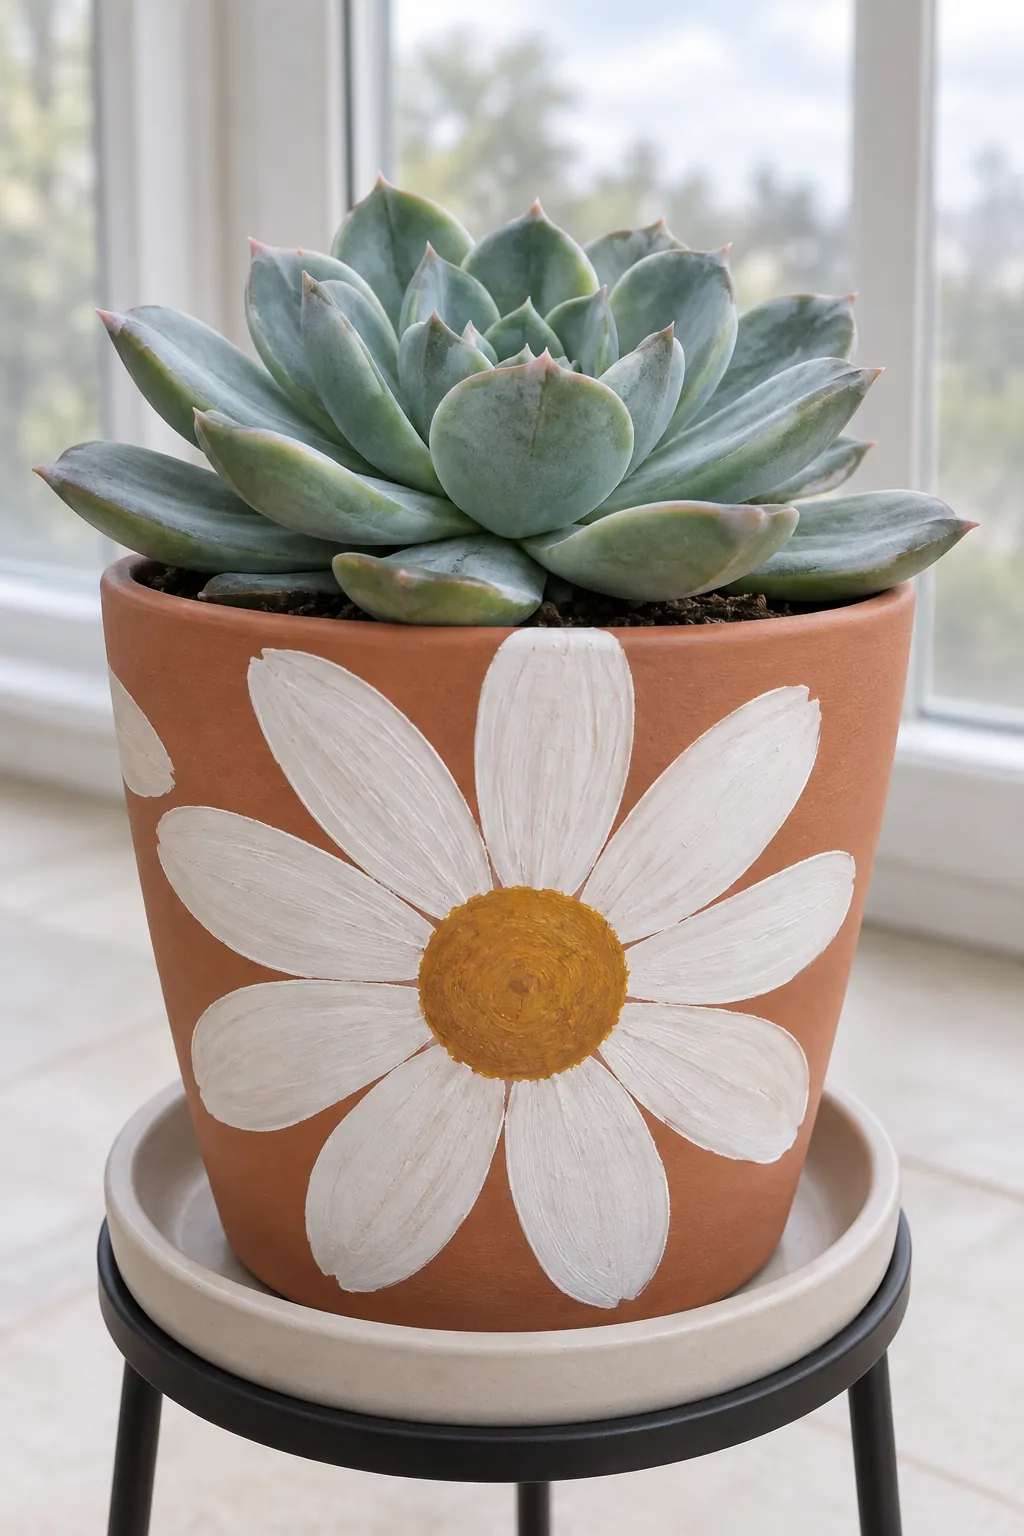
An oversized daisy
One large daisy often reads more clearly than a scattering of miniature flowers. Paint the petals around a small ochre center, letting a few curve slightly over the pot's taper. Leave open space behind the flower to avoid turning the design into a crowded print. If the base color shows through white petals, add another thin coat after the first dries. The flower becomes a front marker, making this a natural choice for a pot displayed on a narrow sill.
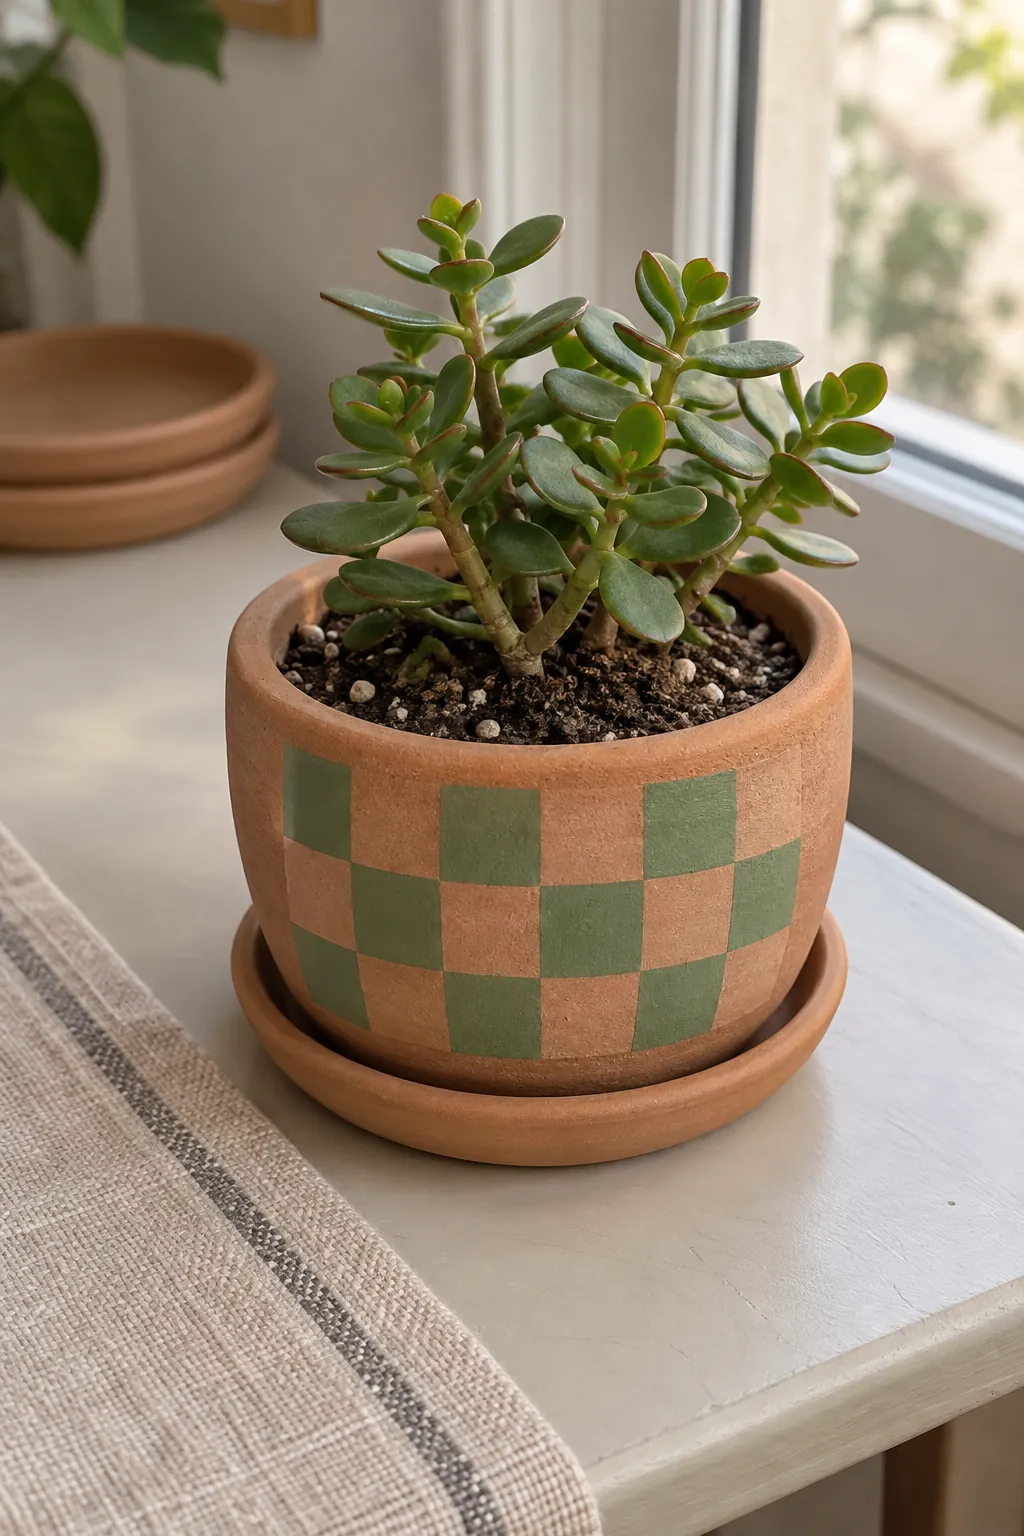
A quiet checkerboard
A checkerboard brings structure to a loose plant corner, but measuring every square on a tapered pot can become frustrating. Draw a front facing panel of checks instead of wrapping the pattern all the way around. Alternate muted sage and bare clay, treating the terracotta as one of the colors. Keep the grid short of the rim so small alignment errors have somewhere to disappear.
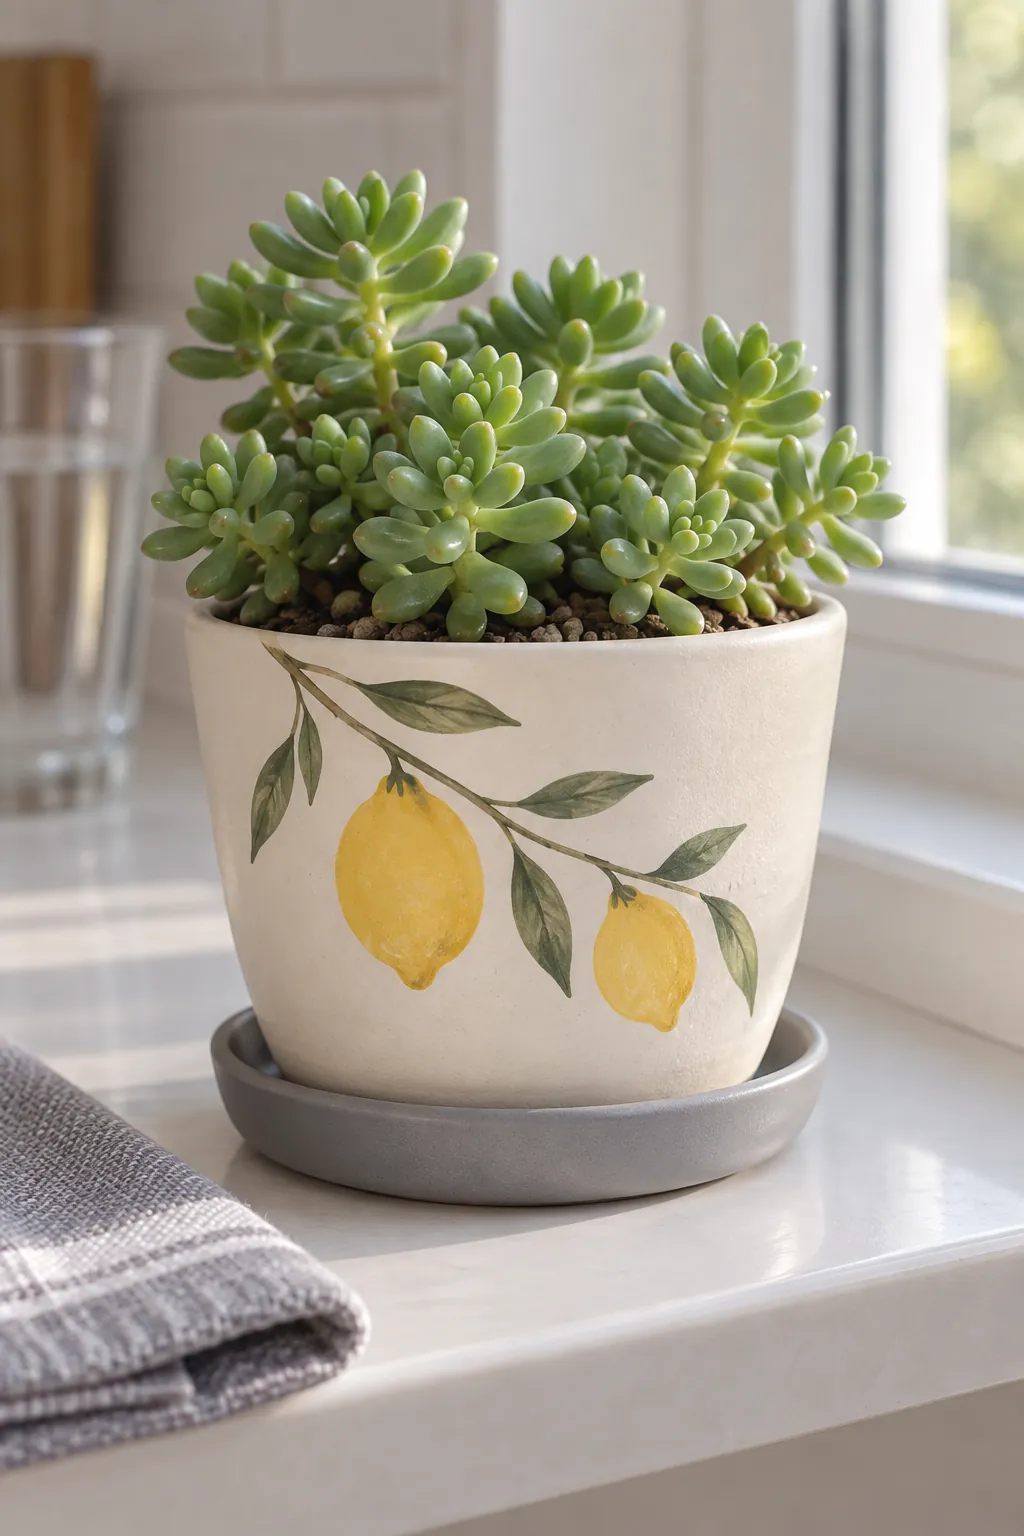
Lemon branch accents
Small lemons and fine green stems make a lively pot without covering its whole surface. Place two fruit shapes near the front and let a branch bend toward the rim. Keep most of the background pale so the yellow stays fresh rather than overwhelming. Practice the leaf strokes on scrap card before touching the pot. A warm windowsill suits the look, but choose the actual plant location for the succulent's light needs and acclimate it before strong sun.
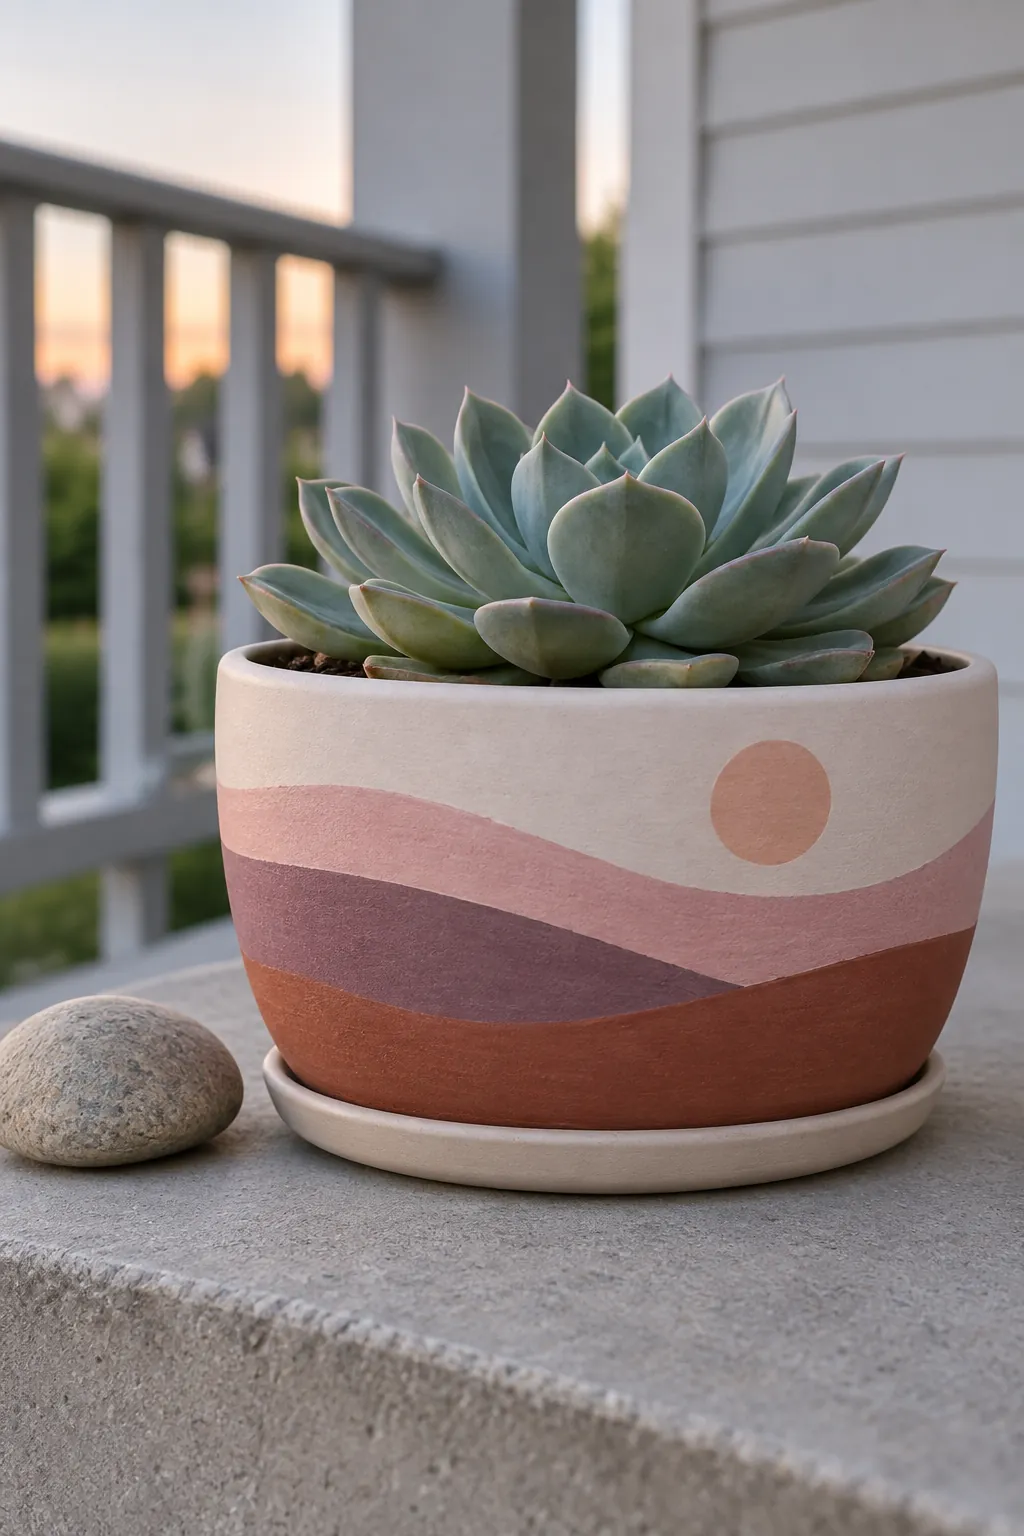
A painted desert sunset
Build a tiny sunset from broad curved bands of mauve, muted rust, and pale pink. Begin with the lightest band and allow it to dry before placing a darker curve beside it. The bands should suggest a horizon without requiring realistic landscape painting. Keep the top edge of the design below the rim so the plant remains visually separate from the scene. This approach works well on a wider pot that offers enough space for several curves.
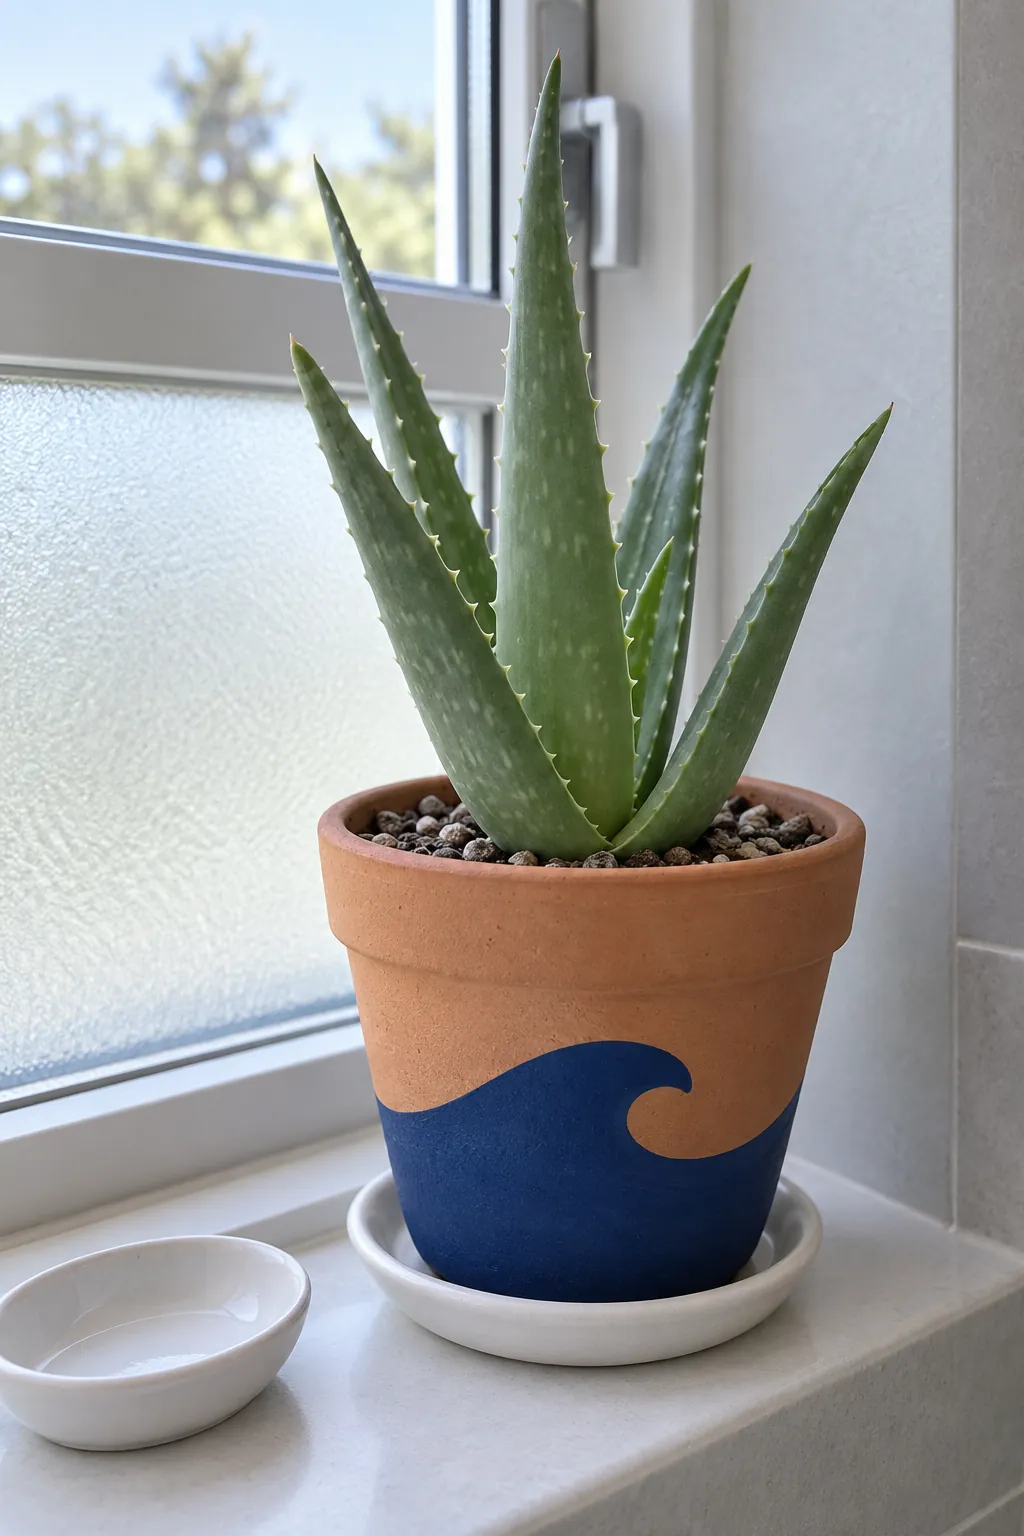
A blue wave around the base
A single rolling wave makes an easy alternative to perfectly straight tape lines. Draw the crest lightly, then fill below it with a deep blue that ends at the pot's foot. The bare upper clay gives the wave a warm backdrop. Rotate the empty container while painting so you can check that the curve connects smoothly at the back.
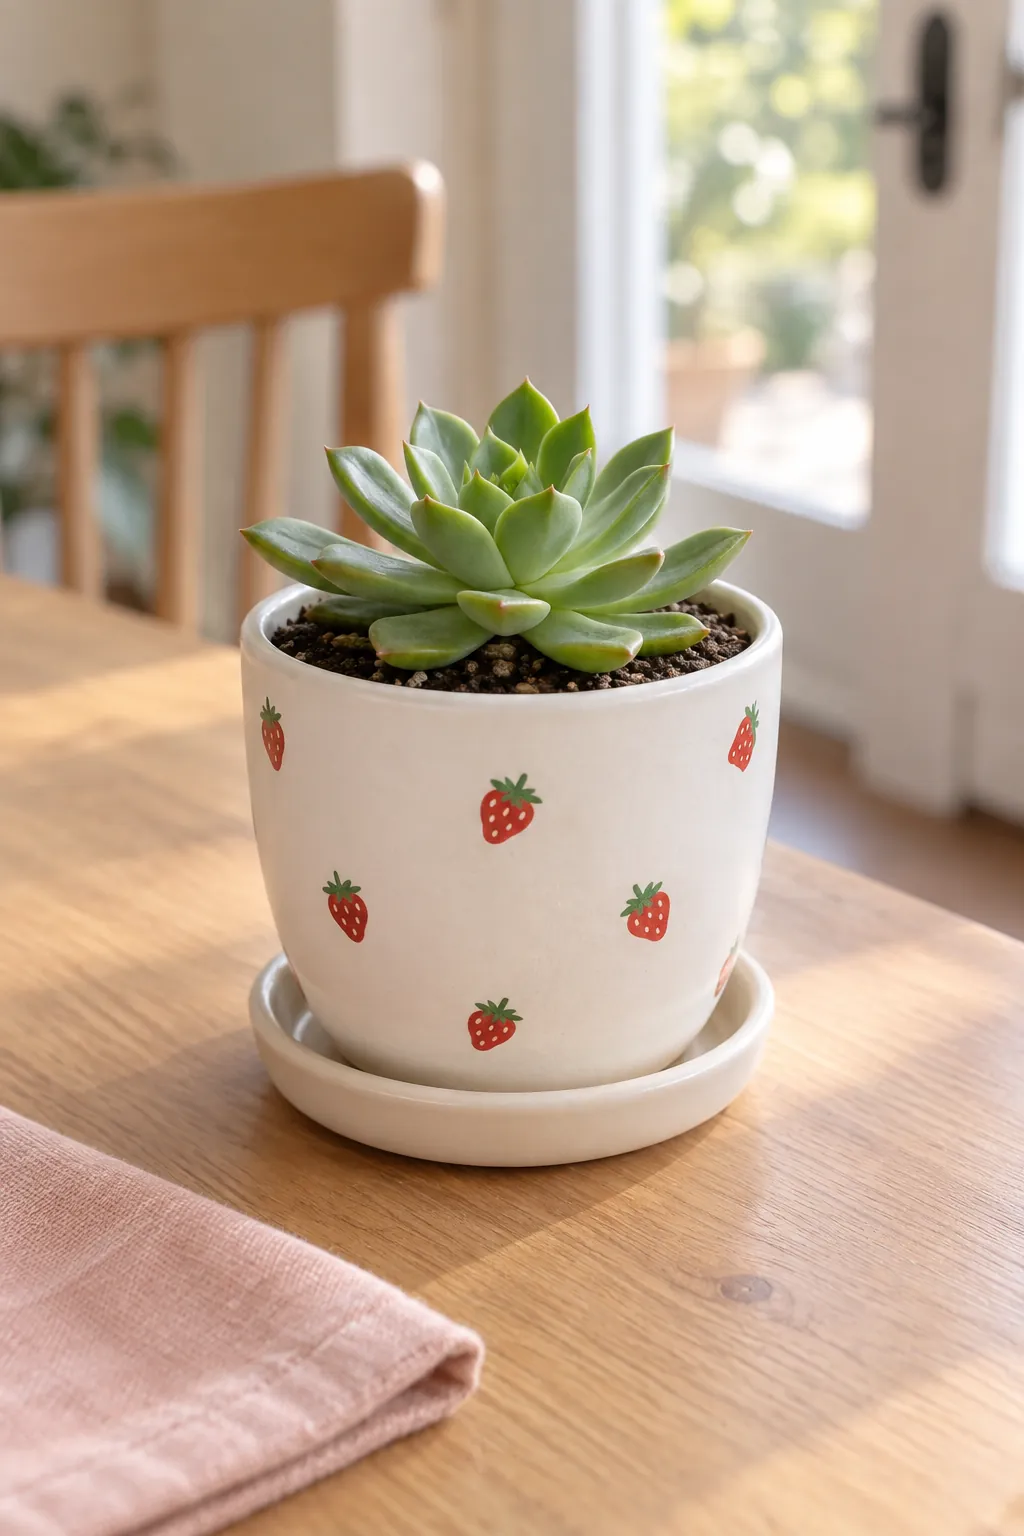
Tiny strawberries on white
Strawberries bring a playful note to a kitchen plant display. Paint rounded red triangles over a cured white base and add only a few seed marks to each fruit. Space the berries farther apart than you first think necessary, since a curved pot makes the pattern appear denser at its sides. A fine brush can add the leafy caps after the red has dried. Keep the decoration on the exterior and follow the coating maker's guidance for planter use. Do not assume a craft paint or sealer is suitable for food contact just because the motif belongs in a kitchen.
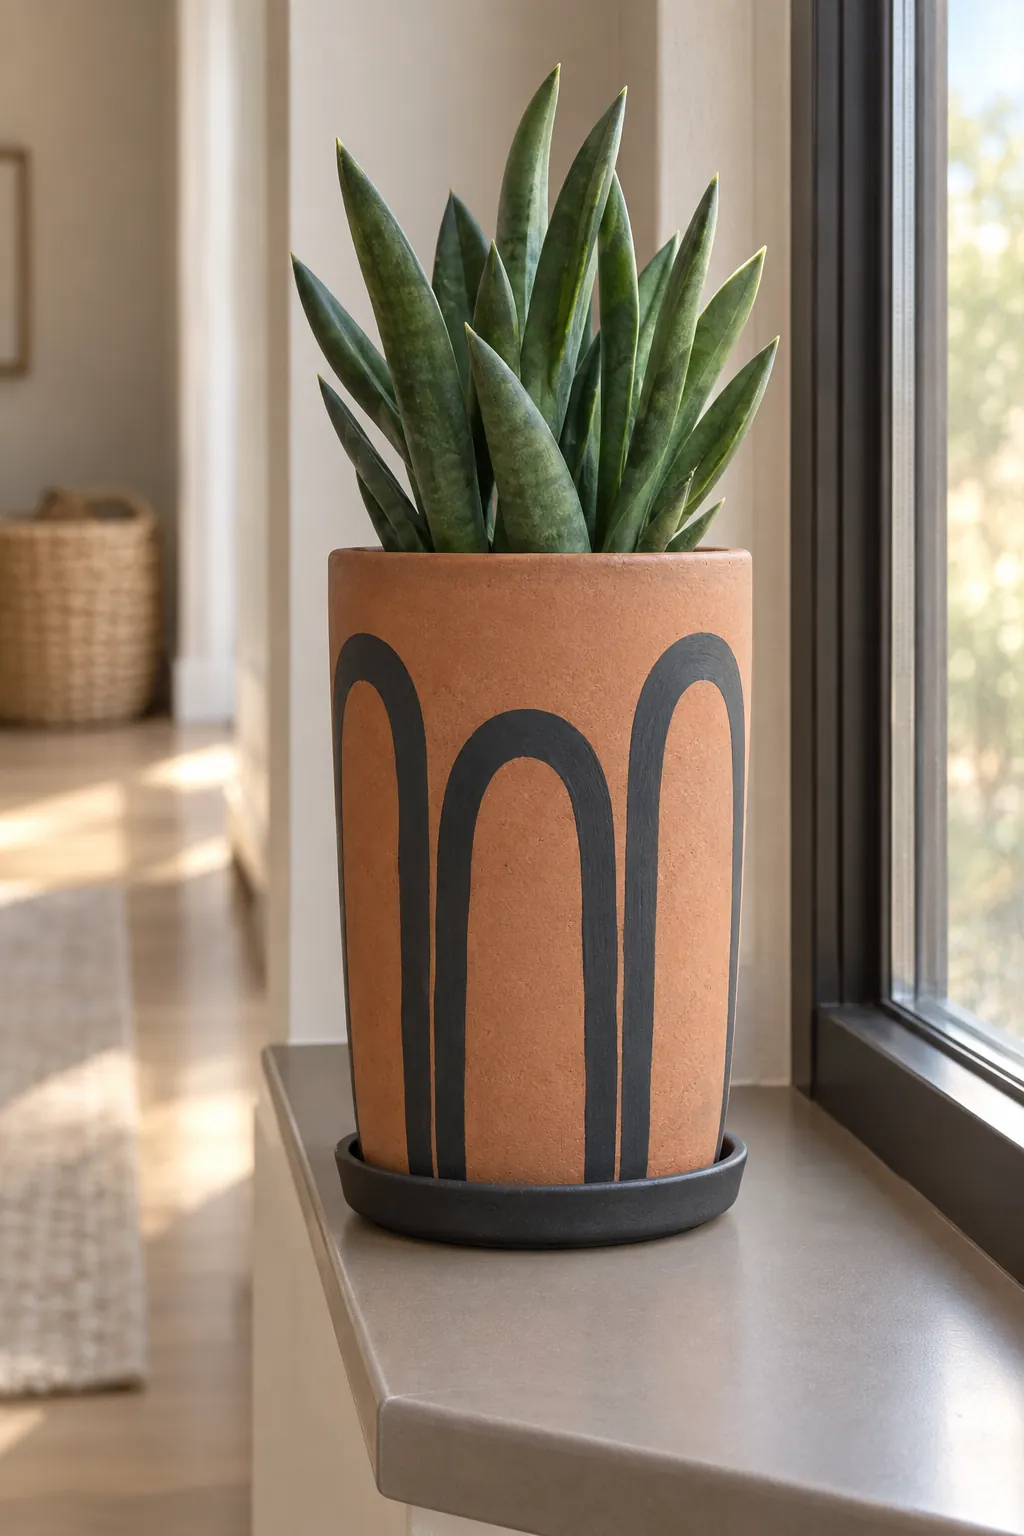
Charcoal arches on natural clay
Tall charcoal arches give hand painted pots a graphic look with very little color. Use a pencil guideline for the first arch, then repeat the curve at slightly different heights. A rounded brush creates a softer line than a hard marker edge. Leave the inside of each arch empty so the original clay remains the main surface. This design pairs particularly well with an upright succulent whose leaves echo the vertical rhythm.
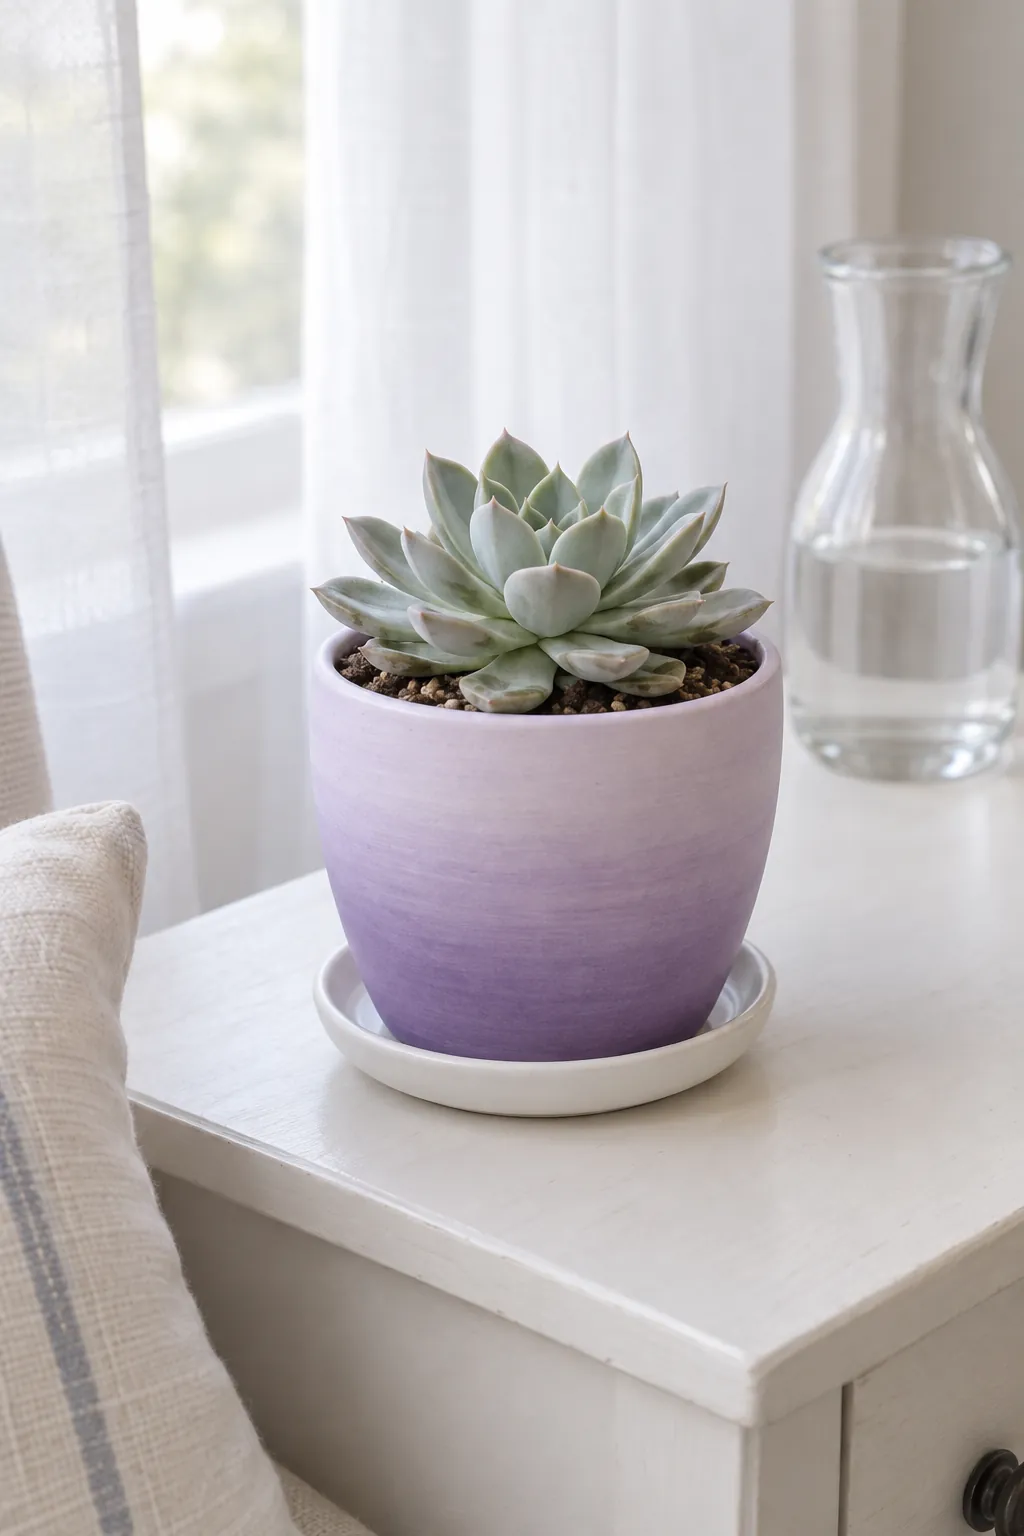
A lavender ombre wash
An ombre effect looks softer when the shift happens over a broad area. Work with two compatible shades of lavender and blend their meeting point while the product allows it. Test the method first, because some acrylics set too quickly to blend neatly on absorbent terracotta. A prepared exterior surface can make the transition easier, but use preparation products that are compatible with the paint. Let the finished coating cure fully before the planter returns to use.
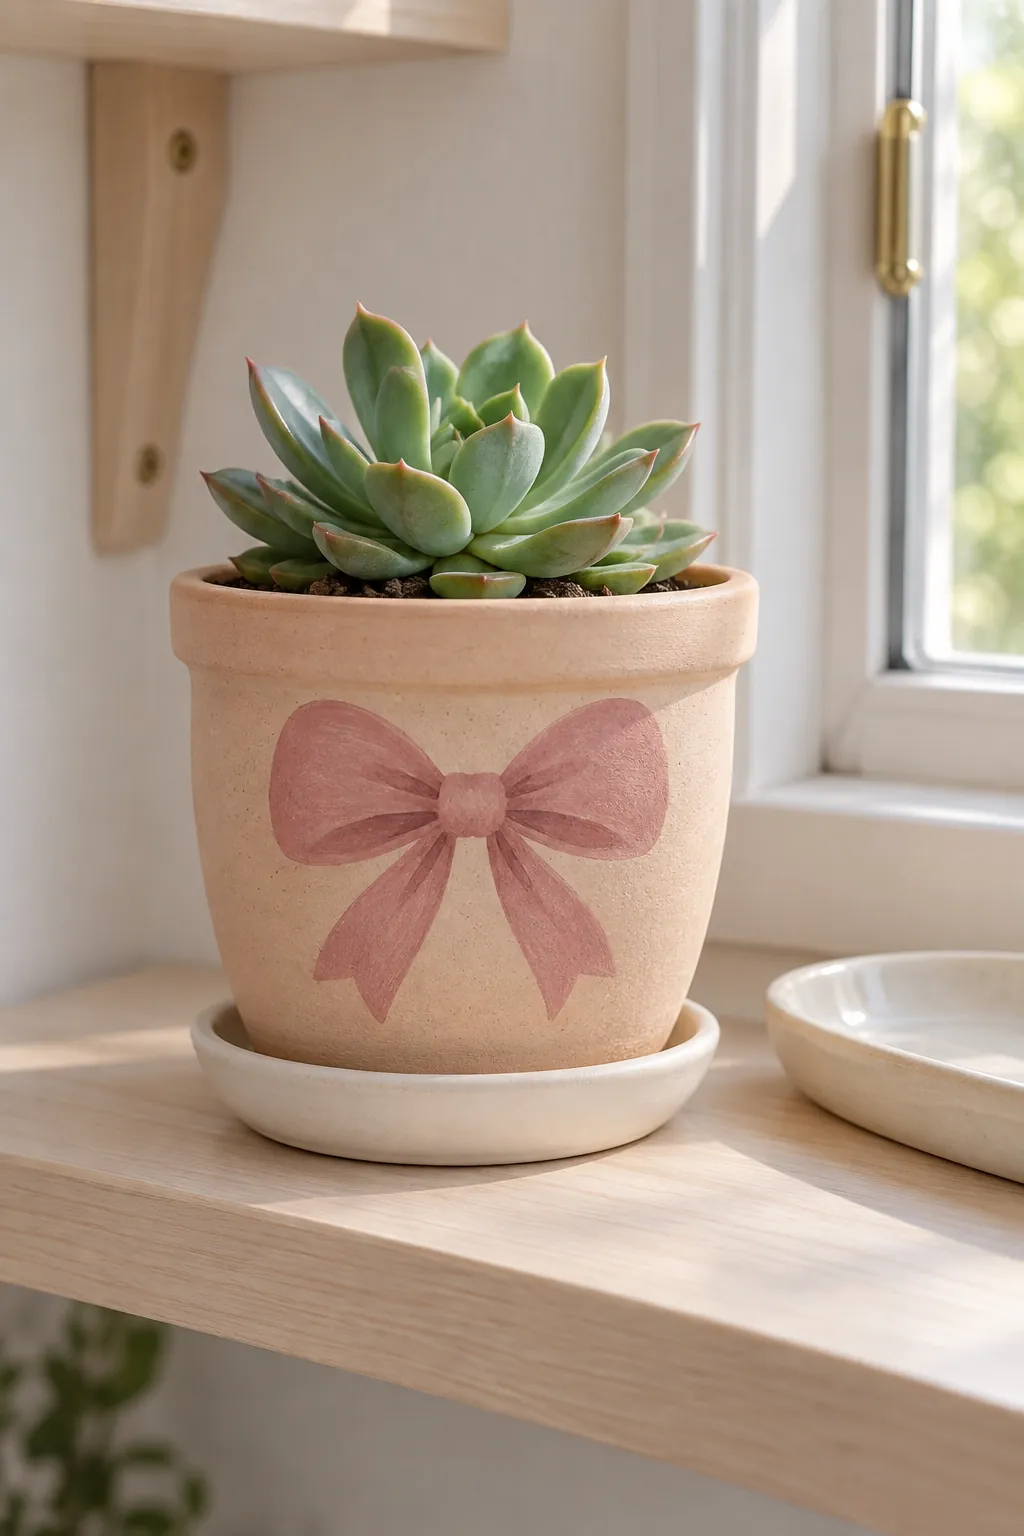
A single painted bow
A ribbon bow gives a plain pot a decorative front without adding a physical ribbon that may catch water. Sketch two loops and two short tails, keeping the knot slightly above the widest part of the body. Paint the bow in dusty rose and use a darker shade sparingly where the loops meet. Three or four confident lines are more convincing than many tiny folds.
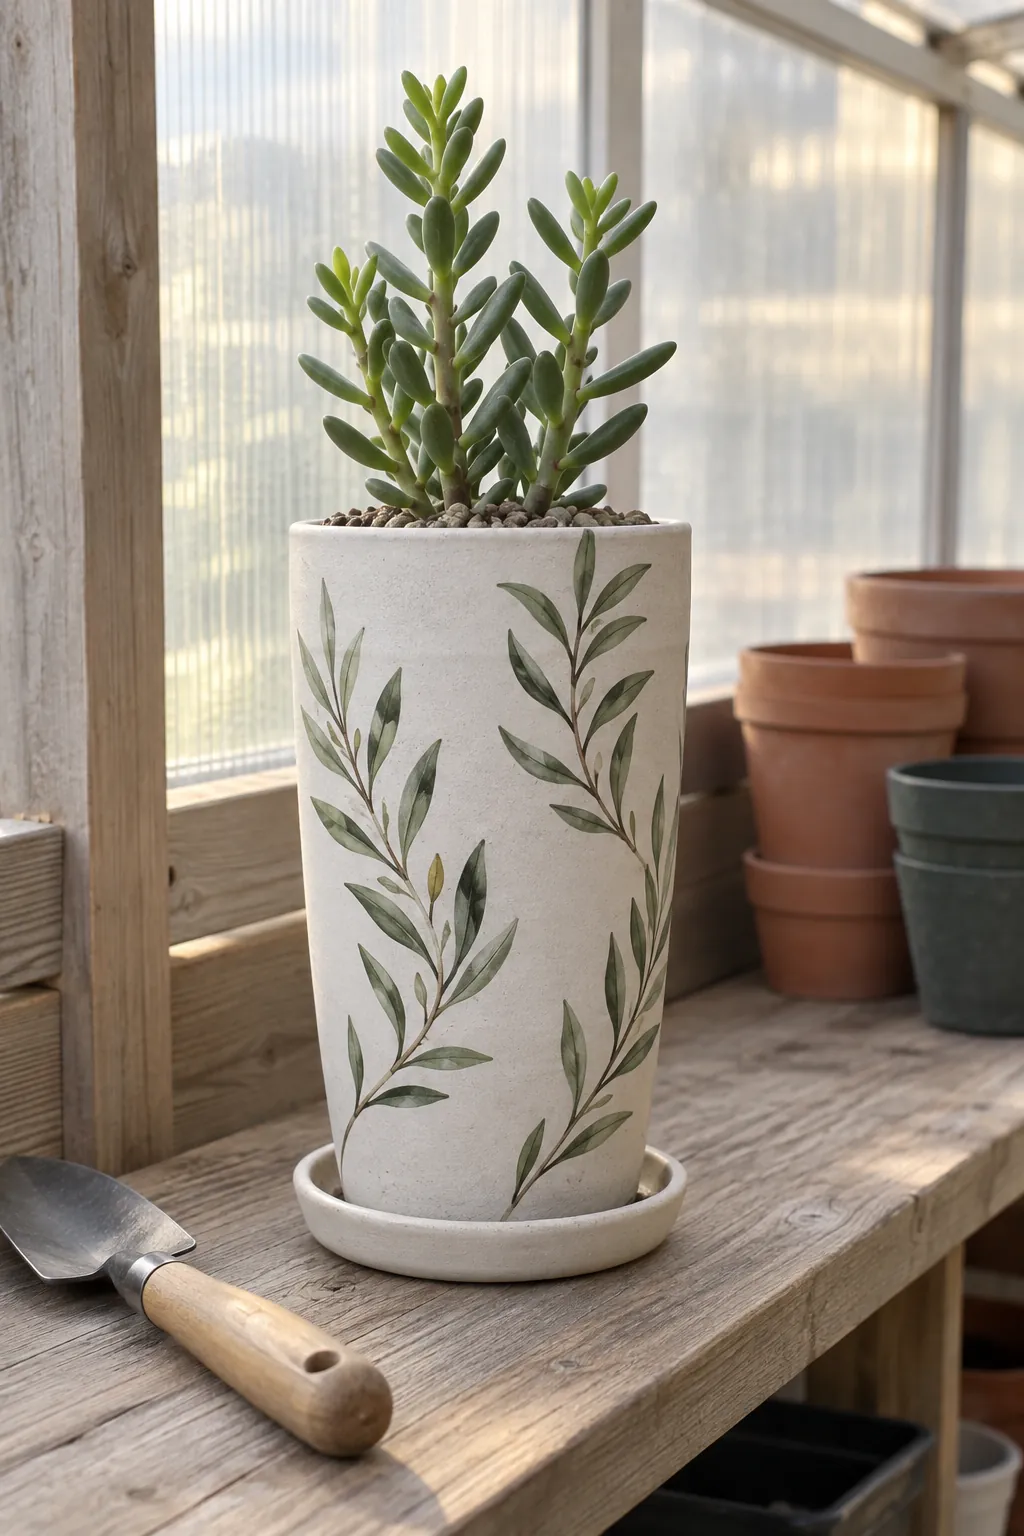
Loose olive leaves
Olive sprigs create a botanical pattern that stays calm beside textured succulent foliage. Use narrow leaves in two greens, attached to a few gently bending stems. Keep each sprig facing a different direction so the pot does not resemble a rigid repeat stamp. A slim brush tip is useful, but the leaves need not match exactly. Try the design on a tall pot where the stems have room to rise.
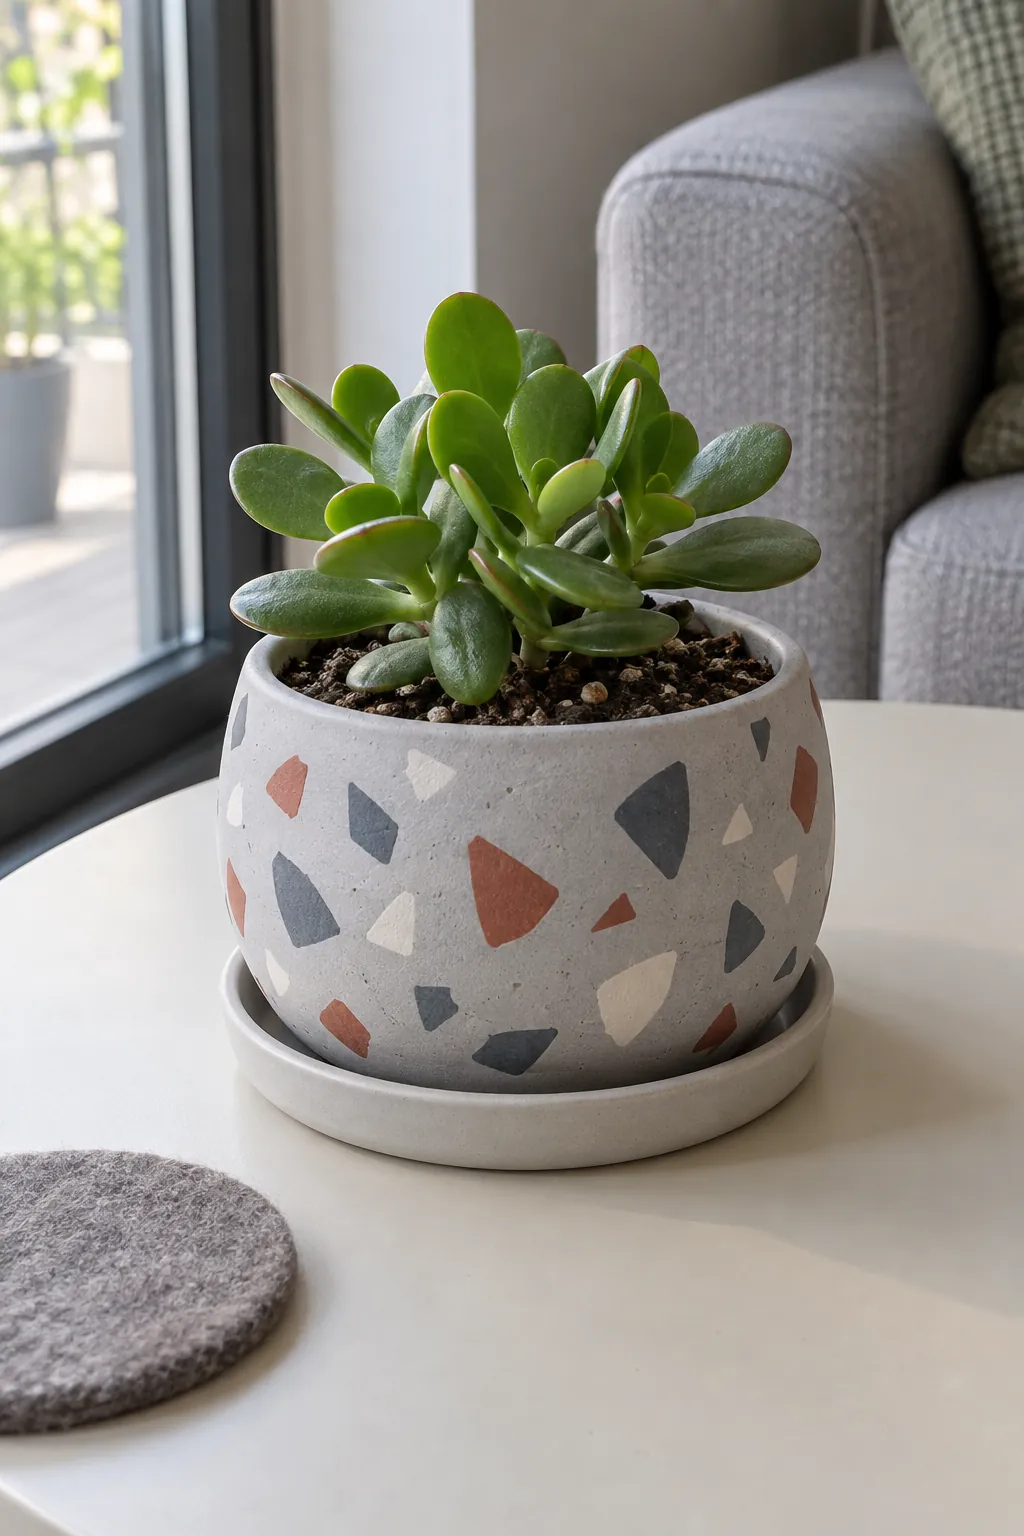
An irregular terrazzo effect
Painted terrazzo offers the look of small stone chips without gluing anything to the planter. Start with a light gray base and add widely spaced shapes in brick, slate, and cream. Vary their size and orientation so the pattern does not become confetti dots. Avoid raised blobs of paint, which can feel awkward when lifting the pot. On a small container, fewer chips keep the design easier to read.
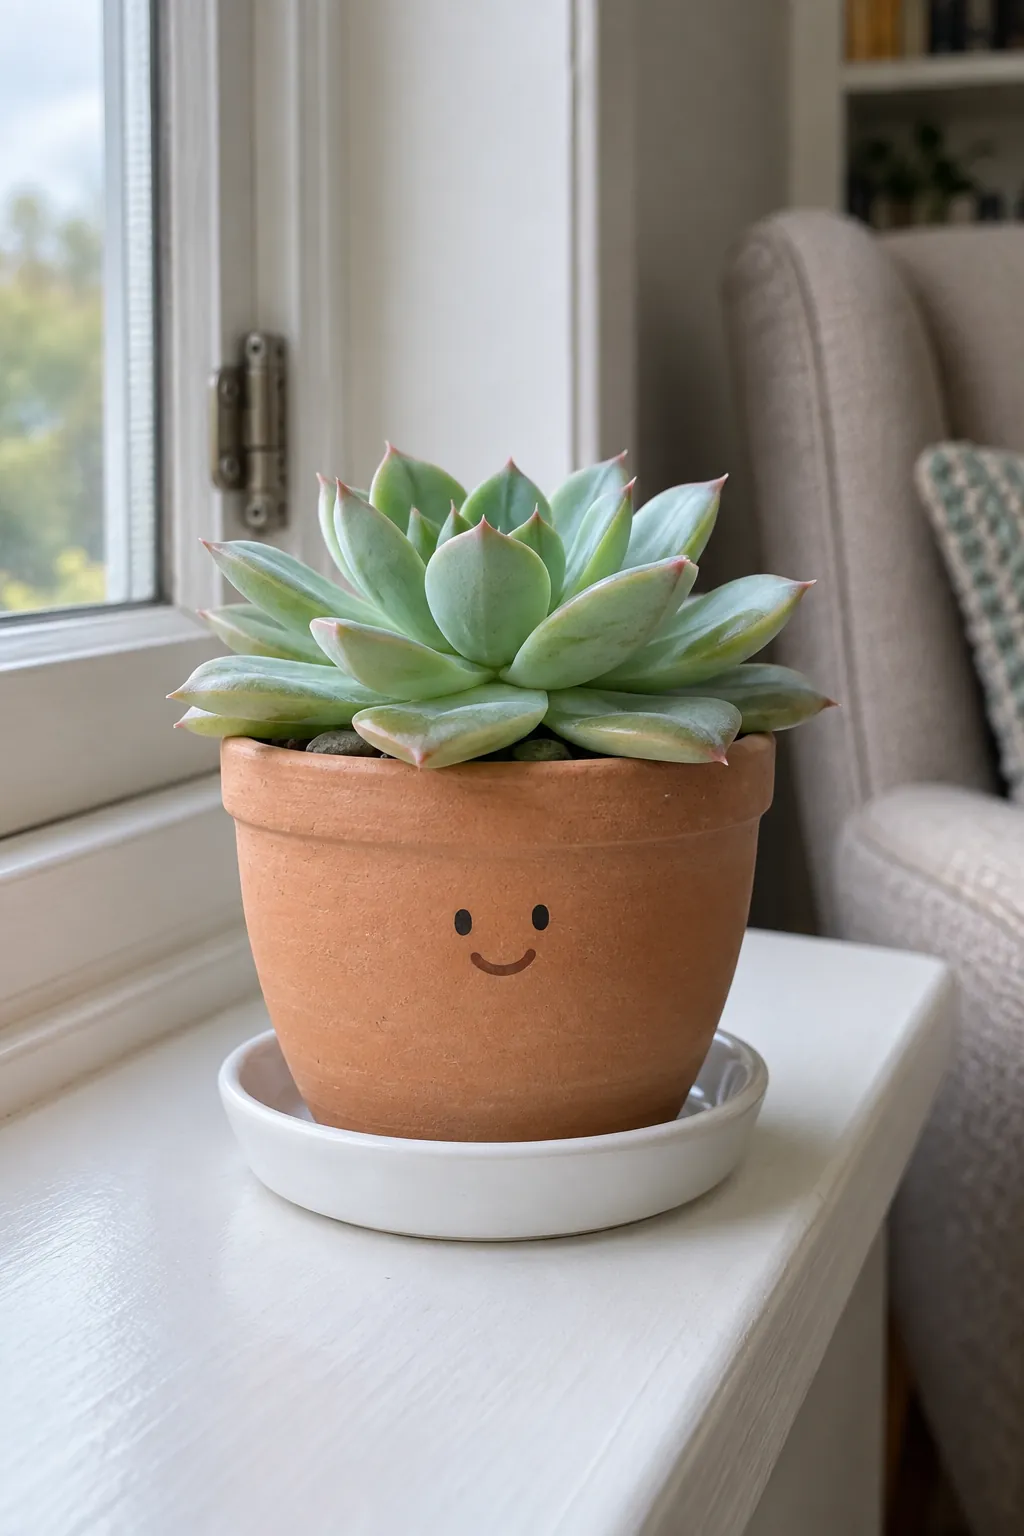
A smiling face near the rim
A tiny face makes the plant itself feel like the character's hair. Place the eyes close together and keep the mouth small, leaving most of the pot undecorated. Test the position with pencil before committing to paint. A low rosette needs the face nearer the center of the body so its leaves do not hide the expression.
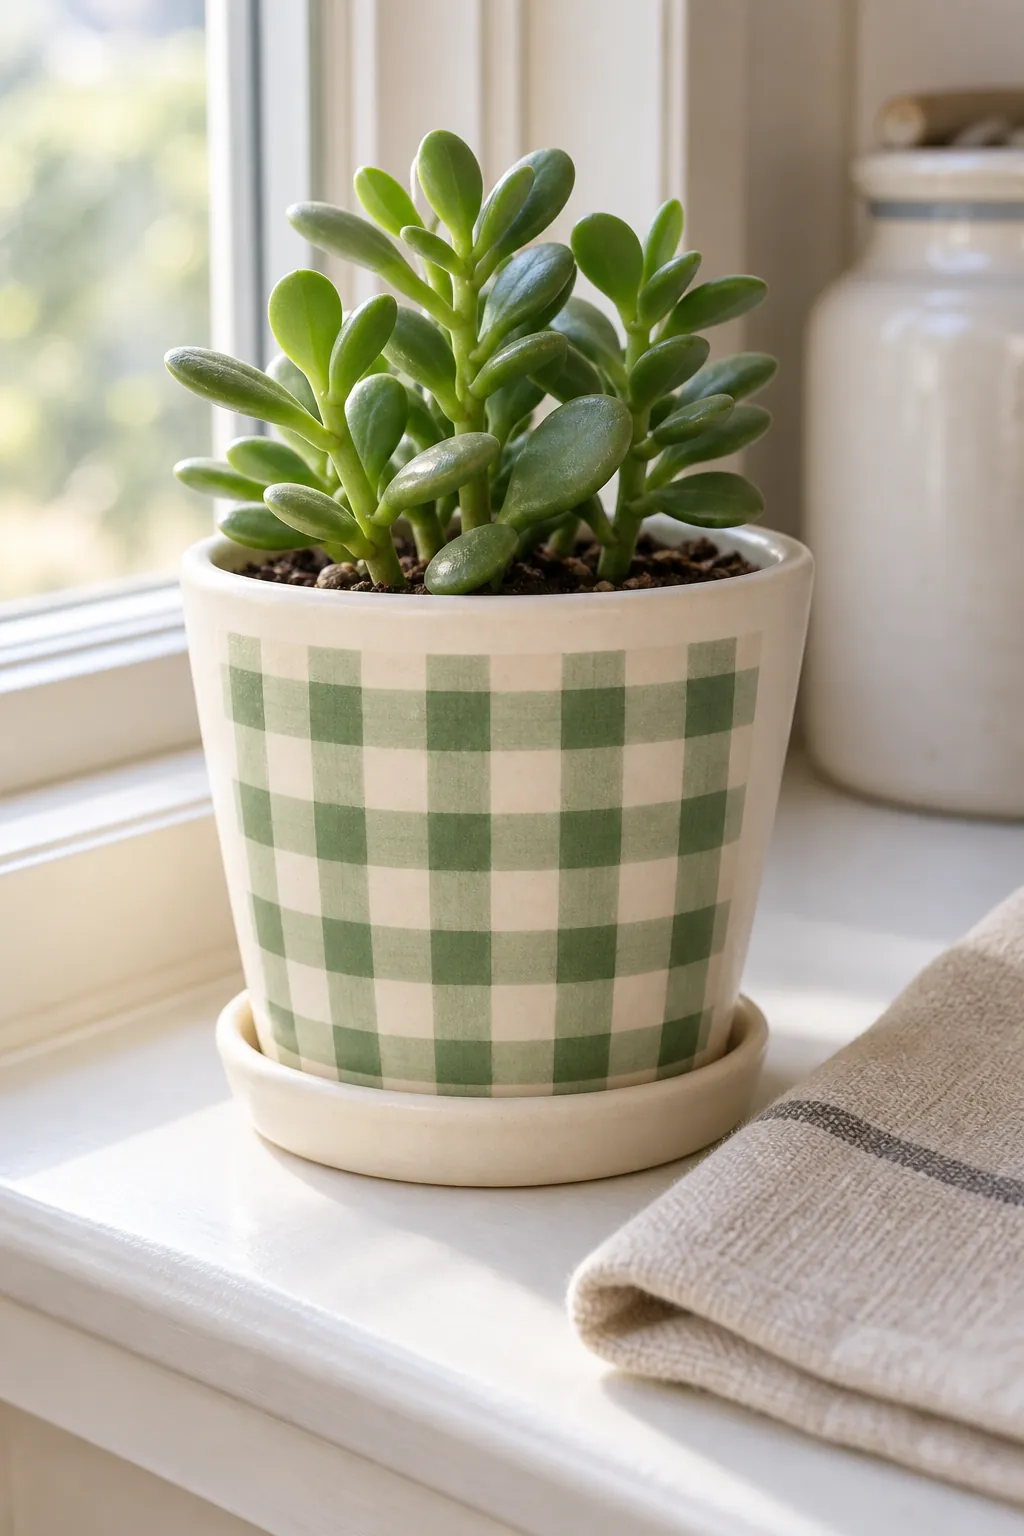
Sage gingham
Gingham gains depth from three tones rather than a simple alternation of dark and light squares. Lay down a pale base, add soft green horizontal and vertical bands, then darken their intersections. Work on a broad front panel if wrapping the whole tapered surface feels too demanding. A ruler can guide the pencil layout, but avoid pressing hard enough to score the coating. Wait between layers so the crossing bands stay crisp. The result suits a modest kitchen sill with linen and plain crockery nearby.
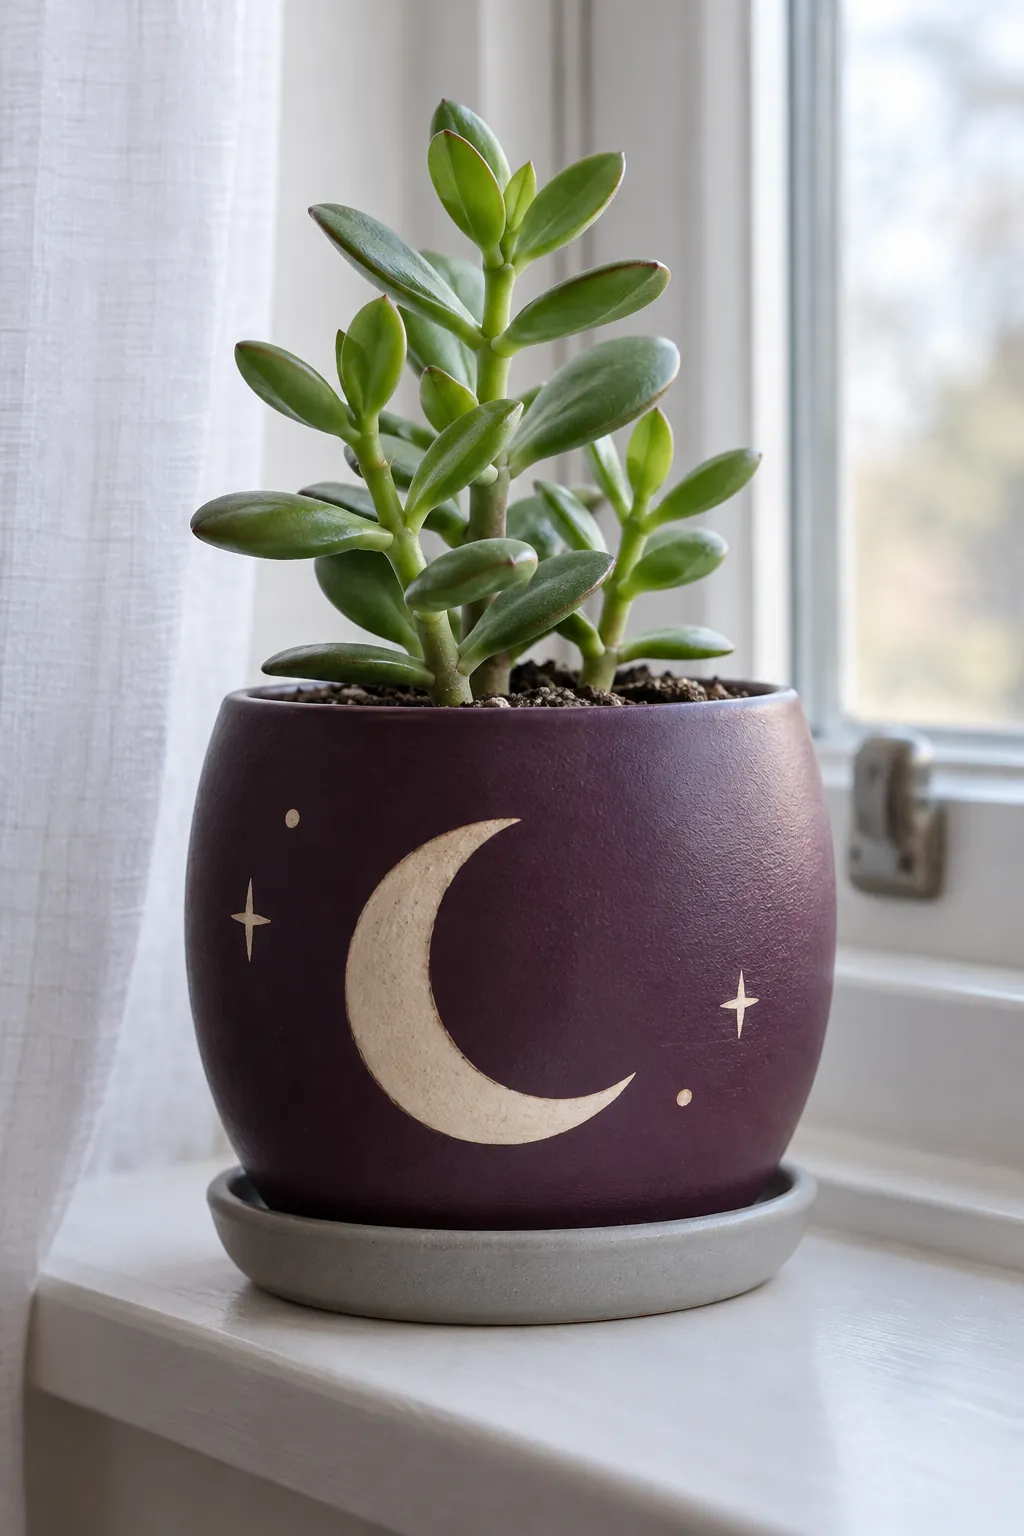
A crescent moon and stars
A cream crescent on a deep plum pot gives a nighttime palette without relying on black. Paint a few widely separated stars, using simple dots and short crosses instead of detailed star outlines. Keep the moon large enough to stay visible after the succulent grows. Place the pot in appropriate daylight despite the evening theme; the decoration does not change the plant's requirements.
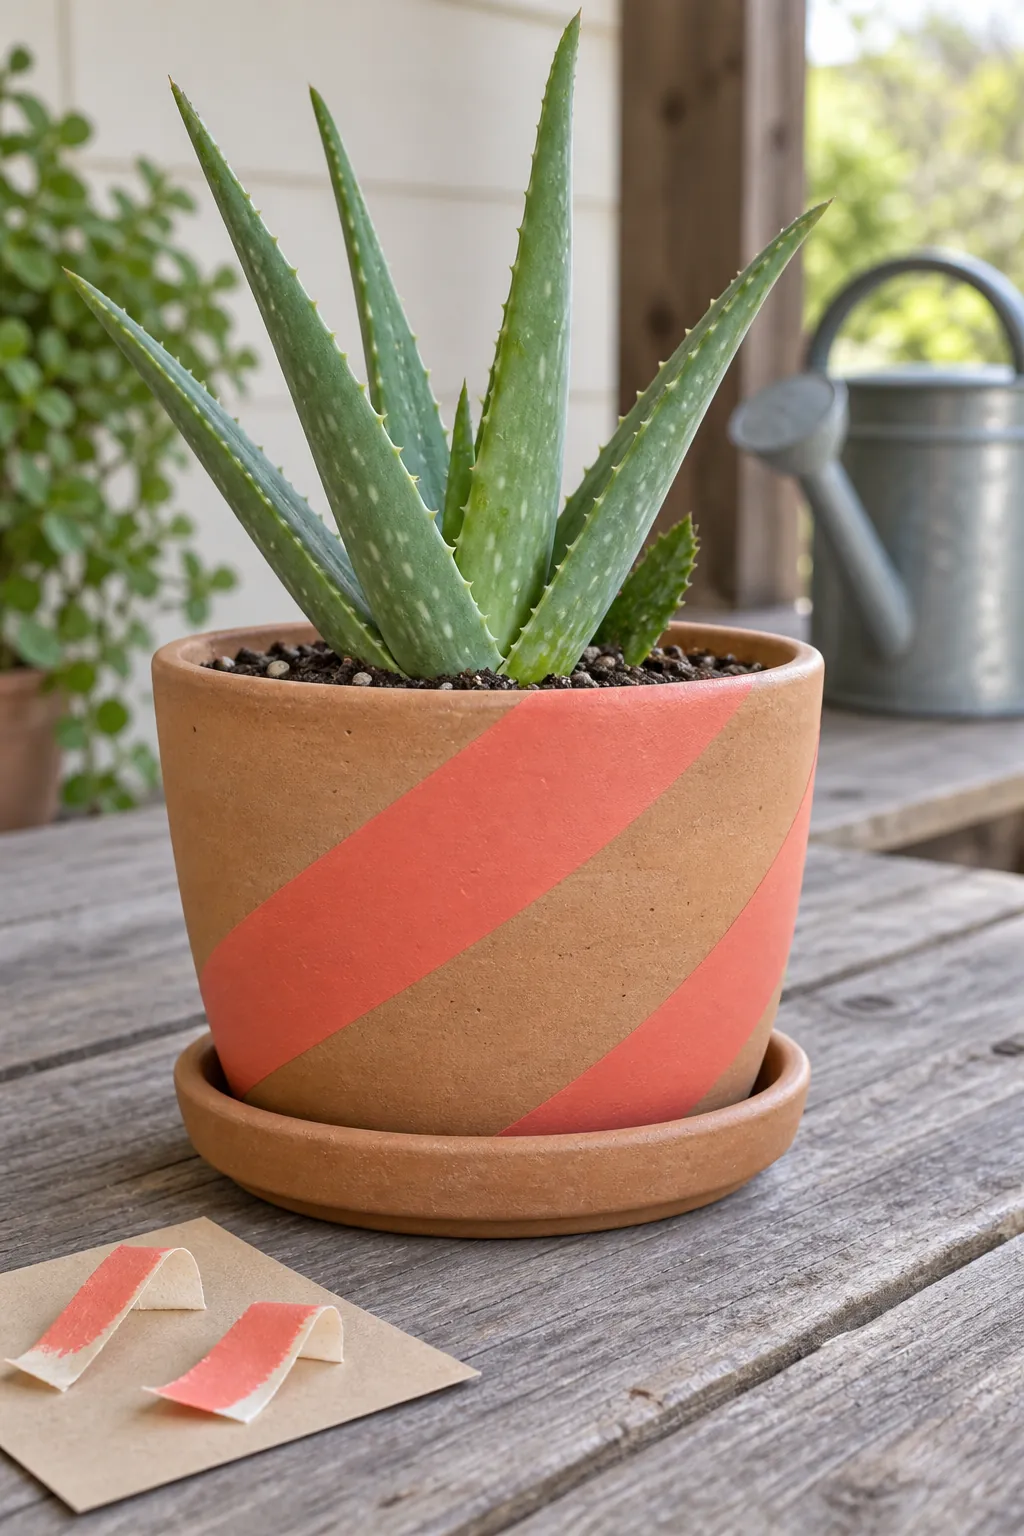
Coral diagonal bands
Diagonal bands can make a squat pot feel more energetic. Wrap removable tape around the dry exterior at an angle and check the spacing from the front before painting coral between selected strips. Tape on a taper may wrinkle, so shorter overlapping pieces can be easier to control. Press the edges gently to limit seepage without damaging the surface. If a little paint escapes, let it dry and tidy the edge with the base color rather than wiping the wet line across the pot.
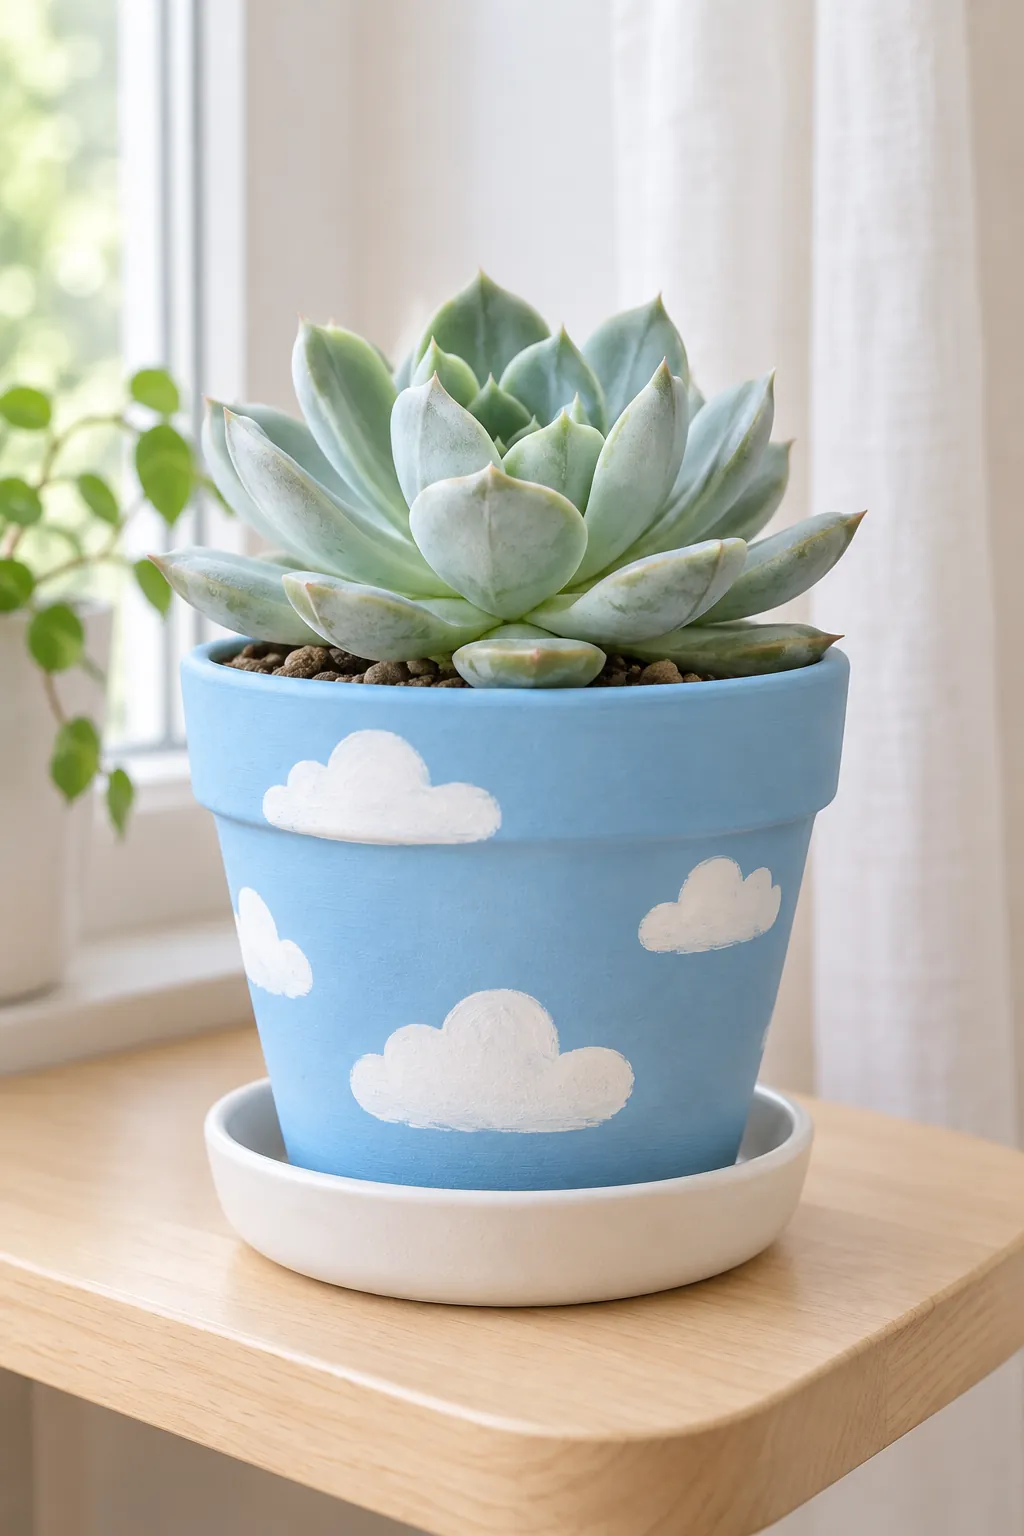
A soft cloud motif
Rounded white clouds make a sky blue pot feel light and friendly. Build each cloud from two or three connected curves, leaving ample blue between them. Keep the clouds at different heights so they do not form a rigid belt around the container. A pale blue green succulent echoes the palette while giving the painted shapes a natural contrast.
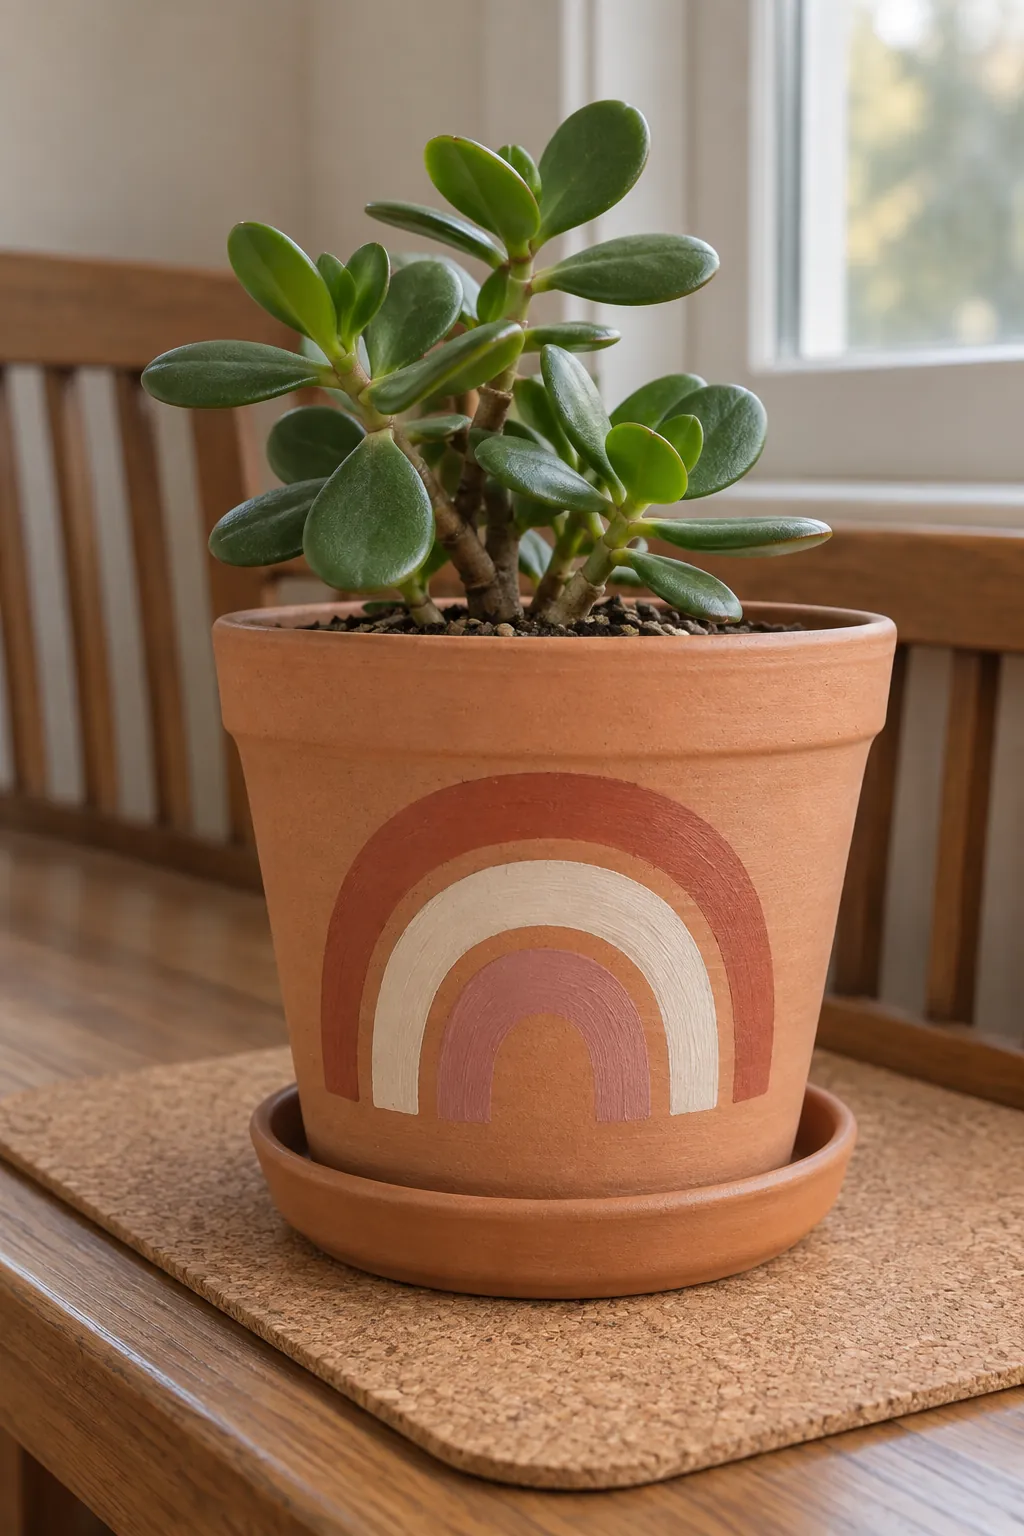
A terracotta rainbow
A small rainbow can use earthy shades instead of saturated primary colors. Paint nested arches in muted rust, cream, and dusty rose, keeping their ends level. Leave a little bare clay between the bands to make the lines easier to separate. If the first arch feels too wide, reduce the number of bands rather than squeezing them together. The unused space around the rainbow is what makes the motif look intentional.
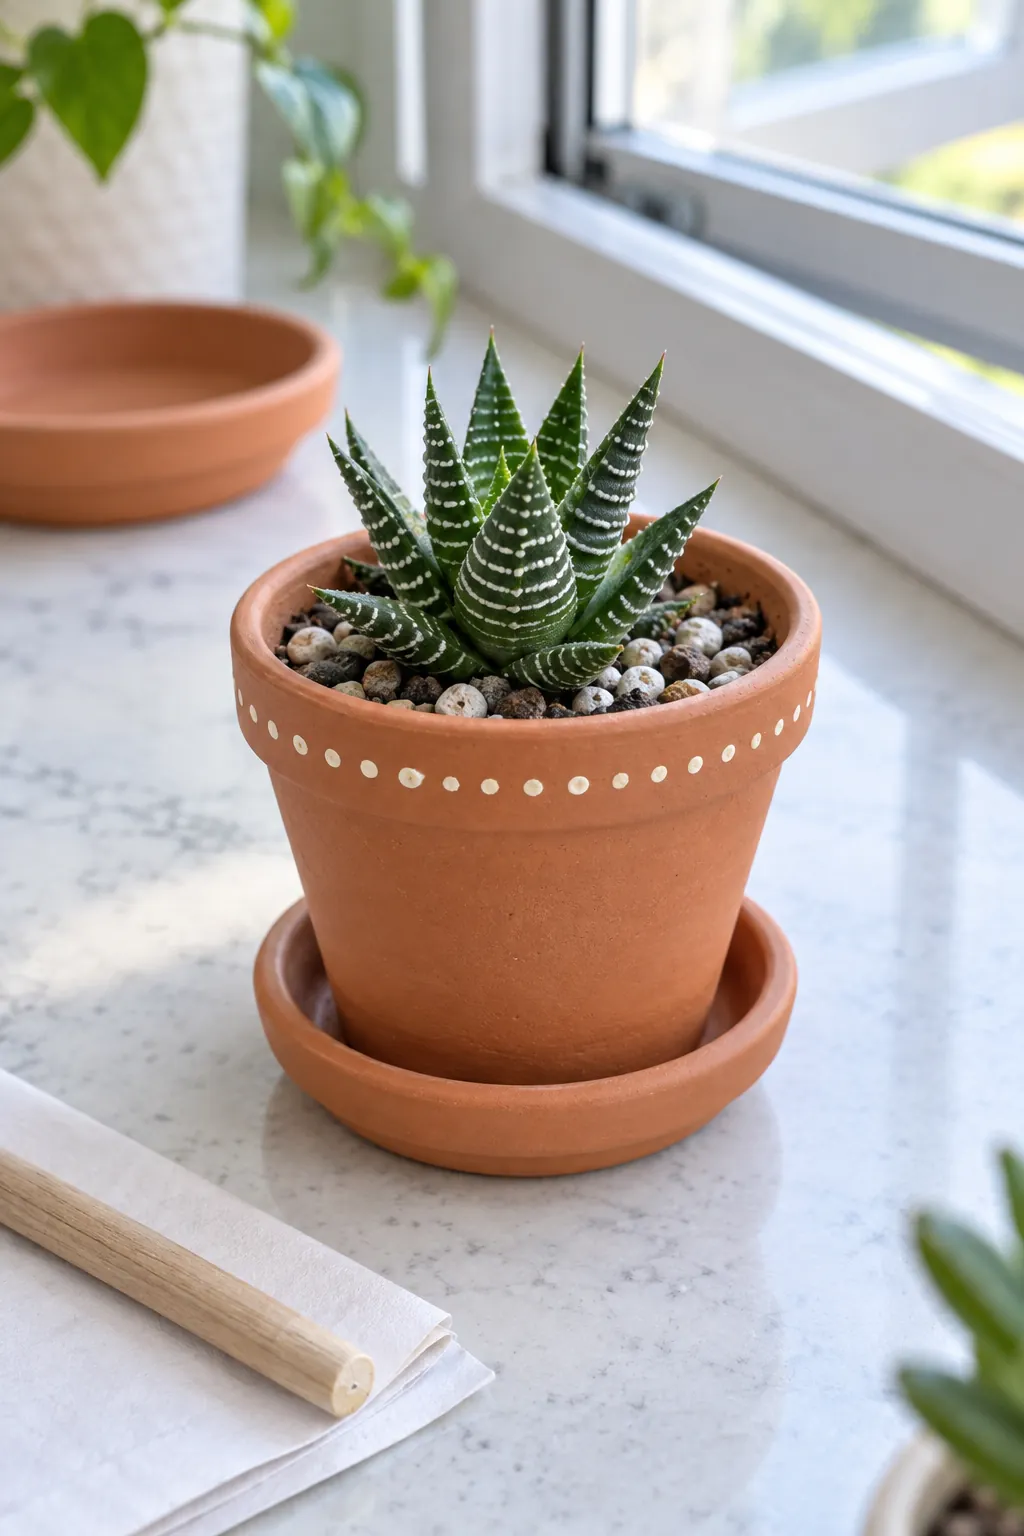
A fine dotted border
A border of dots is a good way to decorate several inexpensive pots without painting every surface. Touch the end of a small brush handle into paint, test the dot on scrap material, and reload when the mark gets weak. Follow a faint guideline just under the rim so the border does not gradually tilt. Keep dots away from the drainage opening and the base's contact surface.
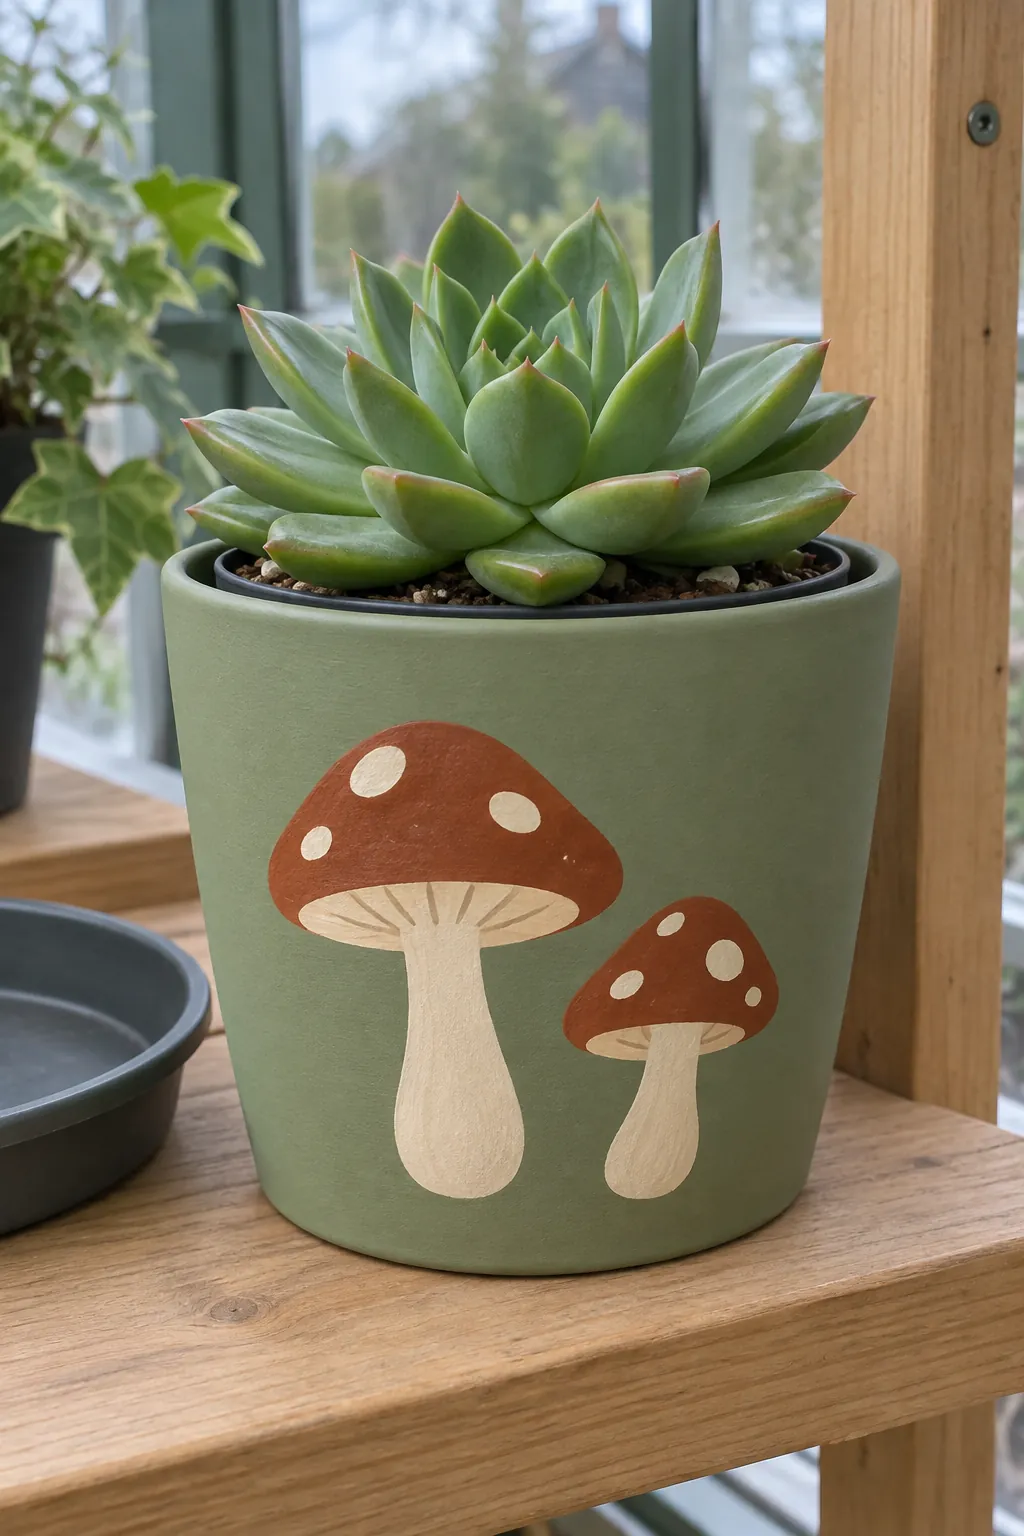
Simple mushroom caps
Two mushroom caps create a woodland accent without requiring a full forest scene. Paint one taller stem and one shorter stem, then add broad russet caps and a few cream spots. Separate the mushrooms enough that their outlines remain clear on the curved surface. A muted green background lets the motif stand out without adding more objects. Use the design on an exterior cover pot with a removable nursery container if you want to keep soil away from an extensively decorated vessel. Remove the inner pot for watering and empty any collected water before replacing it.
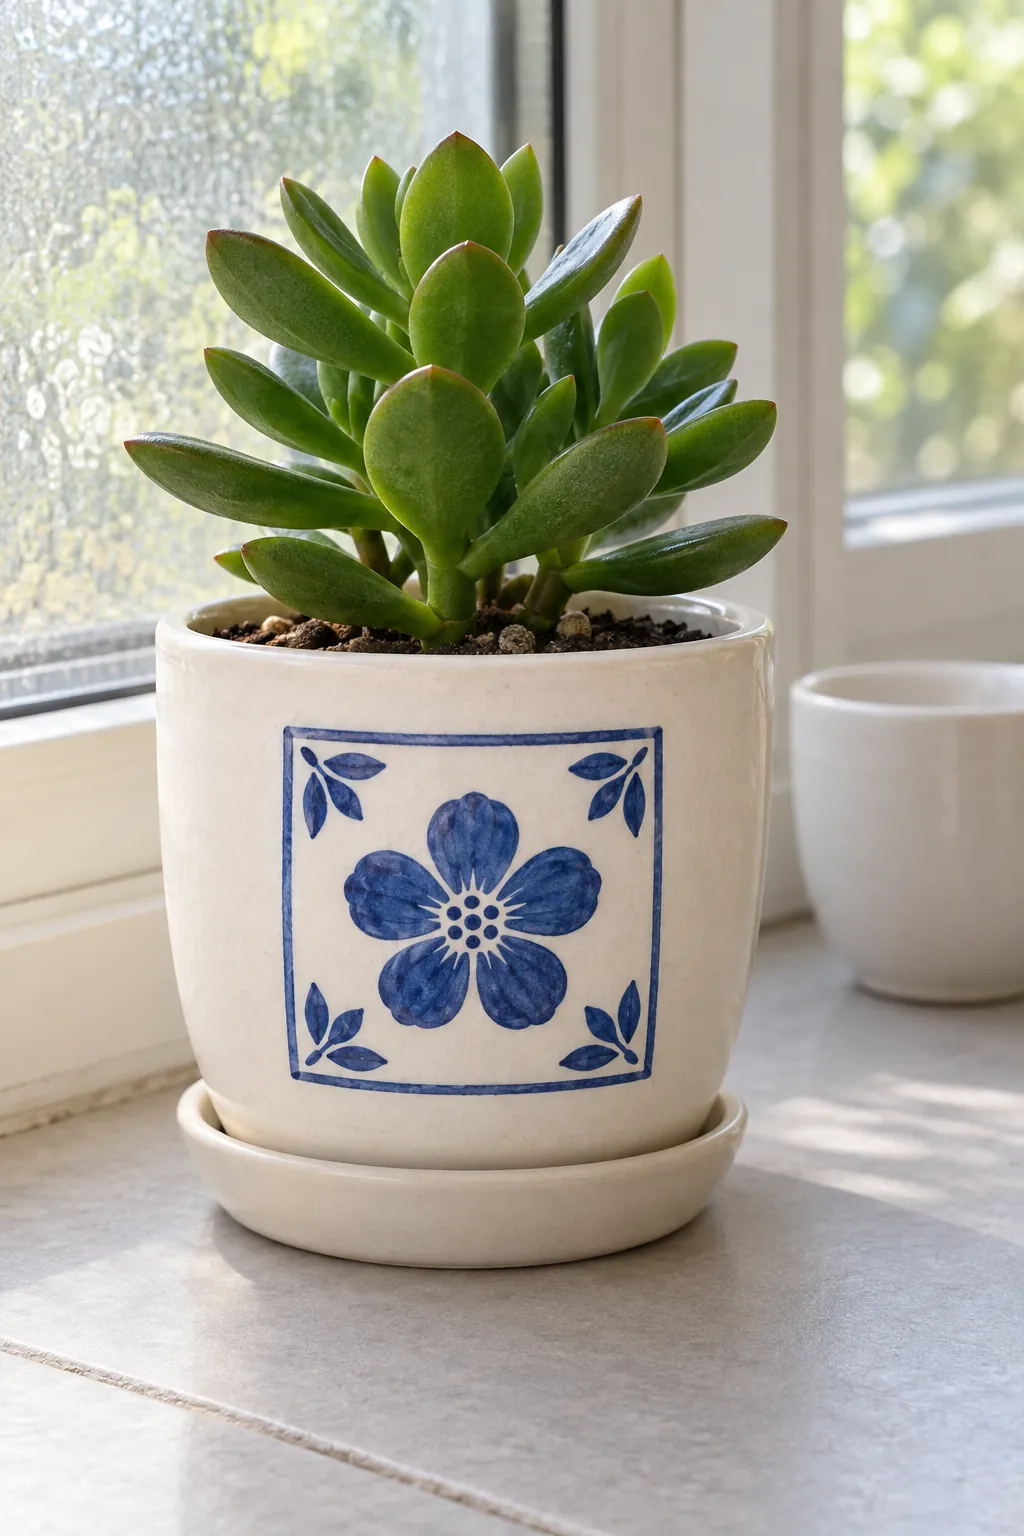
A blue tile inspired panel
A tile inspired square gives detailed painting a manageable boundary. Mark a front panel and fill it with a simple blue flower, four corner leaves, and a slim border. Repeat the same blue throughout so the design feels connected even if the brushwork varies. Keep the rest of the pot plain to avoid competing patterns. Unlike a real glazed tile, a painted finish still needs products appropriate to its exposure and routine handling.
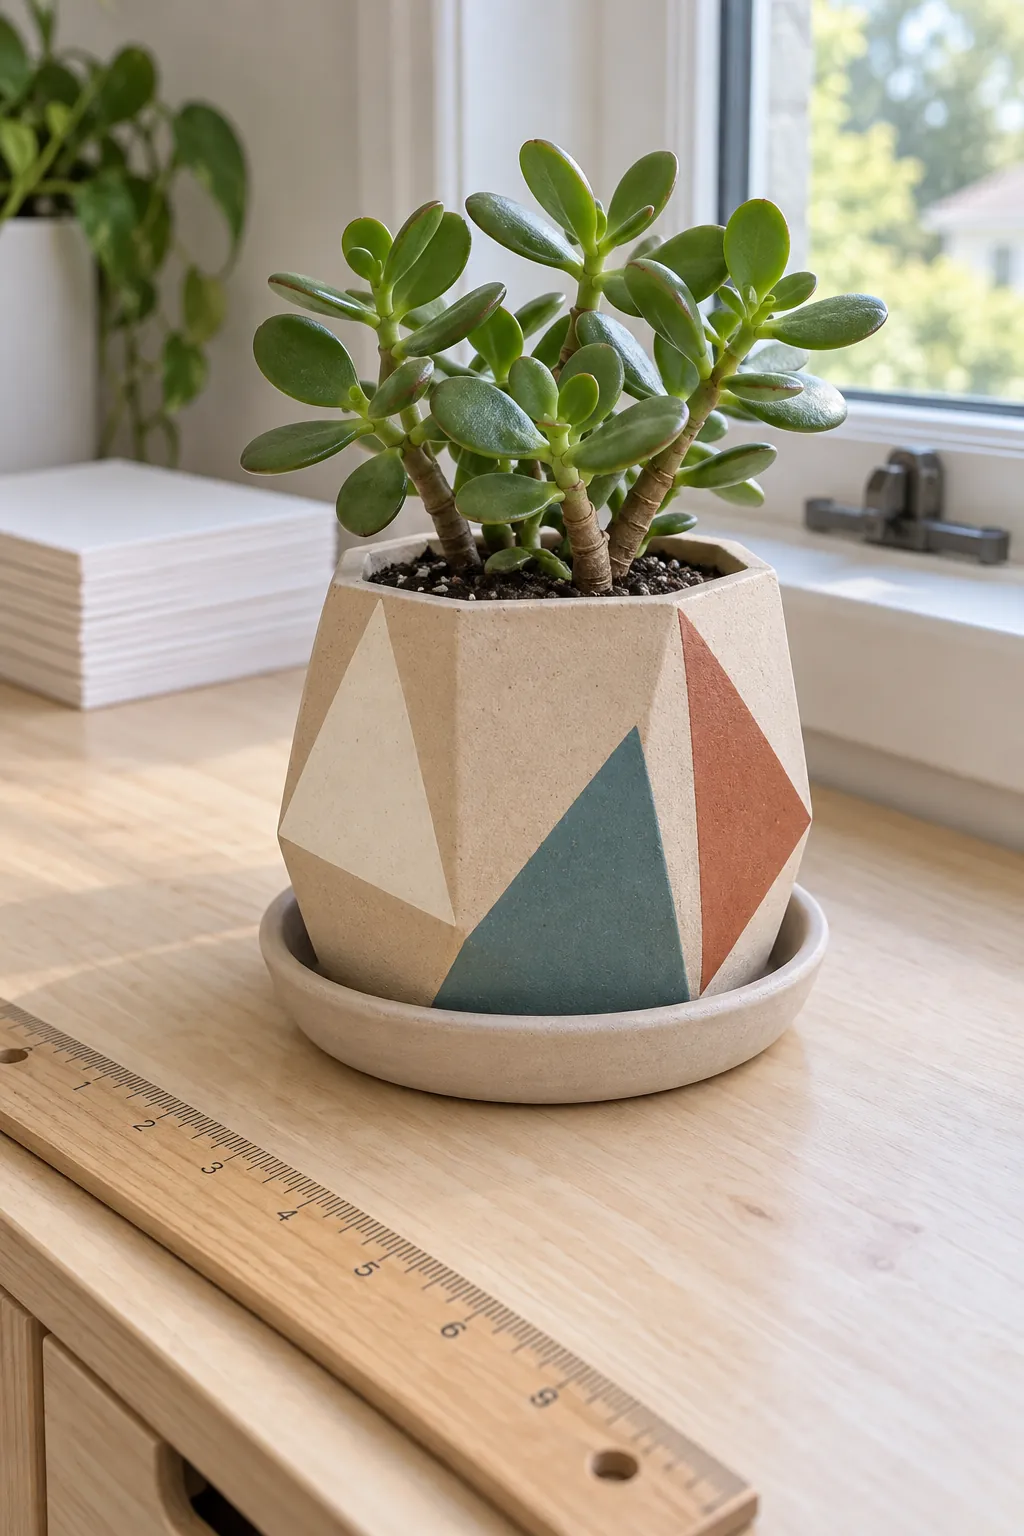
Muted geometric triangles
Triangles make useful painted clay pot ideas for anyone who prefers straight lines to flowers. Arrange three large shapes in cream, dusty teal, and clay red, allowing some natural surface to show between them. Mask one shape at a time so overlapping tape does not create confusing edges. A larger flat sided container can make this design easier than a very small rounded one.
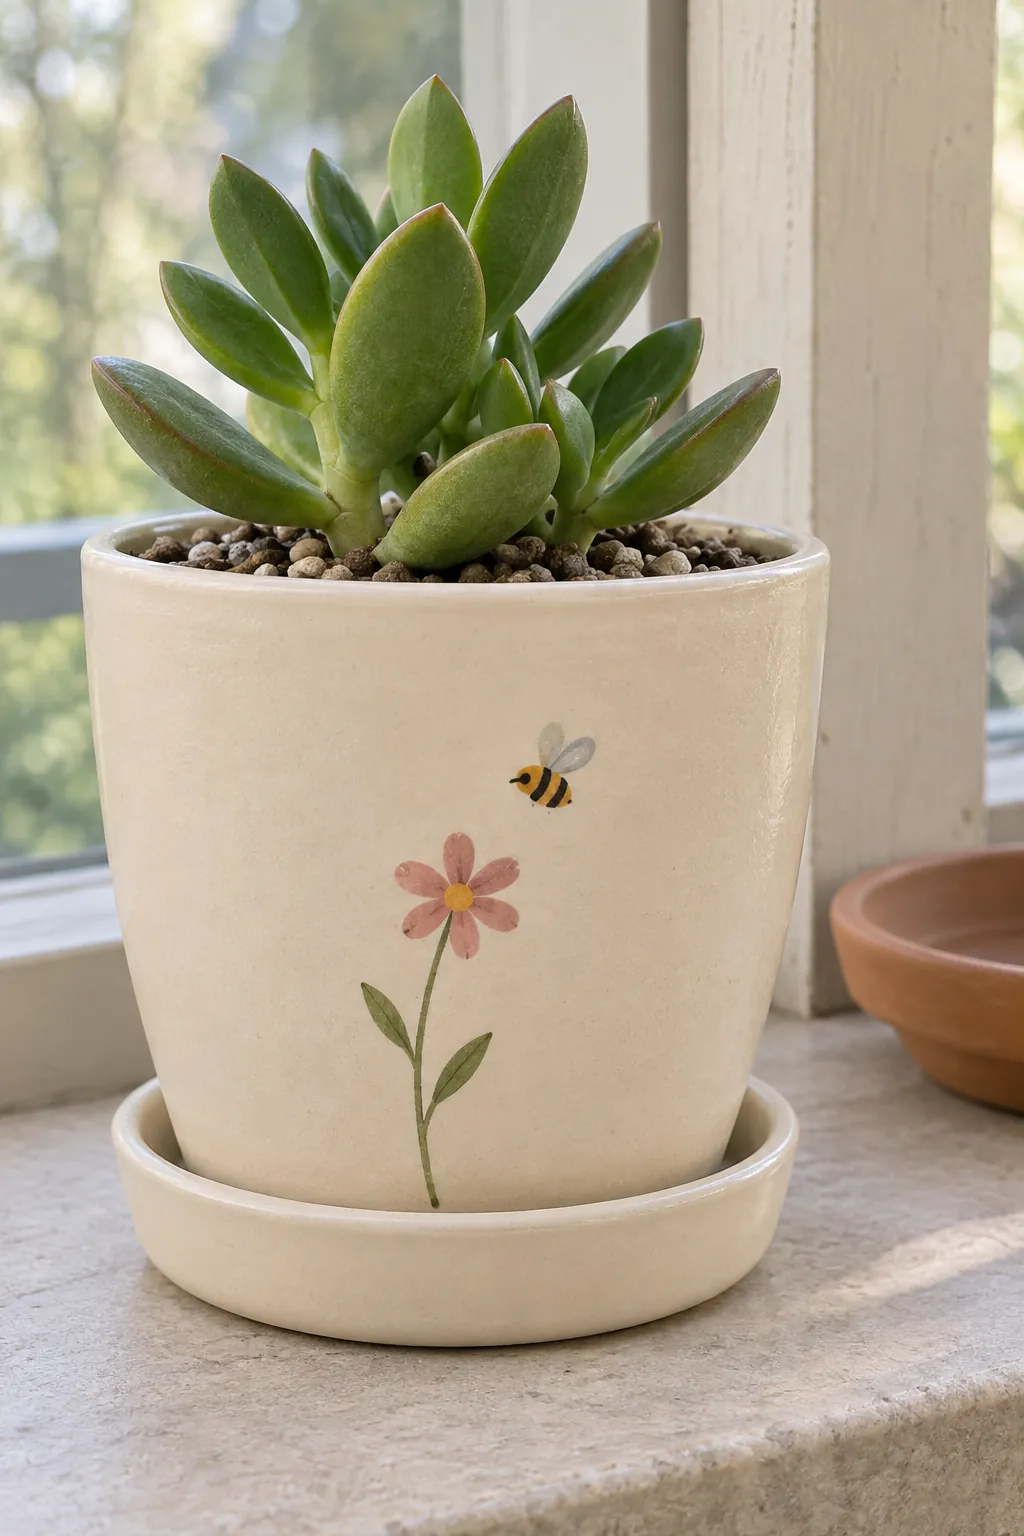
A tiny bee above a flower
One bee hovering over a simple flower creates a small scene that can face the room. Begin with the flower stem, then position the bee where the leaves will not obscure it. Keep the wings pale and the stripes broad enough to read without magnification. This motif is easier on a medium pot than on a miniature propagation cup. Avoid extending the scene onto the soil or painting the plant itself.
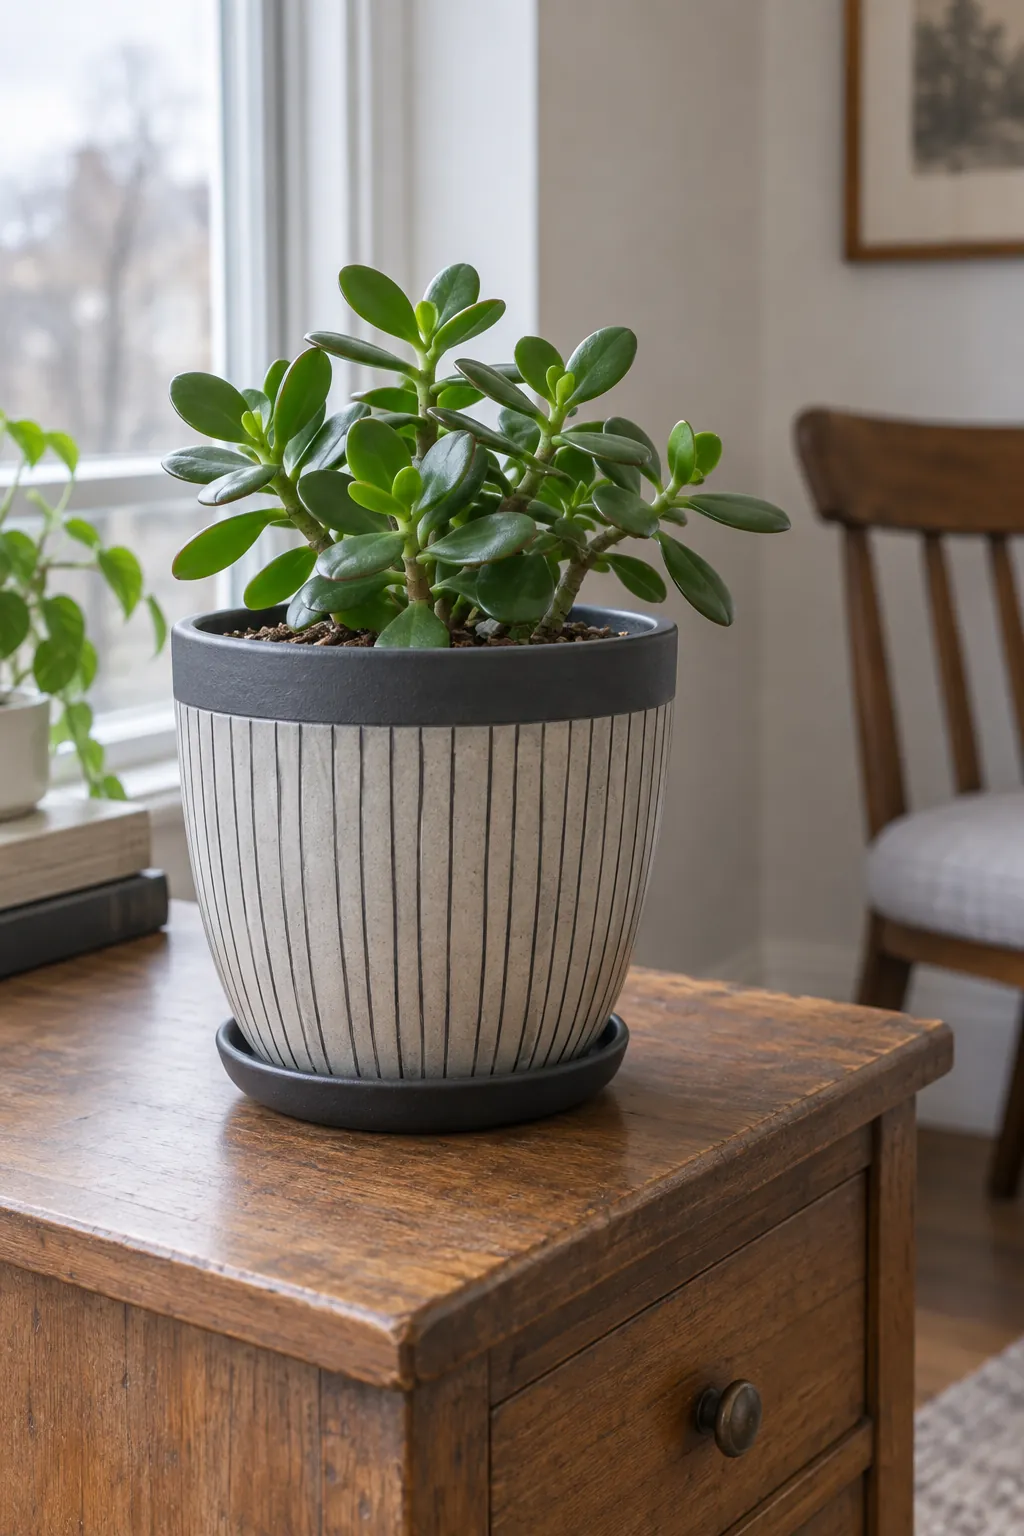
Narrow pinstripes with a dark rim
Fine vertical lines and a dark rim can make a thrifted planter look deliberate again. Clean the empty pot thoroughly, let it dry, and check the surface before choosing a compatible primer and paint. An already glazed container needs different preparation from porous clay, so do not treat the two as interchangeable. Pull short sections of each line instead of attempting one long stroke around an awkward curve. The solid rim helps visually gather any slight variations in the stripes.
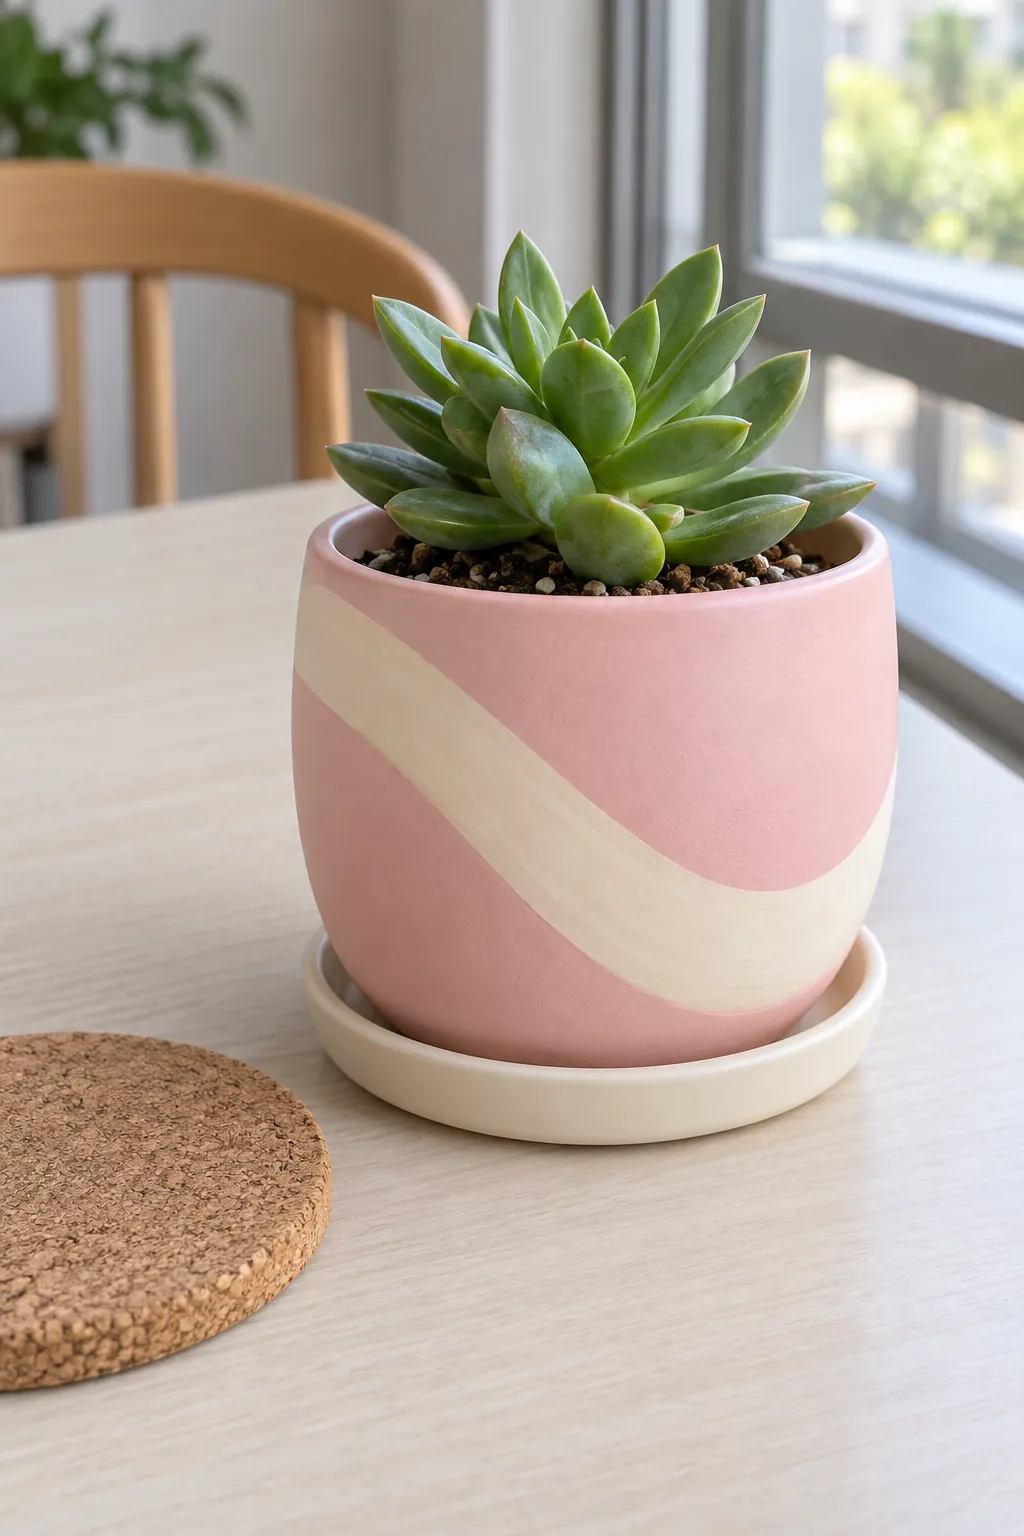
A strawberry milk pink swirl
A broad cream swirl over soft pink gives the pot movement without a complicated repeat. Turn the container slowly while sketching one generous curve that travels from high on one side to low on the other. Make the stripe wide enough to paint with a small flat brush. Leave the rim plain so the swerving line has breathing room.
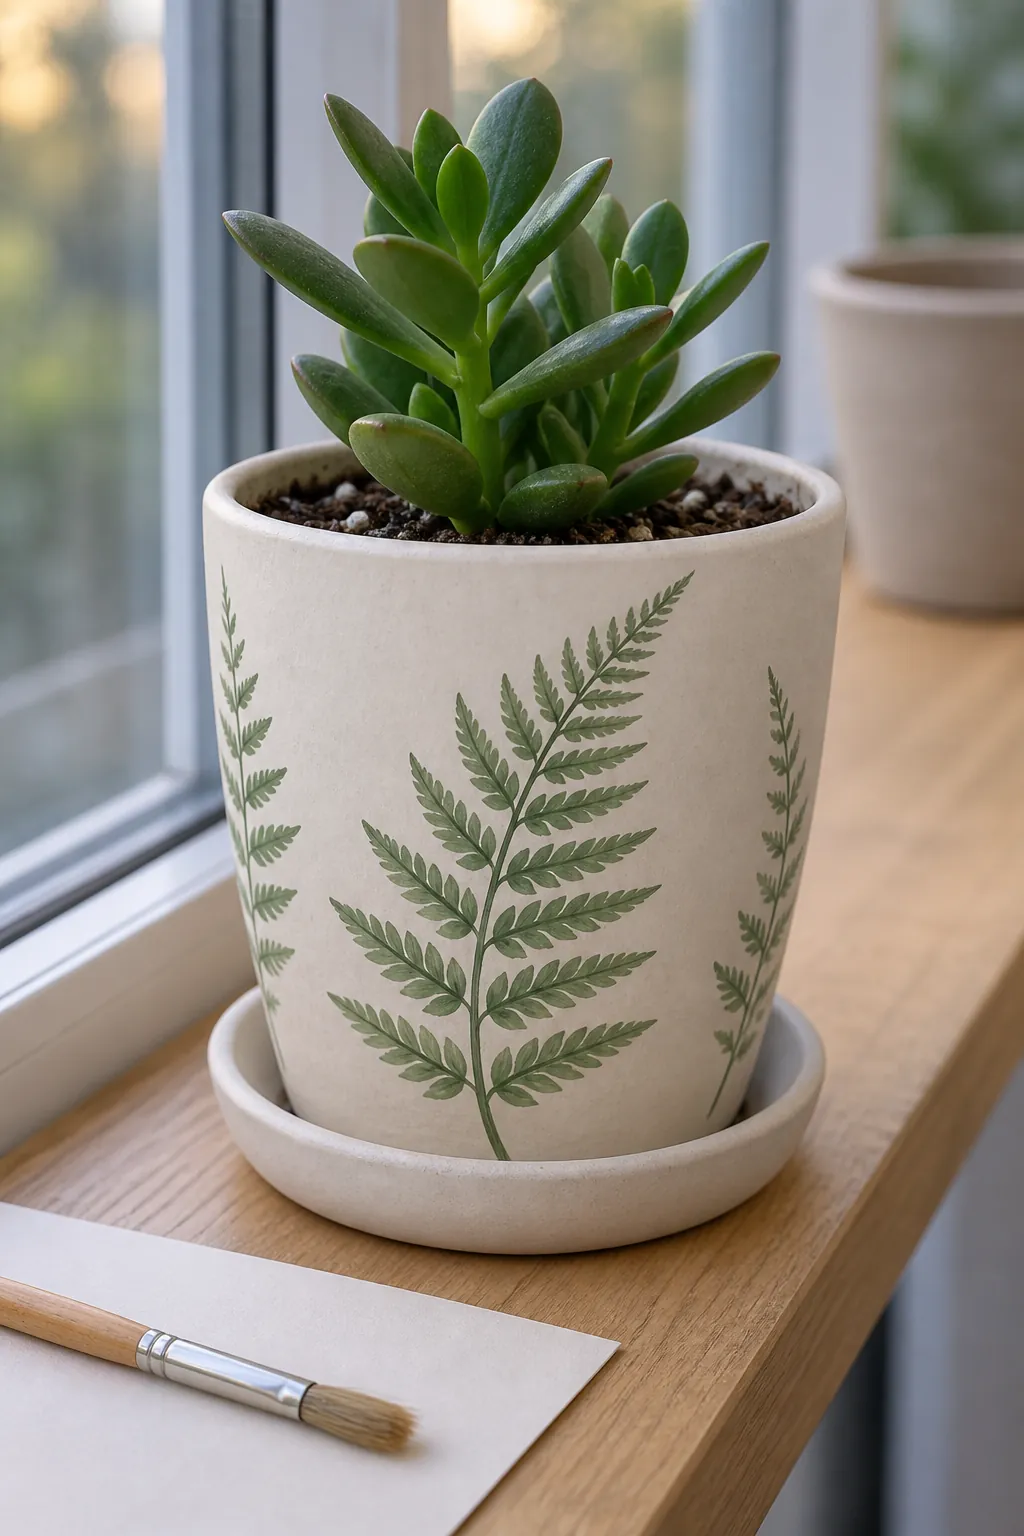
Painted fern silhouettes
Fern shapes add fine detail while staying within a single color family. Draw a few curved stems, then add short leaf strokes that taper toward each tip. Work from the middle of the plant shape outward so the fronds keep their structure. Put the most detailed fern on the front and simplify the ones that turn around the sides. A smooth exterior surface makes these small strokes easier to control than heavily textured clay. Let the real succulent remain the focal point by using a subdued base and a restrained green.
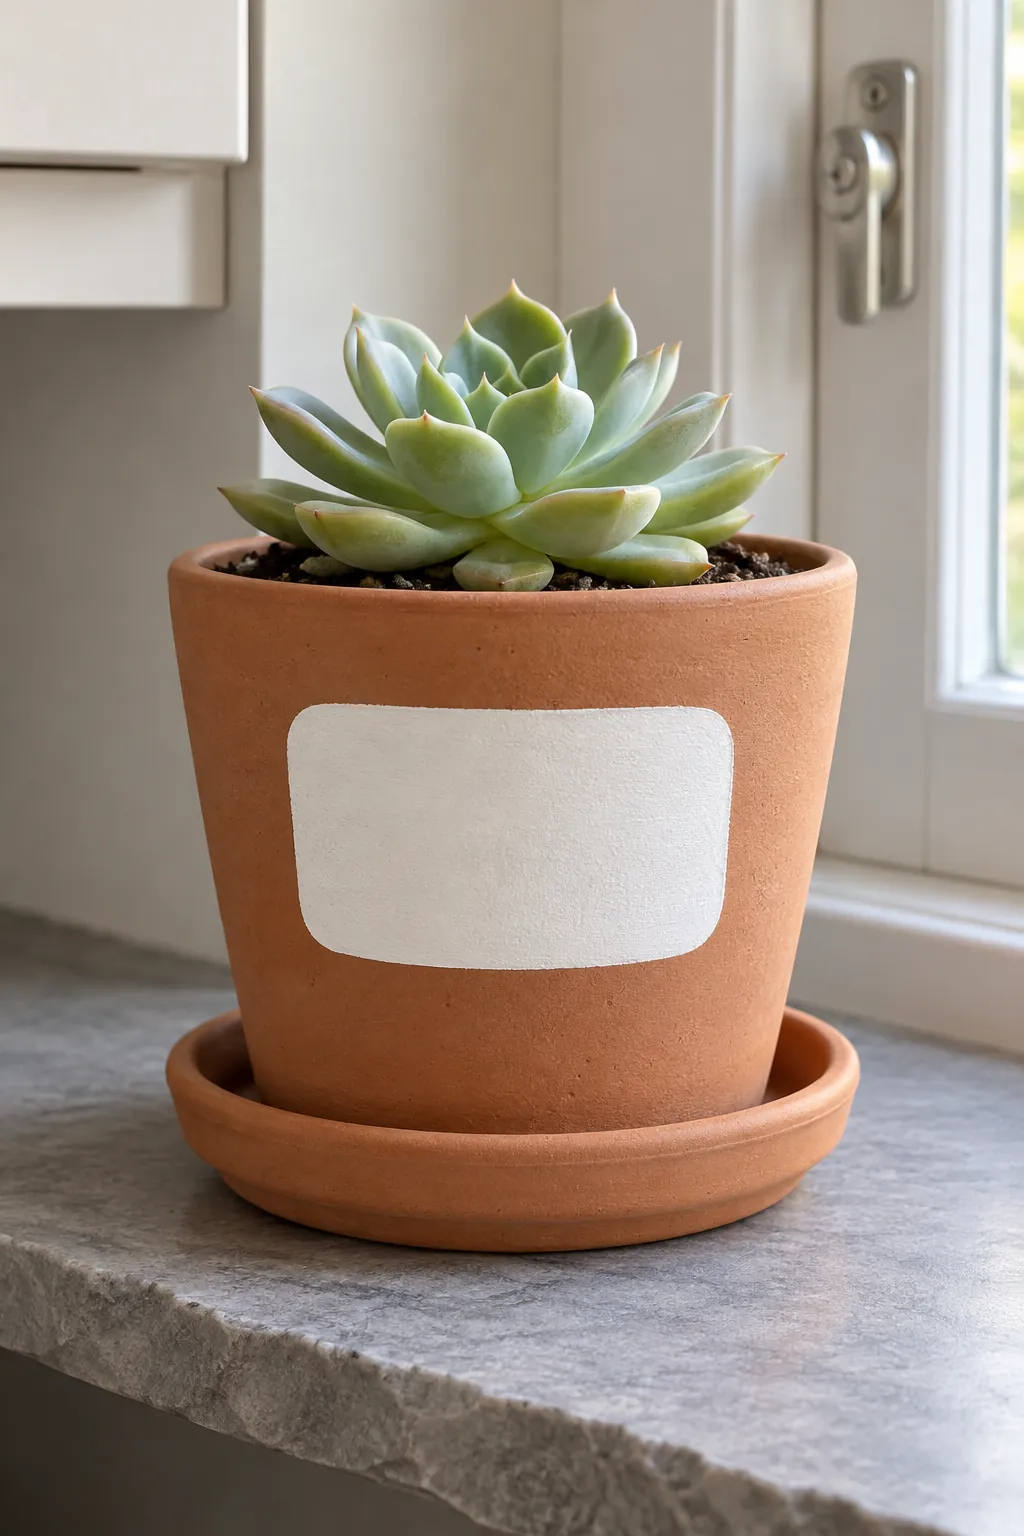
A terracotta pot with a white window
Paint a rounded white rectangle on the front and leave the surrounding clay exposed. The panel can stay blank as a quiet shape or hold a very small botanical outline. Position it below the rim so it looks framed by the pot itself. This is a simple plant pot design idea when you want a noticeable change with minimal paint coverage.
Three coordinated painted rims
Finish a plant corner by repeating one simple rim treatment across three differently sized pots. Give each rim its own muted color while leaving the bodies bare, then space the containers so their leaves do not press together. Choose pot sizes for the roots rather than buying oversized vessels just to complete the display. Keep drainage holes open, use an appropriate fast draining growing mix, and empty saucers after watering. Before painting your first set, check that the paint and any sealer suit the surface and location, and respect the maker's full curing time. A design that is easy to repeat is most useful when it is also easy to live with.