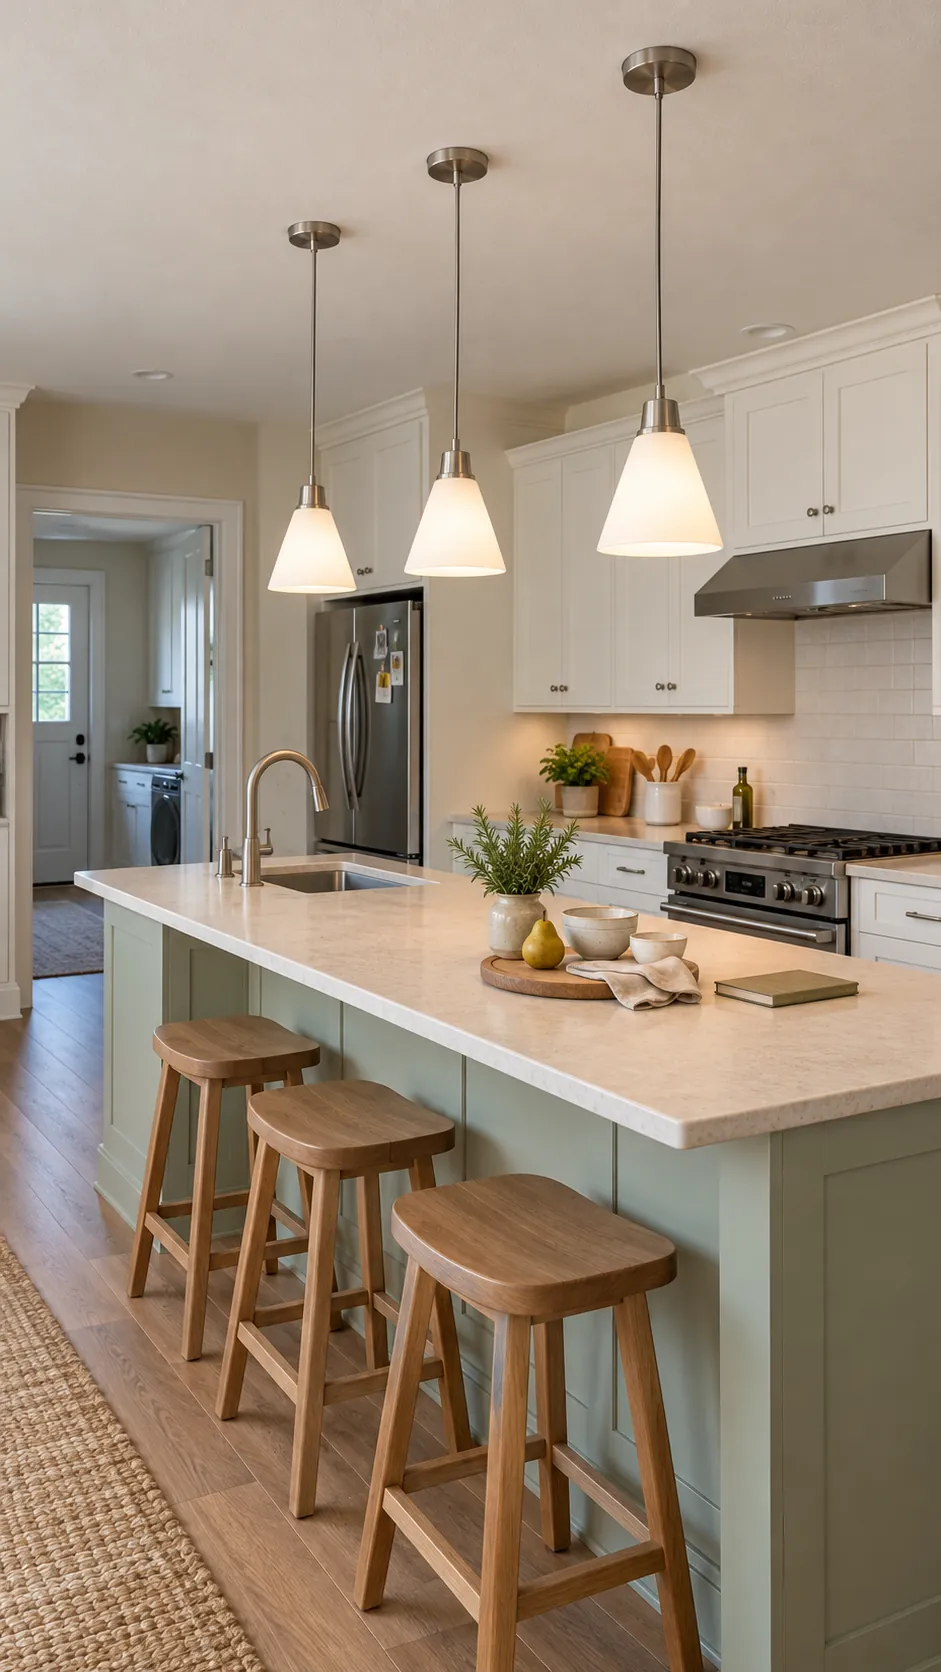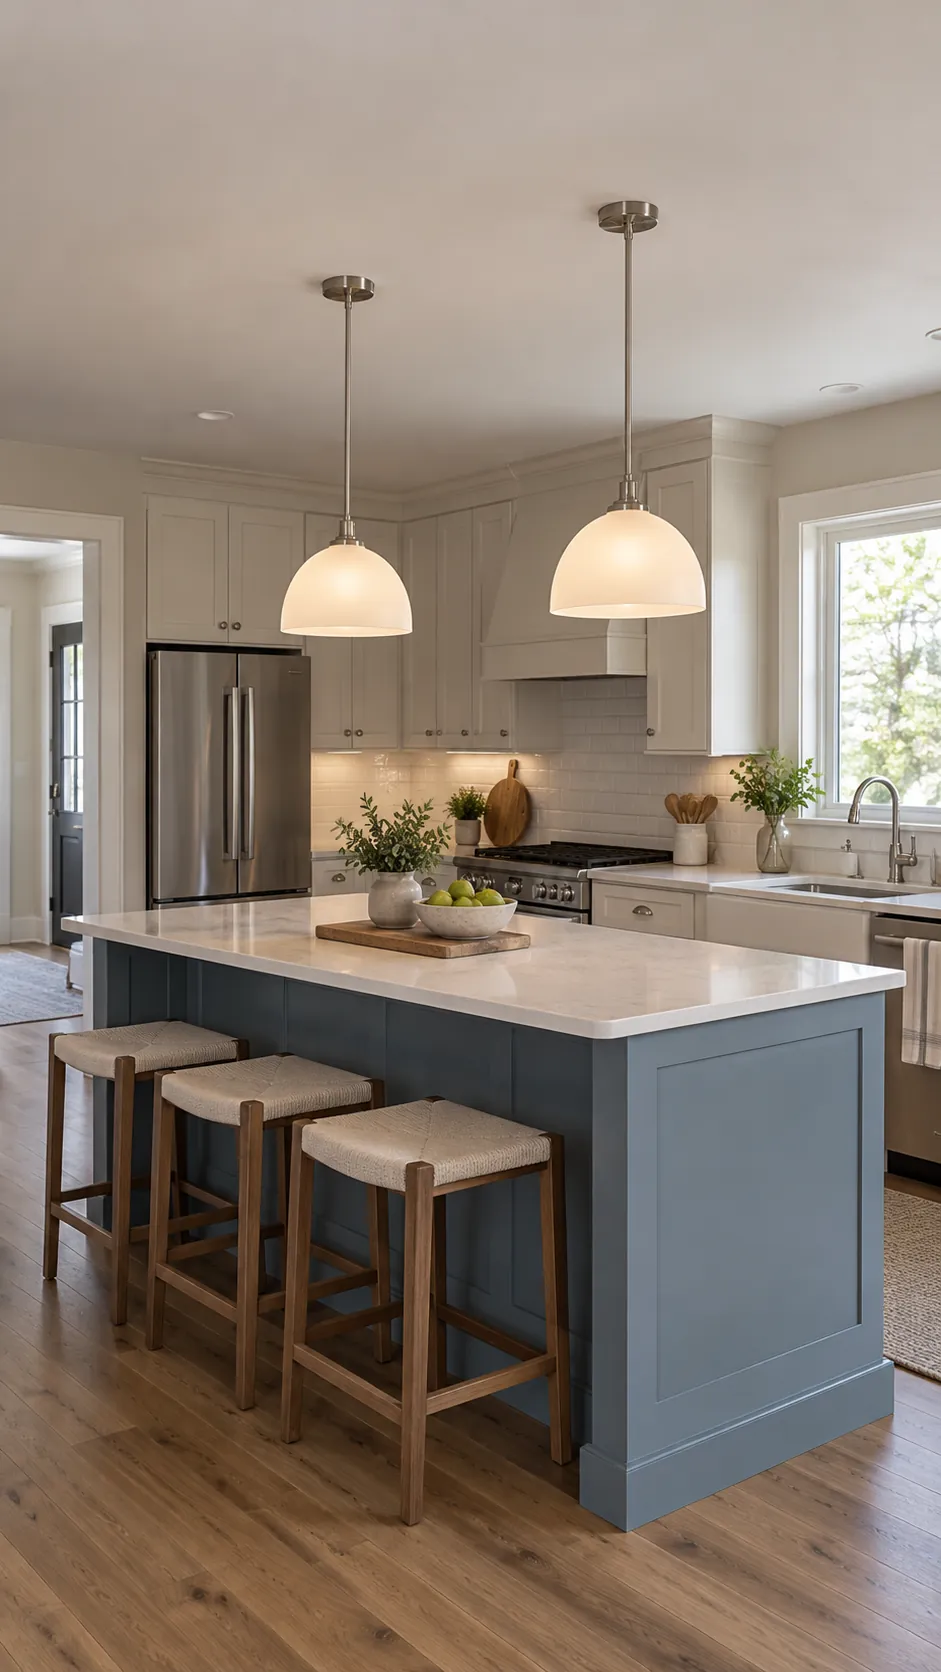
Pendant lights can look too small in a product photo and overwhelming after installation. The safest budget decision starts with the island, not the fixture. Measure the usable length, mark the work zones, and test the apparent size at eye level before ordering.
There is no single formula that replaces the room. Ceiling height, shade shape, sightlines, nearby lighting, and a sink or cooktop can change a reasonable starting point.
Measure the usable island rather than the full top
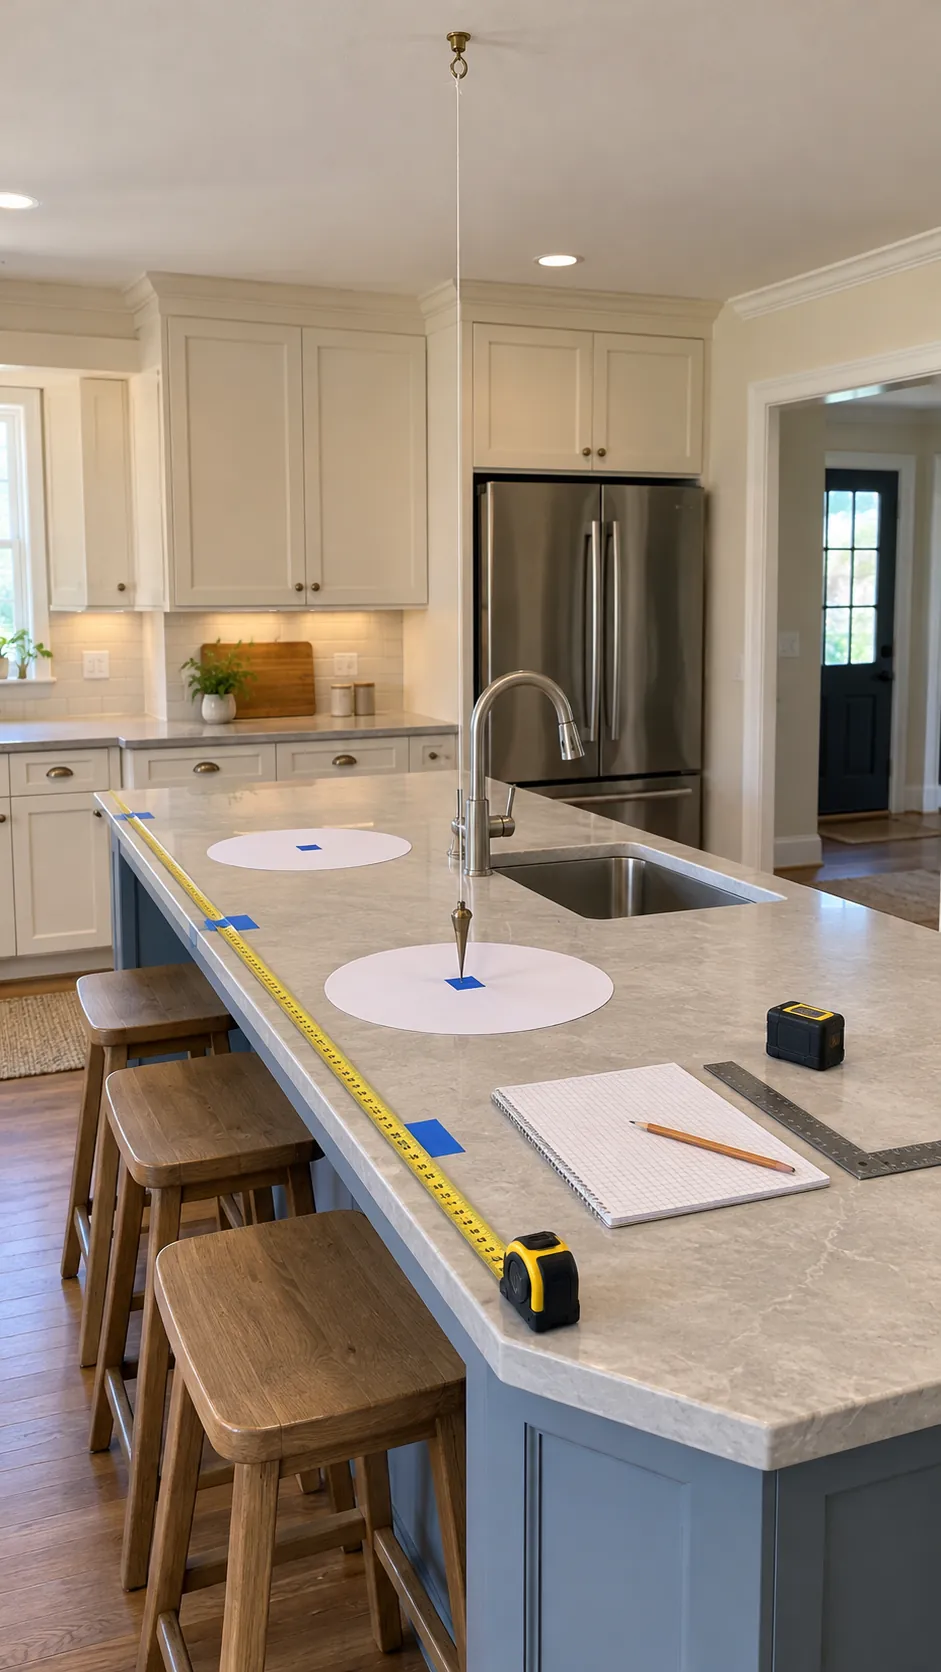
Record the island length, width, counter height, ceiling height, and distance to nearby cabinets. Then subtract any angled end, raised ledge, or area where a pendant would conflict with an open door. Mark the center of the remaining straight work zone.
A sink, cooktop, or tall faucet changes the kitchen island lighting layout. Keep the fixture from blocking the view across the room or crowding steam and heat. The electrical box location is useful input, but it should not force poor spacing when relocation is practical.
Choose the quantity from fixture width and clear space
For a short island, one substantial pendant can look calmer than two tiny fixtures. A medium island often supports two pendants. A long island may support two wide shades or three smaller ones. The count should create useful light and breathing room rather than fill every available inch.
To make a simple pendant light spacing calculator, subtract the combined fixture diameters from the usable island length. Divide the remaining space among the two ends and the gaps between fixtures. Start with similar visual space at the ends and between shades, then adjust for cabinets, sink, and sightlines.
Size the visible shade not the product name
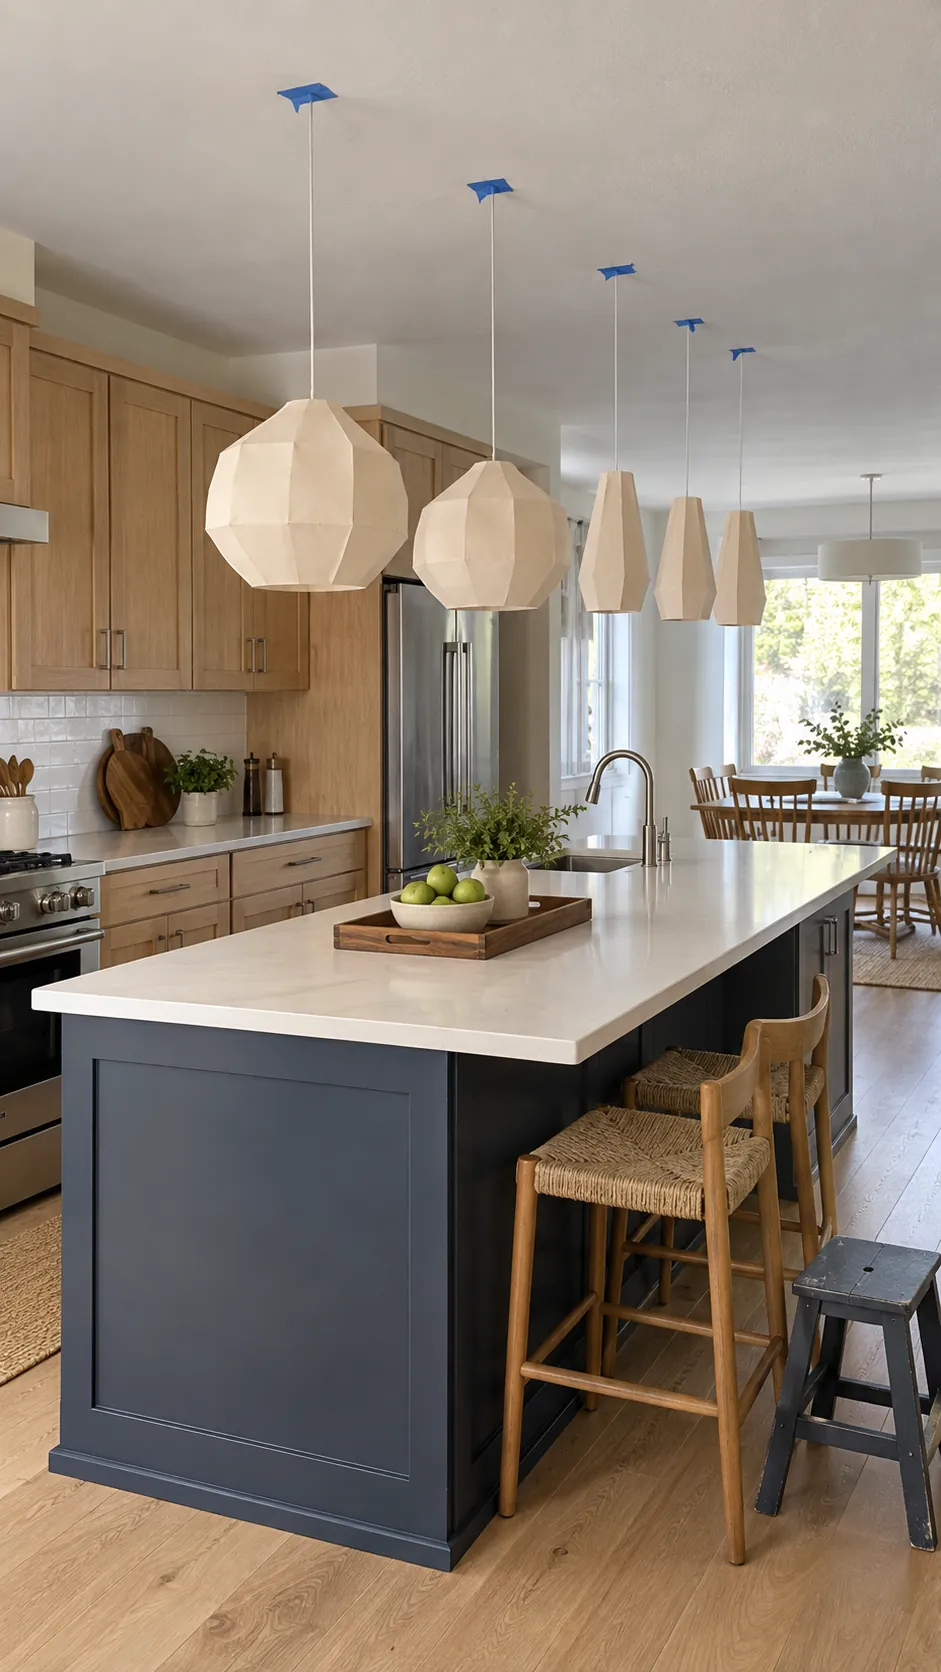
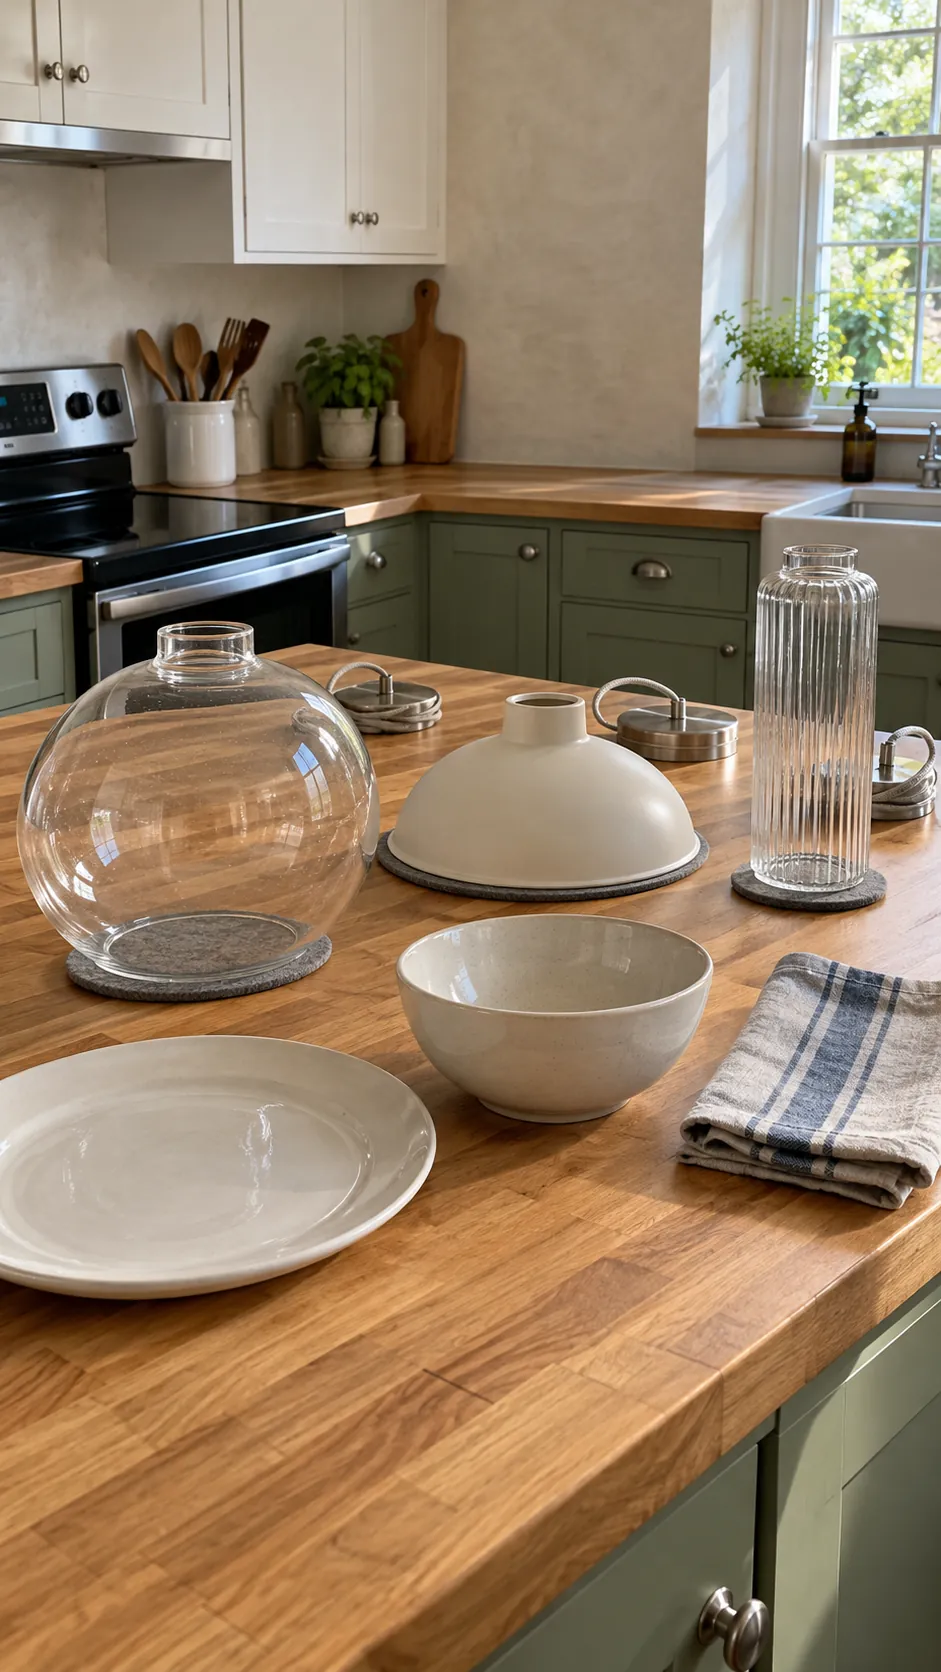
Kitchen pendant light diameter measures only one part of visual size. A clear glass globe feels lighter than an opaque metal dome of the same diameter. A tall narrow fixture can dominate the view even when its width is modest.
Compare shade width, shade height, canopy size, and total hanging length. For small kitchen pendant lighting, use fewer visual materials and a shade that does not crowd upper cabinets. Larger rooms can support broader shapes, but two oversized shades need more open space than three slim ones.
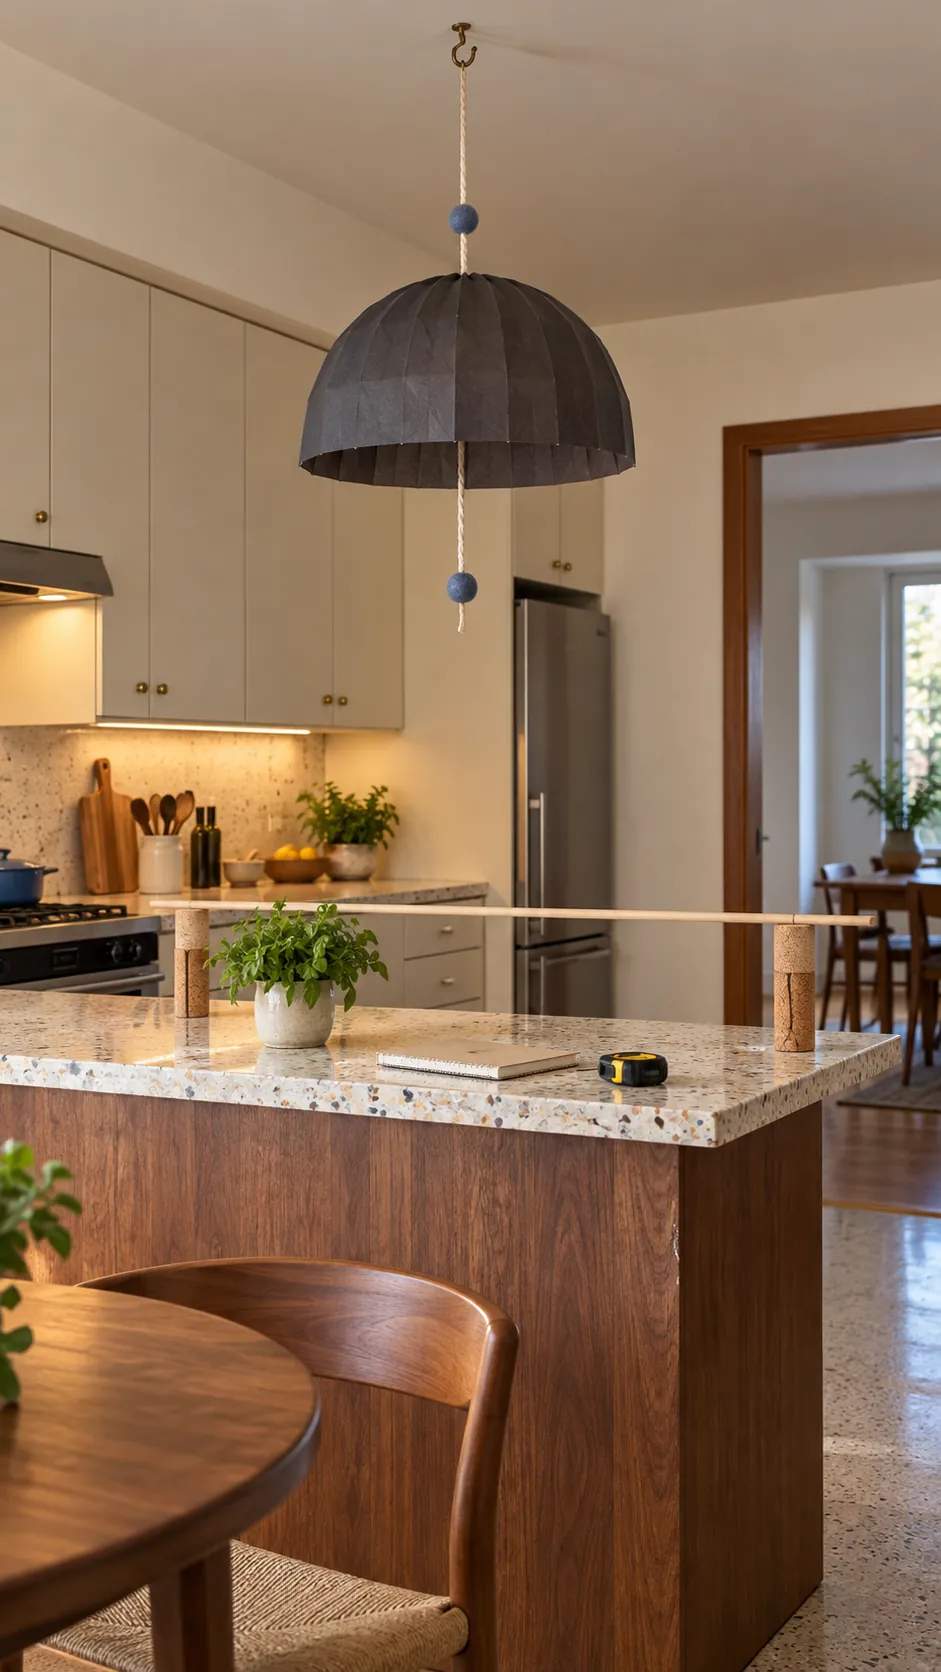
Make a paper or cardboard outline of the fixture profile and suspend it with removable string. View it from the kitchen entrance, seating area, and the person who will work at the island.
Set hanging height from people and sightlines
A common starting point places the bottom of a pendant about thirty to thirty six inches above the counter. Treat that range as a test, not a command. Taller household members, a deep shade, or an open view to another room may require a higher position.
The kitchen ceiling height pendant guide matters because an eight foot ceiling offers less total drop than a tall ceiling. Confirm that the selected fixture includes enough adjustable rod, cord, or chain for the tested position. Check the manufacturer limits before shortening any component.
Check light output glare and cleaning
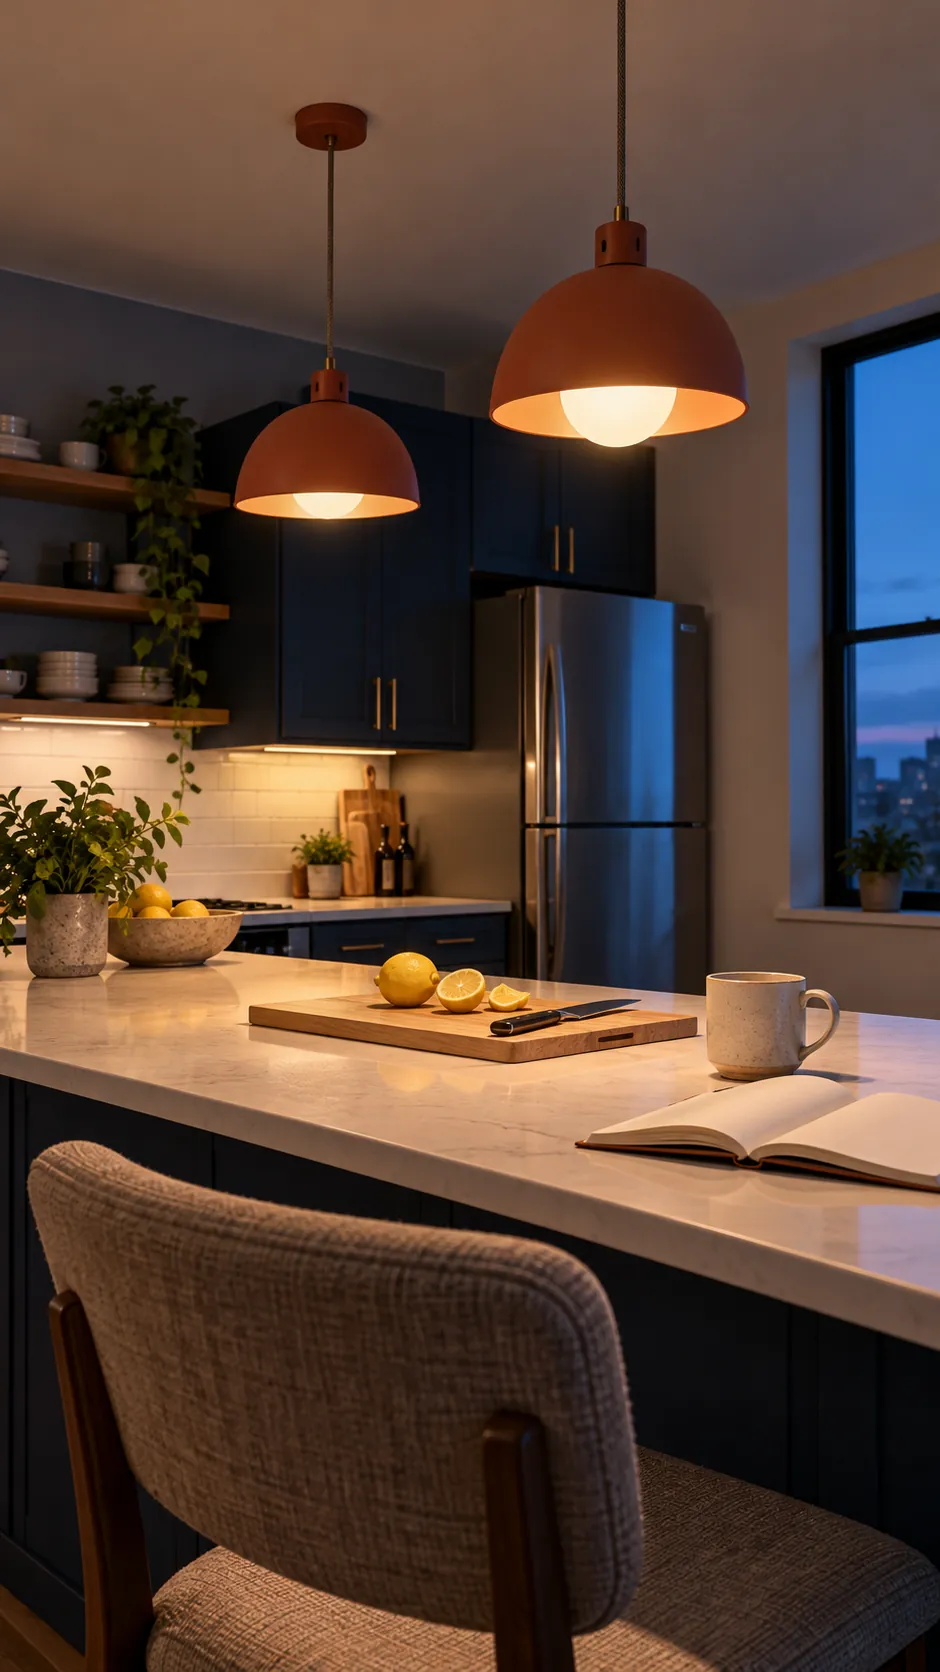
Pendants should complement recessed and under cabinet lighting rather than carry the entire kitchen alone. A shade with an open bottom can concentrate task light but may expose the bulb from a seated position. Frosted glass diffuses light, while clear glass can create glare and shows dust quickly.
Use dimmable bulbs and controls that are compatible. Check the maximum bulb size, color temperature, and whether the shade traps heat. Budget kitchen pendant fixtures are easier to keep when replacement bulbs, glass, and mounting parts remain available.
Mock up the final layout before paying for installation
Cut simple paper circles to the shade diameter and tape them to the island. Hang lightweight paper profiles at the planned centers and height. Leave them in place for a day, then walk through every doorway, sit at the island, open nearby cabinets, and check the view from adjoining rooms.
For single pendant versus multiple pendants, compare the full installed cost. More fixtures can mean more boxes, ceiling work, bulbs, and labor. One larger fixture may cost more by itself but need fewer electrical points. Confirm the ceiling boxes can support the selected weight and use a qualified electrician for new or relocated wiring.
Buy only after the mockup feels balanced and the dimensions fit the manufacturer limits. This short test costs almost nothing and prevents the most expensive pendant mistake: paying twice to replace a fixture that was wrong at full scale.