
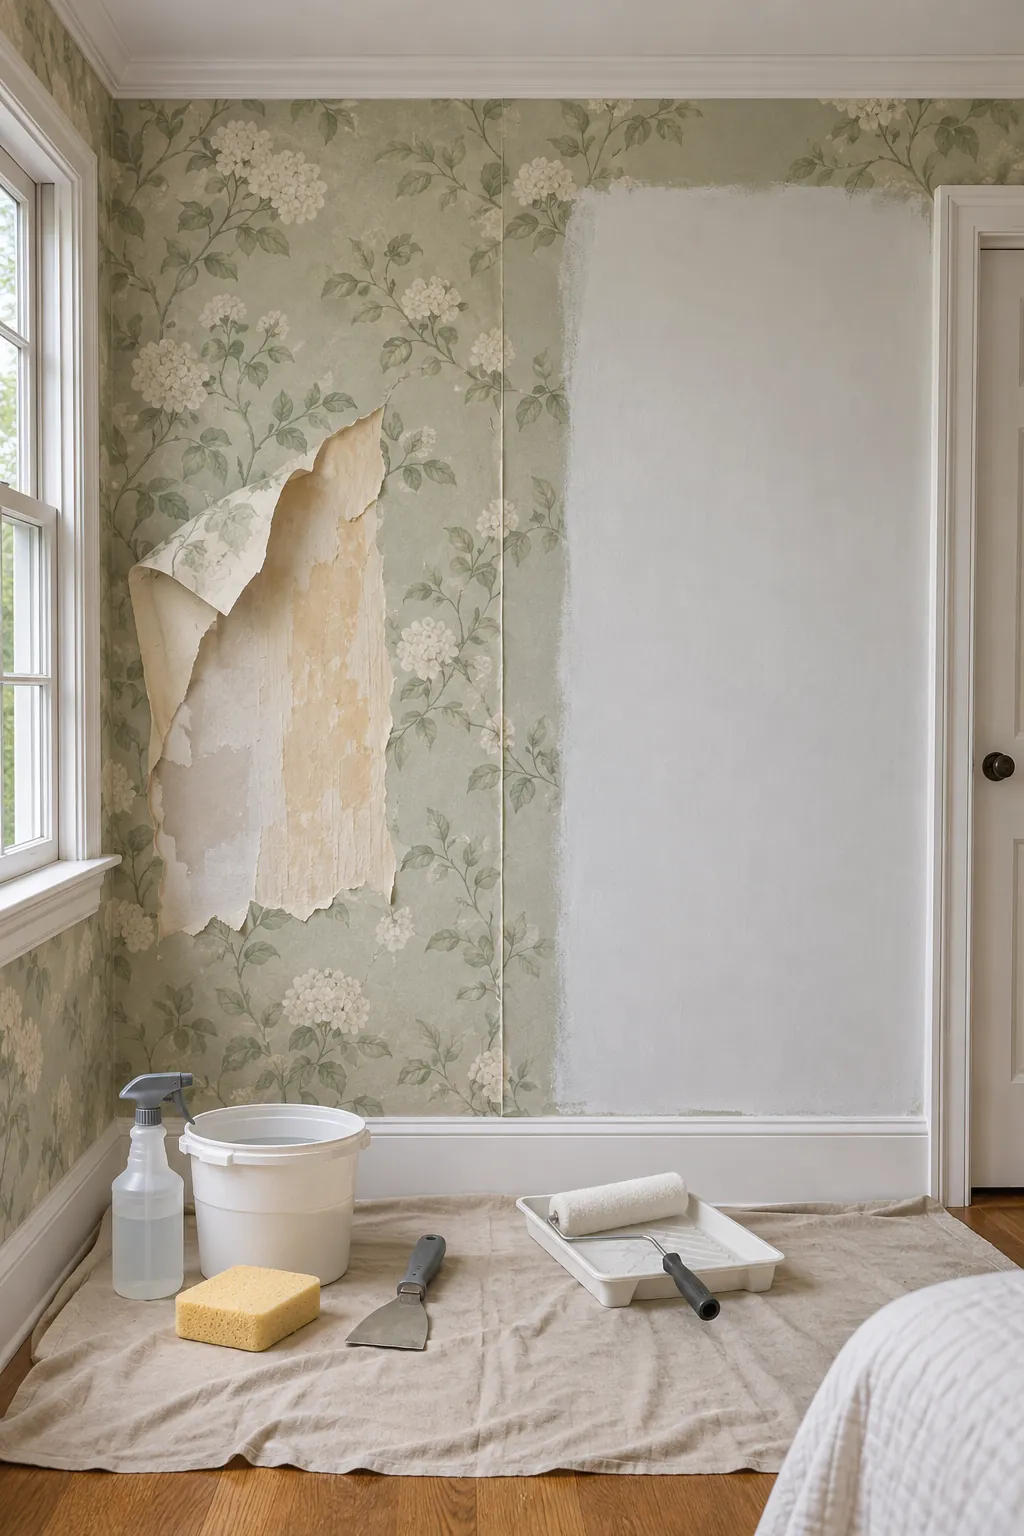
You can paint over some wallpaper, but removal usually gives the more predictable long-term finish. Painting is a reasonable fallback only when the paper is firmly bonded, dry, smooth enough for the result you want, and compatible with the preparation products. Loose seams, bubbles, stains, texture, moisture, or several layers are strong reasons to remove it.
Inspect the wallpaper before deciding
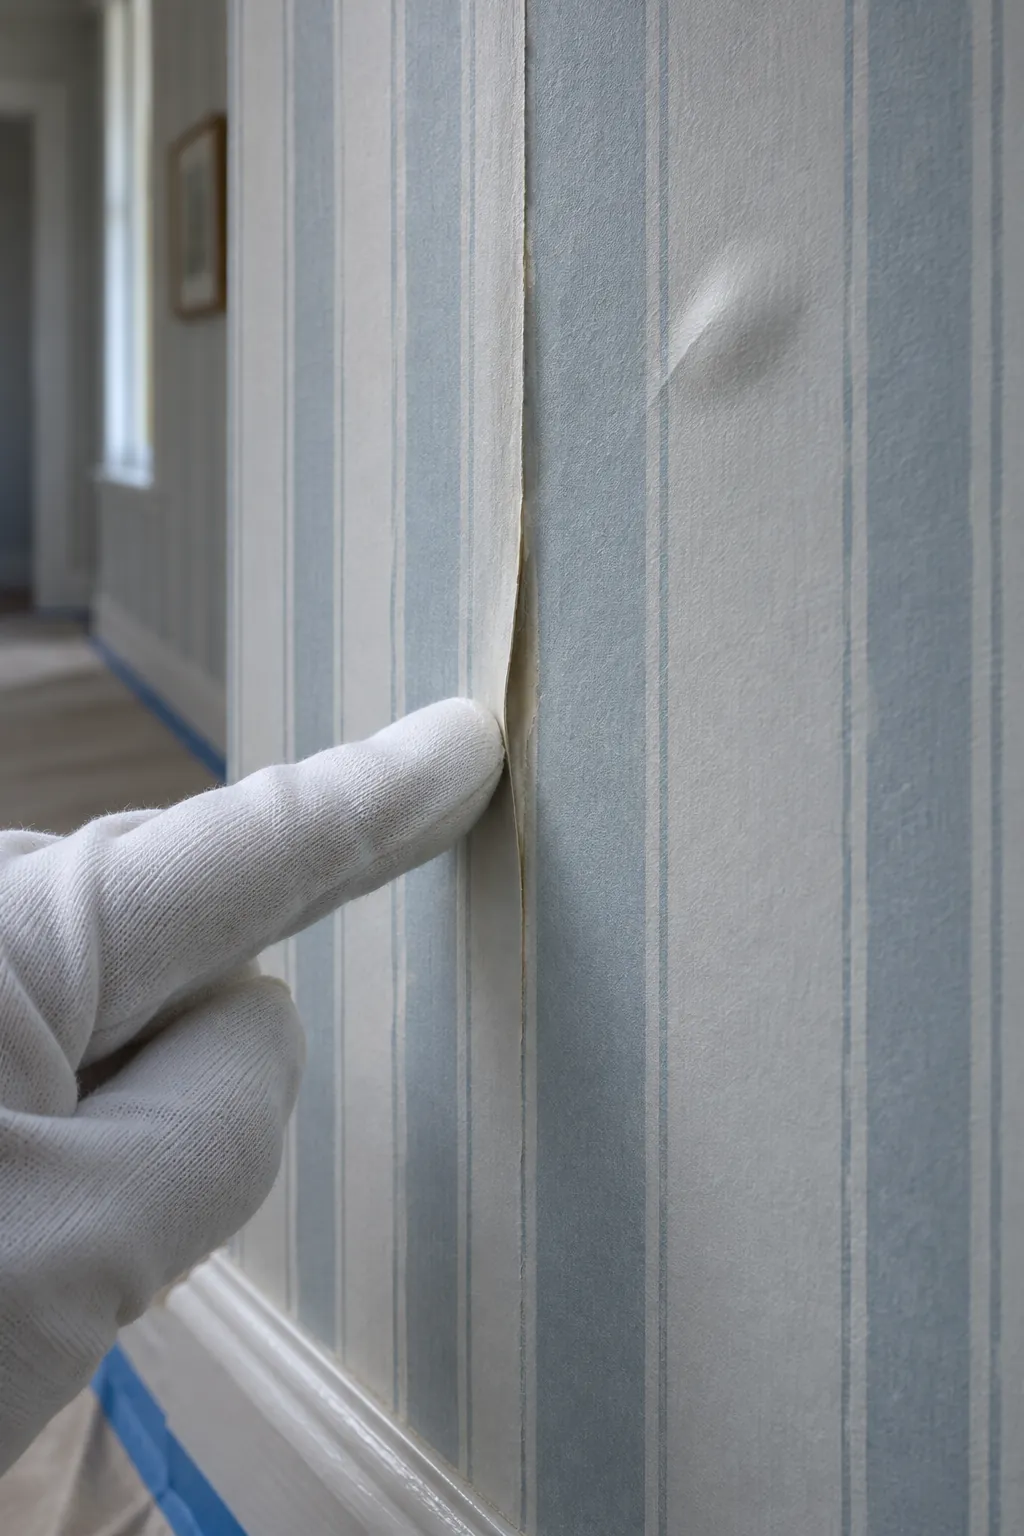
Check every seam, corner, outlet, window, and baseboard. Press gently for bubbles and listen for hollow areas. Look for water stains, mildew, torn faces, curling edges, and heavy texture. Coating does not repair weak adhesion; it can make defects more visible and harder to remove later. Resolve any leak or dampness before either option.
Test removal in a hidden area
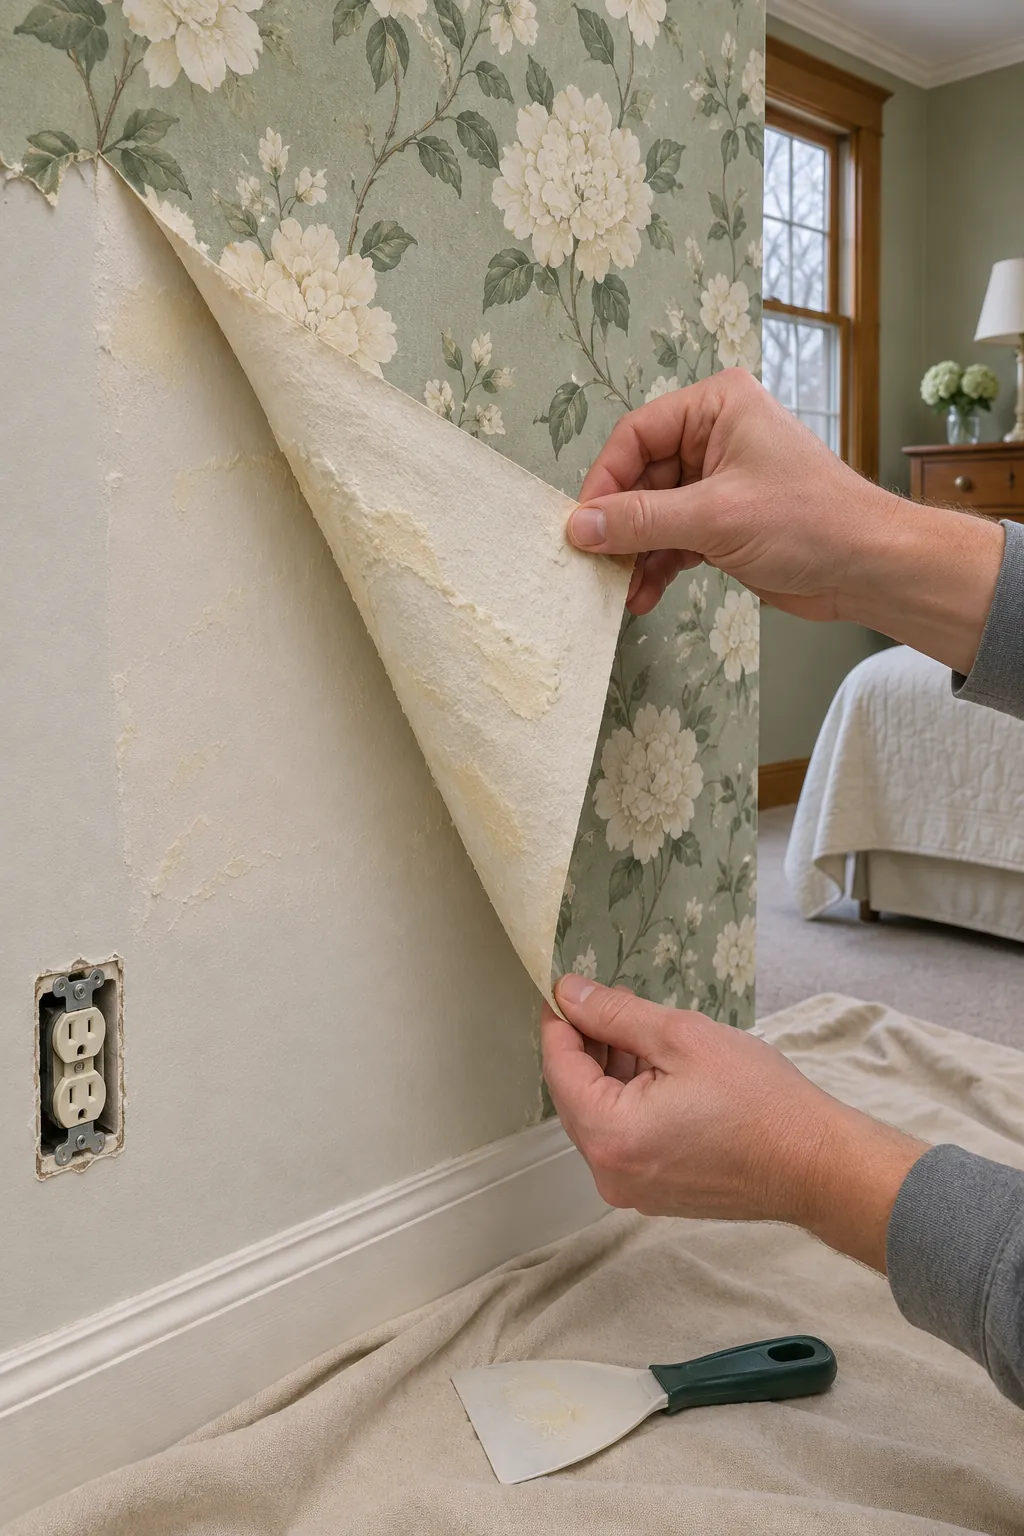
A small test near an outlet or behind furniture shows how the paper releases and what lies beneath it. Some strippable paper lifts cleanly; other installations leave paste or damage fragile drywall paper. Identify whether there are multiple wallpaper layers. If removal is manageable, it is usually worth doing because it produces a clean surface that can be repaired directly.
Remove wallpaper when the surface is failing
Choose removal when seams lift in many places, bubbles are widespread, the paper is textured, stains or moisture are present, or previous layers create an unstable build-up. Remove it when a high-quality smooth finish matters. After stripping, wash off adhesive, allow the wall to dry, seal torn drywall paper, repair defects, sand, and prime. Do not hide a moisture problem under primer and paint.
Repair minor seams only on otherwise sound paper
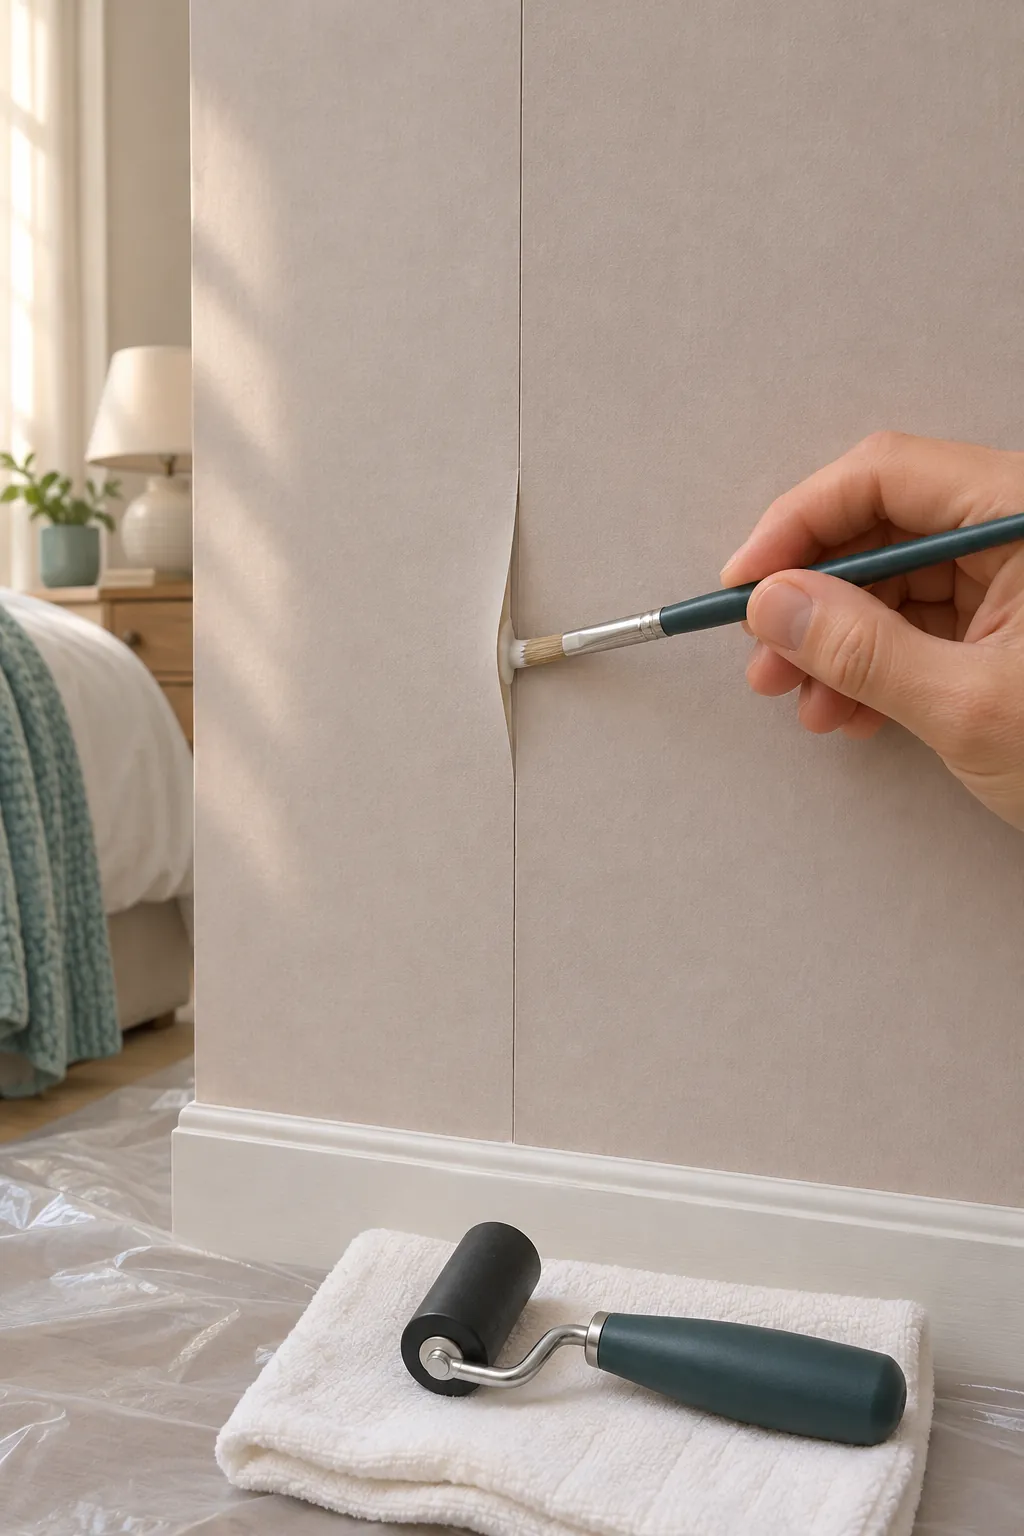
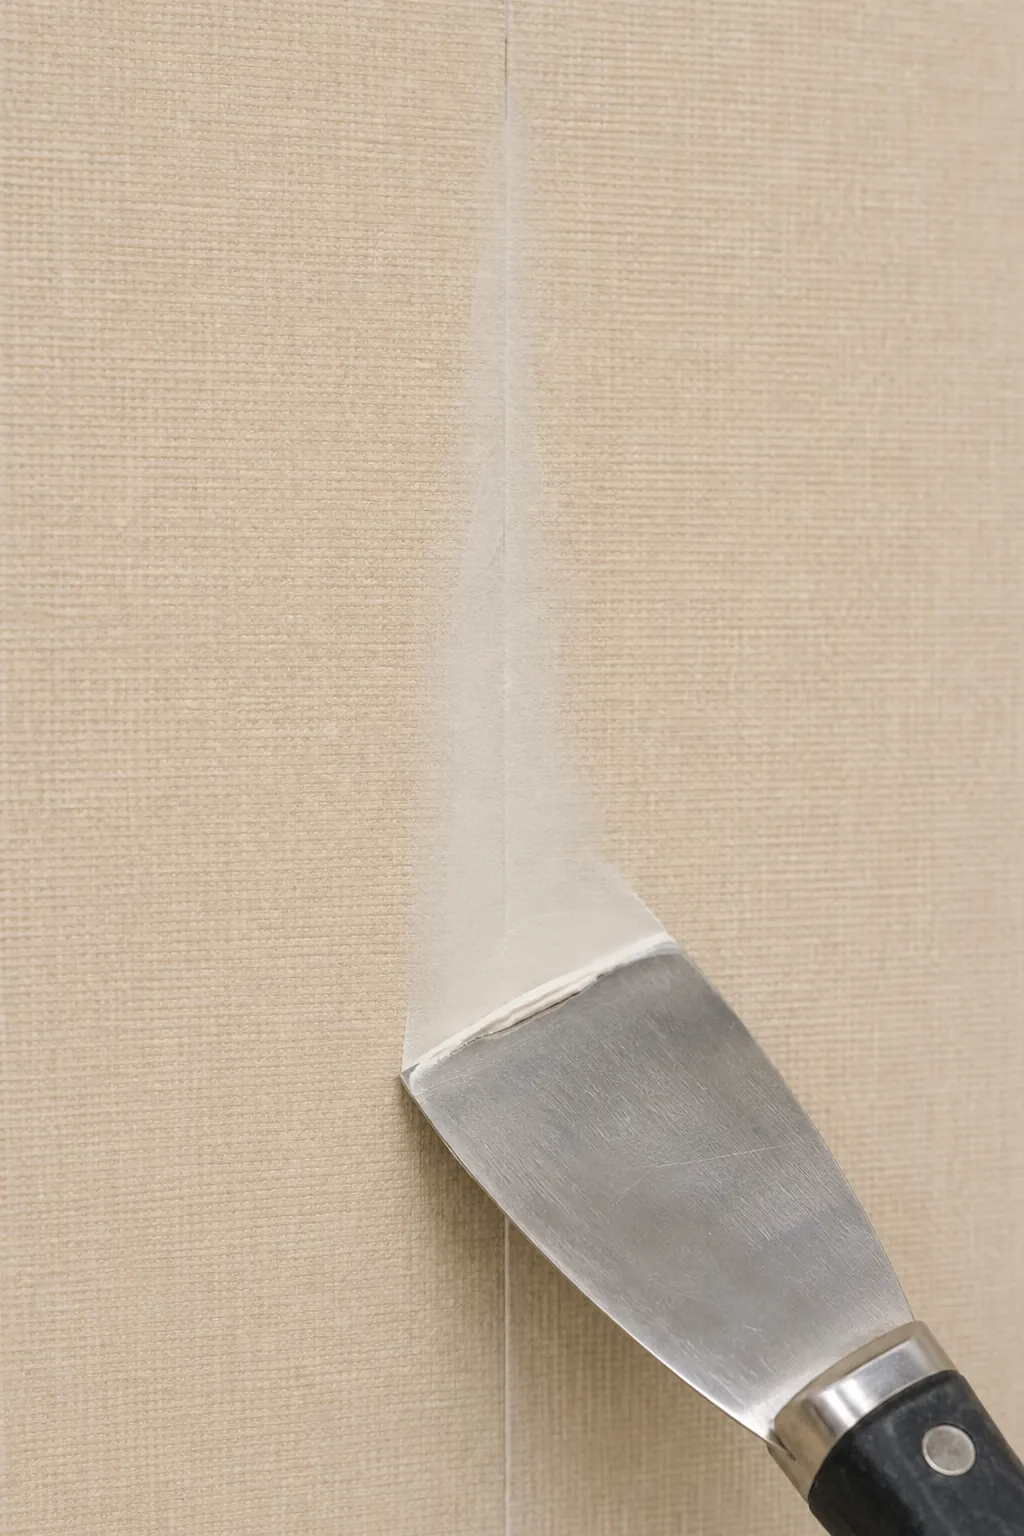
If the paper is firm everywhere except one or two small edges, use a compatible seam adhesive and a seam roller according to the product directions. Wipe away squeeze-out promptly. Let the repair dry before further preparation. Widespread lifting is not a minor repair; it signals that removal is safer.
Clean and level the surface carefully
Remove dust and grease without soaking the paper. Let it dry. If the material and primer maker allow light abrasion, dull glossy surfaces gently and remove the dust. Secured seams can be feathered with a very thin compatible compound, then sanded lightly after drying. This can reduce seam visibility, but it will not erase embossed texture or poor alignment.
Use a primer compatible with the wallpaper
Primer choice matters because water can reactivate some adhesives or soften paper. Ask the wallpaper or coating manufacturer which sealing or bonding primer is compatible. Test the full system in a hidden area and let it dry. Stop if seams curl, bubbles appear, ink bleeds, or the coating stays tacky. Follow ventilation, protective-equipment, drying, and disposal instructions on the label.
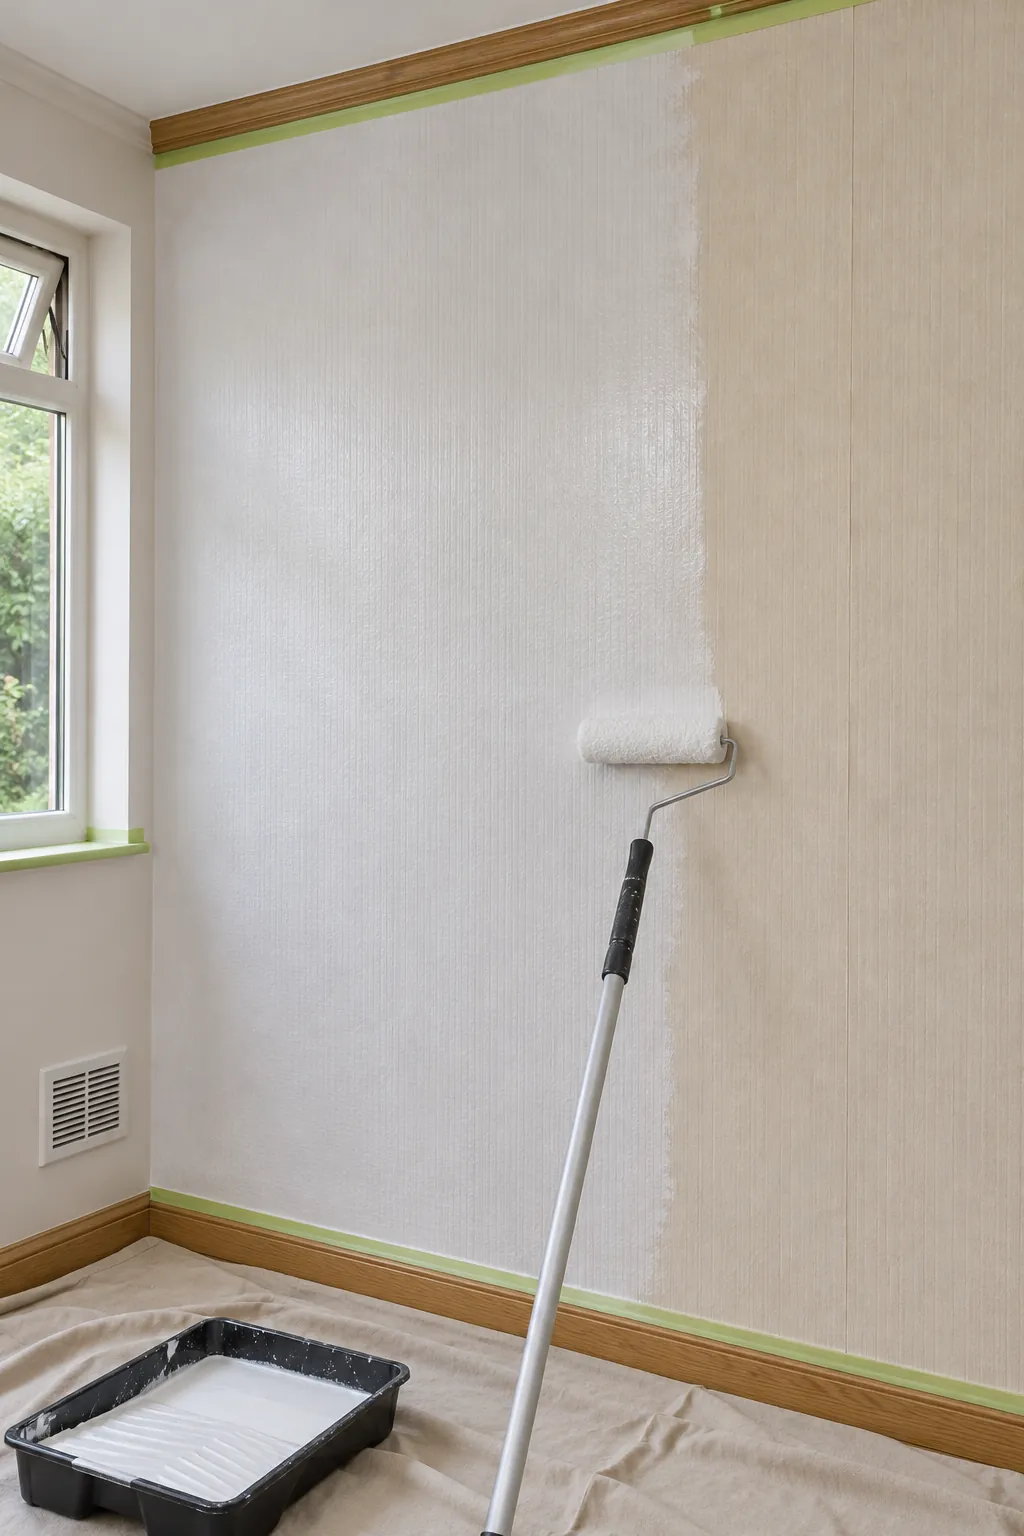
Apply finish paint without overworking it
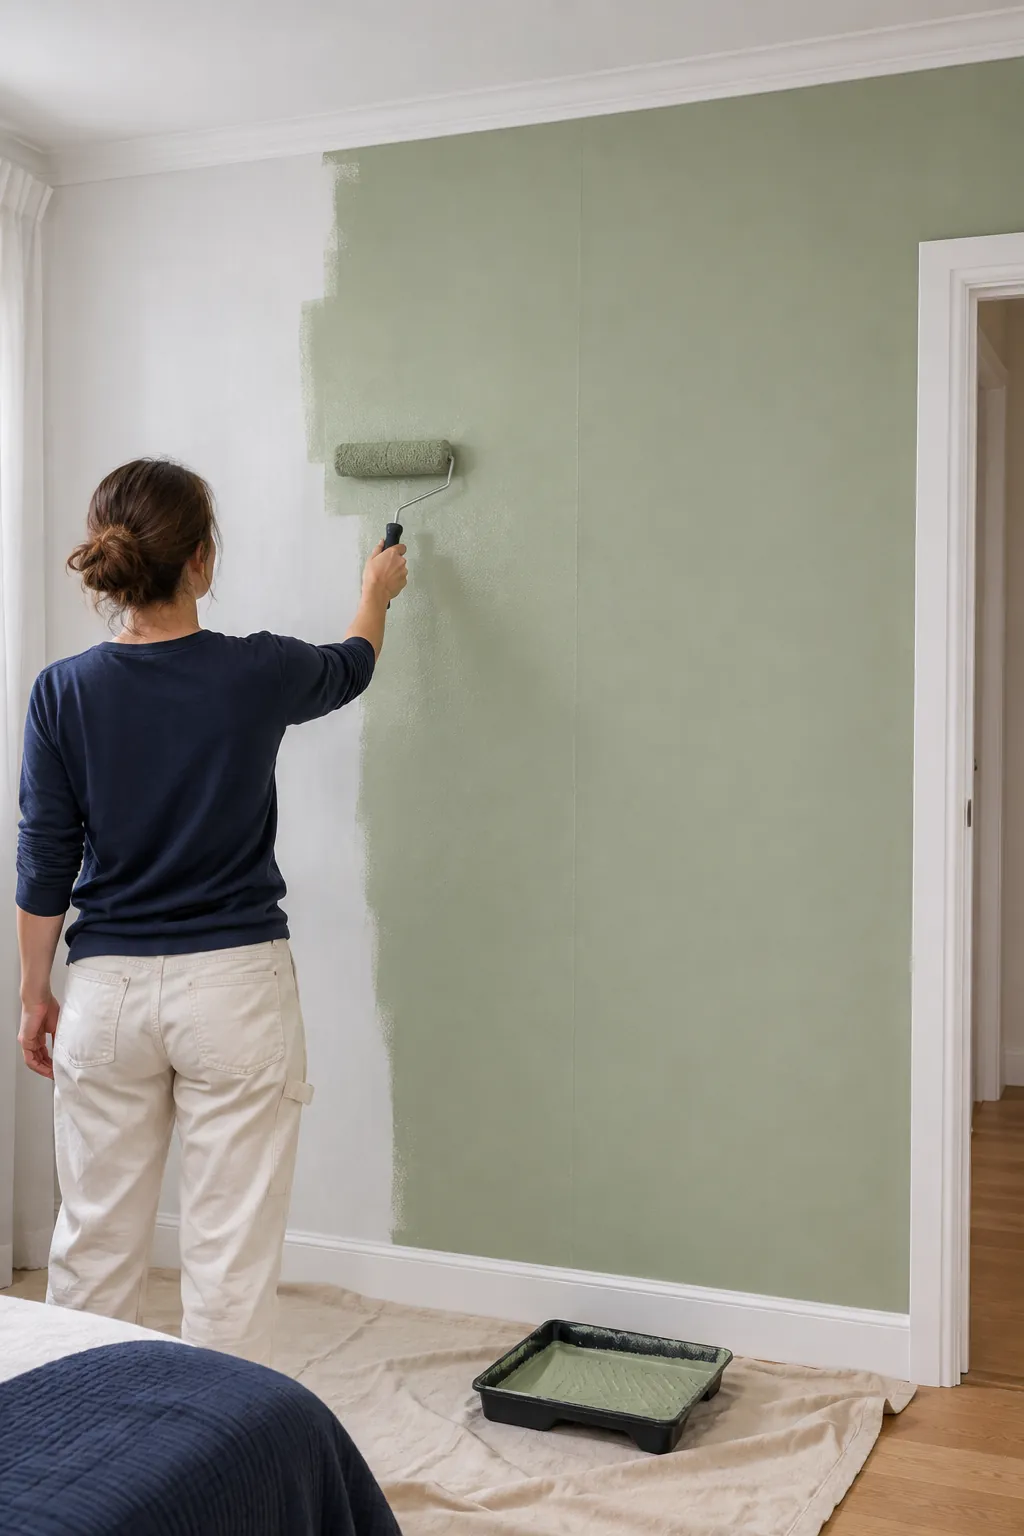
After the primer dries and passes inspection, cut in and roll the finish coat in manageable sections. Maintain a wet edge, use moderate pressure, and avoid repeated passes over paint that has begun to set. Let the first coat dry fully before judging coverage. Apply a second coat when needed. Existing seams and texture may still show under side light, even after careful preparation.
A simple decision rule
- Remove paper that is loose, bubbled, stained, damp, heavily textured, or layered.
- Consider painting only when the wallpaper is dry, firmly bonded, clean, and acceptably smooth.
- Test both removal and the proposed coating system before committing to the room.
- Expect removal to take more preparation now but make future repairs easier.
- Expect painted wallpaper to remain part of the wall system and possibly show seams later.
If the condition is uncertain, a painting or wall-covering professional can assess adhesion and identify a compatible primer. The safest shortcut is the one supported by a sound surface, not the one that simply hides it for a few weeks.