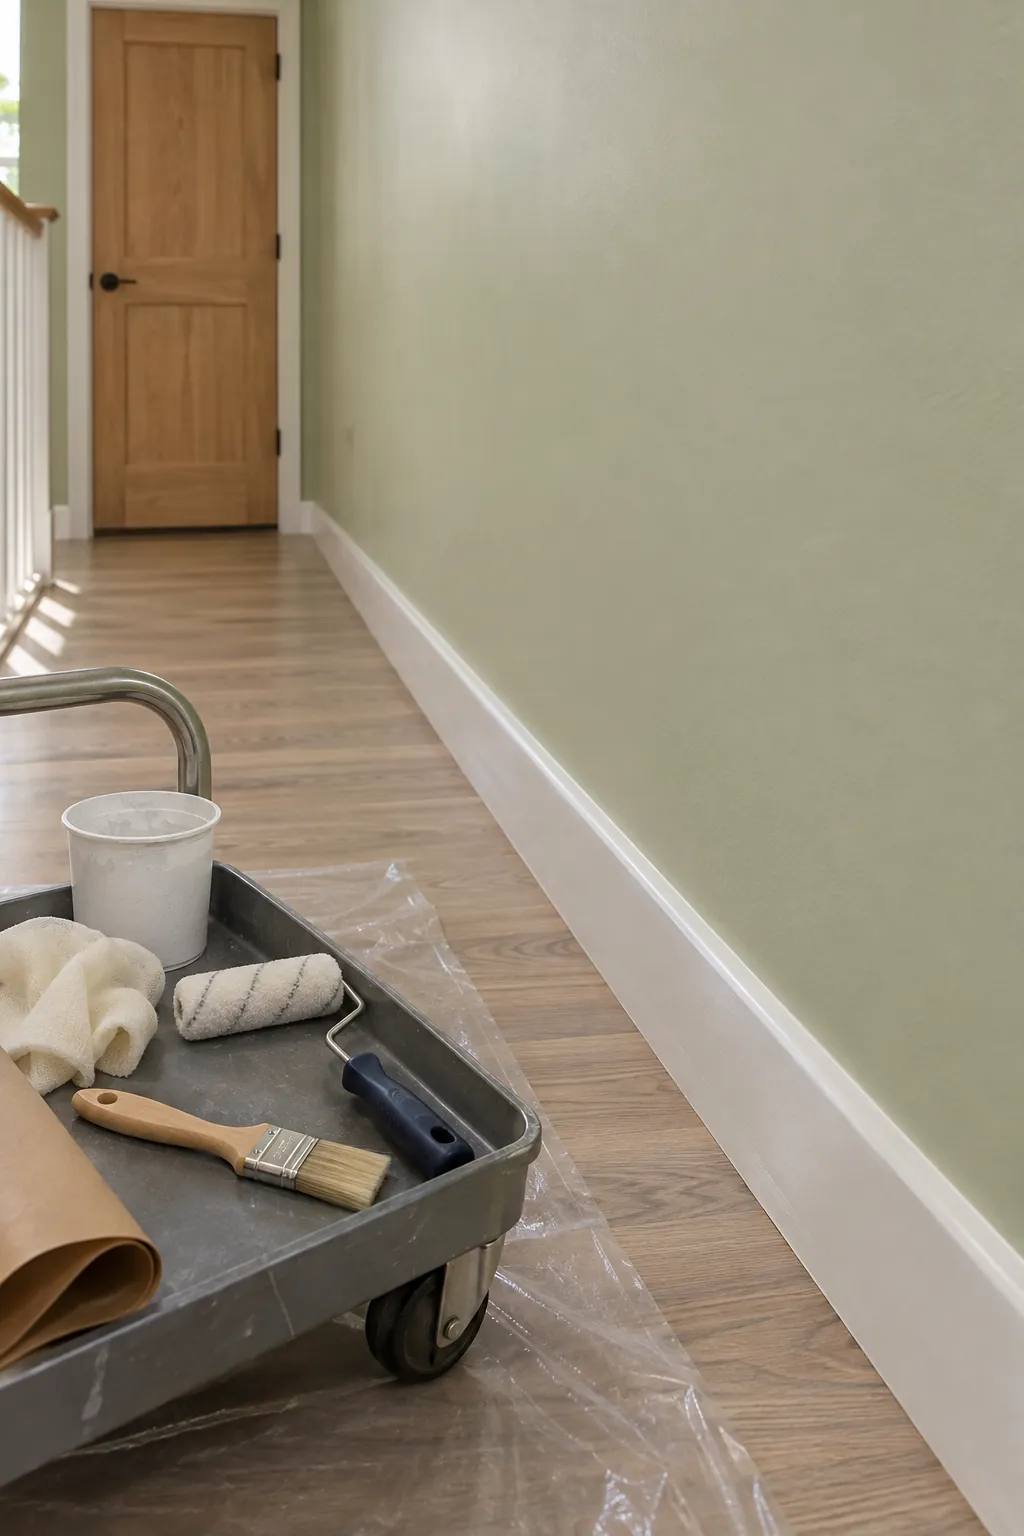
A dark line above baseboard can come from loose trim, an uneven wall, seasonal movement, or a gap that caulk alone cannot bridge. The durable fix starts with finding the cause, securing the molding, and choosing a joint treatment that can move without pulling away.
Measure the gap and check for movement
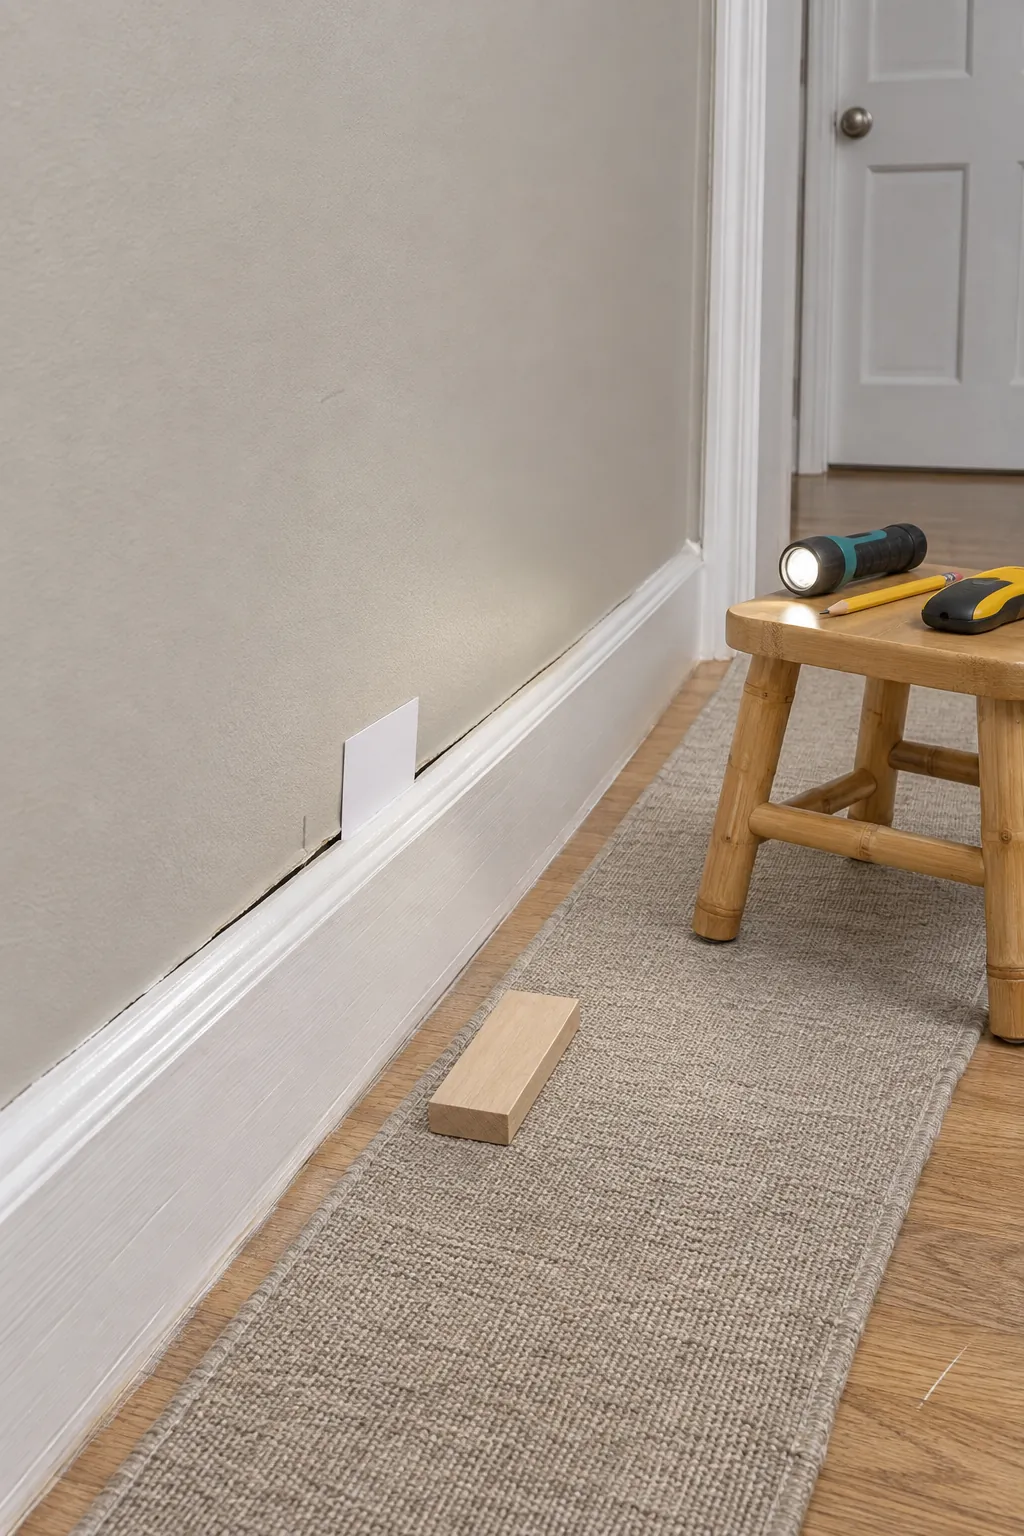
Run a thin card along the top edge to find where the opening begins and ends. Press the baseboard gently toward the wall and note whether it moves or springs back. Investigate moisture, soft drywall, or major wall movement before treating the line as a cosmetic trim gap.
Secure loose baseboard first
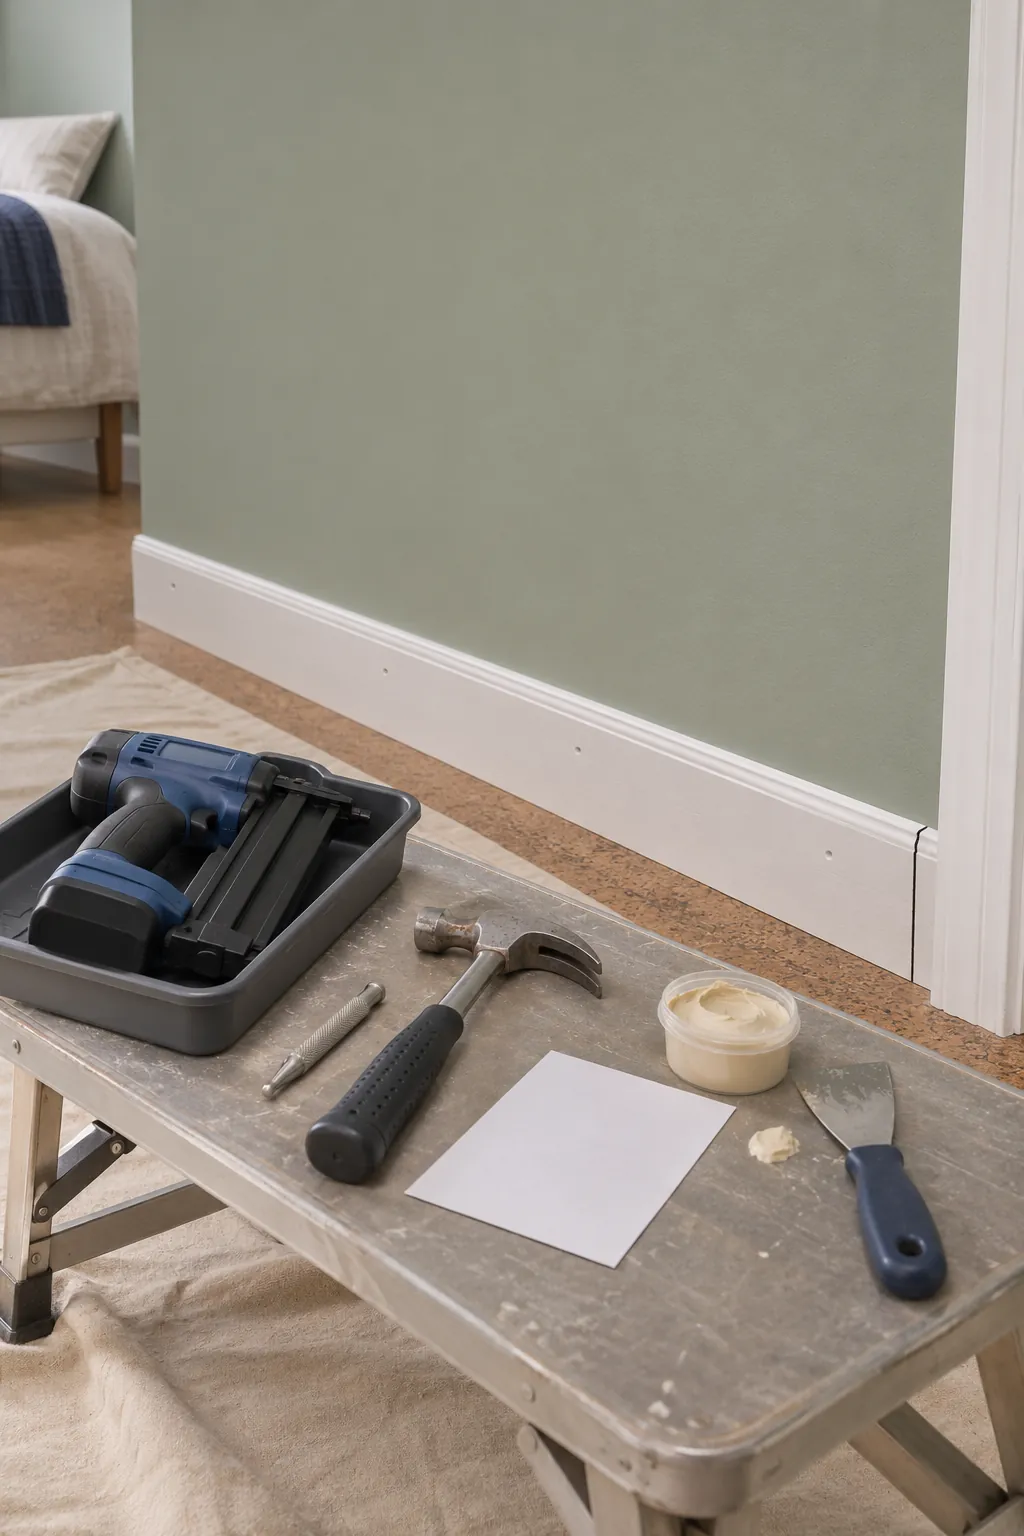
Find wall studs and press the trim into its natural position without forcing it to follow every hollow. Drive finish nails through sturdy parts of the molding and set each head just below the surface. Fill the nail holes after the board stays firm, because caulk should seal a joint rather than hold loose trim in place.
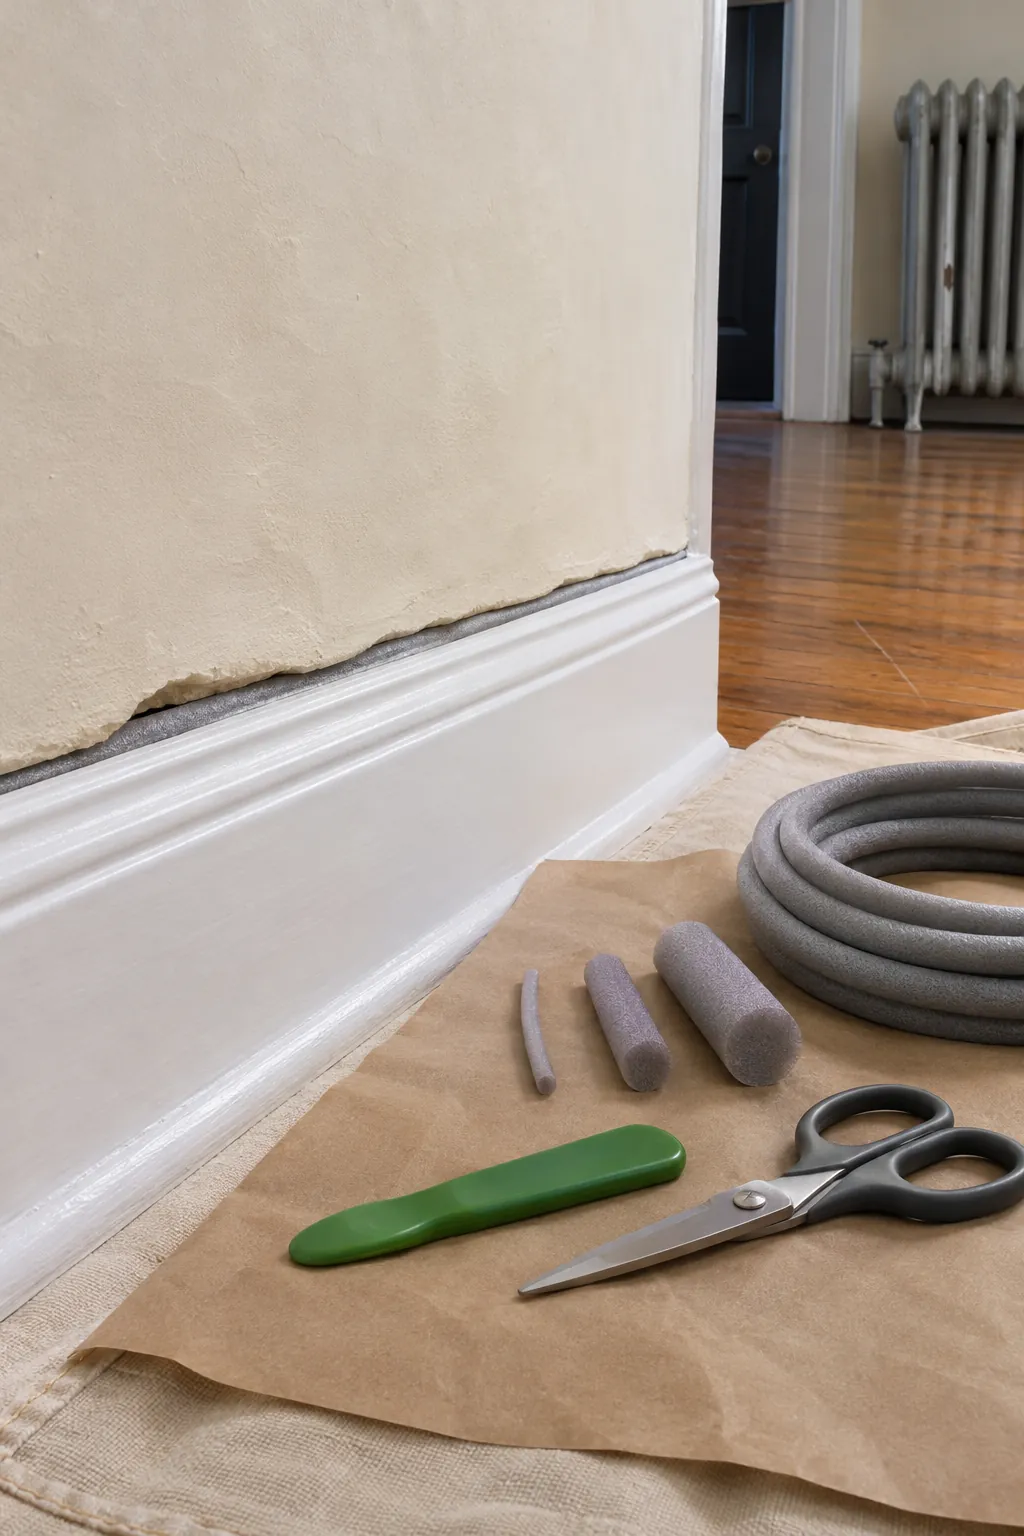
Add backing when the opening is too wide
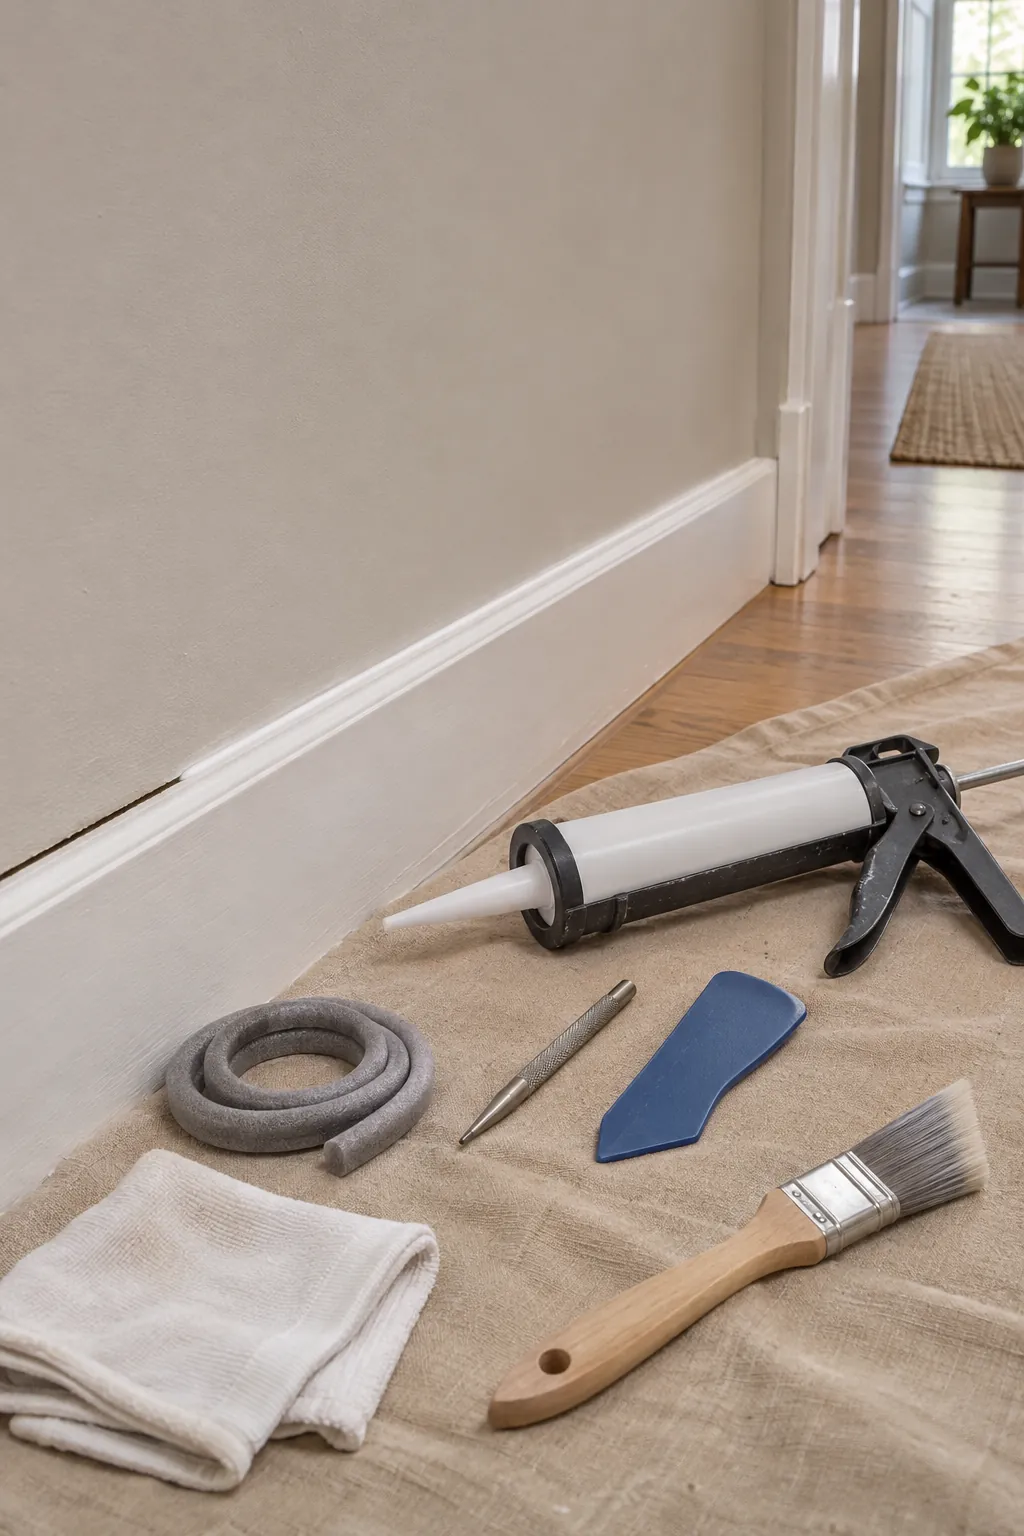
A deep or wide opening can consume caulk and leave a weak concave joint. Press suitable foam backing into the cavity so the sealant has controlled depth and bonds to the wall and trim edges instead of three interior surfaces. Replace or reshape trim when the gap is too irregular for a neat flexible joint.
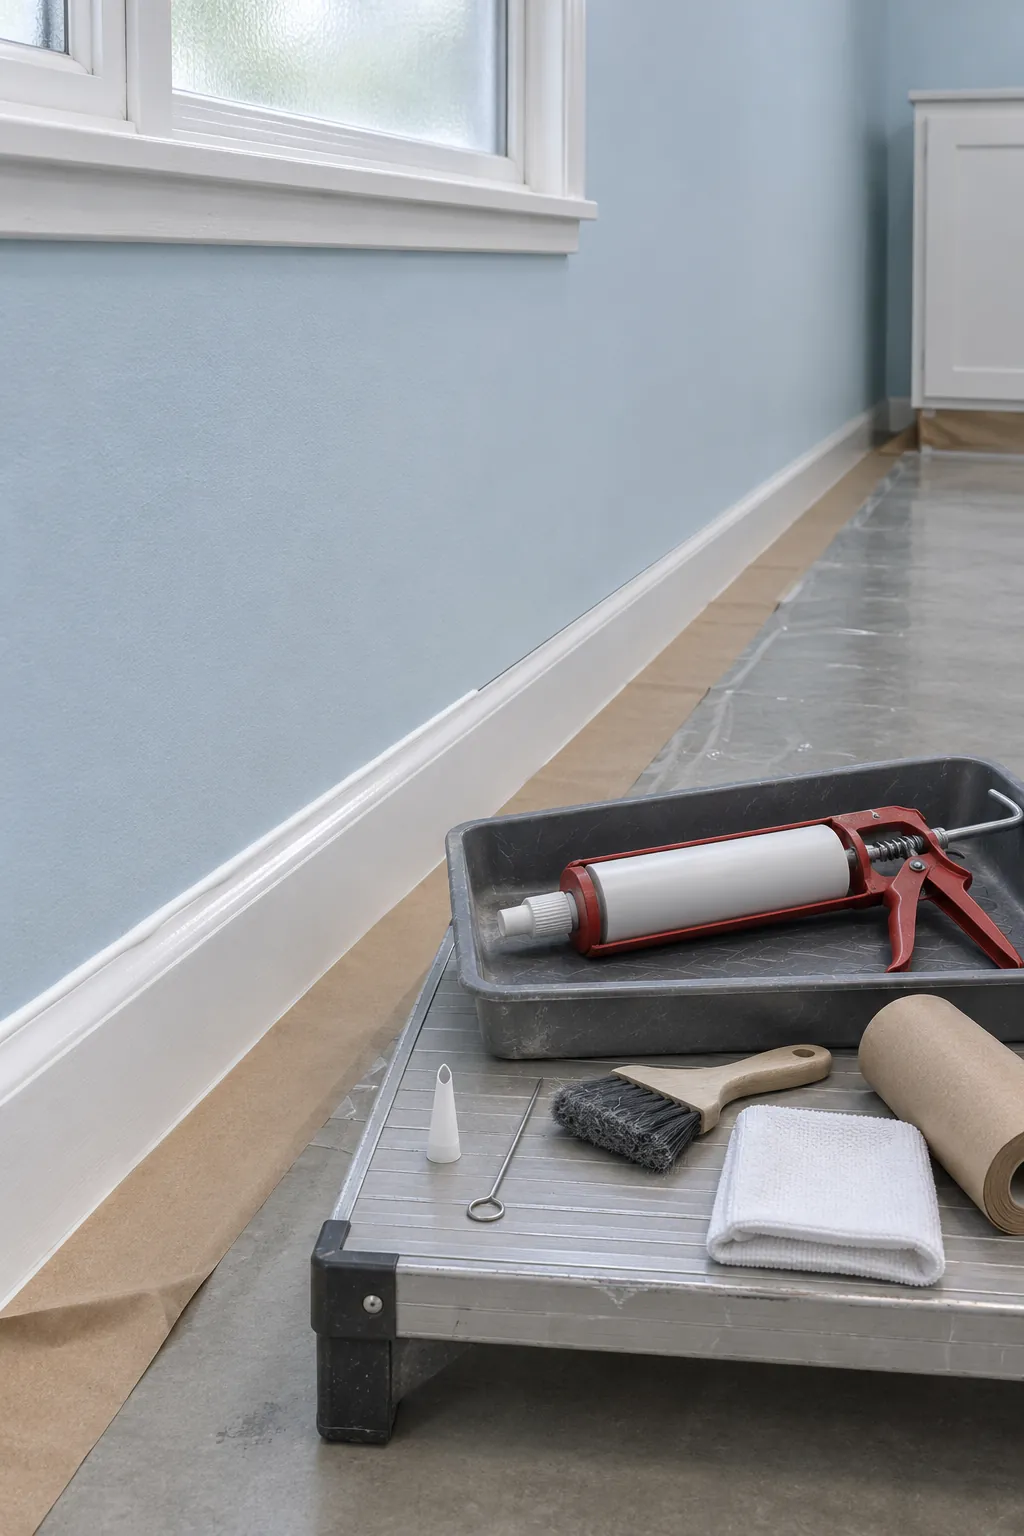
Apply a narrow bead of paintable caulk
Clean dust from both edges and cut the nozzle smaller than the gap appears to need. Hold the tube at a steady angle and move at an even pace while maintaining light pressure. Use an interior paintable acrylic latex caulk that suits the joint, and avoid silicone when the finished bead must accept paint.
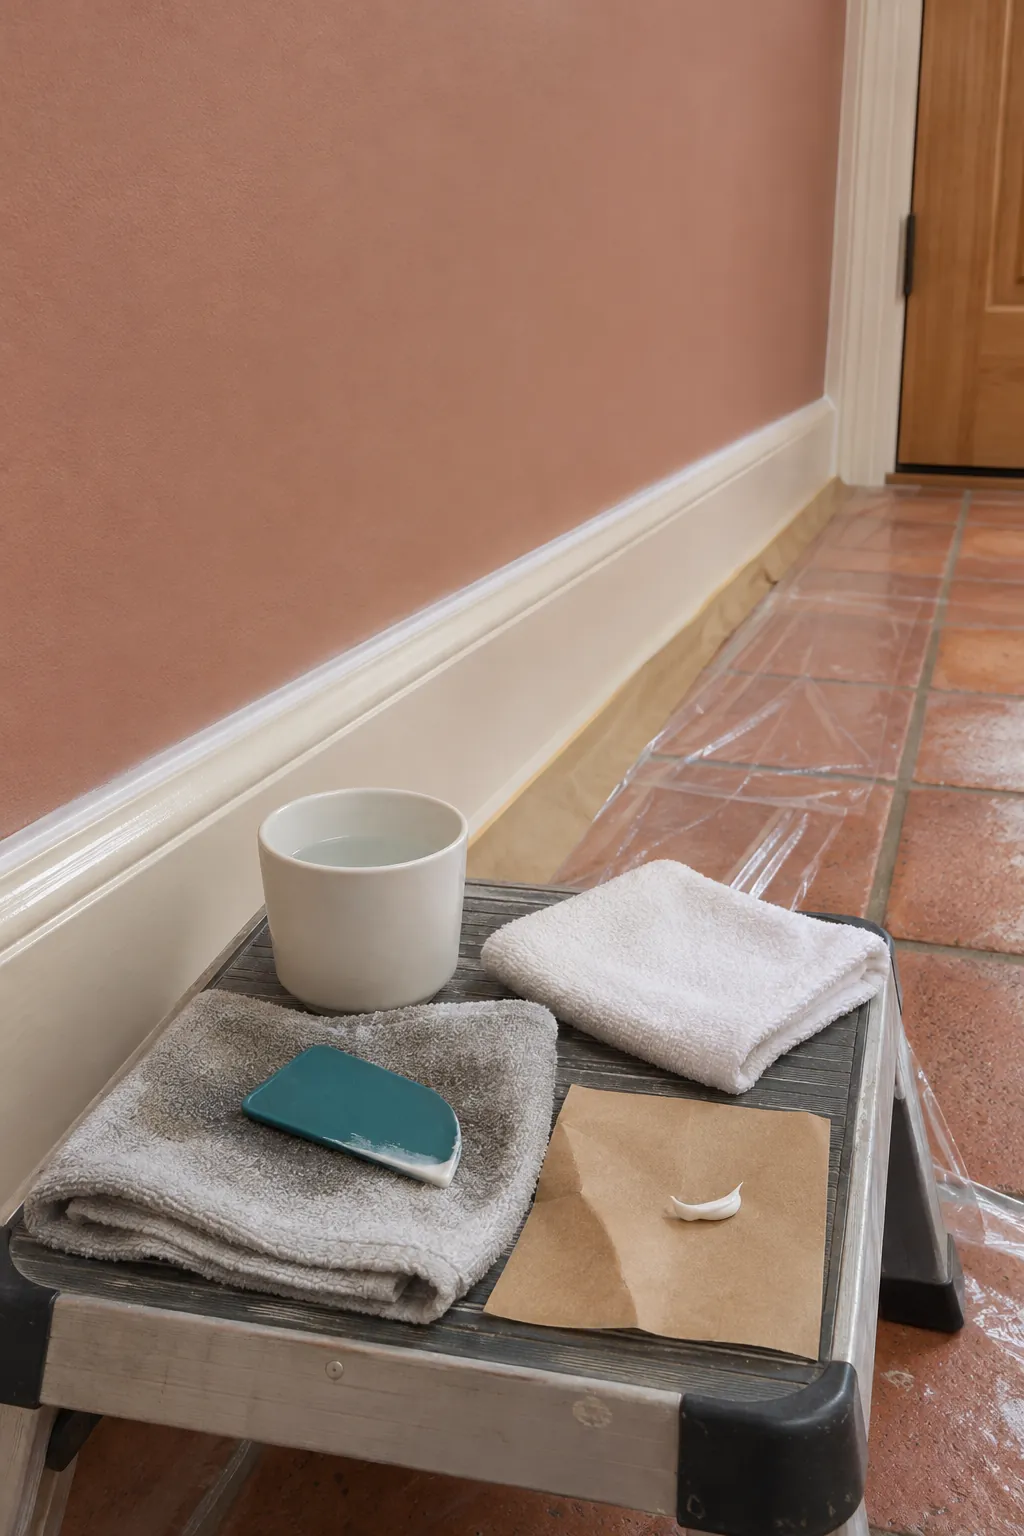
Smooth the joint without removing too much
Tool the bead immediately with a caulk finishing tool or a lightly damp clean finger when the product permits it. Use one continuous pass, then wipe excess onto a cloth rather than spreading it across the wall. The finished joint should bridge both edges with a shallow curve and no thin gaps.
Let the caulk cure before painting
Follow the label for curing and painting time because a dry skin can hide softer material below. Prime bare filler or repaired drywall beside the joint, then paint the wall and trim with clean edges. Check the line after seasonal temperature changes, since repeated separation can point to movement that needs more than another bead.