
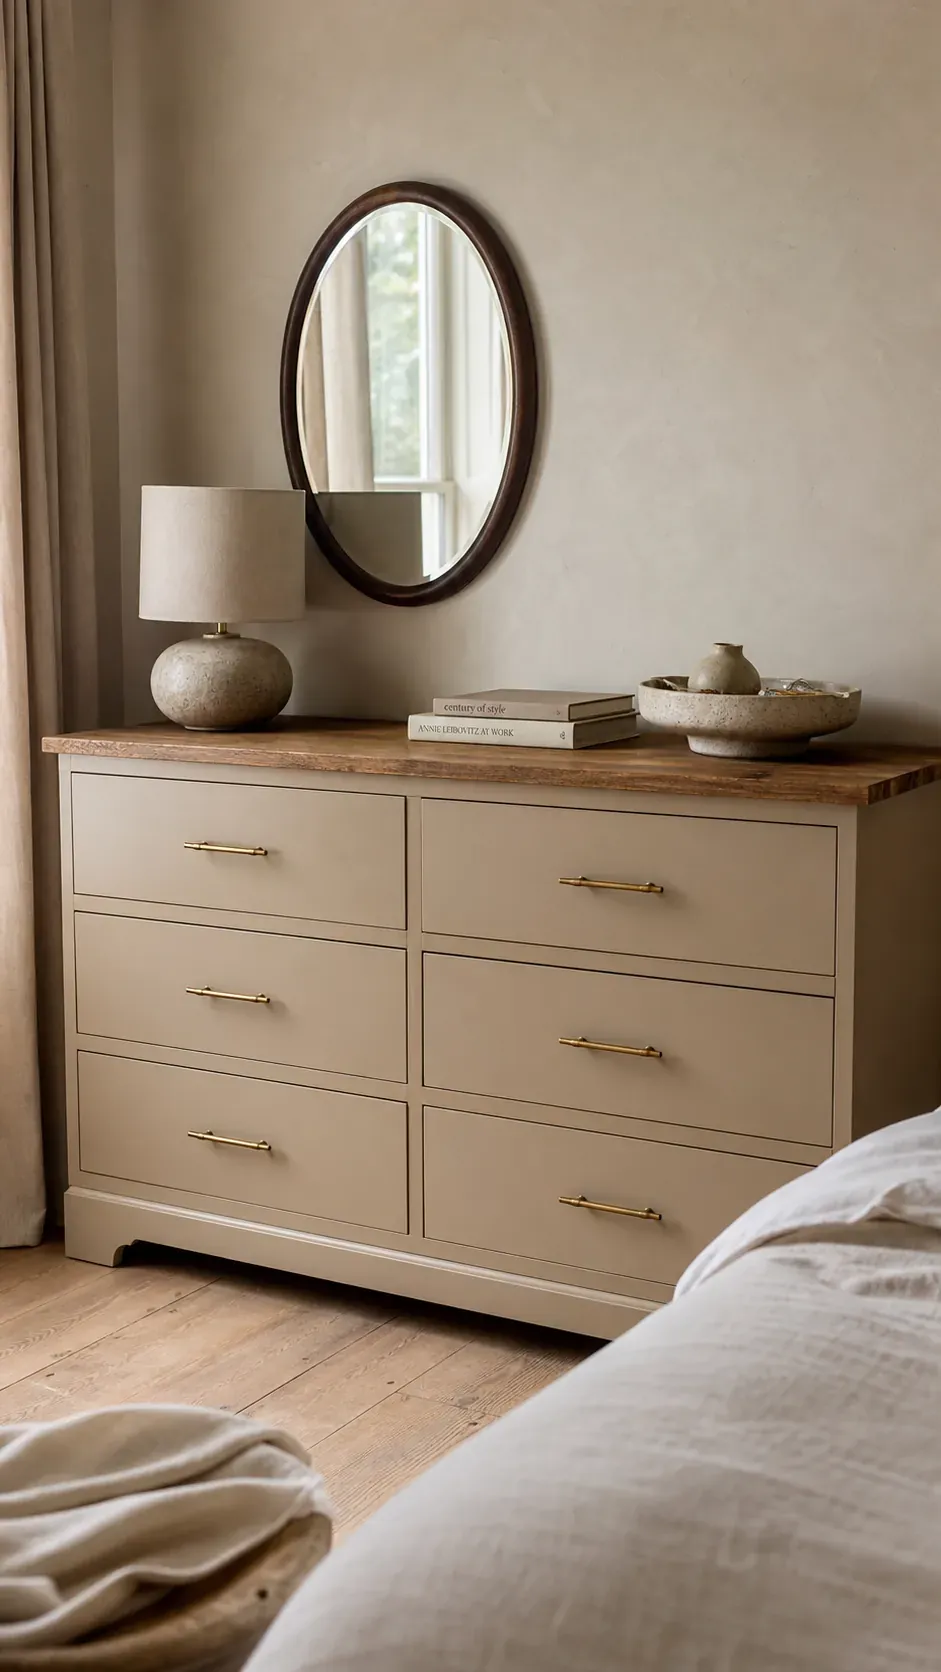
A beige dresser makeover can look quiet in a photo and still transform an entire room. The trick is choosing a beige with enough depth to feel intentional, then giving the piece the careful preparation and restrained details that separate a lasting furniture flip from a quick coat of wall paint. This guide walks through the decisions that matter most, including how to protect veneer, prevent sticky drawers, and combine paint with natural wood without making the finished dresser feel busy.
Identify the Surface Before You Reach for a Sander
Start by inspecting the top, sides, drawer fronts, and exposed edges separately. A dresser may mix solid wood, thin wood veneer, laminate, and fiberboard in one piece. Look at the back edge of the top and inside the drawer openings: repeating grain that ends at a thin seam usually indicates veneer, while a printed pattern or plastic-looking edge points to laminate. This diagnosis determines how aggressively you can prep the surface.
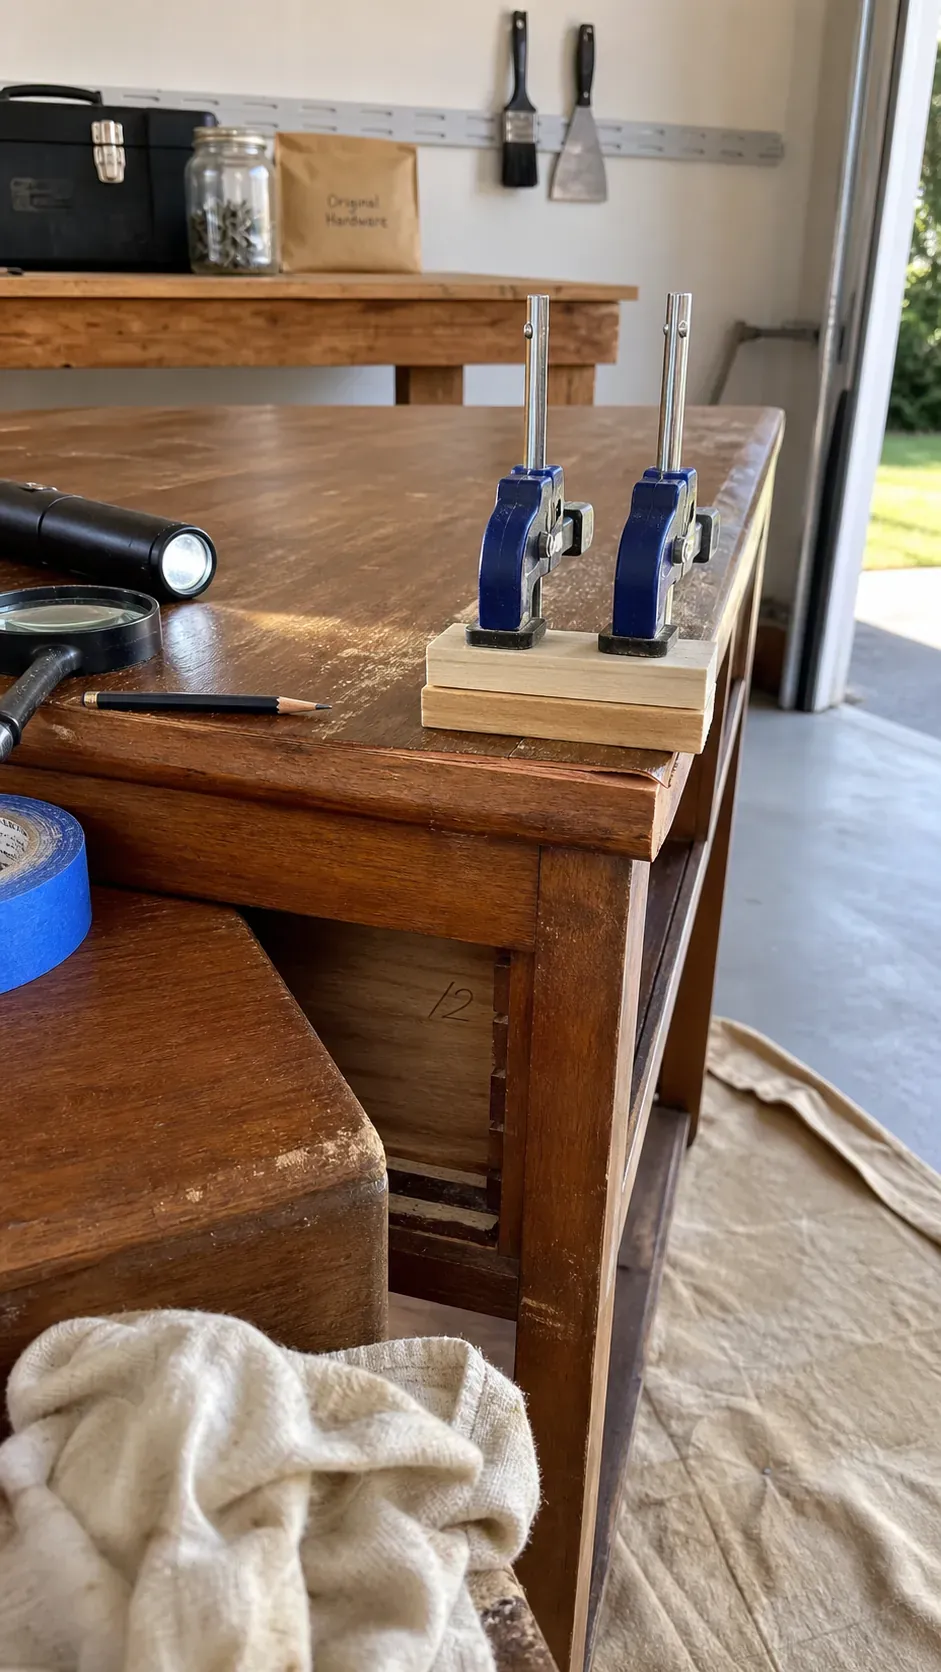
Do not assume every dark patch needs to be sanded away. On veneer, a coarse abrasive or tilted orbital sander can burn through the decorative layer before the color becomes even. If the old finish is thick, gummy, or loading the paper almost immediately, a suitable finish remover and careful scraping may be safer than prolonged power sanding. Test any stripper in a hidden area, follow its ventilation and protective-equipment instructions, and keep moisture away from loose veneer.
Before changing a potentially valuable vintage piece, check the maker, construction, and resale value. Paint is a sensible rescue for damaged, mismatched, or low-value surfaces, but a sound wood finish may deserve restoration instead. Once you know what you have, choose one clear direction: full beige paint, a two-tone dresser makeover, or beige paint paired with a preserved oak top or drawer fronts.
Choose a Beige That Belongs in the Room
“Beige” covers everything from pale oatmeal to deep mushroom. Hold several painted sample boards next to the flooring, wall color, bedding, and curtains at morning, afternoon, and night. A sample that looks balanced in daylight can turn yellow beside warm bulbs or unexpectedly pink next to a gray wall. Judge undertone before lightness. Warm beige works naturally with honey oak, rust, cream, and aged brass; taupe beige sits comfortably with stone, black, walnut, and cooler neutrals.
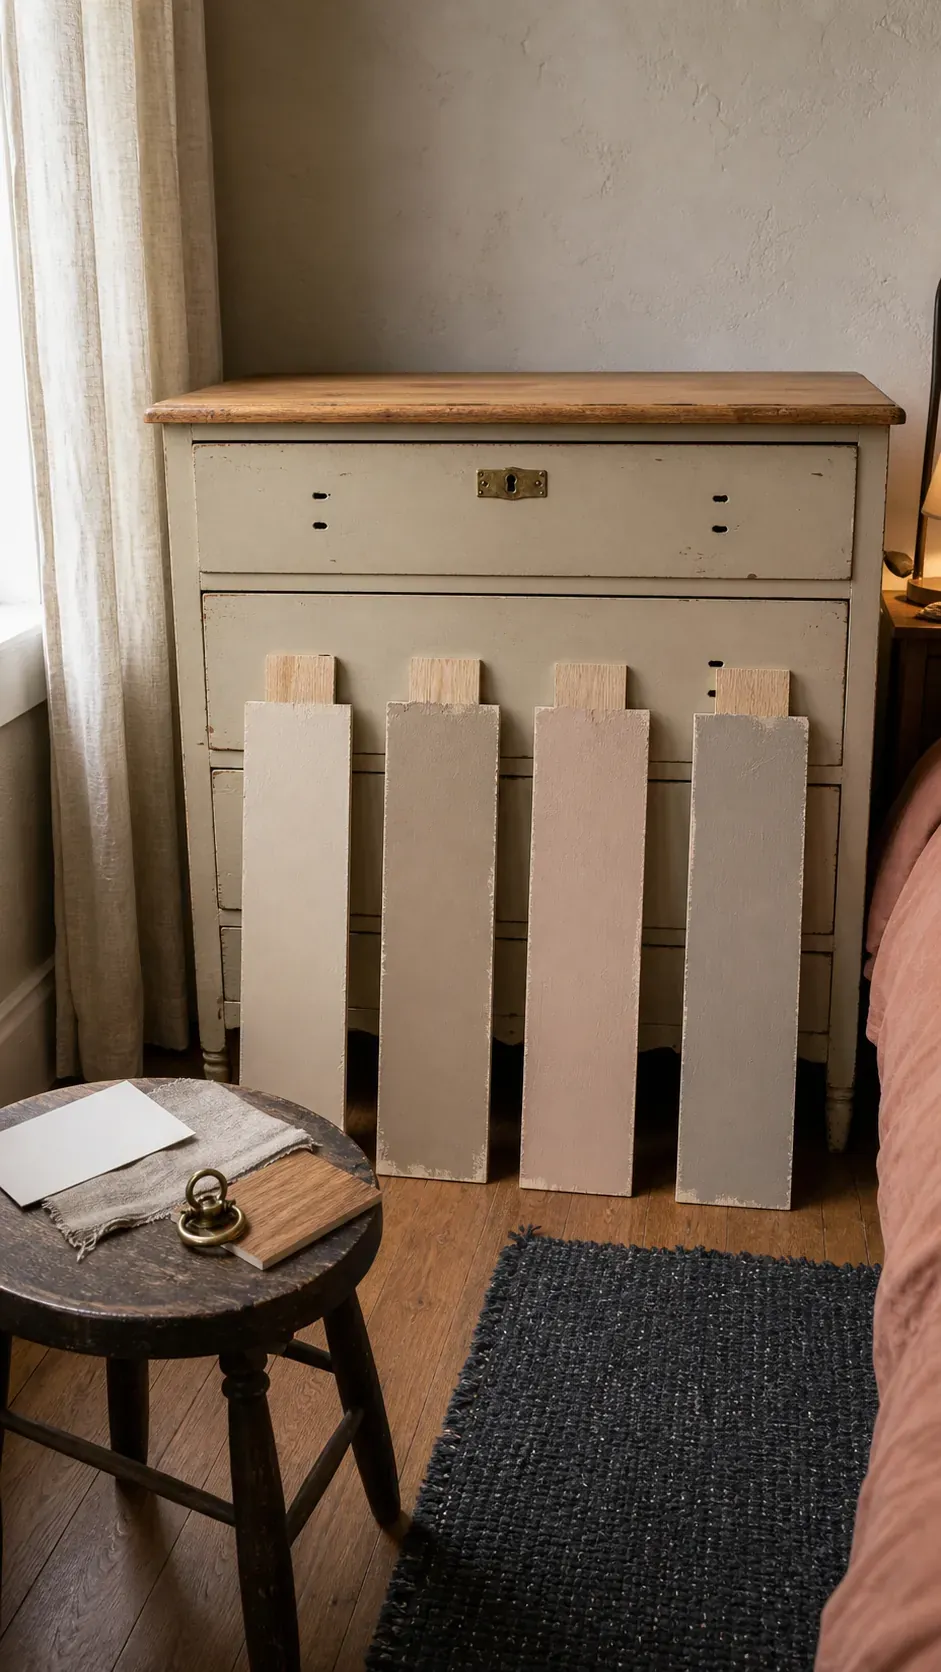
For a white dresser makeover that feels too stark, move only one or two steps darker toward putty or canvas rather than jumping to brown. For a calm, collected finish, use one body color and let the hardware or wood supply contrast. If you want a two-tone design, keep the division tied to the dresser’s construction—natural drawer fronts with a painted case, or a wood top above a painted body—so it looks designed rather than patched together.
Make a final test on the actual dresser after cleaning and priming. Paint chemistry, primer color, and the original substrate can shift the result. A patch behind a drawer gives you a realistic preview without committing the visible face.
Repair, Clean, and Scuff for Reliable Adhesion
Remove the drawers and hardware, then label each drawer opening with low-tack tape. Old dressers are rarely perfectly interchangeable. Vacuum dust from joints and wipe away wax, oil, polish, and kitchen residue with a cleaner appropriate for the existing finish. Follow with the cleaner manufacturer’s recommended rinse and allow the piece to dry fully. Painting over invisible furniture polish is a common reason a beautiful finish scratches off later.
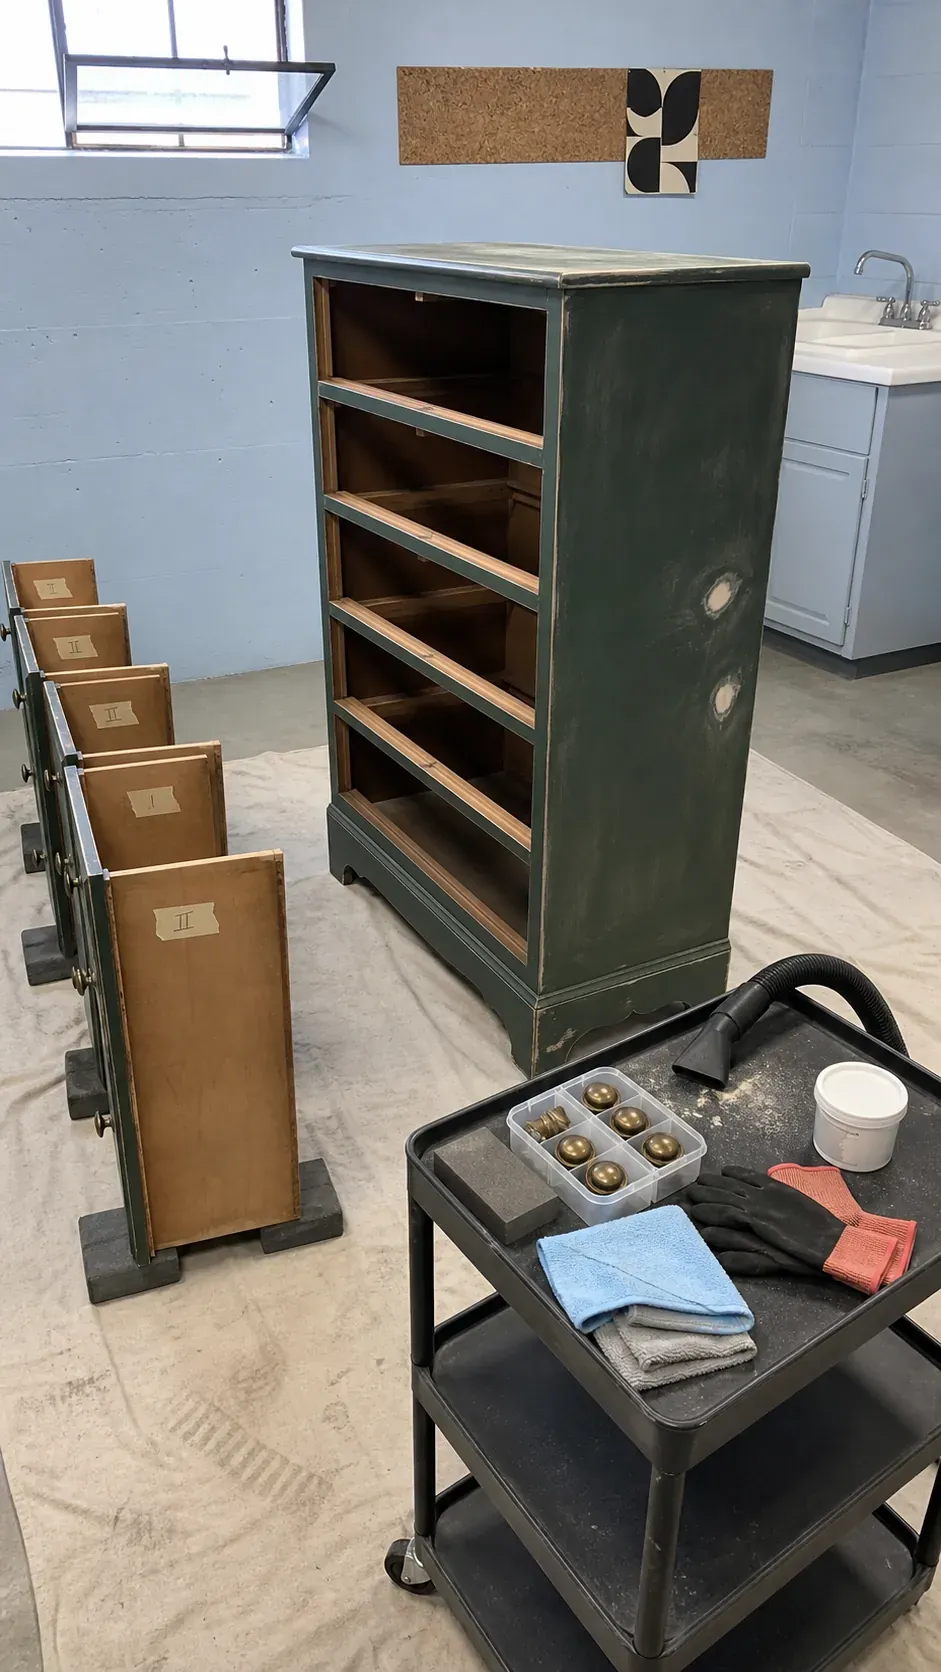
Glue loose veneer before filling chips. Repair dents and unwanted hardware holes with a filler compatible with paint, let it cure, then sand the repair level using a block. Scuff intact finishes just enough to remove gloss and create a uniform key; you do not need to expose bare wood everywhere. Hand-sand moldings and edges where a power tool can quickly erase detail.
Prime when the surface is glossy, unknown, stain-prone, repaired, or made from laminate. A bonding primer helps paint grip; a stain-blocking primer controls tannin and old dye bleed. They solve different problems, so choose based on the test patch. If brown or pink marks return through the first coat, stop and seal them rather than burying them under more beige paint. Sand the dry primer lightly and remove every trace of dust before color.
Apply Thin Coats for a Furniture-Grade Finish
A durable cabinet or furniture enamel is usually more forgiving than ordinary wall paint on a hardworking dresser. Stir gently, pour a manageable amount into a tray, and work one surface at a time. Use a quality angled brush in corners and profiles, then level broad faces with a fine foam or microfiber roller while the paint is still open. Two or three thin coats beat one heavy coat. Heavy paint collects around drawer openings, softens crisp edges, and stays vulnerable far longer.
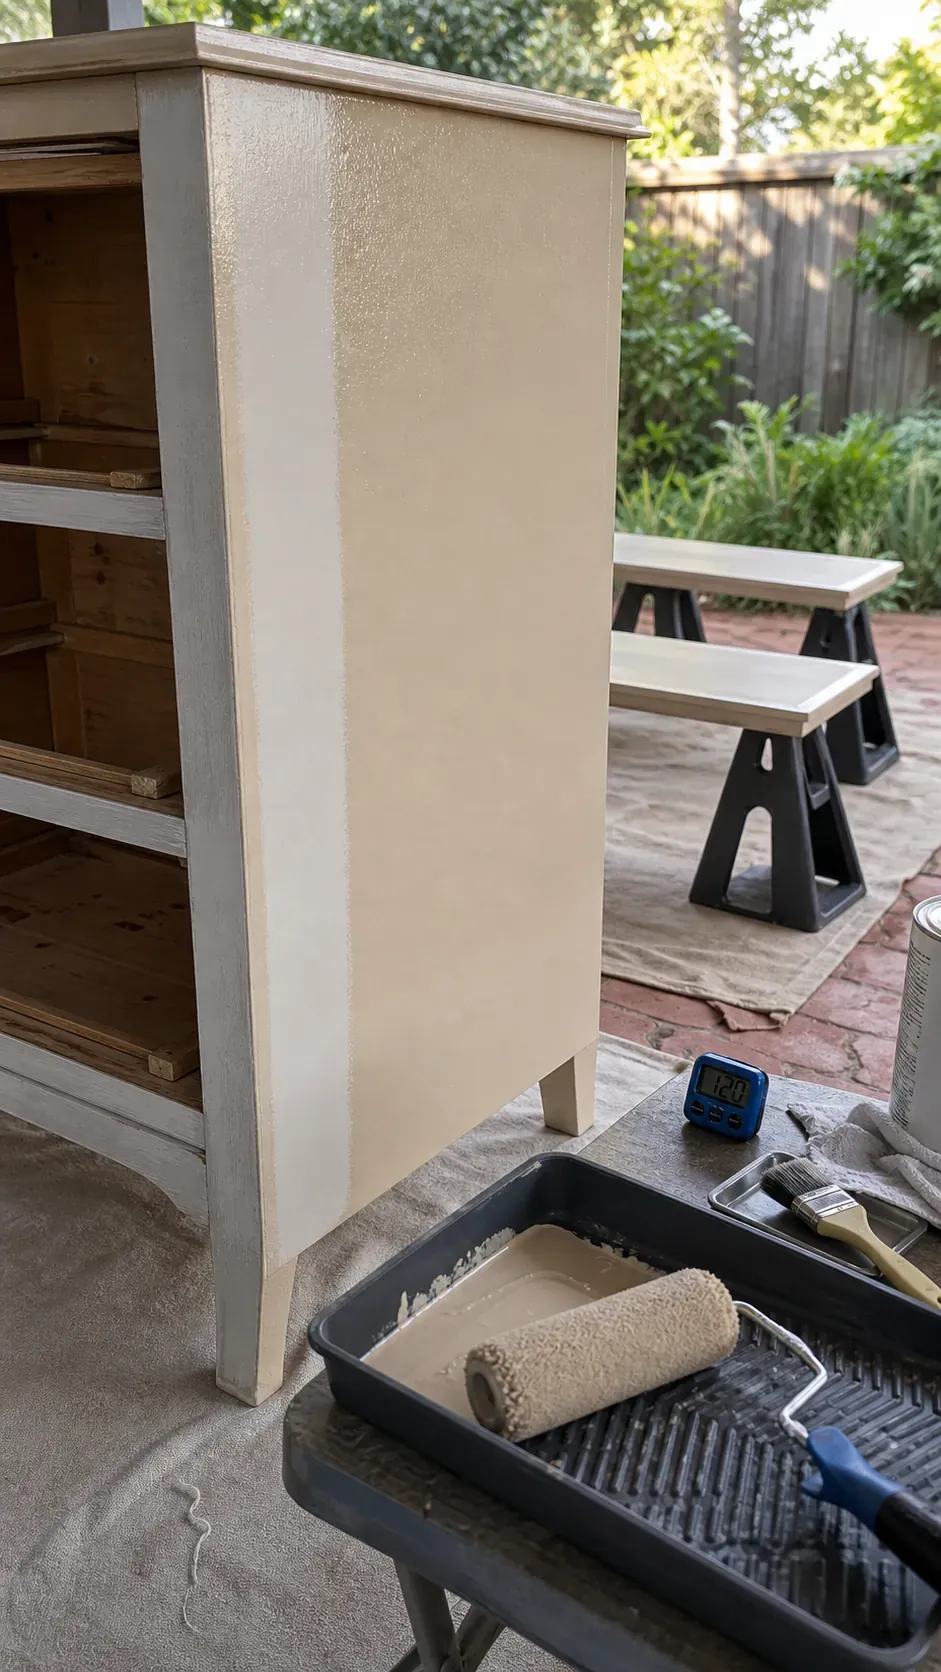
Follow the product’s recoat time rather than touching the surface and guessing. Between coats, remove dust nibs with a very fine abrasive only after the paint is firm enough to powder instead of rolling into soft crumbs. Keep a wet edge, but do not repeatedly brush paint that has started to set. That is how a smooth taupe dresser turns into a field of ridges.
Paint the drawer fronts and only the areas of the boxes that were finished originally. Thick paint on drawer sides, runners, or the inside edges of openings reduces clearance and can make drawers bind. If your chosen enamel is rated for furniture and cures hard, an extra clear coat may be unnecessary. If the system calls for protection, use a compatible non-yellowing topcoat and test it over the exact beige first.
Use Wood and Hardware as the Contrast
The most convincing dresser flips before and after often preserve something that gives the original piece character. An oak dresser makeover can keep a sound oak top while calming a damaged base with beige. Drawer fronts with attractive grain can remain natural against a painted case. Repeat the wood tone somewhere nearby—a mirror frame, basket, or lamp base—so the contrast feels connected to the room.
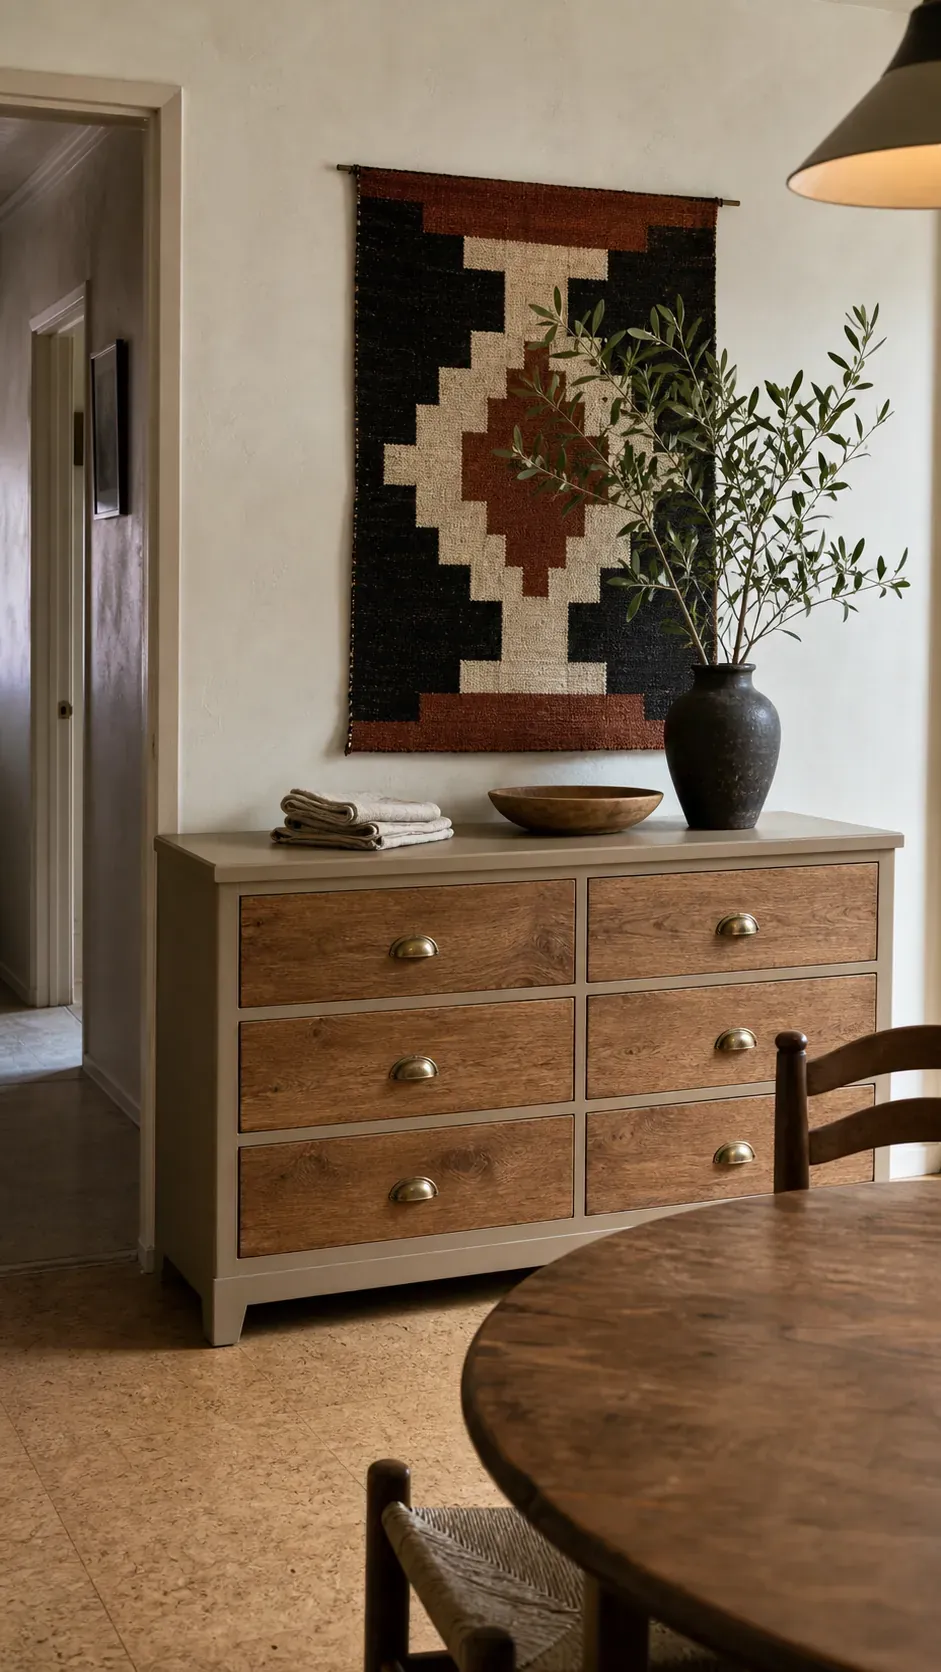
Original hardware can be cleaned and reused if its scale suits the dresser. New pulls make sense when the old set is incomplete or visually heavy, but measure the hole spacing before shopping. Reusing existing holes avoids unnecessary filling and drilling. Aged brass warms mushroom and oatmeal paint; matte black sharpens a pale beige; wood knobs create a softer, handmade effect.
Limit the makeover to two dominant finishes and one metal. Beige, oak, and aged brass read as a coherent palette. Beige, white, black, gold, raw wood, and patterned liner all competing on one dresser dilute the shape of the piece. Restraint is what lets the subtle paint color look sophisticated.
Let the Finish Cure Before Everyday Use
Dry paint is not the same as cured paint. Reinstall hardware gently after the manufacturer’s minimum handling time, but avoid tightening pulls so hard that they twist into the new surface. Keep drawers slightly open if the product guidance allows, and do not place heavy decor, felt pads, baskets, or lamps on the top until the finish has developed enough hardness to resist impressions.
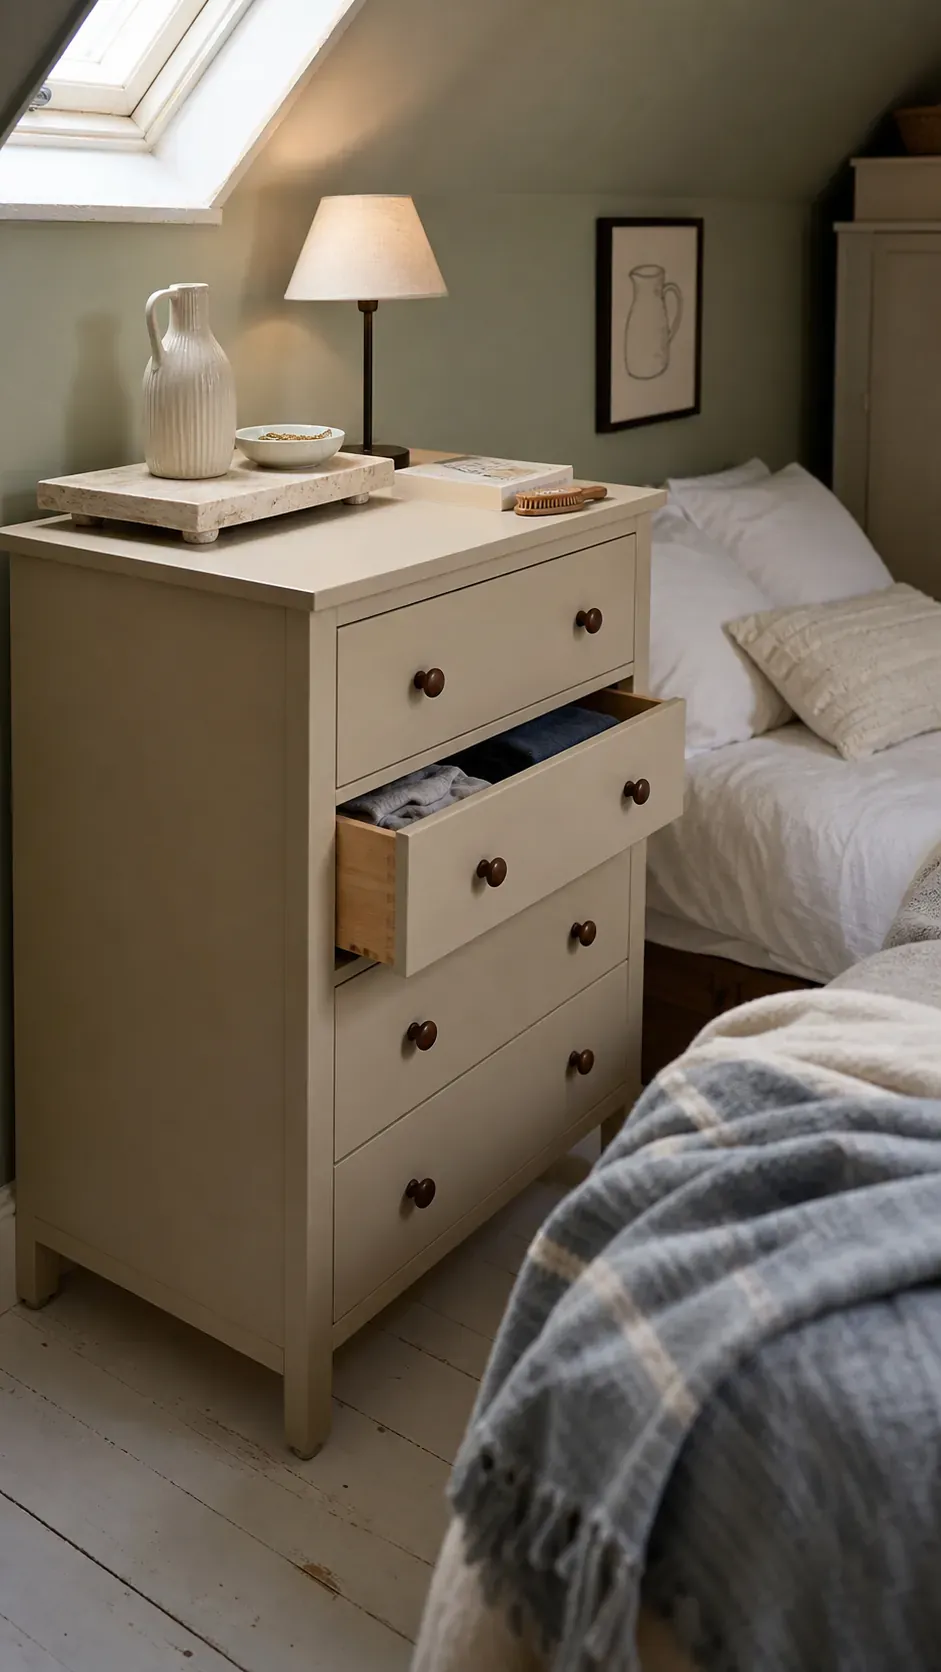
Test every drawer before loading clothing. If one rubs, identify the exact contact point instead of forcing it and peeling the paint. Paint buildup at an opening can often be corrected with careful localized sanding once the finish is fully hard. Keep a small labeled jar of the final paint for future chips, and note the primer and topcoat used so a repair remains compatible.
The best beige dresser makeover does not depend on an elaborate technique. It comes from reading the original piece correctly, choosing an undertone in the room where it will live, and allowing each layer enough time to do its job. That patience is almost invisible in the final photograph, but it is what keeps the drawers moving and the finish looking good long after the before-and-after moment.