
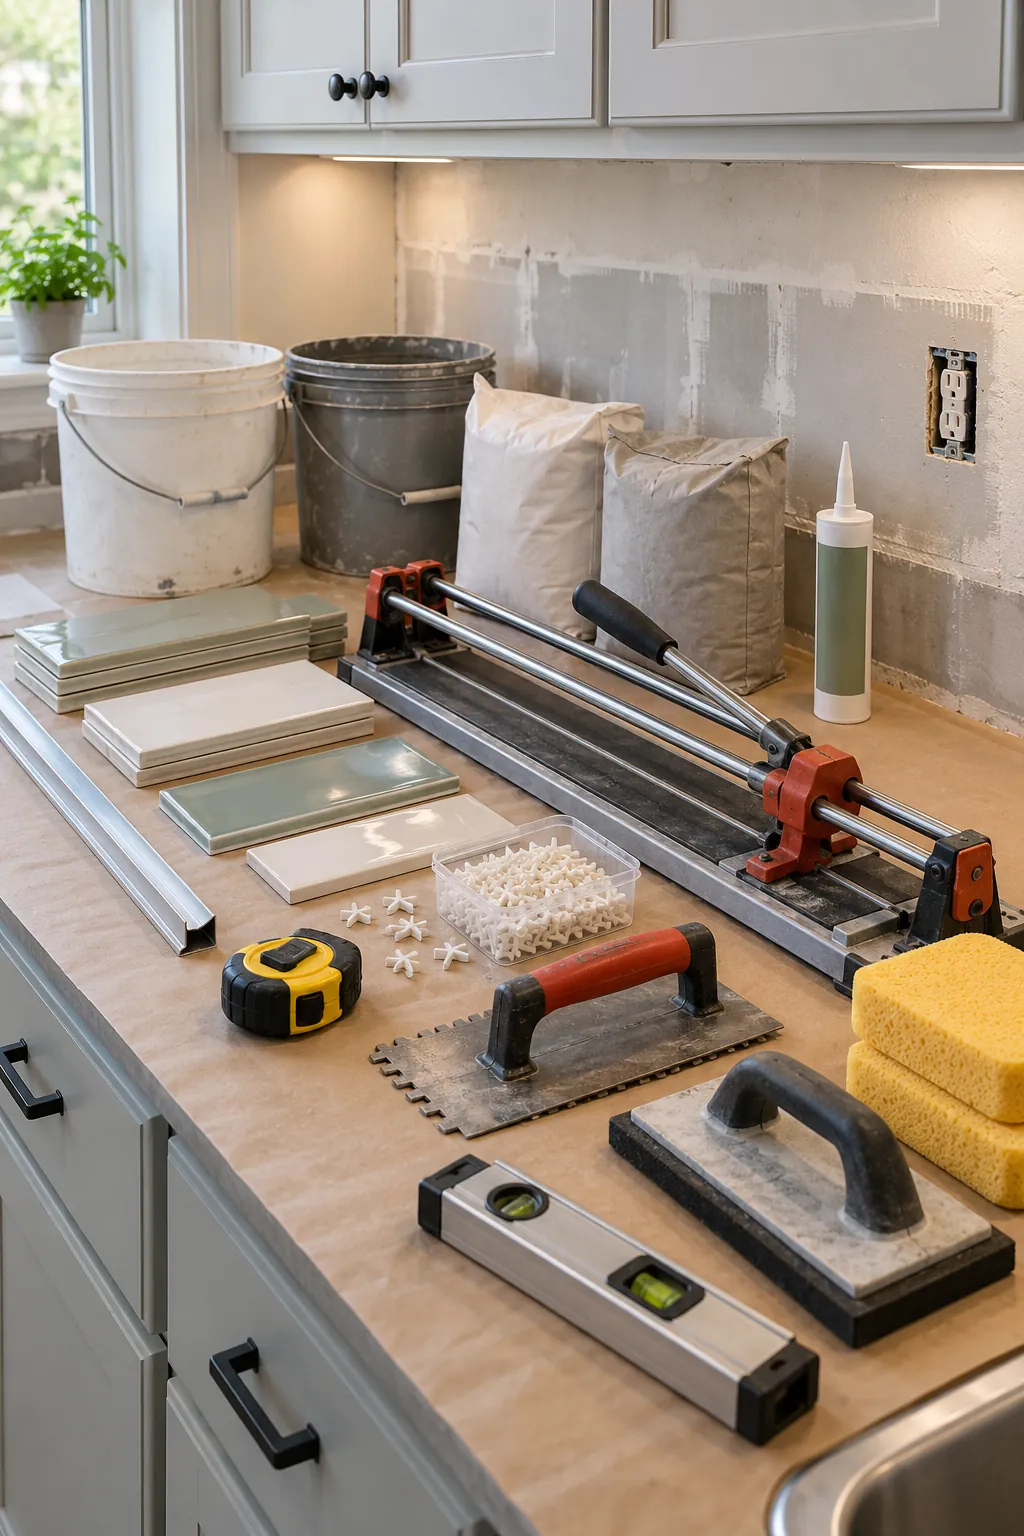
The tile is usually the easiest item to remember. The overlooked purchases are what interrupt a backsplash project: the right adhesive, enough spacers, a finished edge, color matched caulk, or a cutter that can handle the chosen material. A reliable shopping plan starts with the wall, the tile, and the layout, because those decisions determine almost everything else.
Use the printable checklist below as a store list and a project setup guide. It covers a standard tile installation and flags products that depend on your surface or tile. Read the package instructions for every setting material, grout, primer, and sealer, since compatibility matters more than a familiar brand name.
Download the backsplash shopping checklist
Mark the planning items before you shop, then check each material and tool you actually need. The list includes optional products, so do not buy primer, sealer, or a wet saw until the tile and wall conditions call for them. Click the preview to open the full size image, or use the download button to open it in a new tab and save it from there.
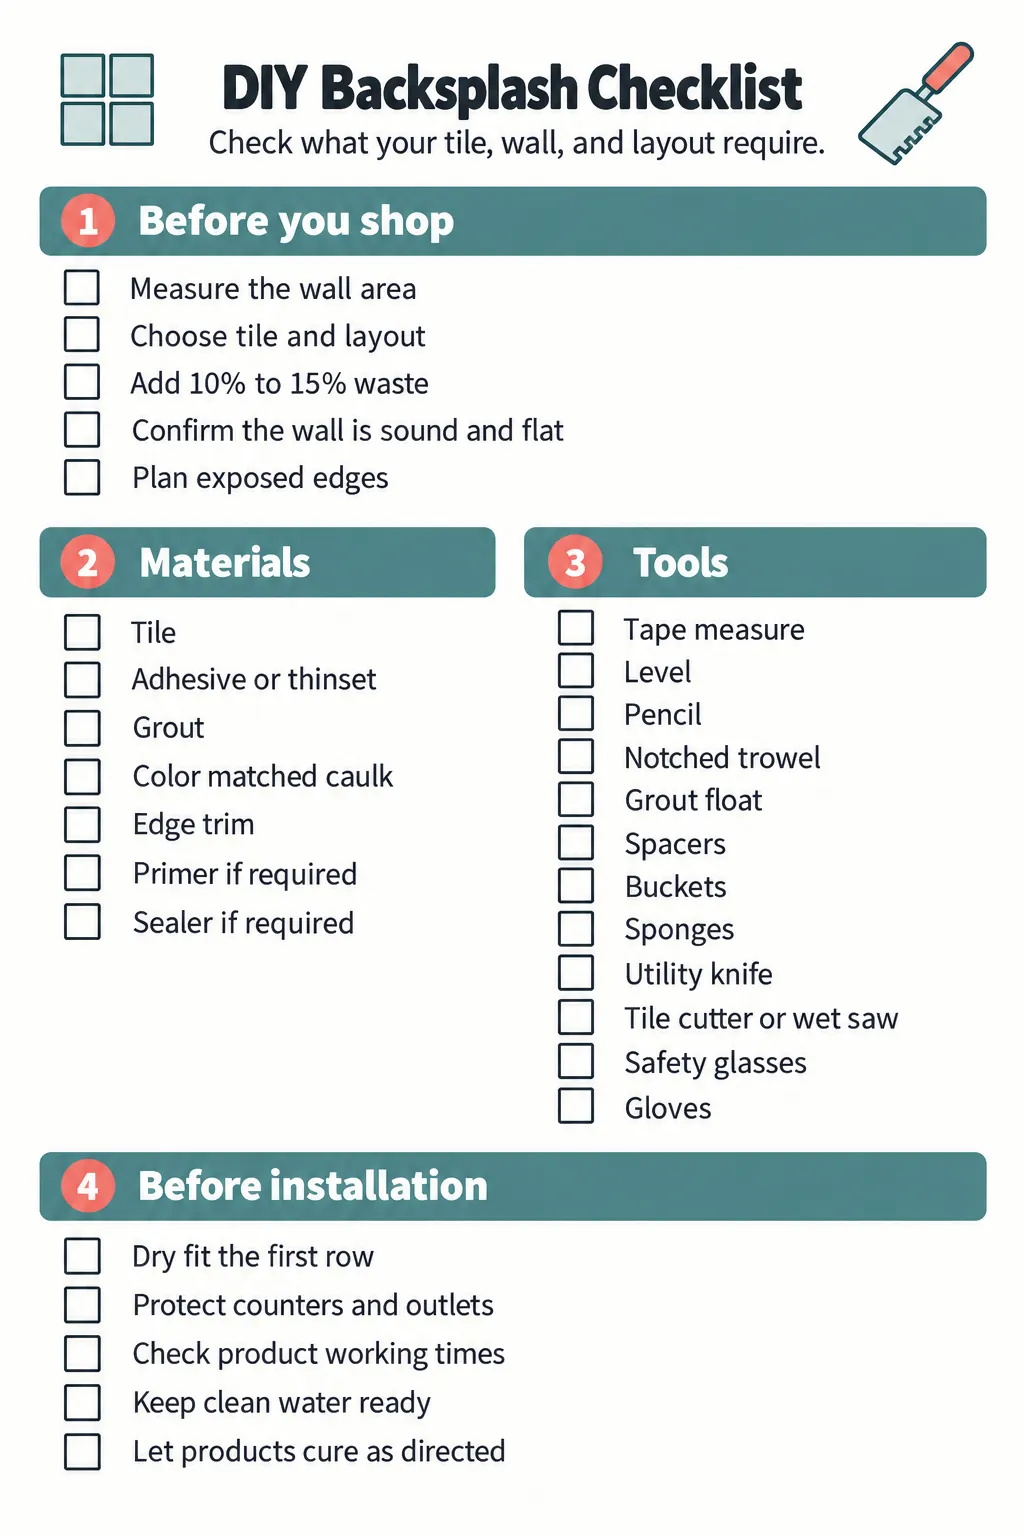
Download high-resolution printable
Choose the tile before you choose the supplies
Ceramic, porcelain, glass, natural stone, and peel and stick products do not use one universal supply list. Tile thickness affects edge trim. Tile size affects trowel choice and setting material coverage. Natural stone may need sealer, while some glass tile needs a bright white setting material so its color does not look dull.
Confirm the wall area, then add waste before buying. Ten percent often suits a straight layout with simple cuts. Fifteen percent gives more room for a diagonal pattern, herringbone, many outlets, fragile tile, or strong color variation. Buy cartons from the same production lot when matching shade and size matters.
Match adhesive or thinset to the wall and tile
Premixed tile adhesive can be convenient for some small ceramic backsplash projects in dry areas. Cement based thinset is mixed with water or an approved additive and suits a wider range of tile and conditions. The correct choice depends on tile material, tile size, wall surface, moisture exposure, and the product manufacturer’s limits.
Do not choose only by price or ease of mixing. Check that the setting material is approved for both the tile and the prepared wall. Use the specified notched trowel so the ridges provide suitable coverage without forcing excess material into the joints. Buy enough from the coverage estimate on the package, then allow for surface variation and normal handling loss.
Buy grout, caulk, trim, and surface products together
Grout fills the joints between tiles. Flexible color matched caulk belongs at changes of plane, such as the joint between the backsplash and counter or an inside corner. Using rigid grout in those moving joints can lead to cracking, so include both products when the design calls for them.
Choose edge treatment before installation begins. A metal profile, bullnose piece, pencil trim, or carefully planned tile edge can finish an exposed side. Measure the total exposed length and check the required trim depth against the tile thickness plus setting material.
Primer, patching compound, and sealer are conditional purchases. A sound, clean, flat wall may need little preparation, while damaged drywall or a glossy painted surface may need additional work. Some natural stone and cement grout products need sealing. Follow the exact product directions rather than adding a sealer automatically.
Choose a cutter for the cuts you actually have
A manual tile cutter is quiet, quick, and useful for many straight cuts in suitable ceramic and some porcelain tile. It does not make every narrow cut, notch, or curved opening. A wet saw can handle more materials and detailed cuts, but it costs more, needs a safe work area, and takes time to set up and clean.
Map the outlets, corners, cabinet edges, and final row before choosing. If the layout needs only simple straight cuts, a manual cutter may be the budget choice. If it needs hard porcelain cuts, notches, or many precise pieces, compare wet saw rental with purchase. A drill fitted with the appropriate hole saw may be needed for a pipe penetration, but only when the tile and cut location allow it.
Keep the essential hand tools simple
A tape measure, level, pencil, notched trowel, grout float, spacers, buckets, and clean sponges cover the core work for many tile backsplashes. Add a straightedge, utility knife, mixing paddle, margin trowel, and tile nippers when the materials and layout require them. Use clean tools for grout so dried setting material does not scratch the tile or contaminate the finish.
Tile leveling clips are not automatically necessary on a backsplash. They may help with larger tile or a demanding layout, but they add cost and cannot correct a wall that is not flat. Basic spacers and careful checking with a level can be enough for small, consistent tile.
Prepare protection and safety supplies
Protect the counter, sink, cooktop, and cabinet faces before opening adhesive or grout. Use a sturdy covering that will not slide under tools. Turn off power to the work area before removing outlet covers, and arrange any required outlet extensions so devices sit correctly after the new tile adds thickness.
Wear safety glasses during cutting and gloves when product instructions call for them. Manage dust according to the tool and material guidance. A wet saw also needs a stable location, controlled water, safe power, and enough clear space to support the tile.
Set up the project before opening materials
Dry fit the first row and identify the most visible focal line. Check how cut pieces will land at both ends and around outlets. Adjusting the starting point now can prevent a narrow sliver at an edge and can reduce wasted tile.
Place tools in the order you will use them, keep clean water separate from mixing water, and reserve fresh sponges for grout cleanup. Confirm working time and curing time before mixing anything. The checklist is most valuable at this moment: one final scan can prevent a rushed store trip while adhesive is already open and the kitchen is covered for work.