
The most satisfying bathroom-cleaning videos often begin with a dramatic fizz. The trouble is that fizz is not proof that grime is being removed. Vinegar and baking soda are useful, inexpensive cleaners when used for the right jobs, but combining them immediately makes both less effective. A better DIY routine starts by identifying the mess—soap scum, mineral scale, body oils, mildew staining, or ordinary dust—then matching it with the mildest cleaner that can actually loosen it.
These DIY bathroom cleaning hacks are designed for real homes: small rooms, limited storage, busy mornings, and surfaces you do not want to damage. You will need only a few supplies, but you will use them with more precision than the typical homemade bathroom cleaner recipe.
Build a small cleaning kit that prevents cross-contamination
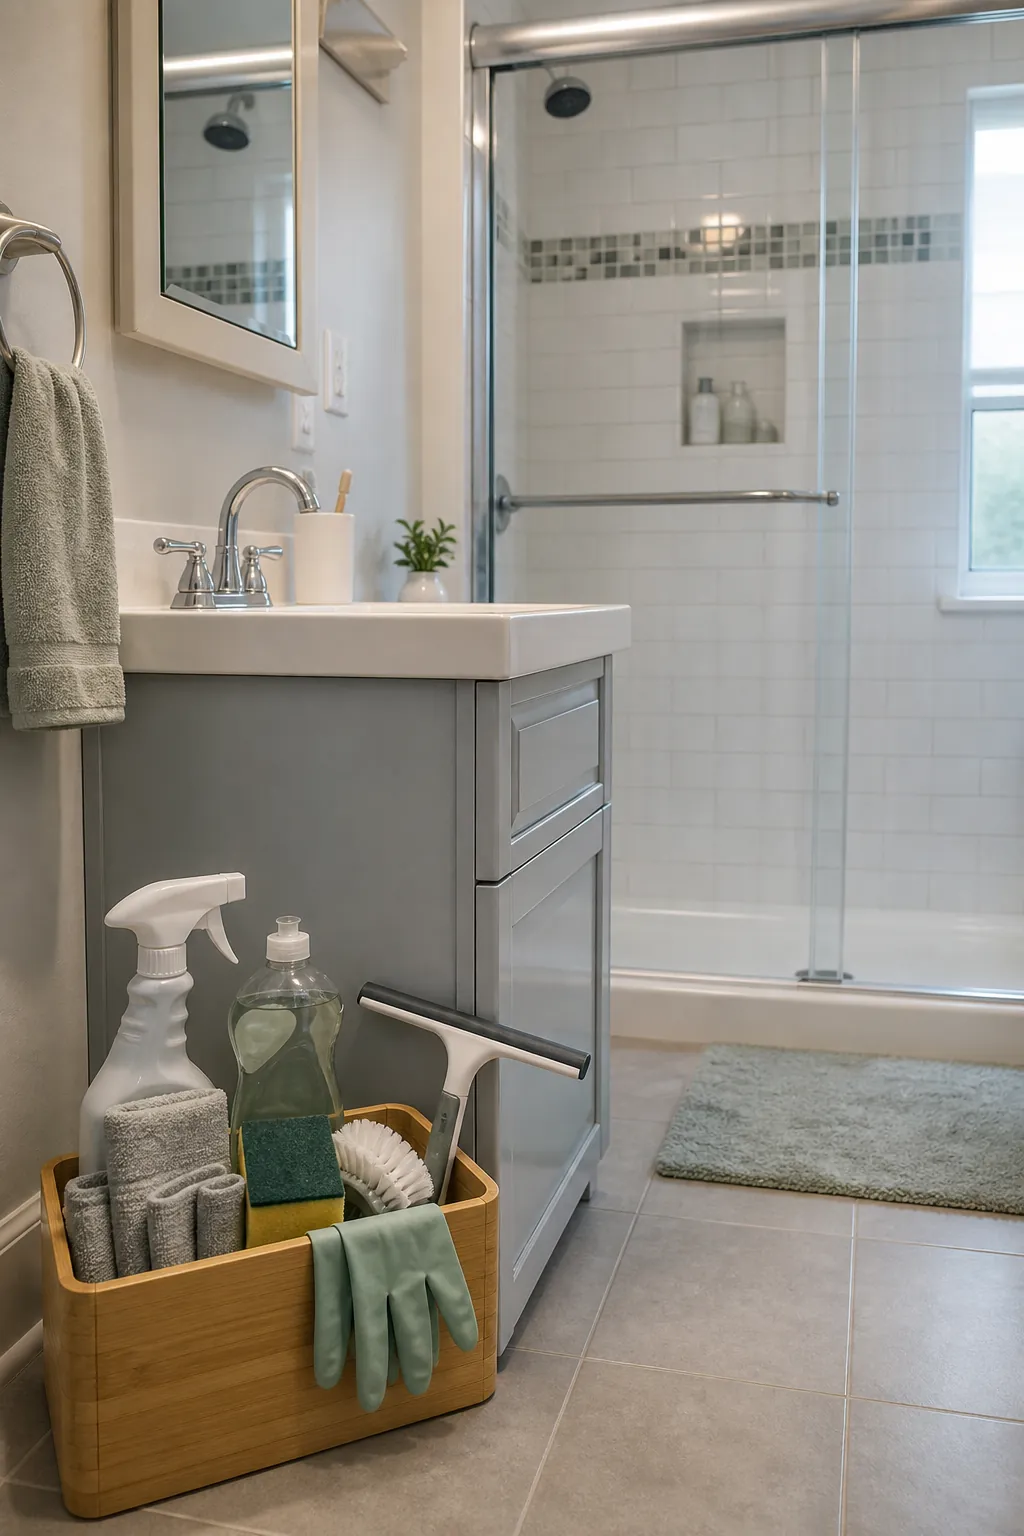
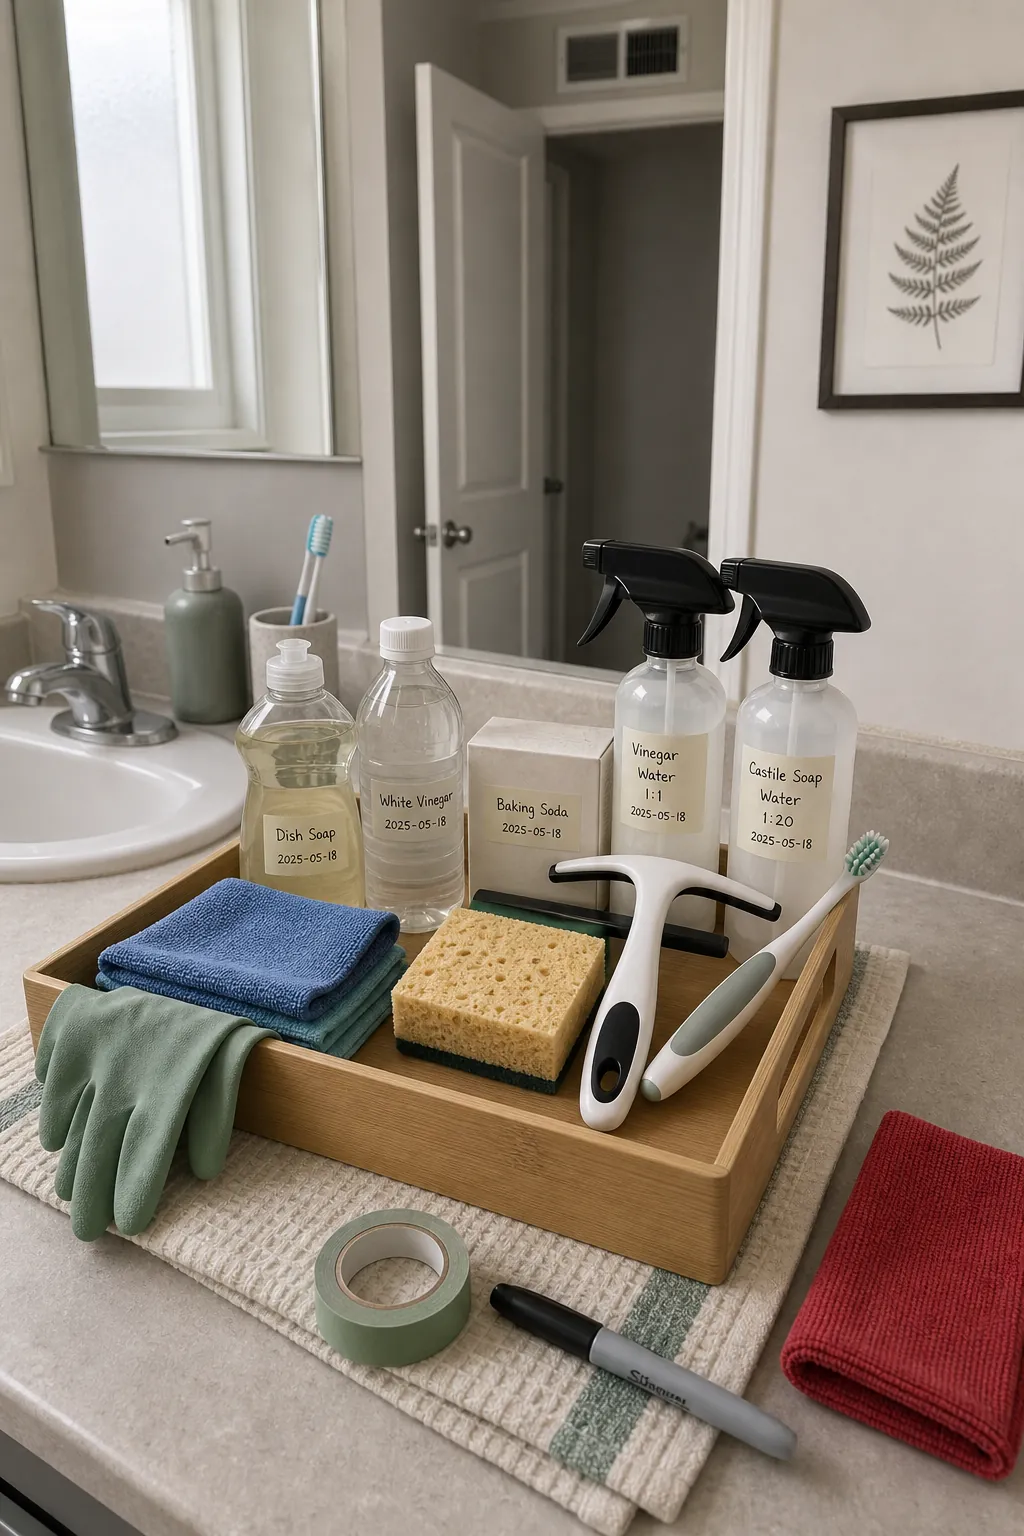
Keep a bathroom-only caddy with dish soap or a mild neutral cleaner, white vinegar, baking soda, microfiber cloths, a non-scratch sponge, an old toothbrush, a small squeegee, gloves, and clearly labeled spray bottles. Assign one cloth to the toilet and another color to the sink and shower. This simple separation matters more than collecting a dozen DIY cleaning products.
- Dish soap loosens body oils and greasy residue.
- Vinegar helps dissolve mineral film on acid-safe surfaces.
- Baking soda works as a mild abrasive paste when mixed with water.
- Microfiber and a squeegee remove loosened soil instead of merely moving it around.
Label every homemade solution with its ingredients and date. Mix only a small amount, and never transfer cleaners into beverage containers. Open the door or window and run the exhaust fan before you begin.
Let dish soap do the first pass on shower film
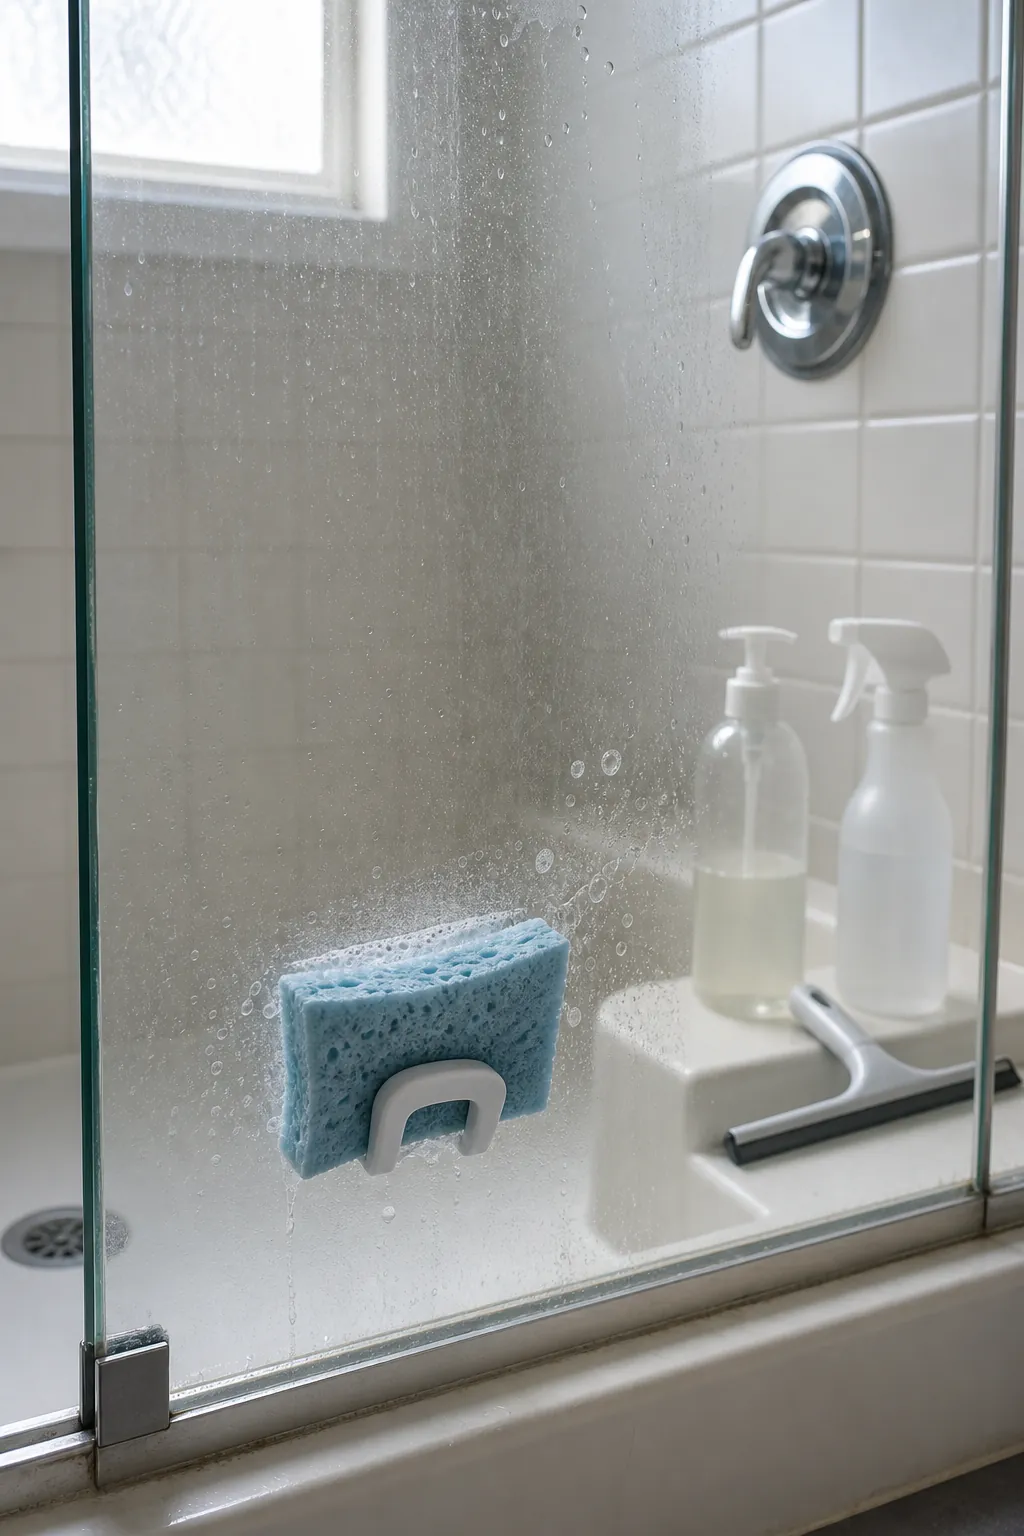
Soap scum is not just “dirt.” It is a stubborn blend of soap residue, skin oils, and minerals. Start with a few drops of dish soap in warm water. Apply it to shower glass or glazed tile with a damp non-scratch sponge, allow five to ten minutes of dwell time, then agitate and rinse. Dwell time replaces frantic scrubbing; the cleaner needs time to get between the residue and the surface.
If mineral haze remains on acid-safe glass or ceramic tile, follow with a separate 1:1 solution of white vinegar and water. Test a hidden area first. Do not use vinegar on natural stone, marble, travertine, limestone, cement grout that is unsealed or deteriorating, or any finish whose manufacturer warns against acids. Never combine vinegar with bleach.
Use a vinegar-soaked cloth for hard-water spots—not a faucet bath
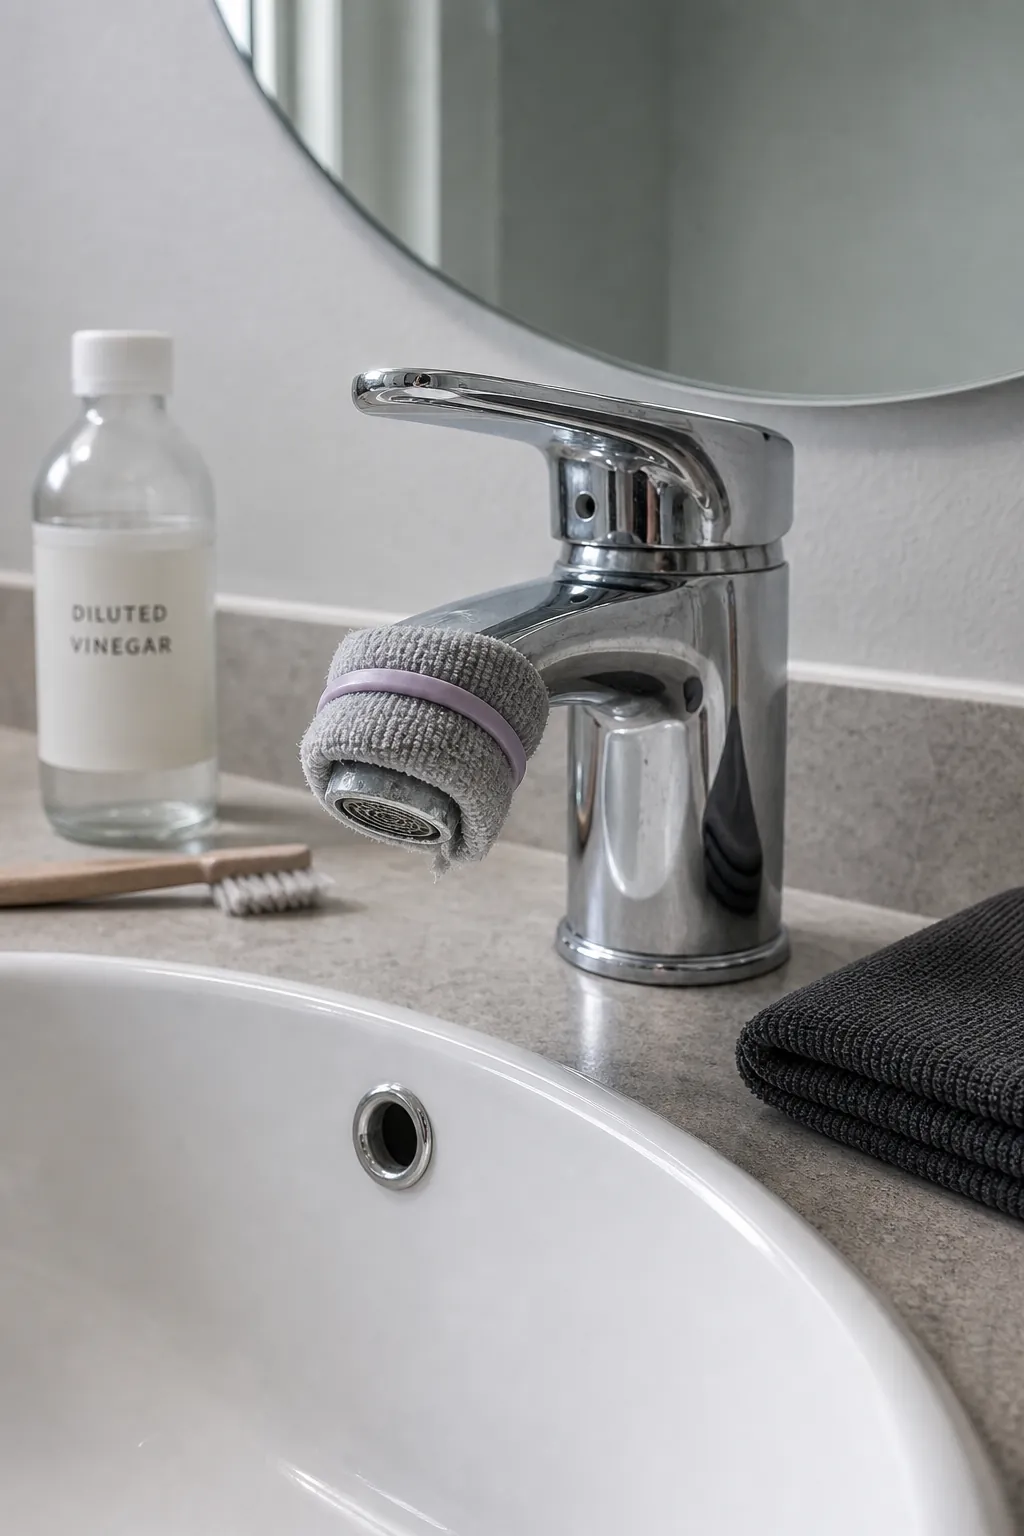
For white mineral crust on an acid-safe chrome faucet, wet a cloth with diluted vinegar and lay it only over the affected spot for a few minutes. Remove it, wipe gently with a soft toothbrush, rinse thoroughly, and dry. Avoid long soaks: acid can reach seams, plated finishes, stone counters, and vulnerable internal parts. Check the fixture maker’s care guide first, especially for matte black, brass, gold-tone, or specialty finishes.
The drying step is the real home cleaning hack. Water droplets leave minerals behind as they evaporate. A small microfiber cloth kept near the sink can prevent most of the next round of scale in less than a minute.
Clean grout with controlled moisture and a soft brush
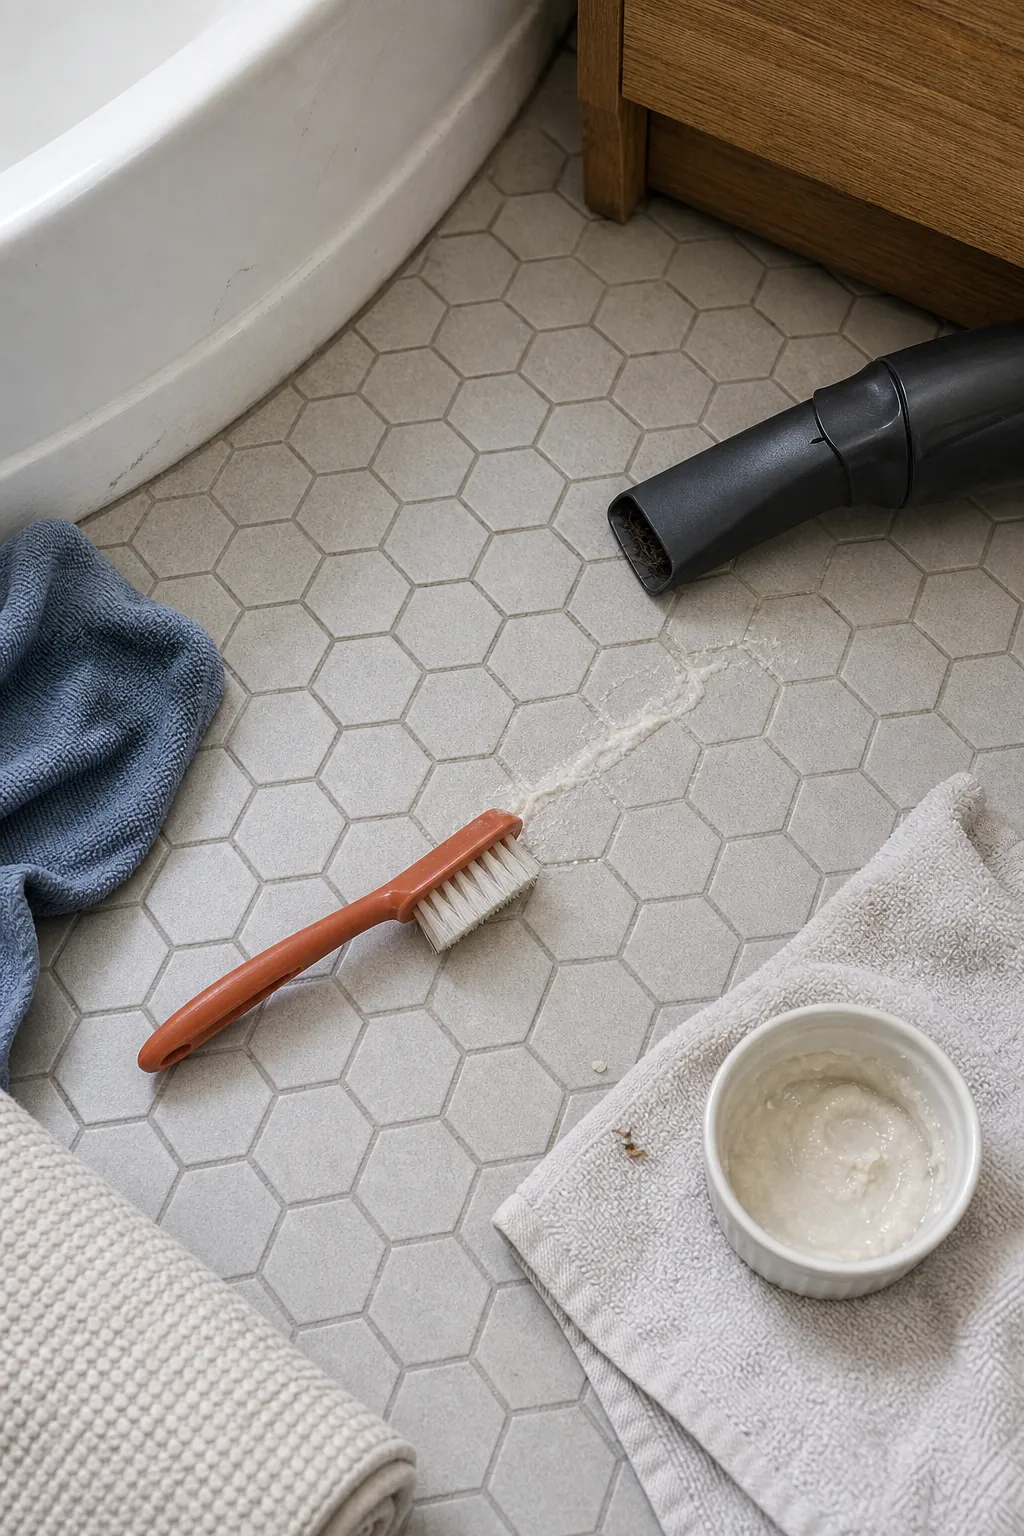
Vacuum or sweep first so hair and dust do not turn into mud. Make a spreadable paste from baking soda and a small amount of water, apply it to intact ceramic-tile grout, and scrub lightly with a nylon brush. Rinse well, because leftover baking soda dries as a white film. On colored, cracked, soft, or natural-stone grout, test first and follow the installer’s maintenance instructions.
Dark spots that return quickly may signal persistent moisture rather than a scrubbing failure. Improve ventilation, dry wet edges, and repair failed caulk or leaks. Cleaning cannot fix water trapped behind a finish. If growth is extensive, the material is damaged, or anyone in the home is sensitive to mold, seek qualified help instead of repeatedly soaking the area with stronger chemicals.
Clean the toilet from the least dirty area to the most dirty
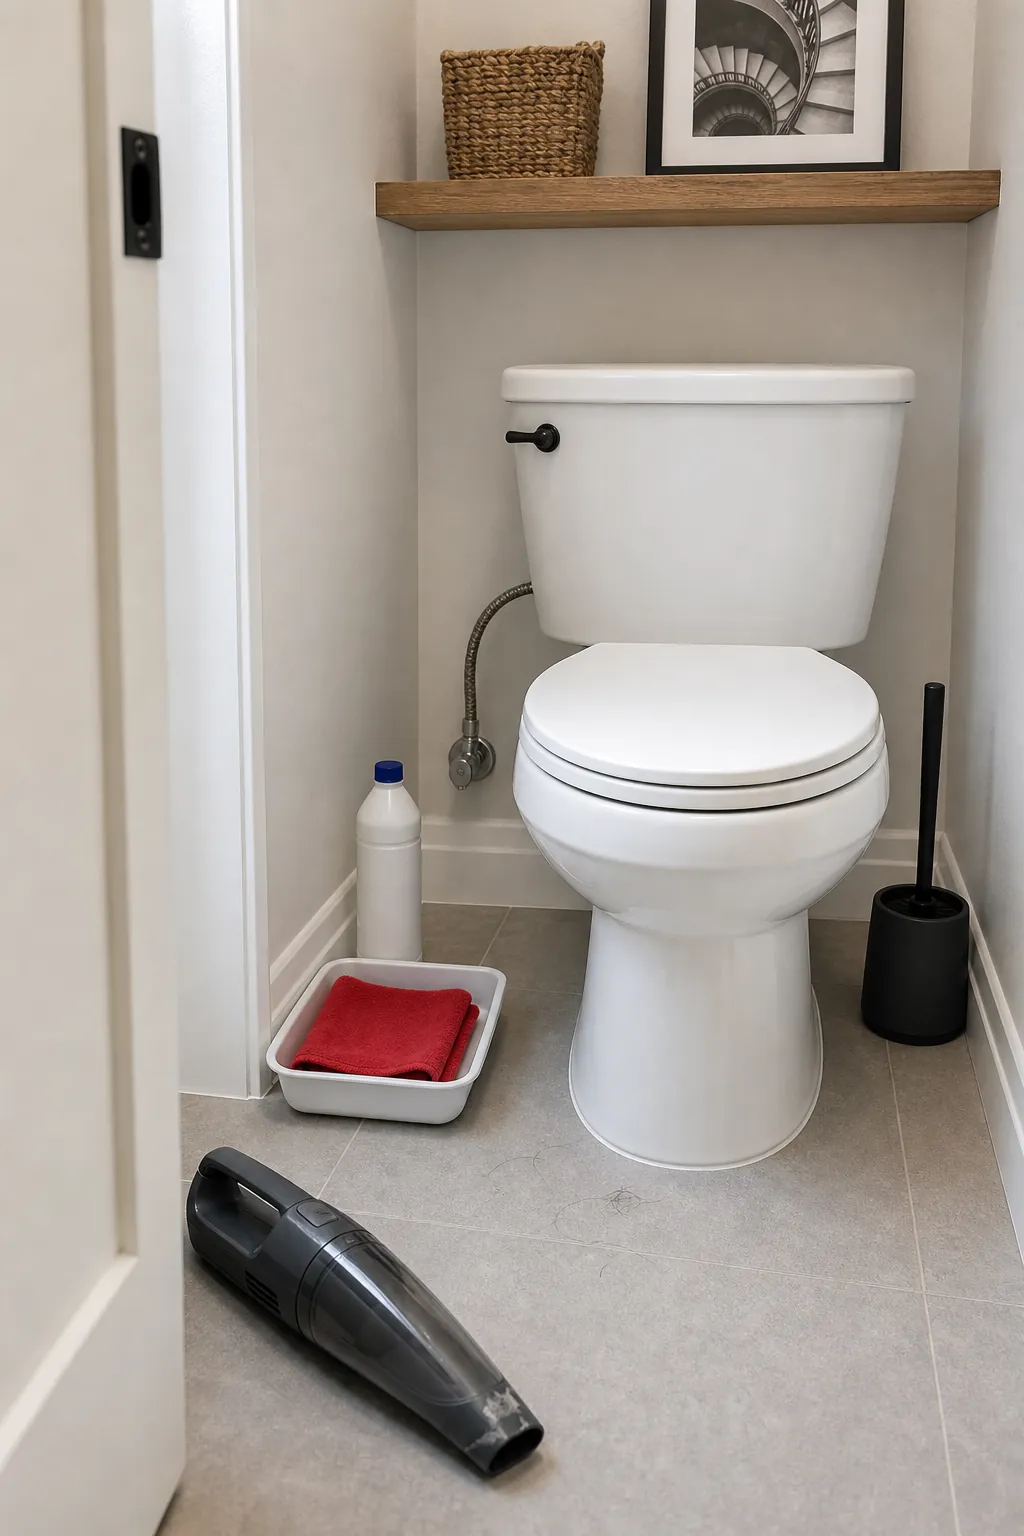
Remove items from the tank lid and vacuum dust and hair around the base before using liquid cleaner. Wipe the flush handle and tank first, then the lid, seat, hinges, rim, exterior bowl, and base. Use a separate toilet-only cloth and finish with the floor immediately around it. This order keeps a dirty cloth from touching cleaner areas.
Use a product labeled for the toilet bowl and follow its contact time. Do not pour a second cleaner into the bowl because the first one seems slow. The safest rule is one product at a time, exactly as labeled. The CDC advises never mixing household bleach or disinfectants with other cleaners because dangerous vapors can be released. In most routine household situations, cleaning with soap and water removes germs; targeted disinfection is more relevant when someone is ill.
Remove sink odors by cleaning the parts you can reach
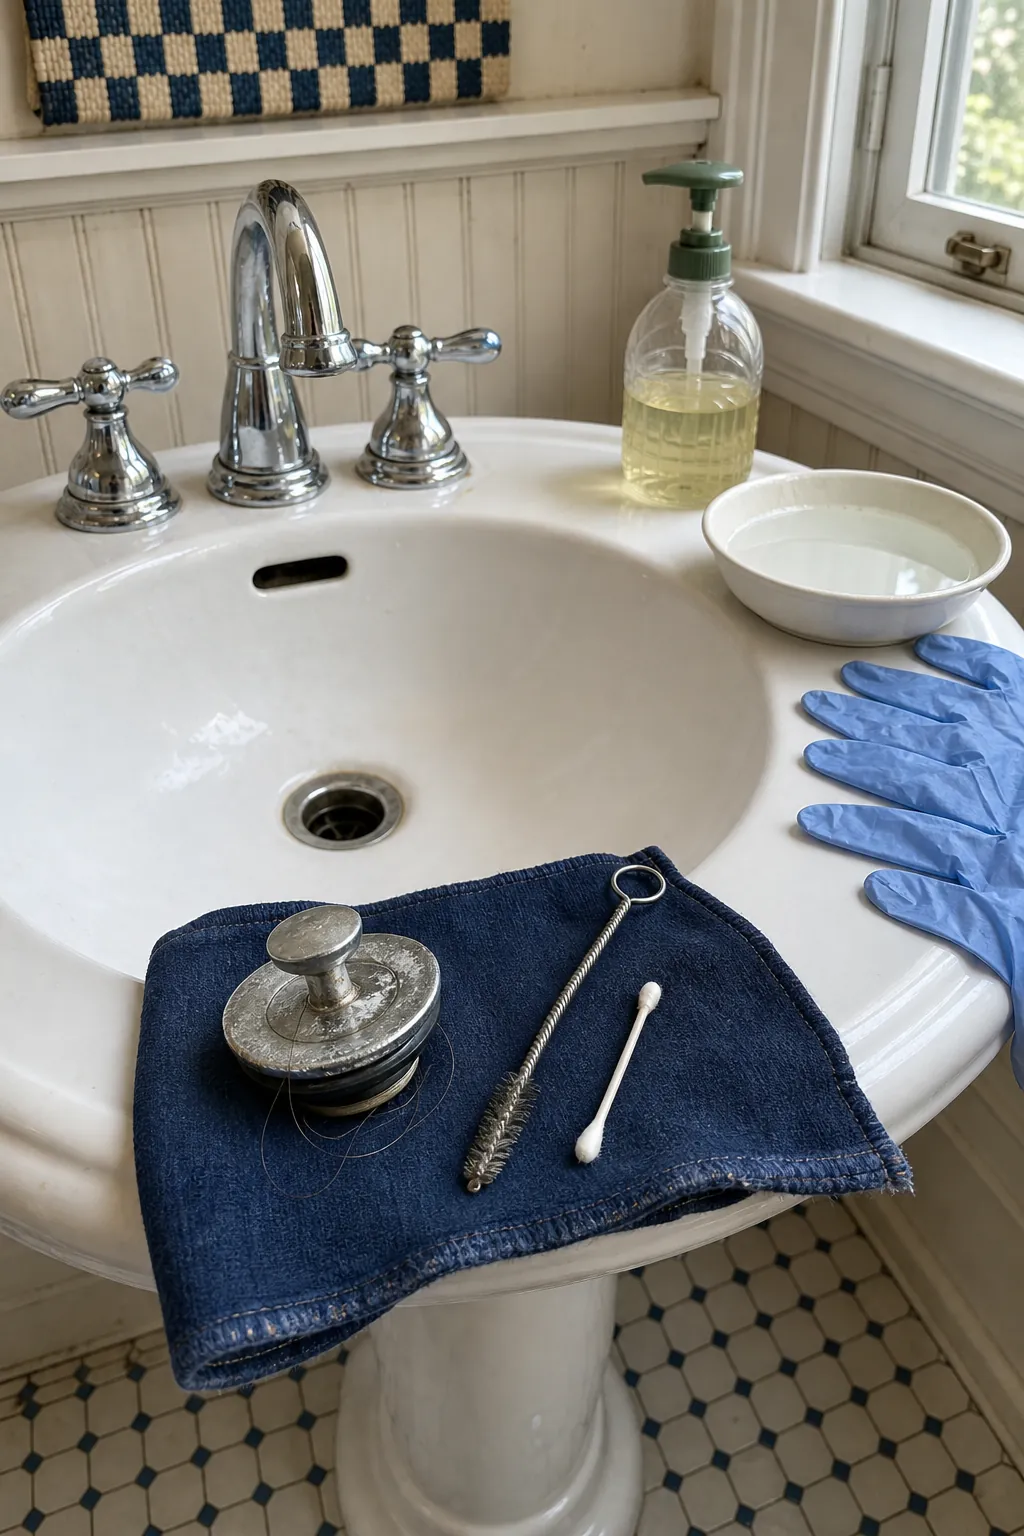
A scented spray can cover an odor without removing its source. Take out the pop-up stopper if its design allows, pull away trapped hair, and scrub the stopper and the accessible drain opening with dish soap and a narrow brush. Flush with warm water—not boiling water, which can damage some plumbing materials. Clean the overflow opening only according to the sink manufacturer’s guidance.
If the smell persists, check for a dry trap in a rarely used fixture by running water, and look for leaks or loose plumbing connections. A recurring sewage odor, slow drain, or backup is a plumbing problem, not a cue to combine random chemicals. Do not add drain cleaner after bleach, vinegar, or another product has already entered the drain.
Finish with a five-minute dry-down routine
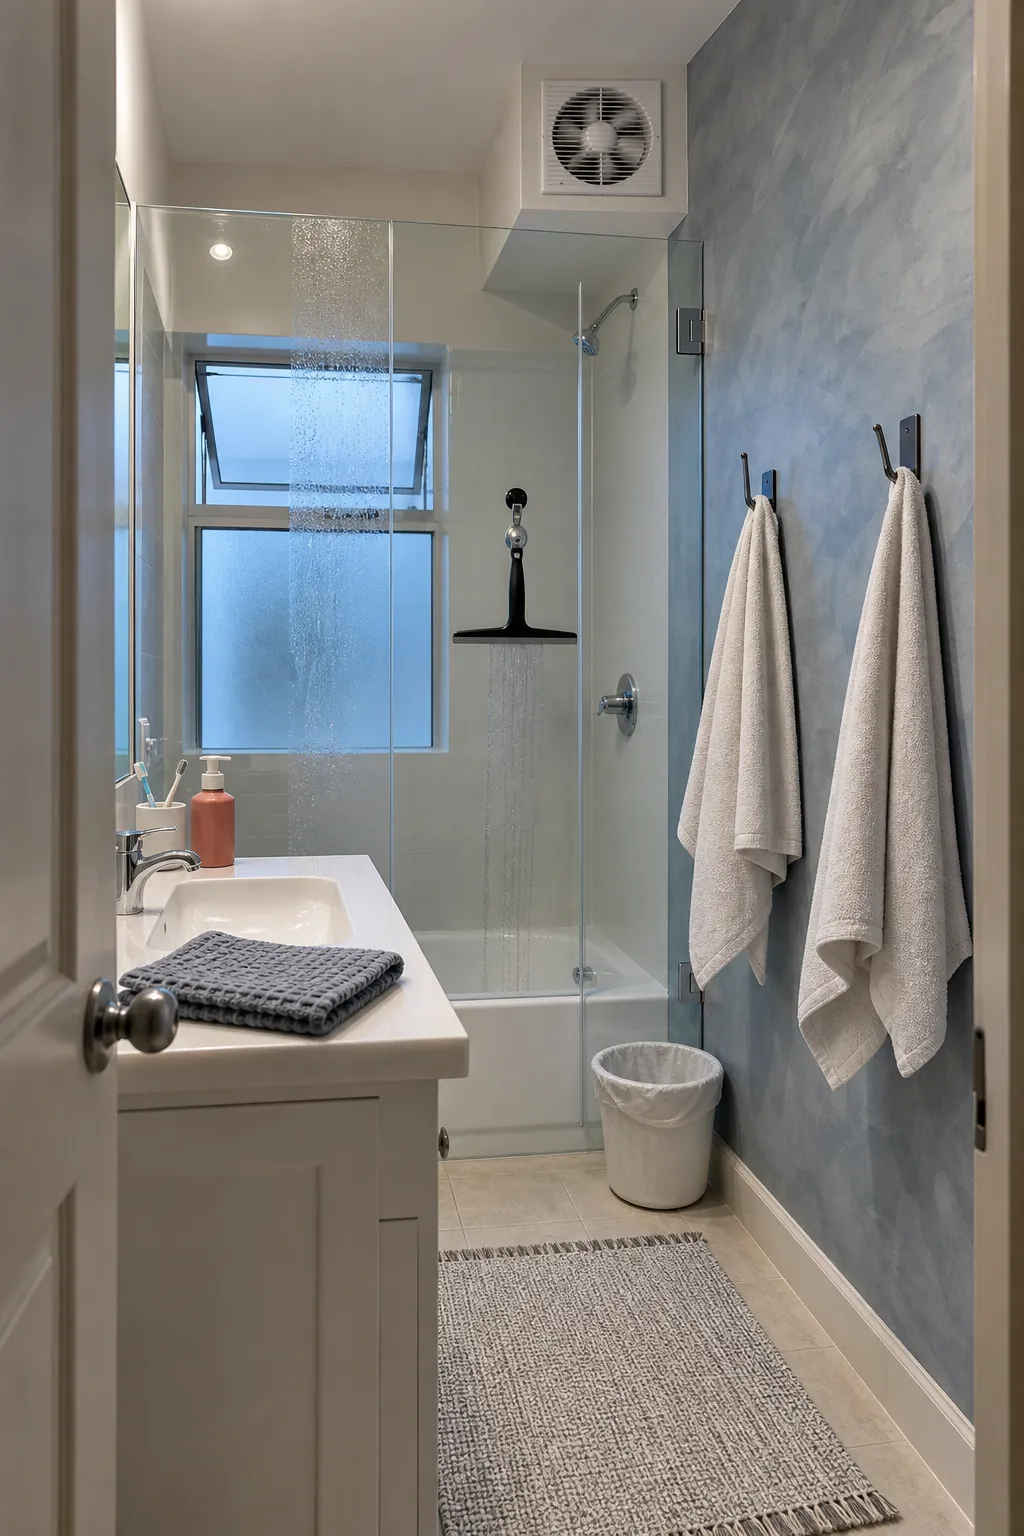
After the deep cleaning hacks are done, the bathroom should be dry, not perfumed. Squeegee shower glass and tile, wipe the faucet and counter edge, hang towels so air reaches both sides, empty the bin, and leave the exhaust fan running long enough to clear humidity. Return only the items used daily; this is where practical decluttering ideas meet cleaning.
A simple schedule prevents marathon sessions: wipe wet surfaces daily, clean the sink and toilet weekly, wash the shower based on use and water hardness, and inspect caulk, grout, and under-sink plumbing monthly. The best DIY bathroom cleaning hacks are not the loudest chemical reactions. They are the small choices that match cleaner to soil, protect the surface, and make tomorrow’s mess easier to remove.
Safety reminder: read every label, ventilate the room, wear suitable gloves, keep products away from children and pets, and never mix cleaners. See the CDC guidance on cleaning and disinfecting with bleach for current precautions.