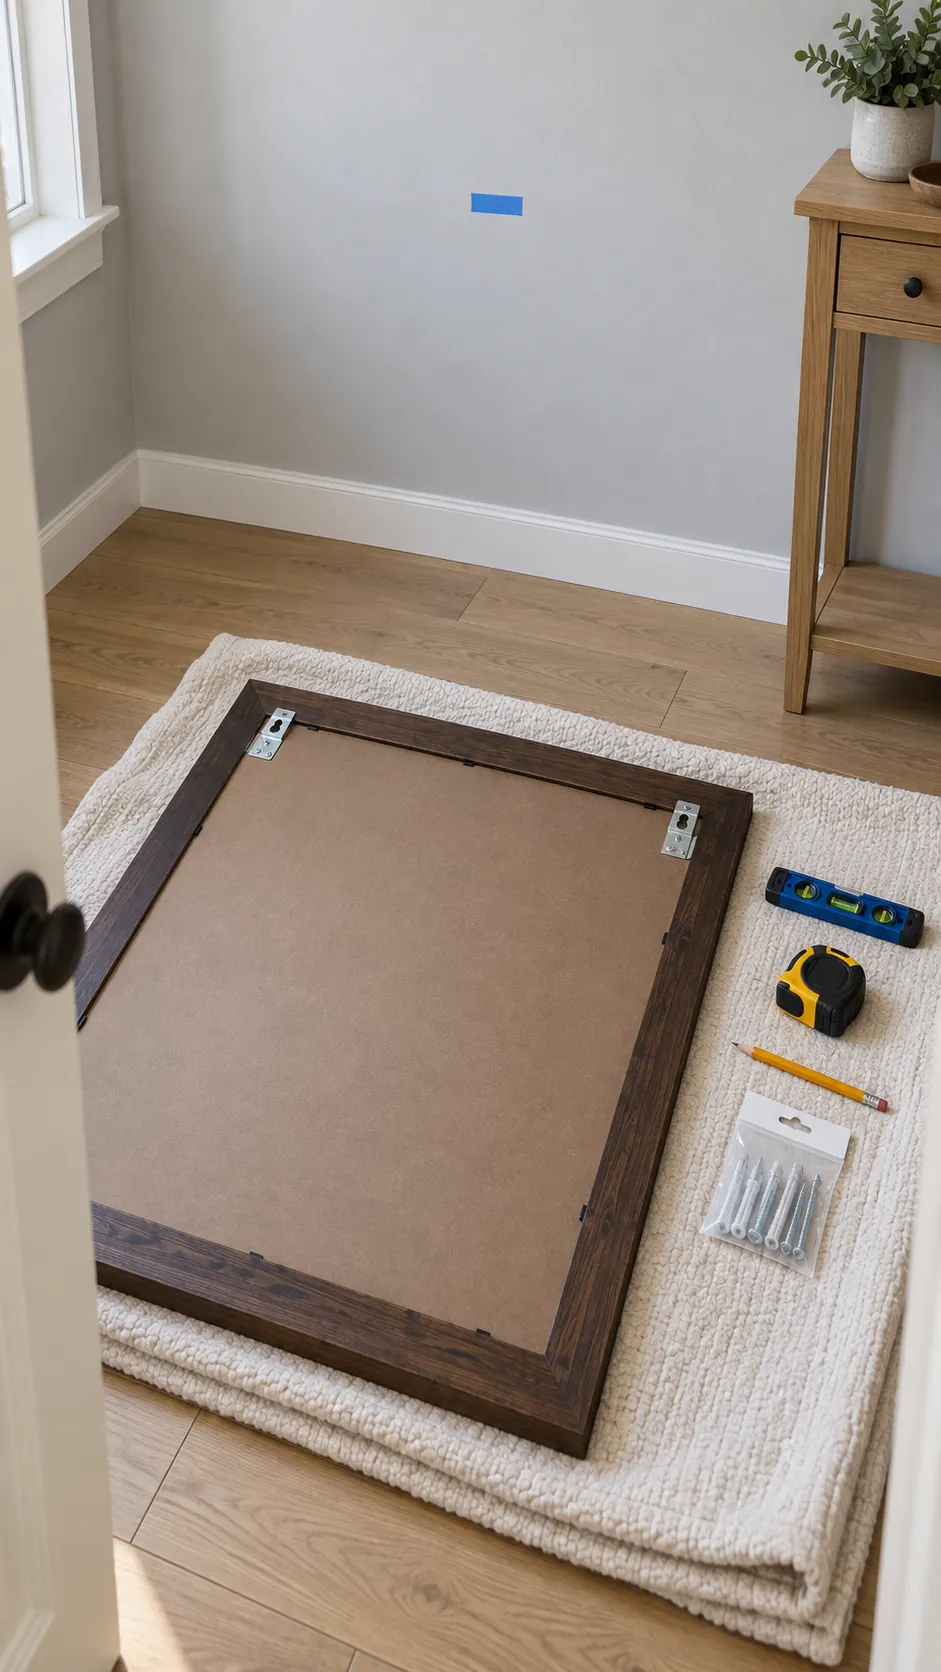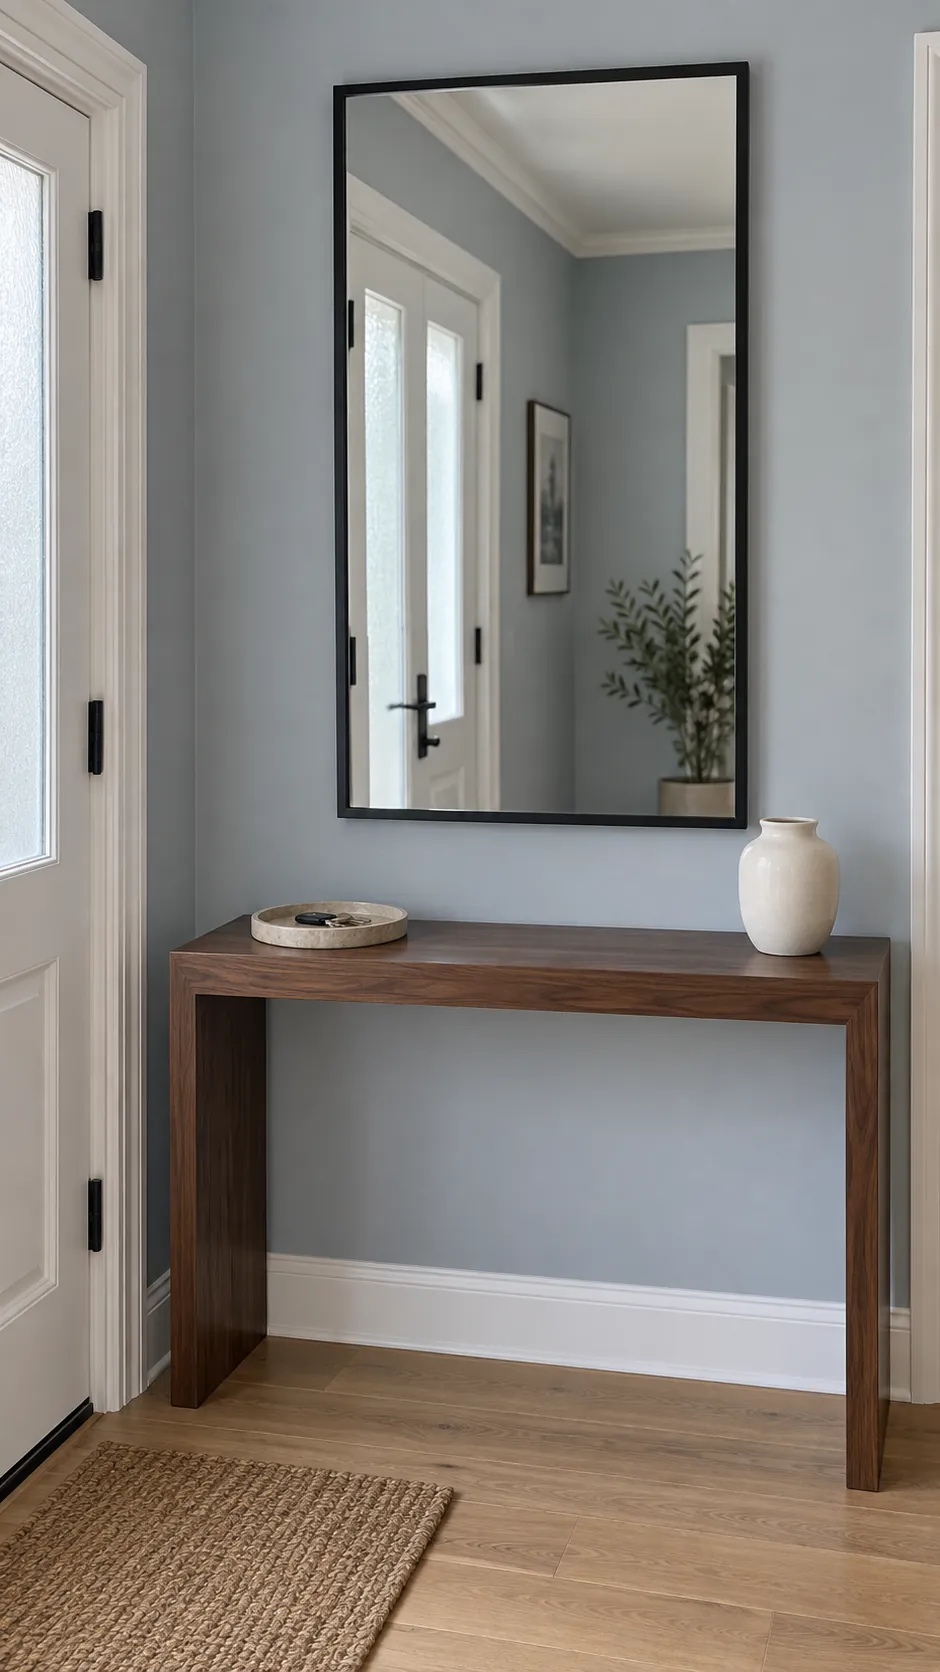
A mirror can look balanced over a table and still be awkward to use. Begin with a modest gap above the tabletop, then test the actual glass from your normal standing position. Furniture measurements help you choose a starting location; your reflection and the wall’s limits decide whether that location works.
Start with the gap above the tabletop
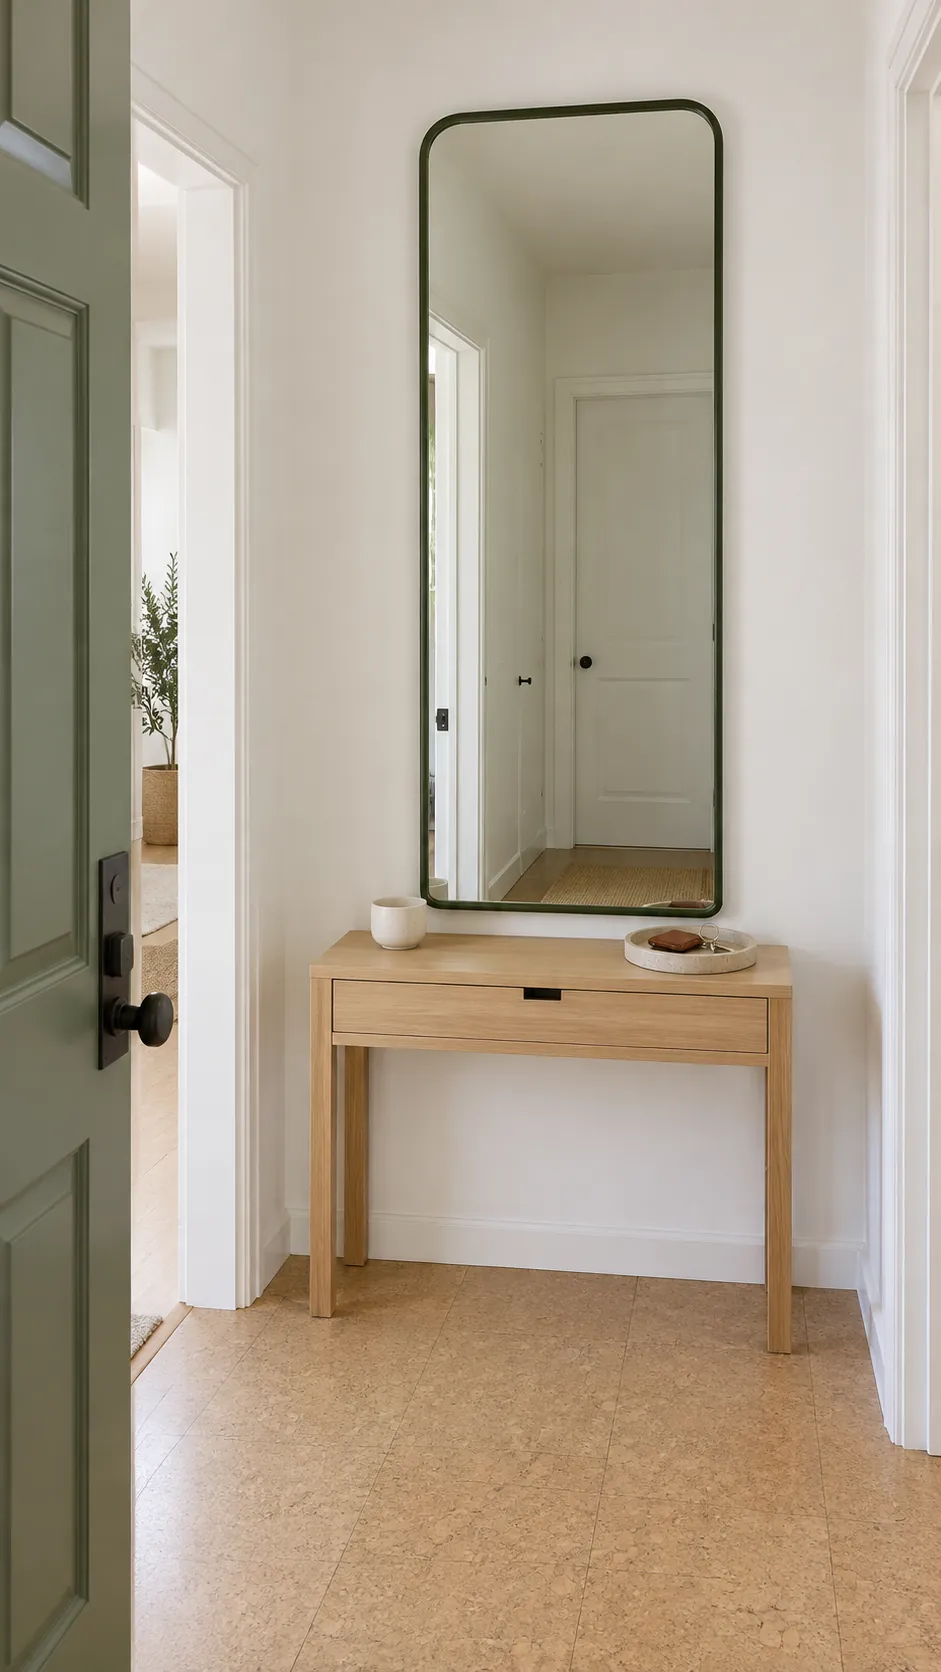
For many entryway arrangements, a gap of about 6 to 8 inches between the console top and the bottom of the mirror frame is a useful starting point. Treat that range as a visual test, not a building standard or a rule that fits every mirror. Measure from the actual top surface to the lowest outer edge of the frame, including an ornate rim. A thick frame can change the visible glass height even when the outer dimensions seem suitable.
Try the lower end of the range when a small mirror looks detached from the furniture. Leave more room when the frame needs space or the table holds an object that you use every day. If the gap looks wrong, check the mirror size and your viewing position before moving it higher simply to fill a tall wall.
Calculate the whole arrangement before choosing a height
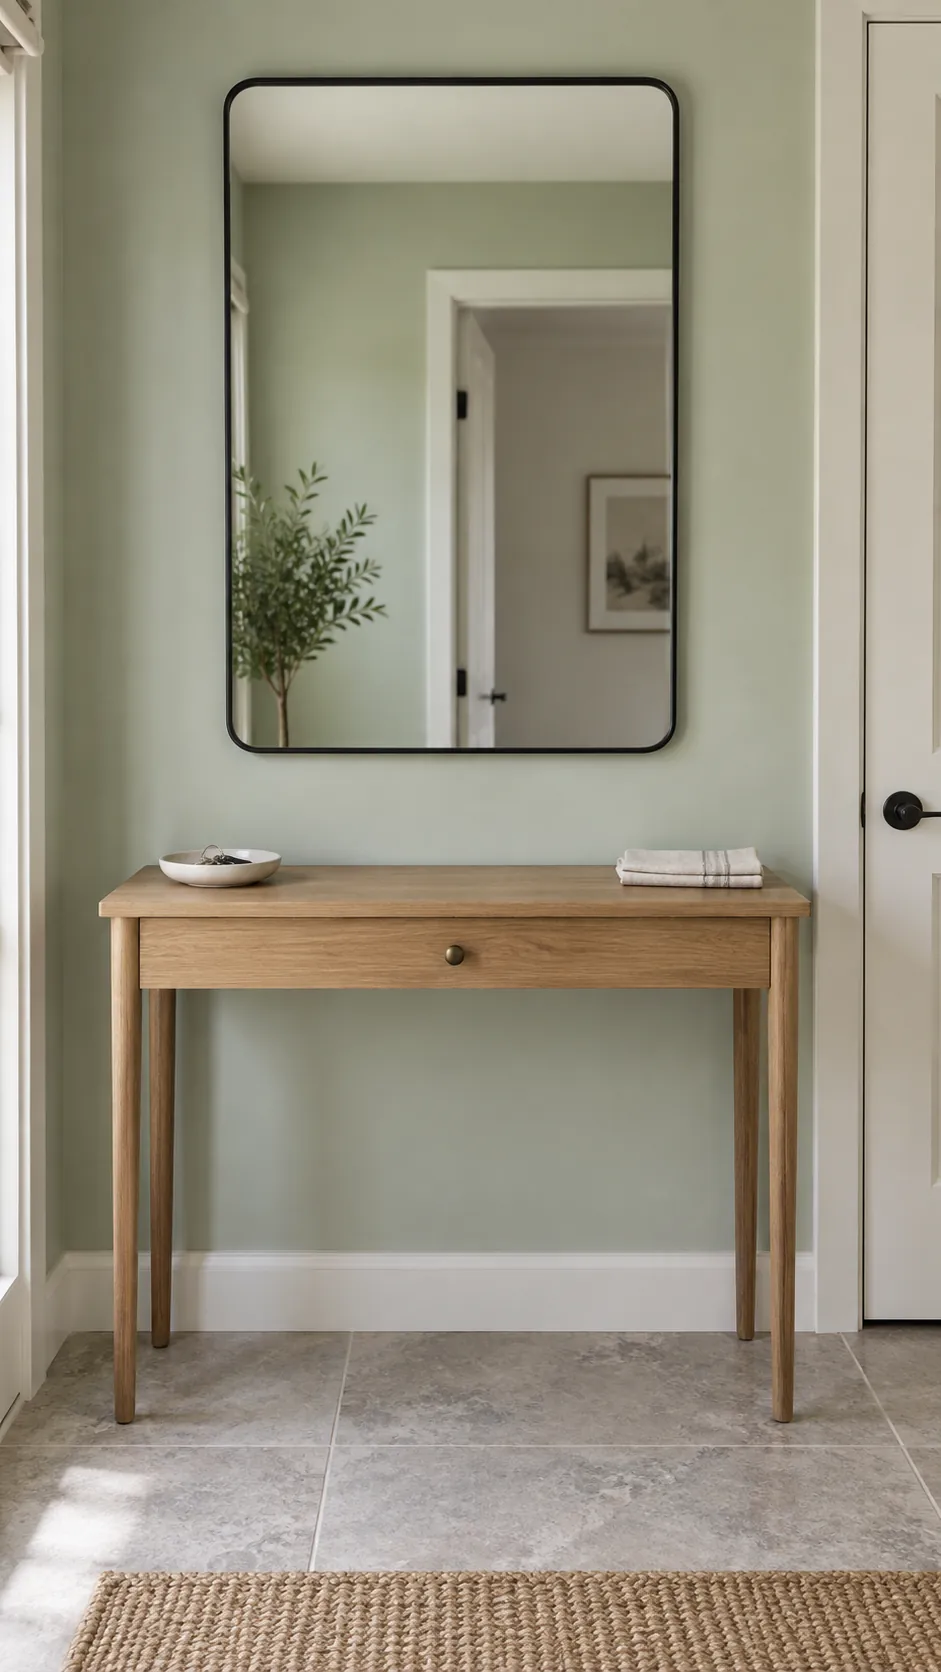
Mirror height above console is only one part of the measurement. The top of the mirror equals the console height, plus the chosen gap, plus the outer mirror height. Its center equals the console height, plus the gap, plus half the outer mirror height. With a 32 inch console, a 7 inch gap, and a 30 inch mirror, the bottom sits 39 inches above the floor, the center sits 54 inches high, and the top reaches 69 inches. Those numbers describe that example, not an ideal height for every home.
Measure the space below any molding, wall light, or sloping ceiling as well. A tall mirror may reach the ceiling with a perfectly sensible bottom gap, while a short mirror may leave considerable wall above. For width, a mirror around two thirds to three quarters of the console width can be an easy starting composition, but frame thickness and surrounding architecture also matter. A larger mirror can work when the table still anchors it and the reflection is useful.
Write your proposed measurements down before checking the wall. This makes it easier to change one variable at a time instead of moving the furniture, mirror, and accessories together. A floor that slopes slightly can also make equal measurements look uneven, so check the planned frame with a level.
Check the glass from the place you will stand
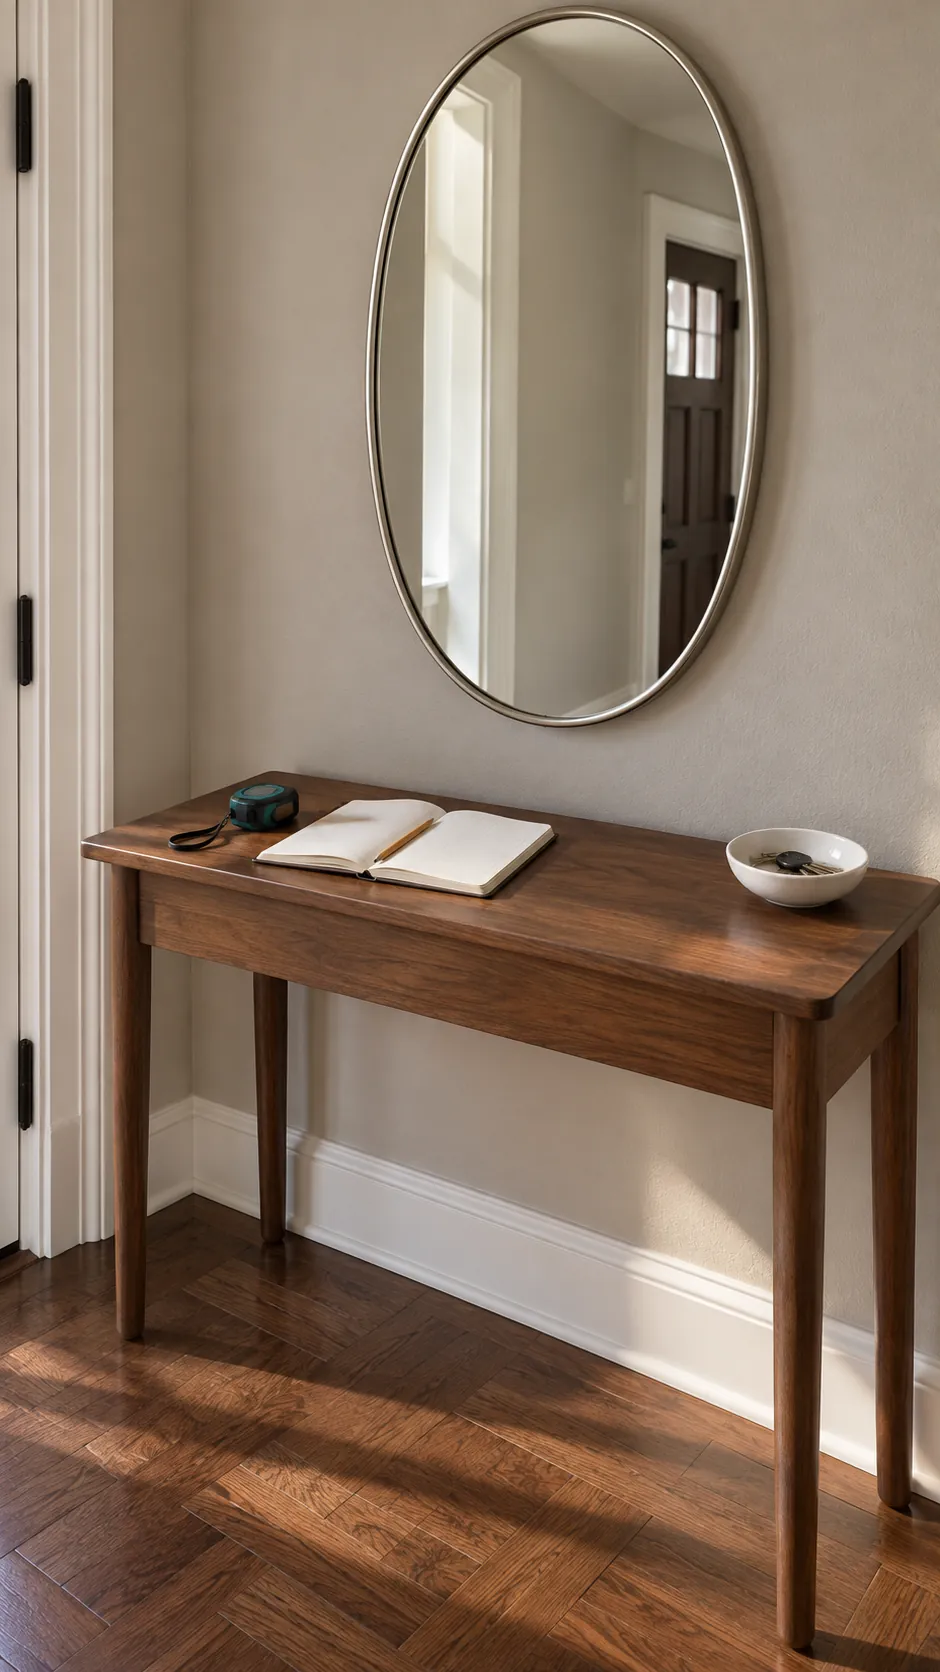
A decorative mirror and a mirror used to check your appearance can need different placements. Stand where you will normally look into it, including the distance created by the console depth. Confirm that the usable glass shows what you need without crouching or rising onto your toes. Ask the shortest and tallest regular users to check the same position.
For a round mirror, the glass narrows toward the bottom and top, so an acceptable overall diameter does not guarantee useful space at every height. An ornate frame reduces the reflective area too. If a short mirror cannot serve both users while staying connected to the console, a taller shape may solve the problem better than an increasingly large wall gap. Do not confuse the center height used for decorative pictures with a guaranteed functional mirror height.
Test the outline before drilling
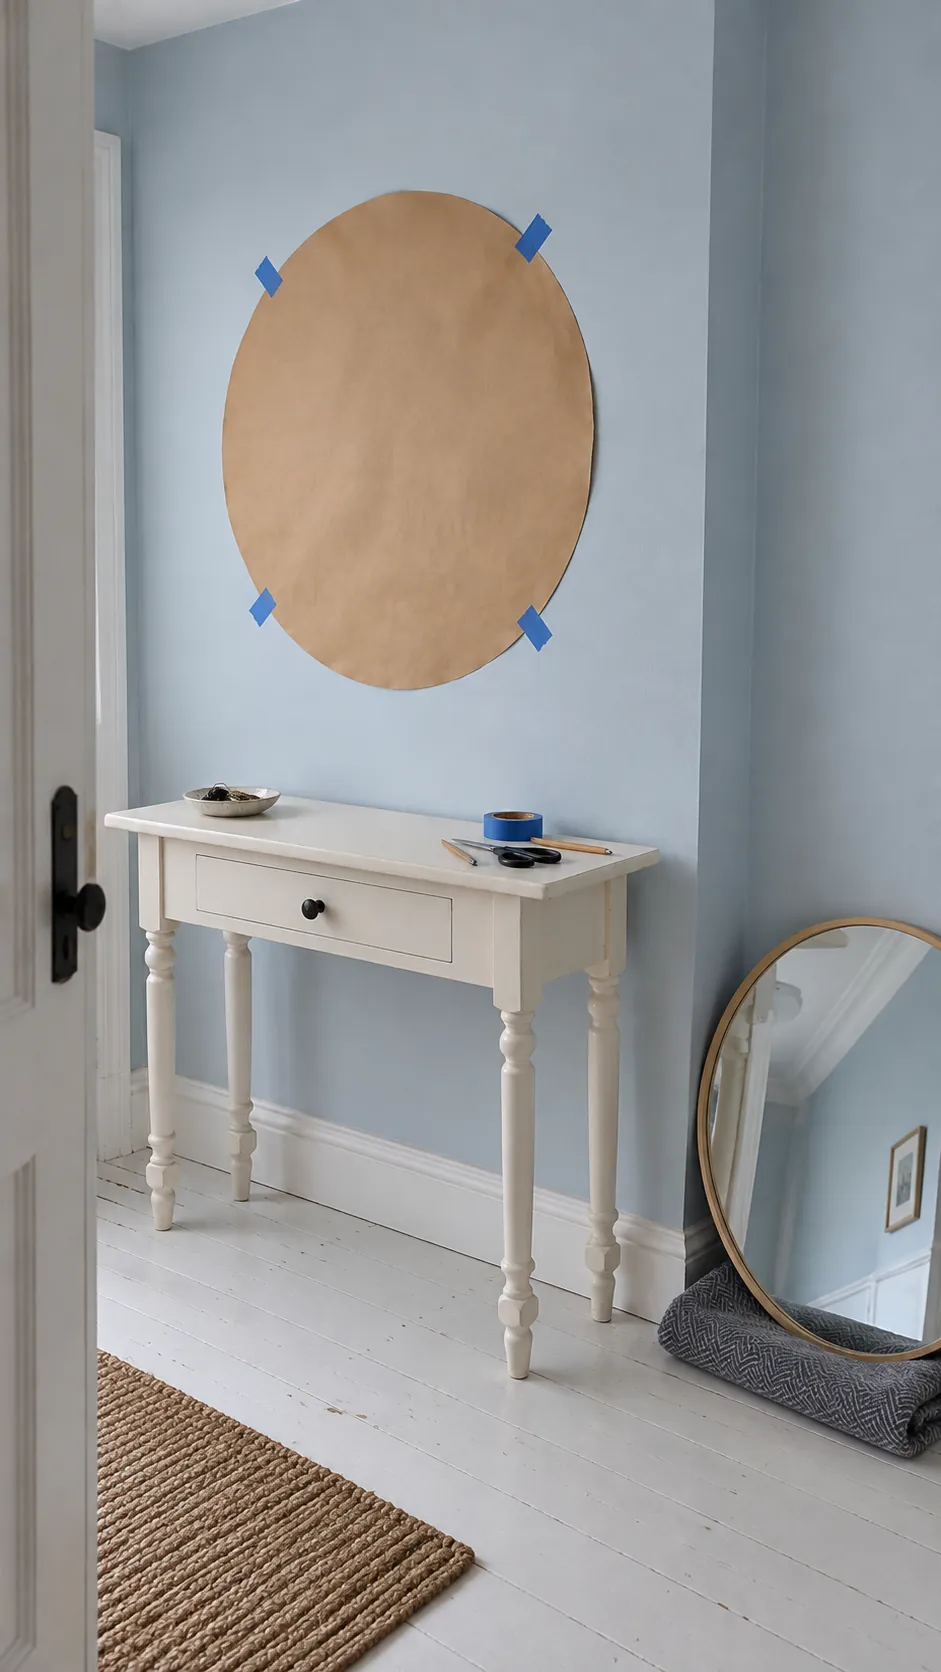
Cut a paper shape to the mirror’s full outer size, including the frame. Use tape suitable for your wall finish, test it in a hidden spot, and position the paper above the console at your proposed gap. Mark the centerline with removable tape if that helps you keep the outline aligned. The paper is for judging size and placement; it cannot show the actual reflection.
Look at the outline from the doorway, the adjoining room, and directly in front of the table. Photograph it at normal viewing height rather than with the phone tilted upward. Leave the paper in place long enough to see the composition in daylight and in your usual evening lighting. If you make an adjustment, move the outline before making another set of holes.
Style the surface without losing the reflection
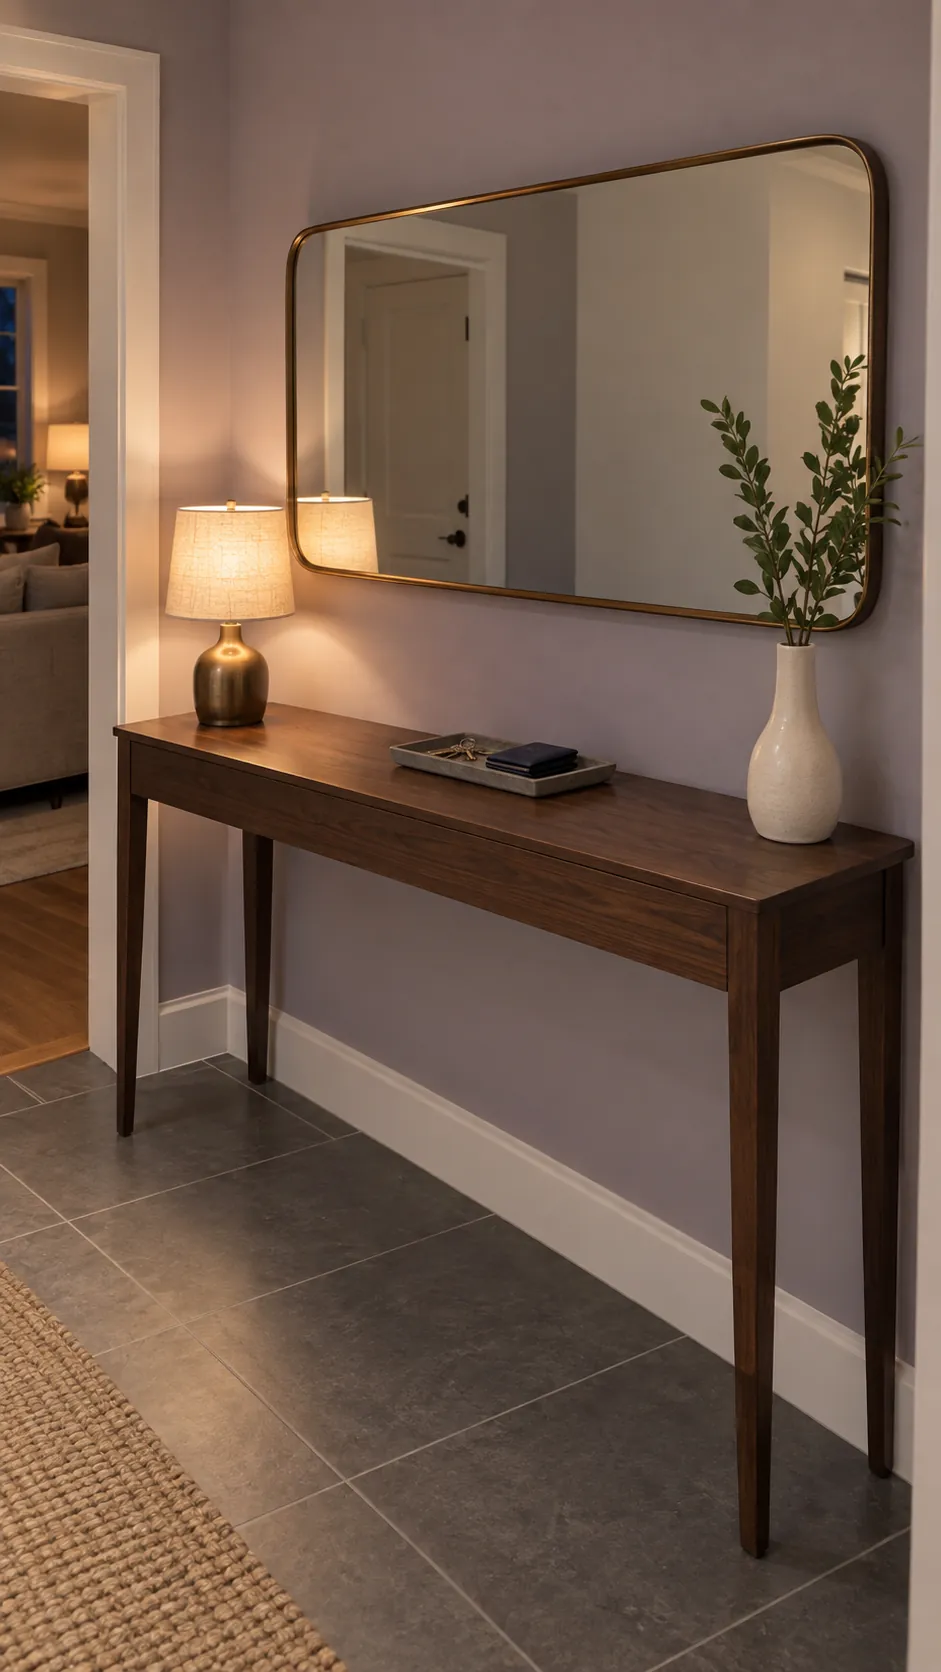
A lamp, vase, or branch can visually connect the tabletop to the mirror, but it should not force the mirror into a poor position. Put taller objects toward the sides and keep the glass you use clear. Check the lamp while it is on, because glare can be more distracting than an object’s outline. Leave enough surface for keys and mail so entryway wall styling does not replace the table’s purpose.
Also inspect what the mirror reflects from the doorway. A closet opening, busy shelf, or bright ceiling light can make the arrangement feel wrong even when mirror spacing is comfortable. Sometimes closing a nearby door or moving a small object improves the view without changing the hanging height. Keep required access to switches, outlets, service panels, and doors available rather than covering them for the sake of symmetry.
Transfer the position to the correct hanging points
The frame’s desired top edge is not the same as the wall fixing height. Measure the offset from the top of the frame to the actual hanging points, following the mirror manufacturer’s instructions. A wire can rise under load, while a cleat or two fixed brackets needs its own measurement. Mark the correct fixing positions after you have approved the full outline.
Choose hardware suitable for the mirror’s weight, its hanging system, and the wall construction. Follow the hardware ratings and installation instructions, check for concealed services before drilling, and use qualified help when the wall or load is uncertain. Do not rely on general purpose adhesive strips for a heavy mirror unless that exact system is expressly approved for the application. Lift a heavy or awkward mirror with help and keep the console out of the way during installation.
Once the mirror is secure, replace the console and confirm the finished gap from the tabletop to the outer frame. Check level, the reflection for regular users, and clearance for the objects you normally place below. If a mismatch appears, solve the actual problem rather than adding more accessories to hide it. The right position is the one that looks connected and works when you leave the house.