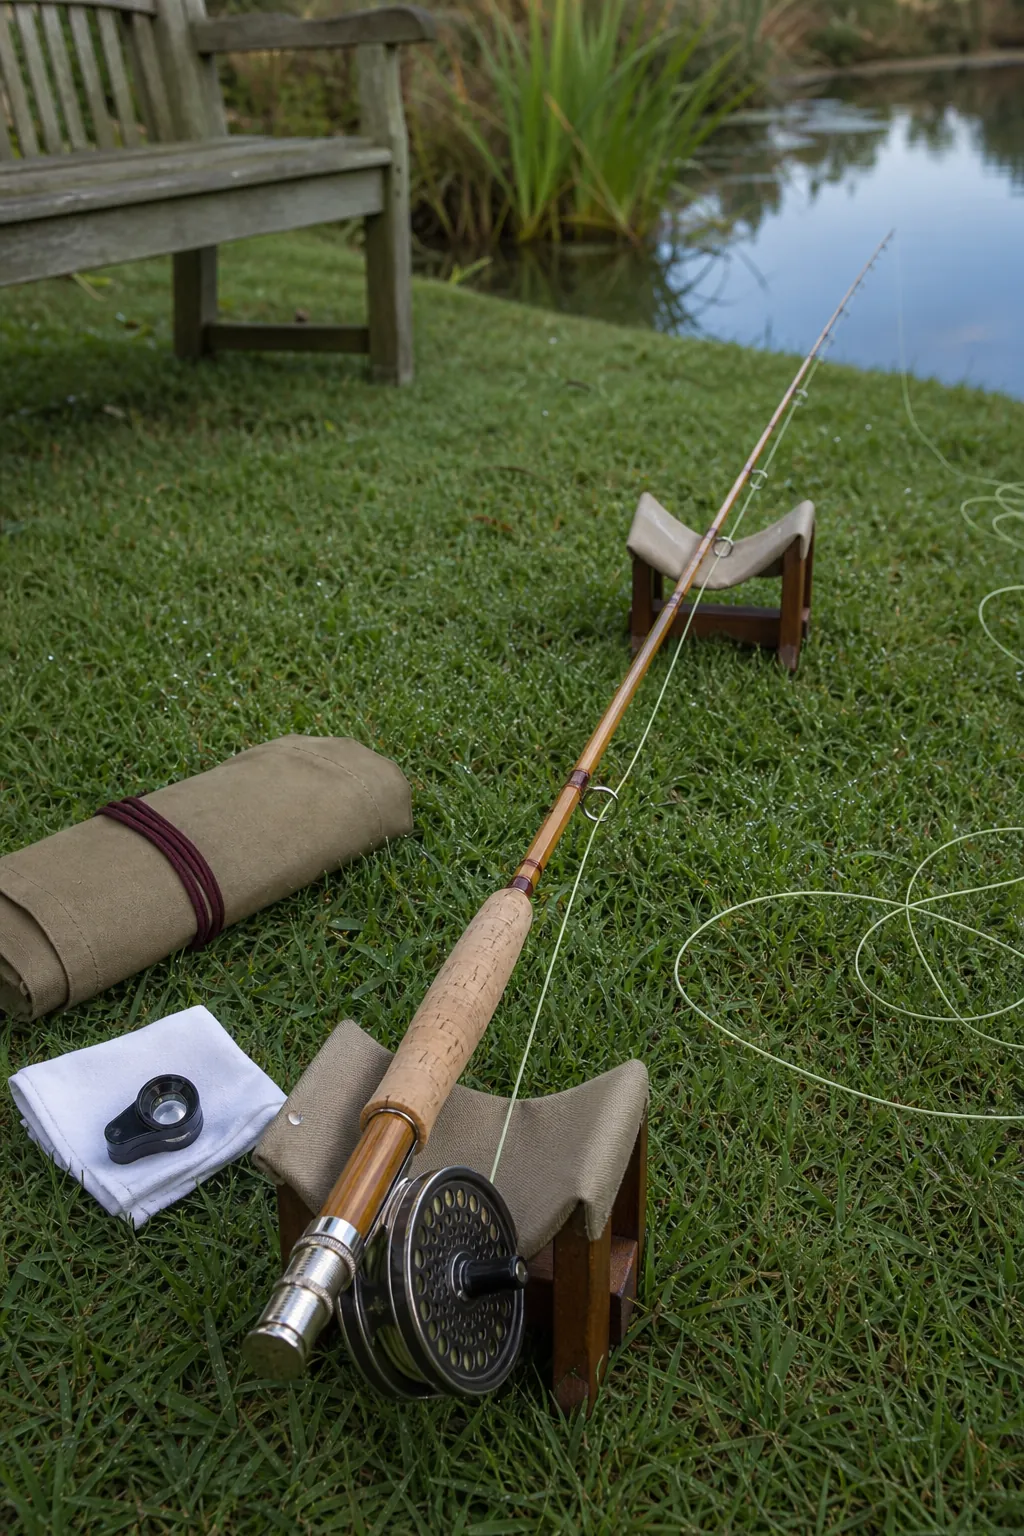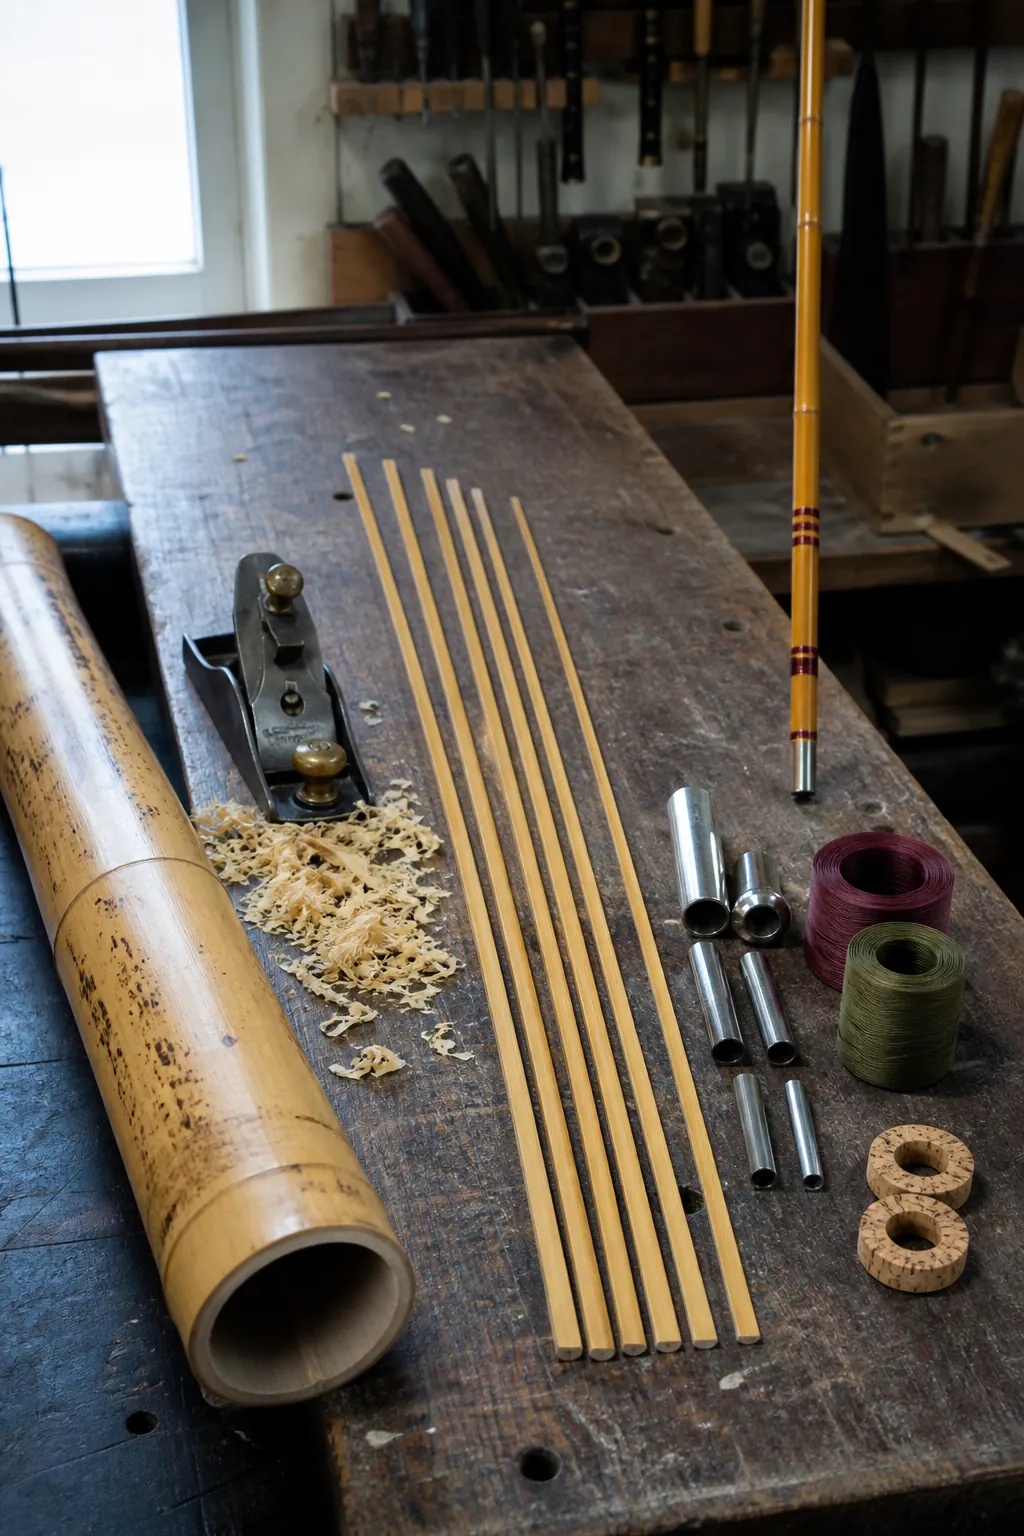
A split-cane rod earns its smooth flex from six carefully tapered bamboo strips, not from a whole stalk with hardware attached. Building one is slow precision work: the strips must share accurate 60-degree angles, clean glue joints, and a taper chosen for the intended line and fishing style. This guide explains how to build a bamboo fishing rod while making the difficult checkpoints visible before mistakes become permanent.
Choose a Proven Taper and Sound Culm
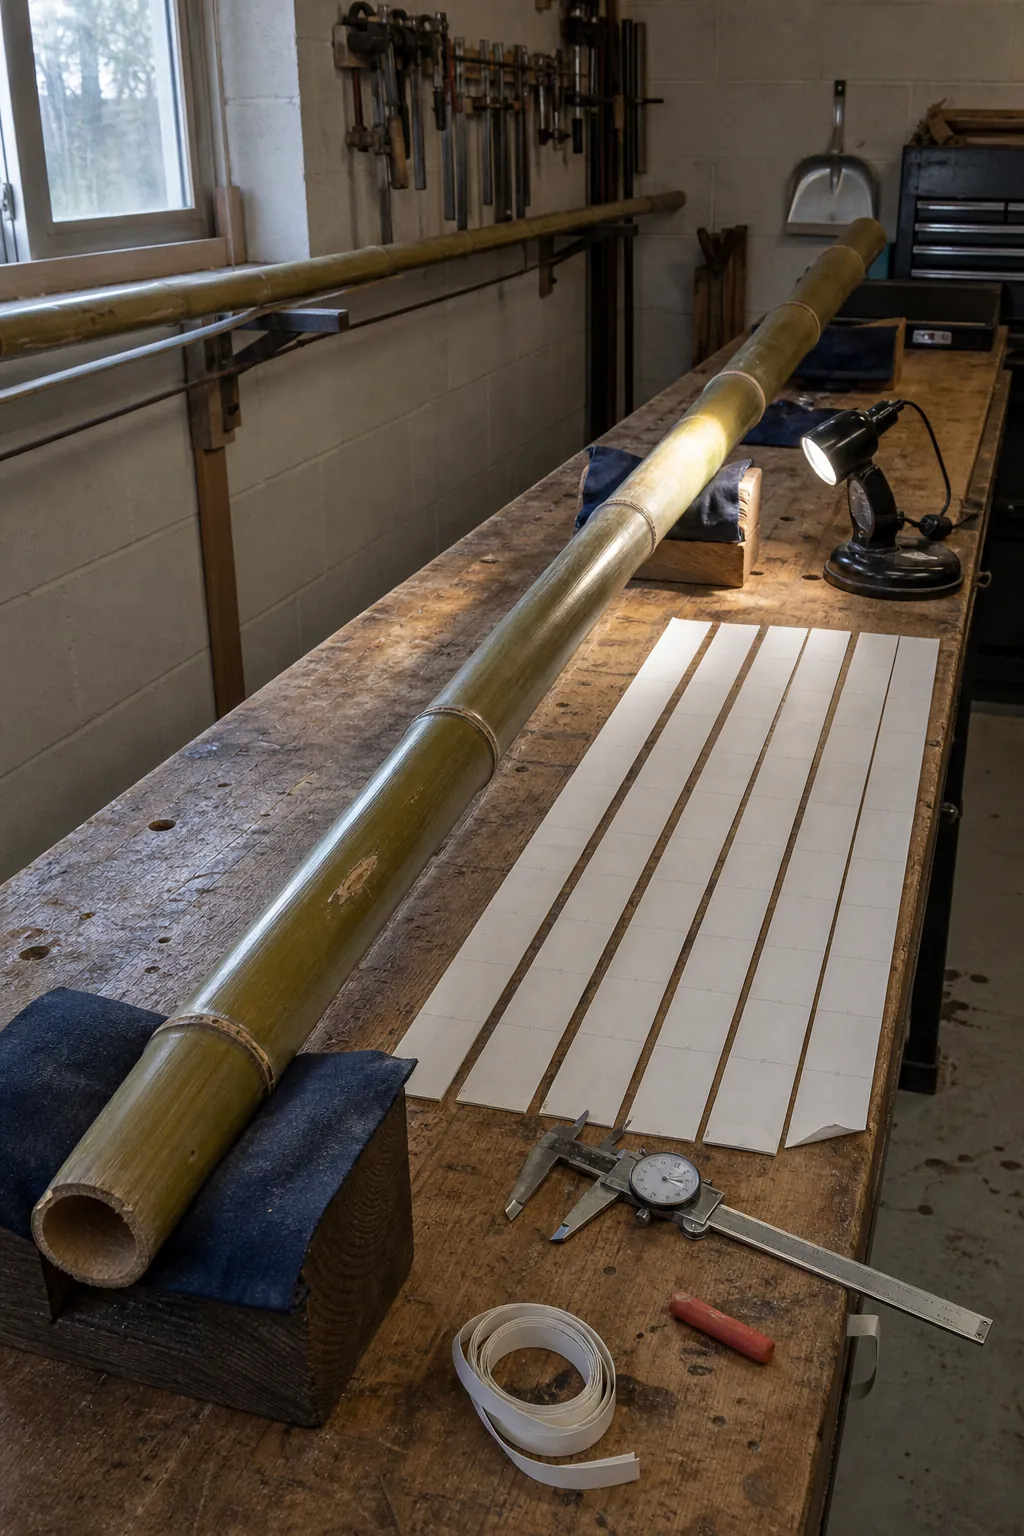
Begin with a documented rod taper rather than inventing dimensions on a first build. The station measurements determine the blank’s action, line handling, and strength, so select a design with the finished length, sections, and intended use already established. Convert every measurement into a shop sheet and verify which value describes a strip, flat-to-flat blank, or other convention.
Tonkin cane is the traditional choice because its dense outer power fibers suit slender tapered strips. Inspect the culm for deep insect damage, splits, excessive curvature, and nodes that would land near ferrules or the tip. Buy extra material; a wandering split or hidden defect is less expensive than forcing a compromised strip into the blank.
Split, Stagger, and Straighten the Strips
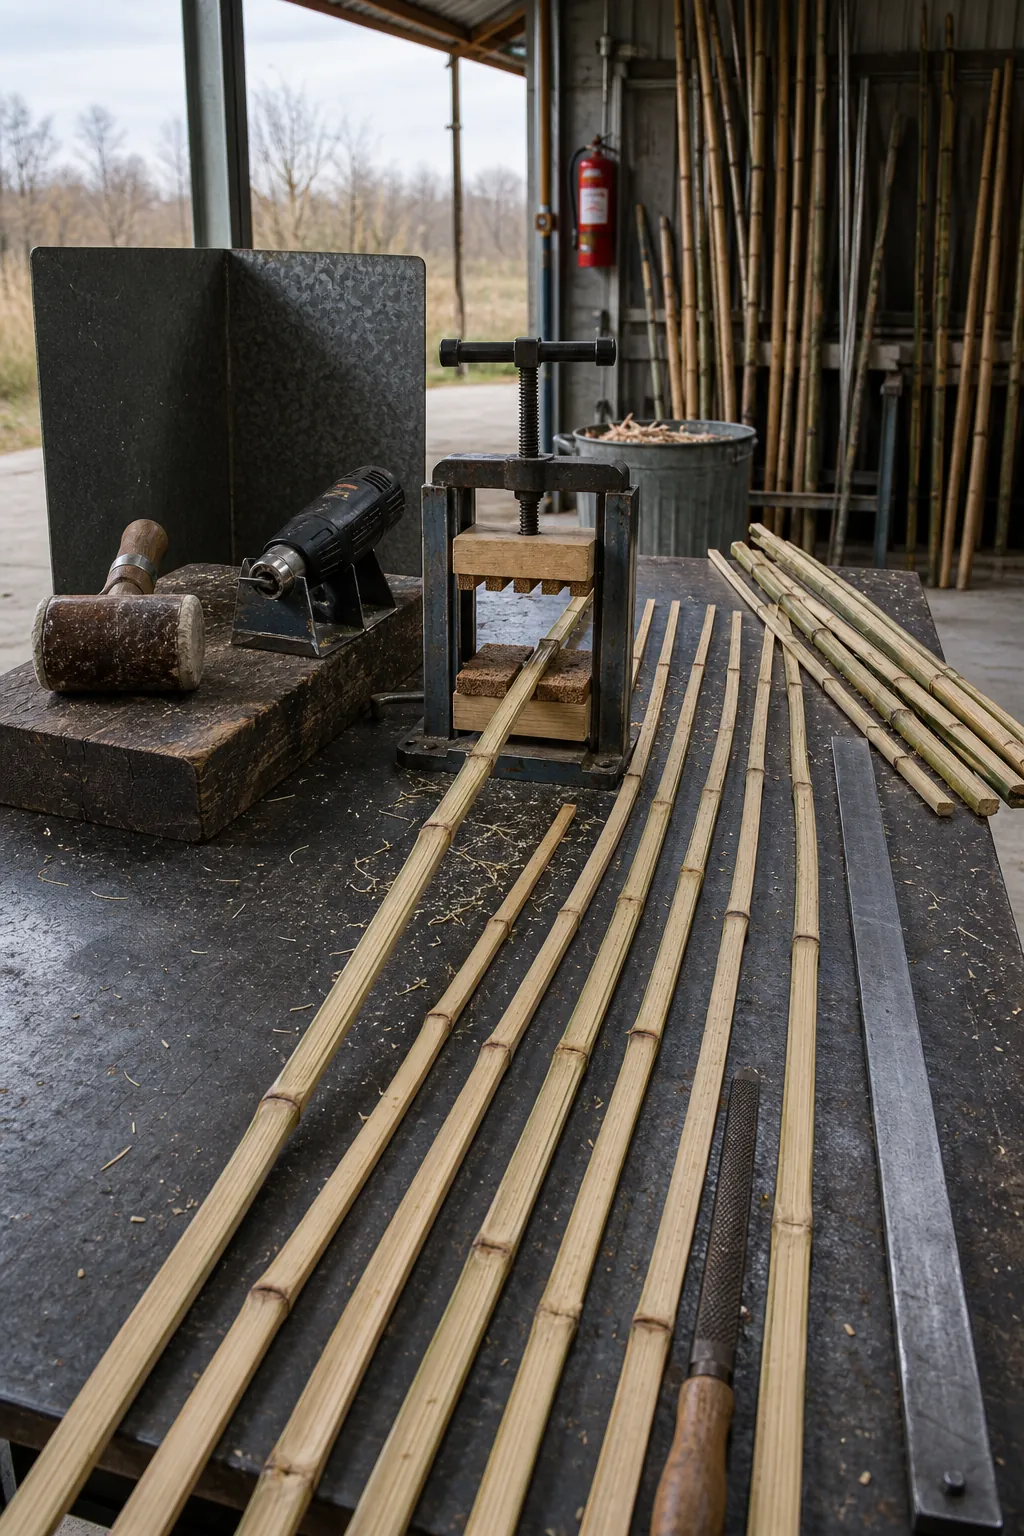
Split the culm into halves, then quarters, then progressively narrower strips, steering a wandering split by giving the wider side more leverage. Prepare at least six usable strips per section plus spares. Arrange them so nodes are staggered around the finished hexagon and kept away from ferrule stations when the taper permits.
File node dams, warm each node gradually, press it, and straighten doglegs while the cane is pliable. Keep heat moving and follow the method and temperature limits for your equipment; overheated cane can scorch or weaken. Flatten only what the later planing process requires, preserving the dense outer power fibers instead of grinding deeply for cosmetic perfection.
Heat-Treat and Rough-Bevel the Cane
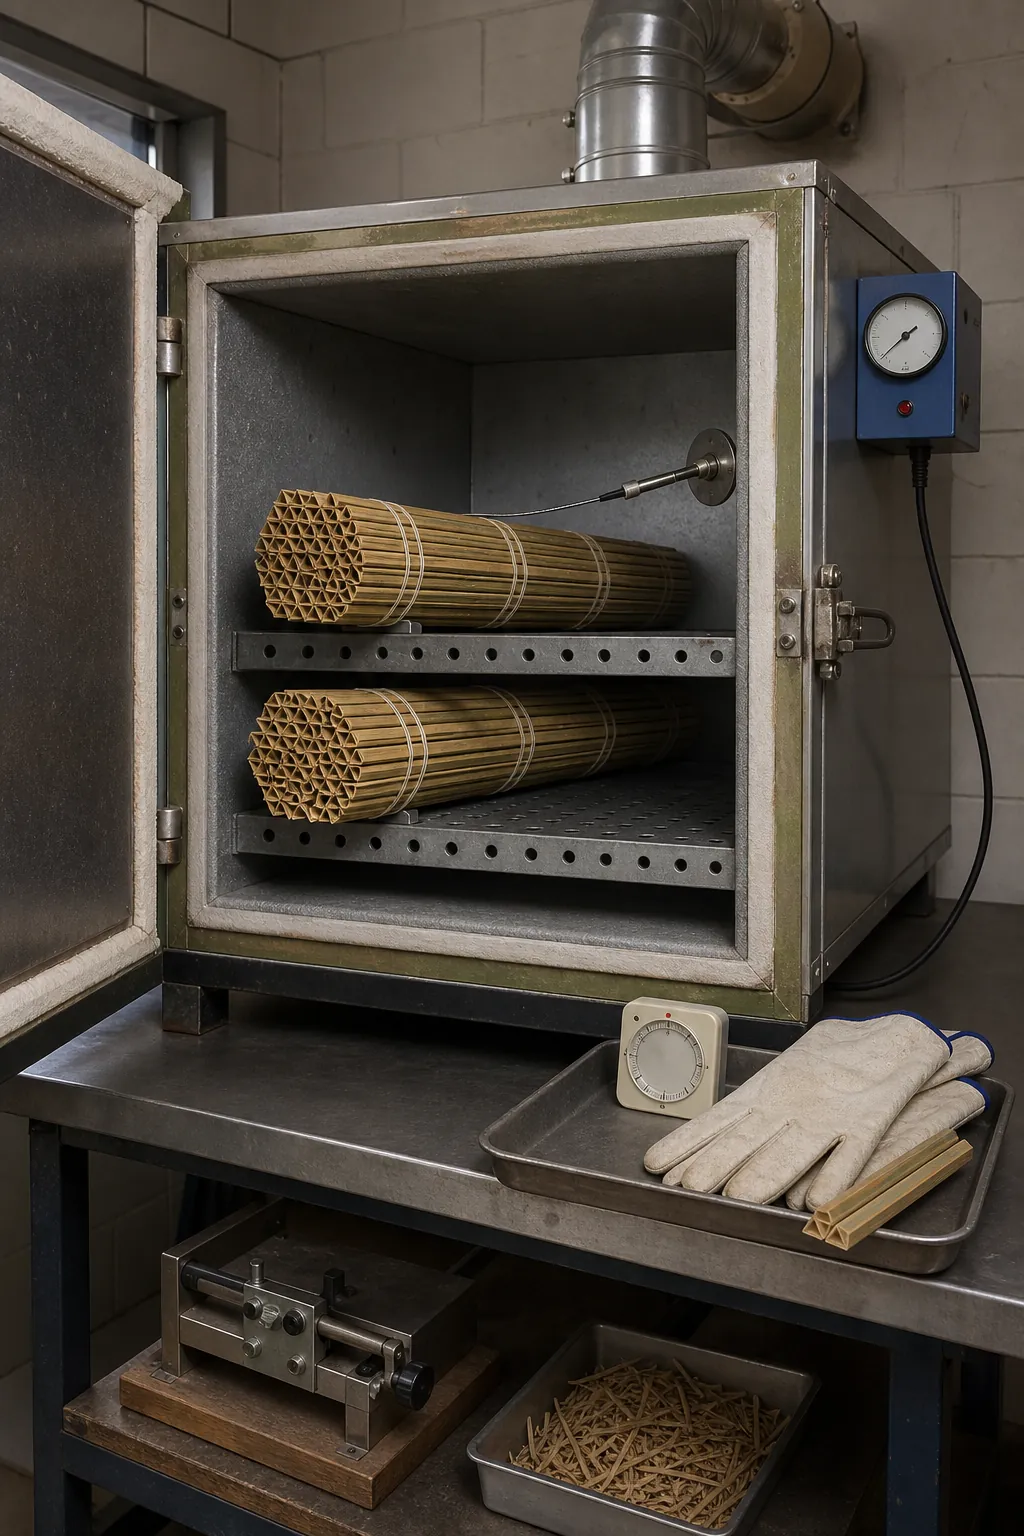
Rodmakers use controlled heat treatment to reduce moisture and change the cane’s working qualities, but schedules vary with oven design, strip size, and method. Use a proven schedule for your setup, monitor temperature independently, keep strips away from hot walls, and rotate them as required for even treatment. Provide ventilation and never improvise around flame or a heat gun without fire-safe clearances.
Rough-bevel each strip into an approximate equilateral triangle so it sits consistently in the planing form. A beveler speeds the job, while careful hand work can reach the same general geometry more slowly. The enamel side becomes the outside flat of the rod; protect that power-fiber face from deep scratches and uncontrolled removal.
Plane the Six Strips to Final Taper
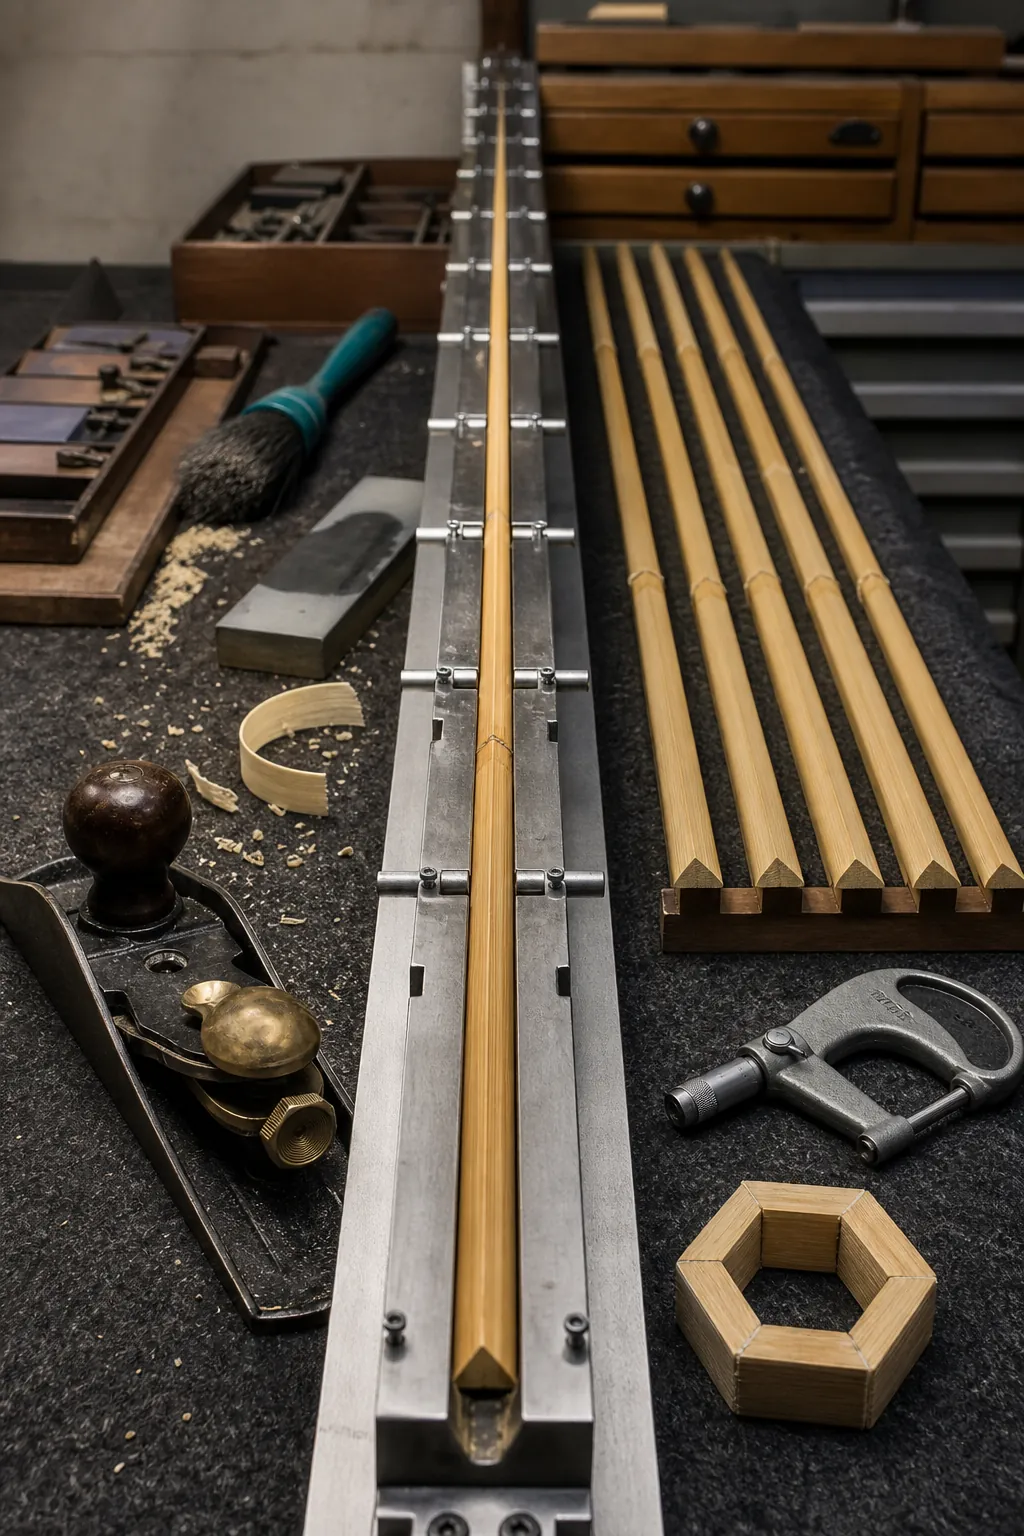
Set the adjustable planing forms at each station with the correct gauge, then check the sequence twice before cutting. Place the enamel side down and take light passes with a sharp, finely set block plane. Alternate sides so the 60-degree apex stays centered, clear chips frequently, and stop when the plane rides the form rather than chasing one more shaving.
Measure the strips with a micrometer or dial indicator at the prescribed stations, especially near delicate tips. Clean the forms when readings change unexpectedly; one trapped shaving can alter a thin strip. Six matching strips should nest into a dry hexagon without visible gaps, rocking edges, or a twisted seam.
Glue, Bind, Cure, and Straighten the Blank
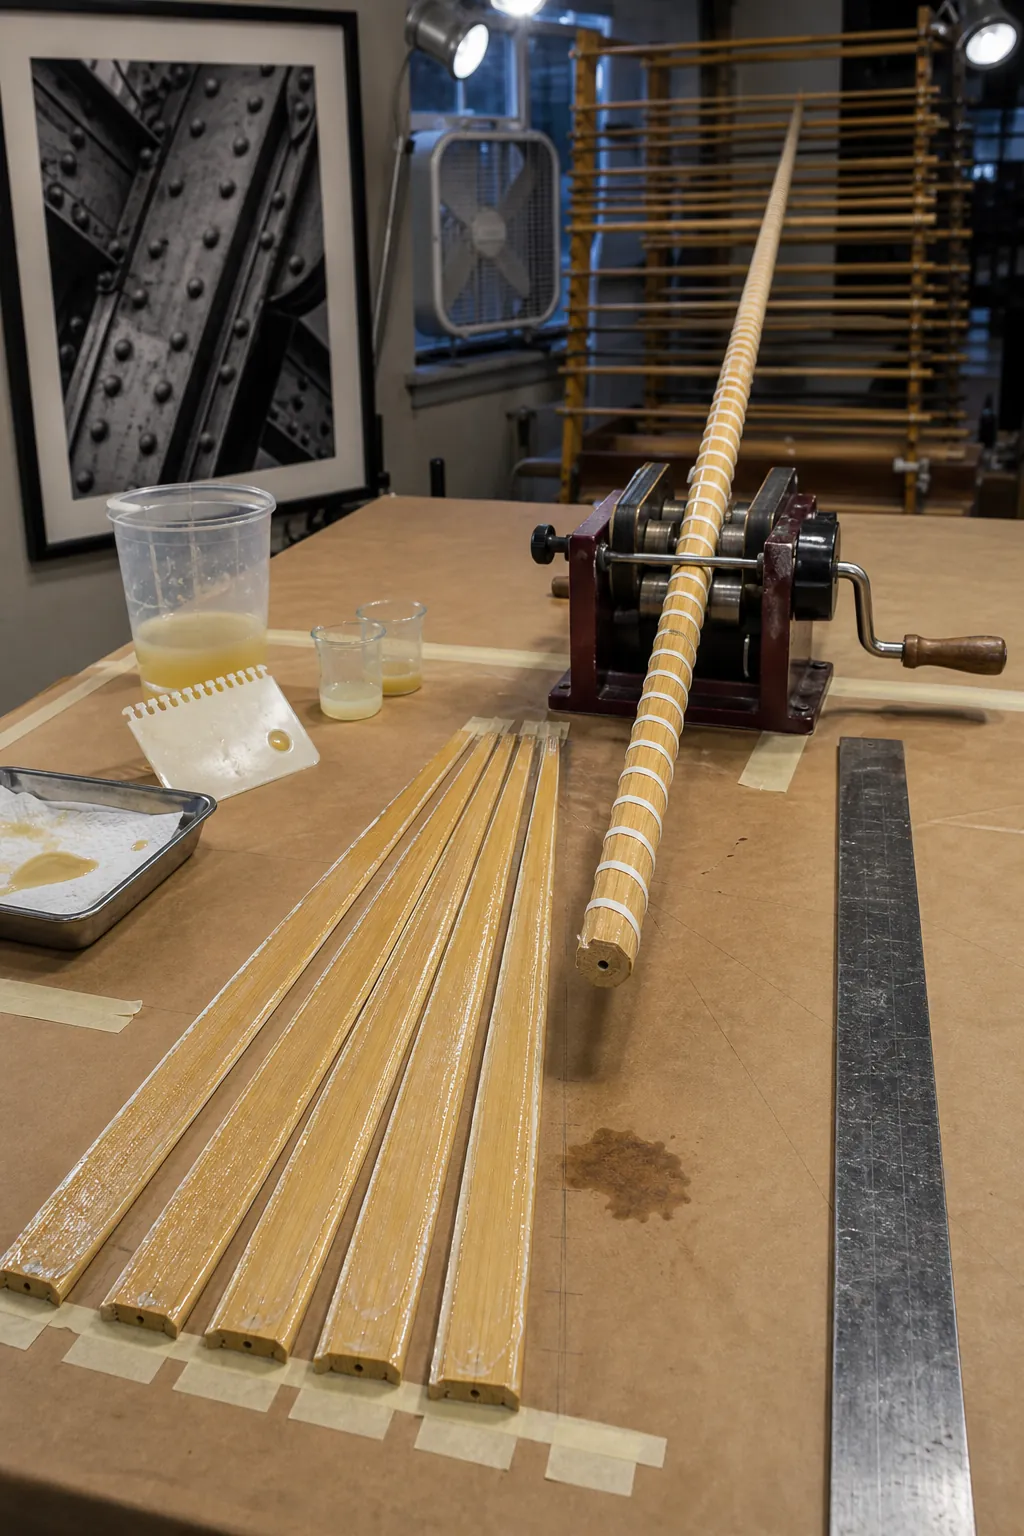
Dry-assemble the six strips in their indexed order before opening them like a book for adhesive. Apply a rod-appropriate glue evenly, close the hexagon, and bind it with consistent tension from end to end. Wipe excess according to the adhesive instructions and sight the section immediately so twists and sweeps can be corrected before cure.
Respect the full cure schedule, then remove binding thread and scrape glue residue without cutting into bamboo. Check flat-to-flat dimensions, straightness, and glue lines under strong side light. Minor sweeps can be corrected with controlled localized heat; open seams or serious dimension errors require an honest rebuild, not a coating that hides them.
Fit Ferrules, Grip, Reel Seat, and Guides
Prepare ferrule stations concentrically and remove only enough cane for a precise fit. Install ferrules with the adhesive and procedure intended for rod hardware, align the sections, and confirm the assembled blank remains straight. Build or fit the cork grip and reel seat without starving glue joints or forcing hardware over an oversized station.
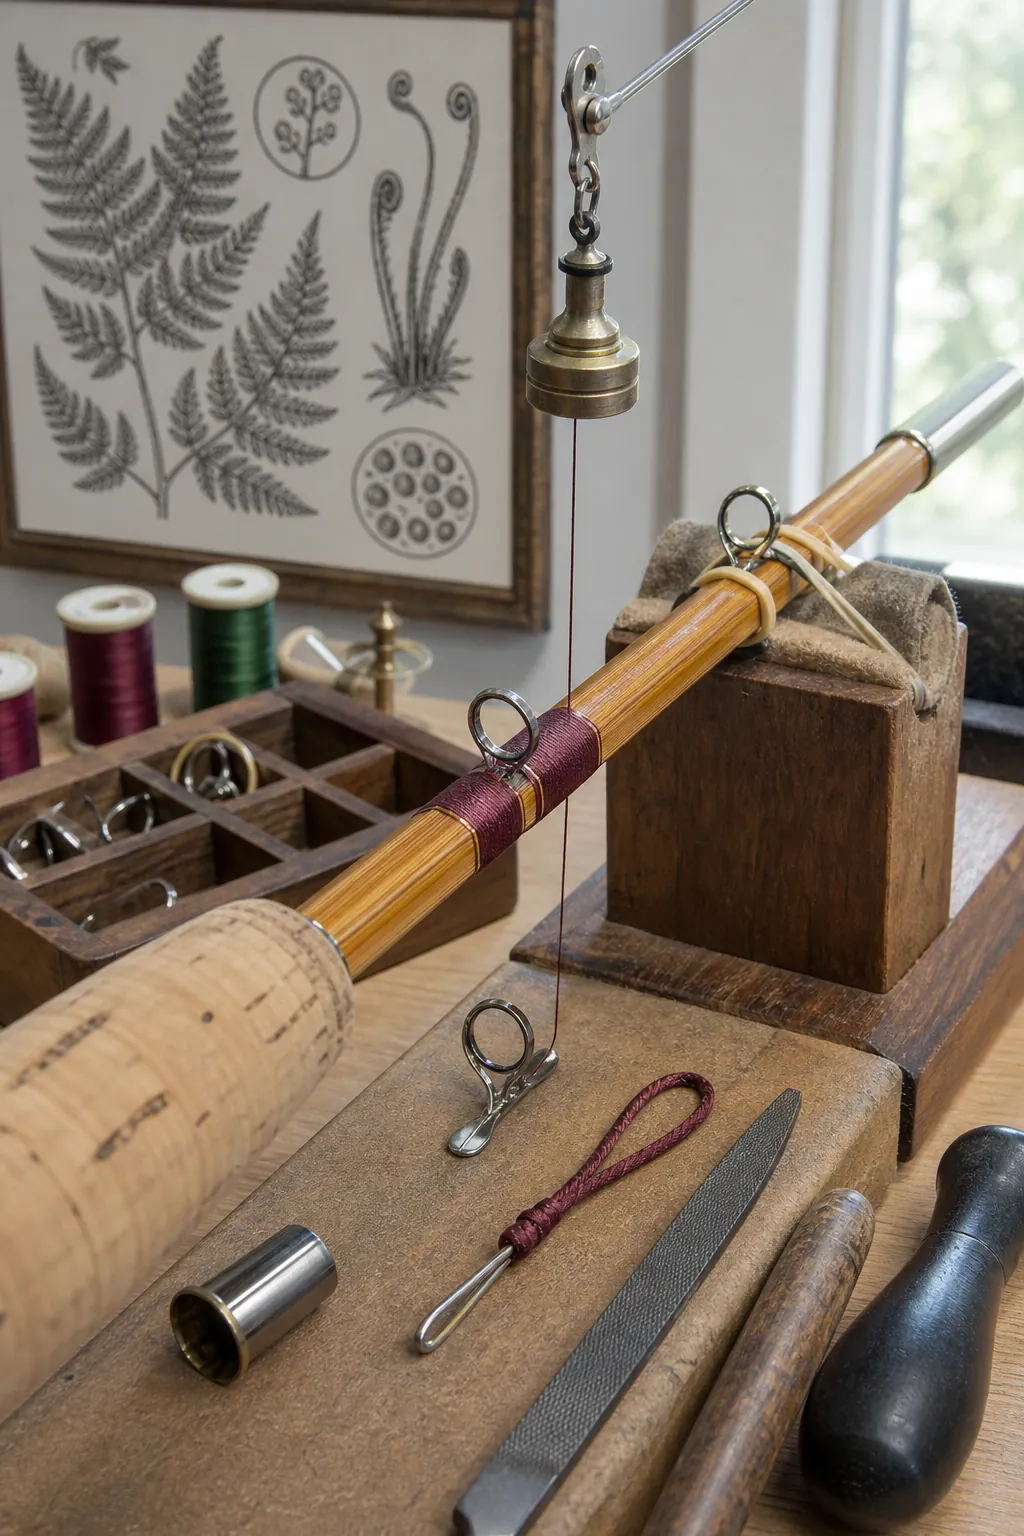
Place guides according to the taper and intended use, then test their alignment before wrapping. File guide feet into smooth ramps, secure them with close silk or nylon turns, and use a pull-through loop for clean ends. Add winding checks and hook keeper only when they serve the design; unnecessary hardware adds weight to a responsive blank.
Varnish, Cure, and Test the Finished Rod
Seal the wraps and apply thin, clean coats of a compatible rod finish in a dust-controlled, ventilated area. Rotate or dip the section using the chosen finish system, allow the specified cure between coats, and remove dust nibs carefully. Heavy varnish cannot improve a poor blank; it only adds weight and makes future repair harder.
After full cure, assemble the rod by pushing ferrules straight together without twisting, mount the correct reel and line, and perform a gentle lawn or water test. Check ferrule engagement, guide alignment, wrap stability, and the blank’s recovery before increasing load. The first successful rod is the one measured and inspected at every irreversible step, even if its wraps reveal the maker’s hand.