
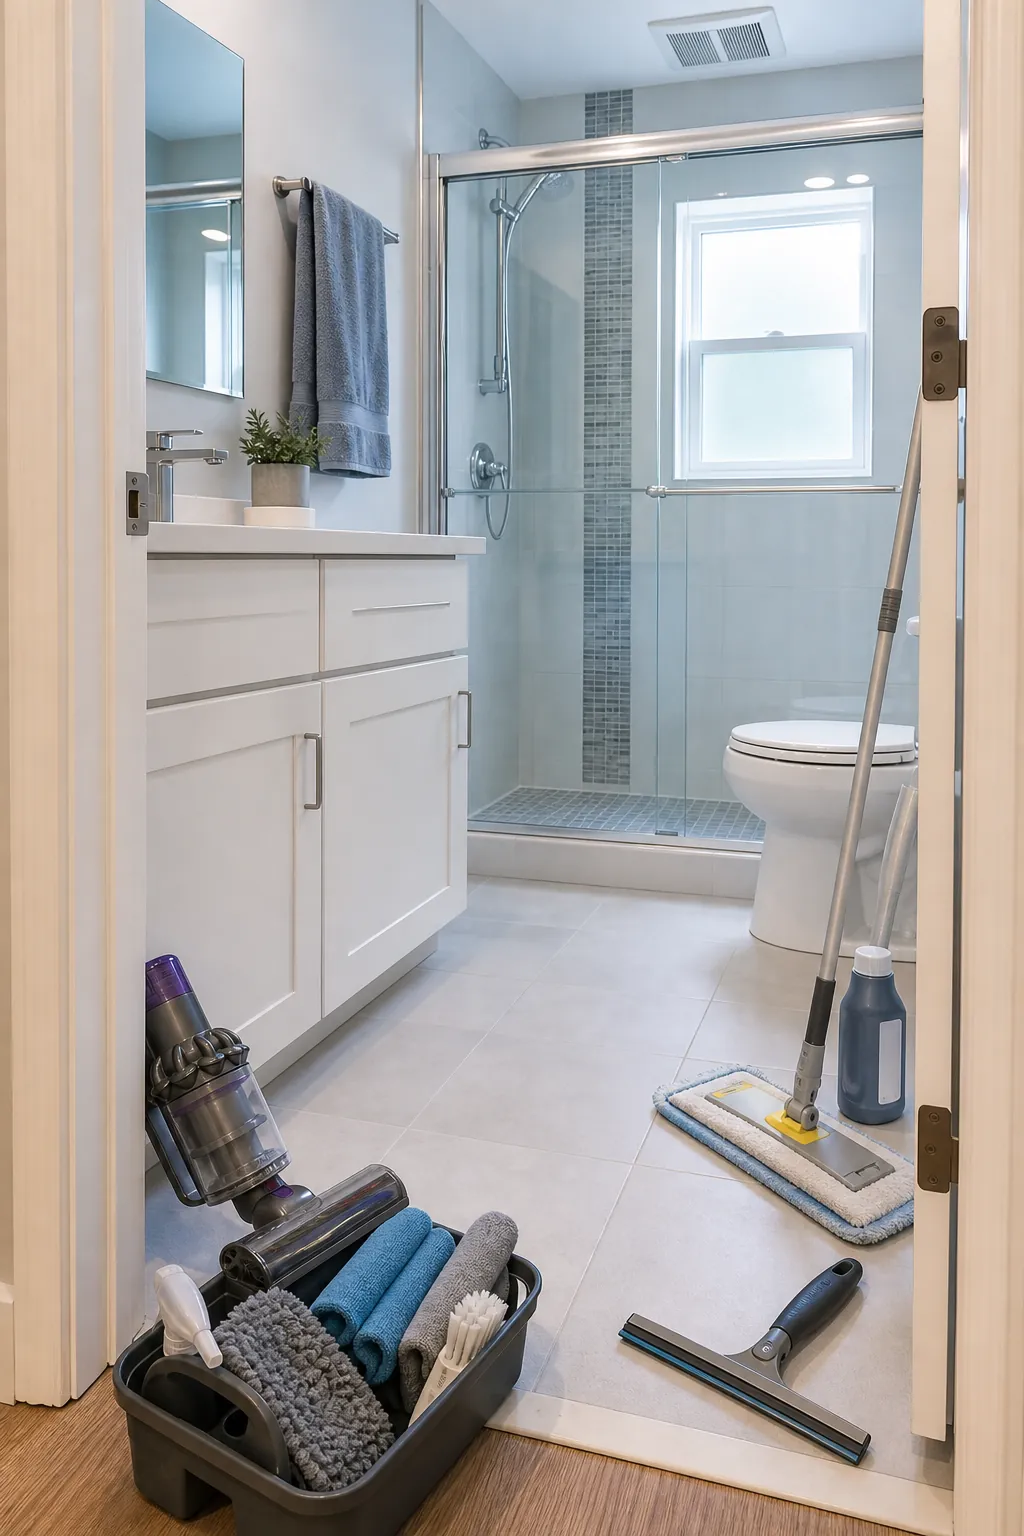
A bathroom can take twenty minutes or two hours depending on the order you choose. The slow version starts scrubbing whatever looks worst, splashes dust into wet cleaner, moves the same bottles three times, and mops before the toilet is finished. The efficient version follows one simple route: clear the room, work dry before wet, clean high before low, and leave the floor for last.
This guide explains how to clean a bathroom step by step without assuming you already know the routine. It works for a typical bathroom with a shower or tub, sink, toilet, mirror, and hard floor. Adjust products to each surface’s care instructions, ventilate the room, and never mix cleaners.
Step 1: Ventilate, gather supplies, and clear every surface
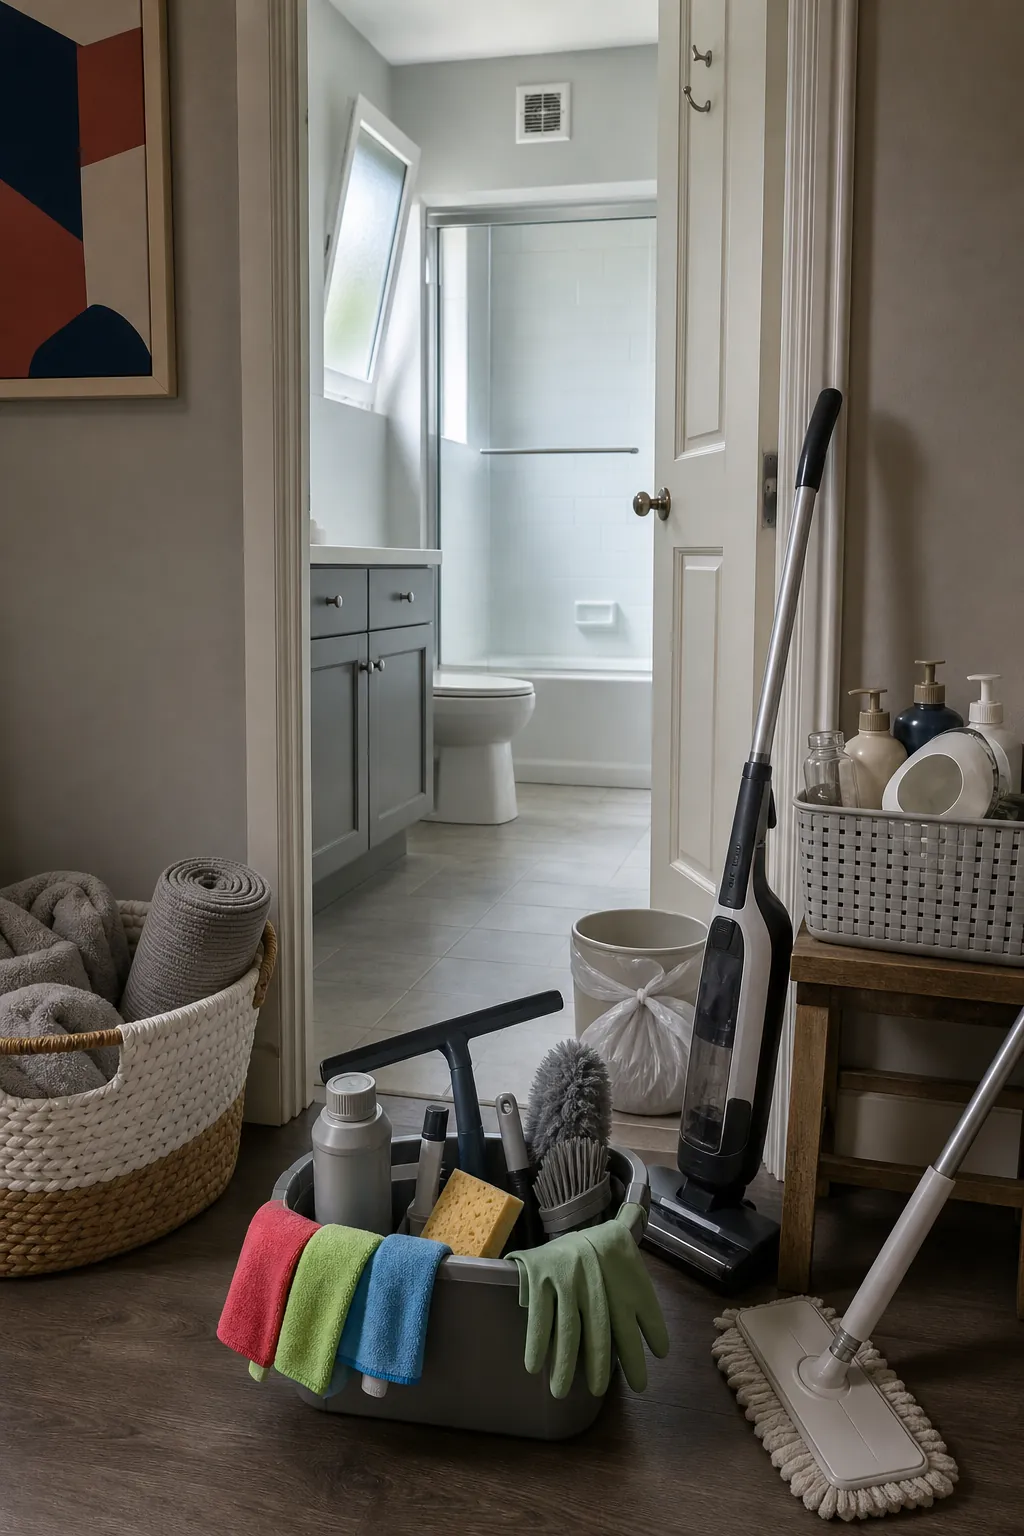
Open a window if you have one, switch on the exhaust fan, and prop the door open. Put on suitable gloves. Gather a duster, vacuum or broom, microfiber cloths, non-scratch sponge, soft detail brush, toilet brush, squeegee, mop, bucket, and the surface-appropriate cleaners you plan to use. Read every label before opening anything.
Move towels and bath mats to the laundry. Empty the bin. Take toiletries, countertop decor, and shower bottles out of the room or place them in one washable basket. Throw away empties as you go, but do not turn this into a full decluttering project. A clear counter and tub edge eliminate dozens of stop-and-start movements.
Step 2: Remove dry dust and hair from top to bottom
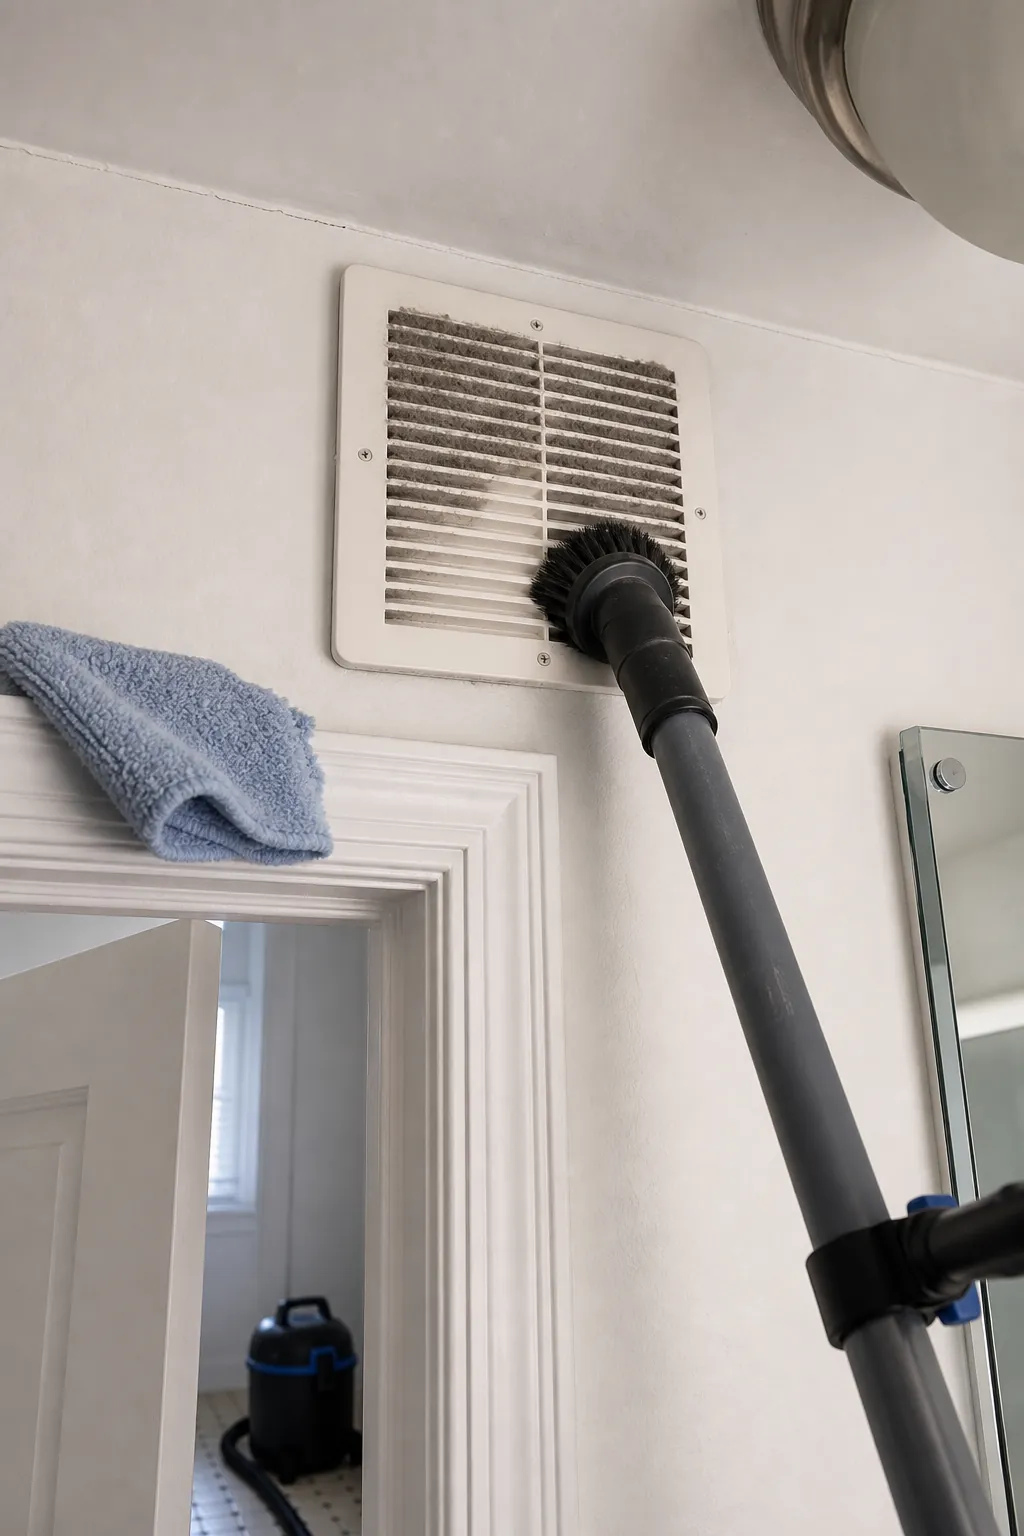
Before spraying anything, dust the exhaust grille, light fixture, top of the mirror, window trim, shelves, door casing, baseboards, and the outside of the toilet tank. Work clockwise so you can see where you started. Use a vacuum attachment for a dusty vent cover rather than pushing debris farther inside.
Vacuum or sweep the dry floor, especially behind the toilet and along vanity edges. You will still mop later. This early pass prevents hair from sticking to wet cloths and turning dust into gray paste—a frustration that comes up repeatedly in real bathroom routine discussions.
Step 3: Apply cleaner where dwell time helps
Choose one product labeled for your shower or tub surface. Apply only the amount directed, starting on the far wall and moving toward the exit. Apply toilet-bowl cleaner inside the bowl if its label calls for dwell time. Set a timer for the stated contact time—longer is not automatically better, especially on metal finishes, grout, caulk, or stone.
Never add a second product to “boost” the first. The CDC advises never mixing household bleach or disinfectants with other cleaners because dangerous vapors may be released. Keep the room ventilated, and rinse a product away completely before changing methods.
Step 4: Clean the mirror, vanity, faucet, and sink
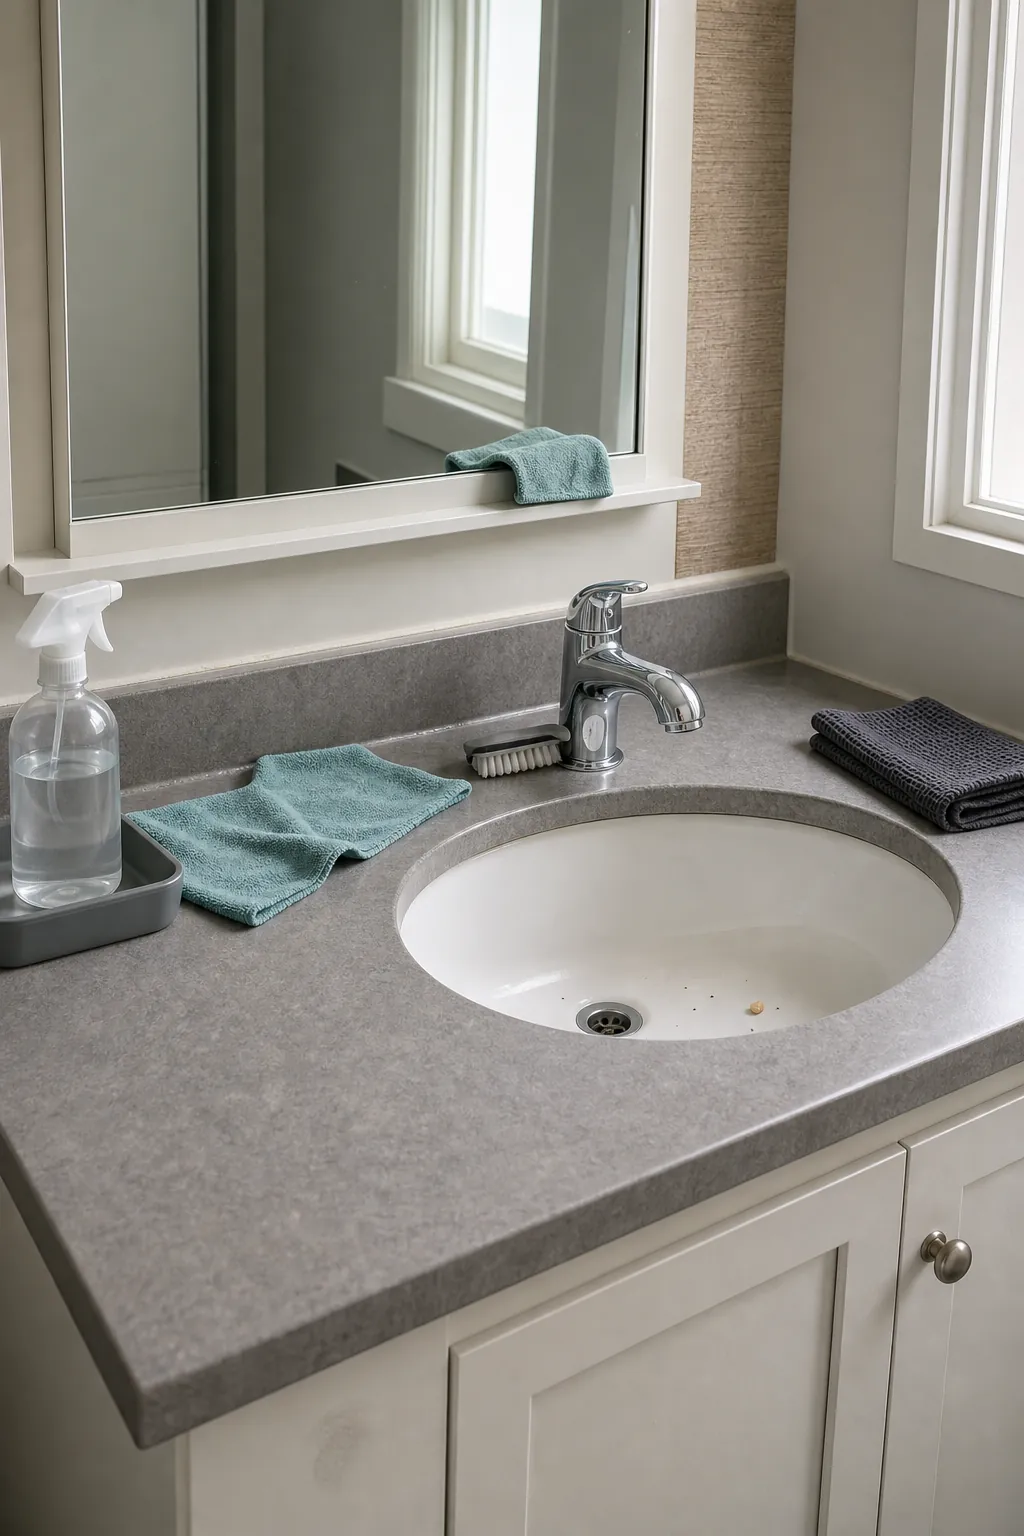
While the shower cleaner dwells, start with the mirror. Spray glass cleaner onto the cloth rather than misting the entire room, then wipe from top to bottom and polish the edges. Next wipe the counter, cabinet fronts, and faucet with a cleaner approved for those materials. Use a soft brush around the faucet base instead of forcing liquid into seams.
Wash the sink bowl last so it can collect the dust and residue from nearby work. Rinse it, wipe the overflow area according to the manufacturer’s guidance, then dry the faucet and counter with a fresh cloth. A dry finish prevents many hard-water spots and makes missed residue easy to see.
Step 5: Scrub and rinse the shower or tub
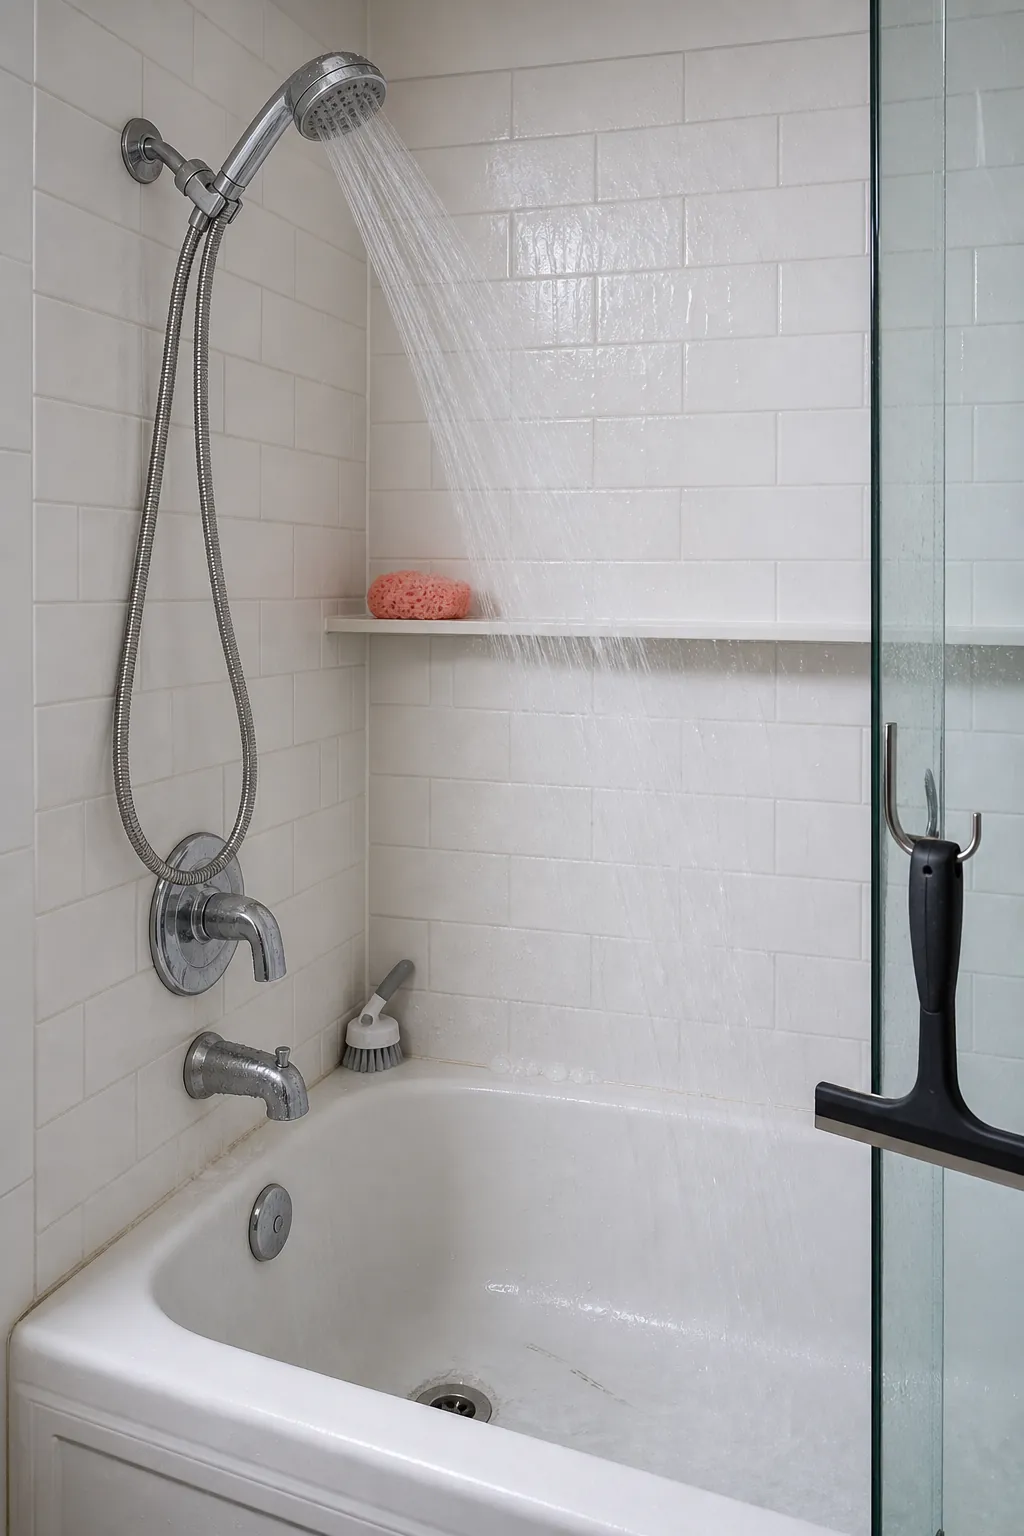
Return when the dwell time ends. Work from upper wall surfaces down to shelves, fixtures, doors, and the shower floor or tub basin. Agitate only where needed with a non-scratch sponge or soft brush. Pay attention to corners, door tracks, the underside of shelves, and the line where the wall meets the tub—areas a quick wipe often misses.
Rinse thoroughly so cleaner does not dry into residue. Squeegee glass and tile, then dry metal hardware with a microfiber cloth. If you see cracked grout, failed caulk, a leak, or recurring growth, treat it as a moisture or repair issue rather than escalating to harsher chemicals.
Step 6: Clean the toilet with dedicated tools
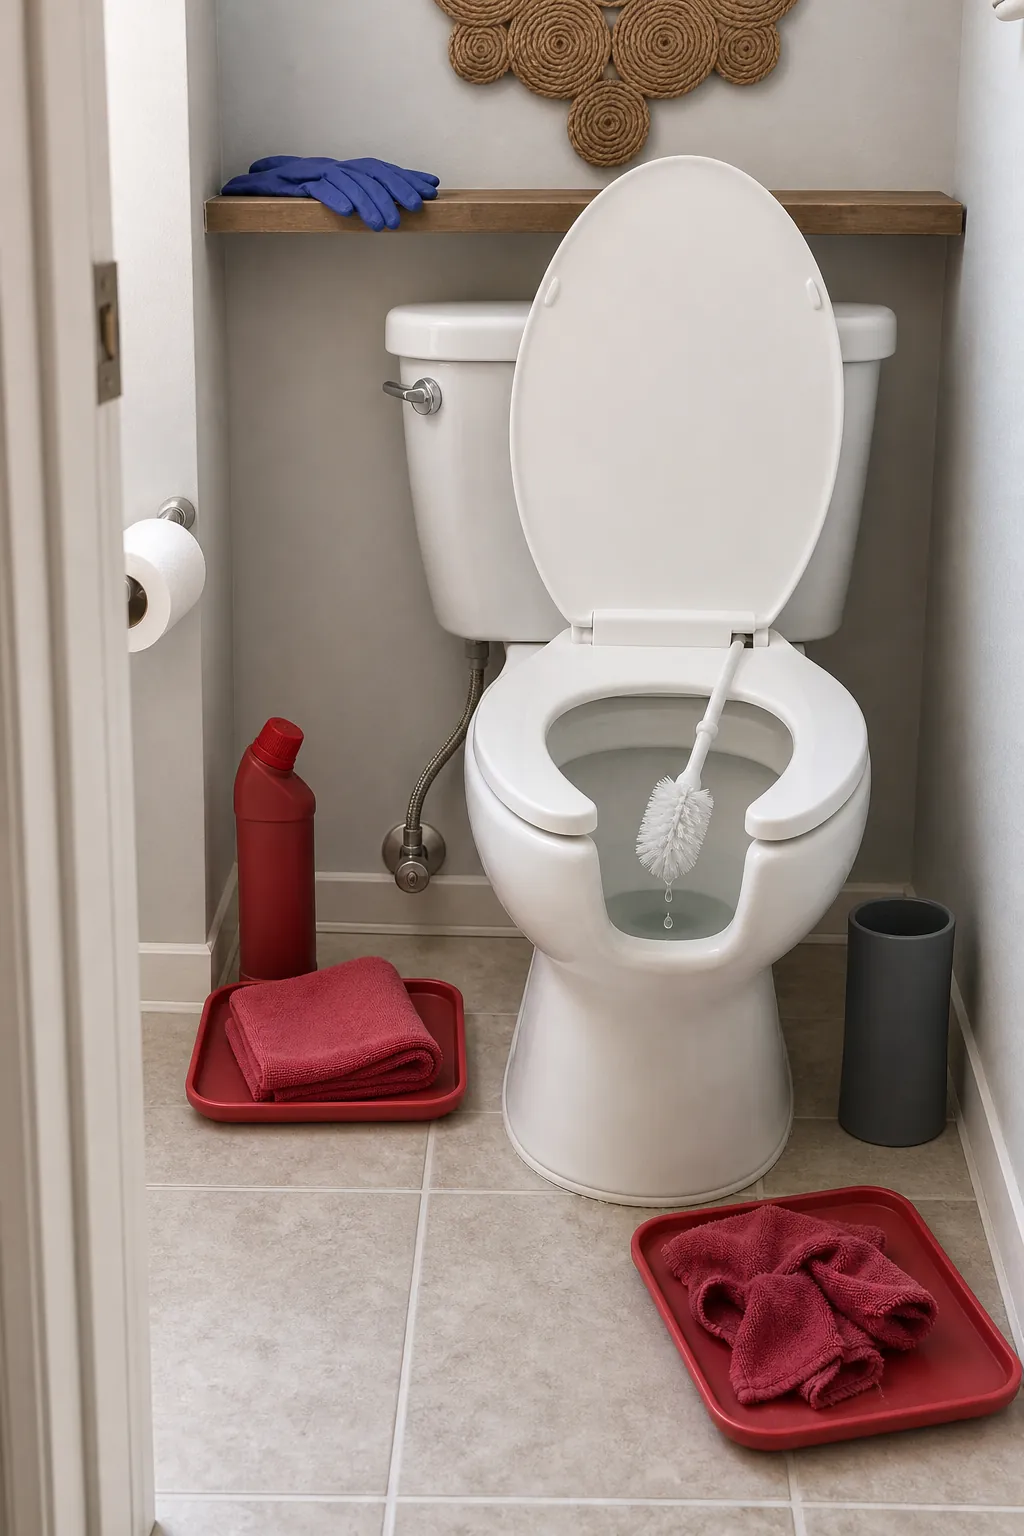
Use a toilet-only cloth or disposable paper and keep it away from the vanity supplies. Wipe the flush handle, tank, lid, seat, hinges, exterior bowl, and base, moving from cleaner areas toward dirtier ones. Scrub inside the bowl with the toilet brush according to the cleaner label, flush, rinse the brush in clean bowl water, and let it air-dry before returning it to the holder.
Change gloves or wash your hands before touching any non-toilet surface again. Wipe the nearby floor and baseboard with a separate toilet-zone cloth. This color-coded separation is one of the simplest bathroom cleaning tips for reducing cross-contamination.
Step 7: Mop toward the doorway and reset the room
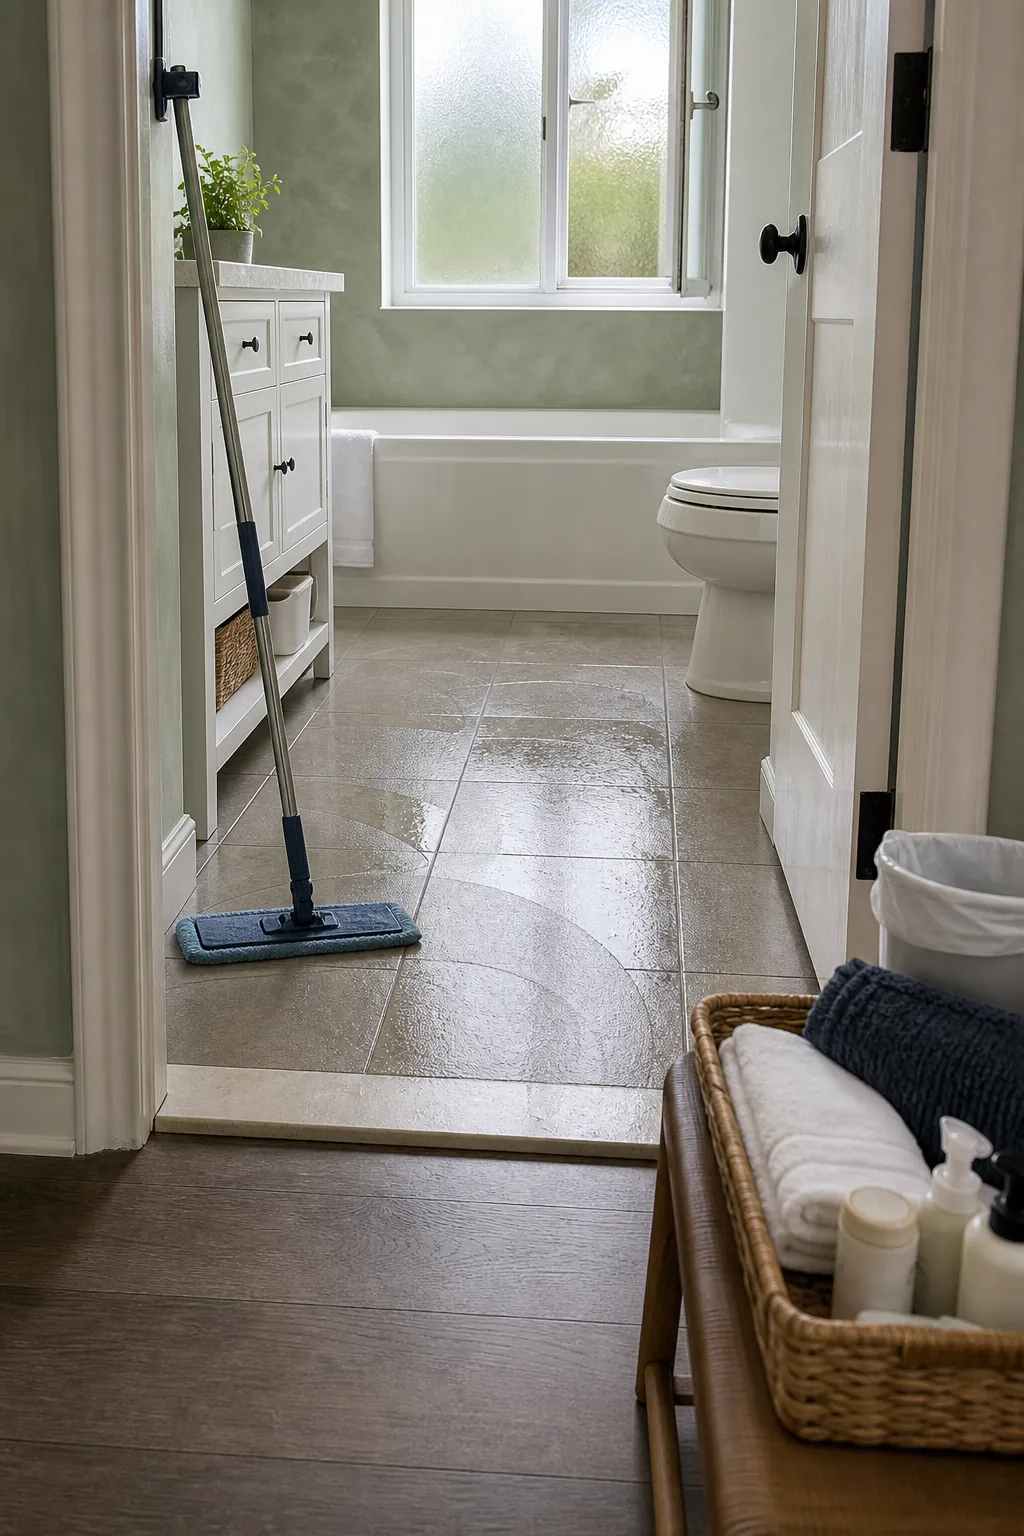
Spot-clean baseboards, then mop the floor from the farthest corner toward the door so you do not walk across the wet area. Follow the floor manufacturer’s guidance and avoid leaving puddles around the toilet base, vanity, or room edges. Let the floor dry with ventilation running.
Return only clean, dry toiletries. Install a fresh bin liner, replace hand towels, and put back a completely dry bath mat. Wipe bottles before they return to the shower; otherwise, you bring soap residue straight back onto the clean shelf.
Turn the deep clean into a manageable bathroom routine
A weekly reset is faster when daily habits prevent buildup. After bathing, run ventilation, squeegee wet walls, spread towels to dry, and wipe obvious splashes from the sink. Clean high-touch points and the toilet as household needs require. Schedule grout, vent, cabinet, and under-sink inspections monthly rather than forcing every detail into one exhausting session.
When energy is limited, split the sequence across days: shower one day, toilet and sink the next, then floor. The order still holds inside each zone—dry before wet, high before low, clean before dirty. That is the real answer to how to clean a bathroom step by step: use an order that prevents you from doing the same work twice.
For current chemical precautions, review the CDC guidance on cleaning and disinfecting with bleach. Always follow the product label and surface manufacturer’s instructions.