
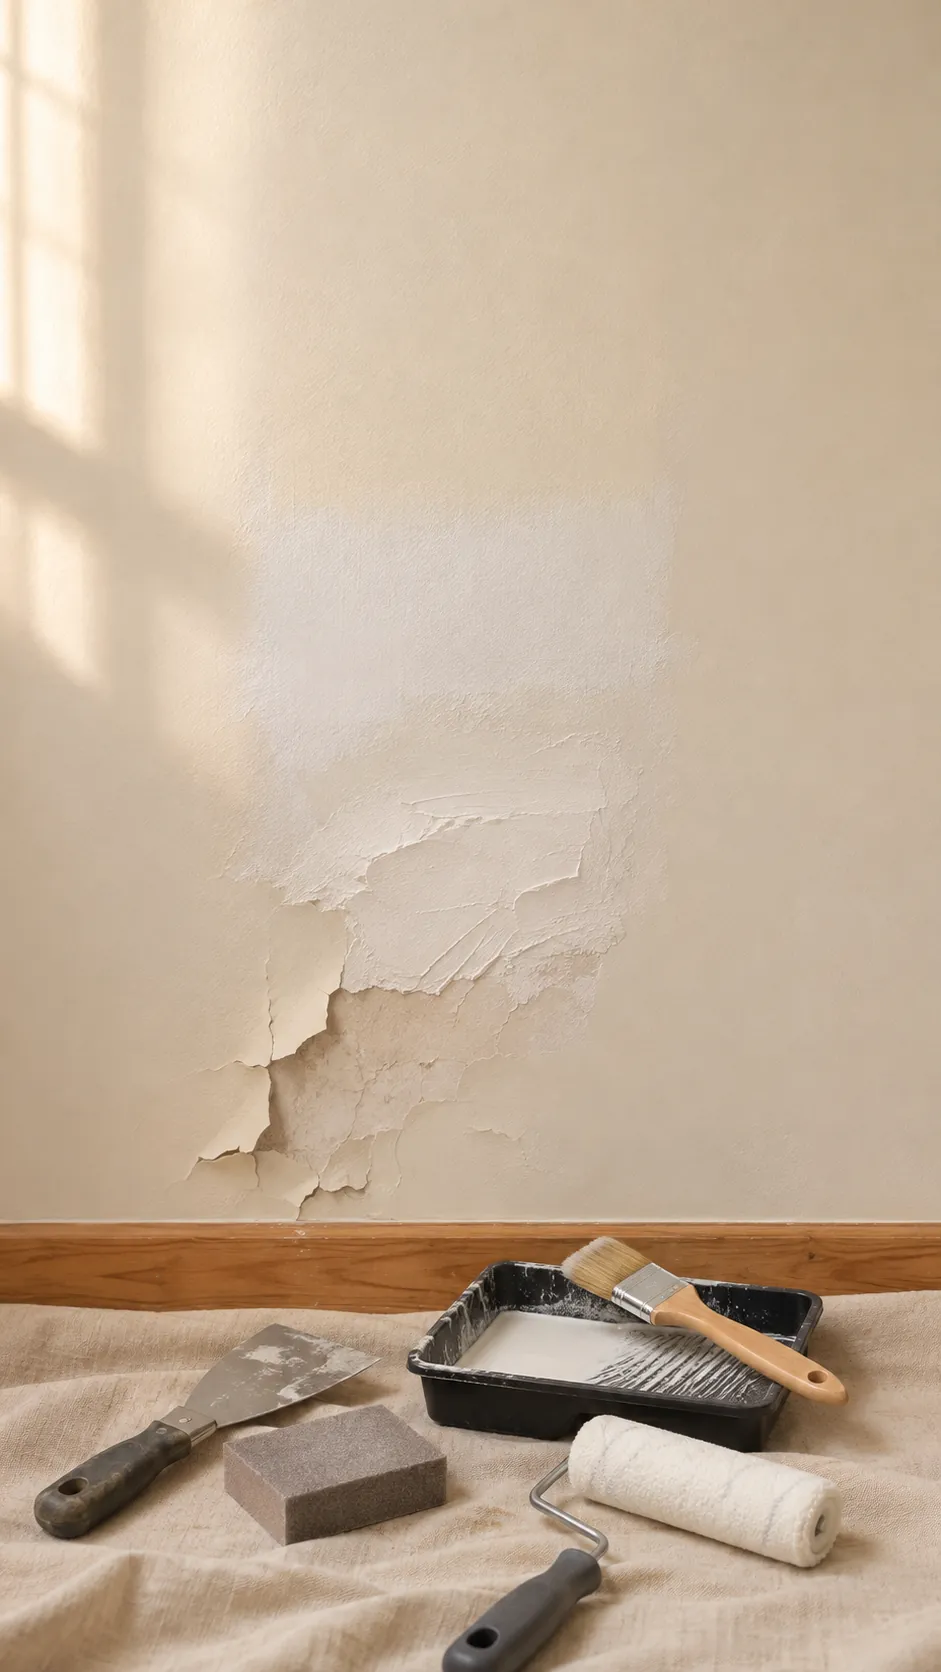
Peeling paint is rarely solved by covering it with another coat. The new finish can only hold as well as the weakest layer beneath it, so a durable repair starts with the cause and ends with a smooth, sealed surface.
Plan for more preparation than painting. You will need a scraper, sanding sponge, patching compound, a wide knife, primer, a roller, floor protection, and basic safety equipment. If the wall is old enough to contain lead paint, pause before creating dust and follow local testing and containment guidance.
Find the reason the paint lost its grip
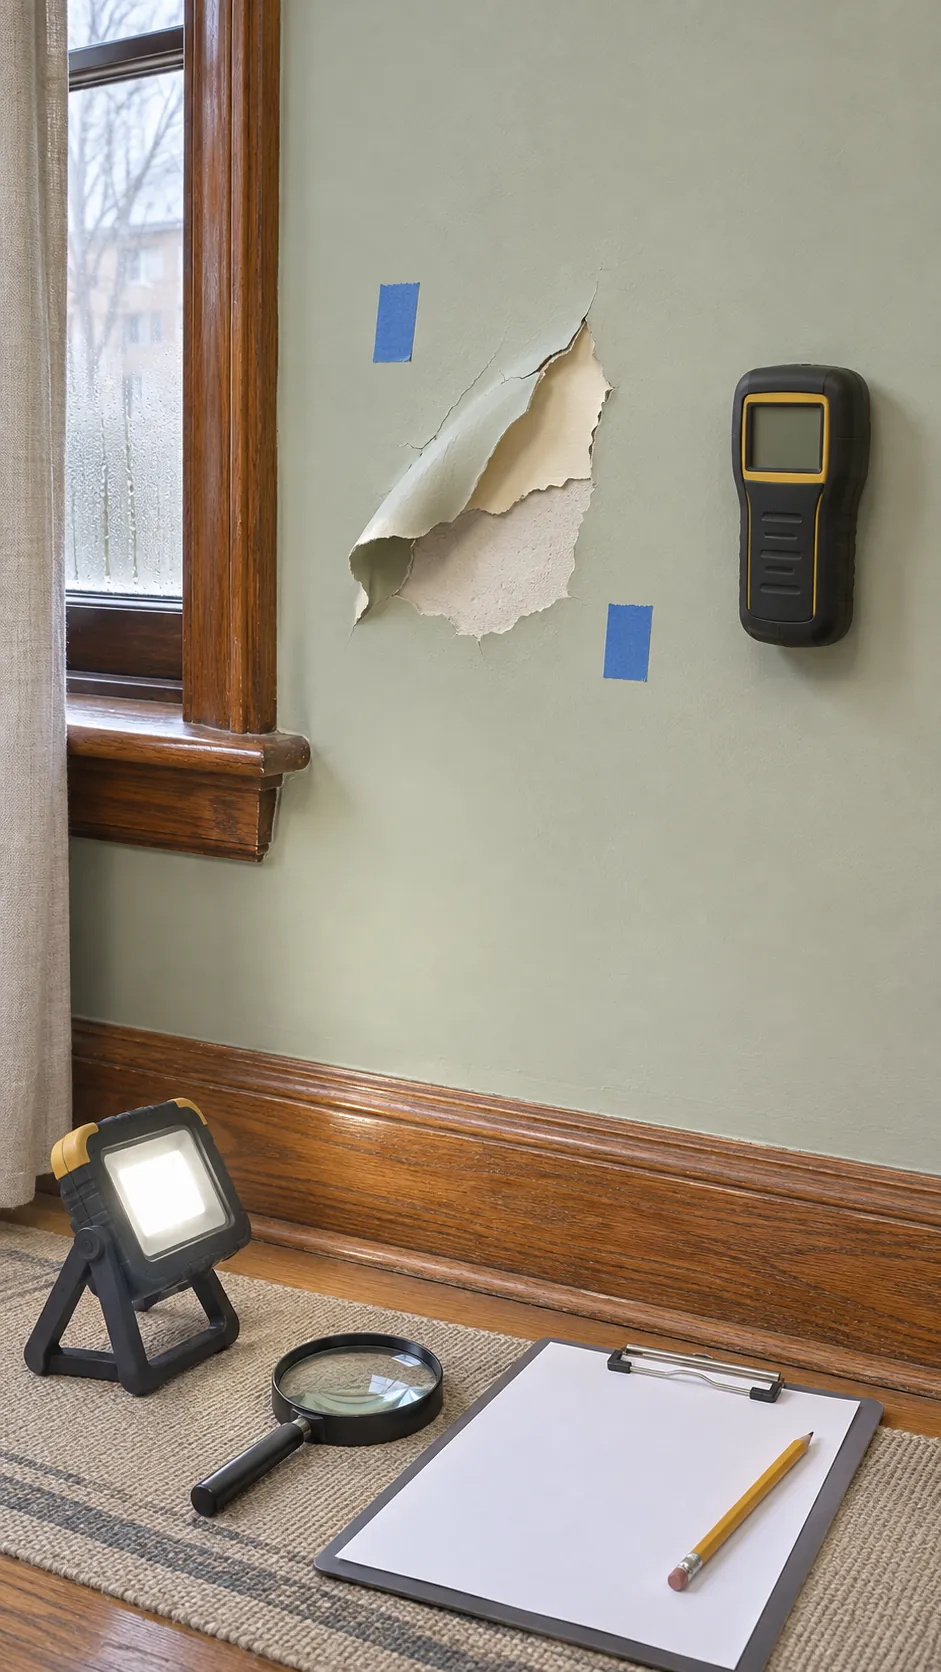
Look beyond the loose edge before you reach for a scraper. Peeling near a window, bathroom, pipe, roof line, or exterior wall can point to condensation or a leak, while broad sheets that release from a clean surface often suggest poor preparation or incompatible coatings. Press around the area and inspect for softness, staining, chalky residue, grease, and repeated bubbling.
Correct active moisture first and let the wall dry fully. Paint cannot stabilize damp drywall or plaster, and a primer is not a substitute for a repair. If the substrate is soft, moldy, or repeatedly wet, address that damage before continuing with the cosmetic work.
Check old coatings before you disturb them
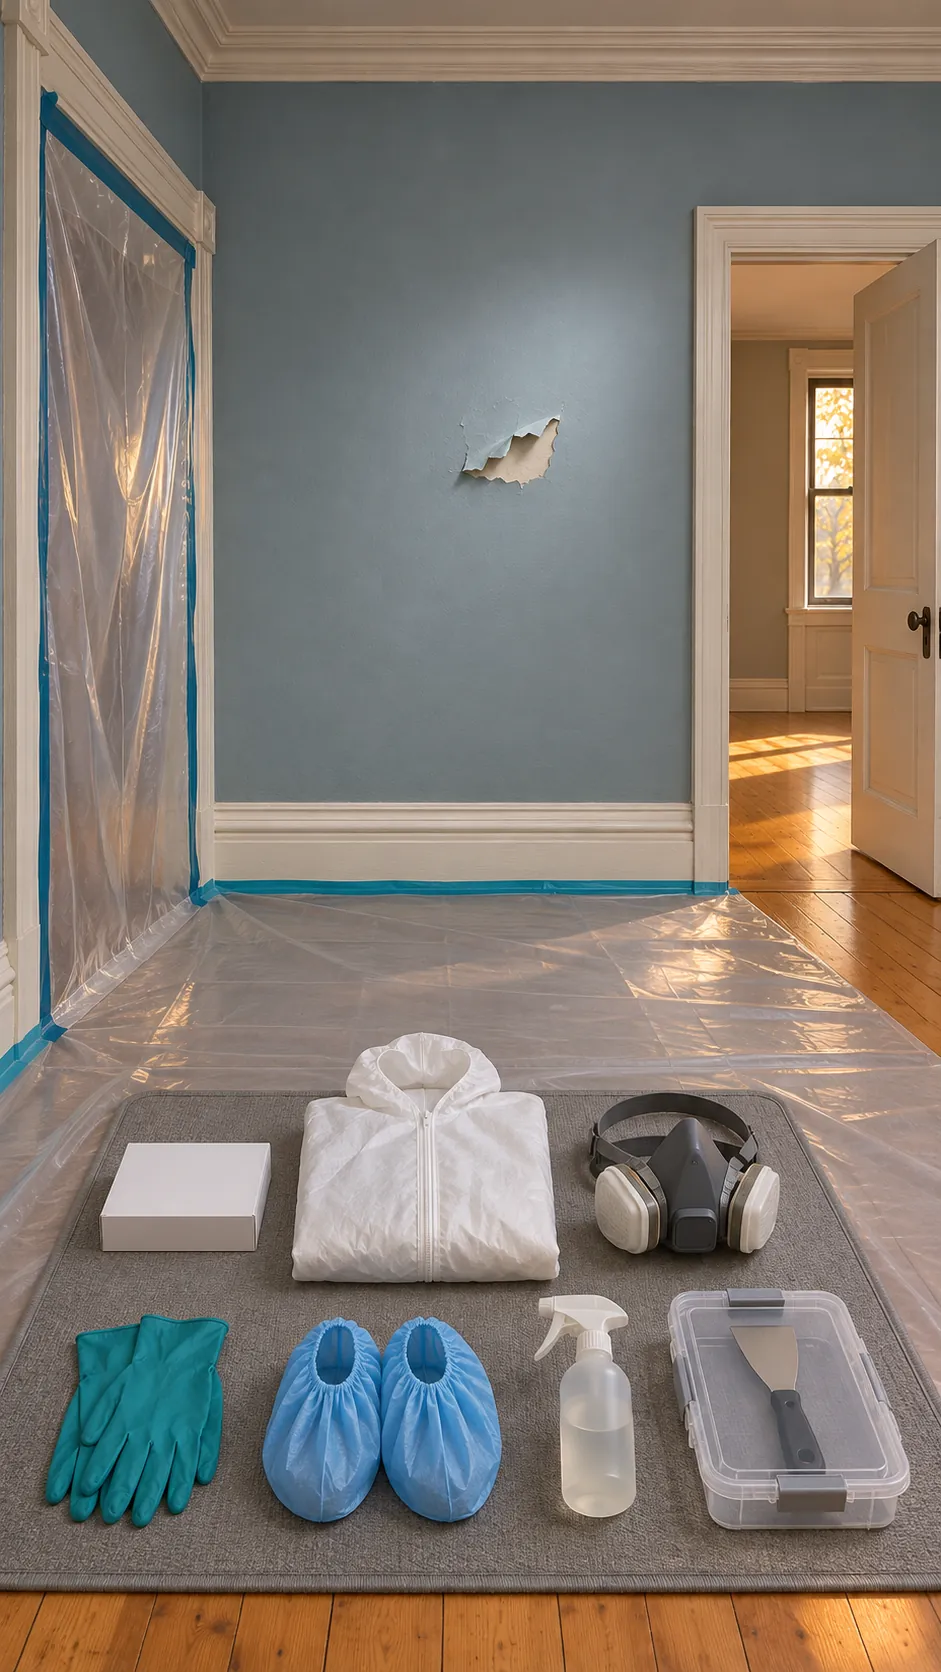
Older homes can contain lead based paint under newer layers. Check the age of the building and use an approved test method or a qualified professional before sanding or scraping an uncertain coating. Children, pregnant people, and pets should stay away from the work zone.
Protect the floor, isolate the area, and use equipment suited to the result of that assessment. Avoid dry sanding or heat methods when lead may be present. Local rules can require specific containment and cleanup, so treat this step as a safety decision rather than a routine surface repair.
Remove loose paint without damaging the wall
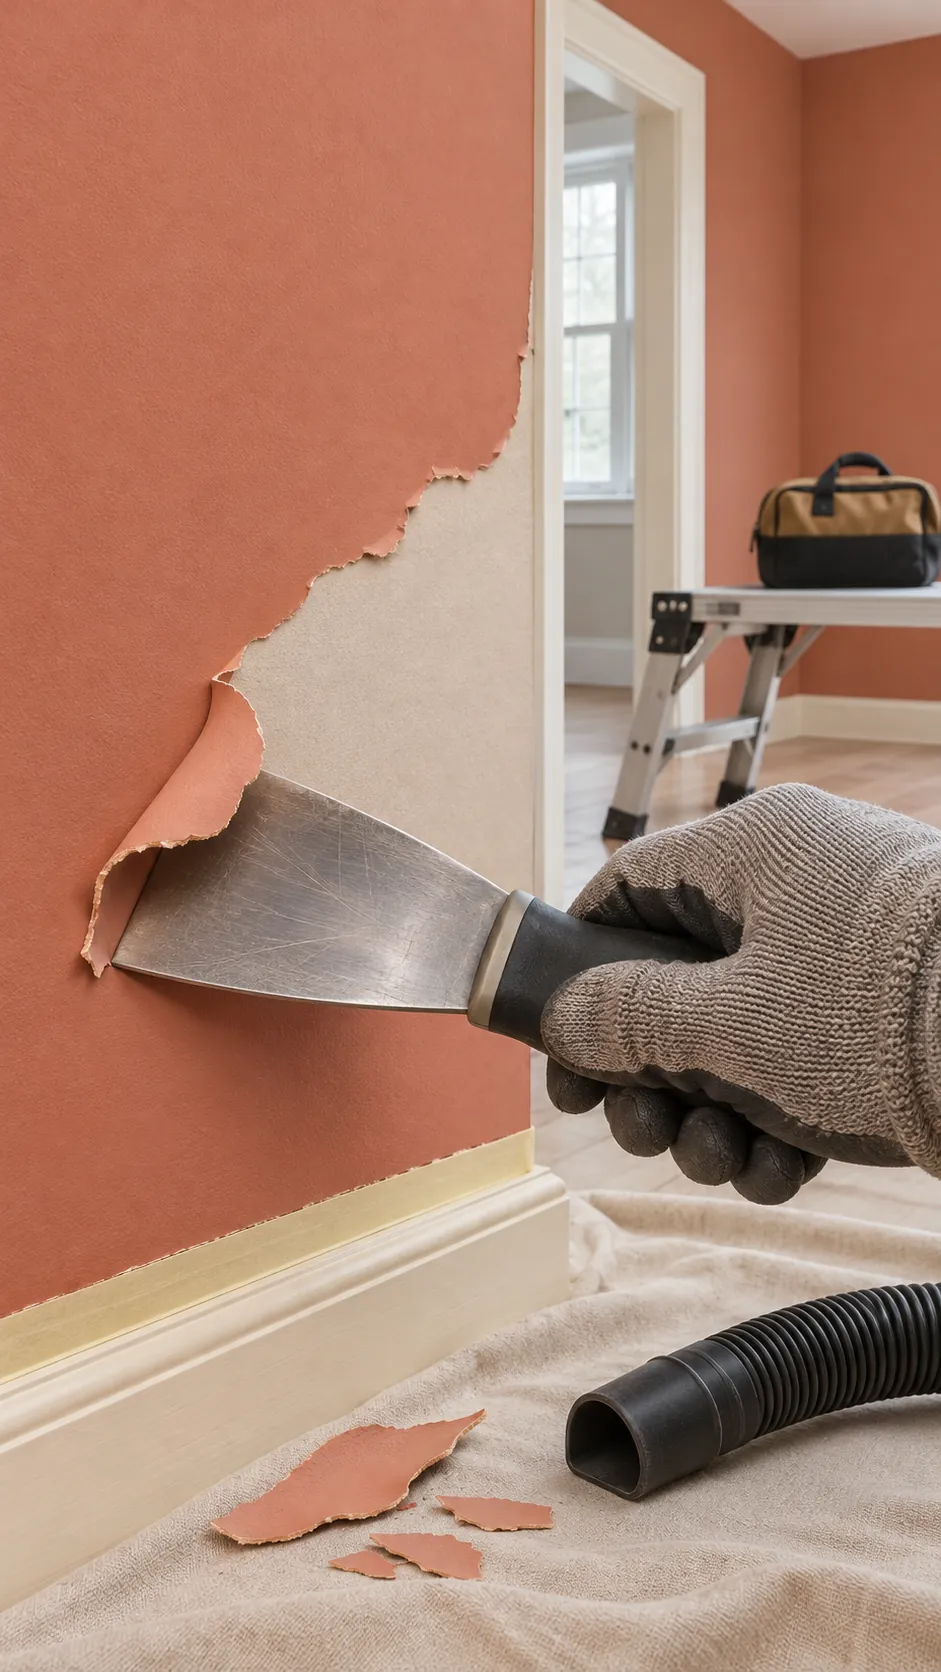
Slide a putty knife or paint scraper under lifted edges and remove material that releases with light, controlled pressure. Keep the blade nearly flat so it does not gouge drywall paper or soft plaster. Continue until the remaining perimeter feels firm when you press and lightly scrape it.
Do not chase sound paint merely to create a neat shape. An irregular firm boundary is easier to repair than a larger damaged surface. Collect debris as you work, then vacuum the area with suitable filtration and wipe away residue using the cleaning method appropriate for the wall.
Feather the shallow step with patching compound
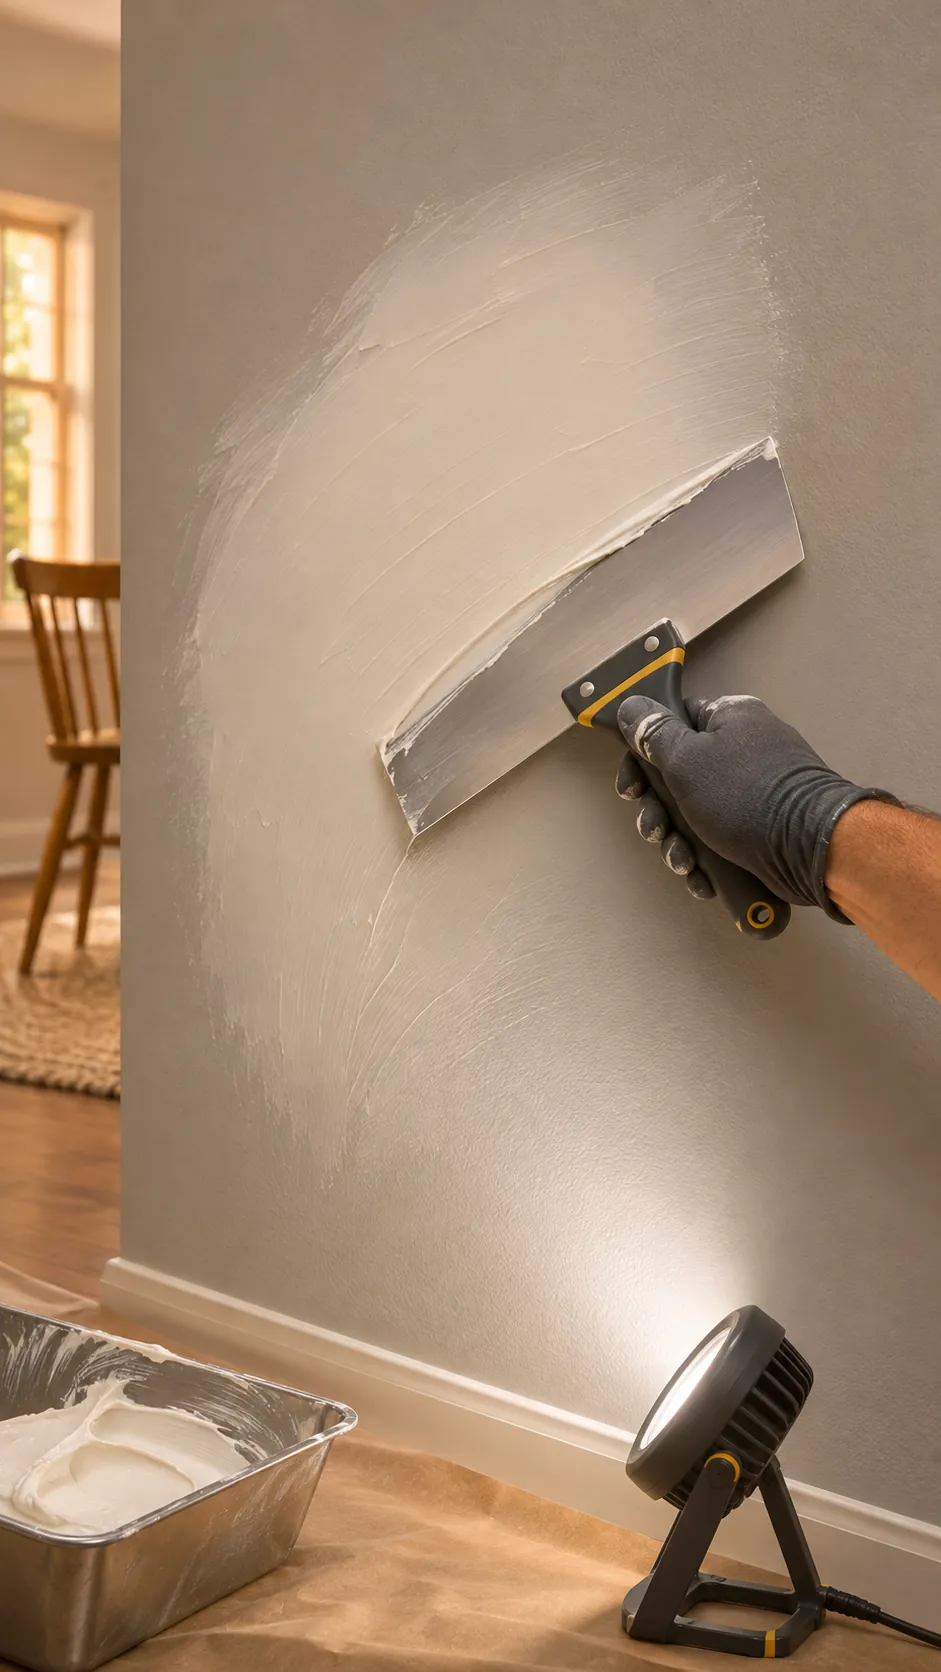
The exposed area is usually lower than the surrounding paint film. Apply a thin coat of patching compound across the recess with a wide knife, then extend the outer edge onto sound paint with progressively lighter pressure. The goal is a broad, shallow transition, not a thick mound over the missing coating.
Let the compound dry for the time stated by its maker. Inspect it with light coming across the wall, not straight at it, because side light reveals ridges and pinholes. Add another thin pass only where needed, then allow it to dry before sanding.
Sand smooth and seal the porous repair
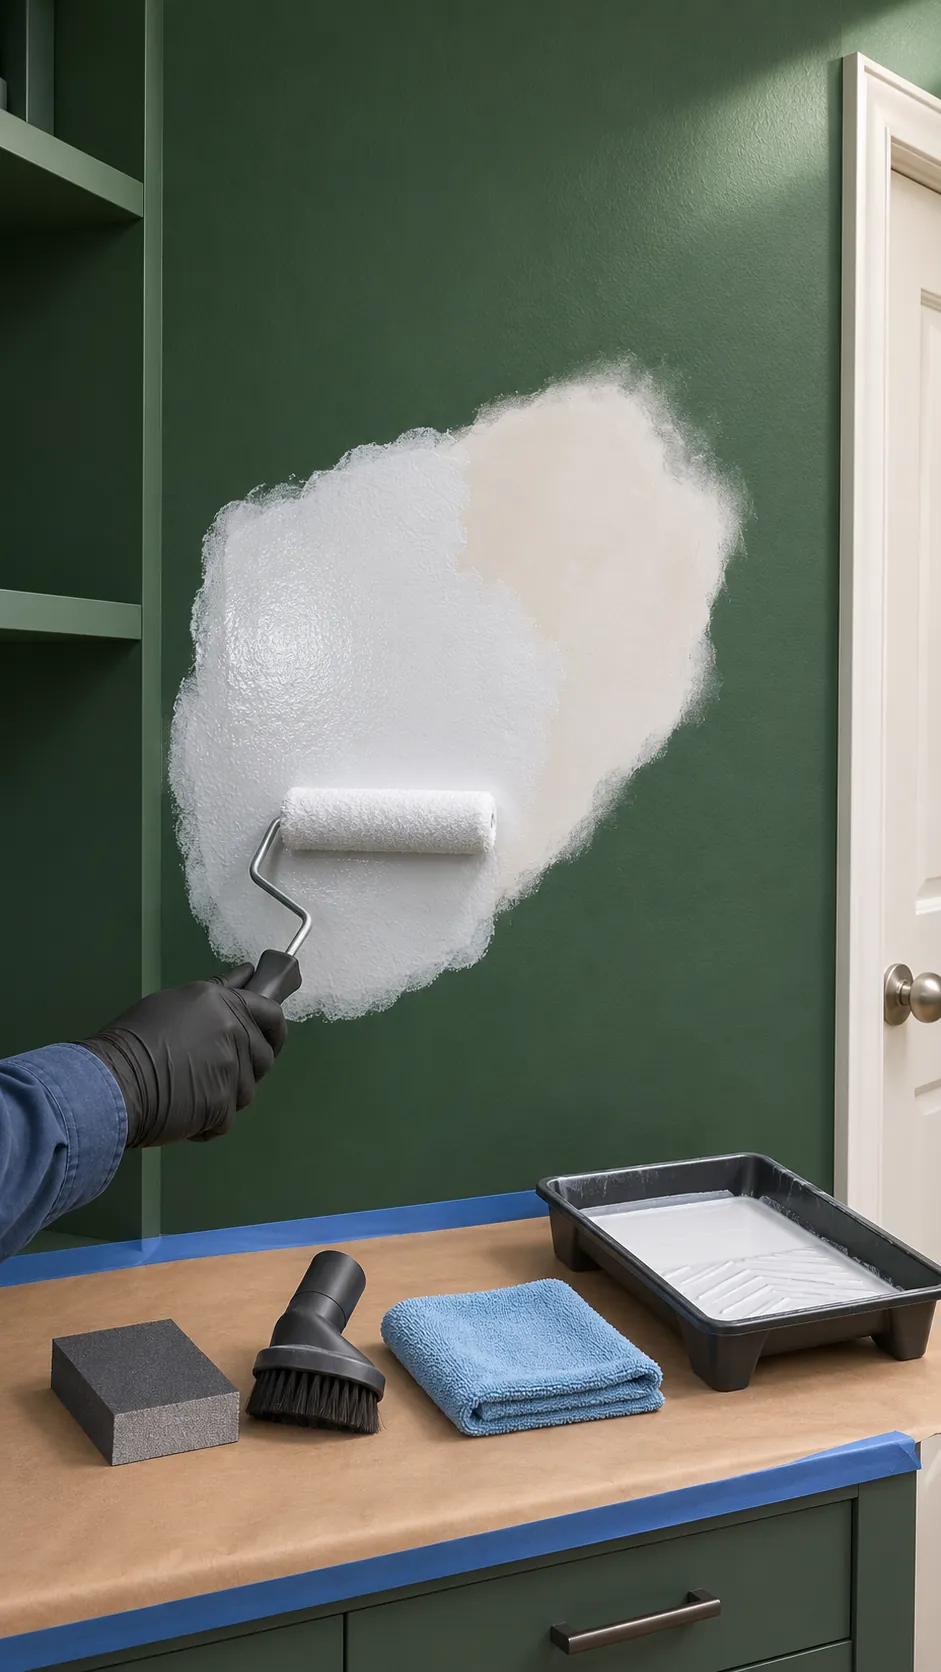
Sand with a fine sponge and use your fingertips to feel the transition. Stop when the repair is level, since aggressive sanding can expose the ridge again or damage the paper face. Remove all dust before primer touches the wall.
Prime the complete patch and a small margin of surrounding paint with a product suited to the substrate and the cause of failure. Bare compound absorbs finish paint differently, so skipping primer often leaves a dull shape called flashing. If the old coating is glossy or questionable, follow the primer instructions for cleaning and bonding.
Repaint with matching tools and a wet edge
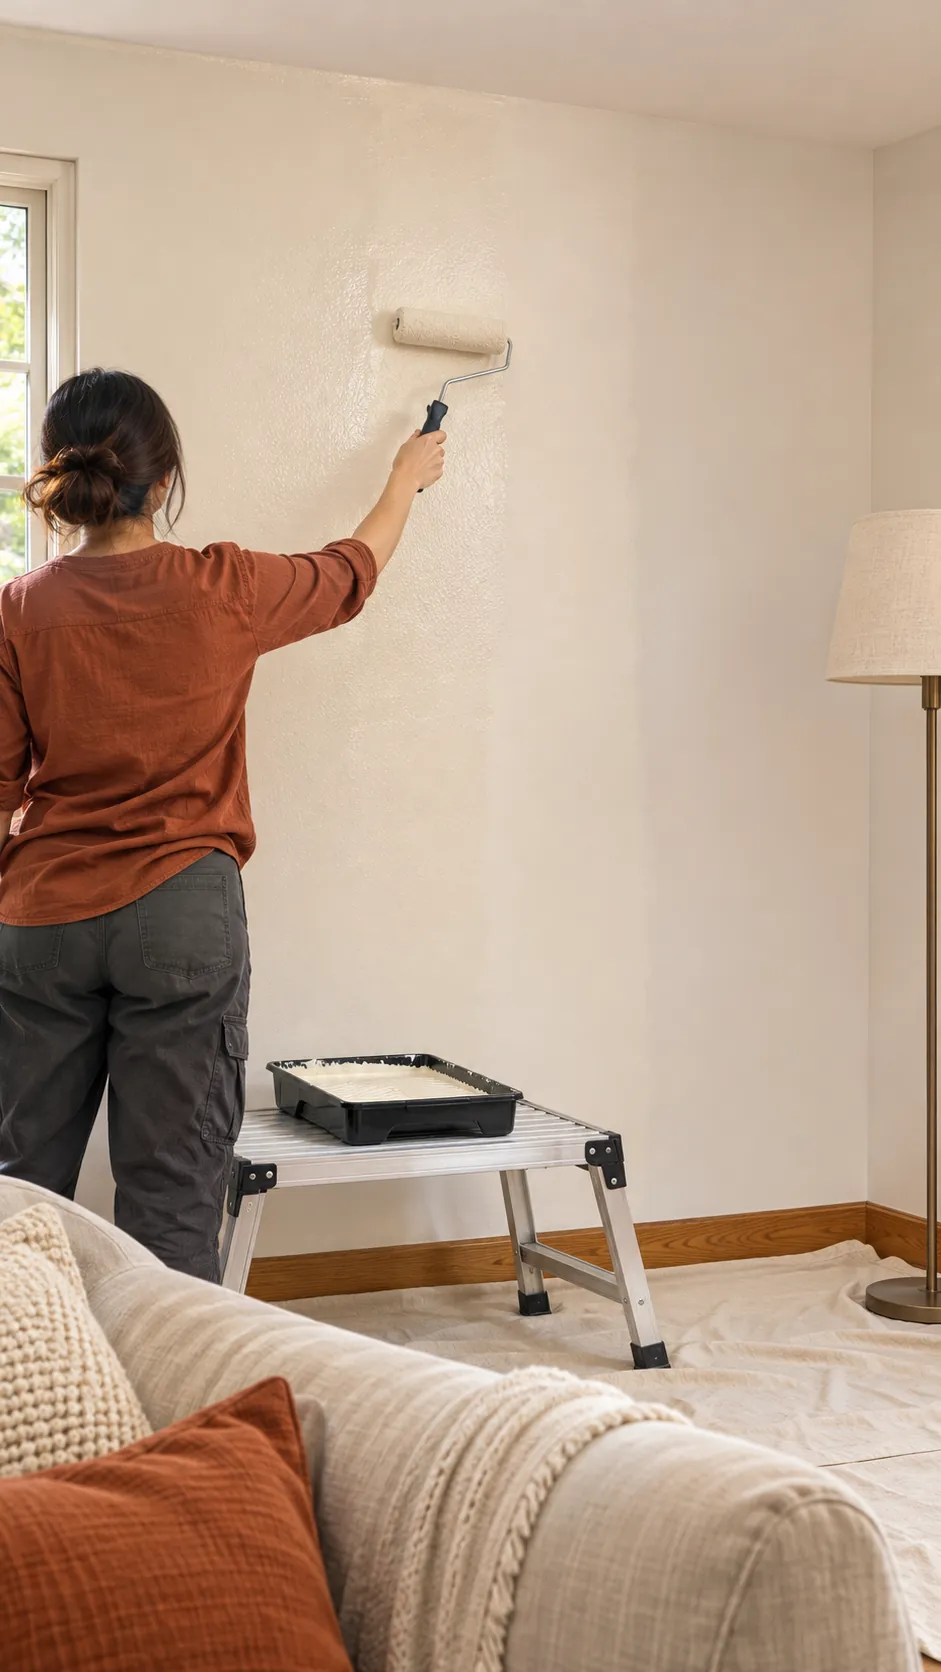
Use the same sheen and a roller nap that produces a texture close to the rest of the wall. Stir the paint thoroughly, load the roller evenly, and overlap each pass while the previous edge is still wet. A small isolated touch up can remain visible even when the color matches.
For the most even result, paint from one natural break to another, such as corner to corner. Let the coat dry under normal ventilation and judge it only after the sheen settles. Apply a second coat when coverage or color uniformity requires it.
Inspect the dry finish under side light
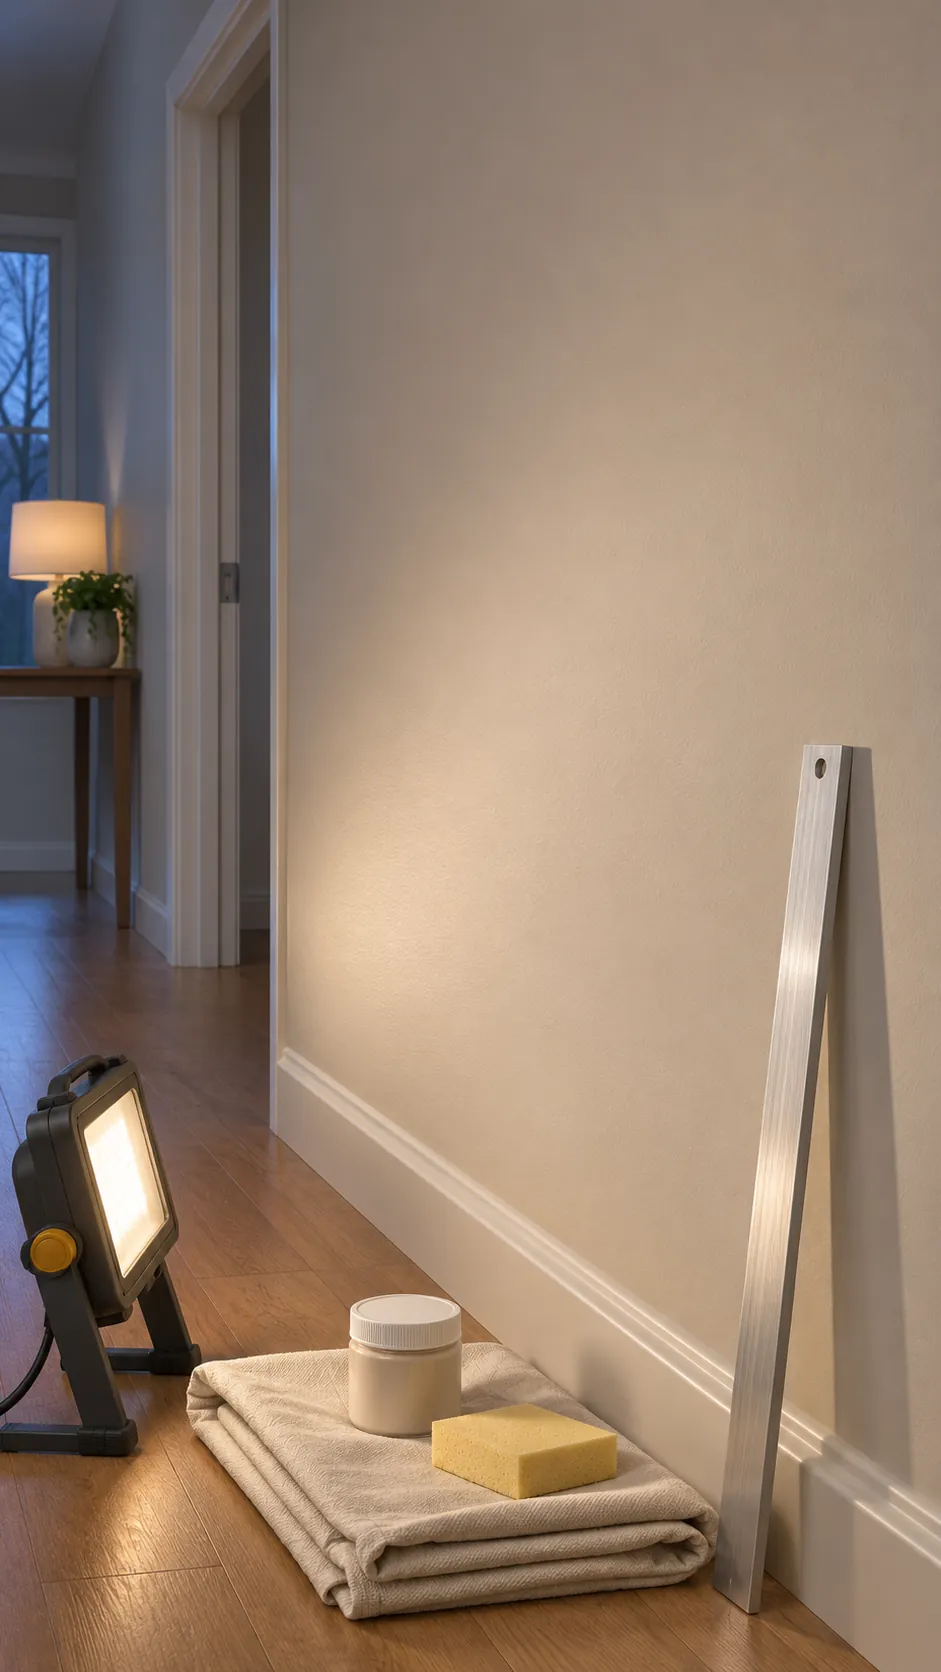
Wait until the finish is fully dry, then view the wall from several angles with daylight or a lamp grazing across it. A successful repair has no lifting edge, soft blister, obvious ridge, or different patch of sheen. Minor roller texture is normal when it is consistent with the surrounding surface.
If peeling returns, stop adding paint and investigate the underlying condition again. Recurring moisture, a weak older coating, or contamination can extend beyond the first visible spot. The lasting fix is the stable substrate you create beneath the color.