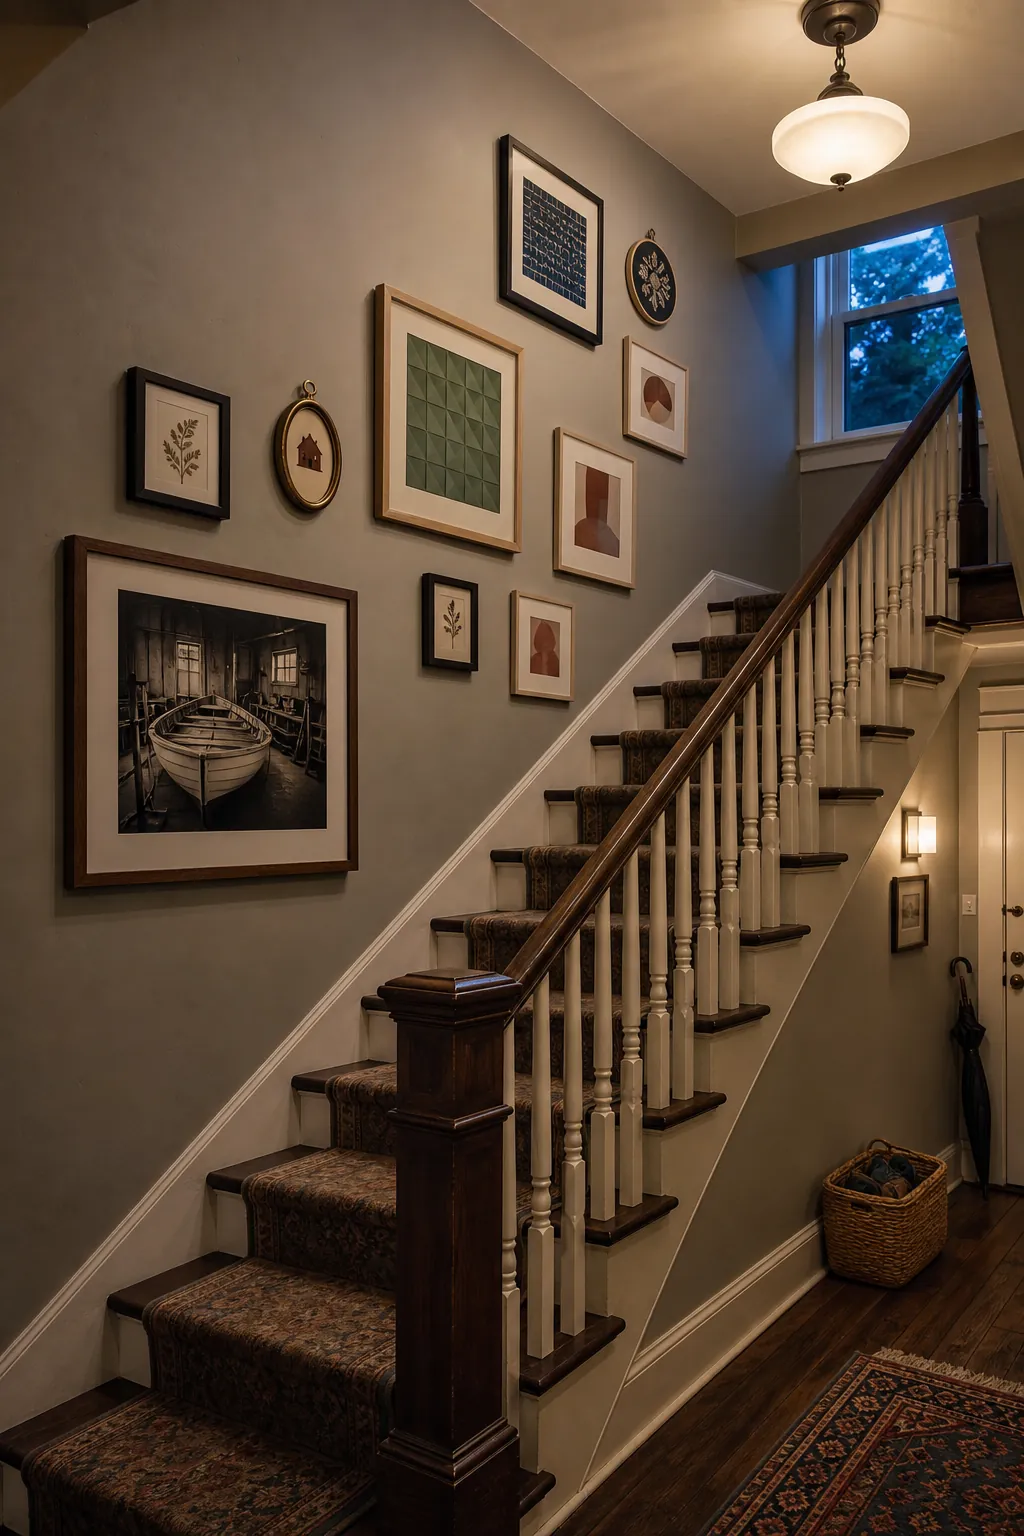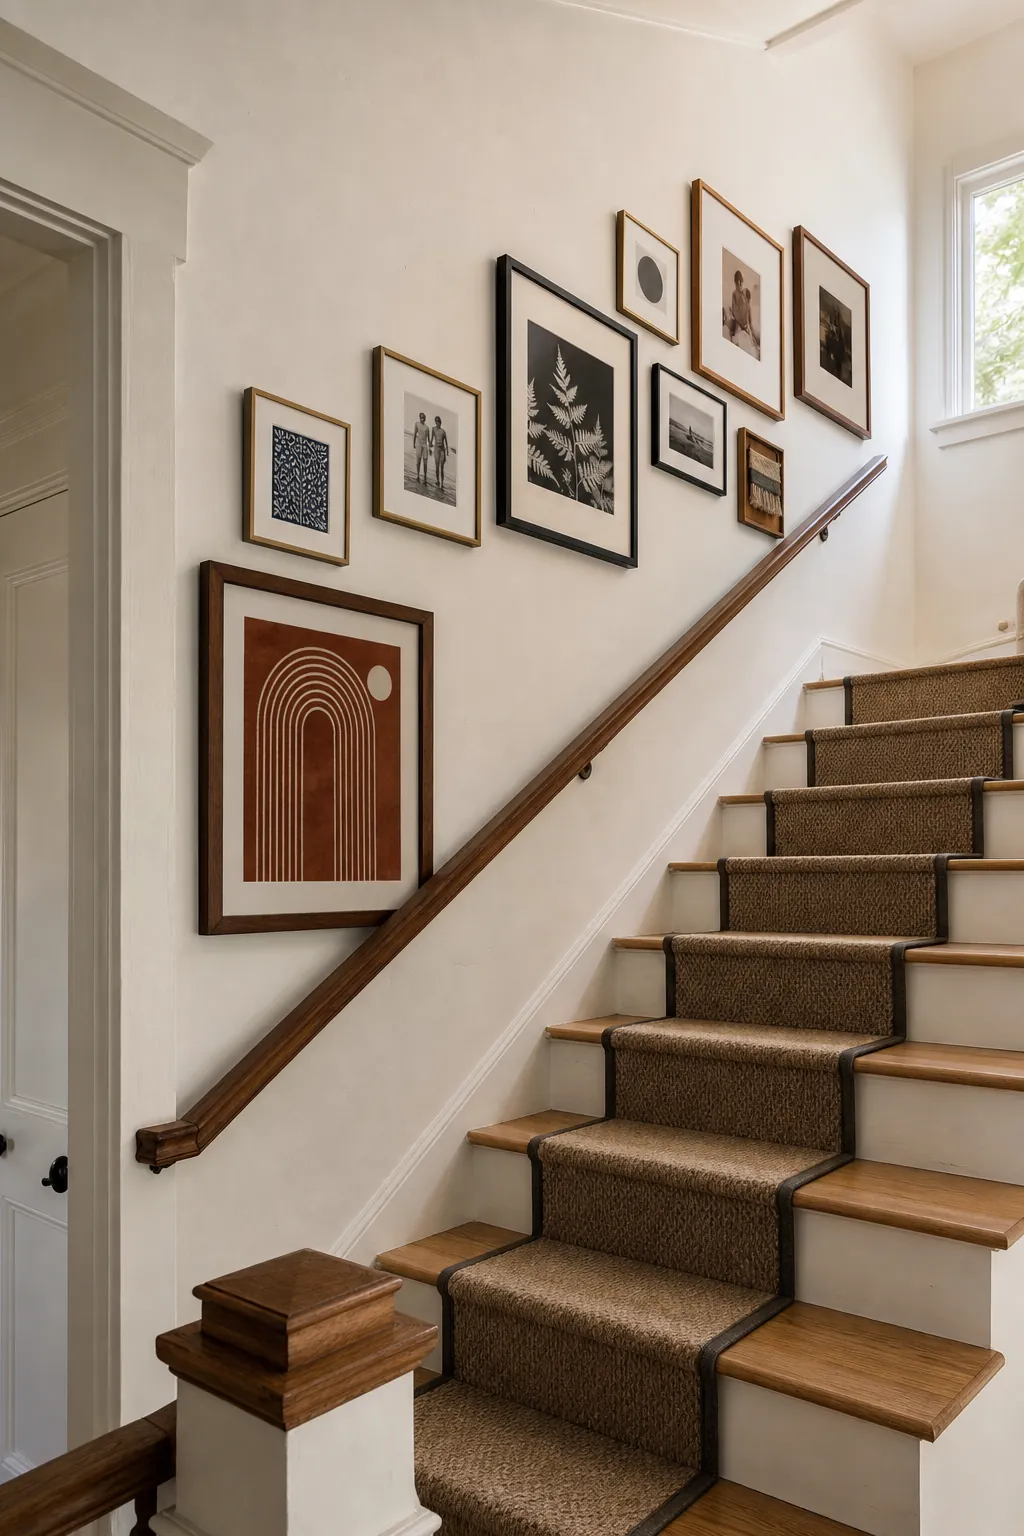
A stairway gallery wall has to solve a problem that a living-room gallery never faces: your eye level changes with every step. Frames that look balanced from the hallway can feel as though they are sliding downhill when viewed from the landing. The fix is not to arrange every frame in a literal stair-step pattern. It is to build the collection around one diagonal centerline that runs parallel to the staircase, then balance visual weight above and below it.
Once that invisible line is established, mixed frame sizes, family photographs, and wall art can feel connected without becoming rigid. The following process works for a straight flight, a staircase ending at a landing, and most narrow hallway stairs.
Establish a Diagonal Centerline That Follows the Stairs
Use the handrail or the line of the stair nosings as your visual reference. Imagine a second line running parallel to it through the center of the future gallery wall. This is not a line where every nail must sit. It is the path around which the centers of larger and smaller frames should alternate.
Mark the approximate centerline with low-tack painter’s tape. Keep it a consistent distance above the treads so the display rises at the same rate as the staircase. If the handrail changes angle at a landing, end the diagonal grouping cleanly before that transition and treat the landing wall as its own composition.
Give the Bottom and Top of the Gallery Equal Importance
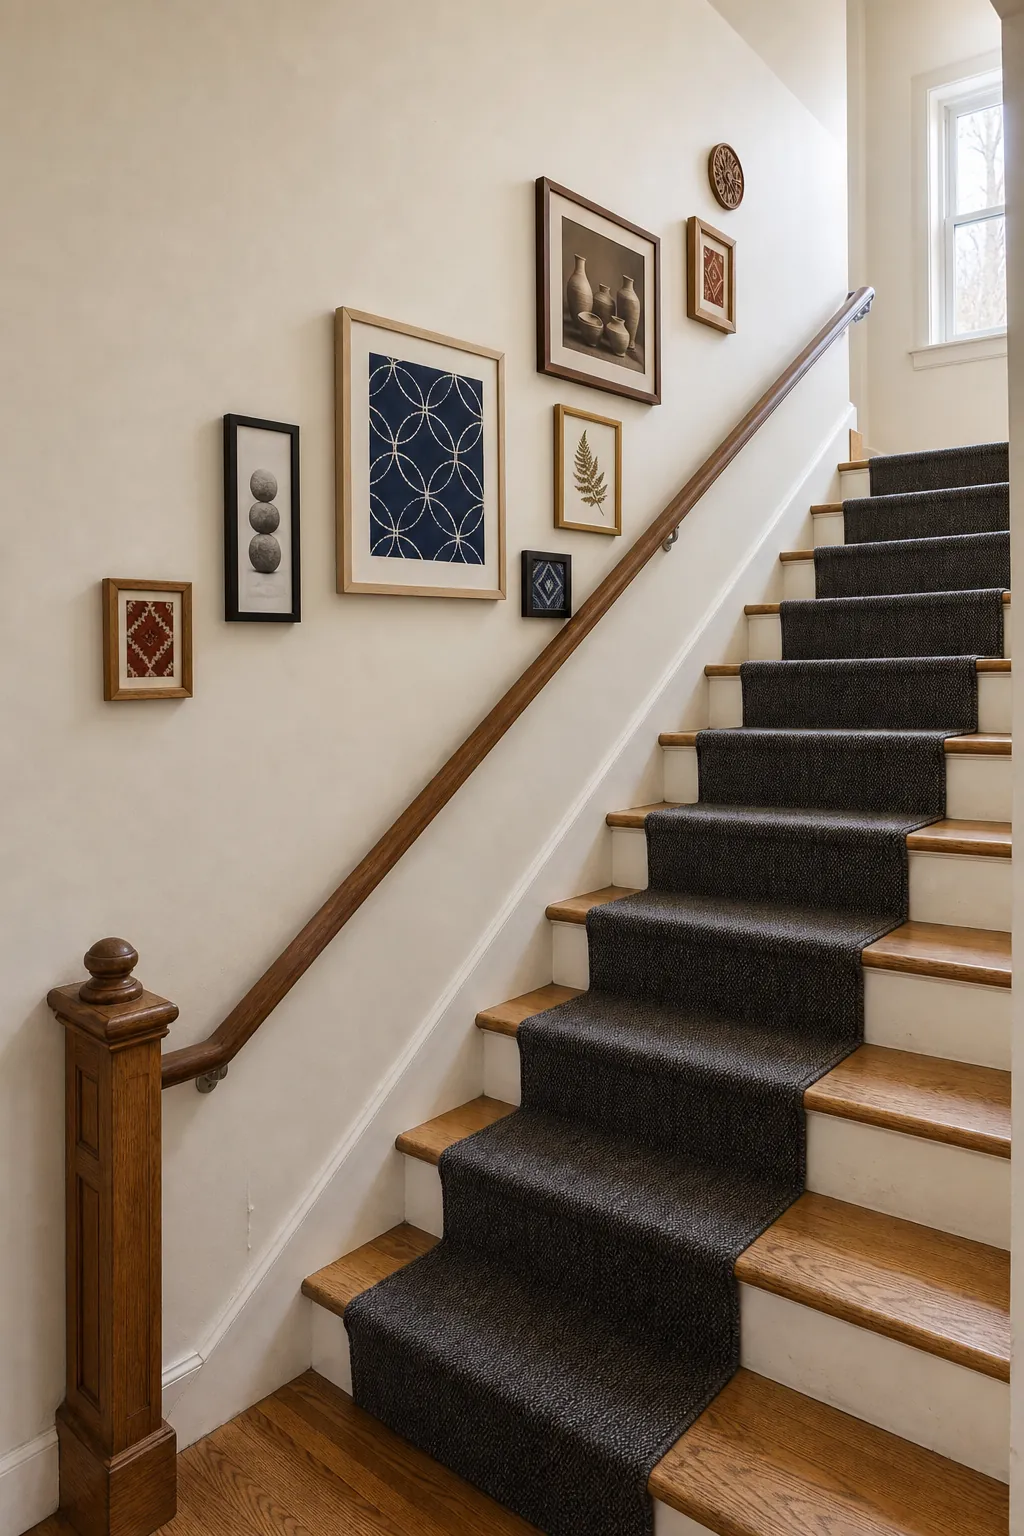
A common stairway imbalance is a strong cluster near the landing with only a few small frames at the bottom. From the entry, the whole arrangement then seems to drift upward. Start and finish with confident pieces. They do not have to match in size, but they should carry comparable visual weight through scale, contrast, frame color, or subject detail.
Check the first frame from the hall and the last frame from the landing. Each should feel like a deliberate endpoint rather than a leftover. Keep the start and end at similar distances above their nearest treads. This makes the outer boundary echo the stair slope even when the interior layout is eclectic.
Distribute Large, Dark, and Detailed Pieces Across the Wall
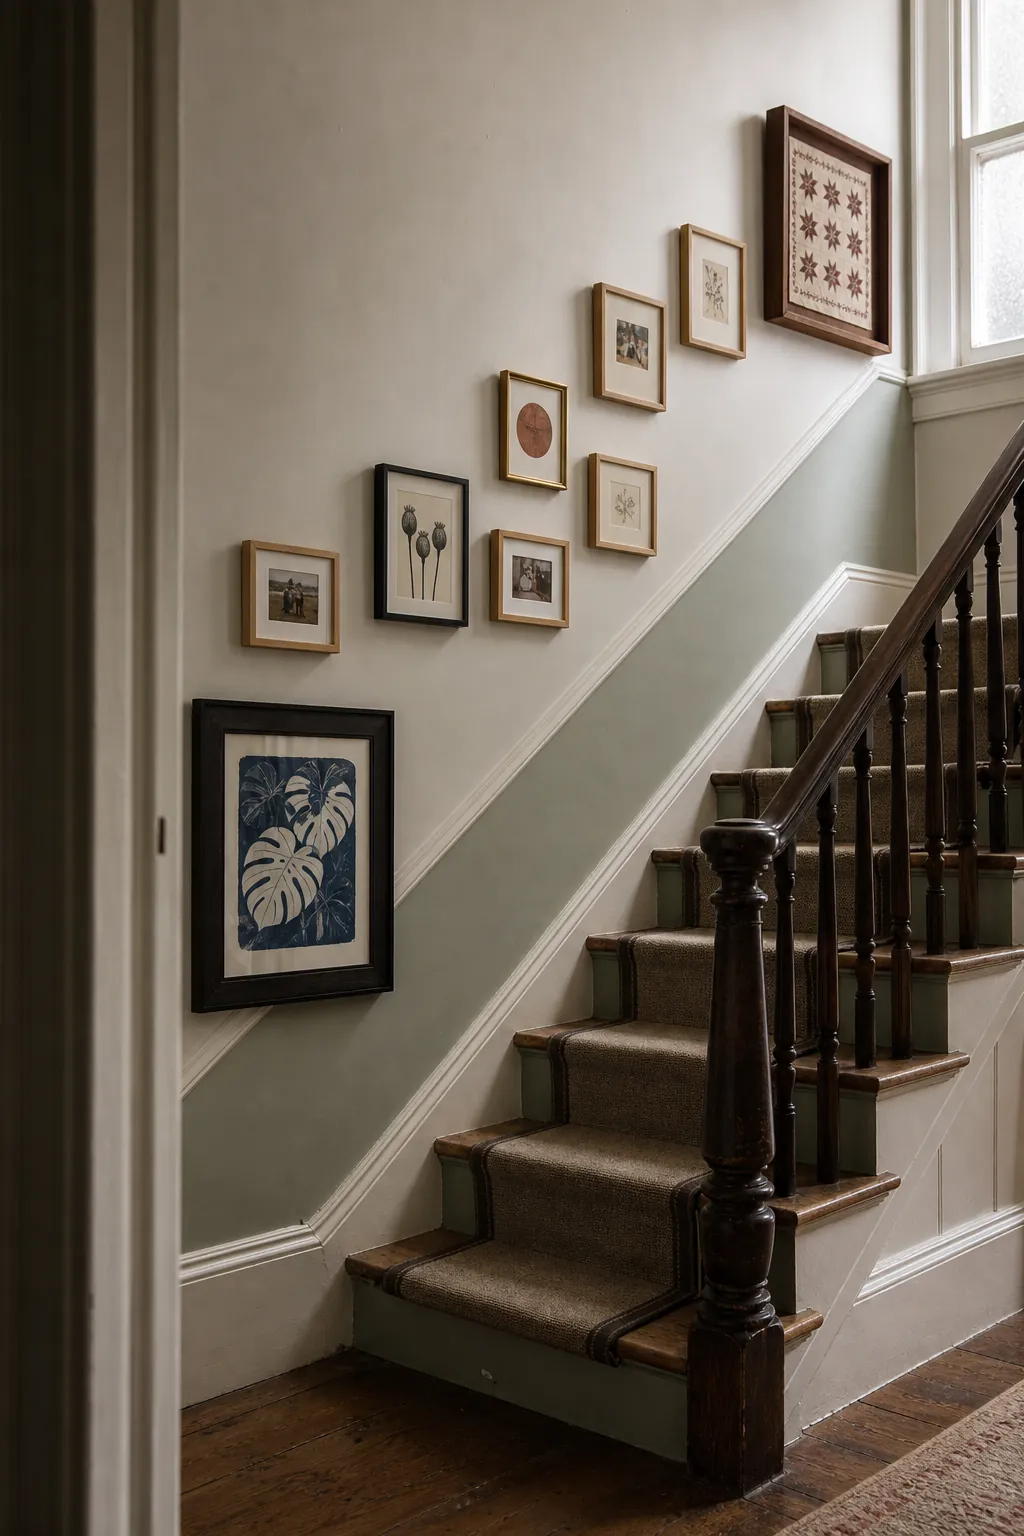
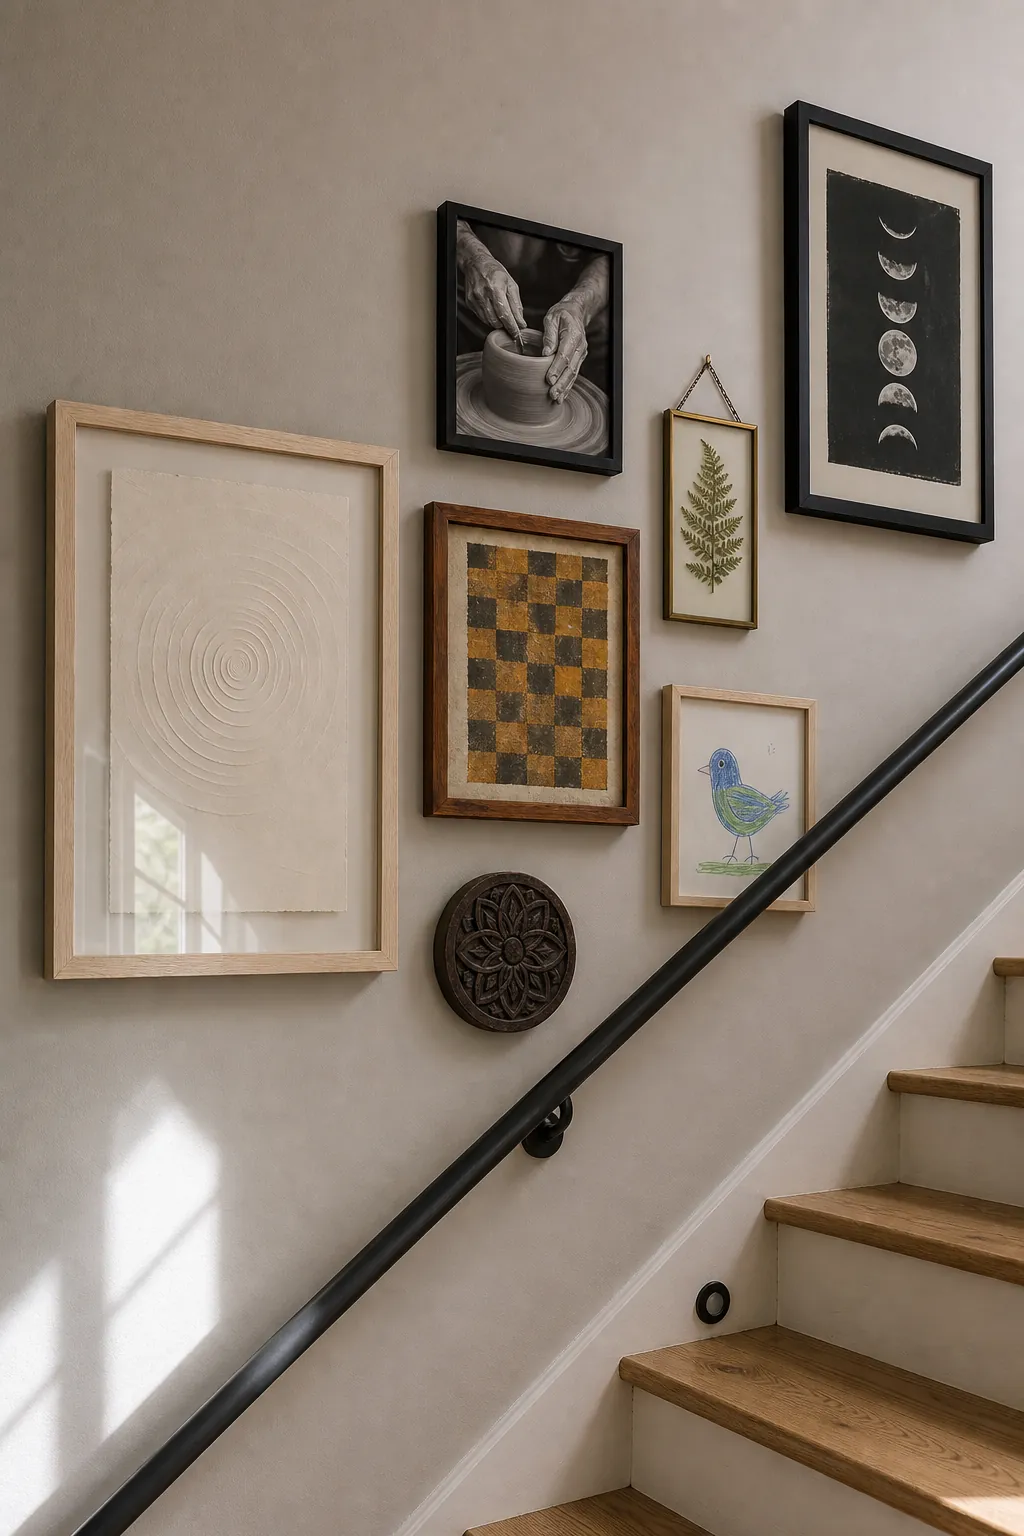
Visual weight is not the same as physical size. A small black frame with a high-contrast photograph may feel heavier than a larger pale print. A densely detailed family photo can attract more attention than a quiet abstract. Place your heaviest pieces in different zones—lower, middle, and upper—rather than grouping them together.
Use smaller frames to bridge the gaps between anchors. Let some sit above the diagonal and others below it, but keep neighboring edges connected through alignment. One frame edge should line up with an edge or center of another piece whenever possible. The goal is a flowing cluster, not a row of isolated frames climbing the steps.
Keep the Gaps Consistent and Test Paper Templates
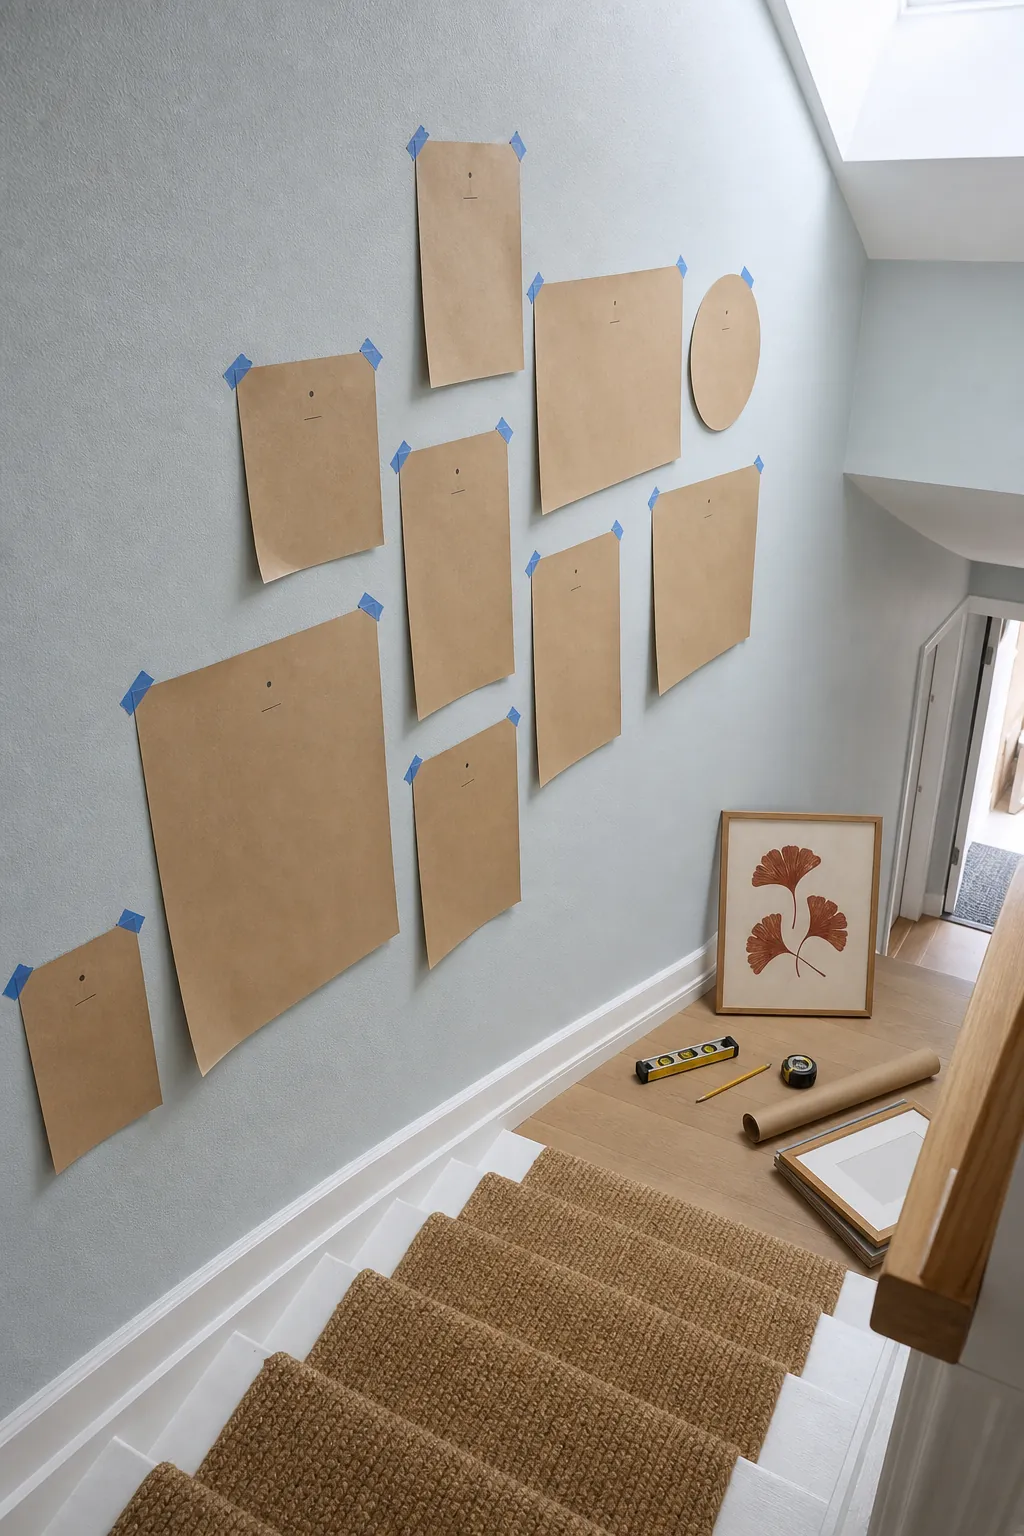
Consistent spacing does more to create a balanced gallery wall than matching frames. Aim for about 2 to 3 inches between the nearest edges. Because frames sit at different heights on a staircase, measure the shortest gap rather than assuming equal horizontal or vertical distances.
Trace every frame on kraft paper and mark its hanging point. Tape the templates to the wall, then walk up and down the stairs several times. Photograph the templates from the bottom, middle, and landing. Photos flatten the composition and make a wide gap or heavy corner easy to spot. Adjust paper before committing to hardware.
- Write the frame name on the back of each paper template.
- Mark the actual hook location, not only the frame center.
- Check clearance above the handrail and near doors or switches.
- Leave the templates up overnight before making holes.
Protect Handrail Clearance and Everyday Circulation
Staircase decor cannot interfere with how people use the stairs. Keep frames well above the handrail and away from the path of shoulders, backpacks, and laundry baskets. Deep shadow boxes or projecting objects need more clearance than slim frames. Secure bottom corners with removable bumpers so passing vibration does not make them tilt.
Choose hardware for the wall type and the frame weight. Adhesive strips may suit light frames on compatible smooth paint; heavier pieces generally need properly rated hooks or anchors. Never block a required handrail, switch, vent, or safety light for the sake of a fuller composition. Negative space around those elements is better than forcing a frame into an unsafe position.
Judge the Finished Wall From Both Directions
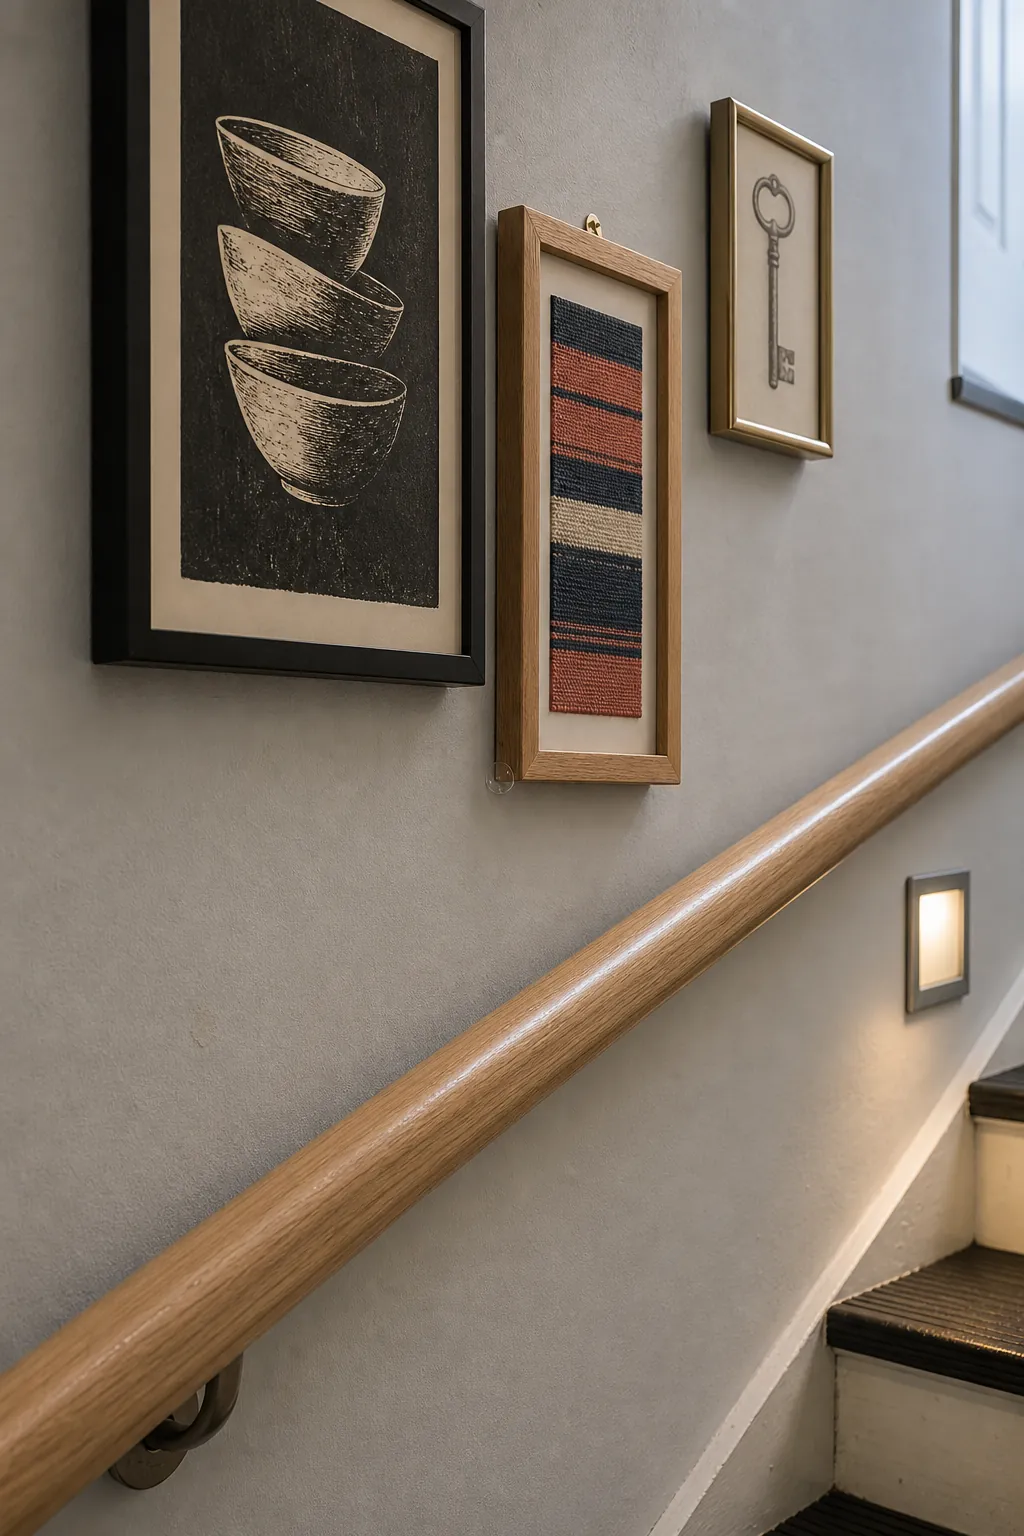
A balanced stairway gallery wall must work from more than one viewpoint. Stand at the bottom and look for an uninterrupted diagonal rhythm. From the landing, check whether the upper end feels crowded or abrupt. From the middle steps, make sure no one frame dominates at close range and that important photos remain comfortable to view.
If something feels off, resist the urge to spread every frame farther apart. That usually dissolves the gallery into unrelated objects. First swap one heavy frame with a lighter piece across the centerline, or remove a small item creating a cramped pocket. The collection should feel like one ascending composition with intentional endpoints, not wallpaper covering every available inch.