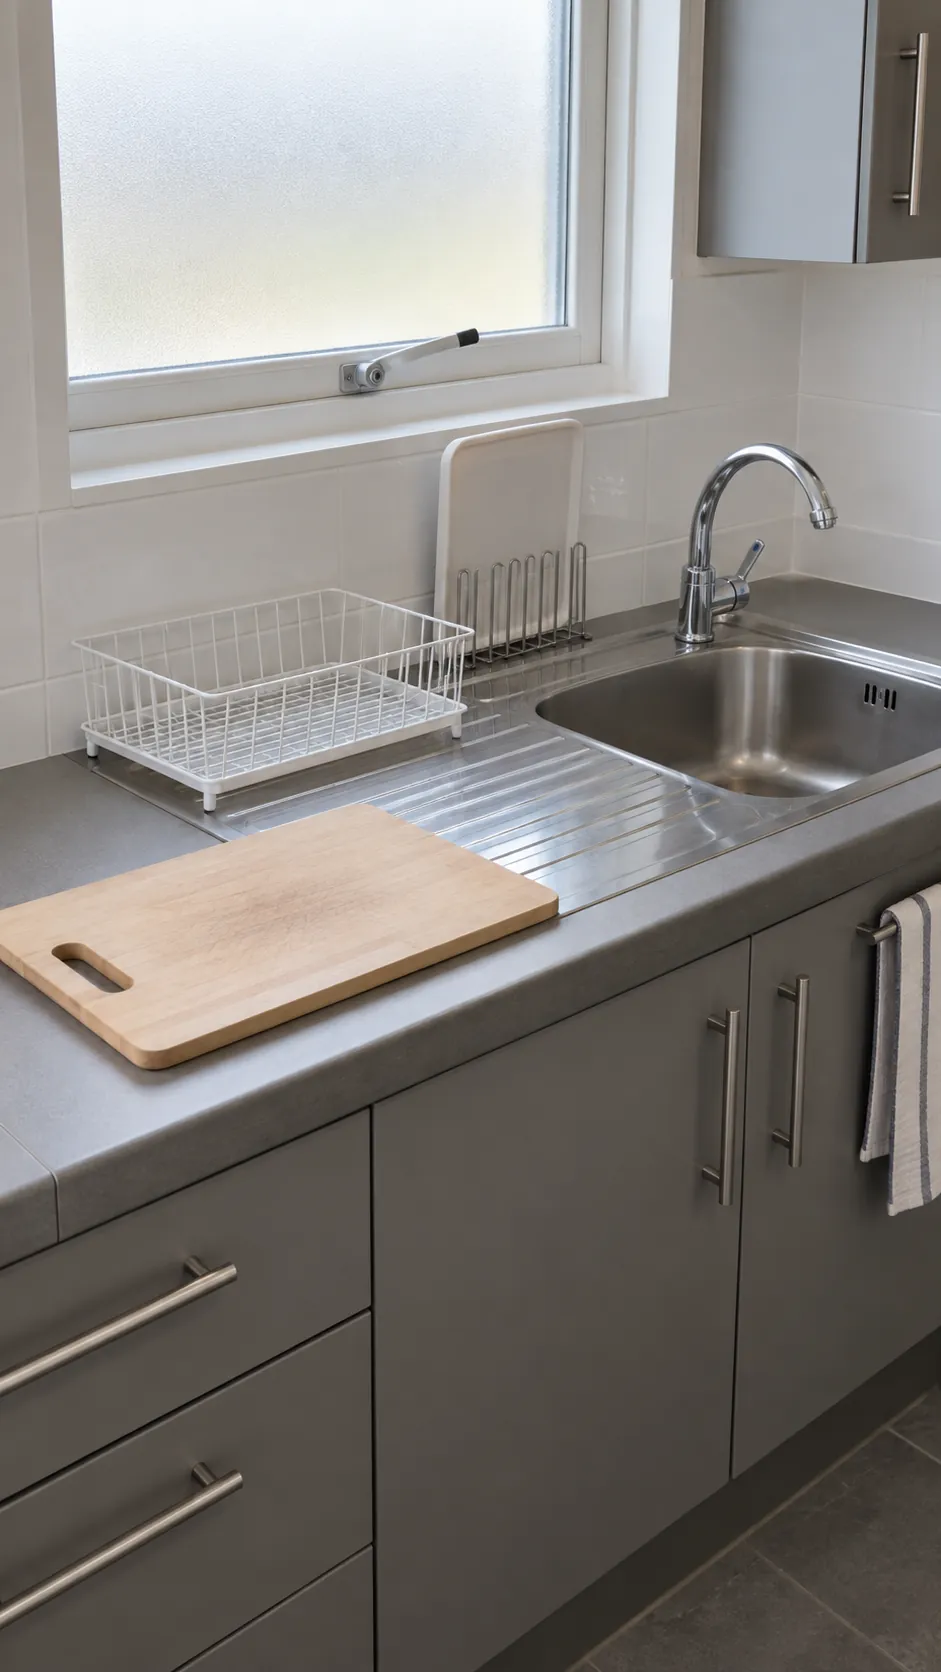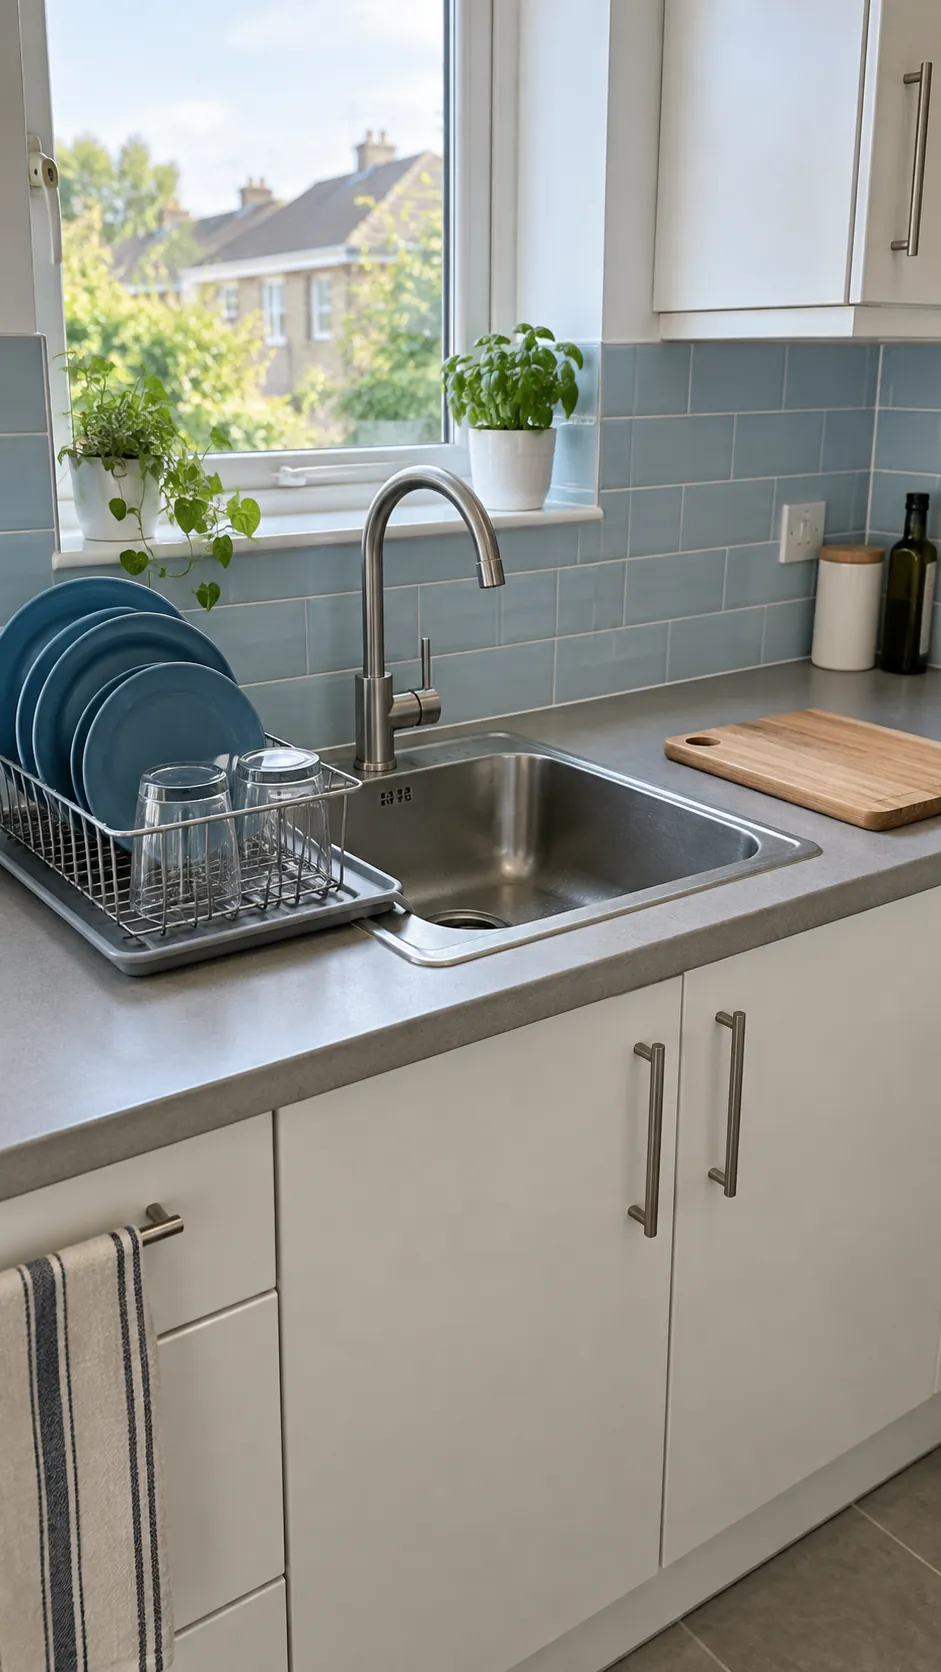
Clean plates should not leave you with a wet counter and nowhere to cook. A useful drying area gives water a route back to the sink, leaves air around dishes and has a clear stopping point once everything is dry. Start with those jobs before choosing a bigger rack.
Start with the route water takes
A puddle beneath the rack is a drainage problem before it is a storage problem. Empty the area, wipe the counter and sink rim dry, then wash a few dishes as you normally would. Watch whether water comes from the faucet base, splashes over the rim, or collects under the drainer. A leaking fixture needs repair; a larger mat will only hide the wet surface.
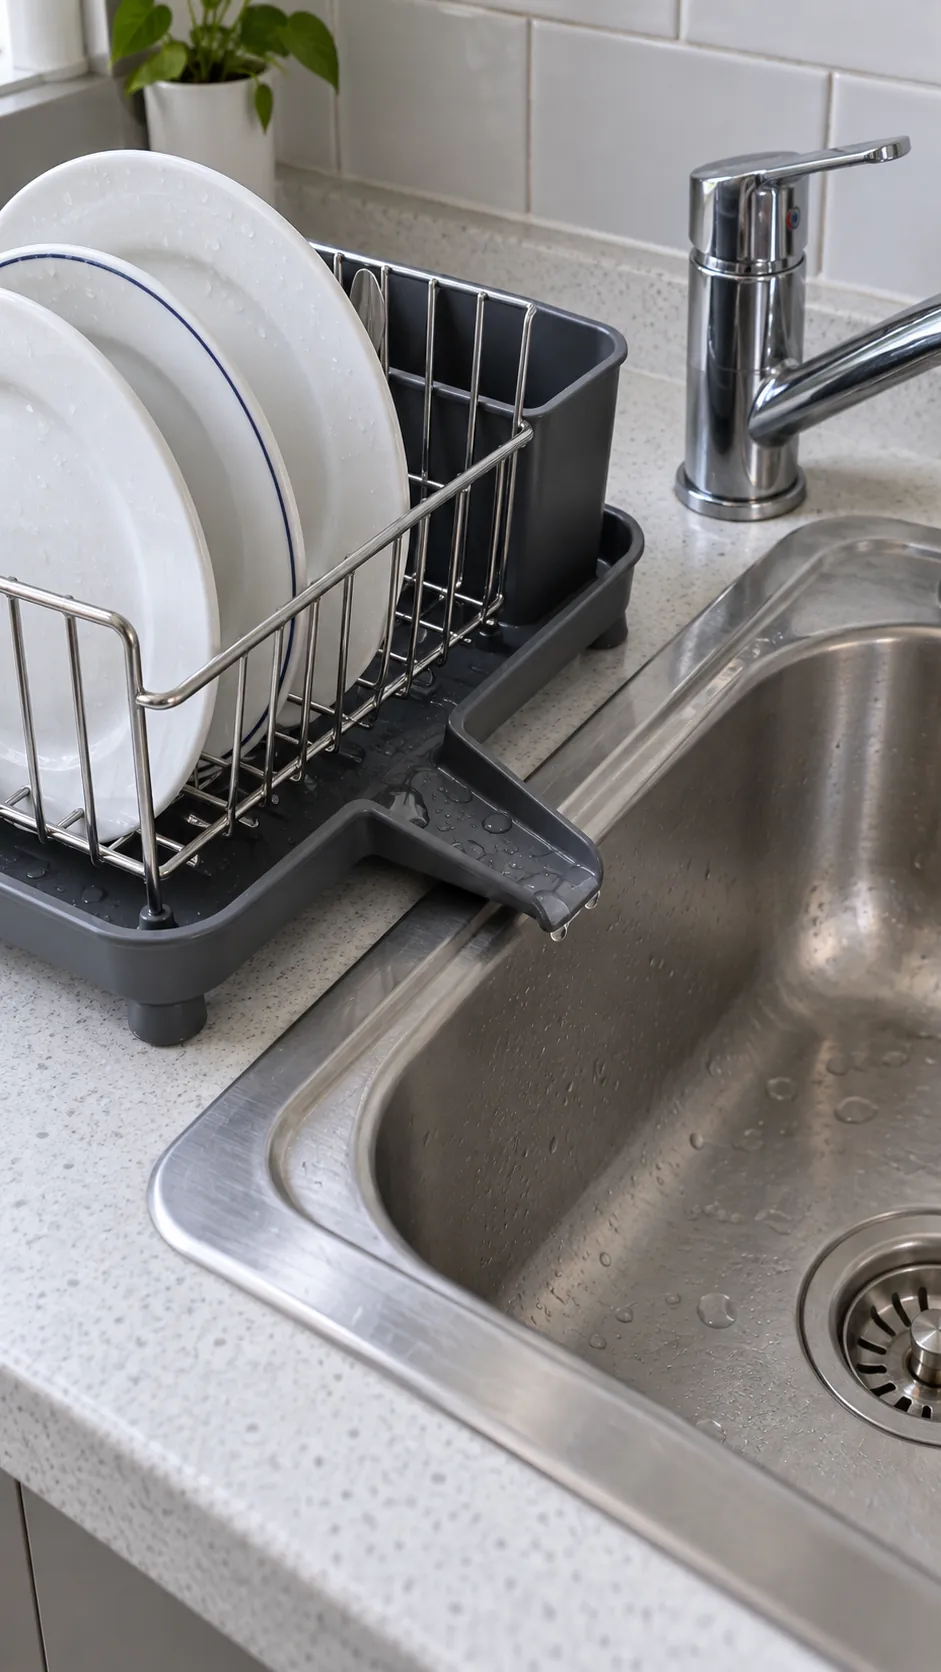
Place the drying station immediately beside or above the sink so wet dishes do not cross your food preparation space. Check that a draining spout actually reaches over the basin rather than stopping on the rim. For a tray without a spout, choose one you can lift and empty easily. Do not prop a loaded rack on makeshift wedges to force a slope.
Keep one uninterrupted patch of counter available for chopping. Before buying anything, mark the proposed rack footprint with a dry towel and move your largest pan between sink and stove. If the arrangement blocks that movement, change the location or choose a smaller drying surface.
Choose a rack for your usual washing load
A compact dish drainer should hold what you wash after an ordinary meal, with gaps between plates. Buying for the largest dinner party can sacrifice useful counter space every day. For occasional extra dishes, wash in stages and put the first dry batch away before loading the next.
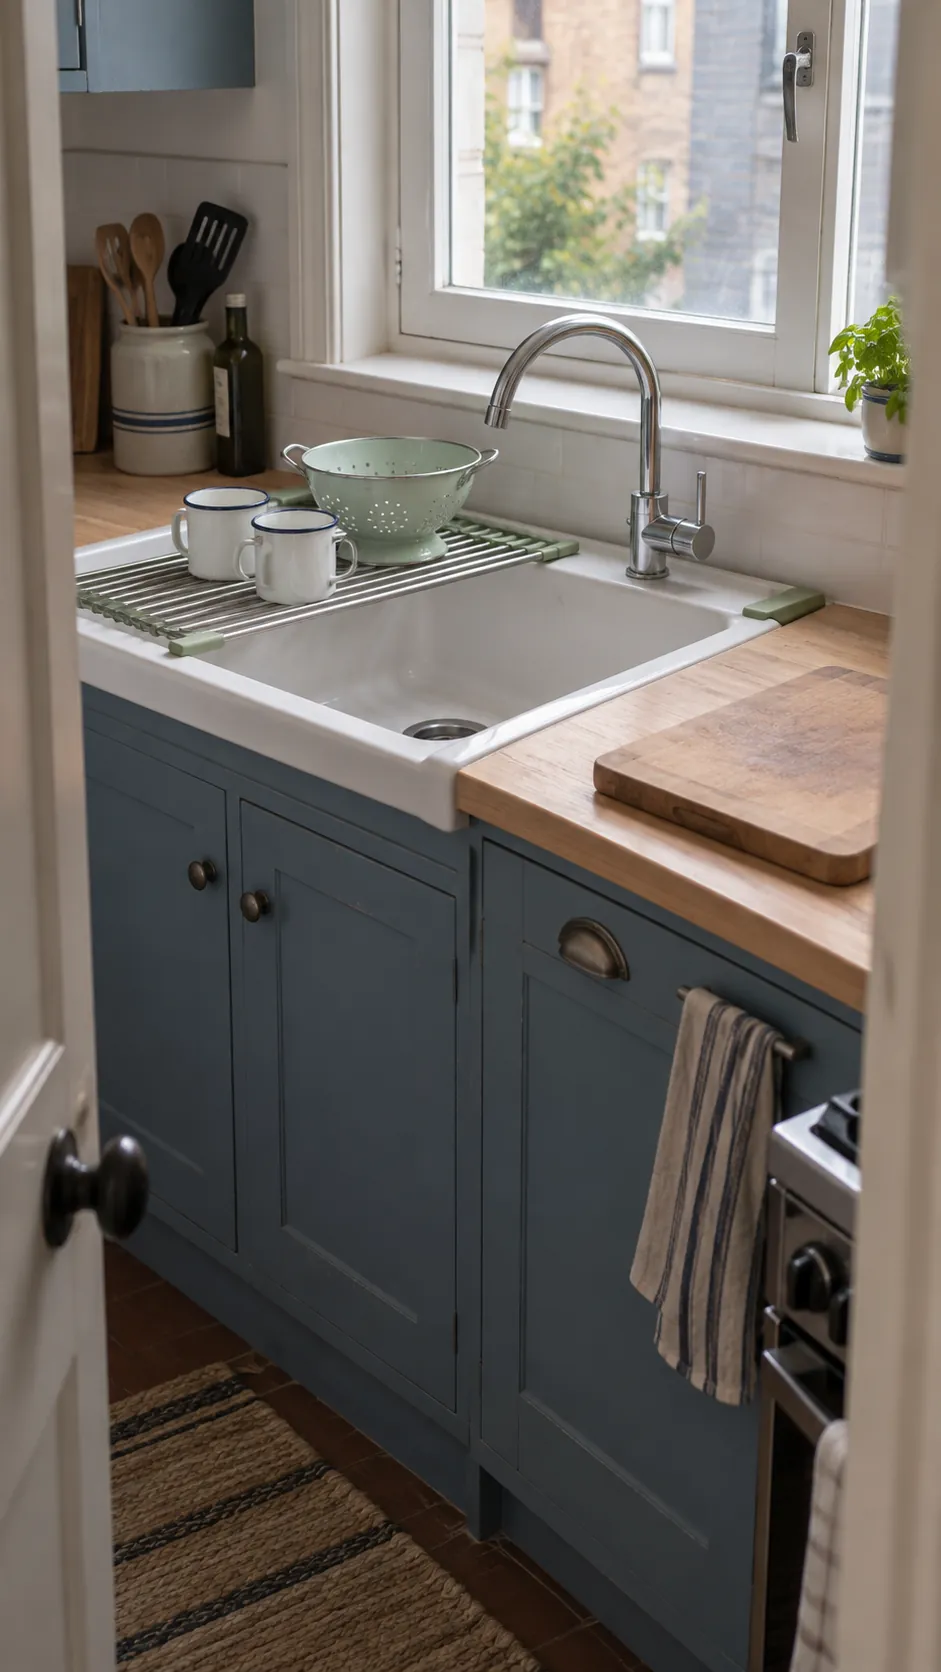
An over sink drying rack saves counter space when its supports fit securely on the sink edges. Measure the span, the ledge width and the faucet clearance; compare them with the manufacturer’s fit and load requirements. Leave enough open basin to rinse and use the tap without splashing clean dishes. A rollable version can be convenient, but broad pots may cover most of its usable surface.
A wall mounted dish rack can work where there is a suitable wall and safe mounting structure. Check installation requirements, landlord permission and where the water will land before drilling. A rack above an ordinary counter still needs a removable tray or another intended drainage solution. If permanent fixings are unsuitable, a small freestanding rack is the easier choice.
Load dishes so air can reach wet surfaces
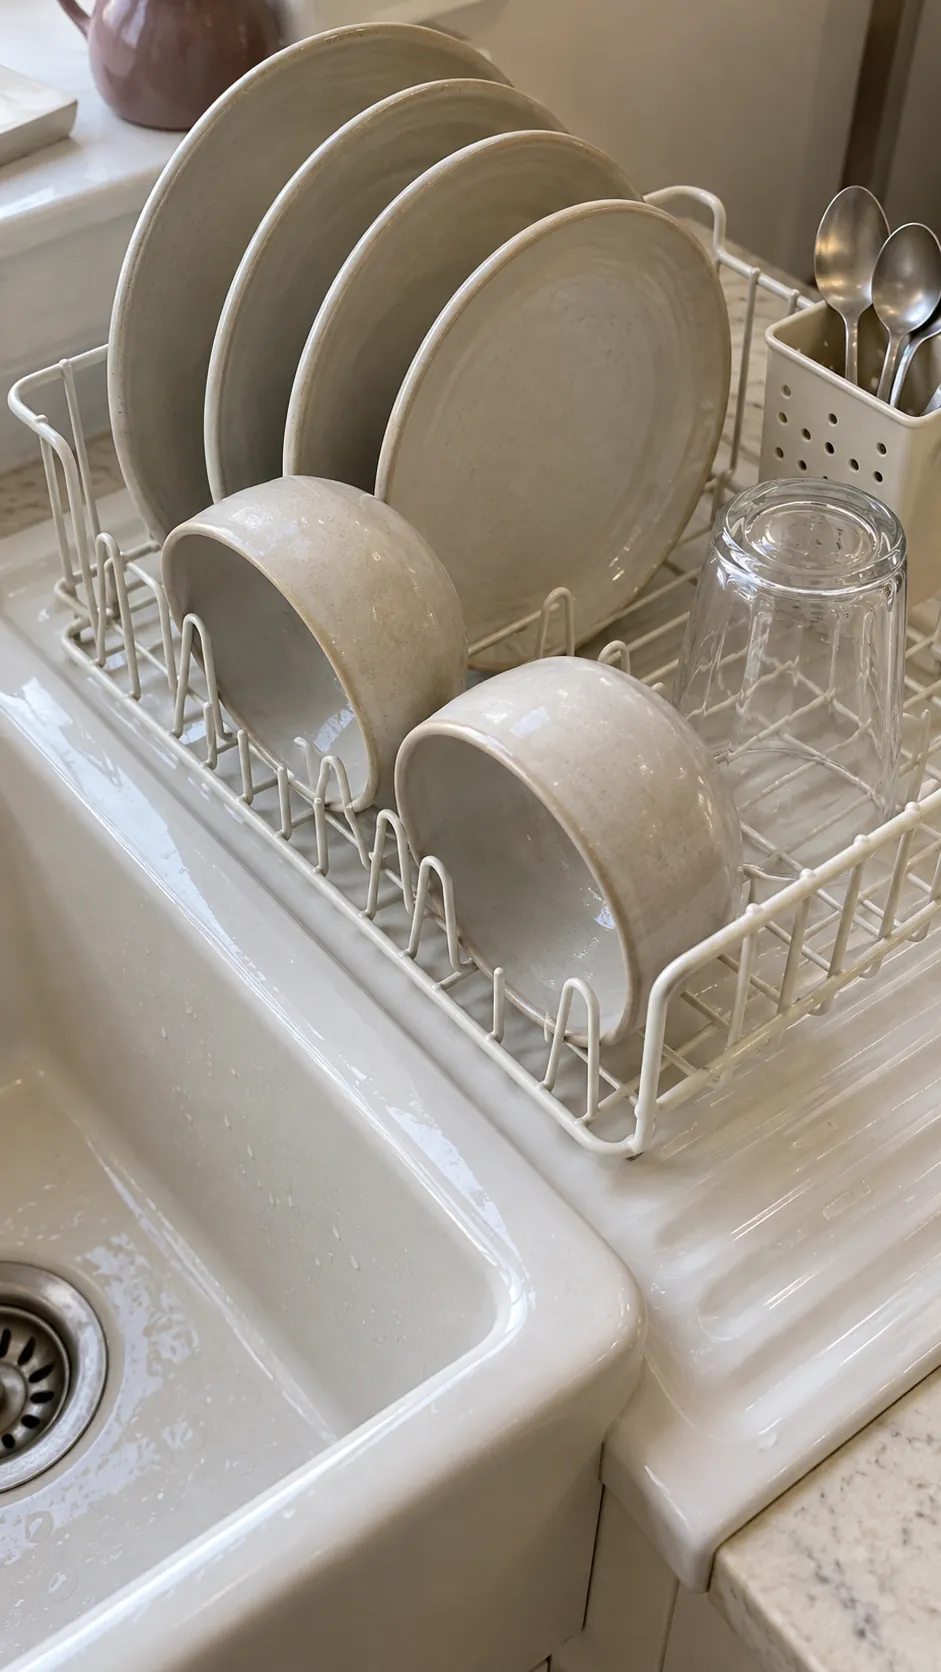
Arrange plates in separate slots rather than leaning a stack together. Tilt bowls so water can escape, leaving a gap beneath their rims instead of sealing them against a flat mat. Give cups enough space that handles do not lock together. The aim is a stable arrangement with exposed surfaces, not the tallest possible pile.
Keep heavy pans low and within the rack’s stated capacity. A large pot that crowds the plate slots can dry separately on a suitable draining surface. Spread utensils loosely in a draining holder and follow your knife care guidance for sharp blades; do not leave exposed points where someone will reach into the rack. Air drying only works well when pooled water has somewhere to go.
Give wet towels and brushes their own space
A dish towel folded beneath a rack can stay damp long after the dishes dry. If you use an absorbent drying mat, remove dishes when dry and hang the mat according to its care instructions. Do not layer wet cloths to create extra capacity.
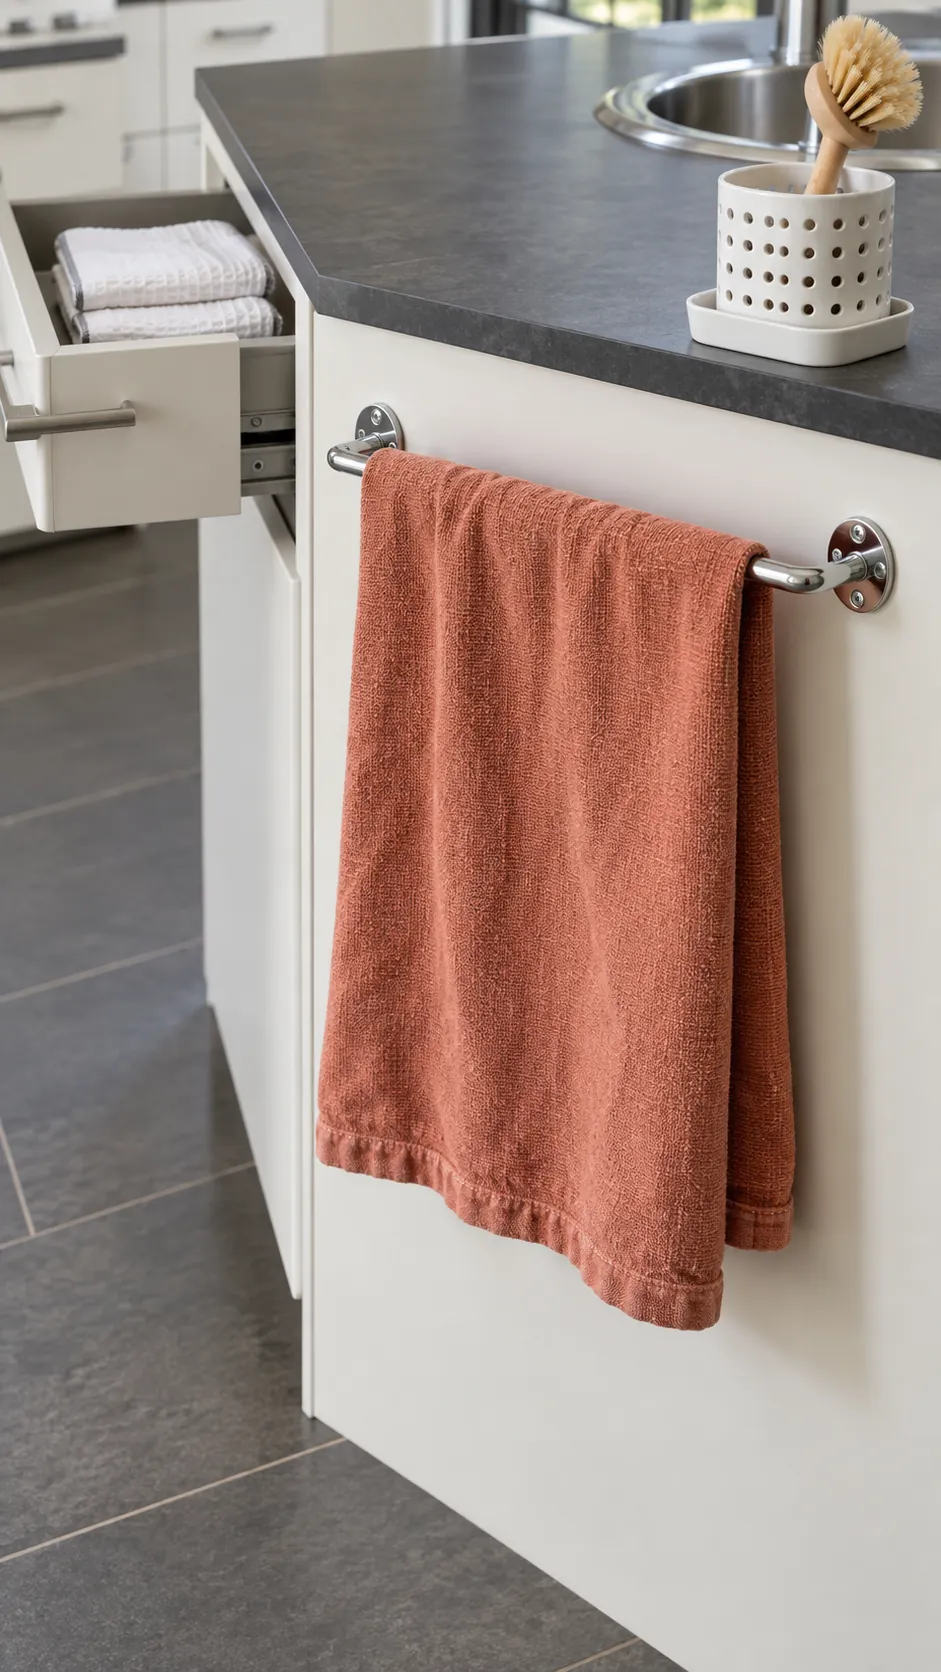
For dish towel storage, separate clean spares from the towel currently in use. Keep clean, dry towels in a nearby drawer and spread the used towel over a rail where air can circulate. A hook is convenient, but a thick towel bunched on a small hook may dry slowly. Launder towels regularly and promptly when soiled or musty.
Put the dish brush and sponge in a holder that drains and can be cleaned. Keep that washing equipment apart from clean cups and utensils. Empty standing water instead of letting a decorative pot become a permanent reservoir.
Store portable drying equipment only when dry
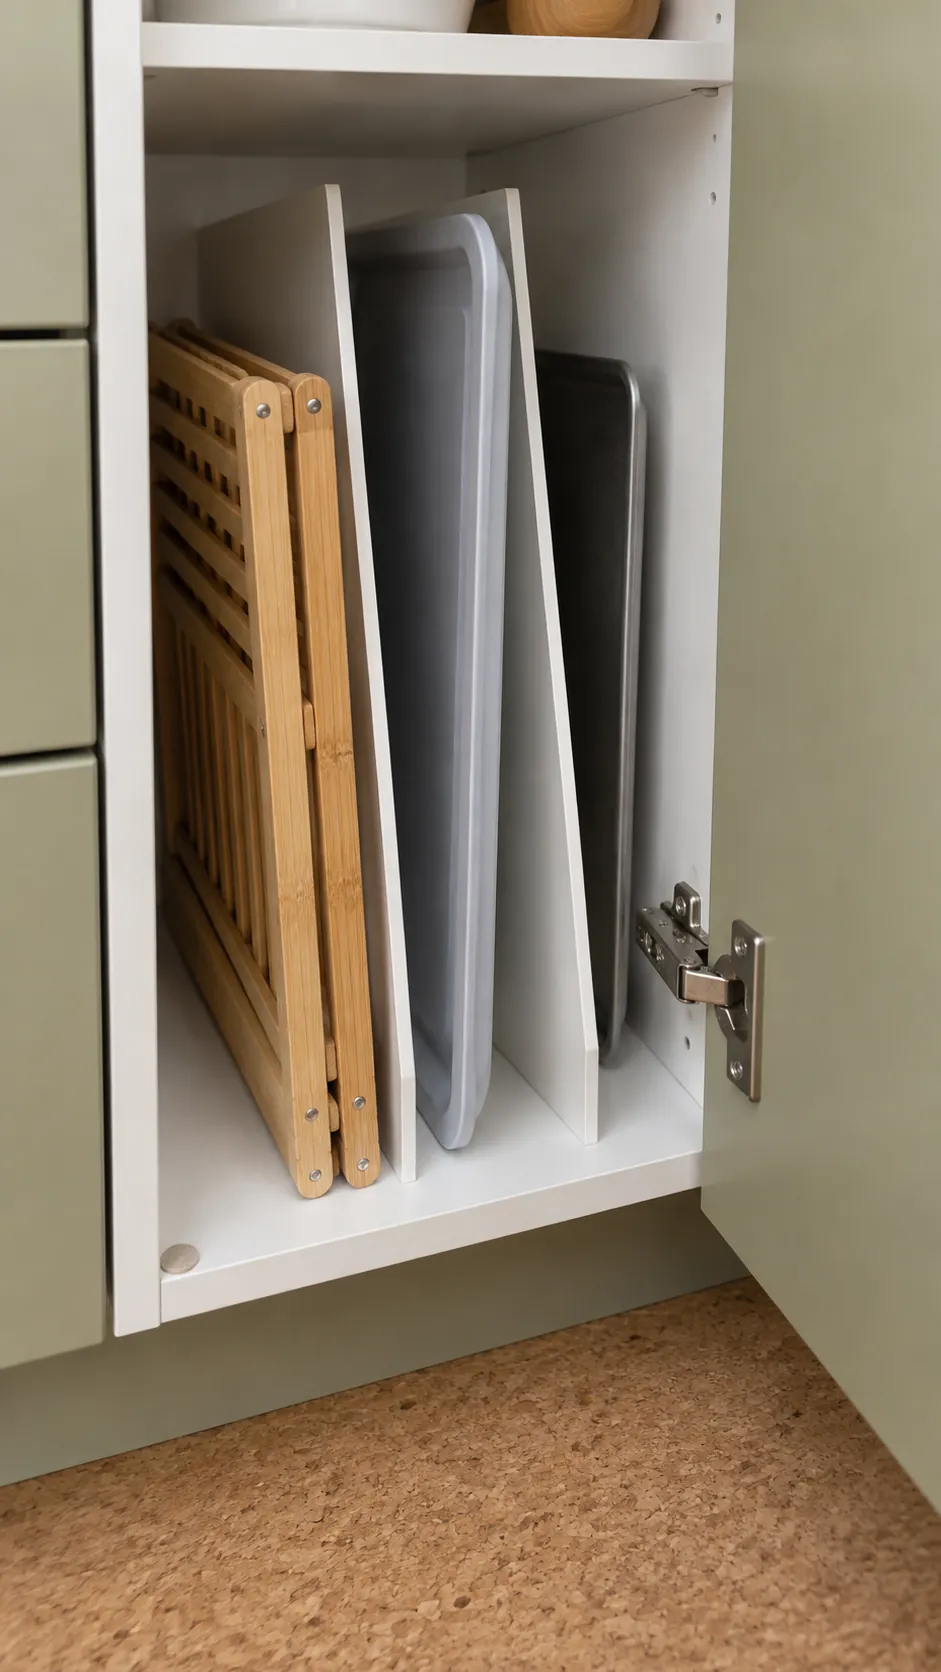
A foldable dish rack earns its place when you can clear it away without dismantling half the kitchen. Decide where it will live before choosing the size. An upright cabinet divider can hold a dry tray, while a narrow shelf can take a folded rack if nothing presses on its joints.
Drip tray storage should allow the tray to finish drying before it goes into a closed cupboard. Empty it, clean it as needed and let both sides dry in the open. Keep it away from stored cleaning liquids that could leak onto food contact equipment. If you have nowhere convenient to put a portable rack, a modest permanent station may create less daily work.
Reset the station before the next meal
Put away fully dry dishes before starting the next round of washing. Wipe beneath the tray and around its feet, where moisture can remain out of sight. Check the draining channel for soap residue and food particles, and clean removable parts following the maker’s instructions.
If the counter keeps getting wet, trace the source again rather than adding another layer underneath. A blocked spout, an overloaded rack and faucet splashes call for different fixes. In a humid room, allow more drying time and improve ordinary ventilation where practical; do not put damp equipment straight into closed storage.
The useful test comes at the next meal: can you reach the sink, find a dry towel and set down a chopping board without moving a pile of dishes? Keep adjusting the station until those everyday actions fit.