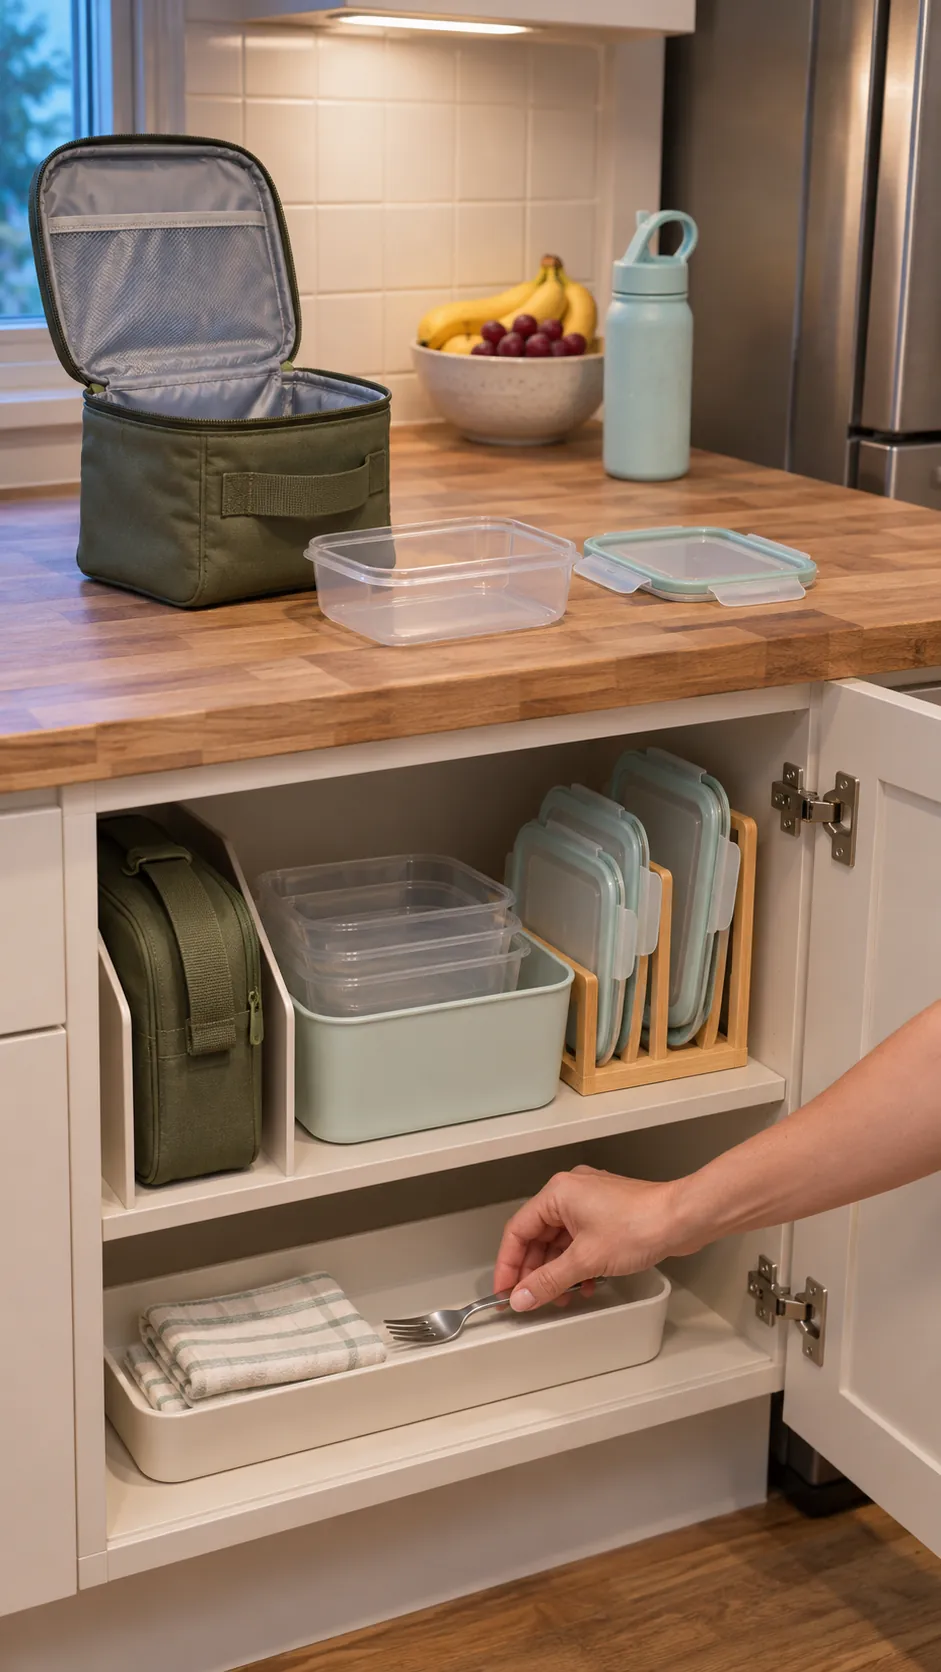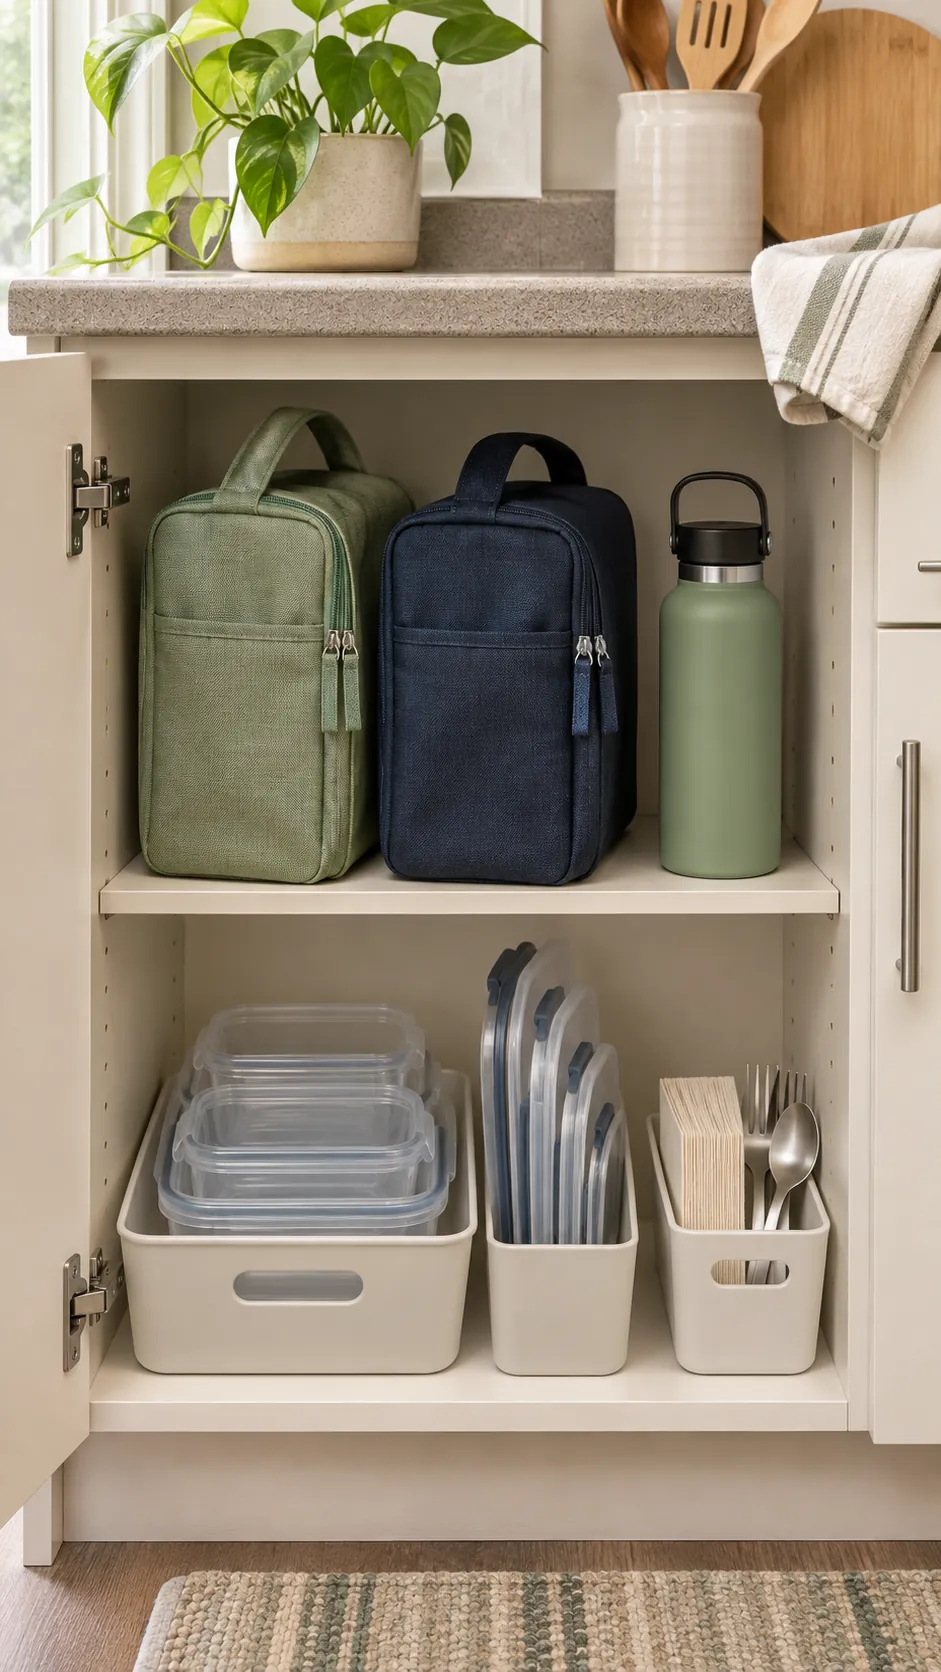
A small cabinet can hold a surprising amount of reusable lunch gear, but only when every item has a clear place and a clear return path. The usual problem is not a lack of space. It is a mix of soft bags, rigid containers, loose lids, bottles, and freezer packs that all behave differently.
The most useful setup follows the order of the packed lunch routine. You should be able to reach a bag, choose a container, match its lid, and add small accessories without moving a pile. Ice packs belong in the freezer, but their assigned basket or slot should work as part of the same system.
Measure the cabinet and the gear
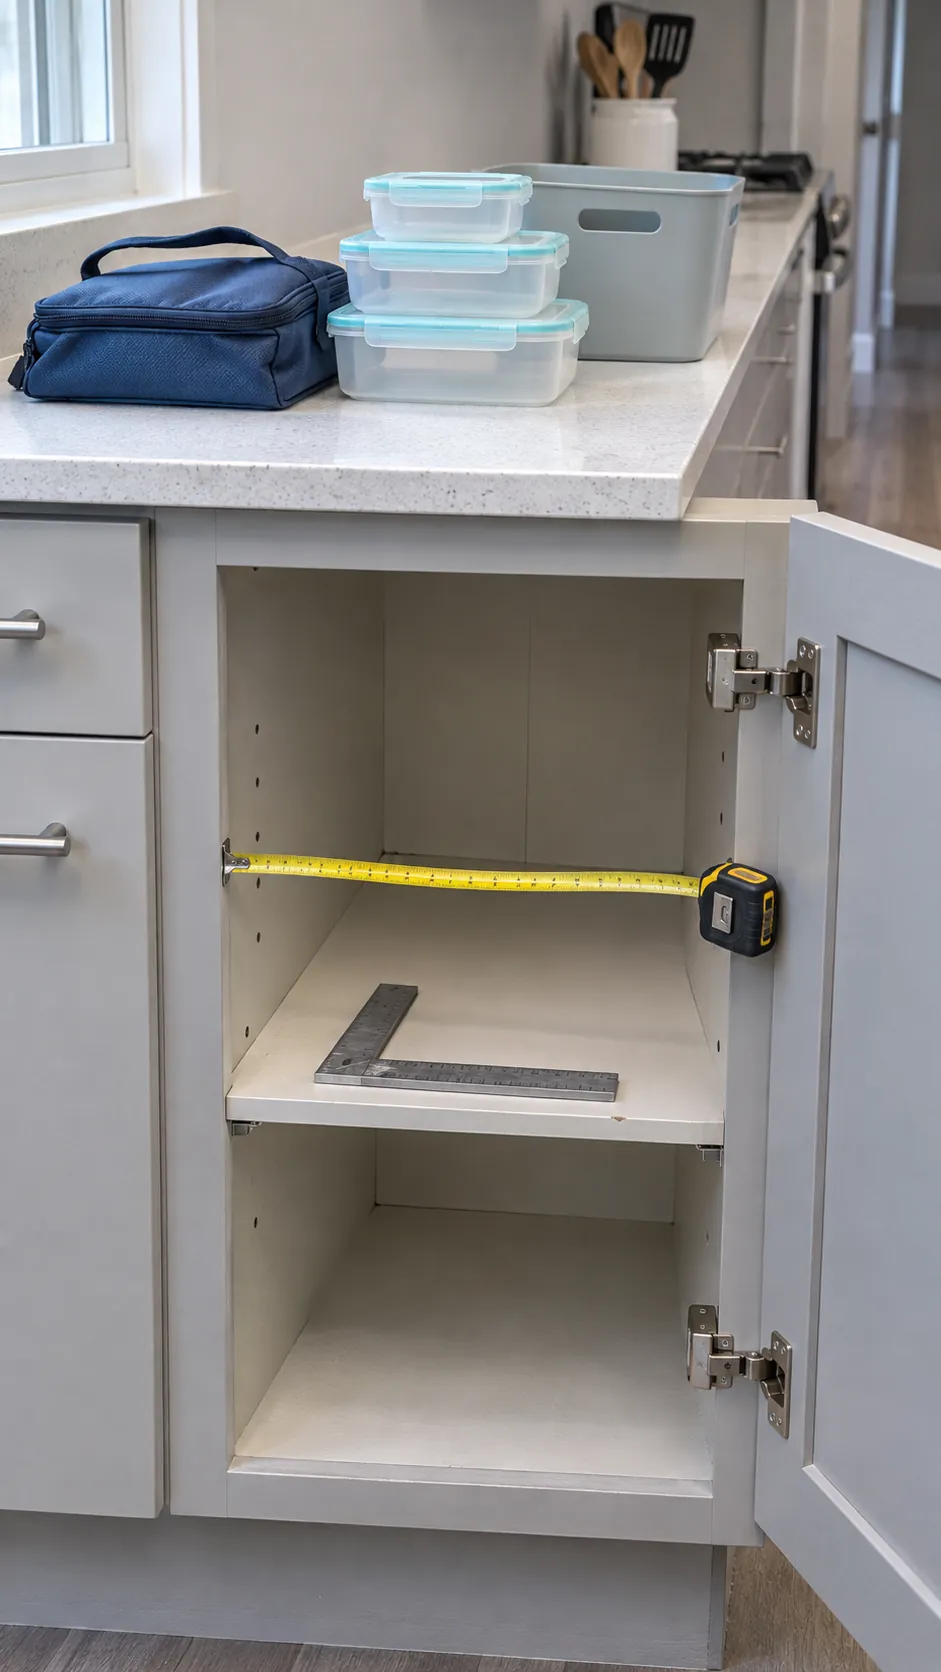
Empty the cabinet and measure its usable width, depth, and height. Measure around hinges, door hardware, shelf supports, and any pipe or trim that reduces the clear opening. The opening matters as much as the interior because a bin that fits inside is useless when it cannot pass the frame.
Next, place every lunch bag, container, lid, bottle, and accessory on the counter. Match each lid to a base and remove pieces that are cracked, warped, badly stained, or missing a partner. Keep the quantities that match a normal school or work week, plus a small allowance for a container that is still in use or waiting to be washed.
Give soft lunch bags a vertical zone
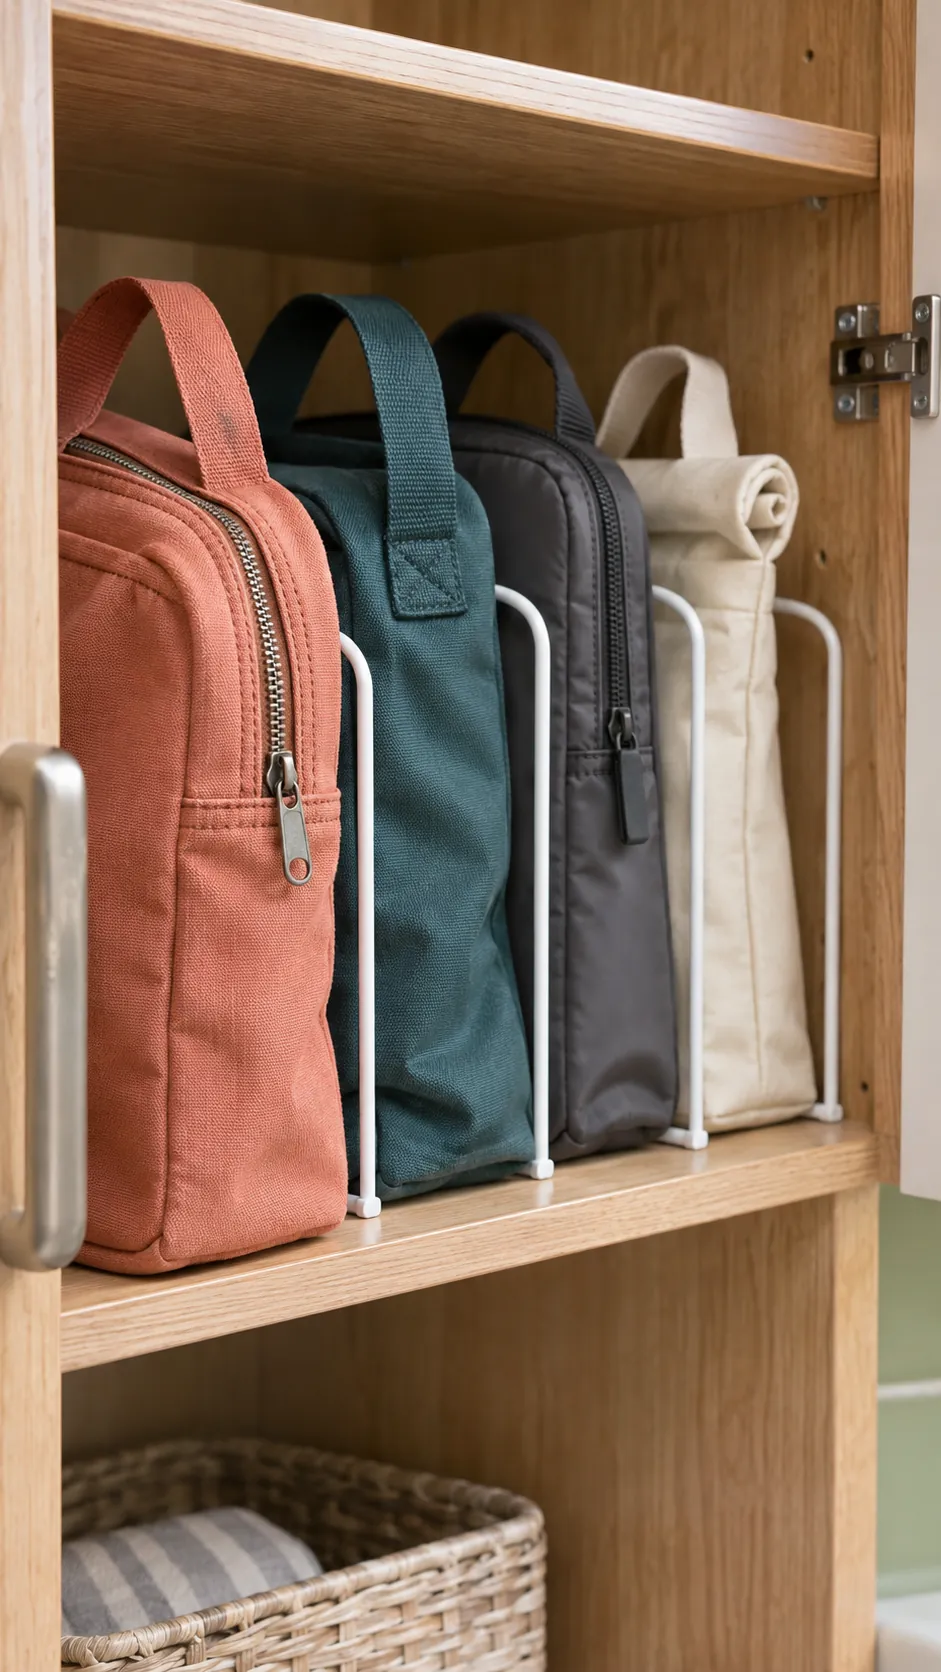
Soft lunch bags consume a shelf when they collapse into one another. Stand them upright like books, with handles facing forward. A narrow open bin or a pair of shelf dividers keeps the bags from falling across the rest of the cabinet.
If a bag must be folded, fold it only as far as its insulation and zipper allow. Do not compress thick insulated bags under heavy containers because the lining can crease and the bag becomes harder to load. Put the most frequently used bag at the front, then place occasional bags behind it.
Limit containers to compatible families
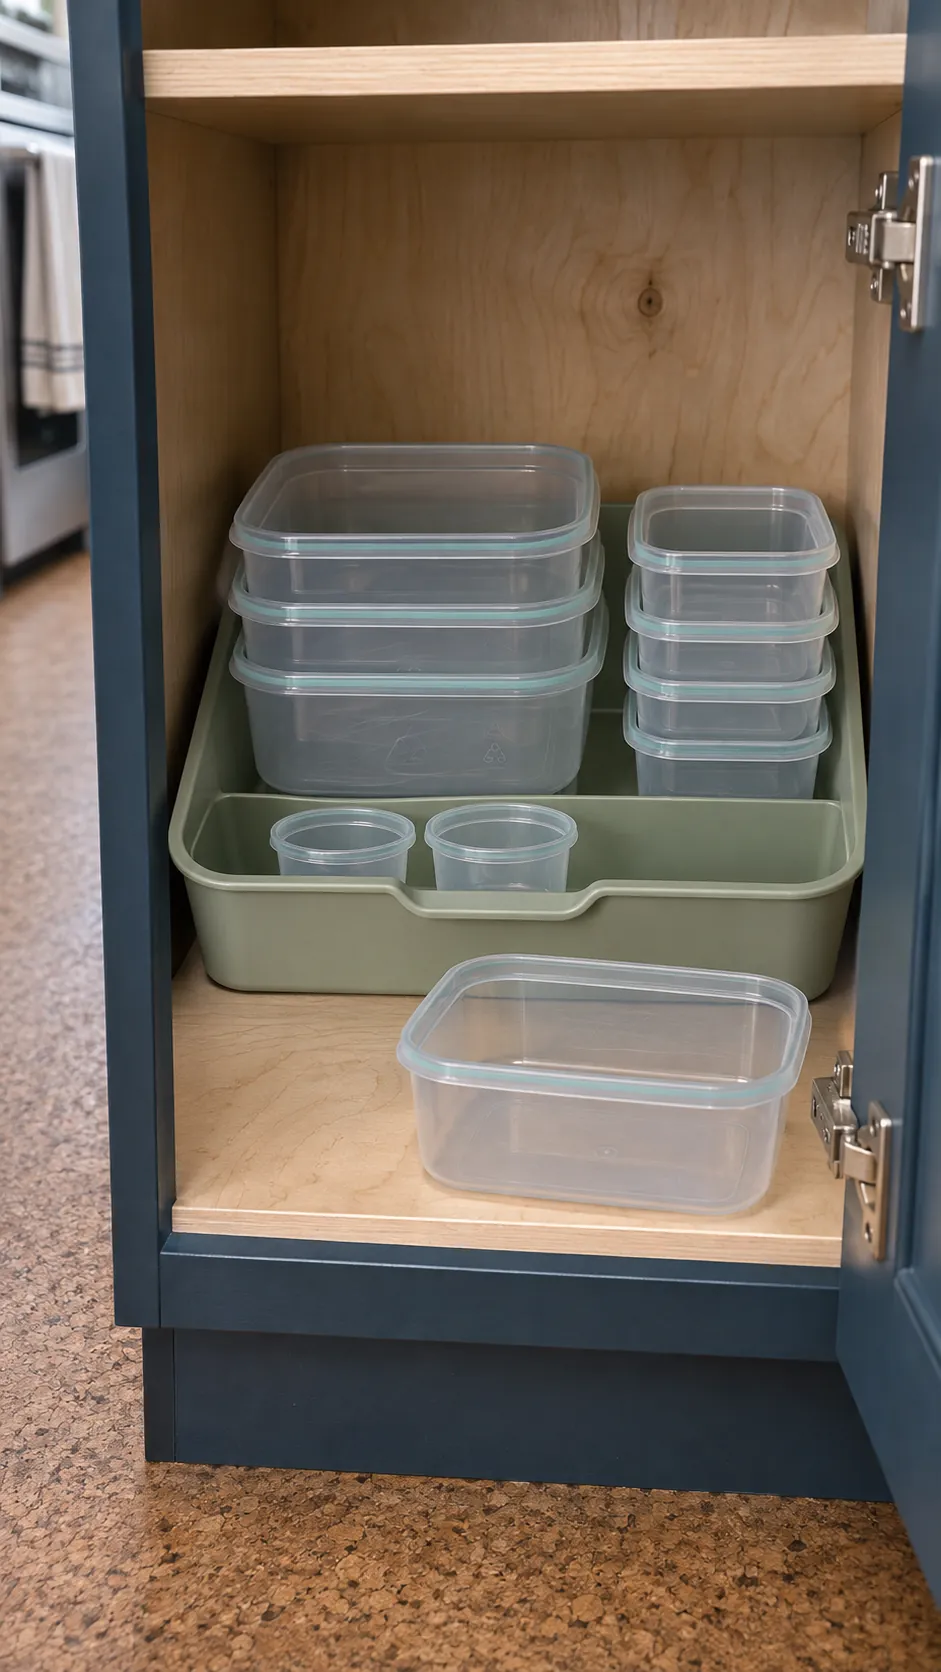
Food container storage becomes difficult when every base has a different shape and every lid has a unique rim. Choose one or two compatible container families for everyday lunches. Nest bases by shape and size, but avoid a deep tower that must be completely lifted to reach one small container.
Keep lunch portions together in a shallow pull out bin. Put large bases at the back and the smallest pieces near the front where they remain visible. If a child packs lunch, place that child’s usual containers at a height that can be reached safely without climbing.
A compact family kitchen benefits more from compatibility than from maximum capacity. Fewer shapes mean faster matching, simpler washing, and less chance that an unused piece blocks the cabinet for months.
Store lids where matching stays visible
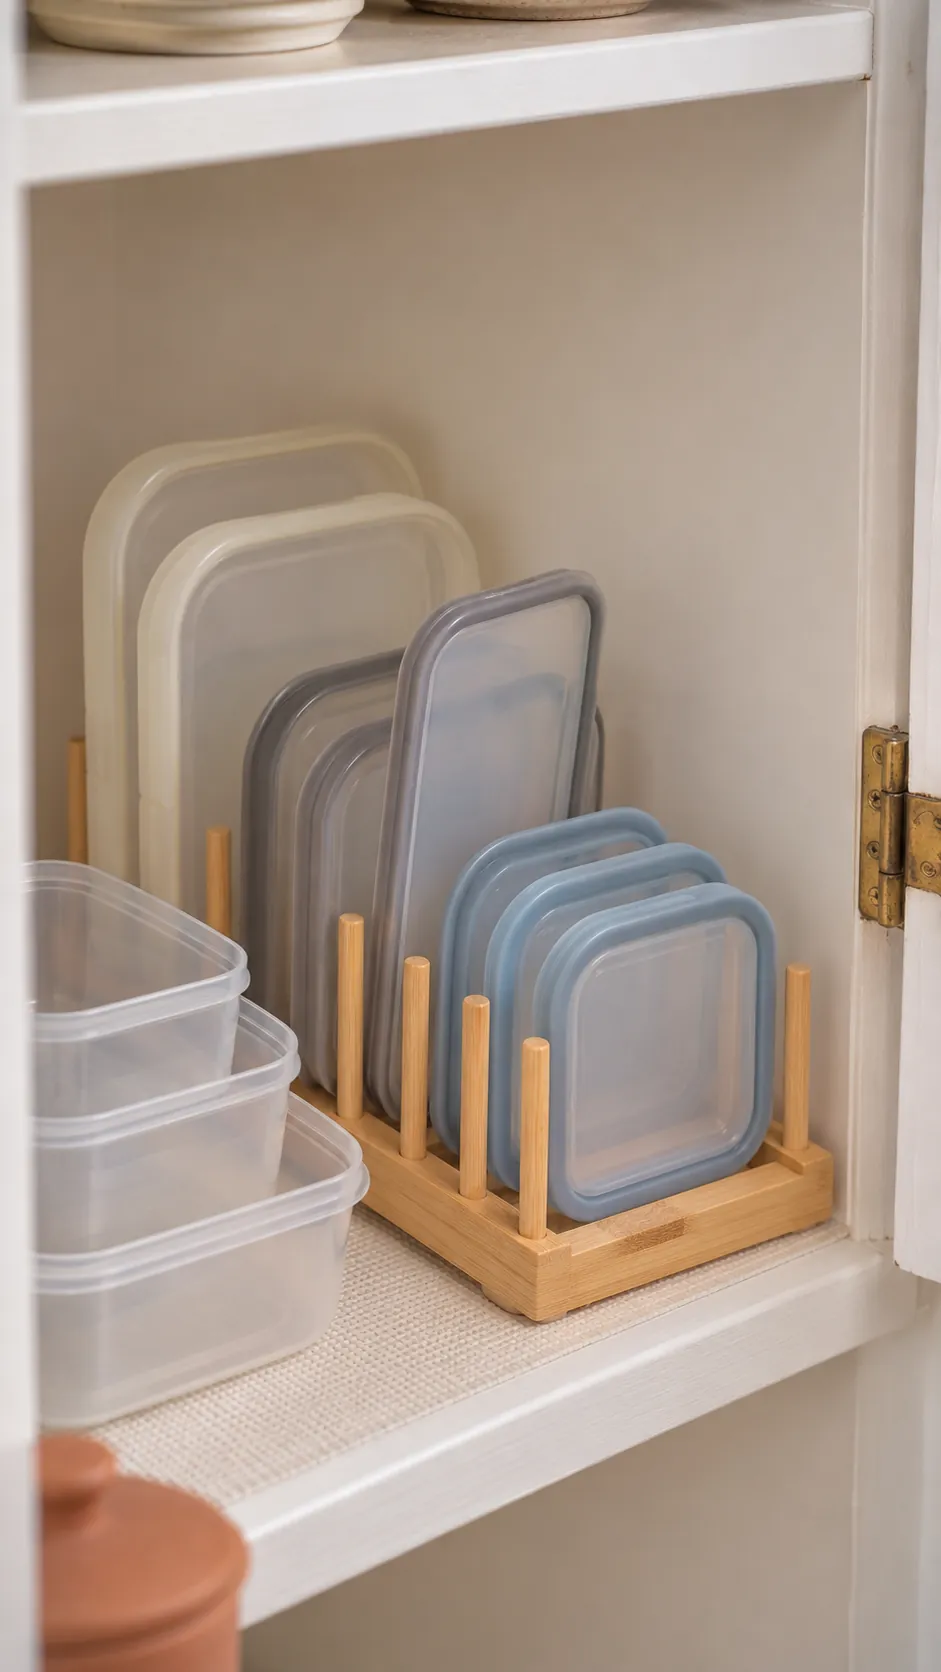
Lids should stand on edge in a small divided holder rather than lie in a loose stack. Sort them by the shape of the matching base, then arrange each group from small to large. This makes a missing partner obvious before the cabinet fills with orphaned pieces.
Place the lid holder beside the container bin, not behind it. Leave enough finger room to lift one lid without pulling the entire organizer forward. When two lids look similar, a small removable mark on the underside can show which container family they fit.
Create a freezer home for every ice pack
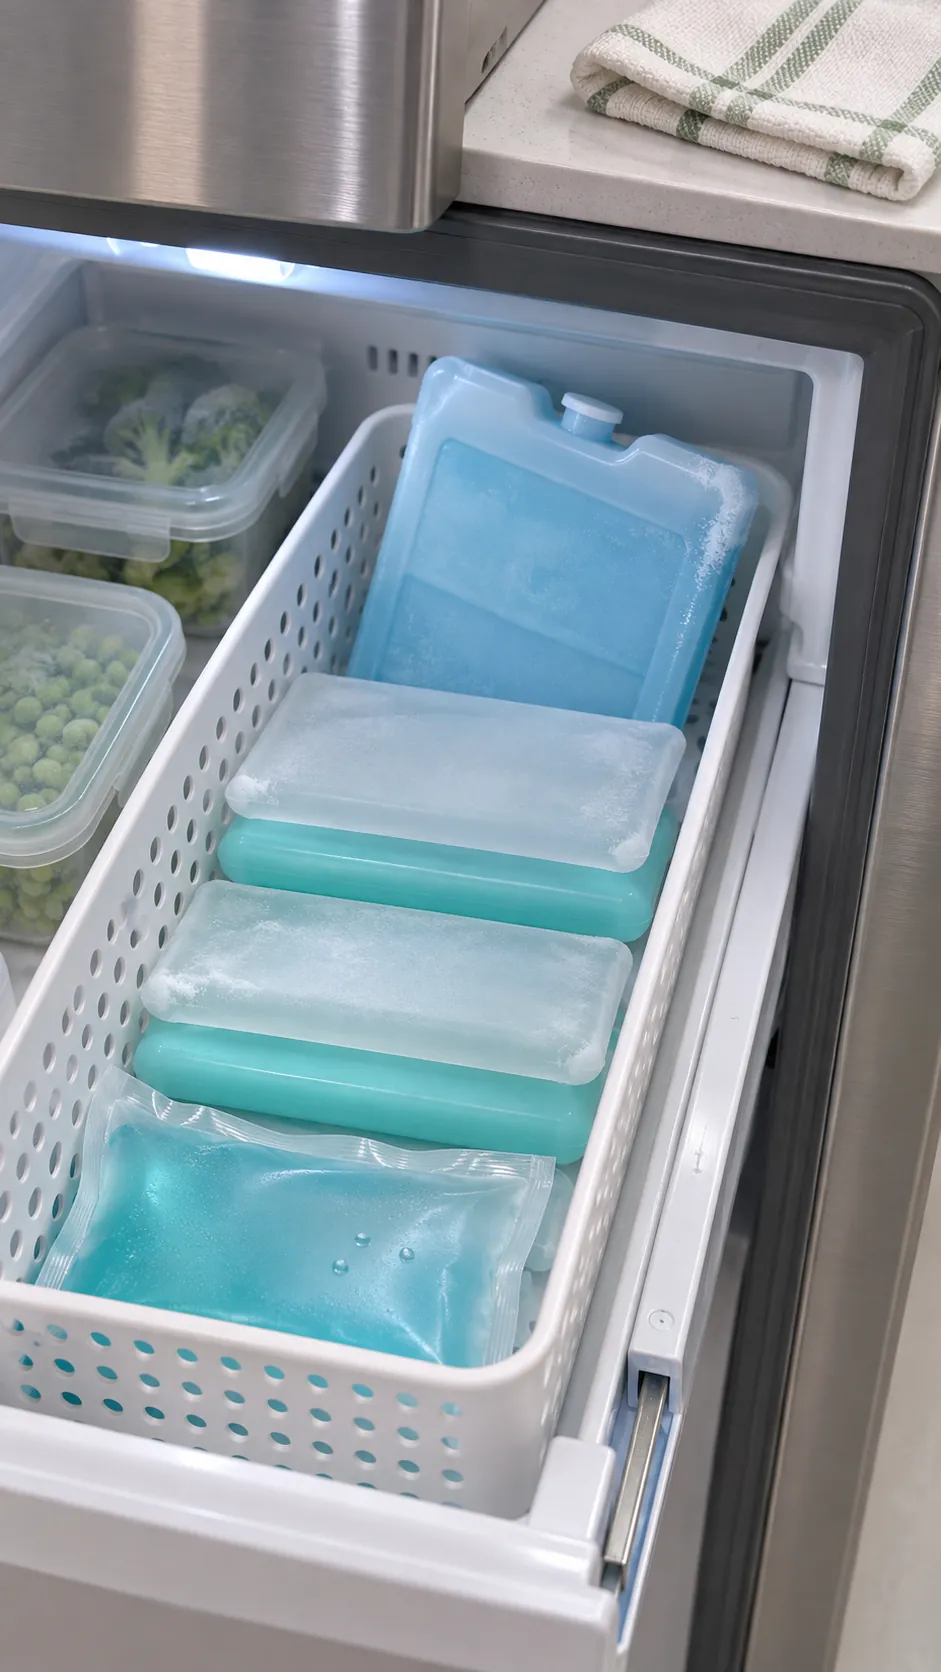
Ice packs should not sit in the dry cabinet, yet they need an assigned home within the lunch packing station. Use one washable freezer basket or a narrow freezer slot for the packs that are cold and ready. Store them flat unless the manufacturer says that upright storage is suitable, since a flat pack often freezes evenly and stacks safely.
After lunch, wash and dry each pack before it returns to the freezer. Moisture and food residue make the basket unpleasant and can transfer dirt to other frozen items. If the family uses several packed lunches, keep enough packs for one normal day and one backup set rather than filling the freezer with random sizes.
Choose a pack that fits the lunch bag without crushing food containers. Cold performance depends on the bag, food temperature, weather, and time away from refrigeration, so follow the food safety advice and product directions that apply to the packed meal.
Build a simple return routine
The cabinet will stay organized only if unpacking is as clear as packing. Empty the lunch bag, place dishes near the sink or dishwasher, wipe the bag when needed, and send the ice pack directly to its freezer basket. Let washed containers dry completely before nesting them, since trapped moisture can create odors.
Use the front of the cabinet for daily items and the back for genuine spares. Keep small lunch supplies in one low bin so packets, utensils, napkins, and bottle parts do not scatter across the shelf. A simple label can help every family member return an item correctly, but the shape and position of each zone should make the system understandable even without labels.
Review the cabinet after one full week. If people leave an item on the counter, its assigned place may be too tight, too high, or blocked by another object. Adjust that friction point first, because a compact system succeeds when the easiest action is also the correct one.