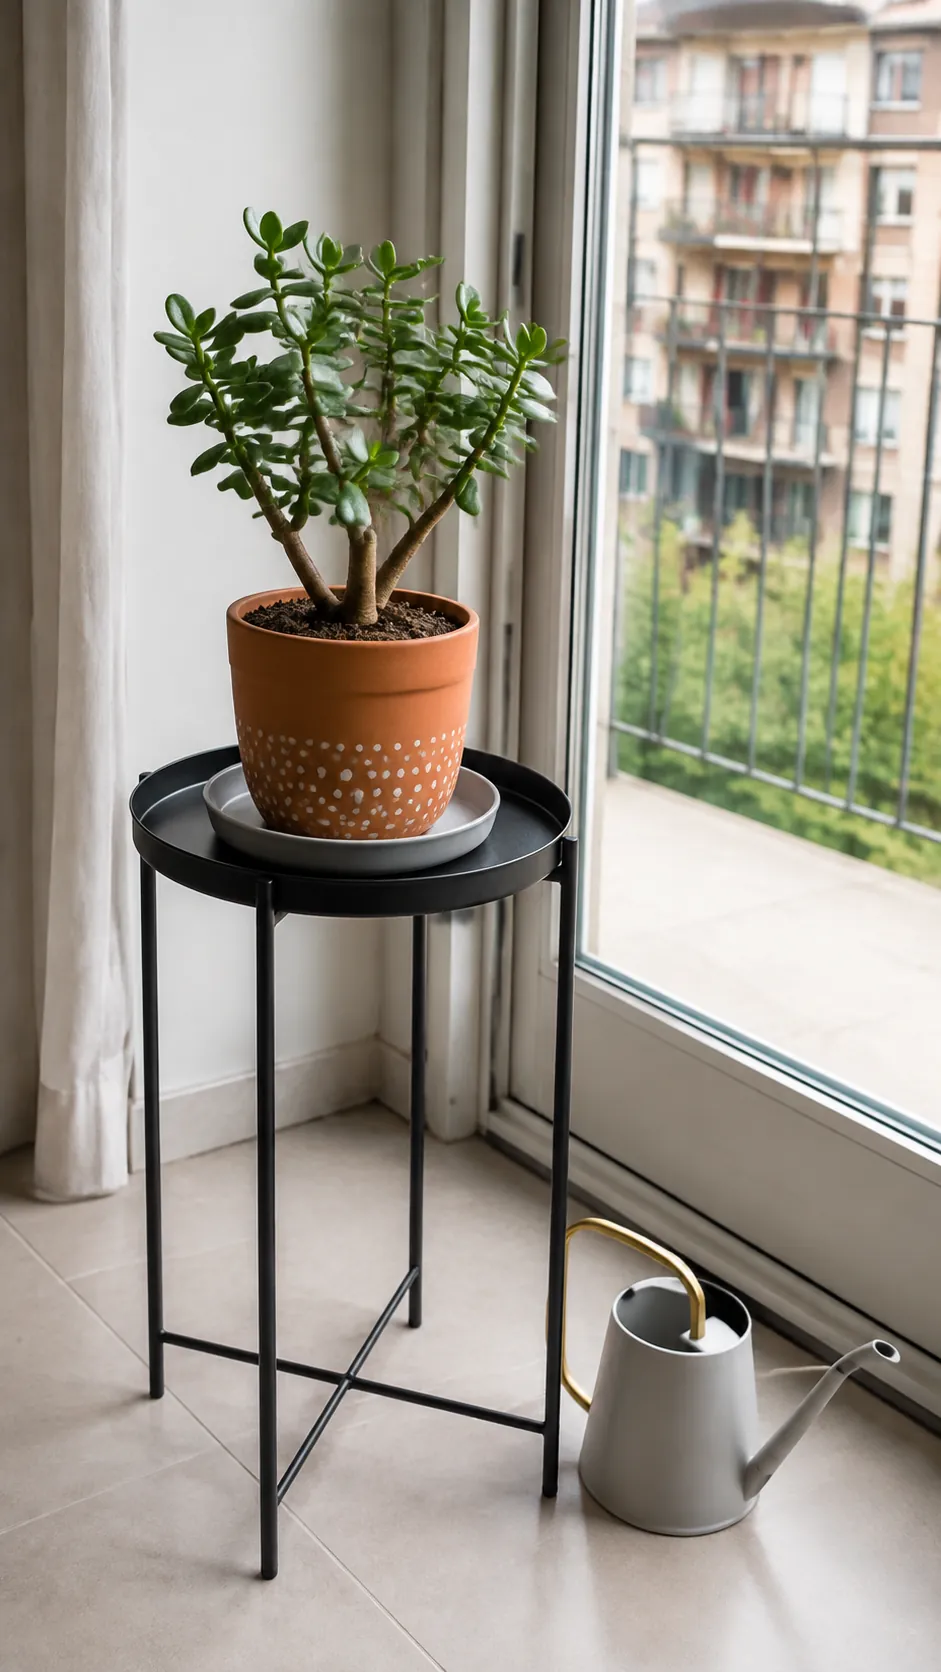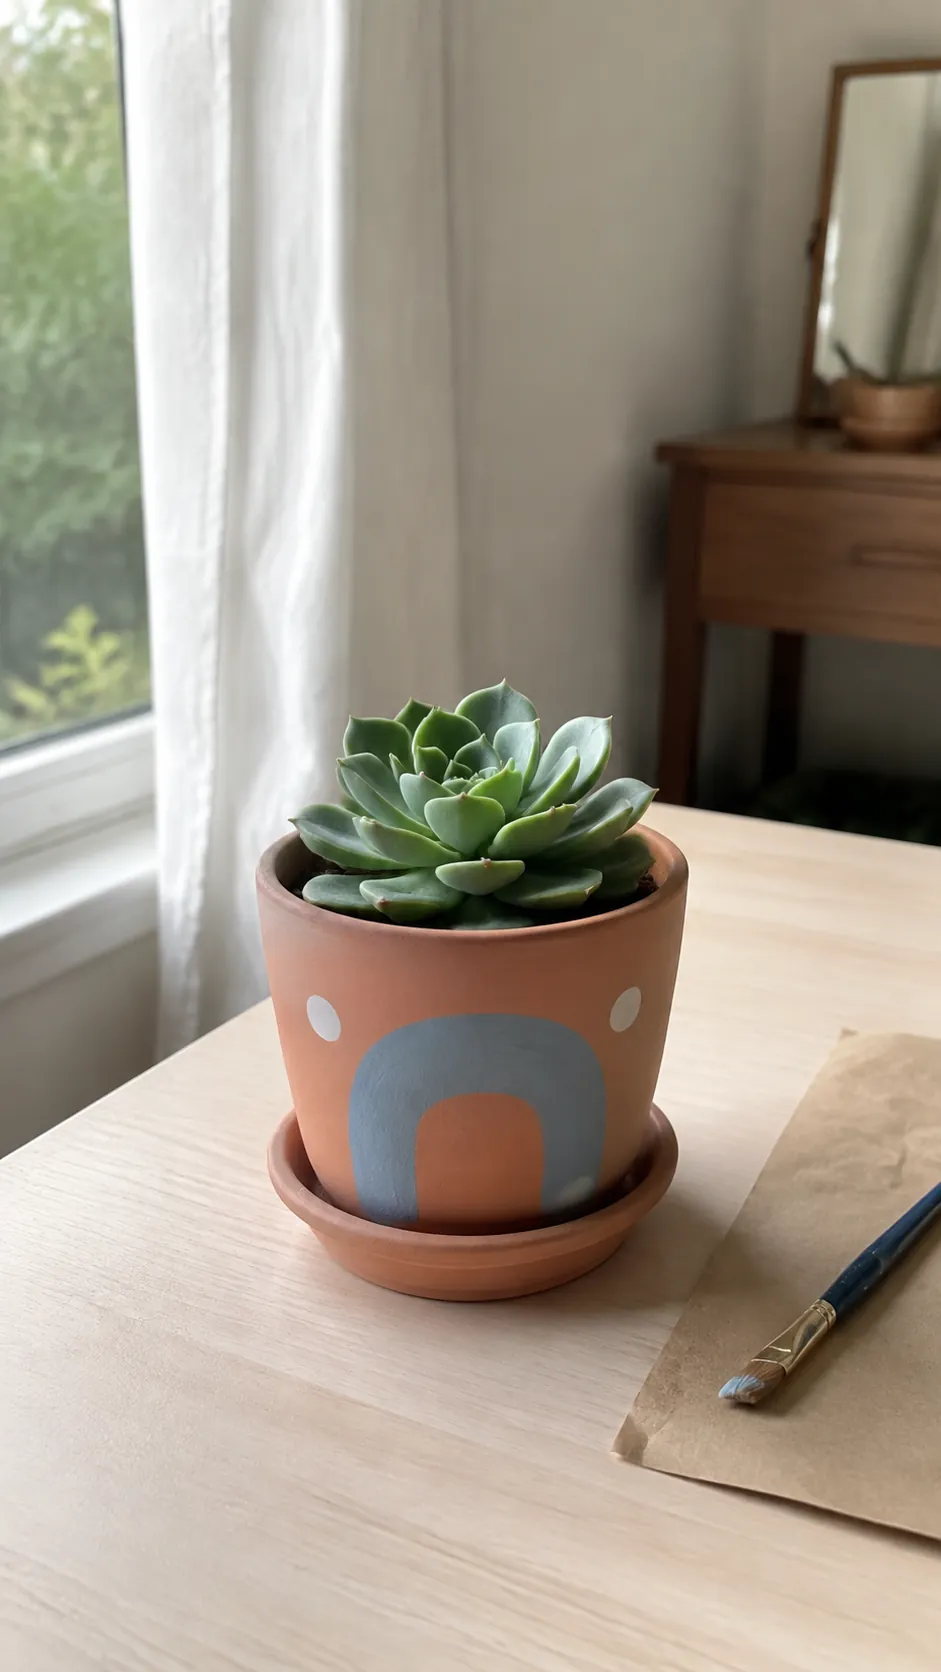
A painted pot can look lovely on Saturday and start peeling after a few waterings. The trick is to decide how the plant will drain before choosing the paint, then keep the decoration simple enough to finish neatly. For a first project, an empty terracotta pot with an existing drainage hole is easier to work with than a glossy ceramic container.
Choose a pot that still works after painting
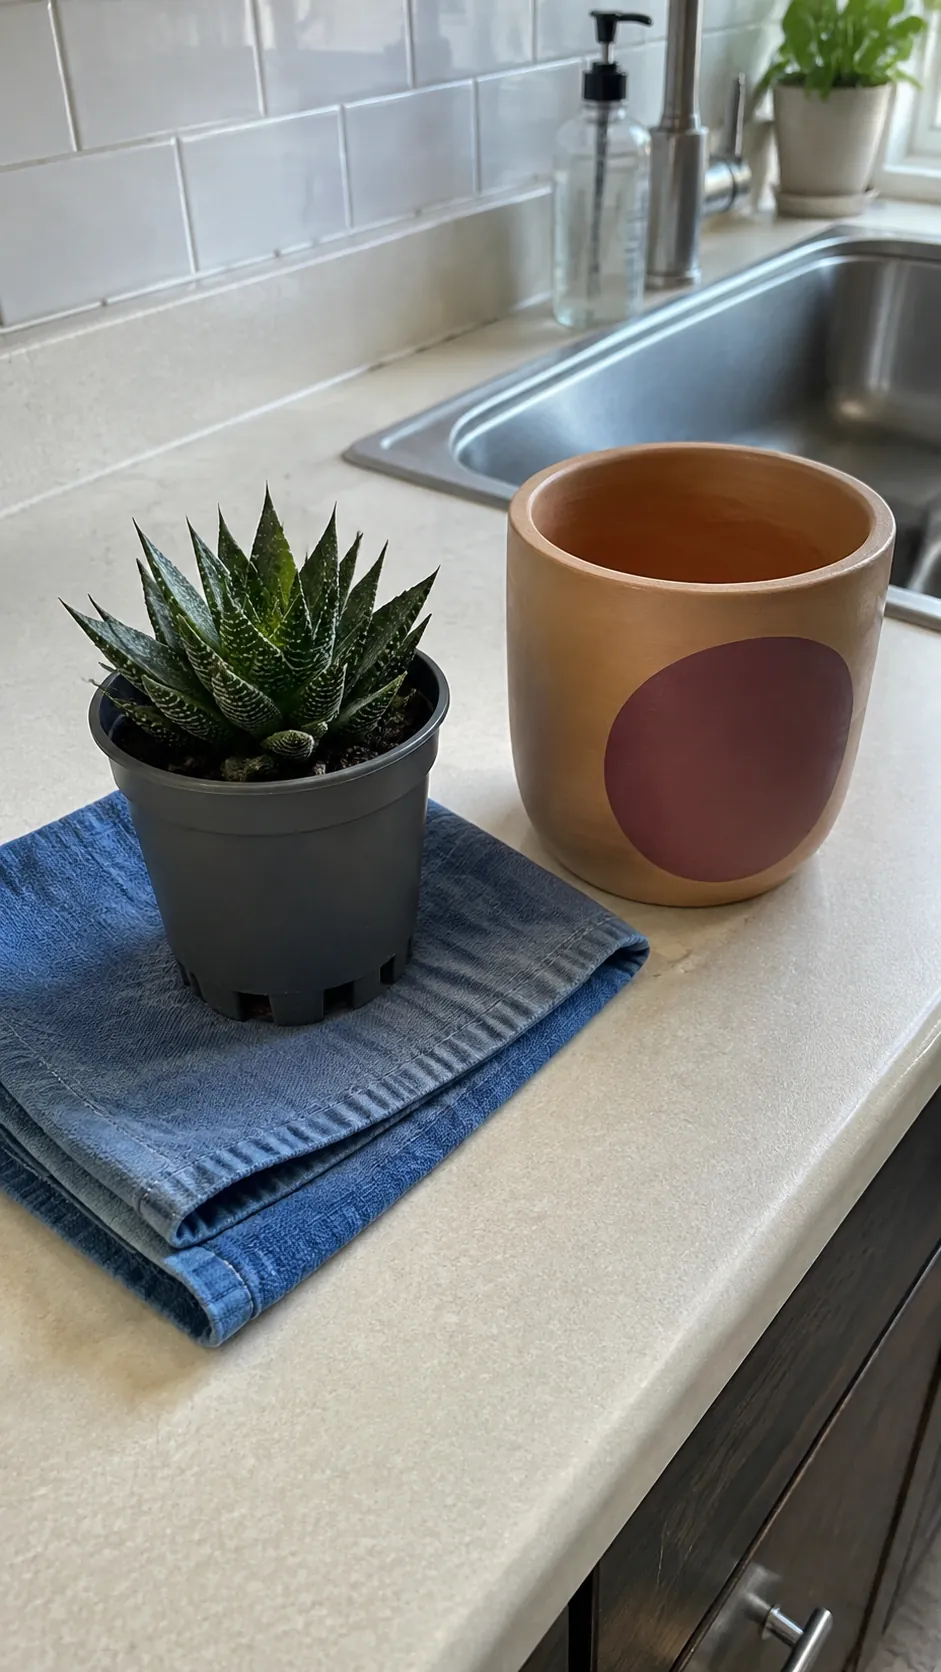
Start with a small pot that suits the succulent’s root ball, rather than buying a much larger container for a bigger painting surface. Check underneath for a real open hole, because a shallow molded recess can look like one from inside. If you love a container without drainage, use it as a decorative outer pot around a removable nursery pot and empty any collected water after watering.
That practical compromise answers a frustration visible in indexed Reddit discussions: people want attractive containers without losing the ability to drain their plants. One discussion about decorative pots describes removing plastic inner pots to water them before returning them to their covers. Painting changes how quickly an unglazed pot can lose moisture through its walls, so let the potting mix guide your watering rather than assuming the old schedule will still work.
Clean and dry the clay before the first coat
Remove the plant before starting, brush away loose soil, and wash the empty pot with mild soap and water. Rinse thoroughly and let the clay dry all the way through; a surface that feels dry can still contain moisture. A previously used pot with persistent mineral deposits needs more cleaning before you cover it, since paint will not turn a loose, chalky surface into a sound base.
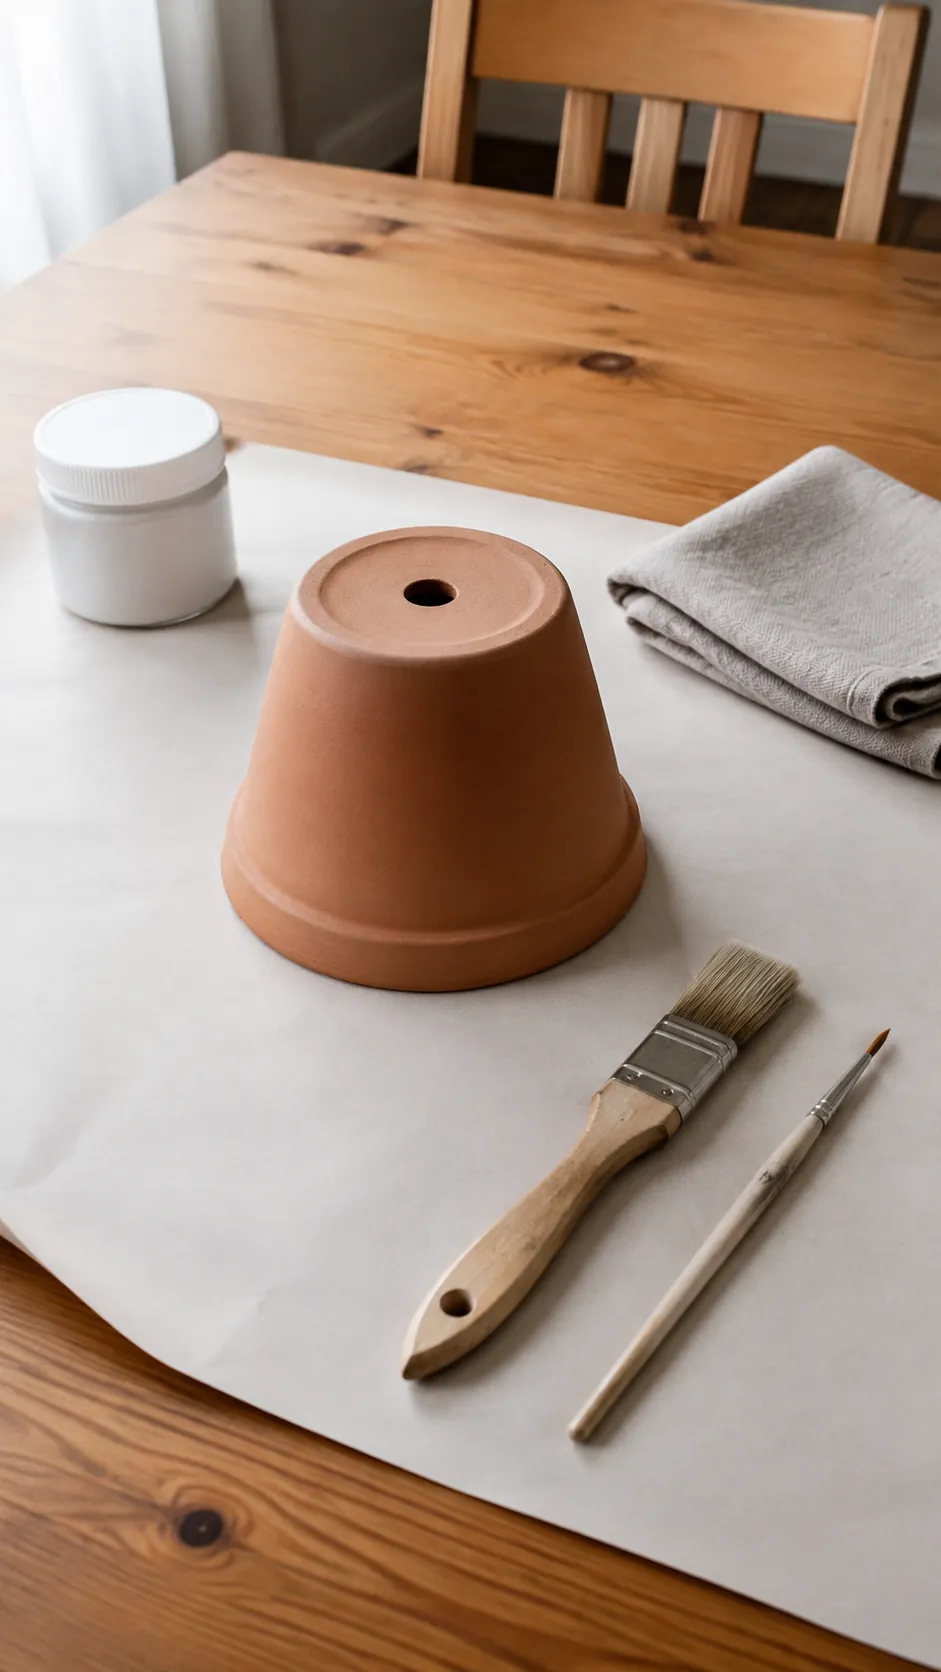
Protect the table with plain paper and gather a flat brush, a smaller detail brush, and paint labeled for the chosen surface and location. Follow the product instructions for primer, drying time, ventilation, and compatibility with a clear finish. Acrylic craft paint can suit an indoor decorative project, but ordinary craft paint and a random spray coating should not be assumed to survive outdoor rain.
Paint a simple band and leave breathing room
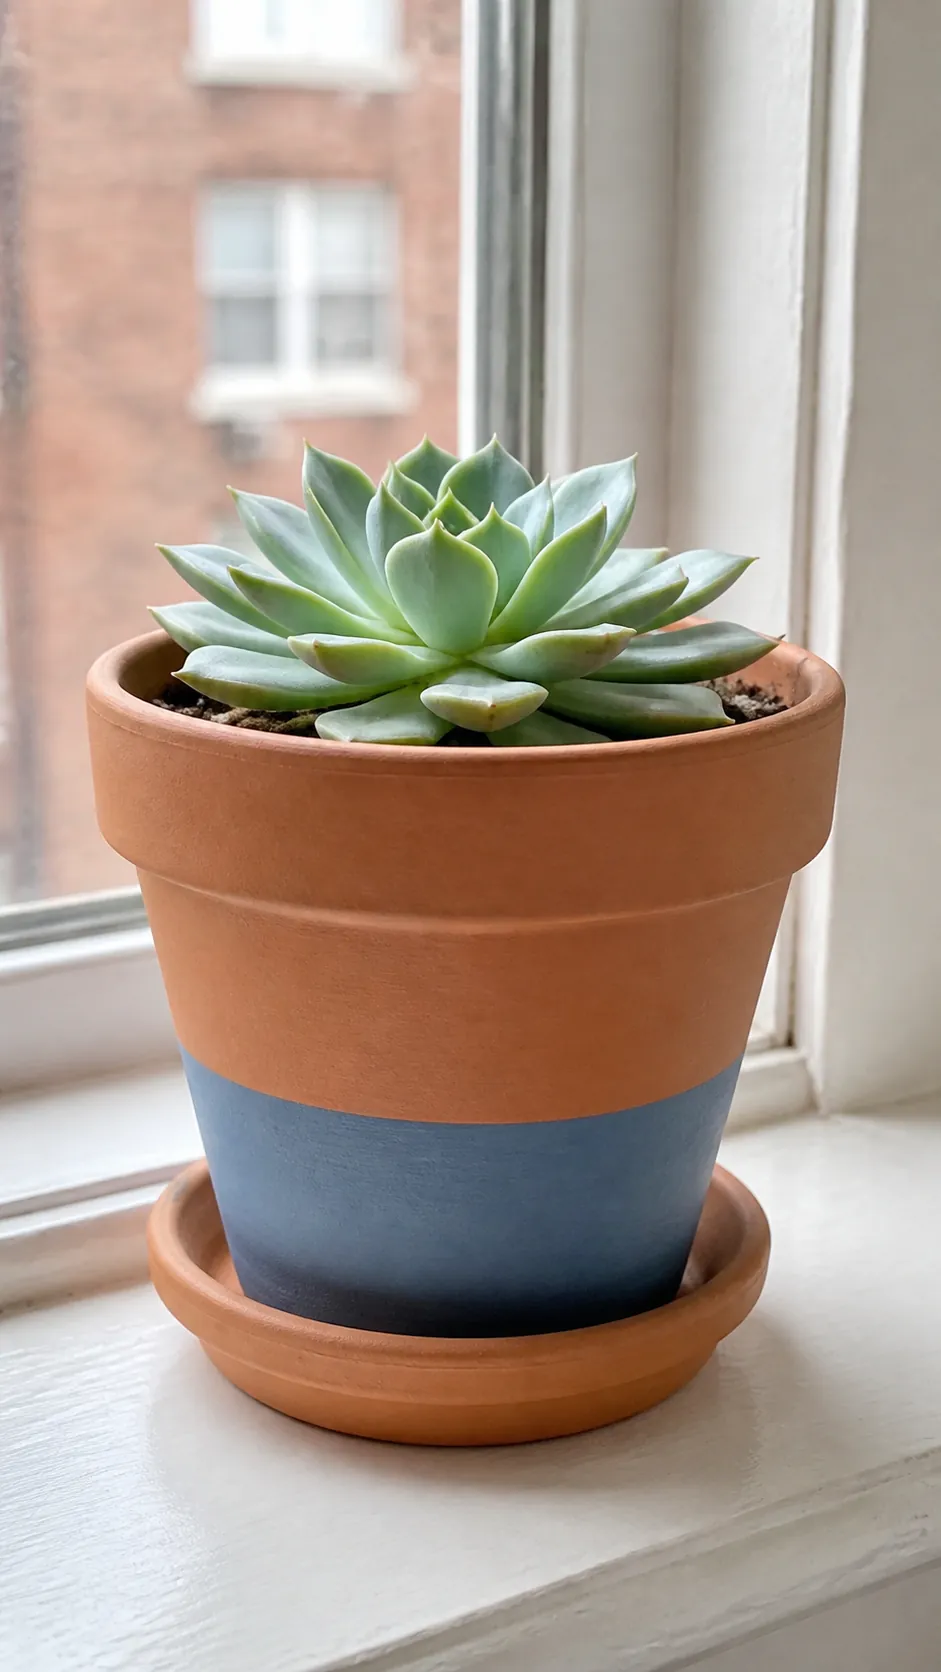
A single colored band is one of the easiest terracotta pot painting ideas because the bare clay becomes part of the design. Mark the height lightly, apply suitable painter’s tape to the clean exterior, and use thin coats rather than loading the brush until paint pools. Follow the tape and paint directions for removal so you do not pull away a half cured edge.
Keep the interior and drainage opening free of paint for this beginner project. Leaving exterior clay exposed also avoids turning the whole pot into a sealed shell, though the painted area will still change moisture movement. Dusty blue against natural terracotta works especially well with pale green rosettes, while a narrow cream stripe can make a tiny pot look finished without competing with the plant.
Use dots or daisies when fine lines feel difficult
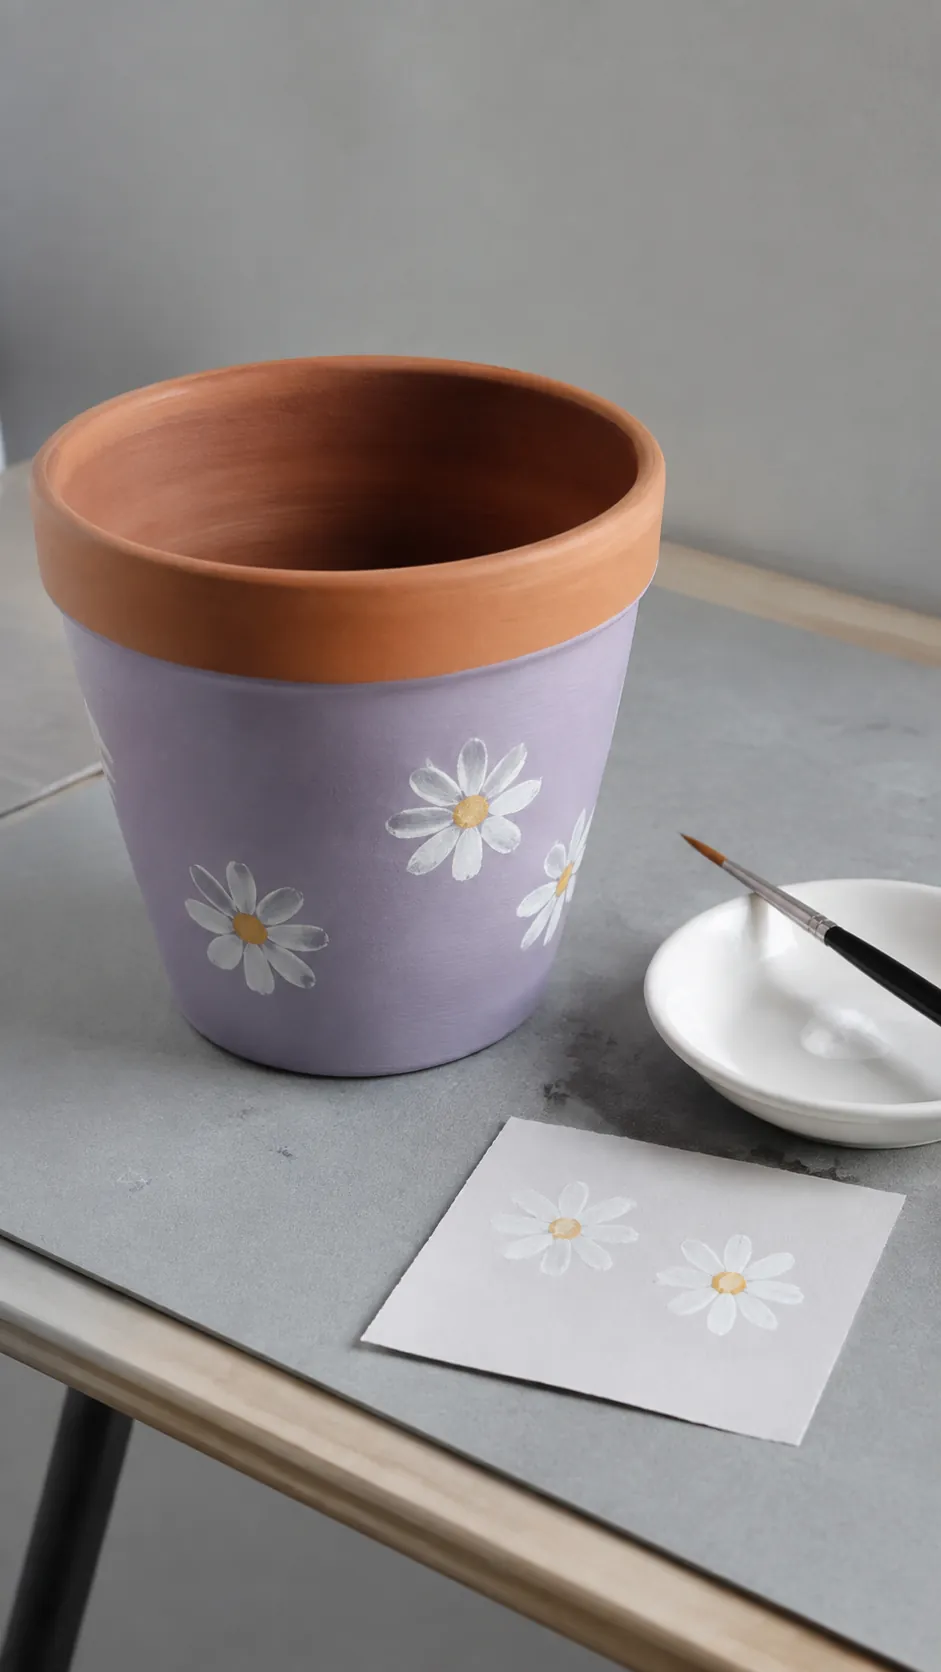
For cute pot painting ideas, try scattered dots or a few small daisies instead of an elaborate wraparound drawing. Practice the motif on scrap paper first, then space the largest marks around the pot before filling the gaps. A rounded brush handle can make dots, but wipe off excess paint so each mark keeps a defined edge.
Keep the palette to a background color and two detail colors if you want easy flower pot painting ideas that remain readable on a small curved surface. Let adjacent colors dry before adding the next layer, and rotate the pot instead of dragging your wrist across fresh paint. Three slightly different flowers can feel more personal than a crowded pattern that leaves no resting space.
Make a small geometric design with clean boundaries
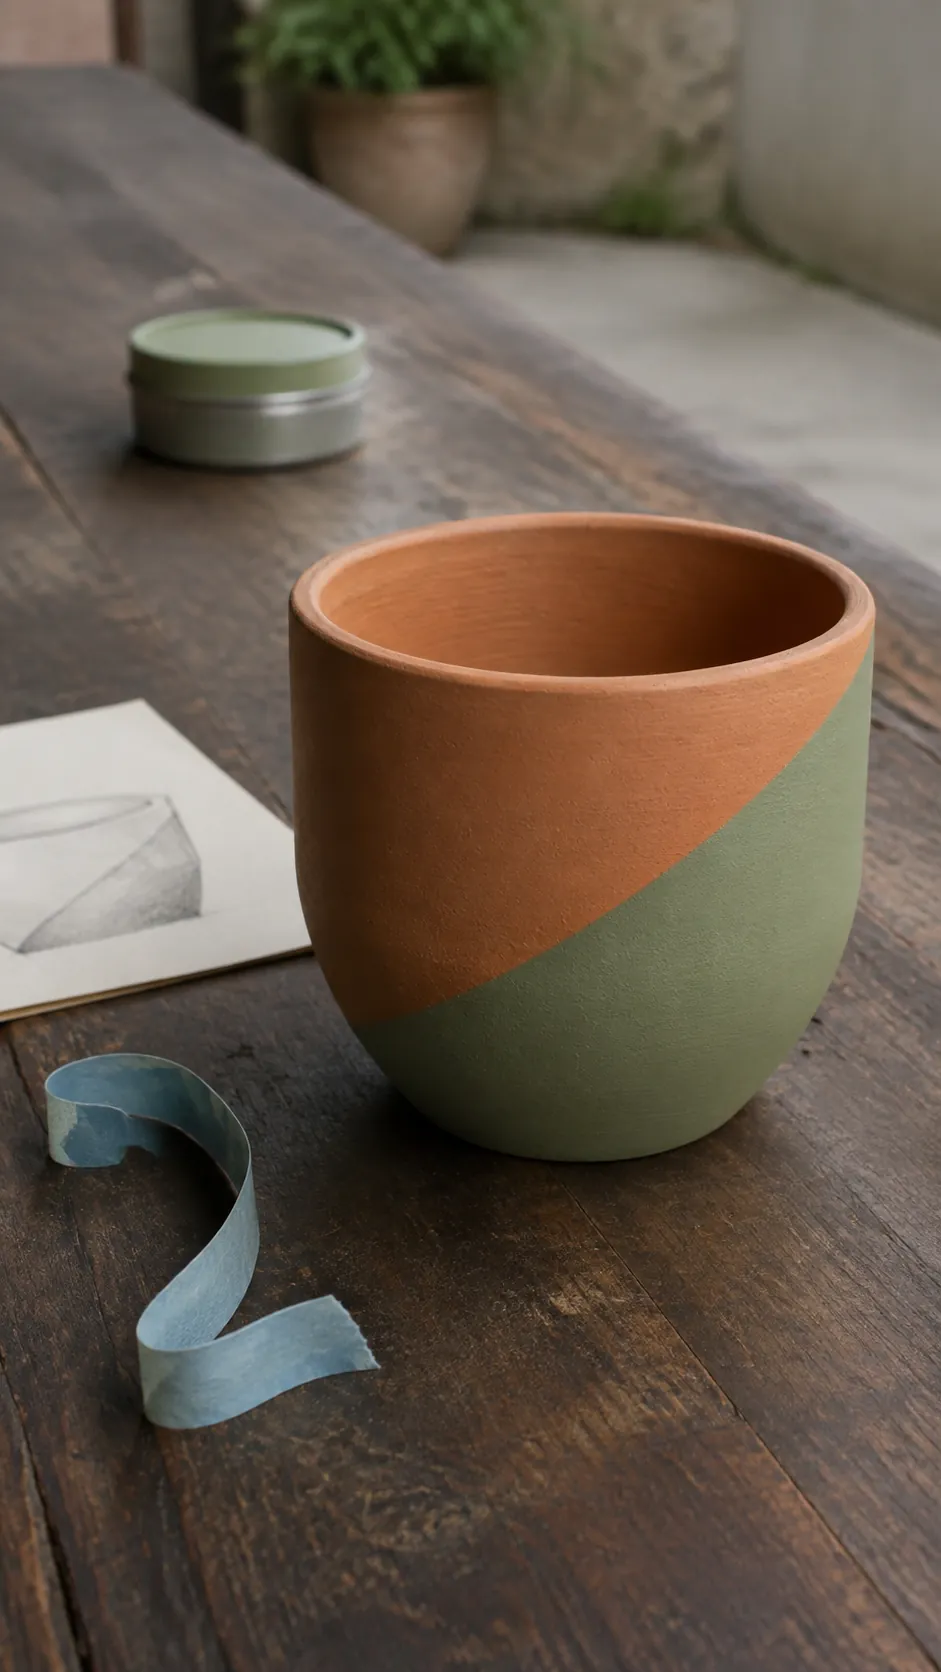
A diagonal block of sage, lilac, or deep blue gives hand painted pots a more graphic look. Sketch the shape on paper at approximately the pot’s visible width first, since a design that looks balanced flat can disappear around the curve. Place the strongest color low on one side and leave an open area above it to keep the leaves visually separate.
On tapered pots, short tape sections are easier to control than one long strip forced around the whole circumference. Press the edge down gently and brush away from it to reduce seepage. If a little paint escapes, let it dry and correct it with a detail brush; repeatedly wiping wet paint usually spreads the problem across the porous clay.
Cure the finish before bringing the plant back
Dry to the touch does not necessarily mean ready for watering, handling, or a protective finish. Use the paint manufacturer’s full curing guidance and choose a compatible sealer only if the product system calls for one. Keep any coating away from the drainage opening, and remember that sealing a porous pot can make its potting mix dry more slowly.
Return the succulent to a suitable draining mix when the finish is ready, set the pot on a saucer, and check that excess water can escape. If soil spills through a large hole, a small piece of loose nonadhesive pot mesh can retain particles without plugging the opening; a layer of stones is not a substitute for drainage. Put the finished pot where that succulent receives appropriate light, empty the saucer after watering, and let the first few watering cycles tell you how your newly painted container behaves.